Skip to product information
1 of 11

PayPal, credit cards. Download editable-PDF and invoice in 1 second!

NB/T 42082-2016 English PDF (NBT42082-2016)

NB/T 42082-2016 English PDF (NBT42082-2016)

Regular price $260.00 USD
Regular price Sale price $260.00 USD
Sale Sold out
Shipping calculated at checkout.
Delivery: 3 seconds. Download true-PDF + Invoice.
Get QUOTATION in 1-minute: Click NB/T 42082-2016
Historical versions: NB/T 42082-2016
Preview True-PDF (Reload/Scroll if blank)

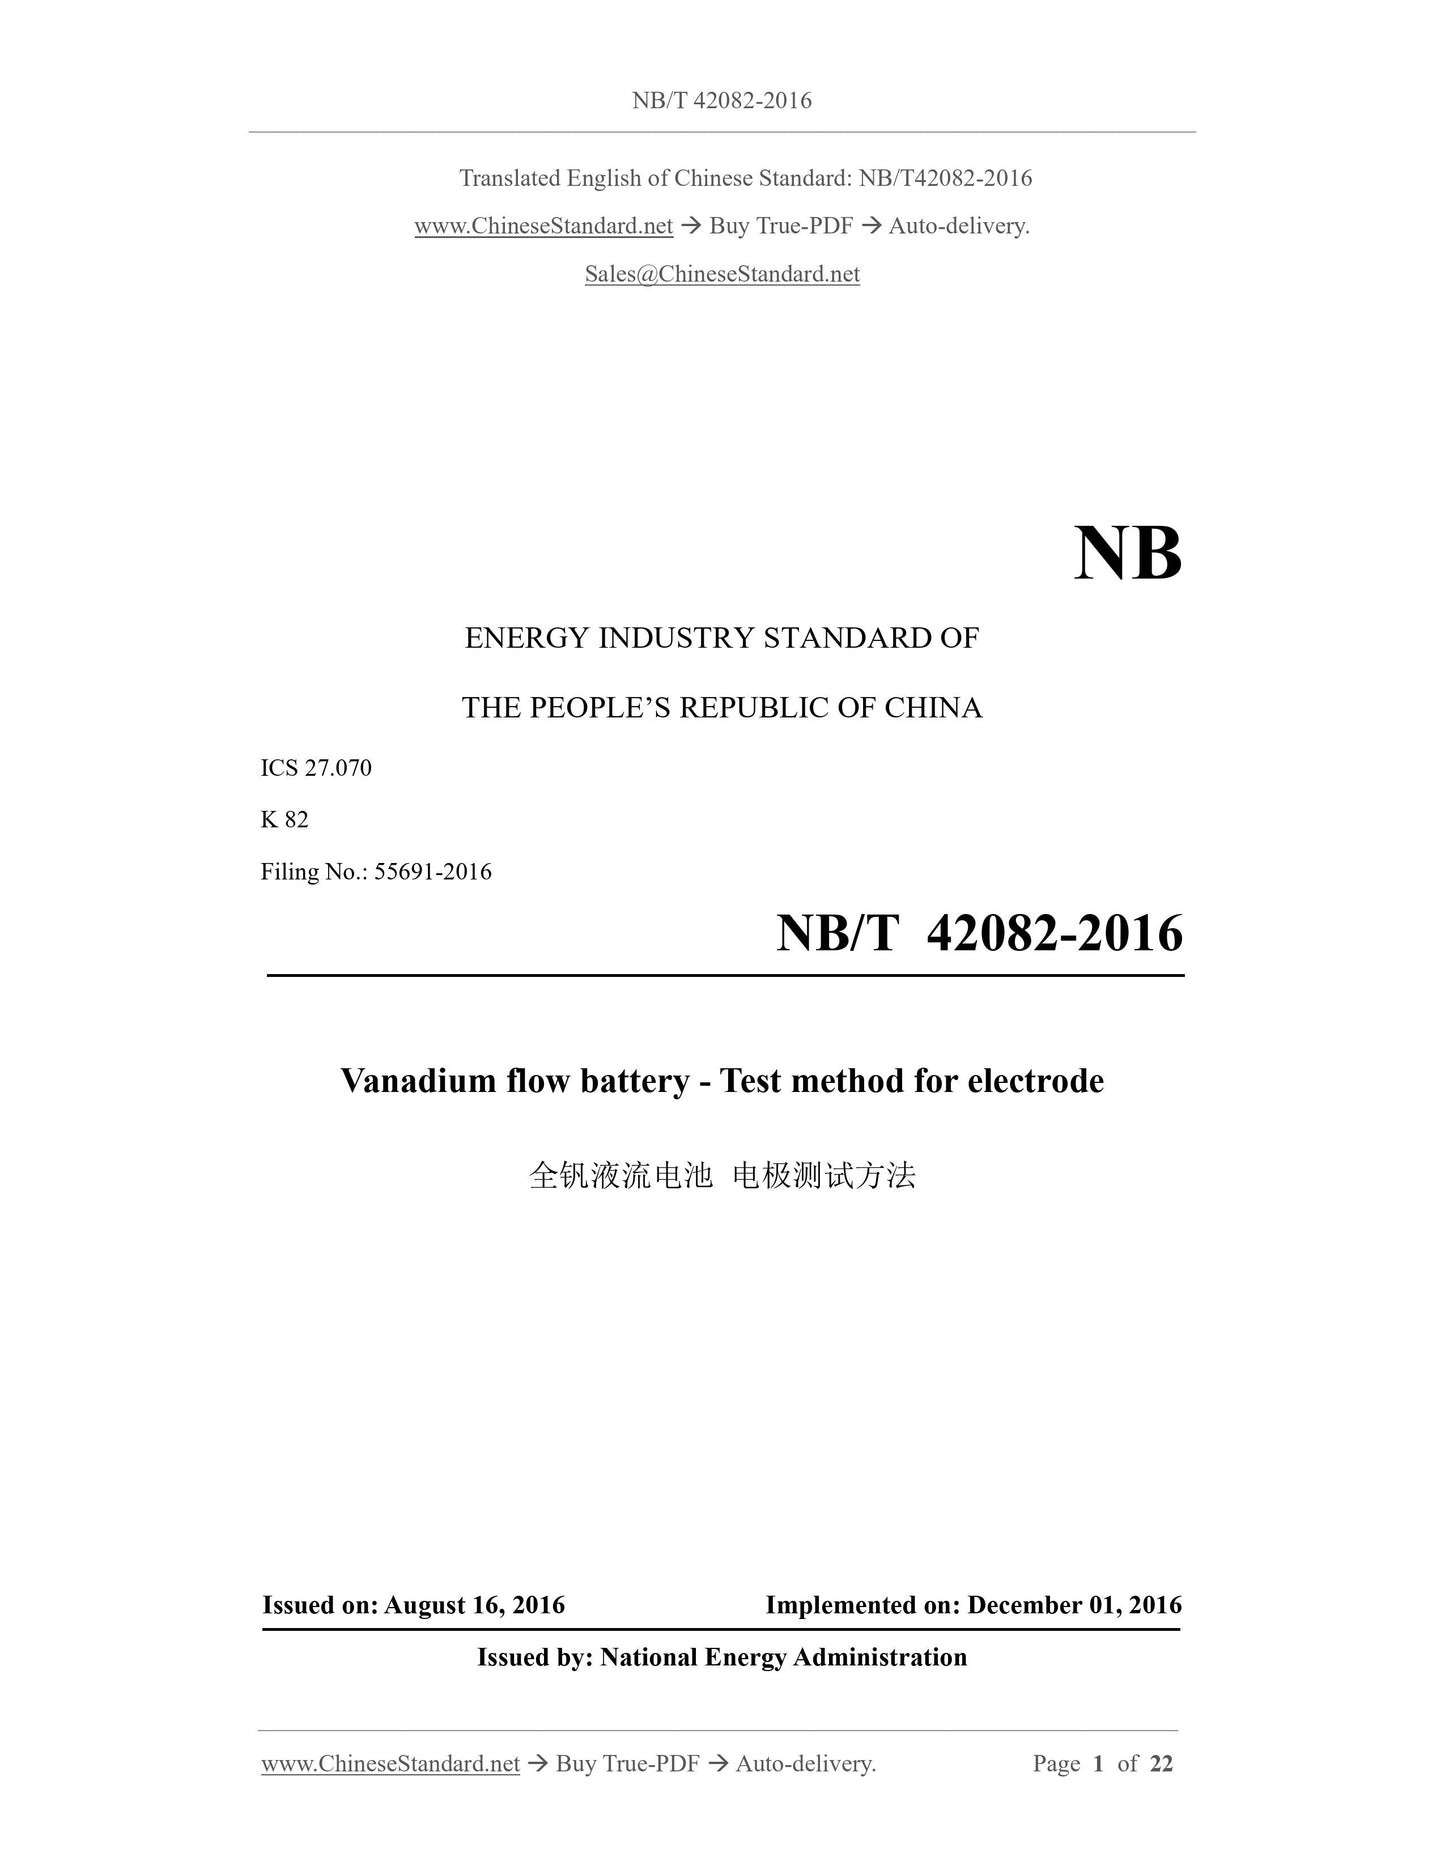
NB/T 42082-2016: Vanadium flow battery-test method for electrode
NB/T 42082-2016
NB
ENERGY INDUSTRY STANDARD OF
THE PEOPLE’S REPUBLIC OF CHINA
ICS 27.070
K 82
Filing No.: 55691-2016
Vanadium flow battery - Test method for electrode
ISSUED ON: AUGUST 16, 2016
IMPLEMENTED ON: DECEMBER 01, 2016
Issued by: National Energy Administration
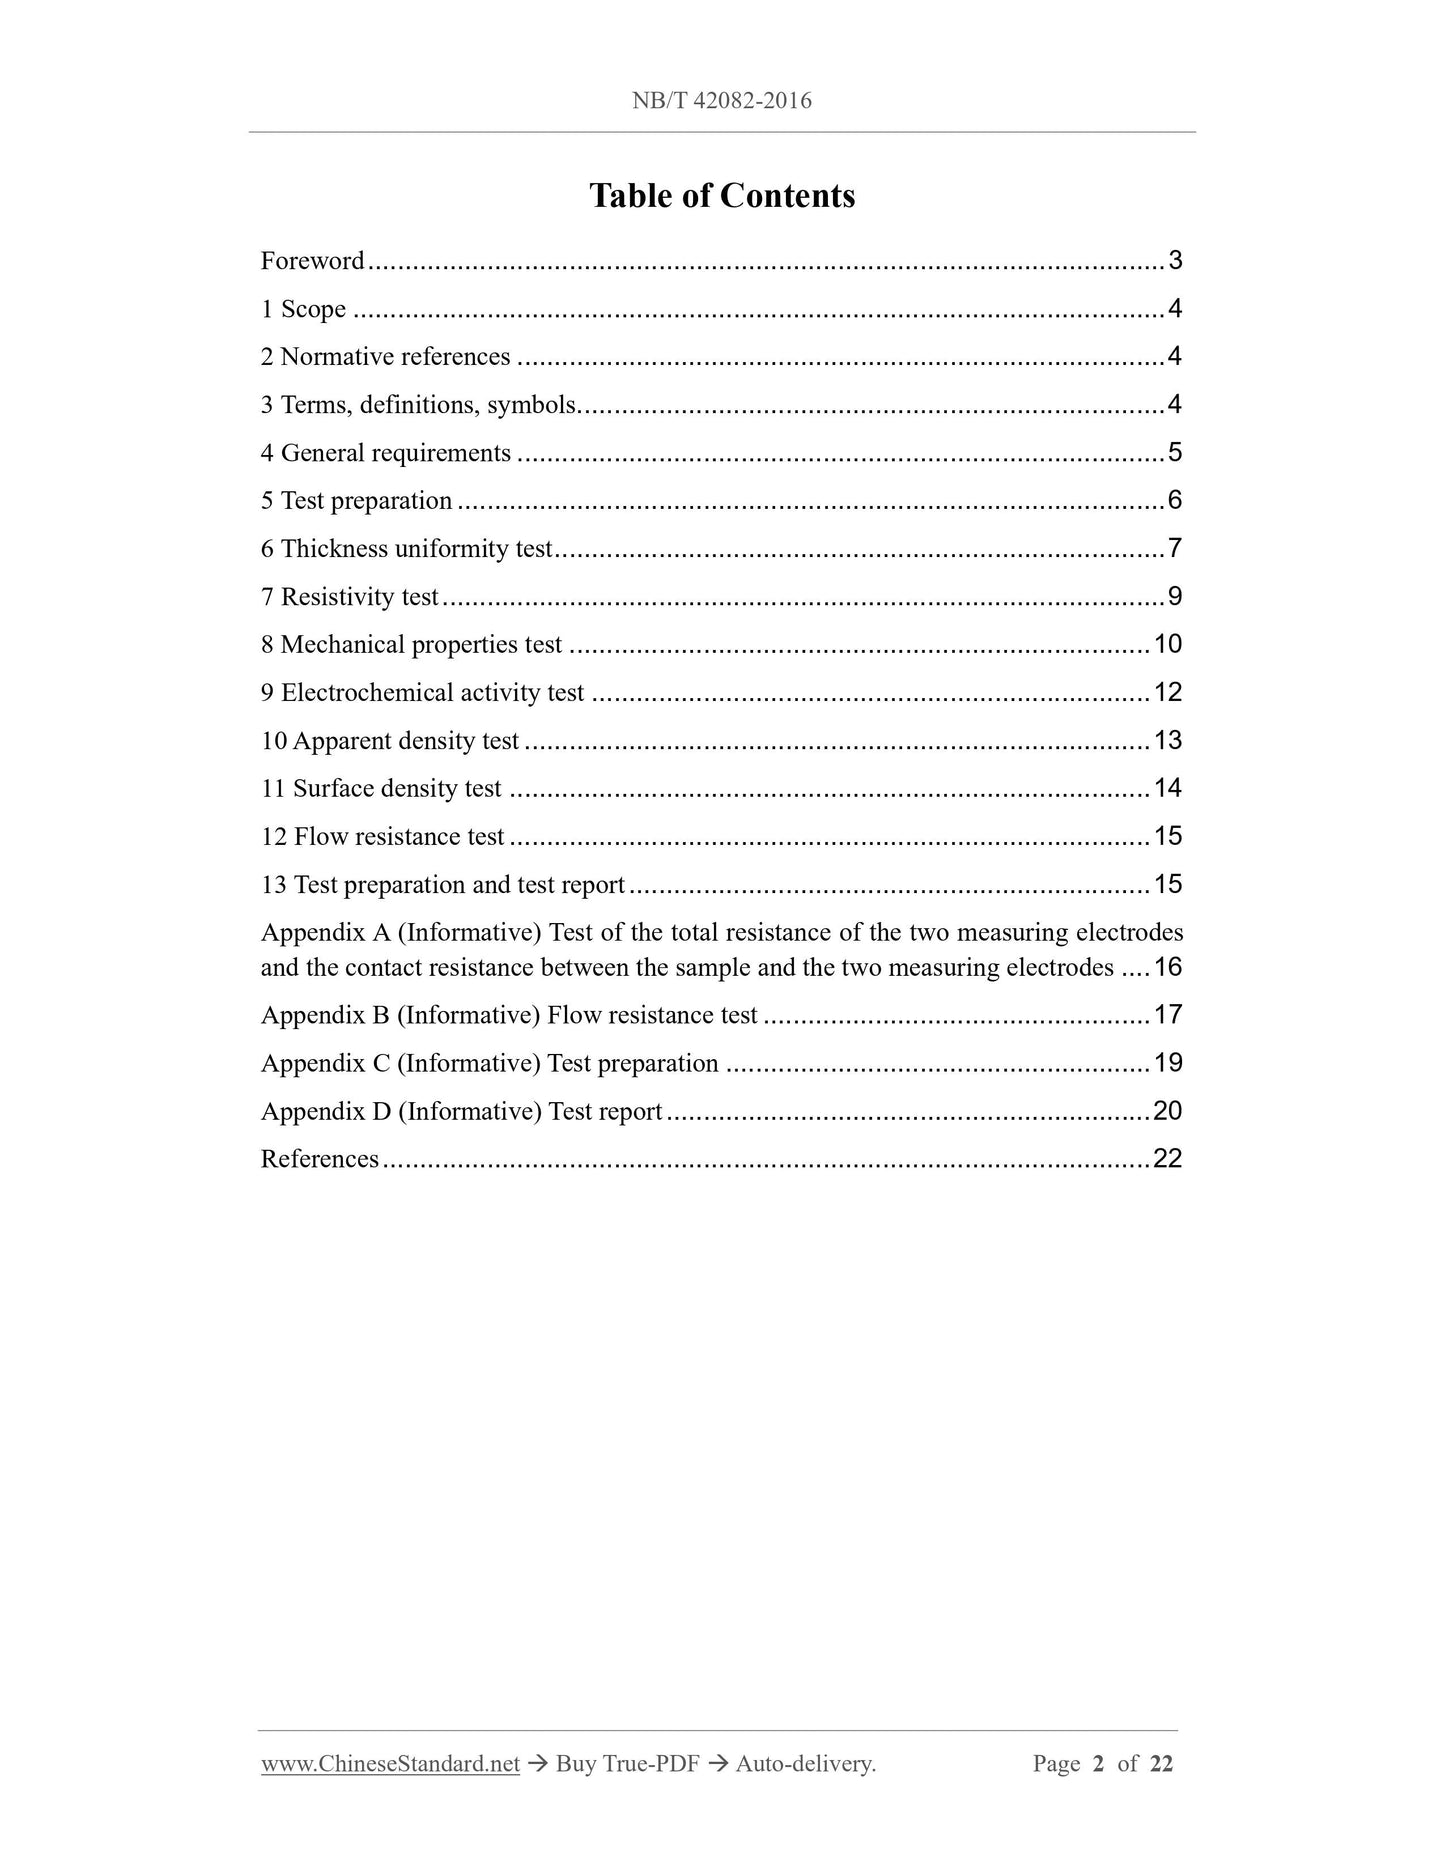
Table of Contents
Foreword ... 3
1 Scope ... 4
2 Normative references ... 4
3 Terms, definitions, symbols... 4
4 General requirements ... 5
5 Test preparation ... 6
6 Thickness uniformity test ... 7
7 Resistivity test ... 9
8 Mechanical properties test ... 10
9 Electrochemical activity test ... 12
10 Apparent density test ... 13
11 Surface density test ... 14
12 Flow resistance test ... 15
13 Test preparation and test report ... 15
Appendix A (Informative) Test of the total resistance of the two measuring electrodes
and the contact resistance between the sample and the two measuring electrodes ... 16
Appendix B (Informative) Flow resistance test ... 17
Appendix C (Informative) Test preparation ... 19
Appendix D (Informative) Test report ... 20
References ... 22
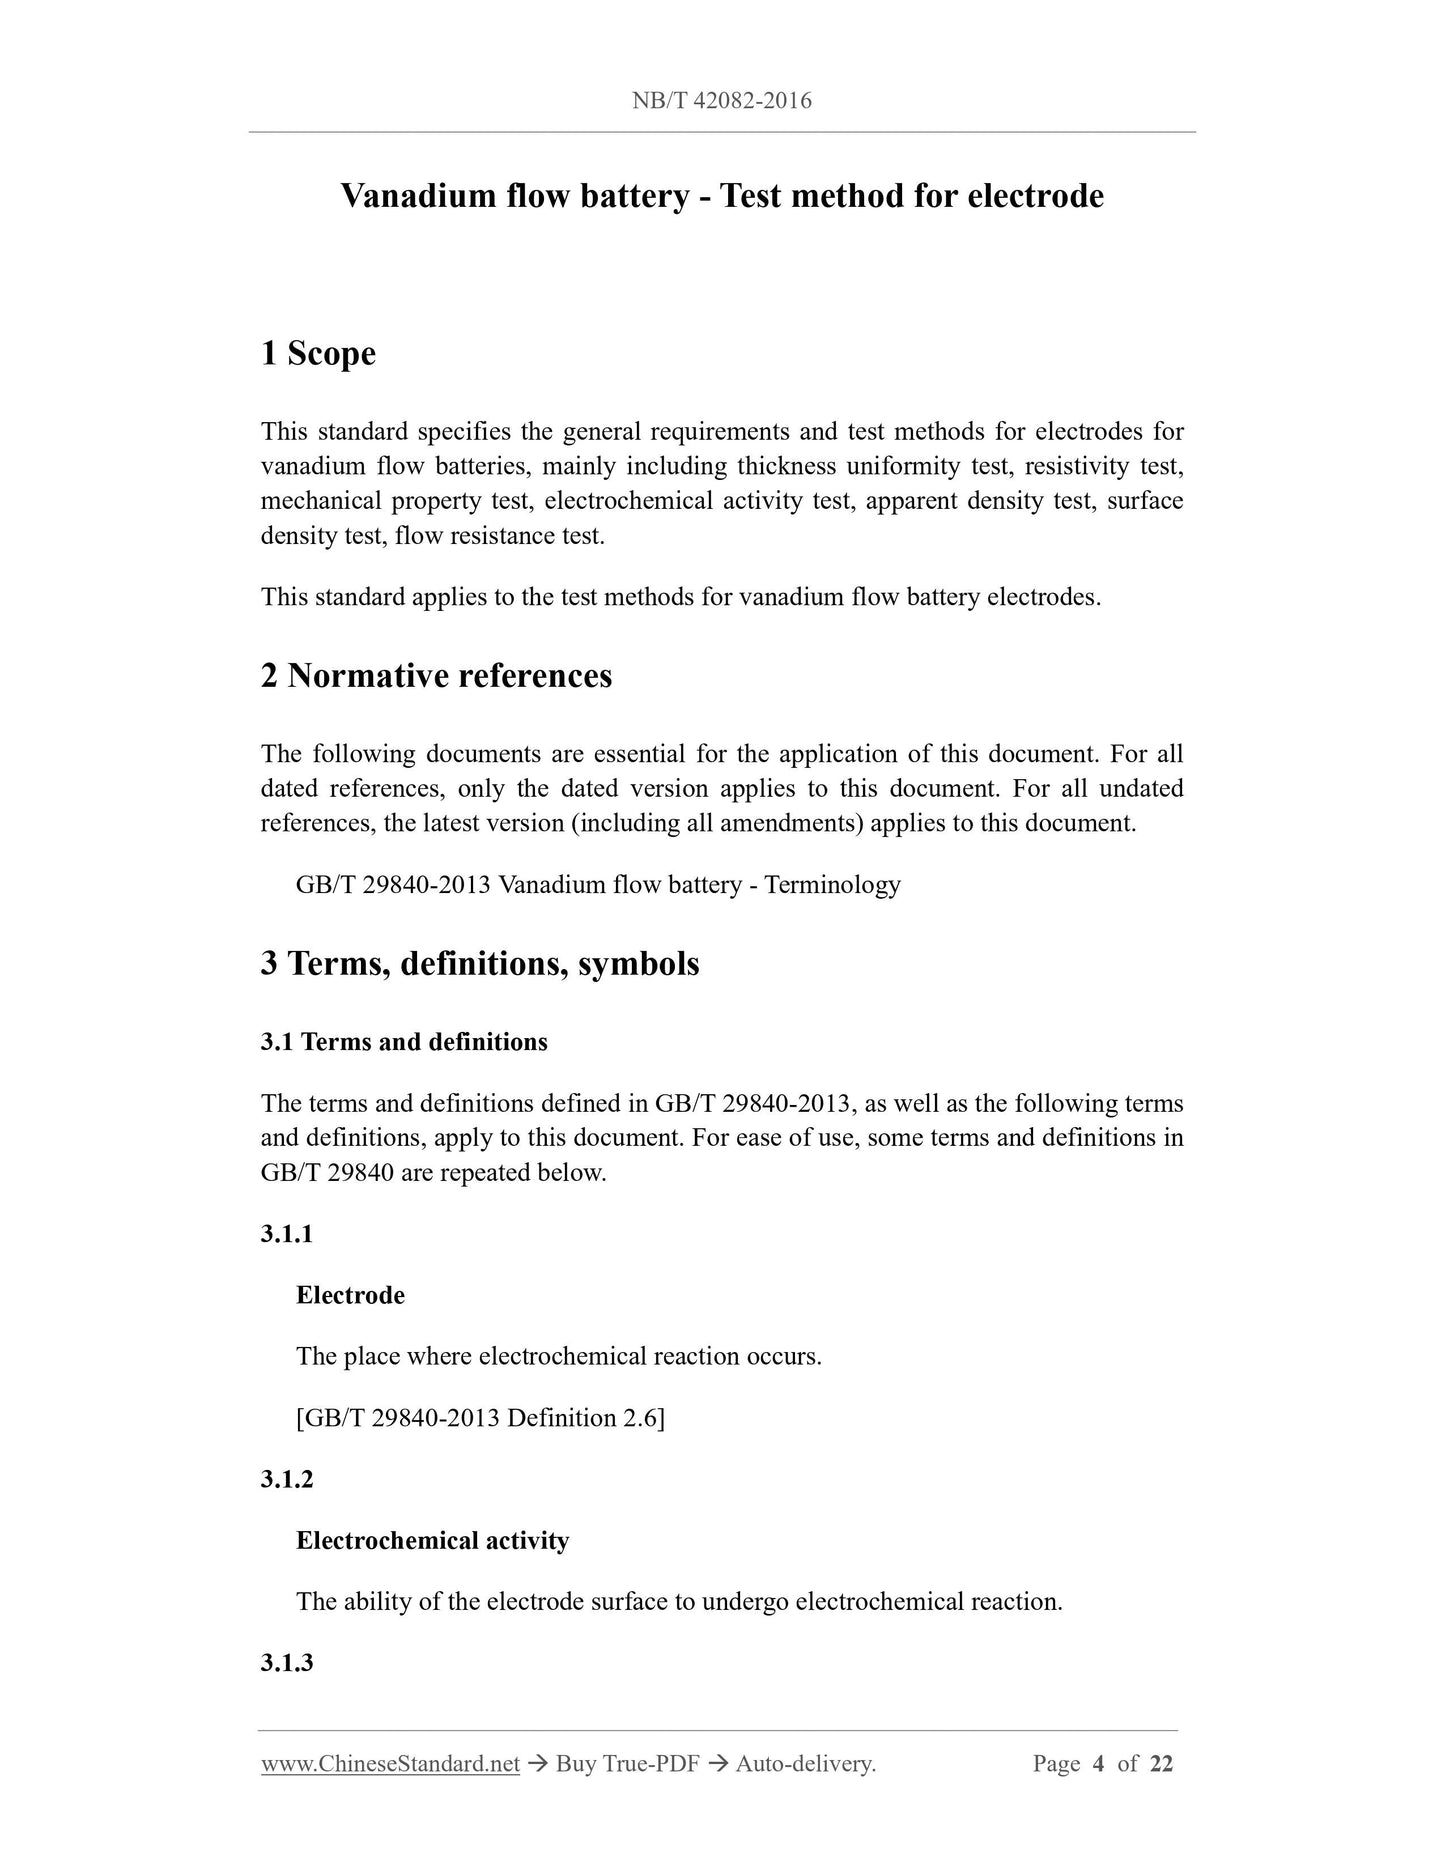
Vanadium flow battery - Test method for electrode
1 Scope
This standard specifies the general requirements and test methods for electrodes for
vanadium flow batteries, mainly including thickness uniformity test, resistivity test,
mechanical property test, electrochemical activity test, apparent density test, surface
density test, flow resistance test.
This standard applies to the test methods for vanadium flow battery electrodes.
2 Normative references
The following documents are essential for the application of this document. For all
dated references, only the dated version applies to this document. For all undated
references, the latest version (including all amendments) applies to this document.
GB/T 29840-2013 Vanadium flow battery - Terminology
3 Terms, definitions, symbols
3.1 Terms and definitions
The terms and definitions defined in GB/T 29840-2013, as well as the following terms
and definitions, apply to this document. For ease of use, some terms and definitions in
GB/T 29840 are repeated below.
3.1.1
Electrode
The place where electrochemical reaction occurs.
[GB/T 29840-2013 Definition 2.6]
3.1.2
Electrochemical activity
The ability of the electrode surface to undergo electrochemical reaction.
3.1.3
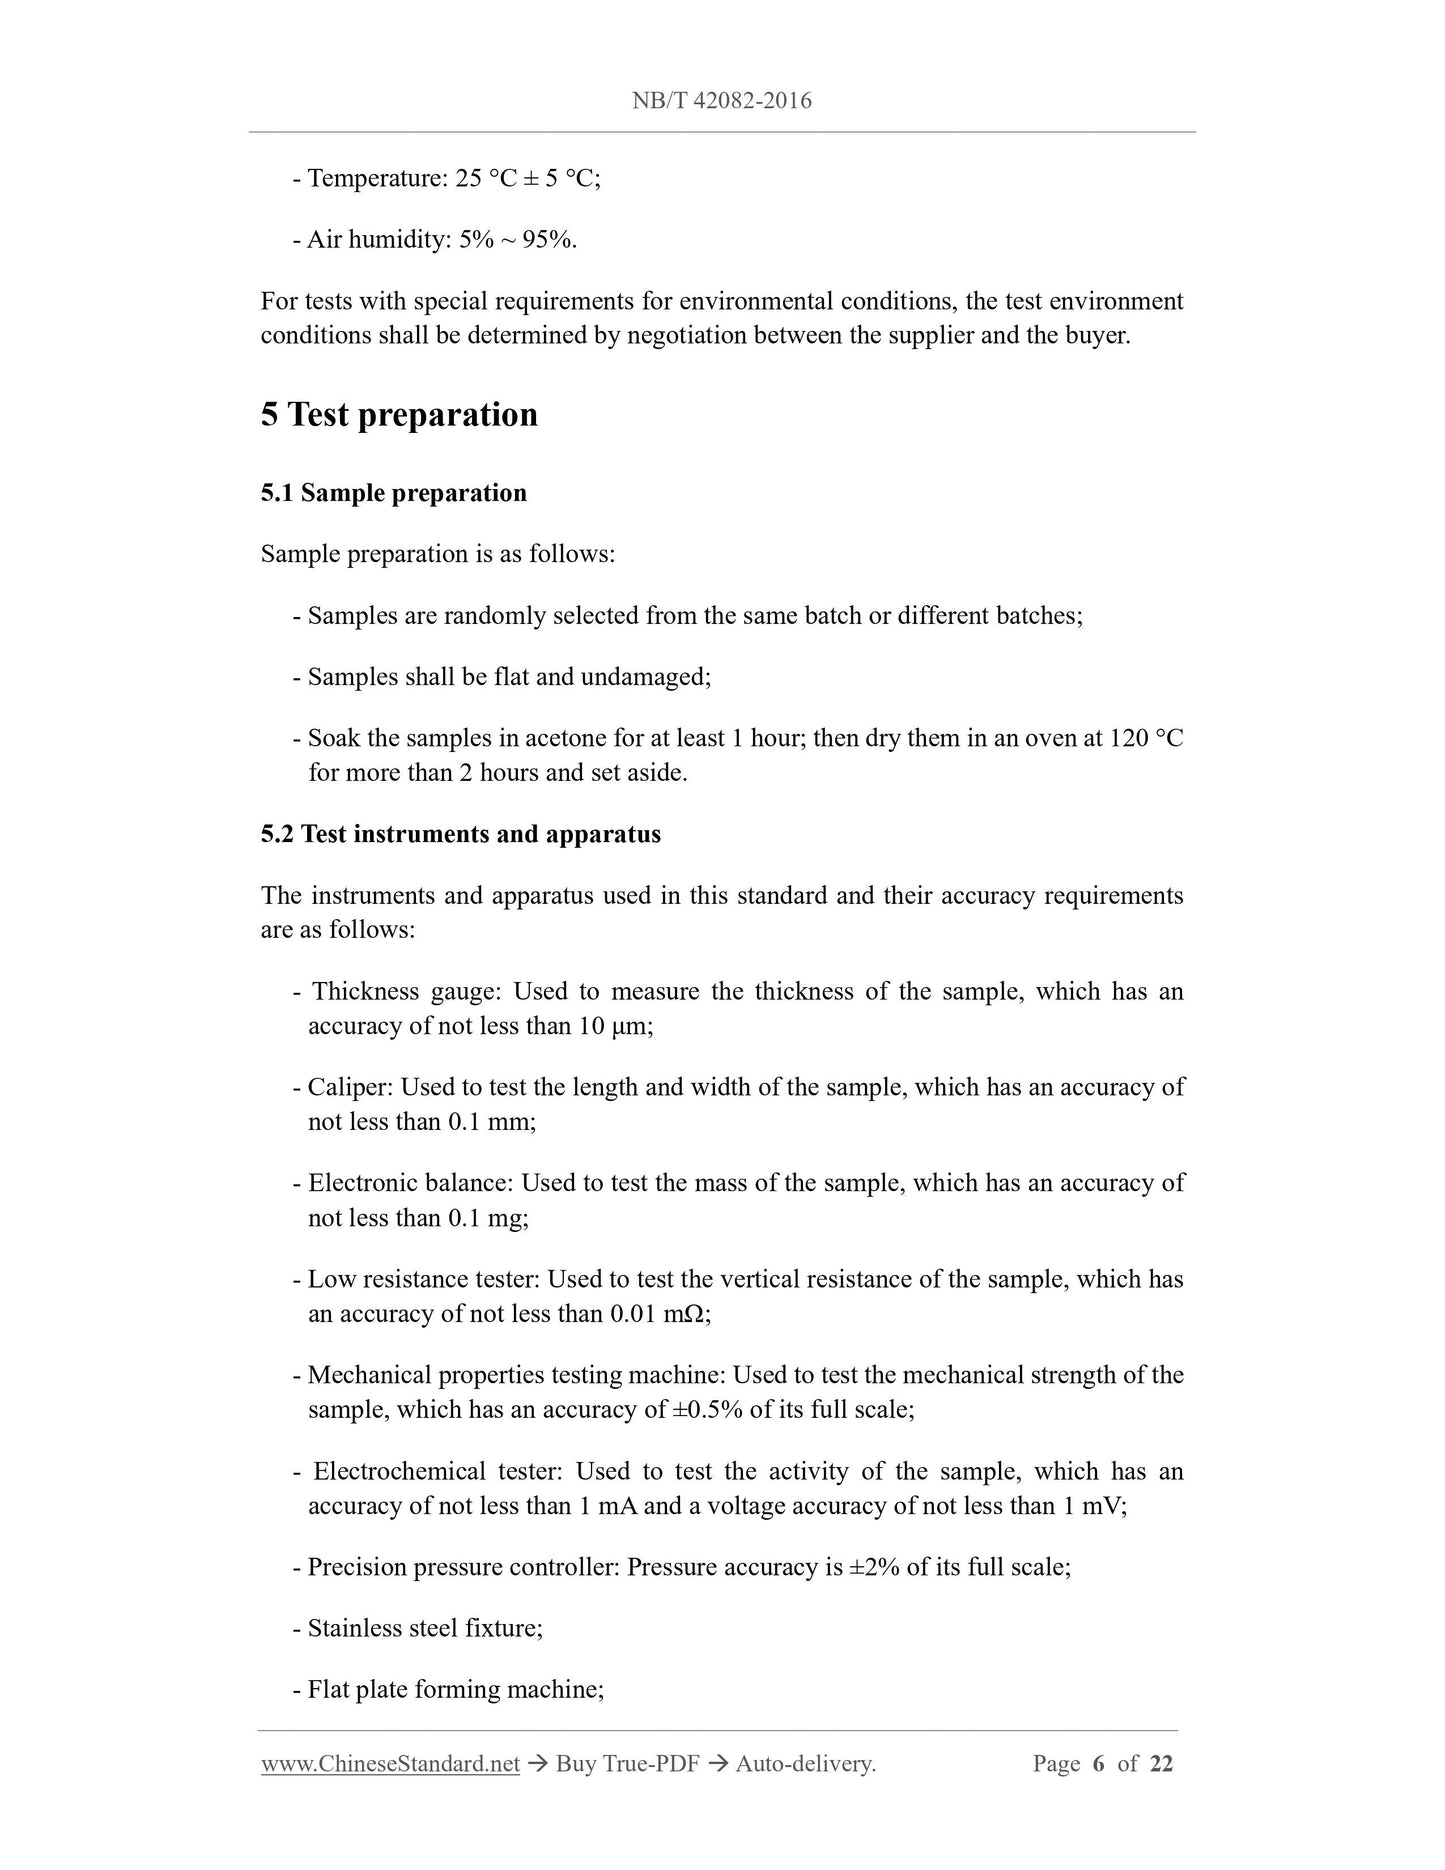
- Temperature: 25 °C ± 5 °C;
- Air humidity: 5% ~ 95%.
For tests with special requirements for environmental conditions, the test environment
conditions shall be determined by negotiation between the supplier and the buyer.
5 Test preparation
5.1 Sample preparation
Sample preparation is as follows:
- Samples are randomly selected from the same batch or different batches;
- Samples shall be flat and undamaged;
- Soak the samples in acetone for at least 1 hour; then dry them in an oven at 120 °C
for more than 2 hours and set aside.
5.2 Test instruments and apparatus
The instruments and apparatus used in this standard and their accuracy requirements
are as follows:
- Thickness gauge: Used to measure the thickness of the sample, which has an
accuracy of not less than 10 μm;
- Caliper: Used to test the length and width of the sample, which has an accuracy of
not less than 0.1 mm;
- Electronic balance: Used to test the mass of the sample, which has an accuracy of
not less than 0.1 mg;
- Low resistance tester: Used to test the vertical resistance of the sample, which has
an accuracy of not less than 0.01 mΩ;
- Mechanical properties testing machine: Used to test the mechanical strength of the
sample, which has an accuracy of ±0.5% of its full scale;
- Electrochemical tester: Used to test the activity of the sample, which has an
accuracy of not less than 1 mA and a voltage accuracy of not less than 1 mV;
- Precision pressure controller: Pressure accuracy is ±2% of its full scale;
- Stainless steel fixture;
- Flat plate forming machine;
Where:
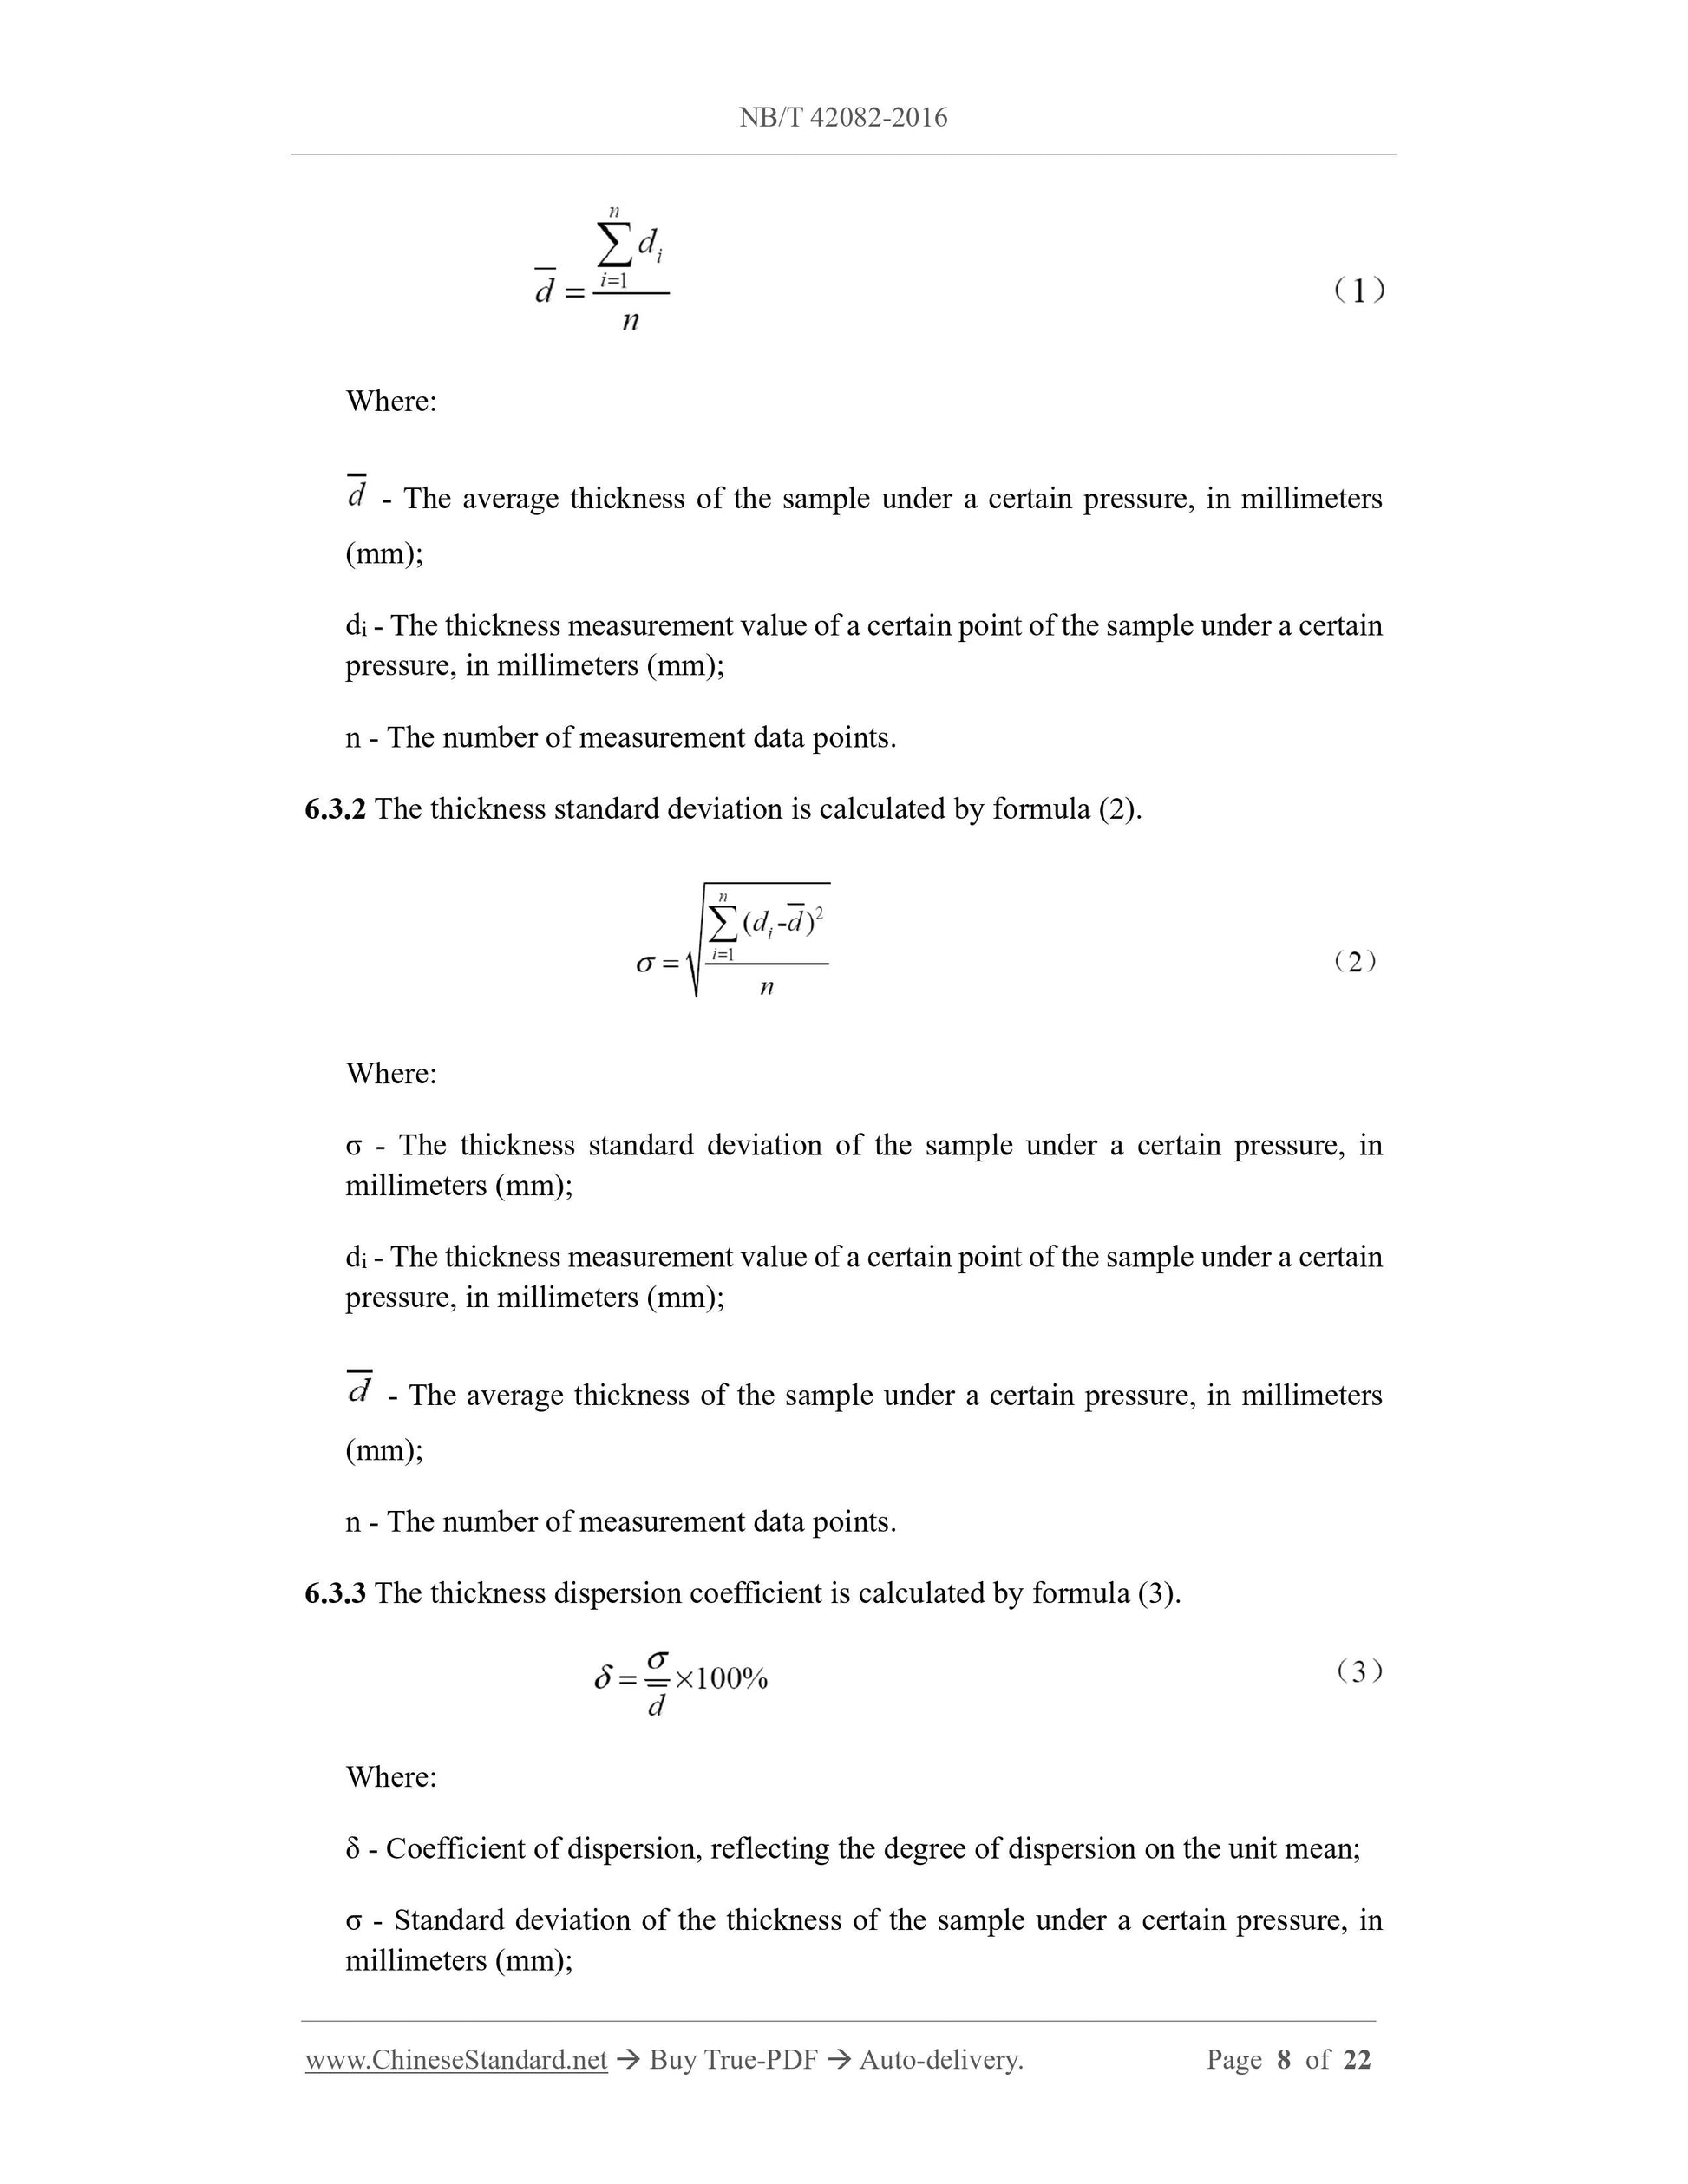
- The average thickness of the sample under a certain pressure, in millimeters
(mm);
di - The thickness measurement value of a certain point of the sample under a certain
pressure, in millimeters (mm);
n - The number of measurement data points.
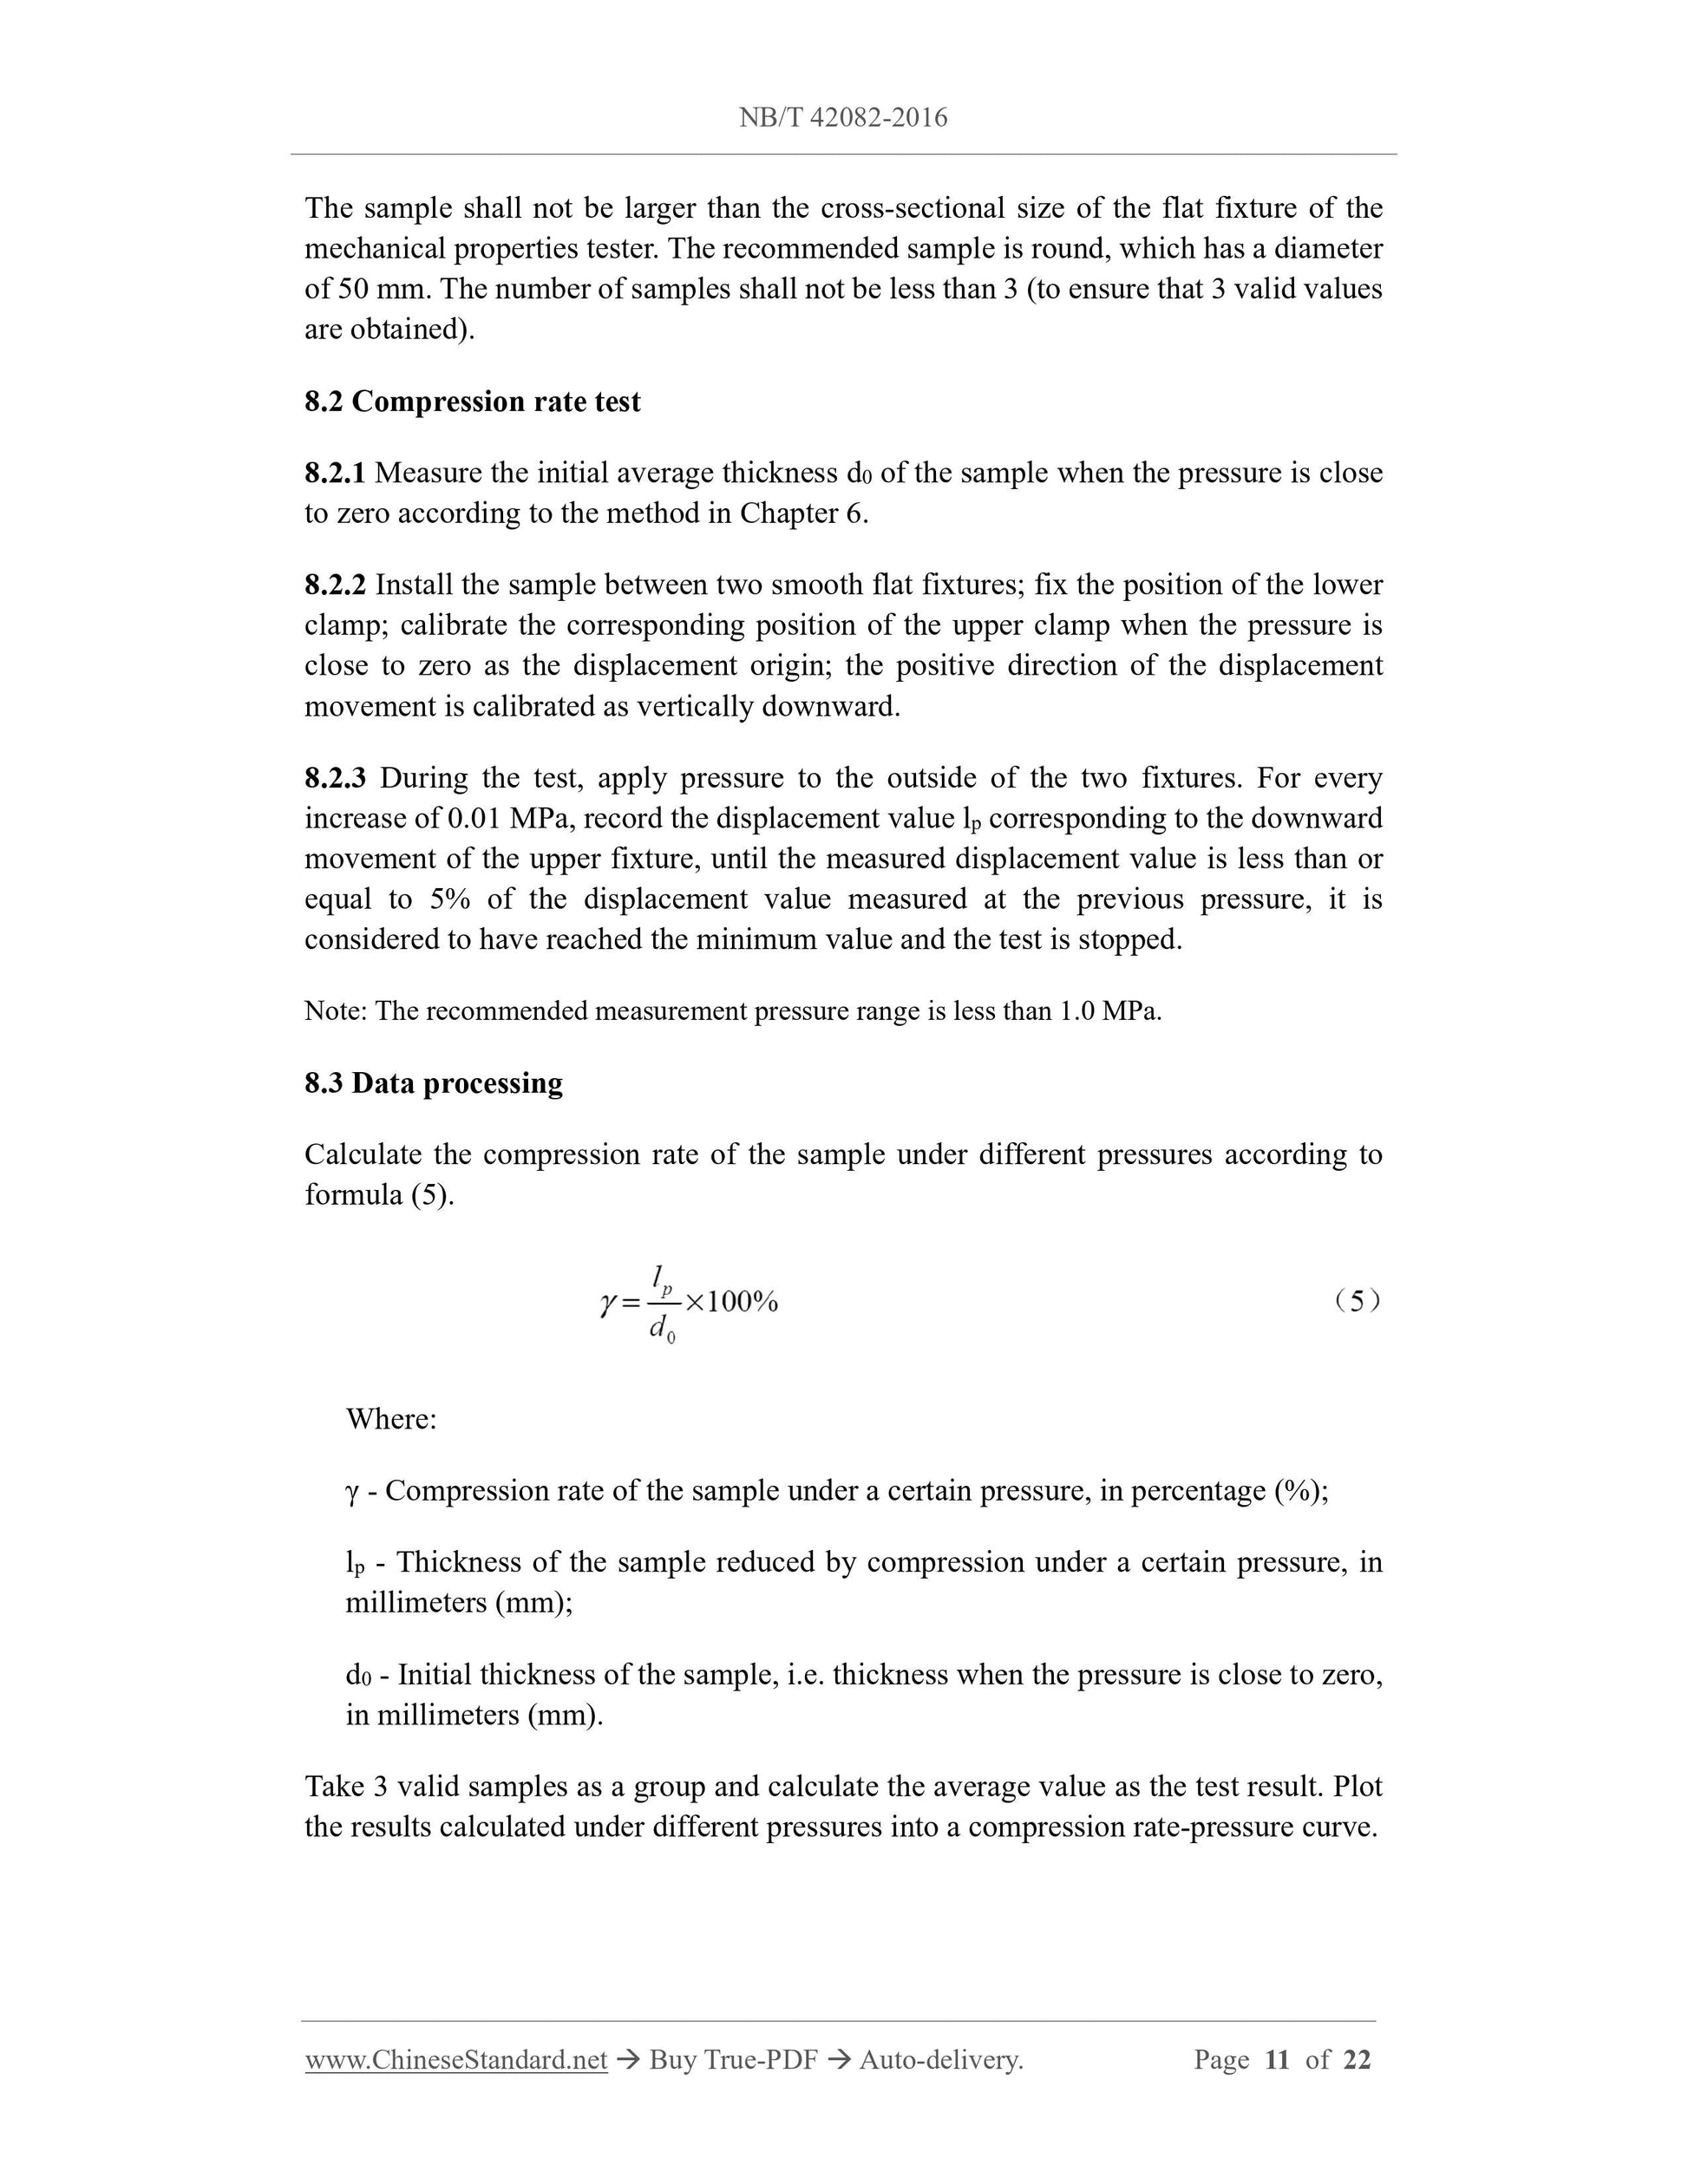
6.3.2 The thickness standard deviation is calculated by formula (2).
Where:
σ - The thickness standard deviation of the sample under a certain pressure, in
millimeters (mm);
di - The thickness measurement value of a certain point of the sample under a certain
pressure, in millimeters (mm);
- The average thickness of the sample under a certain pressure, in millimeters
(mm);
n - The number of measurement data points.
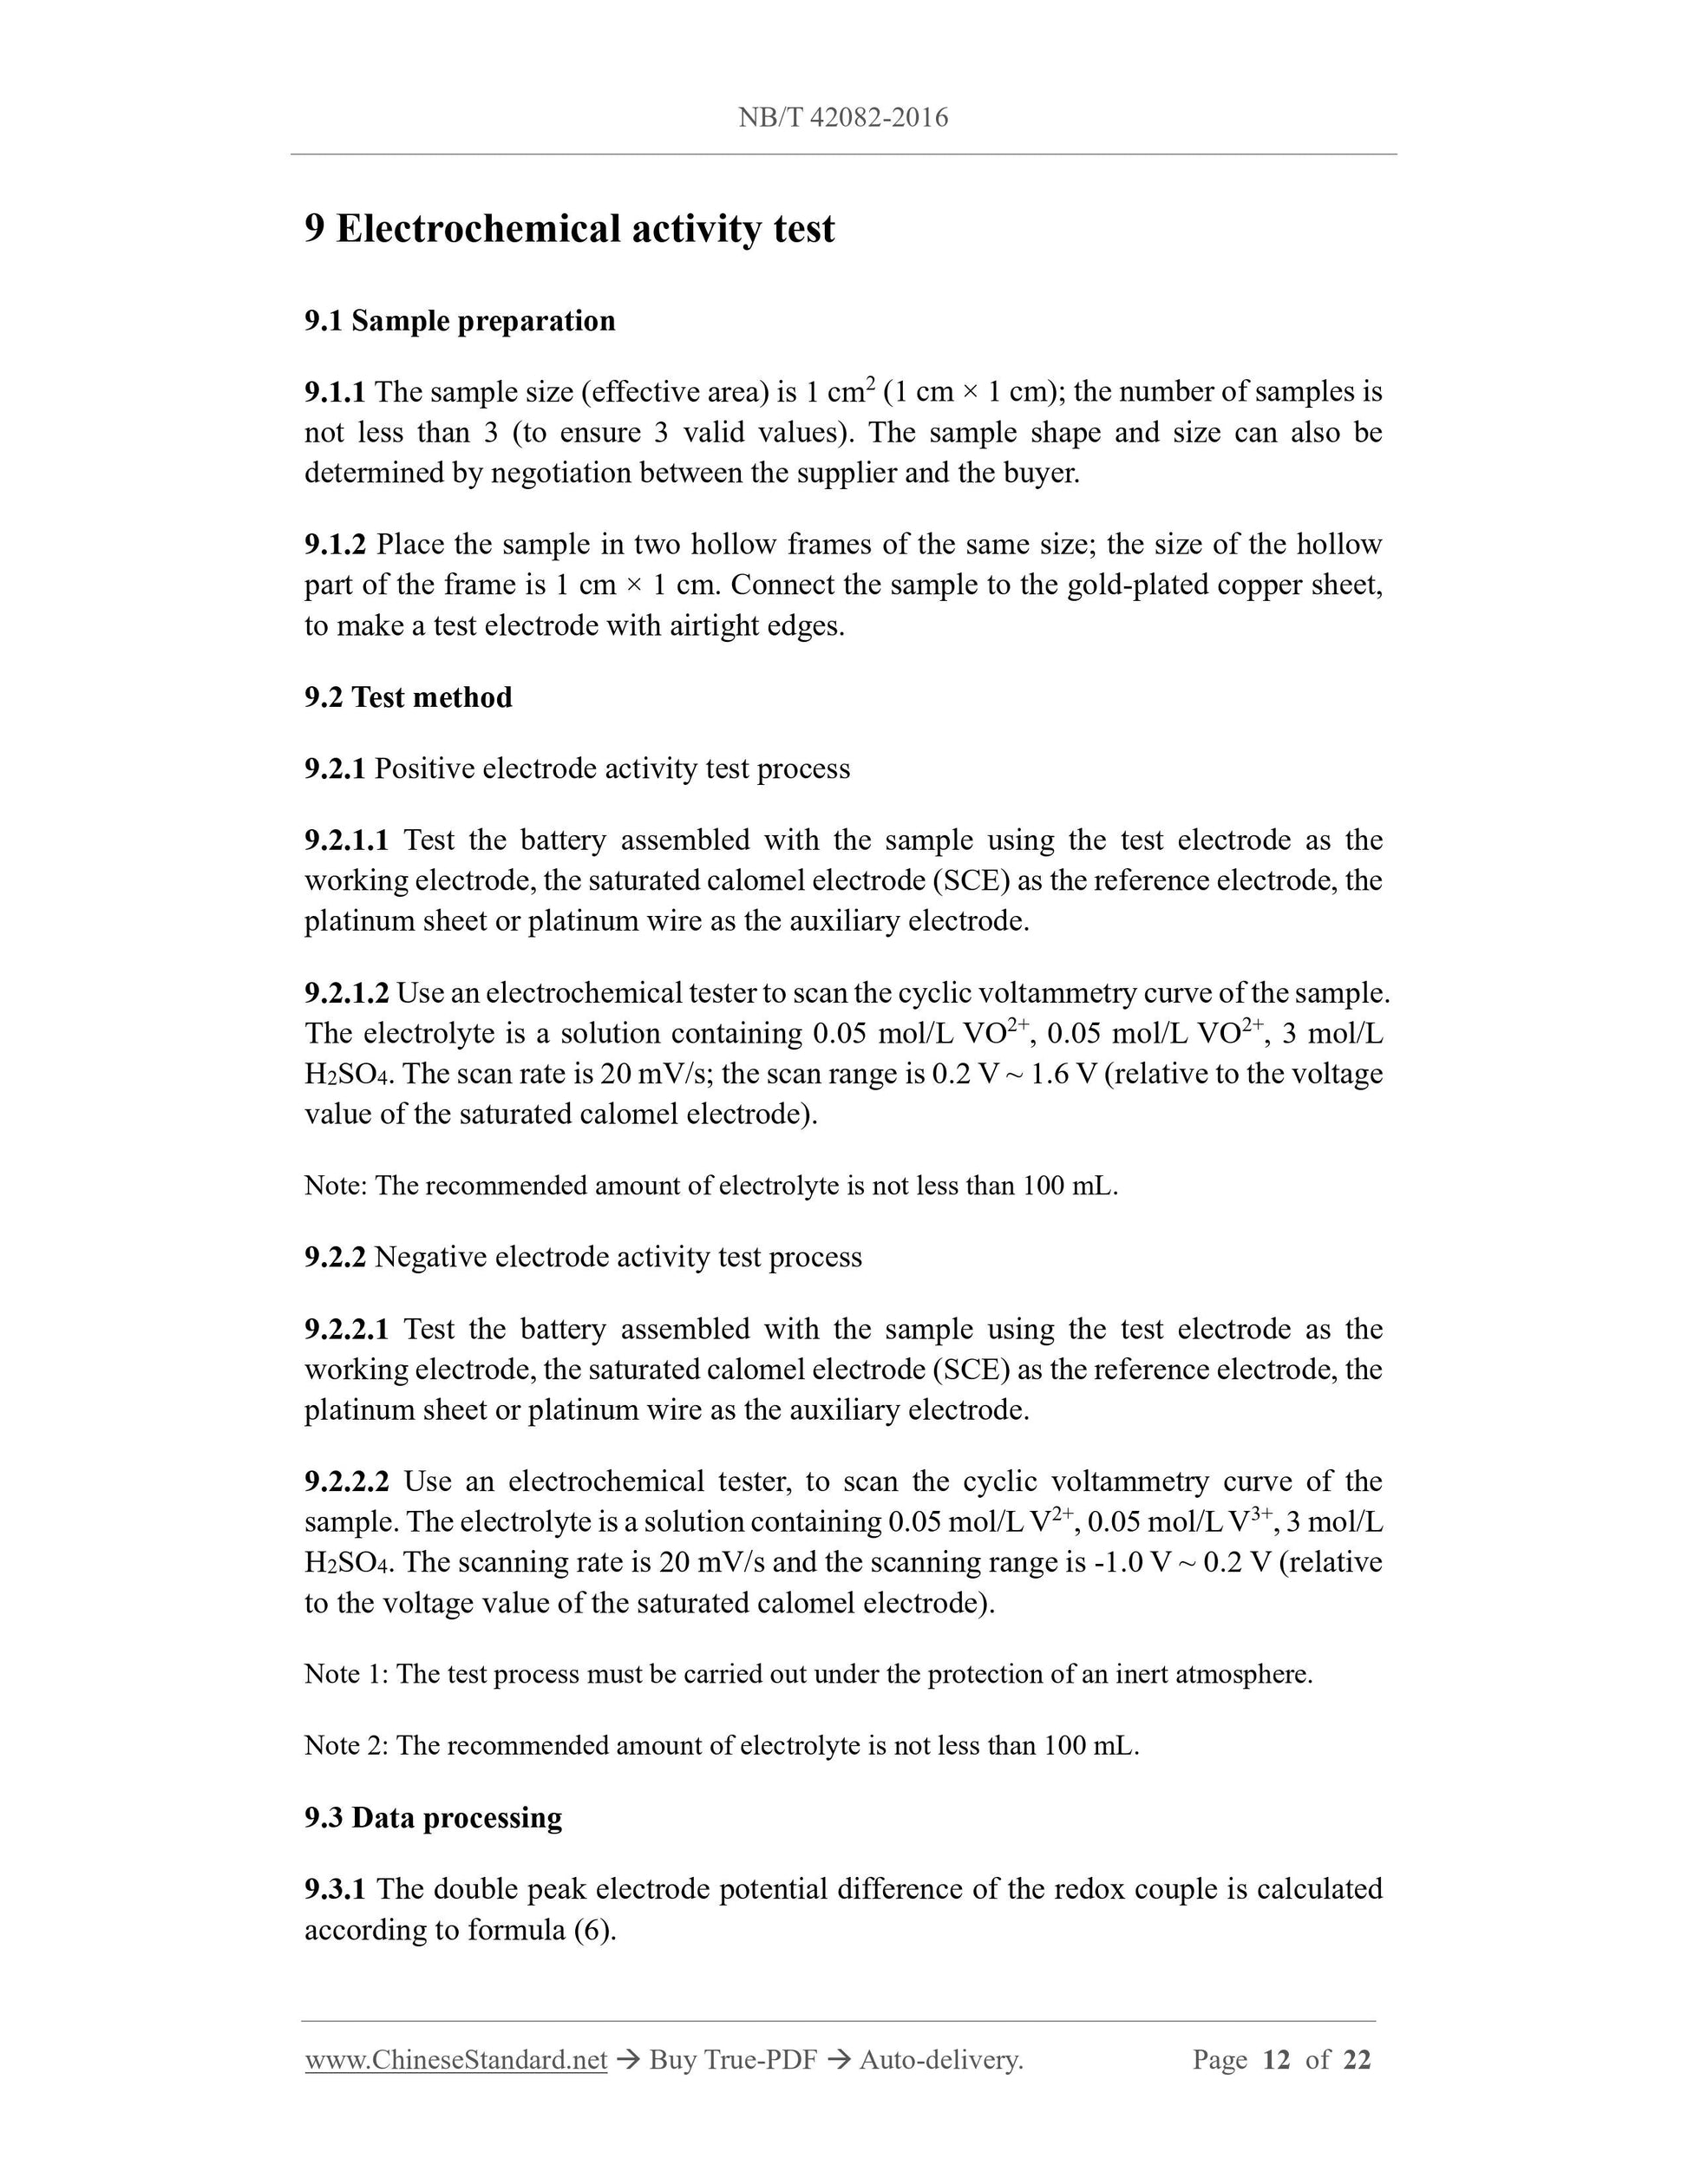
6.3.3 The thickness dispersion coefficient is calculated by formula (3).
Where:
δ - Coefficient of dispersion, reflecting the degree of dispersion on the unit mean;
σ - Standard deviation of the thickness of the sample under a certain pressure, in
millimeters (mm);
The sample shall not be larger than the cross-sectional size of the flat fixture of the
mechanical properties tester. The recommended sample is round, which has a diameter
of 50 mm. The number of samples shall not be less than 3 (to ensure that 3 valid values
are obtained).
8.2 Compression rate test
8.2.1 Measure the initial average thickness d0 of the sample when the pressure is close
to zero according to the method in Chapter 6.
8.2.2 Install the sample between two smooth flat fixtures; fix the position of the lower
clamp; calibrate the corresponding position of the upper clamp when the pressure is
close to zero as the displacement origin; the positive direction of the displacement
movement is calibrated as vertically downward.
8.2.3 During the test, apply pressure to the outside of the two fixtures. For every
increase of 0.01 MPa, record the displacement value lp corresponding to the downward
movement of the upper fixture, until the measured displacement value is less than or
equal to 5% of the displacement value measured at the previous pressure, it is
considered to have reached the minimum value and the test is stopped.
Note: The recommended measurement pressure range is less than 1.0 MPa.
8.3 Data processing
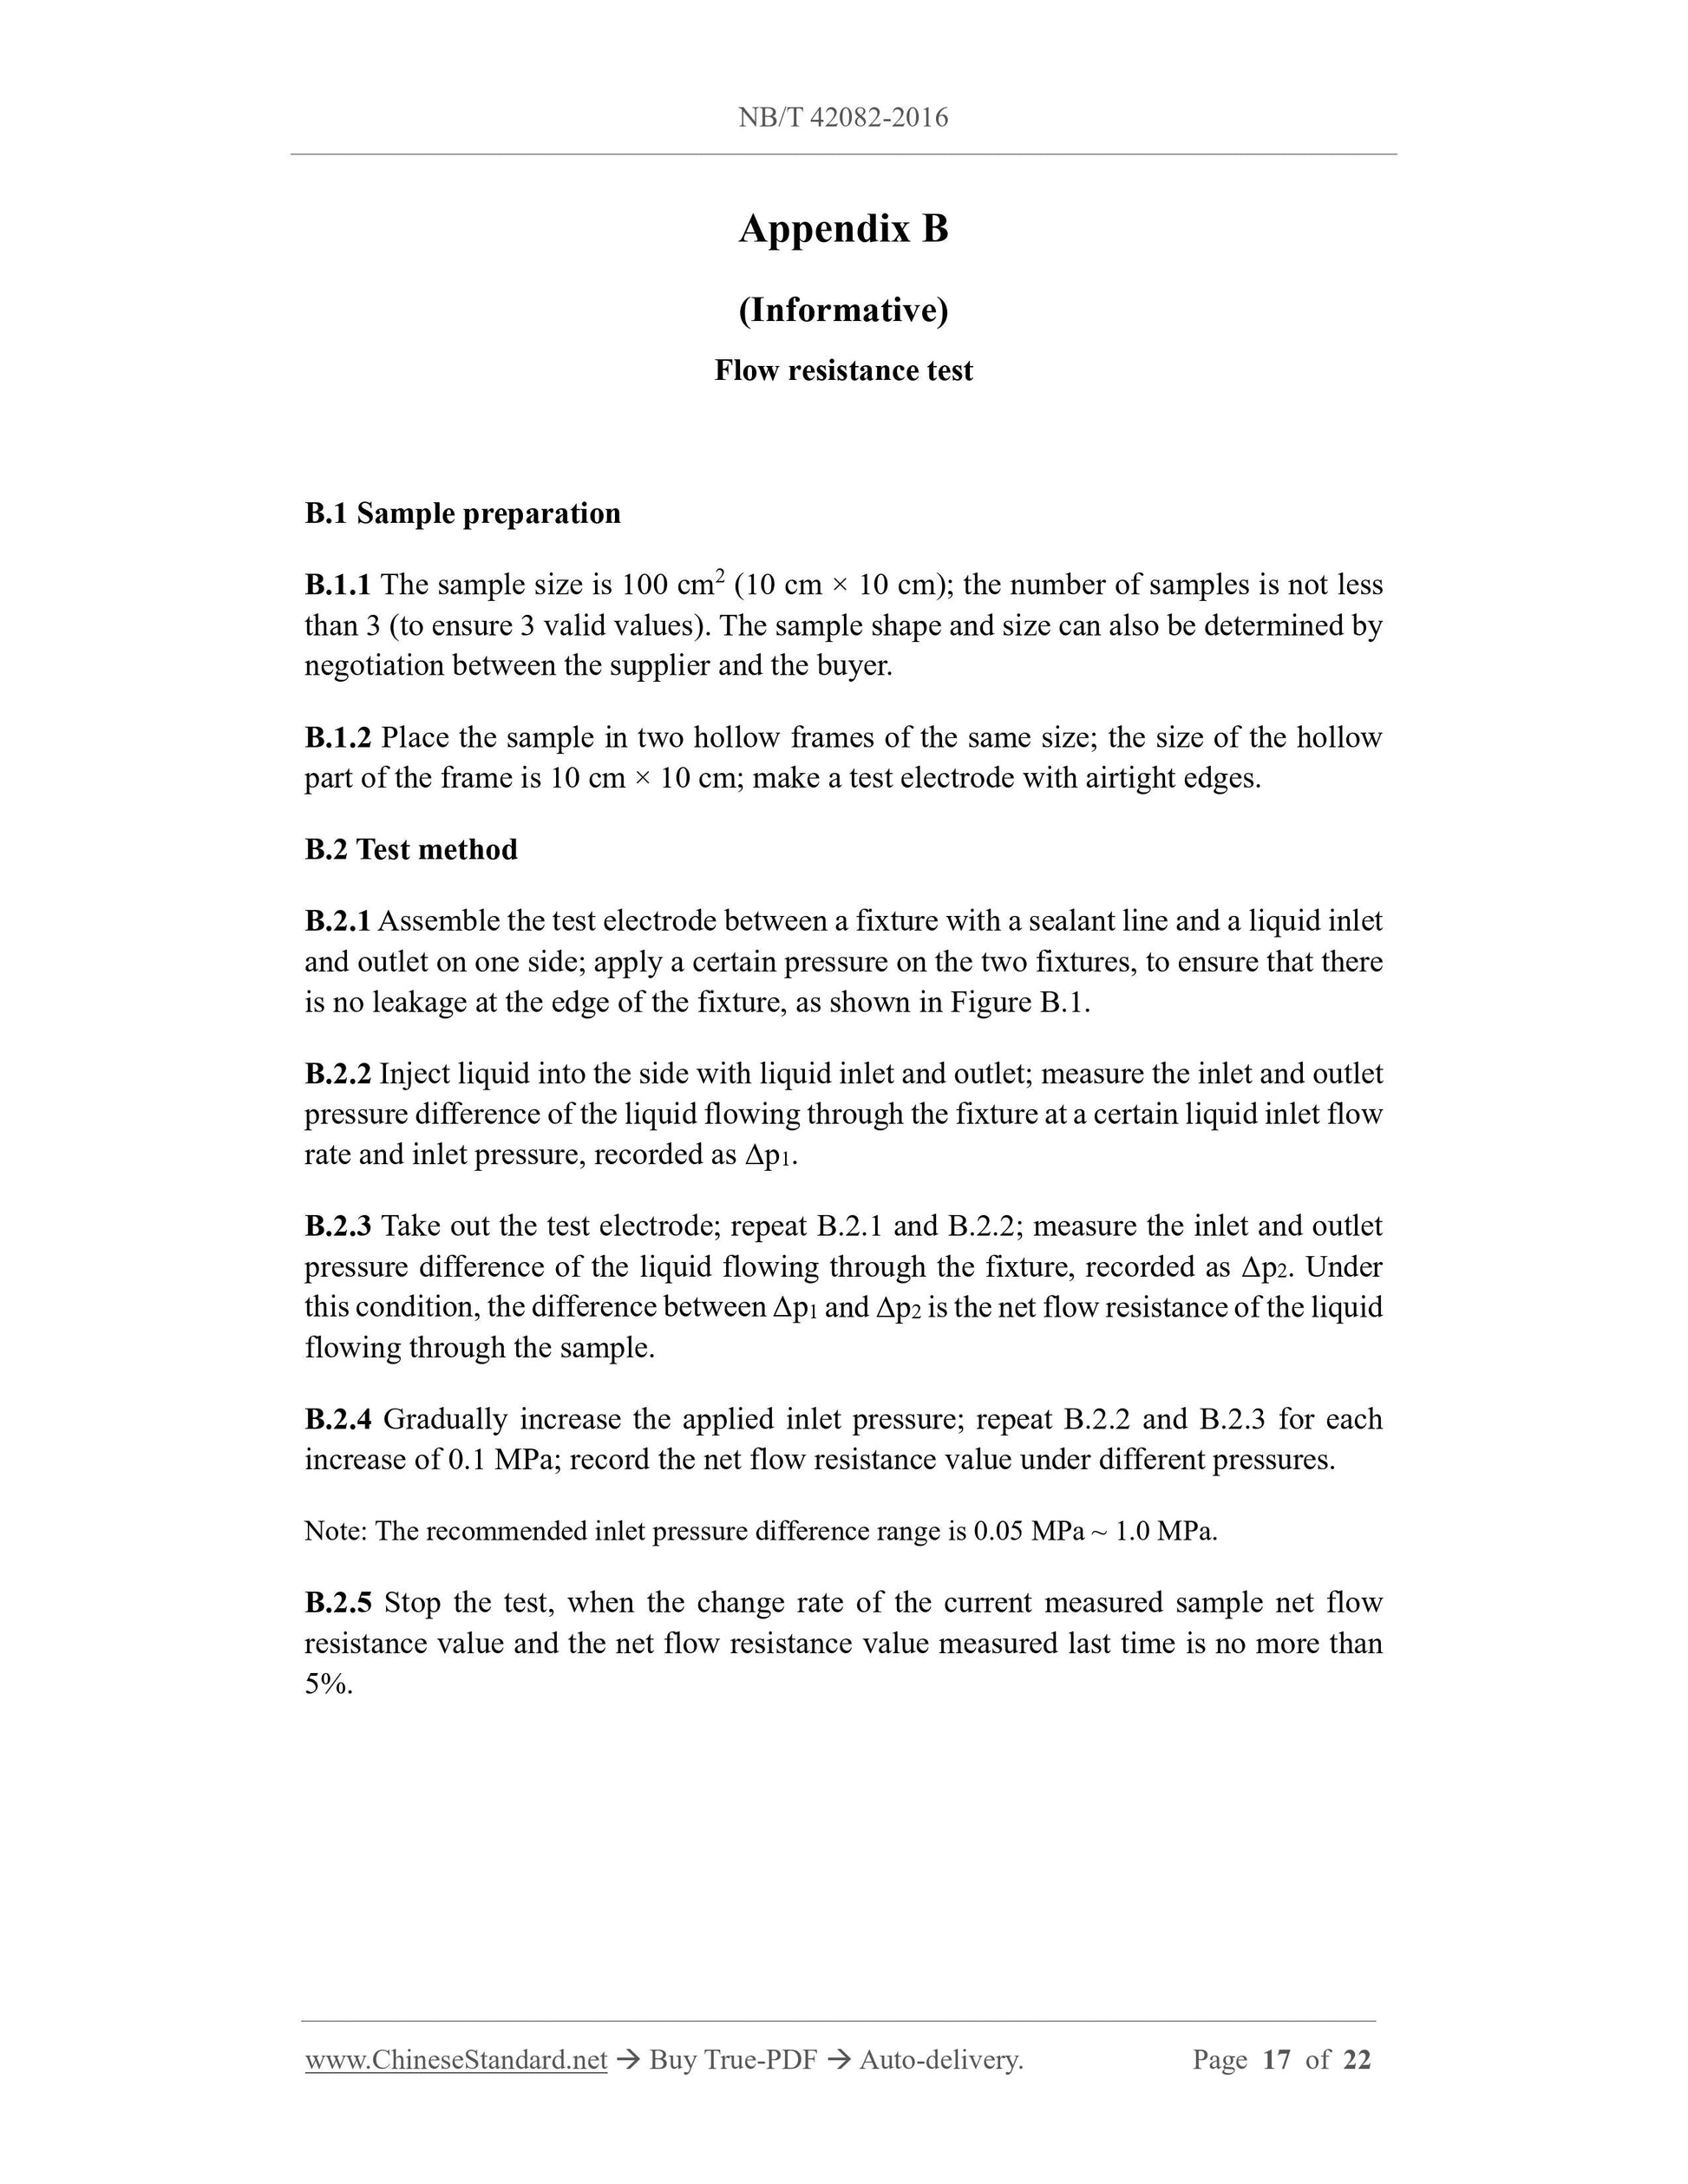
Calculate the compression rate of the sample under different pressures according to
formula (5).
Where:
γ - Compression rate of the sample under a certain pressure, in percentage (%);
lp - Thickness of the sample reduced by compression under a certain pressure, in
millimeters (mm);
d0 - Initial thickness of the sample, i.e. thickness when the pressure is close to zero,
in millimeters (mm).
Take 3 valid samples as a group and calculate the average value as the test result. Plot
the results calculated under different pressures into a compression rate-pressure curve.
9 Electrochemical activity test
9.1 Sample preparation
9.1.1 The sample size (effective area) is 1 cm2 (1 cm × 1 cm); the number of samples is
not less than 3 (to ensure 3 valid values). The sample shape and size can also be
determined by negotiation between the supplier and the buyer.
9.1.2 Place the sample in two hollow frames of the same size; the size of the hollow
part of the frame is 1 cm × 1 cm. Connect the sample to the gold-plated copper sheet,
to make a test electrode with airtight edges.
9.2 Test method
9.2.1 Positive electrode activity test process
9.2.1.1 Test the battery assembled with the sample using the test electrode as the
working electrode, the saturated calomel electrode (SCE) as...
View full details