Skip to product information
1 of 5

PayPal, credit cards. Download editable-PDF and invoice in 1 second!

GB/T 90.1-2023 English PDF (GBT90.1-2023)

GB/T 90.1-2023 English PDF (GBT90.1-2023)

Regular price $260.00 USD
Regular price Sale price $260.00 USD
Sale Sold out
Shipping calculated at checkout.
Delivery: 3 seconds. Download true-PDF + Invoice.
Get QUOTATION in 1-minute: Click GB/T 90.1-2023
Historical versions: GB/T 90.1-2023
Preview True-PDF (Reload/Scroll if blank)

GB/T 90.1-2023: Fasteners -- Acceptance inspection
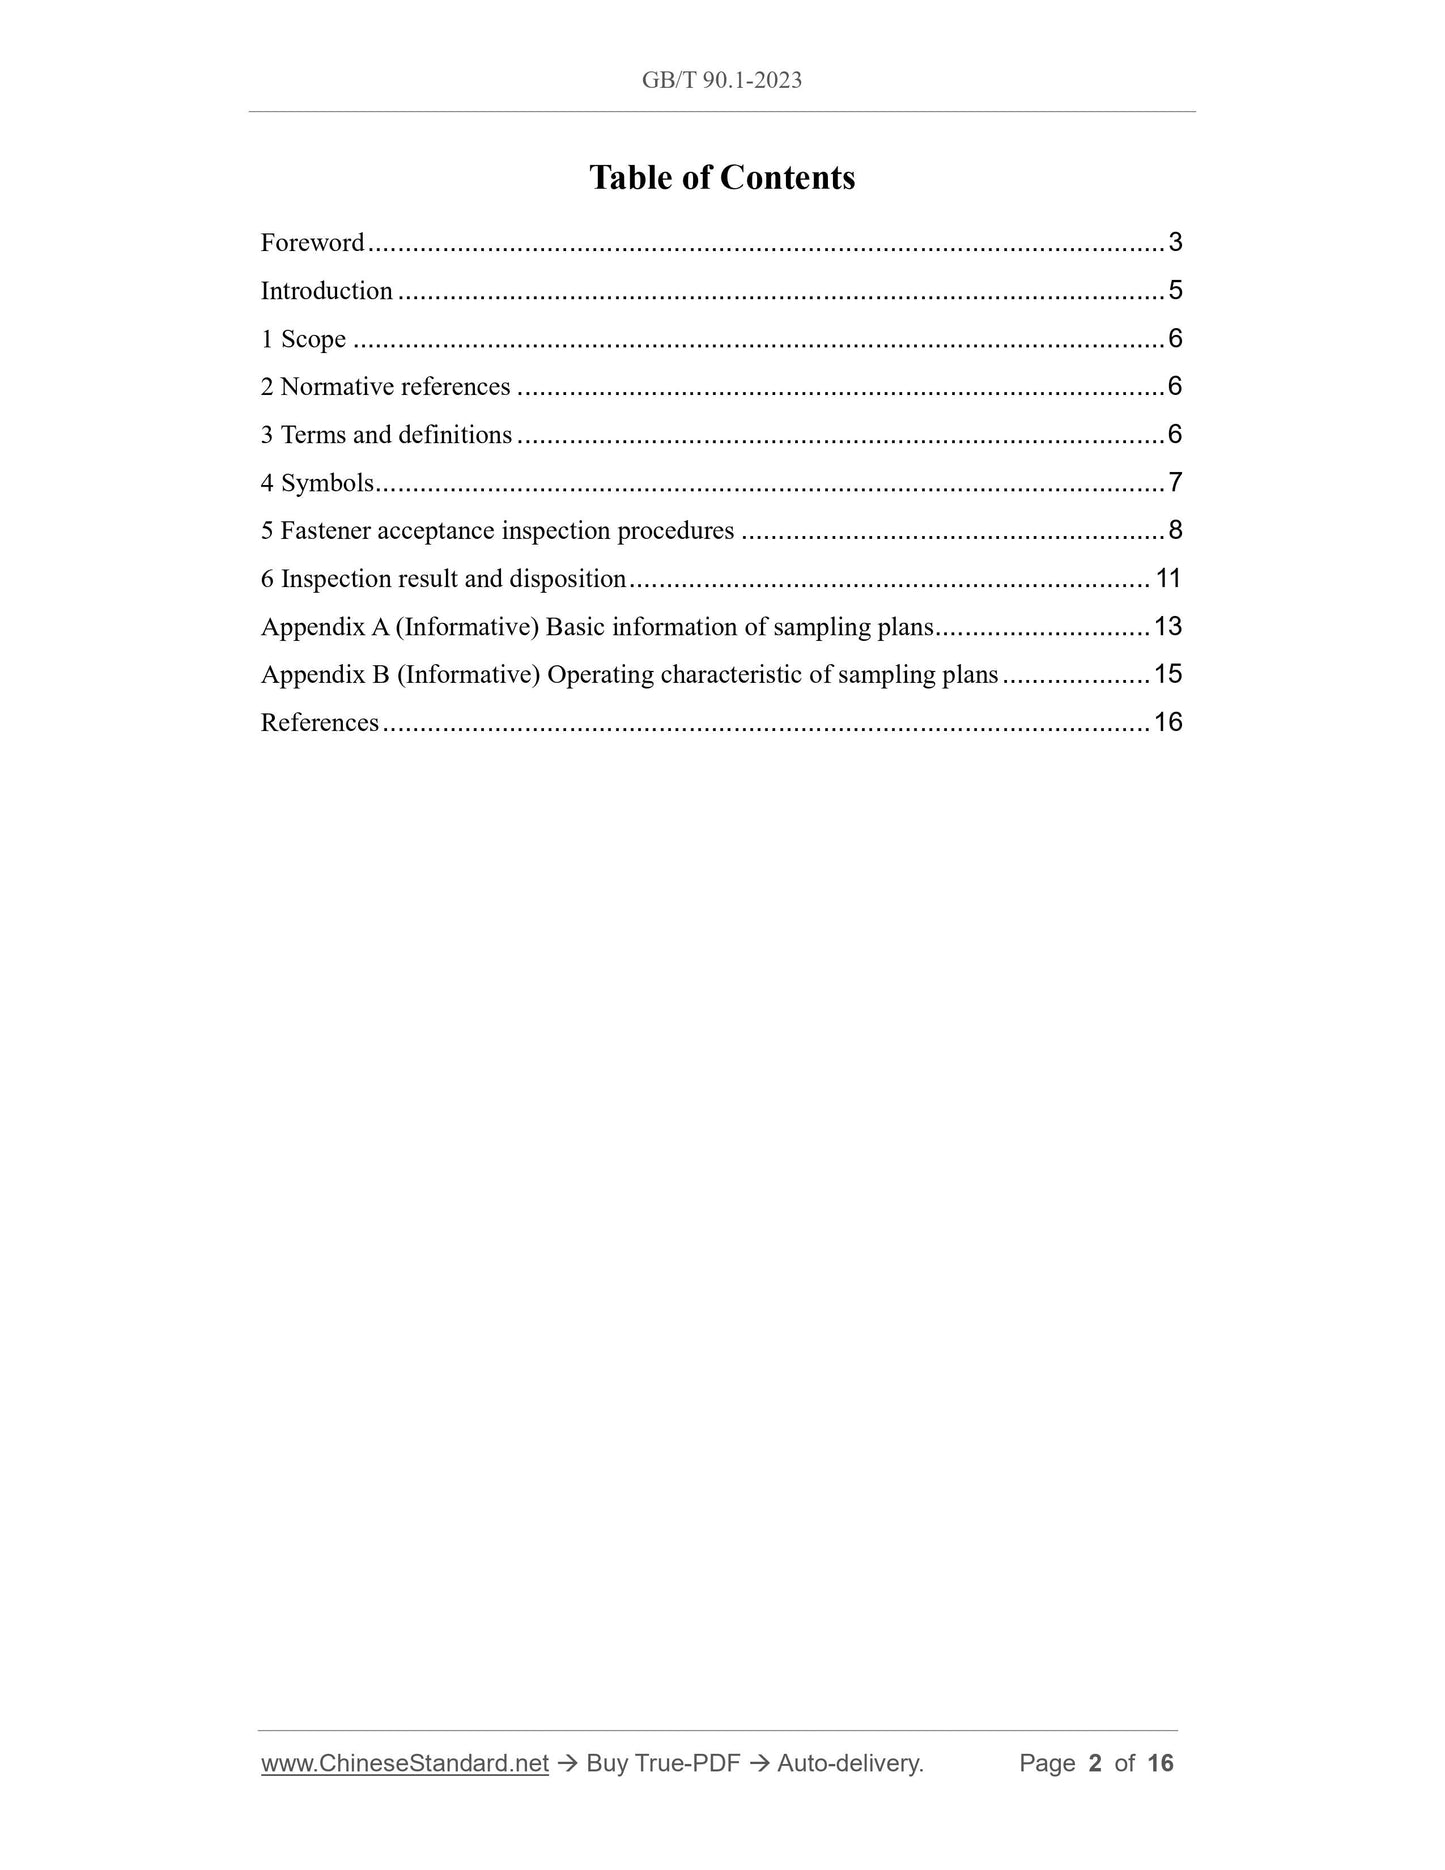
GB/T 90.1-2023
GB
NATIONAL STANDARD OF THE
PEOPLE’S REPUBLIC OF CHINA
ICS 21.060.01
CCS J 13
Replacing GB/T 90.1-2002
Fasteners - Acceptance inspection
(ISO 3269:2019, MOD)
ISSUED ON: MAY 23, 2023
IMPLEMENTED ON: DECEMBER 01, 2023
Issued by: State Administration for Market Regulation;
Standardization Administration of the People’s Republic of China.
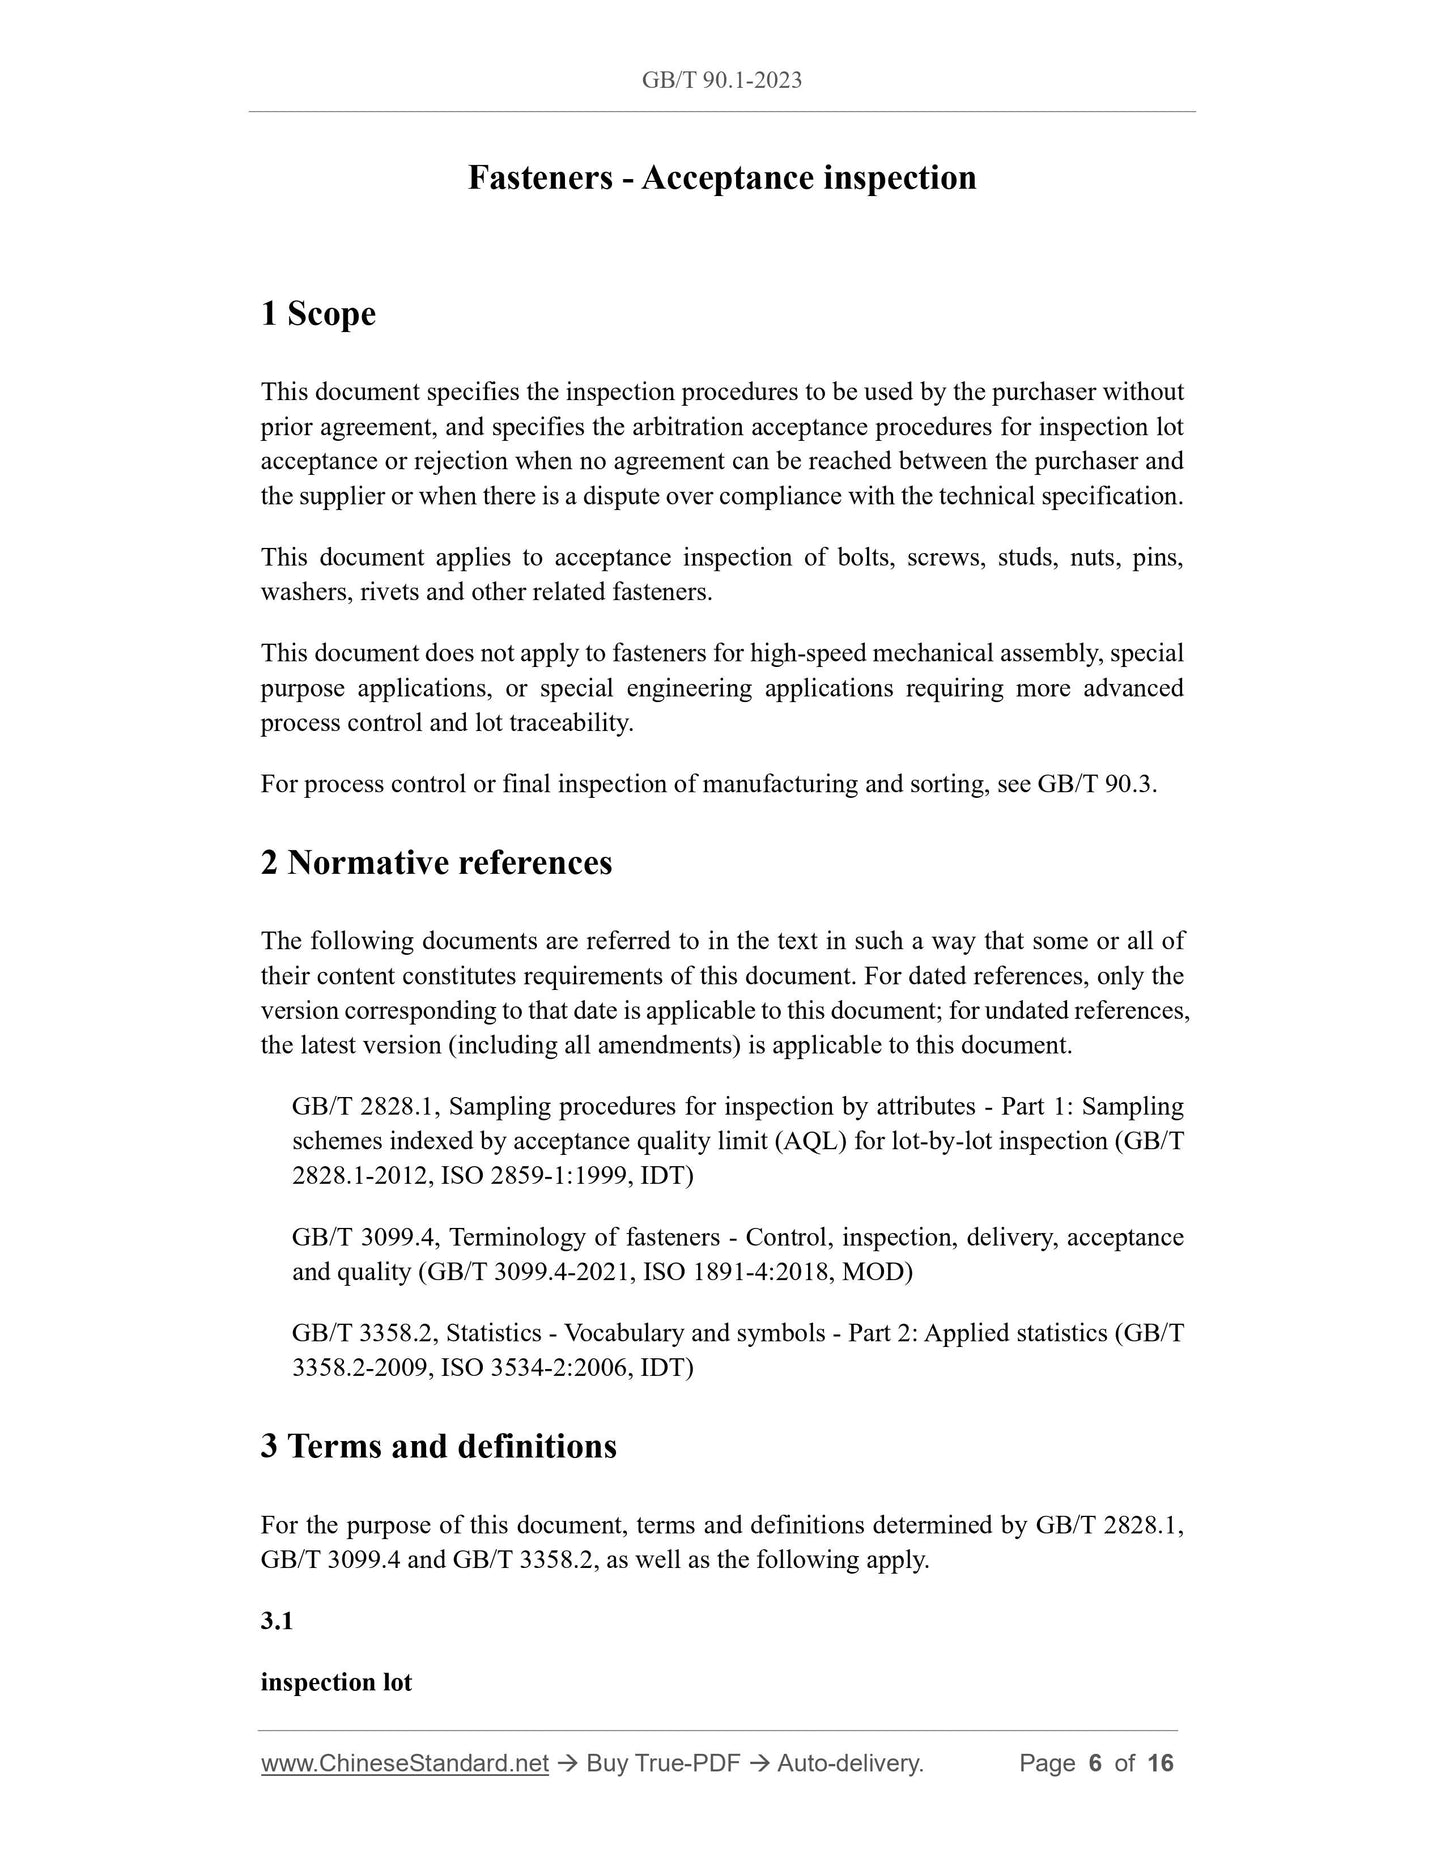
Table of Contents
Foreword ... 3
Introduction ... 5
1 Scope ... 6
2 Normative references ... 6
3 Terms and definitions ... 6
4 Symbols ... 7
5 Fastener acceptance inspection procedures ... 8
6 Inspection result and disposition ... 11
Appendix A (Informative) Basic information of sampling plans ... 13
Appendix B (Informative) Operating characteristic of sampling plans ... 15
References ... 16
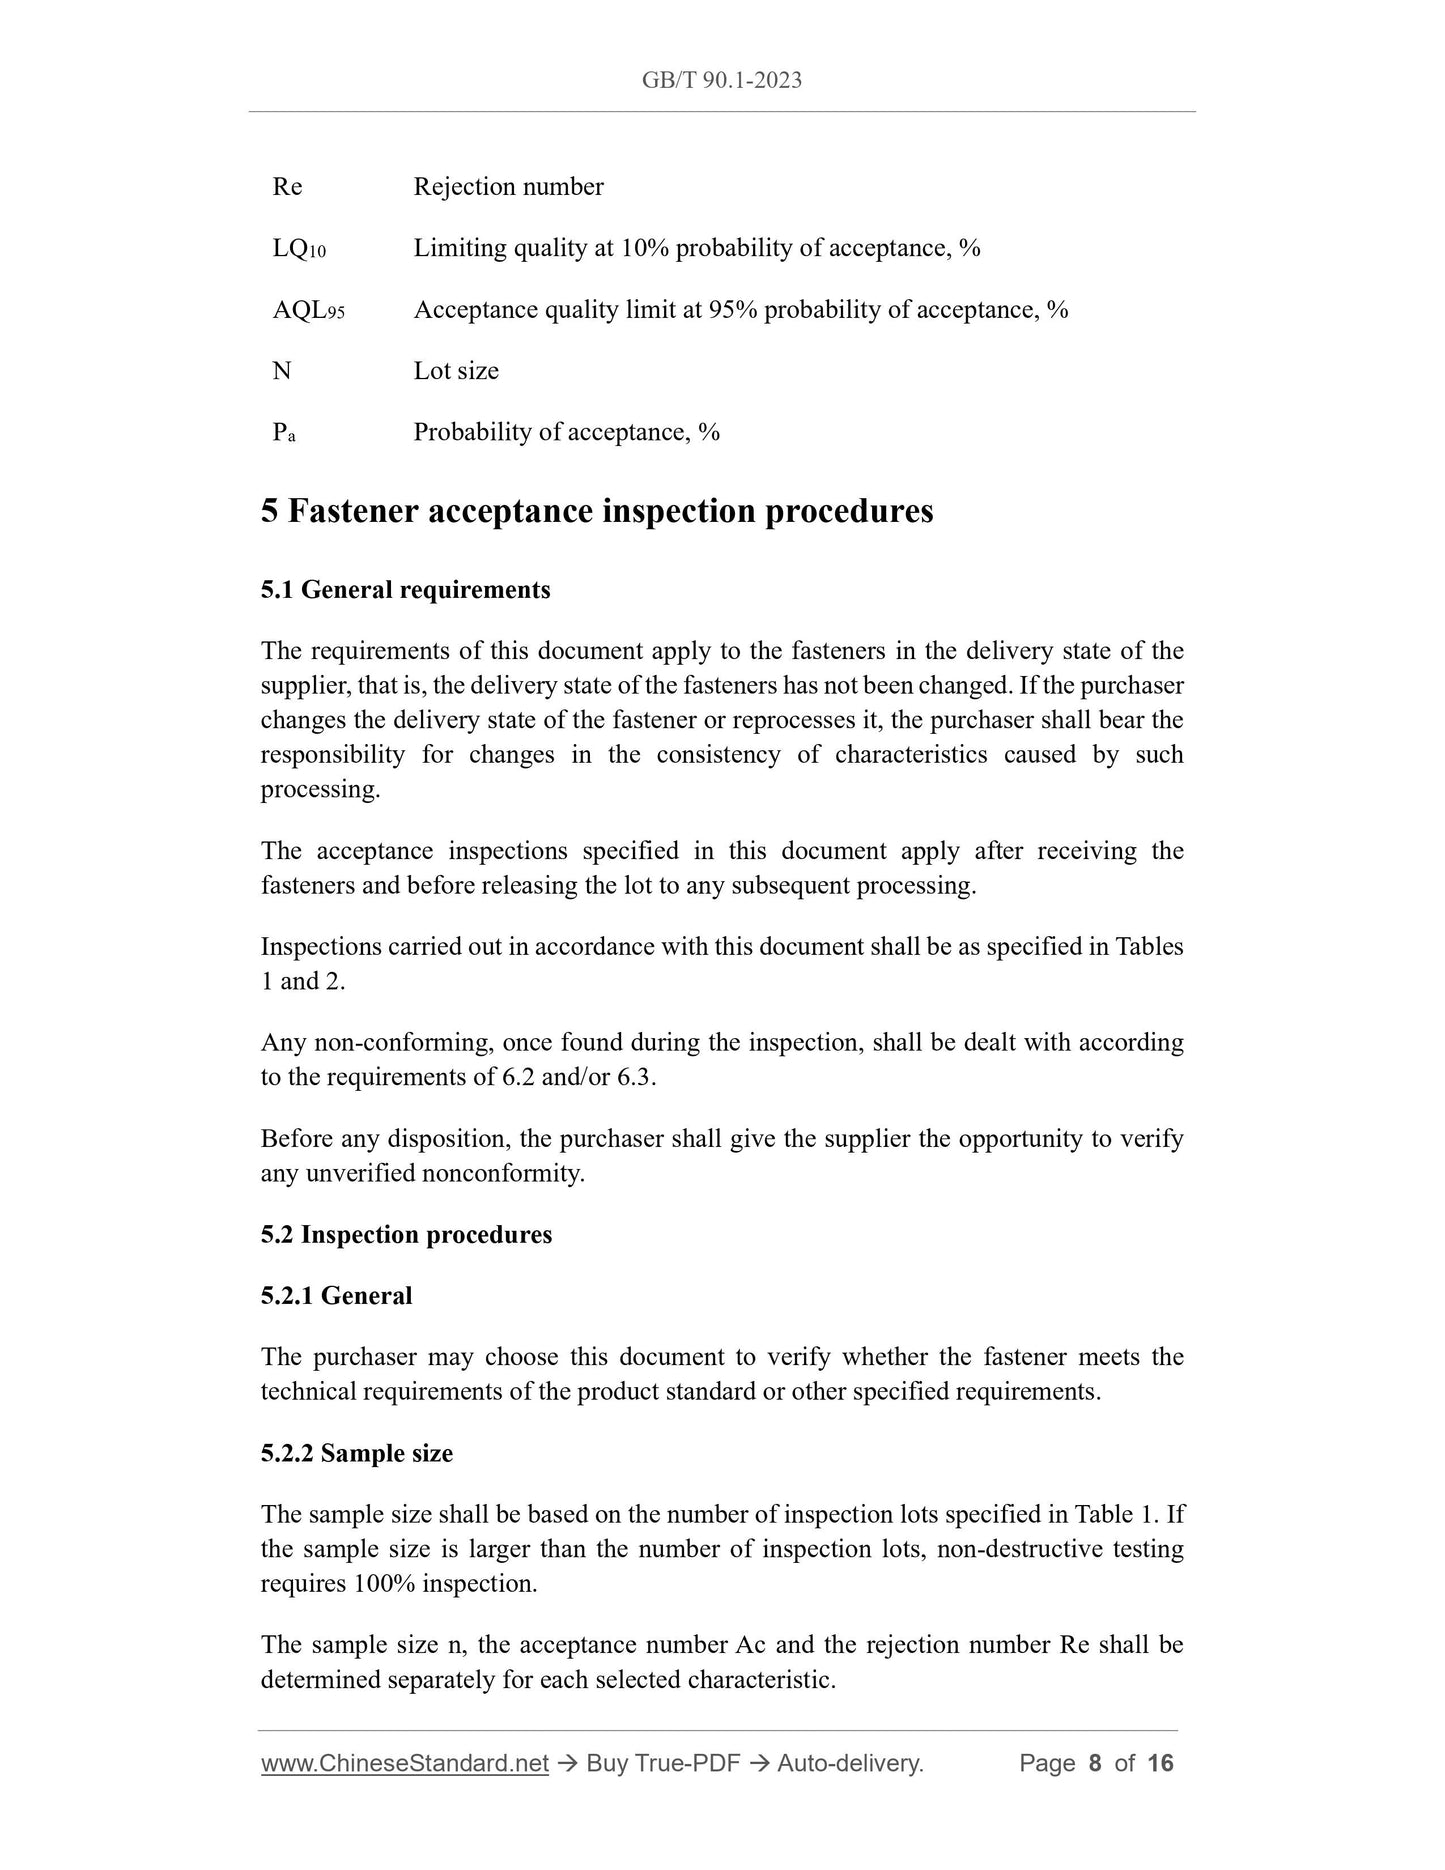
Fasteners - Acceptance inspection
1 Scope
This document specifies the inspection procedures to be used by the purchaser without
prior agreement, and specifies the arbitration acceptance procedures for inspection lot
acceptance or rejection when no agreement can be reached between the purchaser and
the supplier or when there is a dispute over compliance with the technical specification.
This document applies to acceptance inspection of bolts, screws, studs, nuts, pins,
washers, rivets and other related fasteners.
This document does not apply to fasteners for high-speed mechanical assembly, special
purpose applications, or special engineering applications requiring more advanced
process control and lot traceability.
For process control or final inspection of manufacturing and sorting, see GB/T 90.3.
2 Normative references
The following documents are referred to in the text in such a way that some or all of
their content constitutes requirements of this document. For dated references, only the
version corresponding to that date is applicable to this document; for undated references,
the latest version (including all amendments) is applicable to this document.
GB/T 2828.1, Sampling procedures for inspection by attributes - Part 1: Sampling
schemes indexed by acceptance quality limit (AQL) for lot-by-lot inspection (GB/T
2828.1-2012, ISO 2859-1:1999, IDT)
GB/T 3099.4, Terminology of fasteners - Control, inspection, delivery, acceptance
and quality (GB/T 3099.4-2021, ISO 1891-4:2018, MOD)
GB/T 3358.2, Statistics - Vocabulary and symbols - Part 2: Applied statistics (GB/T
3358.2-2009, ISO 3534-2:2006, IDT)
3 Terms and definitions
For the purpose of this document, terms and definitions determined by GB/T 2828.1,
GB/T 3099.4 and GB/T 3358.2, as well as the following apply.
3.1
inspection lot
Re Rejection number
LQ10 Limiting quality at 10% probability of acceptance, %
AQL95 Acceptance quality limit at 95% probability of acceptance, %
N Lot size
Pa Probability of acceptance, %
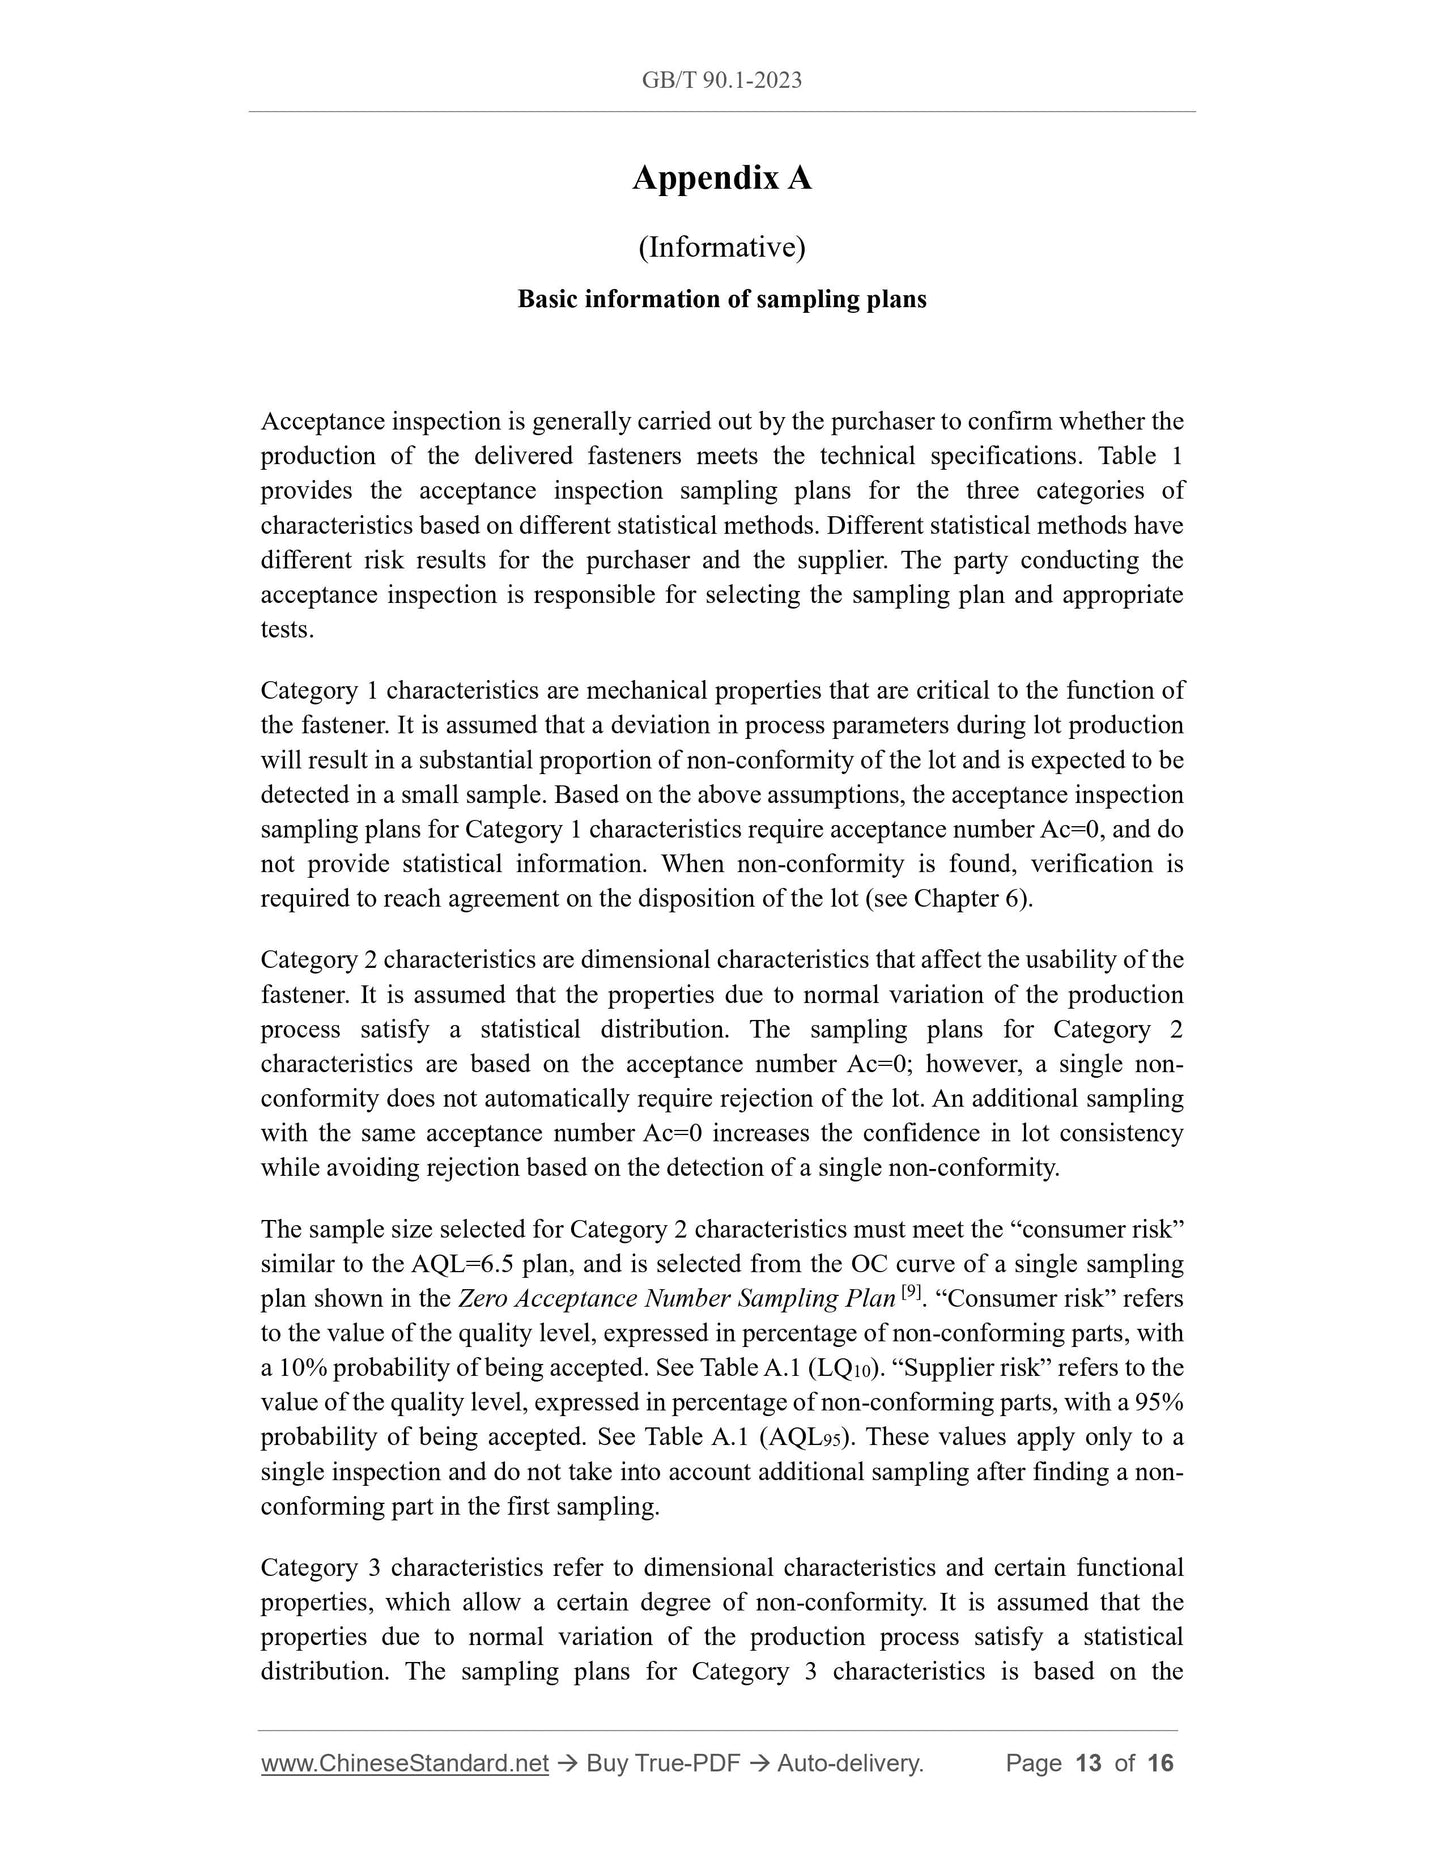
5 Fastener acceptance inspection procedures
5.1 General requirements
The requirements of this document apply to the fasteners in the delivery state of the
supplier, that is, the delivery state of the fasteners has not been changed. If the purchaser
changes the delivery state of the fastener or reprocesses it, the purchaser shall bear the
responsibility for changes in the consistency of characteristics caused by such
processing.
The acceptance inspections specified in this document apply after receiving the
fasteners and before releasing the lot to any subsequent processing.
Inspections carried out in accordance with this document shall be as specified in Tables
1 and 2.
Any non-conforming, once found during the inspection, shall be dealt with according
to the requirements of 6.2 and/or 6.3.
Before any disposition, the purchaser shall give the supplier the opportunity to verify
any unverified nonconformity.
5.2 Inspection procedures
5.2.1 General
The purchaser may choose this document to verify whether the fastener meets the
technical requirements of the product standard or other specified requirements.
5.2.2 Sample size
The sample size shall be based on the number of inspection lots specified in Table 1. If
the sample size is larger than the number of inspection lots, non-destructive testing
requires 100% inspection.
The sample size n, the acceptance number Ac and the rejection number Re shall be
determined separately for each selected characteristic.
Appendix A
(Informative)
Basic information of sampling plans
Acceptance inspection is generally carried out by the purchaser to confirm whether the
production of the delivered fasteners meets the technical specifications. Table 1
provides the acceptance inspection sampling plans for the three categories of
characteristics based on different statistical methods. Different statistical methods have
different risk results for the purchaser and the supplier. The party conducting the
acceptance inspection is responsible for selecting the sampling plan and appropriate
tests.
Category 1 characteristics are mechanical properties that are critical to the function of
the fastener. It is assumed that a deviation in process parameters during lot production
will result in a substantial proportion of non-conformity of the lot and is expected to be
detected in a small sample. Based on the above assumptions, the acceptance inspection
sampling plans for Category 1 characteristics require acceptance number Ac=0, and do
not provide statistical information. When non-conformity is found, verification is
required to reach agreement on the disposition of the lot (see Chapter 6).
Category 2 characteristics are dimensional characteristics that affect the usability of the
fastener. It is assumed that the properties due to normal variation of the production
process satisfy a statistical distribution. The sampling plans for Category 2
characteristics are based on the acceptance number Ac=0; however, a single non-
conformity does not automatically require rejection of the lot. An additional sampling
with the same acceptance number Ac=0 increases the confidence in lot consistency
while avoiding rejection based on the detection of a single non-conformity.
The sample size selected for Category 2 characteristics must meet the “consumer risk”
similar to the AQL=6.5 plan, and is selected from the OC curve of a single sampling
plan shown in the Zero Acceptance Number Sampling Plan [9]. “Consumer risk” refers
to the value of the quality level, expressed in percentage of non-conforming parts, with
a 10% probability of being accepted. See Table A.1 (LQ10). “Supplier risk” refers to the
value of the quality level, expressed in percentage of non-conforming parts, with a 95%
probability of being accepted. See Table A.1 (AQL95). These values apply only to a
single inspection and do not take into account additional sampling after finding a non-
conforming part in the first sampling.
Category 3 characteristics refer to dimensional characteristics and certain functional
properties, which allow a certain degree of non-conformity. It is assumed that the
properties due to normal variation of the production process satisfy a statistical
distribution. The sampling plans for Category 3 characteristics is based on the

View full details