1
/
of
8
www.ChineseStandard.us -- Field Test Asia Pte. Ltd.
GB/T 5766-2023 English PDF (GB/T5766-2023)
Regular price
$230.00
Regular price
Sale price
$230.00
Unit price
/
per
Shipping calculated at checkout.
Couldn't load pickup availability
GB/T 5766-2023: Test method of Rockwell hardness for friction materials
Delivery: 9 seconds. Download (and Email) true-PDF + Invoice.
Get Quotation: Click GB/T 5766-2023 (Self-service in 1-minute)
Newer / historical versions: GB/T 5766-2023
Preview True-PDF (Reload/Scroll-down if blank)
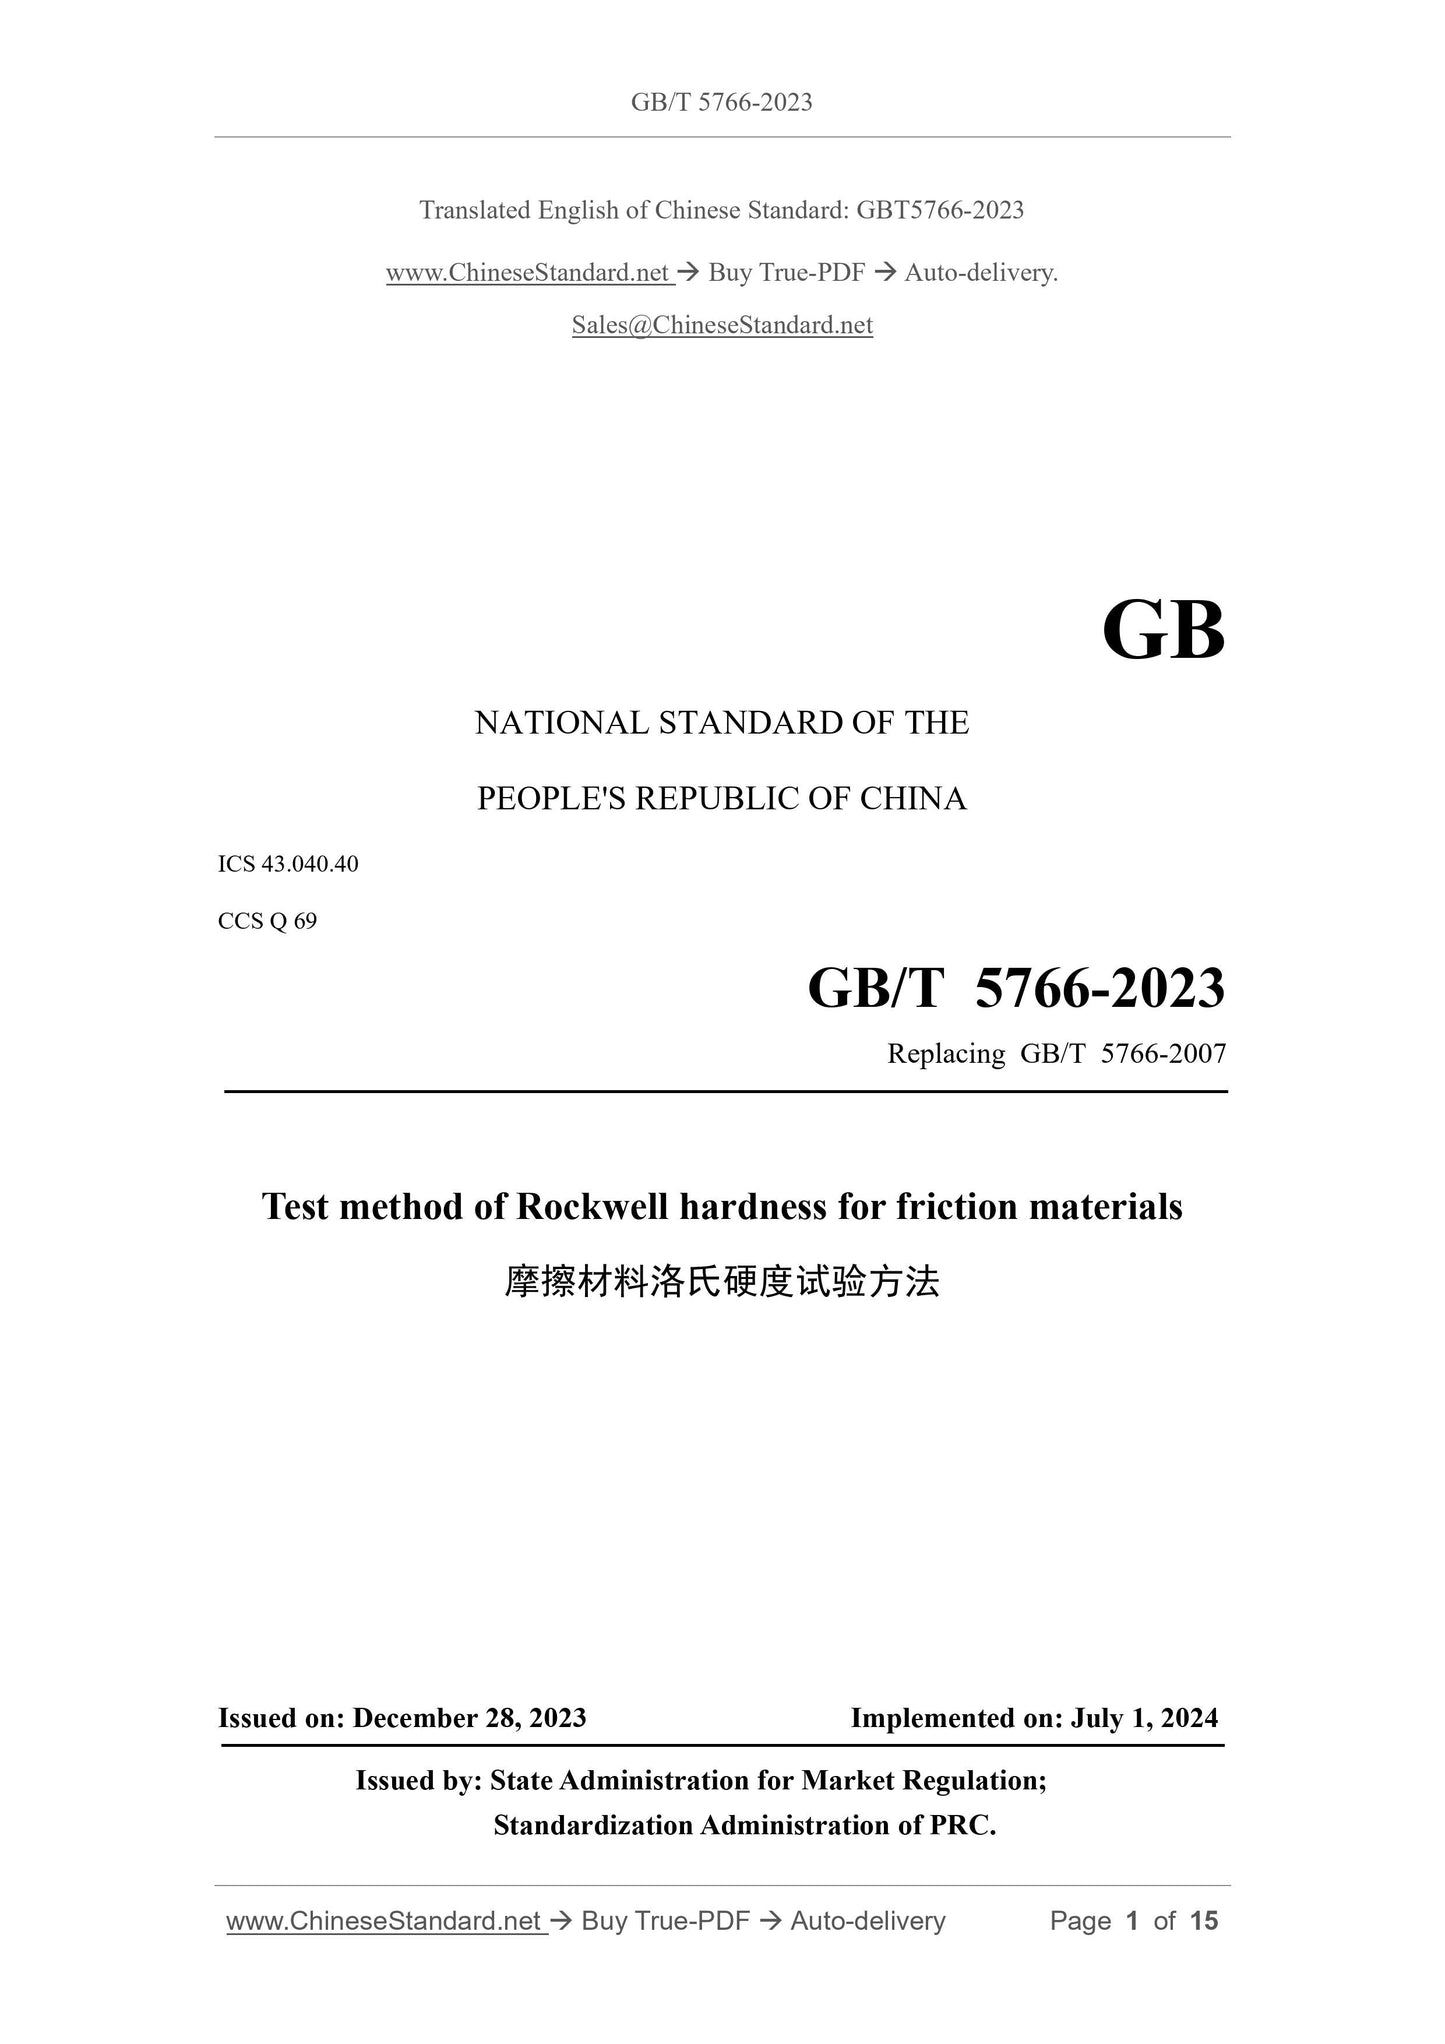
GB/T 5766-2023
GB
NATIONAL STANDARD OF THE
PEOPLE'S REPUBLIC OF CHINA
ICS 43.040.40
CCS Q 69
Replacing GB/T 5766-2007
Test method of Rockwell hardness for friction materials
ISSUED ON. DECEMBER 28, 2023
IMPLEMENTED ON. JULY 1, 2024
Issued by. State Administration for Market Regulation;
Standardization Administration of PRC.
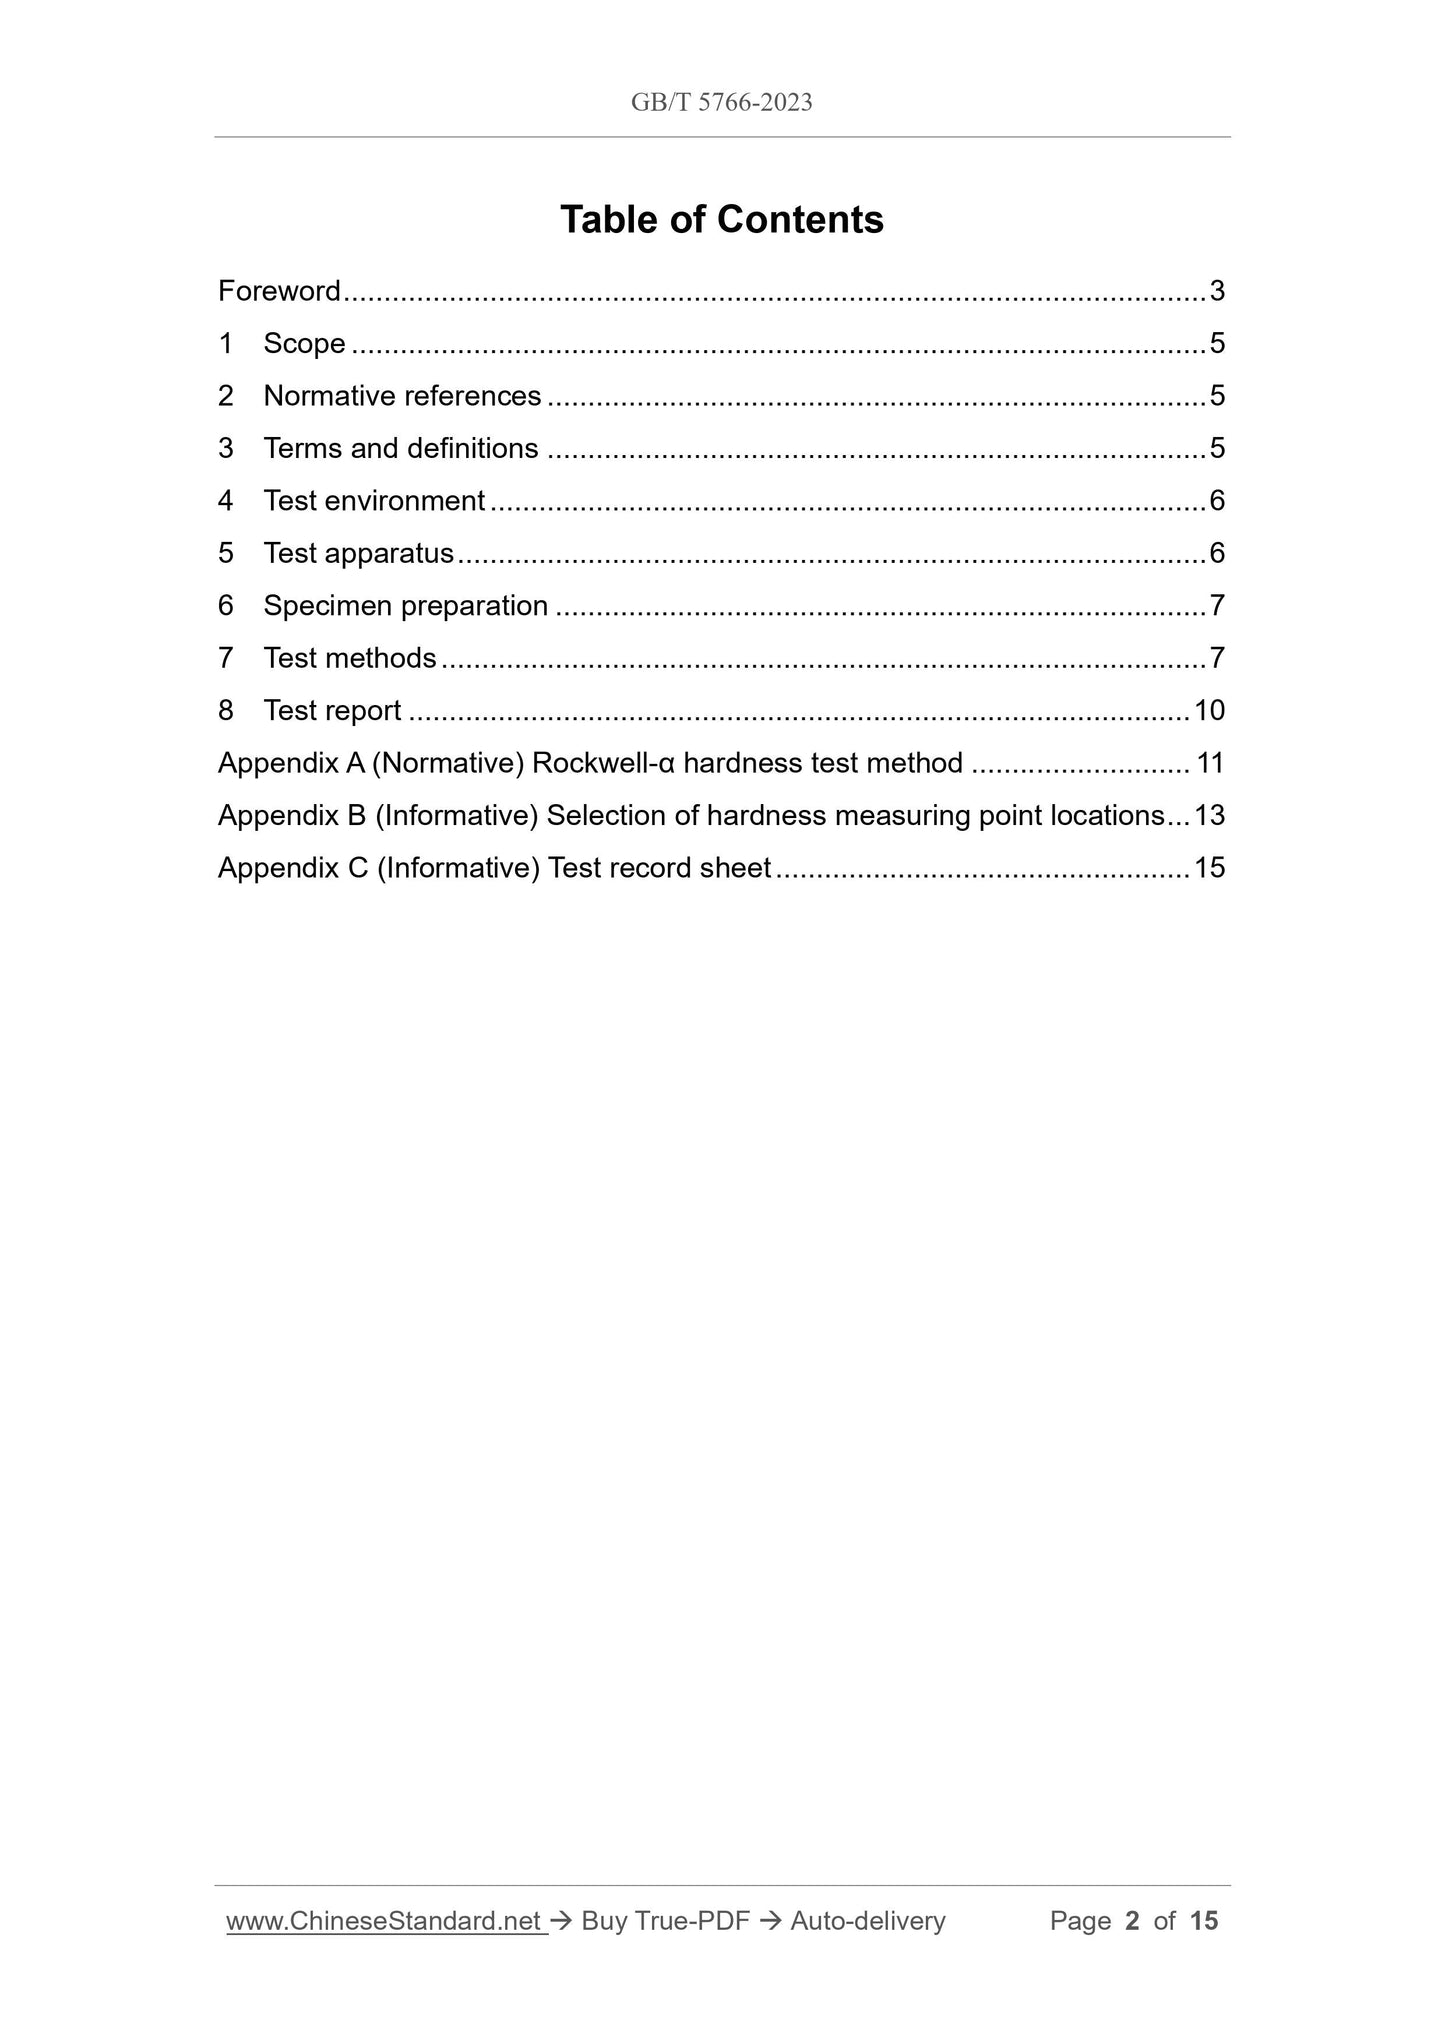
Table of Contents
Foreword... 3
1 Scope... 5
2 Normative references... 5
3 Terms and definitions... 5
4 Test environment... 6
5 Test apparatus... 6
6 Specimen preparation... 7
7 Test methods... 7
8 Test report... 10
Appendix A (Normative) Rockwell-α hardness test method... 11
Appendix B (Informative) Selection of hardness measuring point locations... 13
Appendix C (Informative) Test record sheet... 15
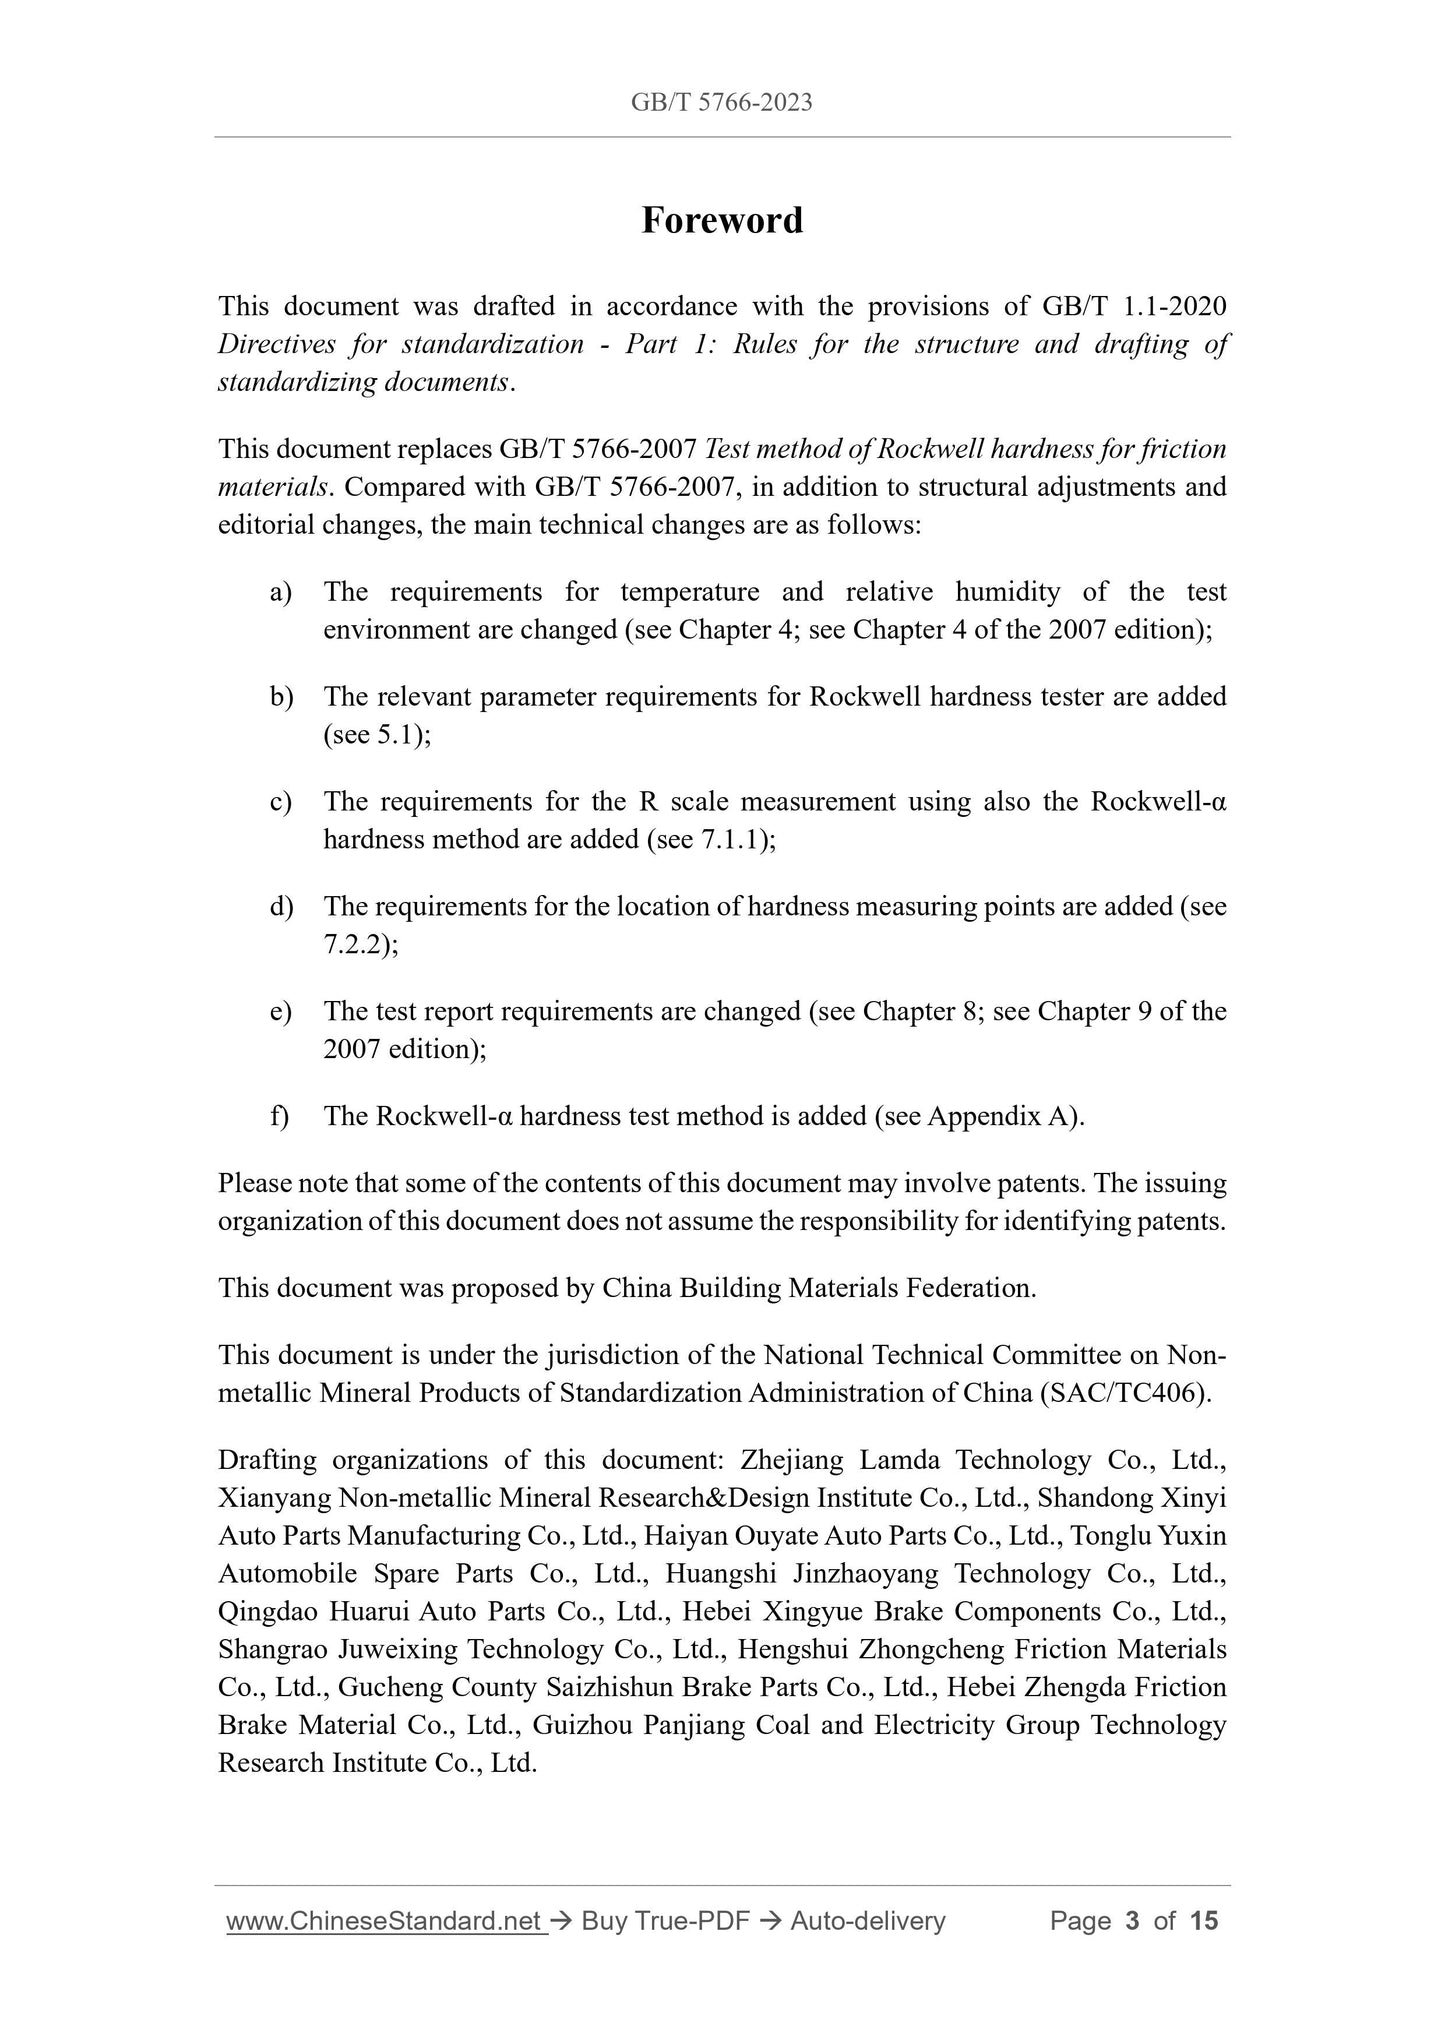
Foreword
This document was drafted in accordance with the provisions of GB/T 1.1-2020
Directives for standardization - Part 1.Rules for the structure and drafting of
standardizing documents.
This document replaces GB/T 5766-2007 Test method of Rockwell hardness for friction
materials. Compared with GB/T 5766-2007, in addition to structural adjustments and
editorial changes, the main technical changes are as follows.
a) The requirements for temperature and relative humidity of the test
environment are changed (see Chapter 4; see Chapter 4 of the 2007 edition);
b) The relevant parameter requirements for Rockwell hardness tester are added
(see 5.1);
c) The requirements for the R scale measurement using also the Rockwell-α
hardness method are added (see 7.1.1);
d) The requirements for the location of hardness measuring points are added (see
7.2.2);
e) The test report requirements are changed (see Chapter 8; see Chapter 9 of the
2007 edition);
f) The Rockwell-α hardness test method is added (see Appendix A).
Please note that some of the contents of this document may involve patents. The issuing
organization of this document does not assume the responsibility for identifying patents.
This document was proposed by China Building Materials Federation.
This document is under the jurisdiction of the National Technical Committee on Non-
metallic Mineral Products of Standardization Administration of China (SAC/TC406).
Drafting organizations of this document. Zhejiang Lamda Technology Co., Ltd.,
Xianyang Non-metallic Mineral Research and Design Institute Co., Ltd., Shandong Xinyi
Auto Parts Manufacturing Co., Ltd., Haiyan Ouyate Auto Parts Co., Ltd., Tonglu Yuxin
Automobile Spare Parts Co., Ltd., Huangshi Jinzhaoyang Technology Co., Ltd.,
Qingdao Huarui Auto Parts Co., Ltd., Hebei Xingyue Brake Components Co., Ltd.,
Shangrao Juweixing Technology Co., Ltd., Hengshui Zhongcheng Friction Materials
Co., Ltd., Gucheng County Saizhishun Brake Parts Co., Ltd., Hebei Zhengda Friction
Brake Material Co., Ltd., Guizhou Panjiang Coal and Electricity Group Technology
Research Institute Co., Ltd.
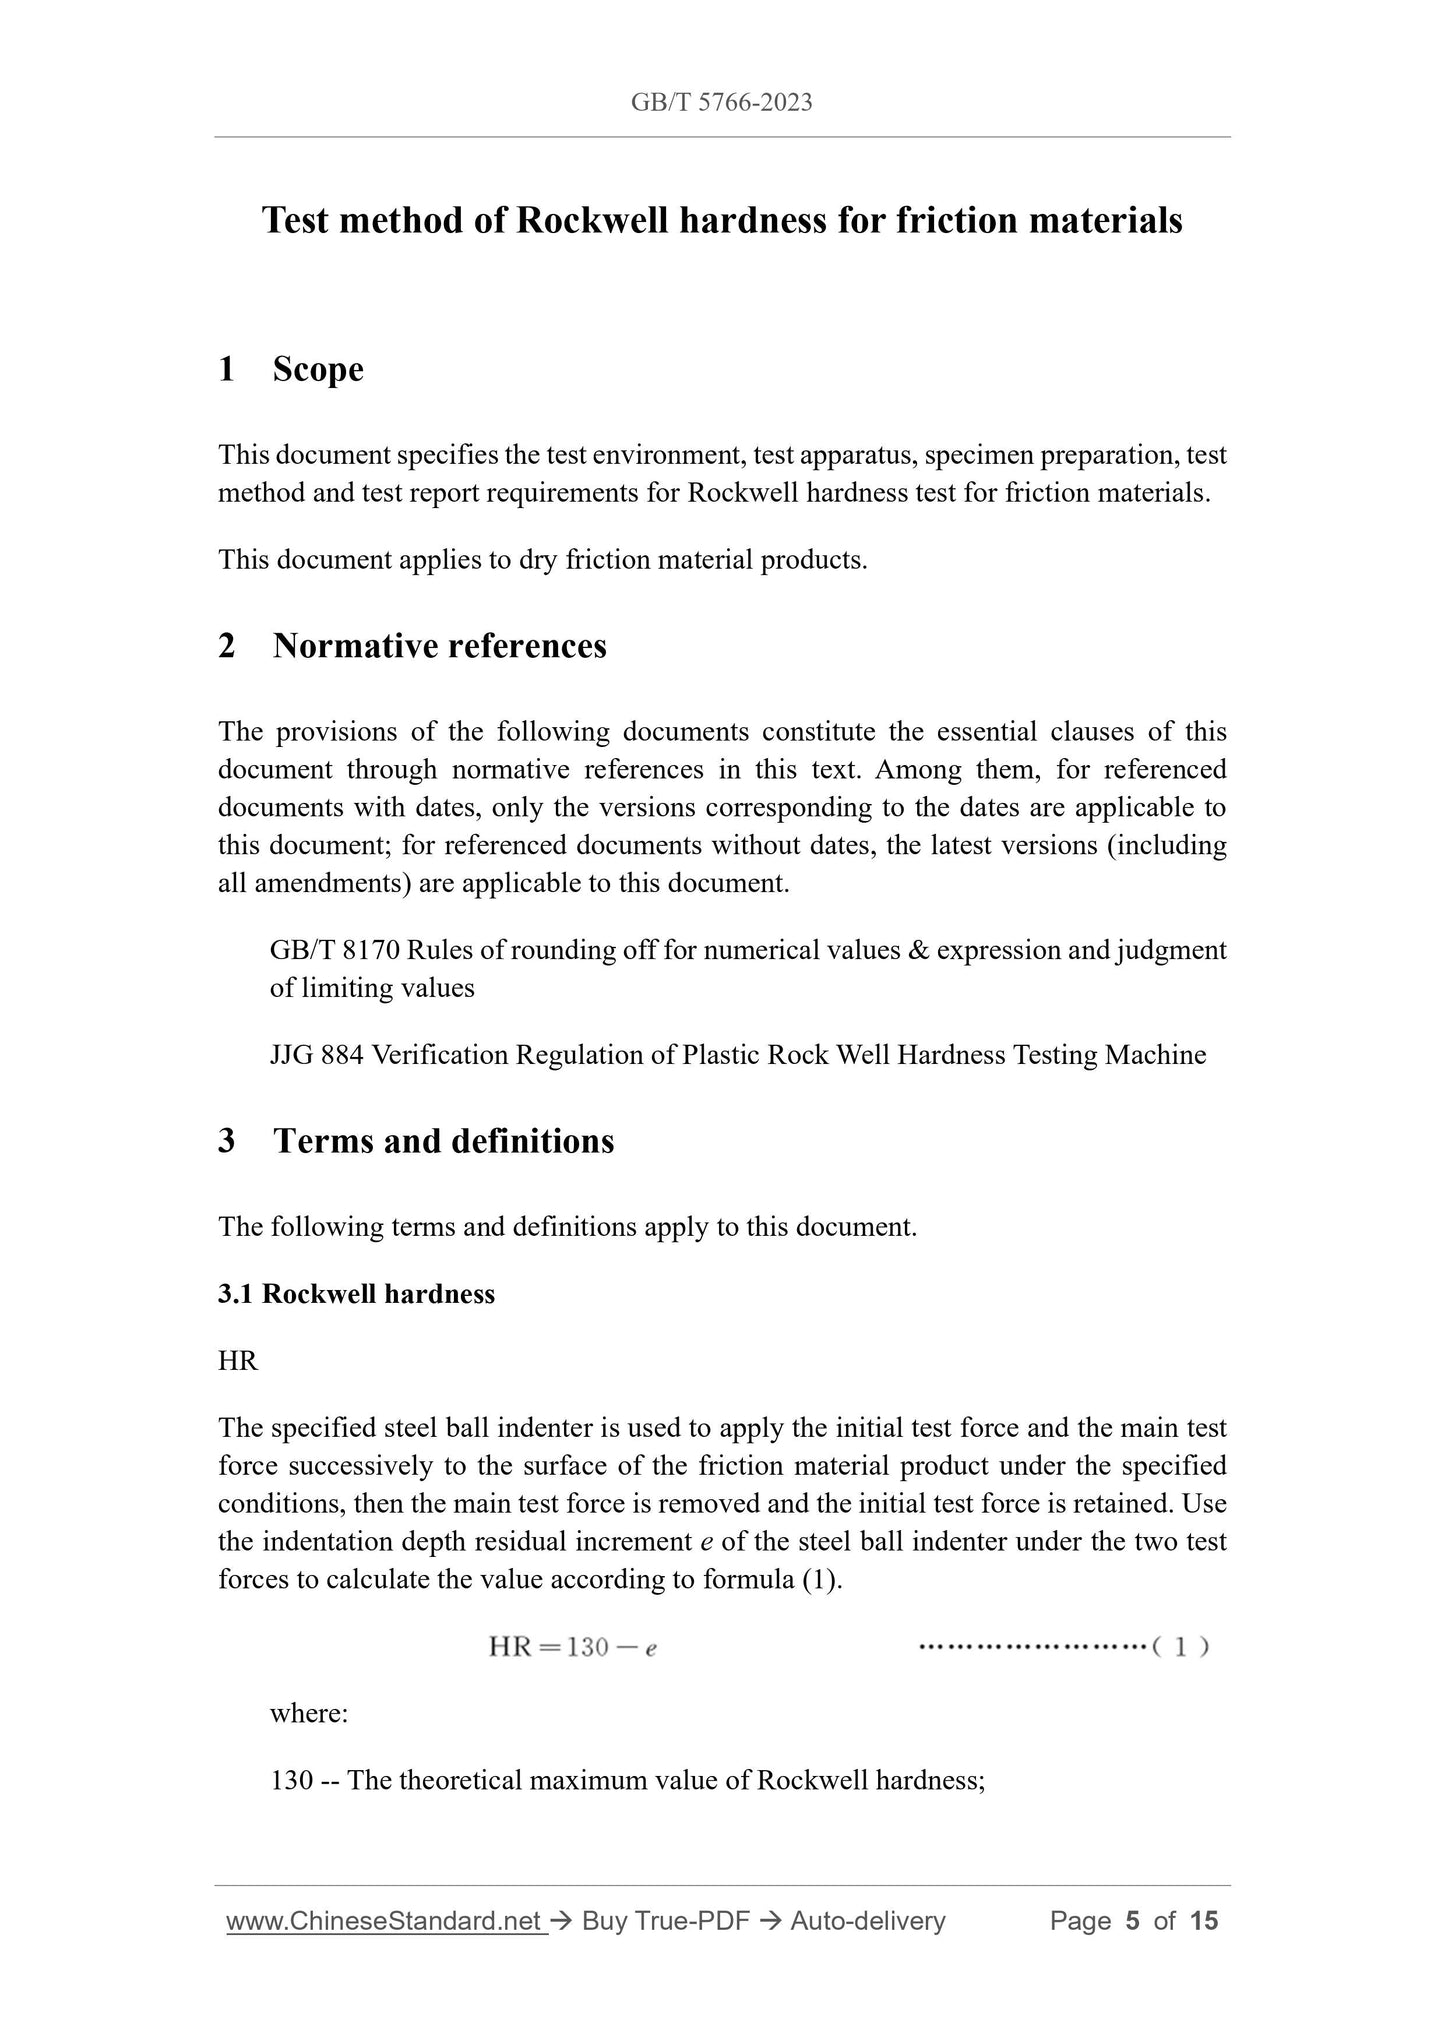
Test method of Rockwell hardness for friction materials
1 Scope
This document specifies the test environment, test apparatus, specimen preparation, test
method and test report requirements for Rockwell hardness test for friction materials.
This document applies to dry friction material products.
2 Normative references
The provisions of the following documents constitute the essential clauses of this
document through normative references in this text. Among them, for referenced
documents with dates, only the versions corresponding to the dates are applicable to
this document; for referenced documents without dates, the latest versions (including
all amendments) are applicable to this document.
GB/T 8170 Rules of rounding off for numerical values and expression and judgment
of limiting values
JJG 884 Verification Regulation of Plastic Rock Well Hardness Testing Machine
3 Terms and definitions
The following terms and definitions apply to this document.
3.1 Rockwell hardness
HR
The specified steel ball indenter is used to apply the initial test force and the main test
force successively to the surface of the friction material product under the specified
conditions, then the main test force is removed and the initial test force is retained. Use
the indentation depth residual increment e of the steel ball indenter under the two test
forces to calculate the value according to formula (1).
where.
130 -- The theoretical maximum value of Rockwell hardness;
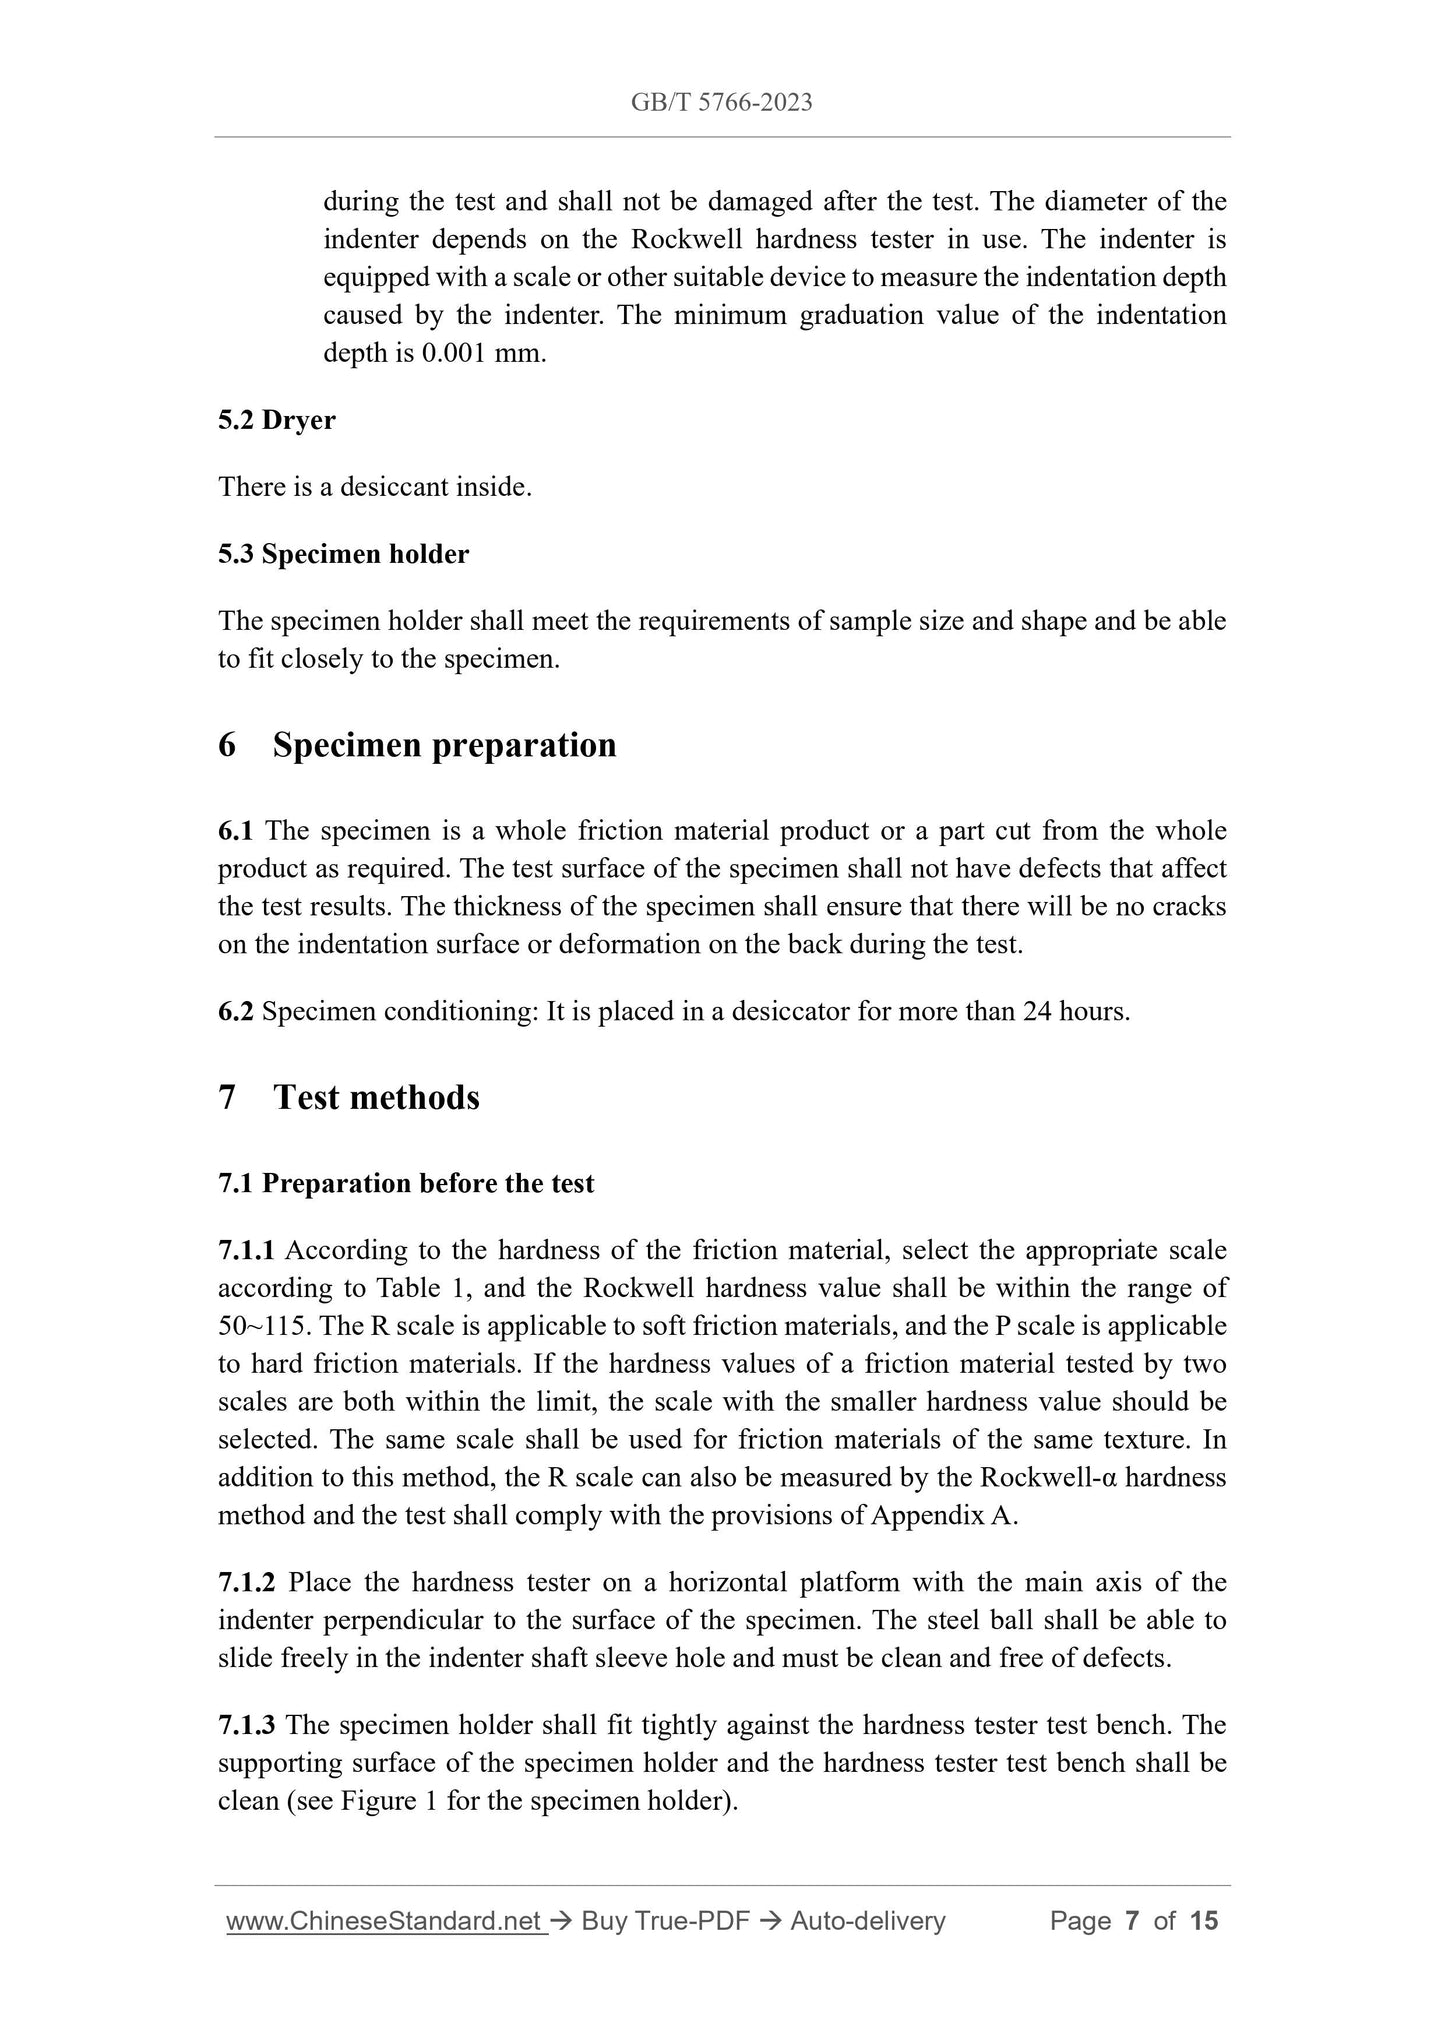
during the test and shall not be damaged after the test. The diameter of the
indenter depends on the Rockwell hardness tester in use. The indenter is
equipped with a scale or other suitable device to measure the indentation depth
caused by the indenter. The minimum graduation value of the indentation
depth is 0.001 mm.
5.2 Dryer
There is a desiccant inside.
5.3 Specimen holder
The specimen holder shall meet the requirements of sample size and shape and be able
to fit closely to the specimen.
6 Specimen preparation
6.1 The specimen is a whole friction material product or a part cut from the whole
product as required. The test surface of the specimen shall not have defects that affect
the test results. The thickness of the specimen shall ensure that there will be no cracks
on the indentation surface or deformation on the back during the test.
6.2 Specimen conditioning. It is placed in a desiccator for more than 24 hours.
7 Test methods
7.1 Preparation before the test
7.1.1 According to the hardness of the friction material, select the appropriate scale
according to Table 1, and the Rockwell hardness value shall be within the range of
50~115.The R scale is applicable to soft friction materials, and the P scale is applicable
to hard friction materials. If the hardness values of a friction material tested by two
scales are both within the limit, the scale with the smaller hardness value should be
selected. The same scale shall be used for friction materials of the same texture. In
addition to this method, the R scale can also be measured by the Rockwell-α hardness
method and the test shall comply with the provisions of Appendix A.
7.1.2 Place the hardness tester on a horizontal platform with the main axis of the
indenter perpendicular to the surface of the specimen. The steel ball shall be able to
slide freely in the indenter shaft sleeve hole and must be clean and free of defects.
7.1.3 The specimen holder shall fit tightly against the hardness tester test bench. The
supporting surface of the specimen holder and the hardness tester test bench shall be
clean (see Figure 1 for the specimen holder).
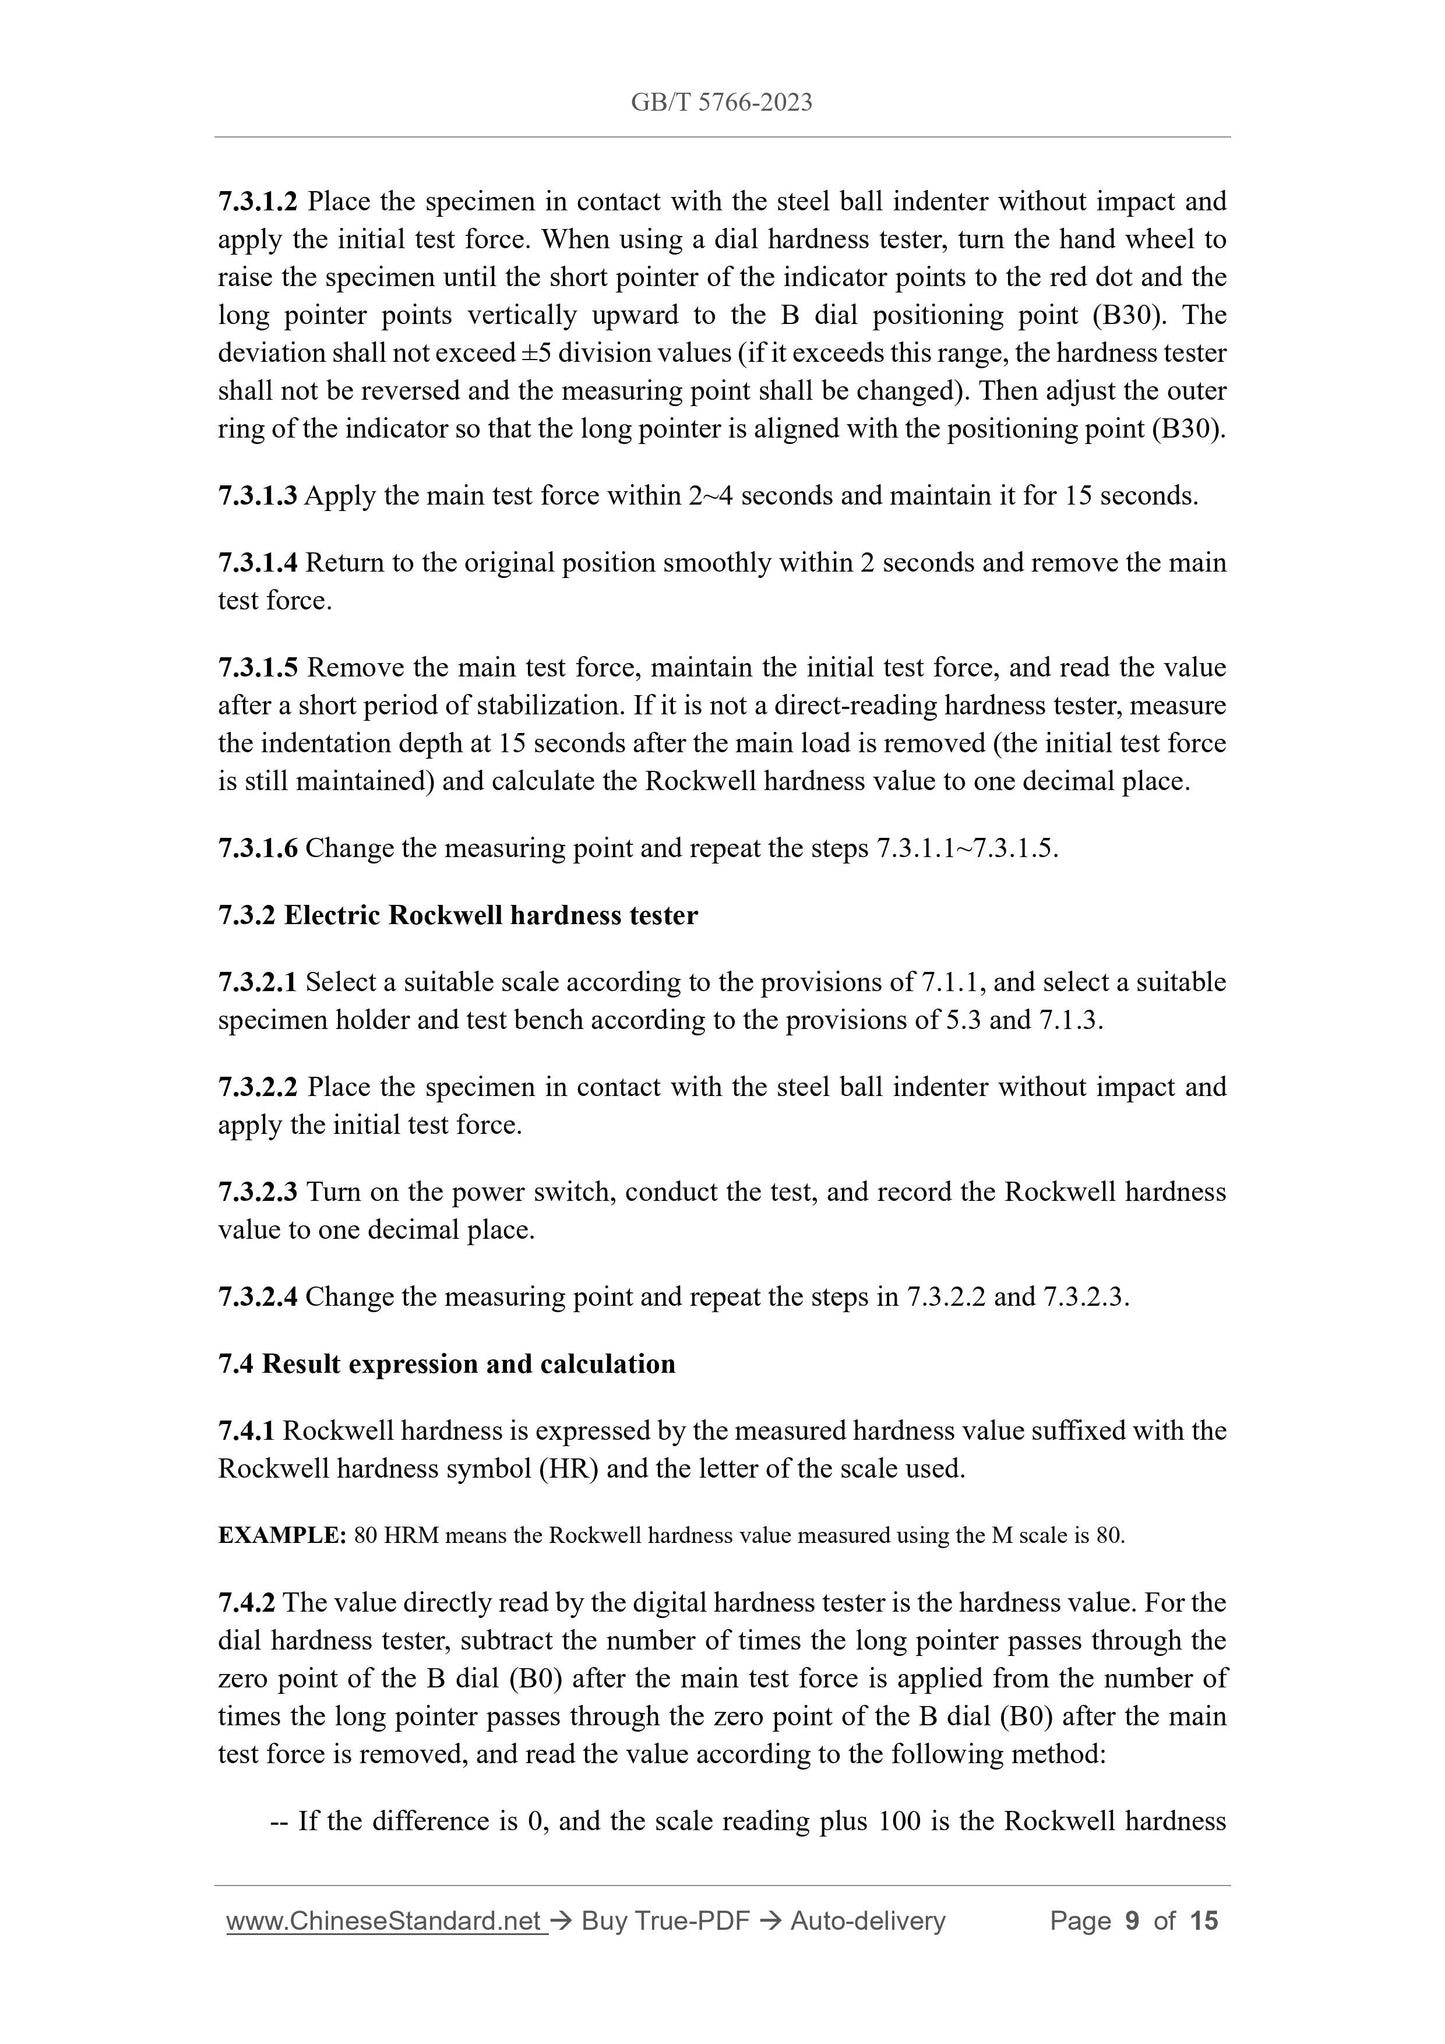
7.3.1.2 Place the specimen in contact with the steel ball indenter without impact and
apply the initial test force. When using a dial hardness tester, turn the hand wheel to
raise the specimen until the short pointer of the indicator points to the red dot and the
long pointer points vertically upward to the B dial positioning point (B30). The
deviation shall not exceed ±5 division values (if it exceeds this range, the hardness tester
shall not be reversed and the measuring point shall be changed). Then adjust the outer
ring of the indicator so that the long pointer is aligned with the positioning point (B30).
7.3.1.3 Apply the main test force within 2~4 seconds and maintain it for 15 seconds.
7.3.1.4 Return to the original position smoothly within 2 seconds and remove the main
test force.
7.3.1.5 Remove the main test force, maintain the initial test force, and read the value
after a short period of stabilization. If it is not a direct-reading hardness tester, measure
the indentation depth at 15 seconds after the main load is removed (the initial test force
is still maintained) and calculate the Rockwell hardness value to one decimal place.
7.3.1.6 Change the measuring point and repeat the steps 7.3.1.1~7.3.1.5.
7.3.2 Electric Rockwell hardness tester
7.3.2.1 Select a suitable scale according to the provisions of 7.1.1, and select a suitable
specimen holder and test bench according to the provisions of 5.3 and 7.1.3.
7.3.2.2 Place the specimen in contact with the steel ball indenter without impact and
apply the initial test force.
7.3.2.3 Turn on the power switch, conduct the test, and record the Rockwell hardness
value to one decimal place.
7.3.2.4 Change the measuring point and repeat the steps in 7.3.2.2 and 7.3.2.3.
7.4 Result expression and calculation
7.4.1 Rockwell hardness is expressed by the measured hardness value suffixed with the
Rockwell hardness symbol (HR) and the letter of the scale used.
EXAMPLE. 80 HRM means the Rockwell hardness value measured using the M scale is 80.
7.4.2 The value directly read by the digital hardness tester is the hardness value. For the
dial hardness tester, subtract the number of times the long pointer passes through the
zero point of the B dial (B0) after the main test force is applied from the number of
times the long pointer passes through the zero point of the B dial (B0) after the main
test force is removed, and read the value according to the following method.
-- If the difference is 0, and the scale reading plus 100 is the Rockwell hardness
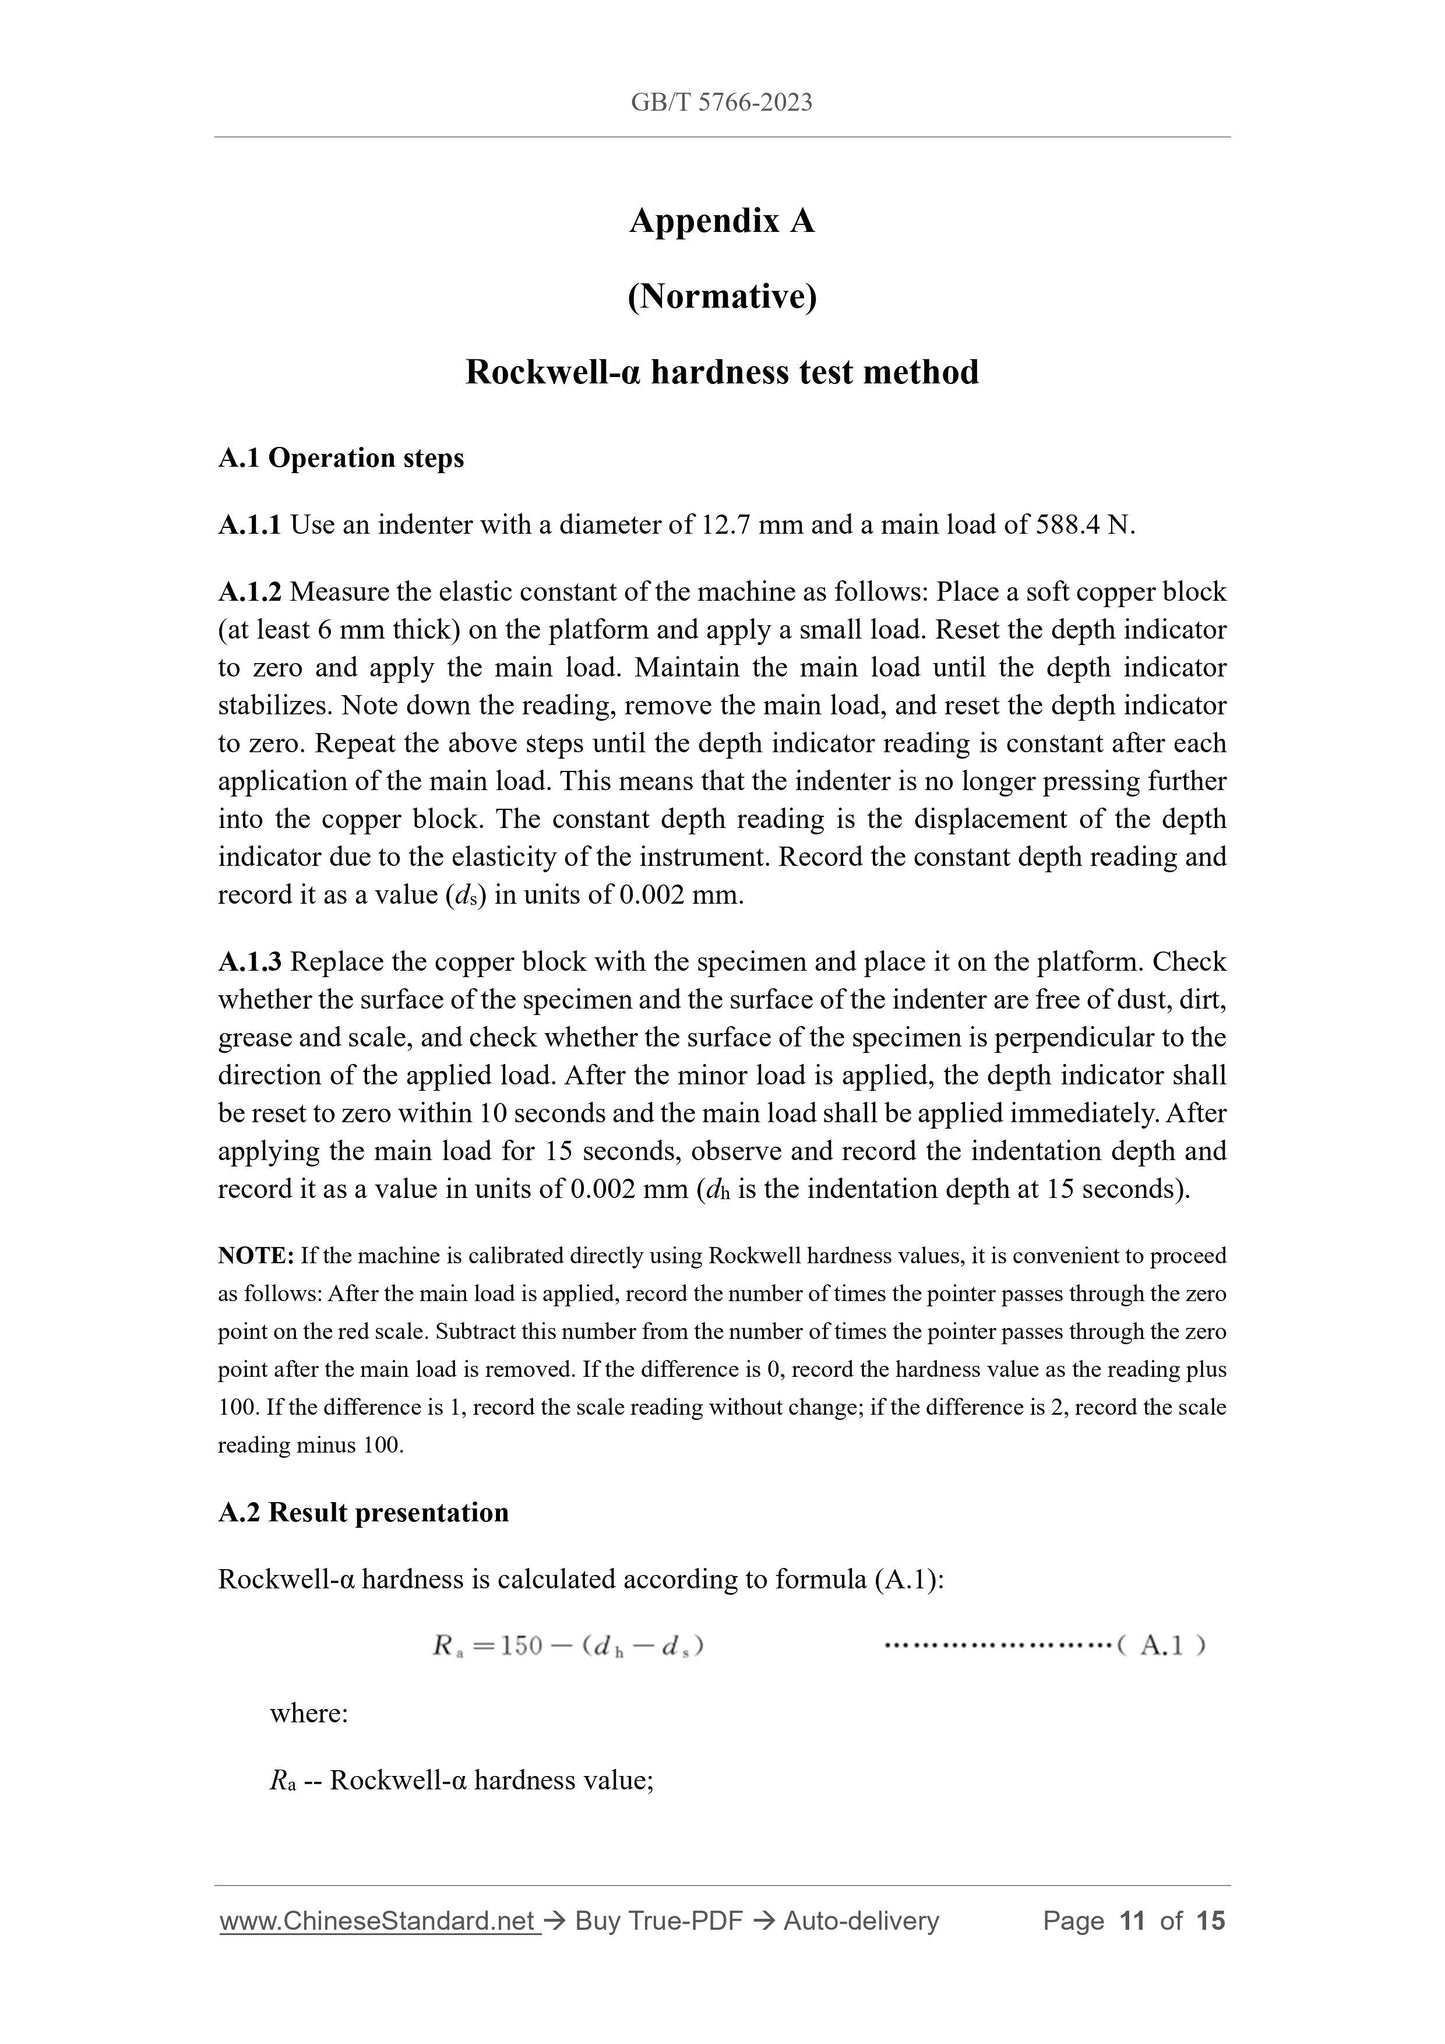
Appendix A
(Normative)
Rockwell-α hardness test method
A.1 Operation steps
A.1.1 Use an indenter with a diameter of 12.7 mm and a main load of 588.4 N.
A.1.2 Measure the elastic constant of the machine as follows. Place a soft copper block
(at least 6 mm thick) on the platform and apply a small load. Reset the depth indicator
to zero and apply the main load. Maintain the main load until the depth indicator
stabilizes. Note down the reading, remove the main load, and reset the depth indicator
to zero. Repeat the above steps until the depth indicator reading is constant after each
application of the main load. This means that the indenter is no longer pressing further
into the copper block. The constant depth reading is the displacement of the depth
indicator due to the elasticity of the instrument. Record the constant depth reading and
record it as a value (ds) in units of 0.002 mm.
A.1.3 Replace the copper block with the specimen and place it on the platform. Check
whether the surface of the specimen and the surface of the indenter are free of dust, dirt,
grease and scale, and check whether the surface of the specimen is perpendicular to the
direction of the applied load. After the minor load is applied, the depth indicator shall
be reset to zero within 10 seconds and the main load shall be applied immediately. After
applying the main load for 15 seconds, observe and record the indentation depth and
record it as a value in units of 0.002 mm (dh is the indentation depth at 15 seconds).
NOTE. If the machine is calibrated directly using Rockwell hardness values, it is convenient to proceed
as follows. After the main load is applied, record the number of times the pointer passes through the zero
point on the red scale. Subtract this number from the number of times the pointer passes through the zero
point after the main load is removed. If the difference is 0, record the hardness value as the reading plus
100.If the difference is 1, record the scale reading without change; if the difference is 2, record the scale
reading minus 100.
A.2 Result presentation
Rockwell-α hardness is calculated according to formula (A.1).
where.
Ra -- Rockwell-α hardness value;
GB/T 5766-2023
GB
NATIONAL STANDARD OF THE
PEOPLE'S REPUBLIC OF CHINA
ICS 43.040.40
CCS Q 69
Replacing GB/T 5766-2007
Test method of Rockwell hardness for friction materials
ISSUED ON. DECEMBER 28, 2023
IMPLEMENTED ON. JULY 1, 2024
Issued by. State Administration for Market Regulation;
Standardization Administration of PRC.
Table of Contents
Foreword... 3
1 Scope... 5
2 Normative references... 5
3 Terms and definitions... 5
4 Test environment... 6
5 Test apparatus... 6
6 Specimen preparation... 7
7 Test methods... 7
8 Test report... 10
Appendix A (Normative) Rockwell-α hardness test method... 11
Appendix B (Informative) Selection of hardness measuring point locations... 13
Appendix C (Informative) Test record sheet... 15
Foreword
This document was drafted in accordance with the provisions of GB/T 1.1-2020
Directives for standardization - Part 1.Rules for the structure and drafting of
standardizing documents.
This document replaces GB/T 5766-2007 Test method of Rockwell hardness for friction
materials. Compared with GB/T 5766-2007, in addition to structural adjustments and
editorial changes, the main technical changes are as follows.
a) The requirements for temperature and relative humidity of the test
environment are changed (see Chapter 4; see Chapter 4 of the 2007 edition);
b) The relevant parameter requirements for Rockwell hardness tester are added
(see 5.1);
c) The requirements for the R scale measurement using also the Rockwell-α
hardness method are added (see 7.1.1);
d) The requirements for the location of hardness measuring points are added (see
7.2.2);
e) The test report requirements are changed (see Chapter 8; see Chapter 9 of the
2007 edition);
f) The Rockwell-α hardness test method is added (see Appendix A).
Please note that some of the contents of this document may involve patents. The issuing
organization of this document does not assume the responsibility for identifying patents.
This document was proposed by China Building Materials Federation.
This document is under the jurisdiction of the National Technical Committee on Non-
metallic Mineral Products of Standardization Administration of China (SAC/TC406).
Drafting organizations of this document. Zhejiang Lamda Technology Co., Ltd.,
Xianyang Non-metallic Mineral Research and Design Institute Co., Ltd., Shandong Xinyi
Auto Parts Manufacturing Co., Ltd., Haiyan Ouyate Auto Parts Co., Ltd., Tonglu Yuxin
Automobile Spare Parts Co., Ltd., Huangshi Jinzhaoyang Technology Co., Ltd.,
Qingdao Huarui Auto Parts Co., Ltd., Hebei Xingyue Brake Components Co., Ltd.,
Shangrao Juweixing Technology Co., Ltd., Hengshui Zhongcheng Friction Materials
Co., Ltd., Gucheng County Saizhishun Brak...
Share