1
/
of
8
PayPal, credit cards. Download editable-PDF and invoice in 1 second!
GB/T 5486-2008 English PDF (GB/T5486-2008)
Regular price
$210.00
Regular price
Sale price
$210.00
Unit price
/
per
Shipping calculated at checkout.
Couldn't load pickup availability
GB/T 5486-2008: Test methods for inorganic rigid thermal insulation
Delivery: 9 seconds. Download (& Email) true-PDF + Invoice.
Get Quotation: Click GB/T 5486-2008 (Self-service in 1-minute)
Historical versions (Master-website): GB/T 5486-2008
Preview True-PDF (Reload/Scroll-down if blank)
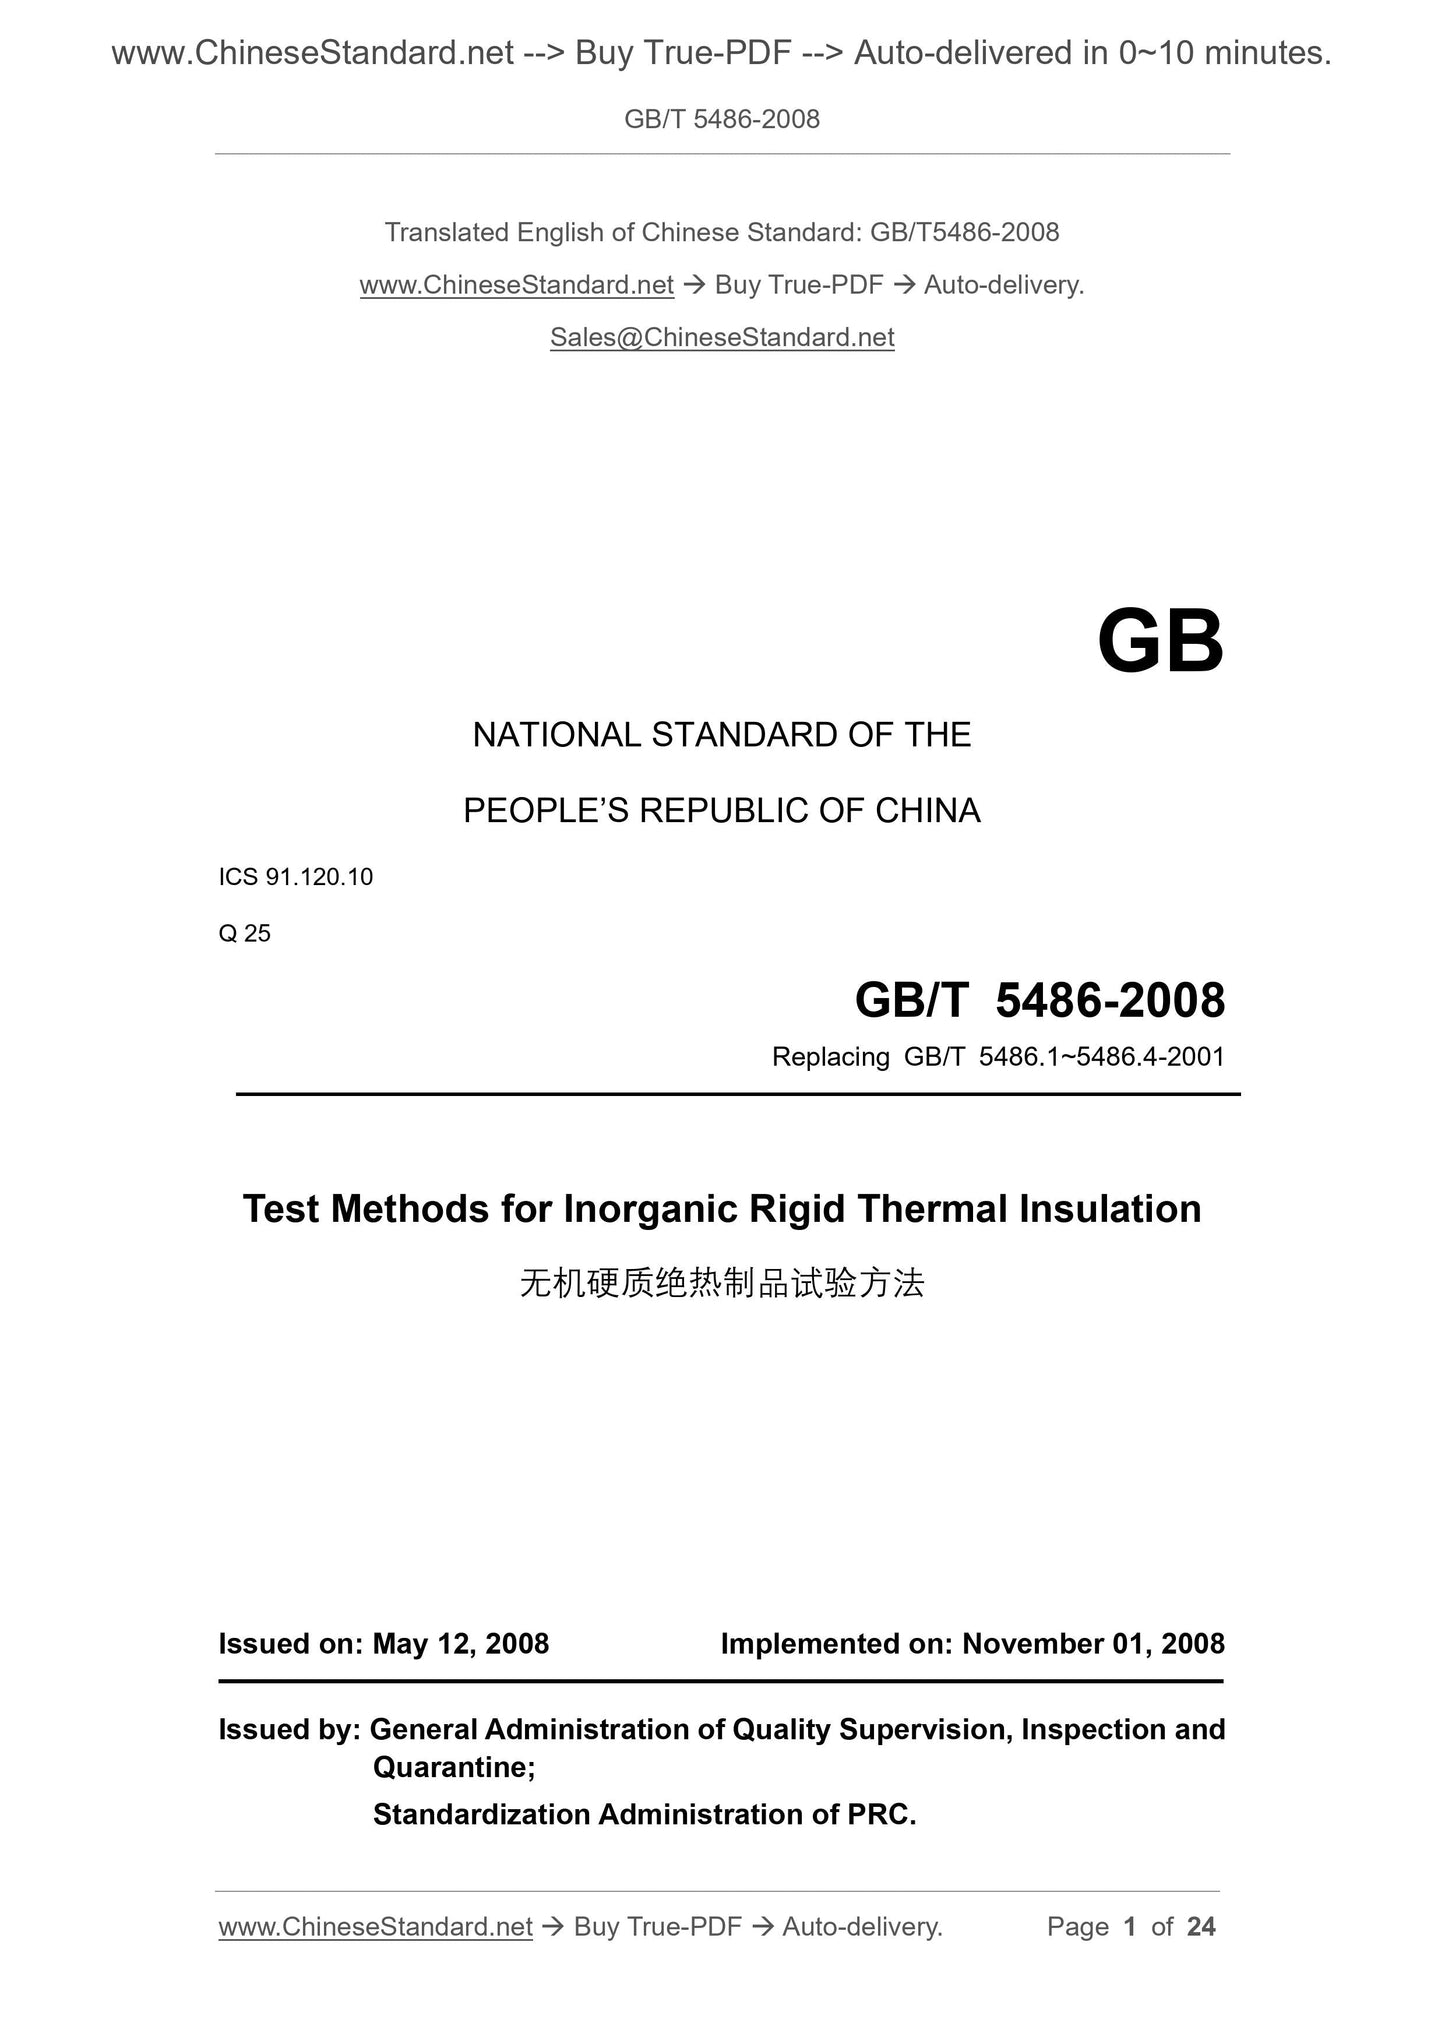
GB/T 5486-2008
GB
NATIONAL STANDARD OF THE
PEOPLE’S REPUBLIC OF CHINA
ICS 91.120.10
Q 25
Replacing GB/T 5486.1~5486.4-2001
Test Methods for Inorganic Rigid Thermal Insulation
ISSUED ON: MAY 12, 2008
IMPLEMENTED ON: NOVEMBER 01, 2008
Issued by: General Administration of Quality Supervision, Inspection and
Quarantine;
Standardization Administration of PRC.
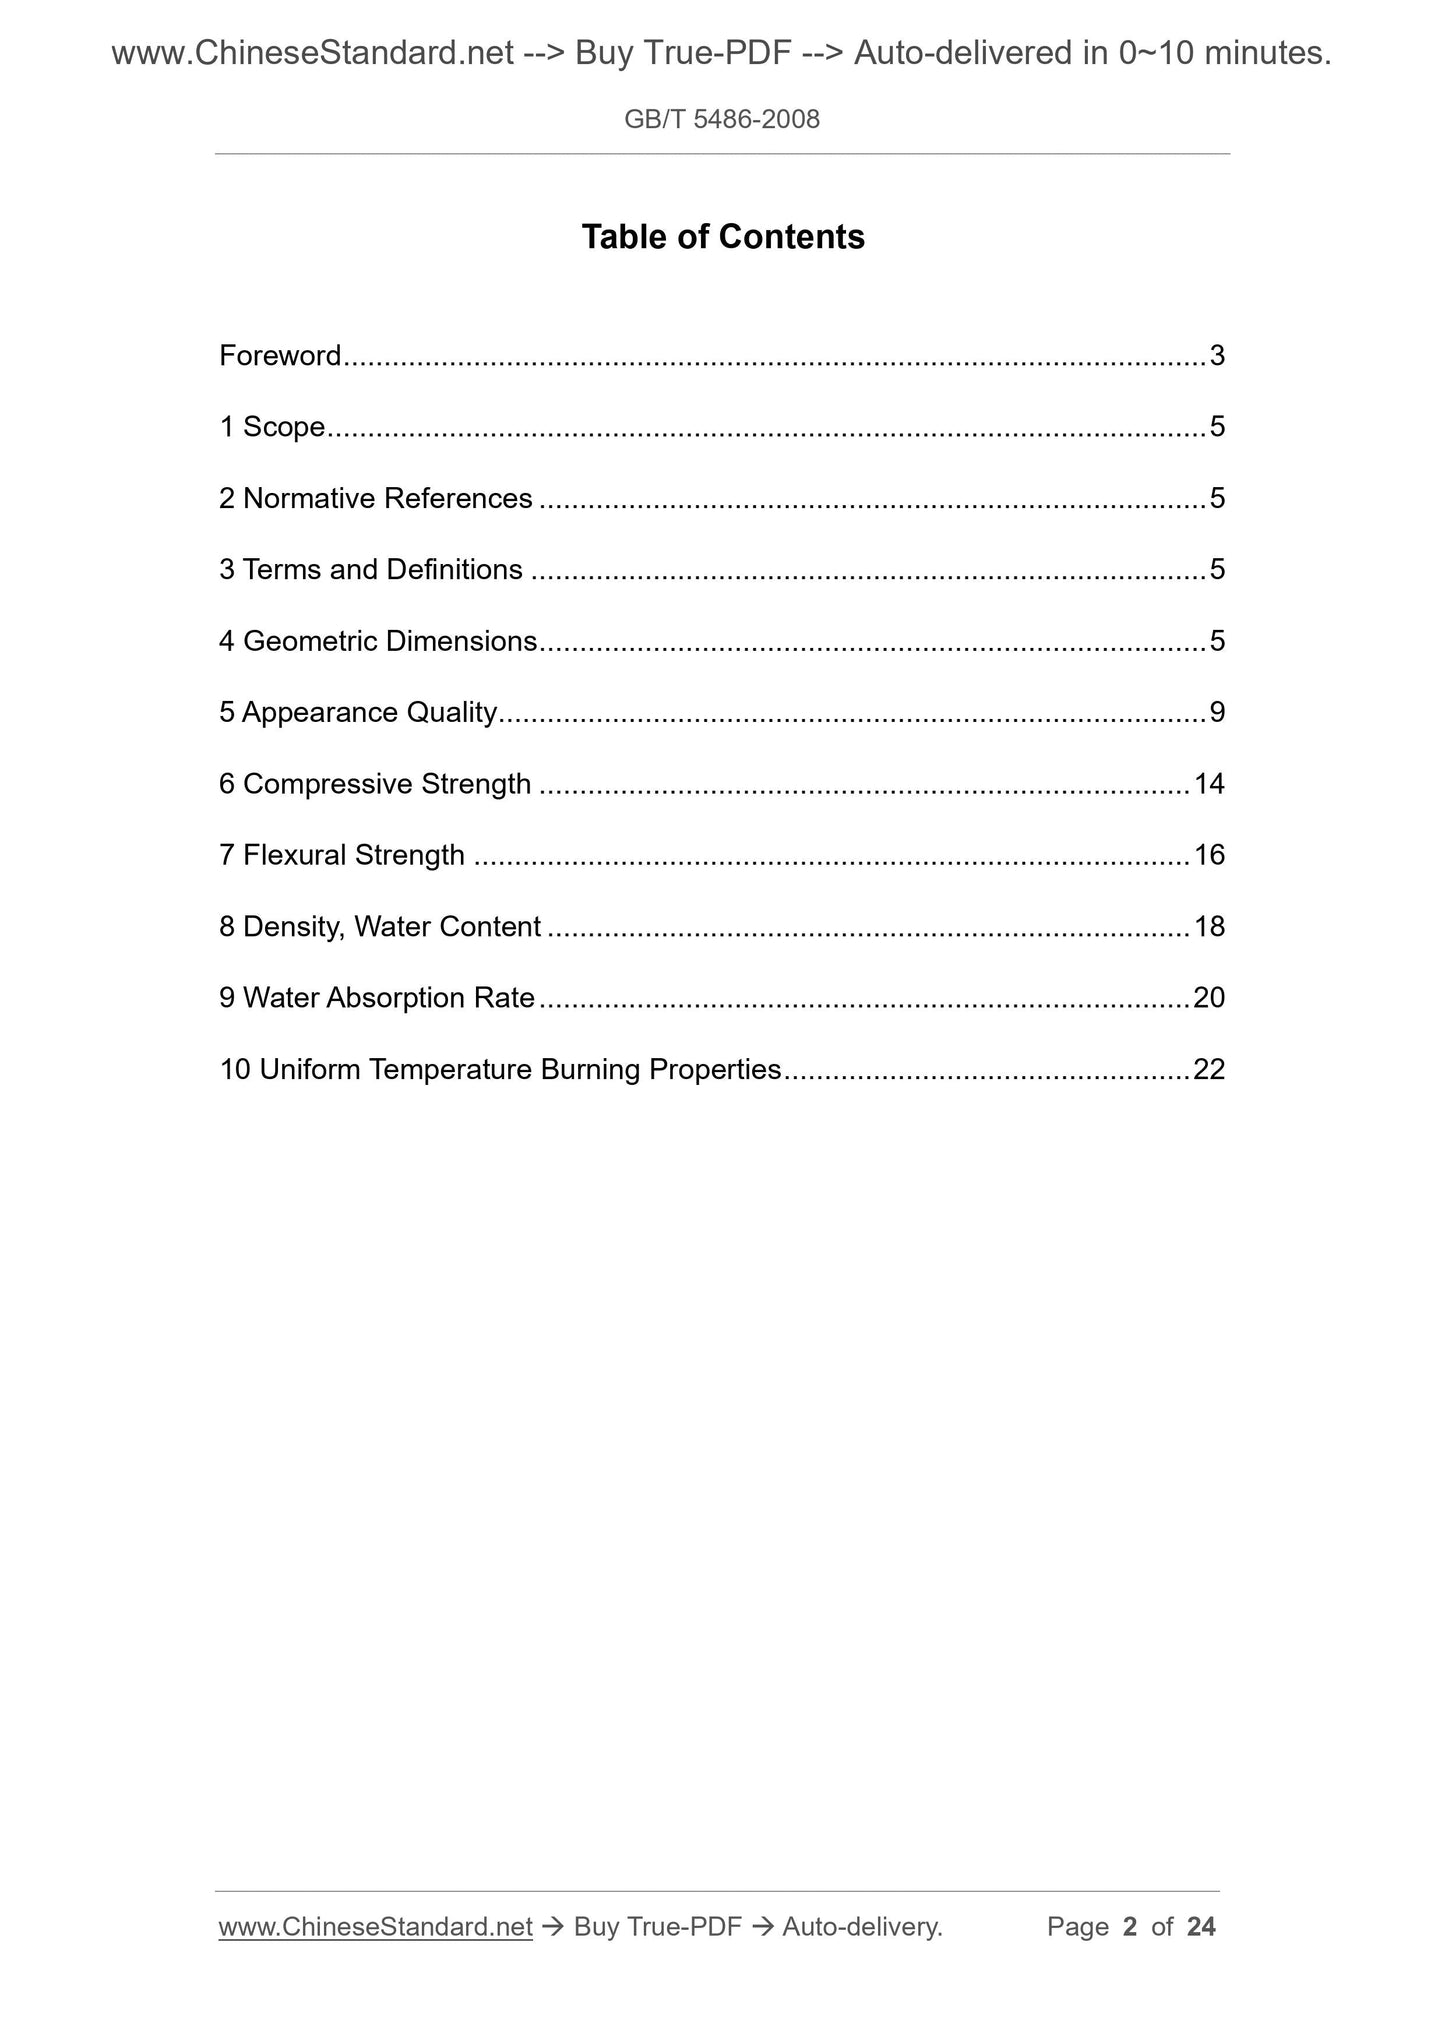
Table of Contents
Foreword ... 3
1 Scope ... 5
2 Normative References ... 5
3 Terms and Definitions ... 5
4 Geometric Dimensions ... 5
5 Appearance Quality... 9
6 Compressive Strength ... 14
7 Flexural Strength ... 16
8 Density, Water Content ... 18
9 Water Absorption Rate ... 20
10 Uniform Temperature Burning Properties ... 22
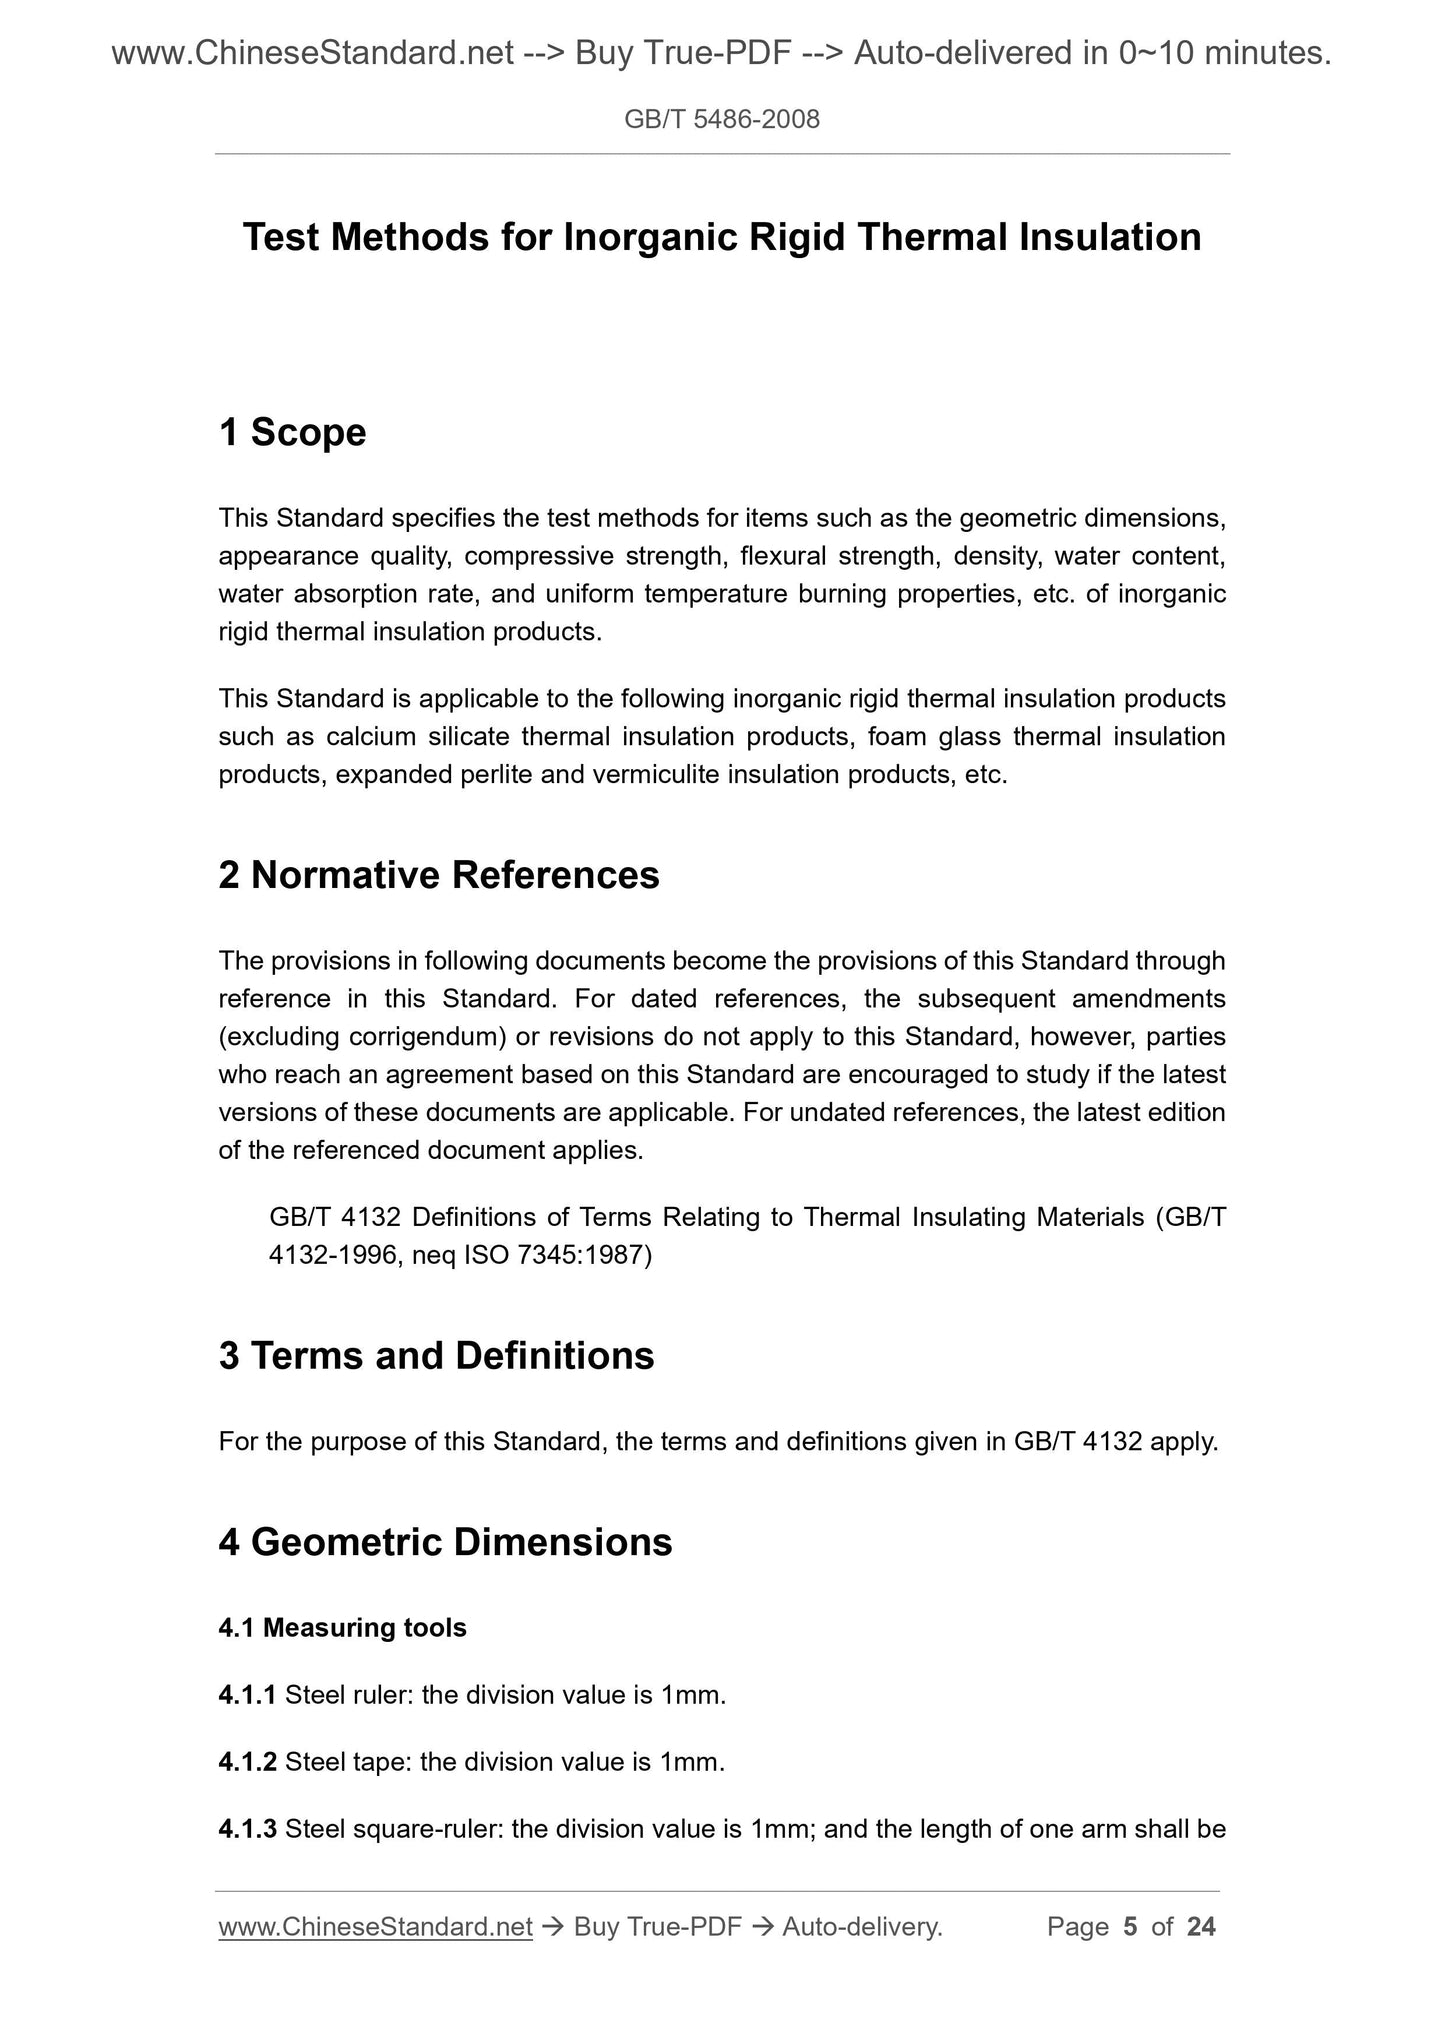
Test Methods for Inorganic Rigid Thermal Insulation
1 Scope
This Standard specifies the test methods for items such as the geometric dimensions,
appearance quality, compressive strength, flexural strength, density, water content,
water absorption rate, and uniform temperature burning properties, etc. of inorganic
rigid thermal insulation products.
This Standard is applicable to the following inorganic rigid thermal insulation products
such as calcium silicate thermal insulation products, foam glass thermal insulation
products, expanded perlite and vermiculite insulation products, etc.
2 Normative References
The provisions in following documents become the provisions of this Standard through
reference in this Standard. For dated references, the subsequent amendments
(excluding corrigendum) or revisions do not apply to this Standard, however, parties
who reach an agreement based on this Standard are encouraged to study if the latest
versions of these documents are applicable. For undated references, the latest edition
of the referenced document applies.
GB/T 4132 Definitions of Terms Relating to Thermal Insulating Materials (GB/T
4132-1996, neq ISO 7345:1987)
3 Terms and Definitions
For the purpose of this Standard, the terms and definitions given in GB/T 4132 apply.
4 Geometric Dimensions
4.1 Measuring tools
4.1.1 Steel ruler: the division value is 1mm.
4.1.2 Steel tape: the division value is 1mm.
4.1.3 Steel square-ruler: the division value is 1mm; and the length of one arm shall be
no less than 500mm.
4.1.4 Vernier caliper: the division value is 0.05mm.
4.1.5 Caliper.
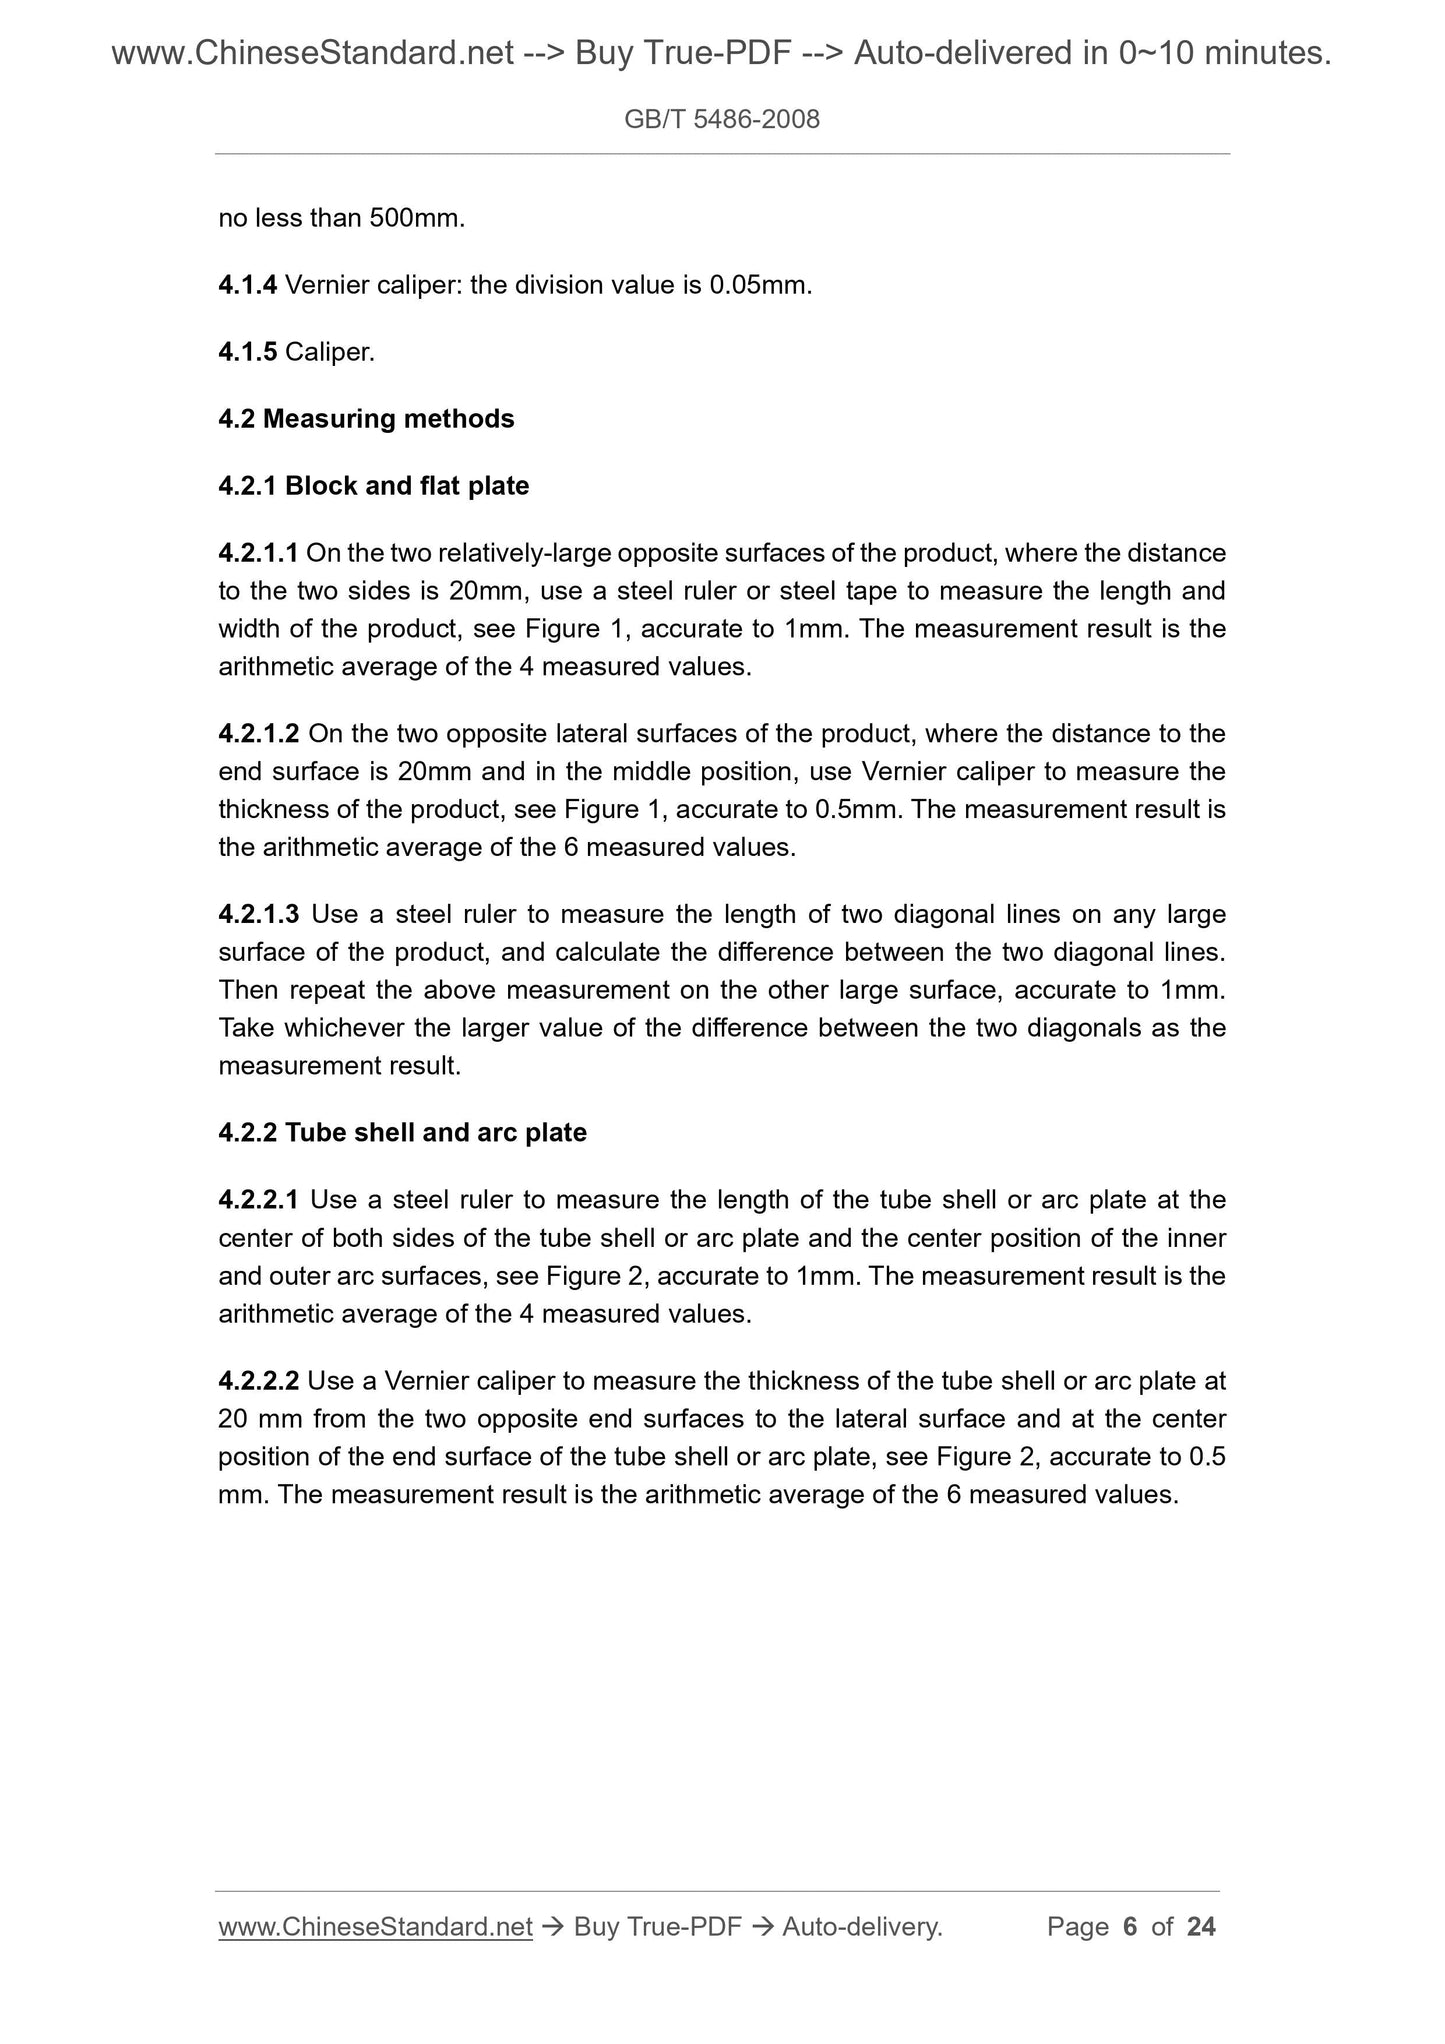
4.2 Measuring methods
4.2.1 Block and flat plate
4.2.1.1 On the two relatively-large opposite surfaces of the product, where the distance
to the two sides is 20mm, use a steel ruler or steel tape to measure the length and
width of the product, see Figure 1, accurate to 1mm. The measurement result is the
arithmetic average of the 4 measured values.
4.2.1.2 On the two opposite lateral surfaces of the product, where the distance to the
end surface is 20mm and in the middle position, use Vernier caliper to measure the
thickness of the product, see Figure 1, accurate to 0.5mm. The measurement result is
the arithmetic average of the 6 measured values.
4.2.1.3 Use a steel ruler to measure the length of two diagonal lines on any large
surface of the product, and calculate the difference between the two diagonal lines.
Then repeat the above measurement on the other large surface, accurate to 1mm.
Take whichever the larger value of the difference between the two diagonals as the
measurement result.
4.2.2 Tube shell and arc plate
4.2.2.1 Use a steel ruler to measure the length of the tube shell or arc plate at the
center of both sides of the tube shell or arc plate and the center position of the inner
and outer arc surfaces, see Figure 2, accurate to 1mm. The measurement result is the
arithmetic average of the 4 measured values.
4.2.2.2 Use a Vernier caliper to measure the thickness of the tube shell or arc plate at
20 mm from the two opposite end surfaces to the lateral surface and at the center
position of the end surface of the tube shell or arc plate, see Figure 2, accurate to 0.5
mm. The measurement result is the arithmetic average of the 6 measured values.
softening point of 40°C to 75°C), 1 mm thick asphalt oil paper; small paint brush or
paint scraper; and other auxiliary equipment, for instance crucible for melting asphalt.
6.2 Test piece
Randomly select 4 samples; each sample is made into a test piece with a compression
surface size of about 100mm×100mm. The flat plate (or block) is cut from the center
at 5mm away from the two diagonal edges in any diagonal direction; the thickness of
the test piece is the thickness of the product, but it shall be no greater than its width. if
the arc plate and the tube shell cannot be made into a test piece with the compression
surface size of 100mm×100mm, then a test piece with a minimum compression
surface size of 50mm×50 mm may be made. The thickness of the test piece shall be
as thick as possible, but no less than 25 mm. When the test piece of this size cannot
be made, a flat plate with the same material and the same thickness may be made
instead. The surface of the test piece shall be smooth and free of cracks.
6.3 Test procedures
6.3.1 Place the test piece in a drying oven and dry it to a constant mass according to
the provisions of 8.3.2. Then move the test piece to a dryer to cool to room temperature.
6.3.2 Measure the length and width by a steel ruler (a Vernier caliper when the size is
less than 100mm) at a distance of 10 mm from the edge from the upper and lower
compression surfaces of the test piece. Use the steel ruler to measure the thickness
of the test piece in the middle of the two corresponding surfaces of the thickness. The
length and width measurement results are the arithmetic average of the 4 measured
values, respectively, accurate to 1mm (accurate to 0.5mm when the size is less than
100mm); and the thickness measurement result is the arithmetic average of the 2
measured values, accurate to 1mm.
6.3.3 For the foamed glass insulation products, use a paint brush or scraper to evenly
paint the emulsified asphalt or molten asphalt on the upper and lower compression
surfaces of the test piece before the test. The cells are required to be just painted flat.
Cover the pre-cut bitumen oil paper with a size of 100mm×100mm on the coating and
is placed in a dryer for at least 24h.
6.3.4 Place the test piece on the load-bearing plate of the testing machine so that the
center of the load-bearing plate of the testing machine coincides with the center of the
test piece.
6.3.5 Start the testing machine. When the upper load-bearing plate is close to the test
piece, adjust the ball seat to make the compression surface of the test piece evenly
contact with the load-bearing plate.
6.3.6 Load the test piece at a speed of (10±1) mm/min until the test piece is broken;
meanwhile record the compression deformation value. When the specimen is not
7.1.2 Electric heating blast drying oven.
7.1.3 Steel ruler: the division value is 1mm.
7.1.4 Vernier caliper: the division value is 0.05mm.
7.1.5 Auxiliary equipment is the same as 6.1.7.
7.2 Test piece
7.2.1 Randomly select 4 blocks of samples; each is made into a test piece with length
at least 240mm (if the thickness of the test piece is greater than 70mm, its length shall
be at least the sum of 3 times the thickness and 40mm), width 75mm ~ 150mm,
thickness is that of the test piece. The tube shell and the arc plate shall be processed
into the test piece with the above-mentioned length and width, the thickness shall be
as thick as possible, but the thickness shall be no less than 25mm. When the above
test piece cannot be made, it may be made into the flat plate product instead with the
same material and the same process.
7.2.2 The specimen shall not be damaged or cracked during processing.
7.3 Test procedures
7.3.1 Dry the test piece to a constant mass according to 8.3.2; and cool off to room
temperature.
7.3.2 At the center of the length of the test piece, measure the width of the upper and
lower surfaces of the test piece and the thickness of the two lateral-surface. The
measurement results of width and thickness are the arithmetic average of the 2
measured values, the width is accurate to 0.5mm, and the thickness is accurate to
0.1mm.
7.3.3 Foam glass thermal insulation products shall be uniformly coated with emulsified
asphalt or melted asphalt at the supporting point and loading point before the test; and
then cover the pre-cut asphalt oil paper with a width of 24 mm on the coating. Place it
in the dryer for at least 24h.
7.3.4 Adjust the distance between the two bearing roller shafts to 200mm. If the
thickness of the test piece is greater than 70mm, the distance between the two bearing
roller shafts shall be increased to at least 3 times the thickness of the product.
7.3.5 Place the test piece symmetrically on the bearing roller shafts; adjust the loading
speed, so that the descending speed of the compression roller shaft is (10 ± 1) mm/min.
7.3.6 Compress until the specimen is broken; record the maximum failure load of the
test piece P2, accurate to 1N.
Gz – mass of the test piece under natural state, in kg;
G – mass of the test piece after drying, in g.
8.4.4 The water content of the product is the arithmetic average of the water content
of the 3 test pieces, accurate to 0.1%.
9 Water Absorption Rate
9.1 Apparatus and materials
9.1.1 Water tank made of stainless steel or galvanized sheet shall be so large that it
can soak 3 test pieces.
9.1.2 A grille made of wooden strips with a cross-section of approximately 20 mm × 20
mm.
9.1.3 Electric heating blast drying oven.
9.1.4 Measuring tools shall be according to the requirements of 8.1.3 and 8.1.4.
9.1.5 Balance: Weigh 2kg, and the division value is 0.1g.
9.1.6 Towels.
9.1.7 Flexible polyurethane foam (sponge) with size of 180mm×180mm×40mm.
9.2 Test piece
Randomly select 3 blocks of samples; and each is made into a test piece with length
and width of about 400 mm × 300 mm; and thickness is that of the product; a total of
3 blocks of test pieces.
9.3 Laboratory environmental conditions
Temperature 20°C±5°C, relative humidity (60±10) %.
9.4 Test procedures
9.4.1 Dry the test piece to a constant mass according to the provisions of 8.3.2, and
cool to room temperature.
9.4.2 Weigh the sample mass after drying, Gg, accurate to 0.1g.
9.4.3 Measure the geometric dimension of the test piece according to the method
specified in 4.2.1; and calculate the volume of the test piece, V2.
ρw – density of tap water, take 1000kg/m3.
9.5.3 The water absorption rate of the product is the arithmetic average of the water
absorption rate of the 3 test pieces, accurate to 0.1%
10 Uniform Temperature Burning Properties
10.1 Apparatus
10.1.1 High temperature furnace: the maximum working temperature shall be no less
than 1000°C, and the furnace temperature shall be controlled within ±1% of the test
temperature.
10.1.2 Electric heating blast drying oven.
10.1.3 Vernier caliper: the division value is 0.02mm.
10.1.4 Steel ruler: the division value is 1mm.
10.1.5 Balance: the range meets the weighing requirements of the test piece, and the
division value shall be less than two ten-thousandths of the weighing value (the mass
of the test piece).
10.1.6 Pressure testing machine: the relative indication error shall be less than 1%,
and the testing machine shall have a device that shows compression deformation.
10.1.7 Dryer.
10.1.8 4× magnifier.
10.2 Test piece
Randomly select 3 blocks of samples; and each is made into a test piece with length
and width of about 120 mm, and thickness is that of the product. The arc plate and the
tube shell shall be made into a test piece with length and width of about 120 mm, and
thickness is as thick as possible, but the thickness shall be no less than 25mm. For
products that cannot be made into the above test pieces, it may be replaced by the flat
plate products made of the same materials and processes. After the test piece is
processed, it shall be inspected by a magnifier, and no cracks shall appear.
10.3 Test procedures
10.3.1 Dry the test piece to a constant mass according to the provisions of 8.3.2, and
cool to room temperature.
10.3.2 Weigh the mass of the test piece after drying, G1, and retain 5 significant digits.
GB/T 5486-2008
GB
NATIONAL STANDARD OF THE
PEOPLE’S REPUBLIC OF CHINA
ICS 91.120.10
Q 25
Replacing GB/T 5486.1~5486.4-2001
Test Methods for Inorganic Rigid Thermal Insulation
ISSUED ON: MAY 12, 2008
IMPLEMENTED ON: NOVEMBER 01, 2008
Issued by: General Administration of Quality Supervision, Inspection and
Quarantine;
Standardization Administration of PRC.
Table of Contents
Foreword ... 3
1 Scope ... 5
2 Normative References ... 5
3 Terms and Definitions ... 5
4 Geometric Dimensions ... 5
5 Appearance Quality... 9
6 Compressive Strength ... 14
7 Flexural Strength ... 16
8 Density, Water Content ... 18
9 Water Absorption Rate ... 20
10 Uniform Temperature Burning Properties ... 22
Test Methods for Inorganic Rigid Thermal Insulation
1 Scope
This Standard specifies the test methods for items such as the geometric dimensions,
appearance quality, compressive strength, flexural strength, density, water content,
water absorption rate, and uniform temperature burning properties, etc. of inorganic
rigid thermal insulation products.
This Standard is applicable to the following inorganic rigid thermal insulation products
such as calcium silicate thermal insulation products, foam glass thermal insulation
products, expanded perlite and vermiculite insulation products, etc.
2 Normative References
The provisions in following documents become the provisions of this Standard through
reference in this Standard. For dated references, the subsequent amendments
(excluding corrigendum) or revisions do not apply to this Standard, however, parties
who reach an agreement based on this Standard are encouraged to study if the latest
versions of these documents a...
Share