1
/
of
5
PayPal, credit cards. Download editable-PDF and invoice in 1 second!
GB/T 531.2-2009 English PDF (GB/T531.2-2009)
Regular price
$70.00
Regular price
Sale price
$70.00
Unit price
/
per
Shipping calculated at checkout.
Couldn't load pickup availability
GB/T 531.2-2009: Rubber, vulcanized or thermoplastic -- Determination of indentation hardness -- Part 2: IRHD pocket meter method
Delivery: 9 seconds. Download (& Email) true-PDF + Invoice.
Get Quotation: Click GB/T 531.2-2009 (Self-service in 1-minute)
Historical versions (Master-website): GB/T 531.2-2009
Preview True-PDF (Reload/Scroll-down if blank)
GB/T 531.2-2009
Rubber, vulcanized and thermoplastic.Determination of indentation hardness.Part 2. IRHD pocket meter method
ICS 83.060
G40
National Standards of People's Republic of China
GB/T 531.2-2009/ISO 7619-2.2004
Partially replace GB/T 531-1999
Vulcanized rubber or thermoplastic rubber
Pressing hardness test method
Part 2. Portable Rubber International Hardness Tester
(ISO 7619-2.2004, IDT)
Released on.2009-04-24
2009-12-01 implementation
General Administration of Quality Supervision, Inspection and Quarantine of the People's Republic of China
China National Standardization Administration issued
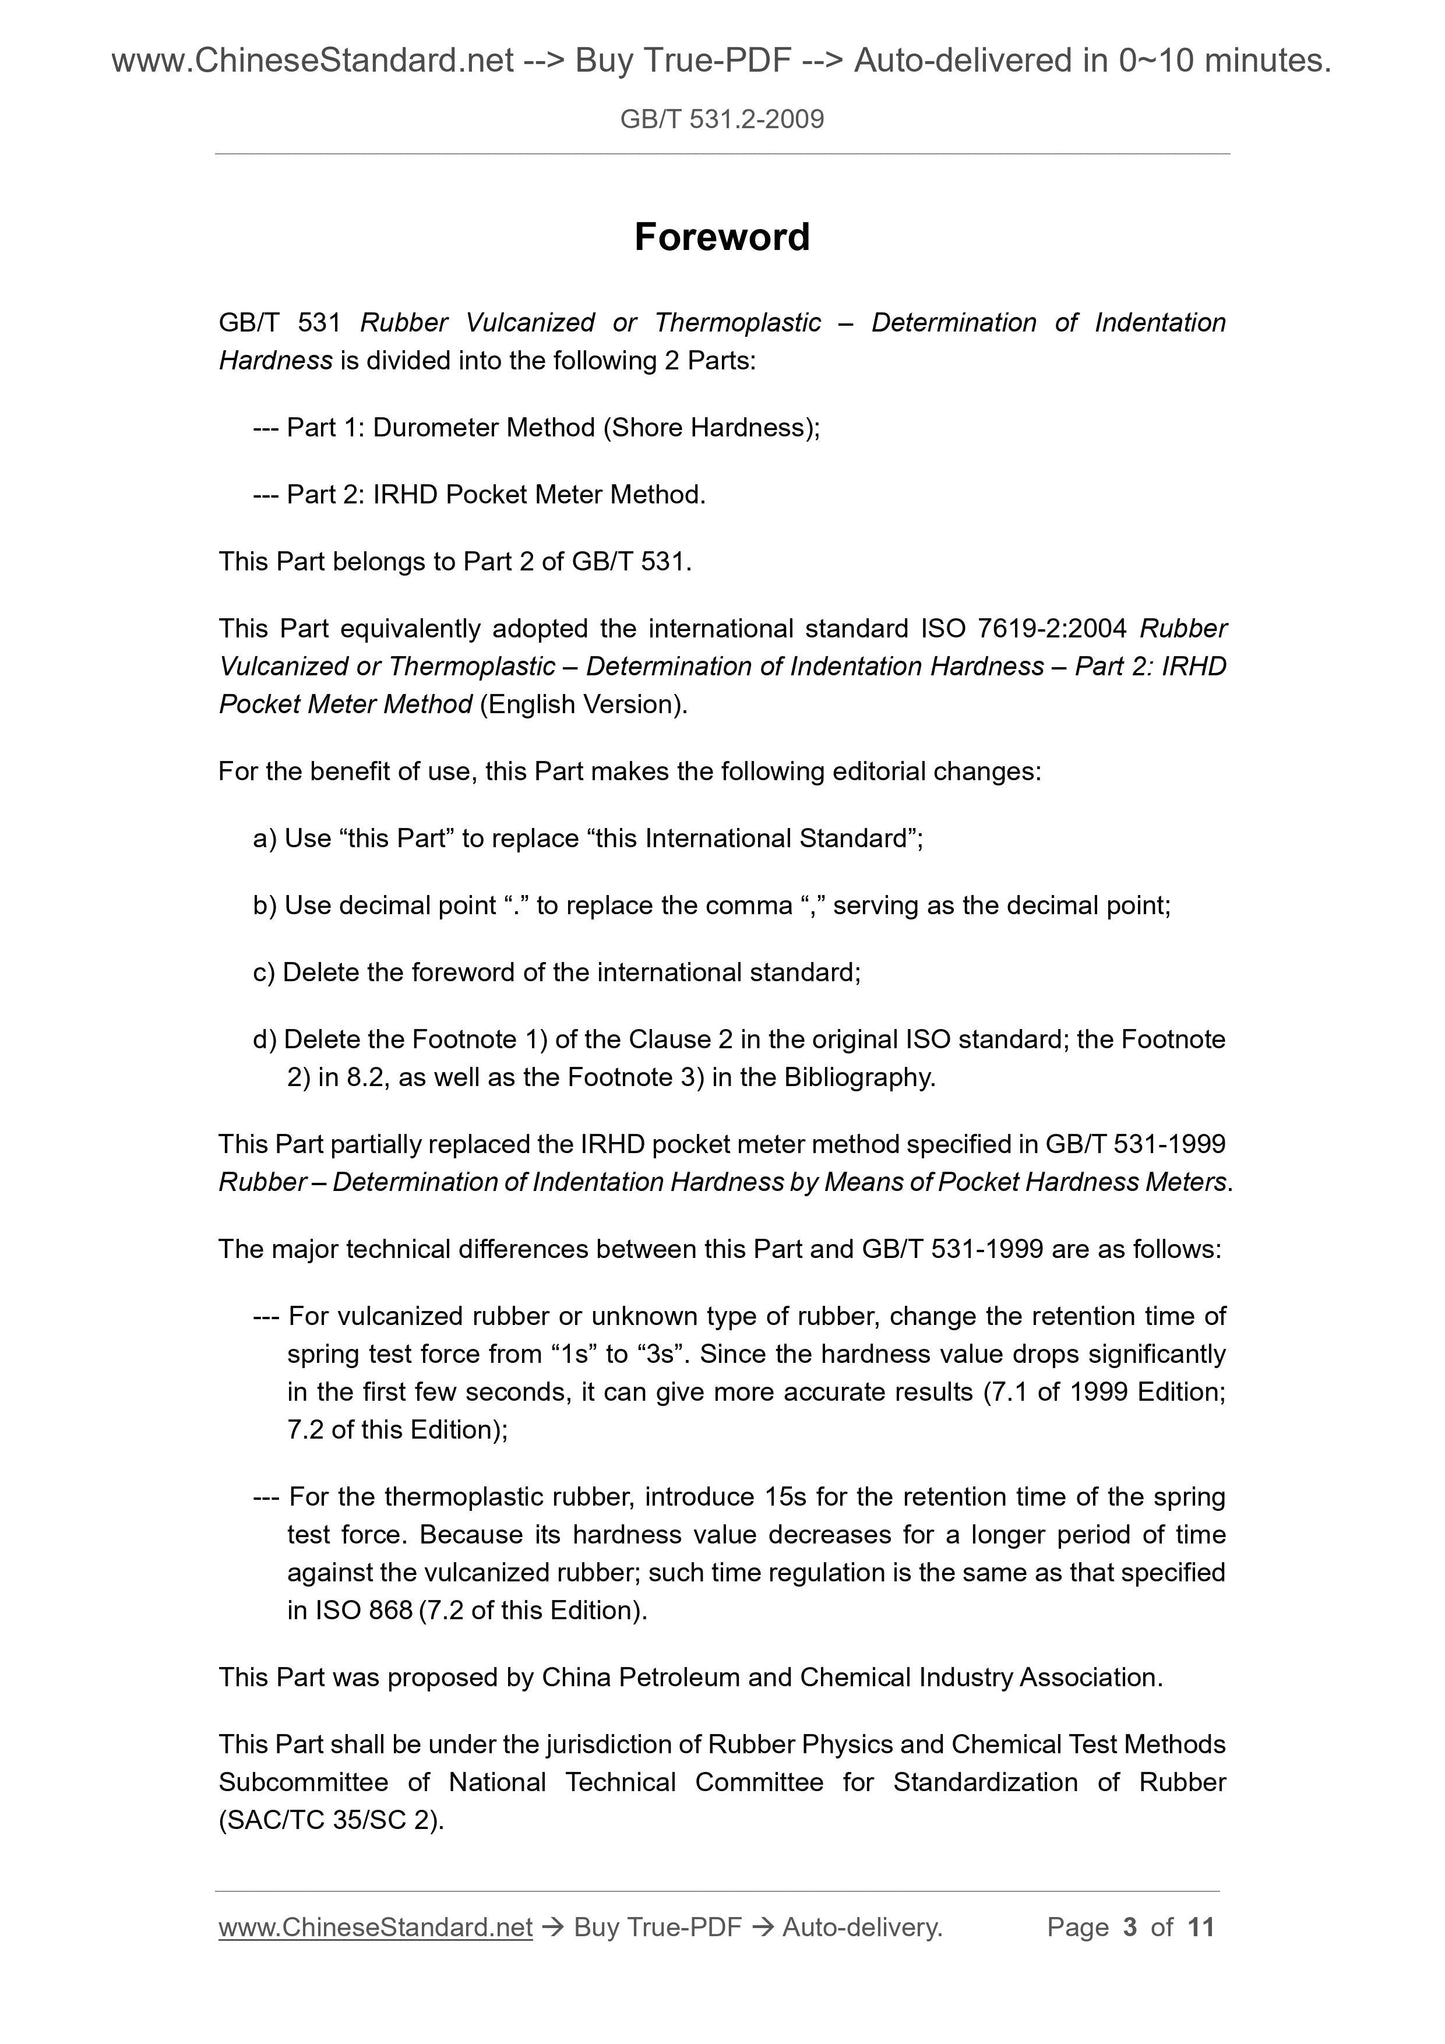
Foreword
GB/T 531 "Vulcanized rubber or thermoplastic rubber indentation hardness test method" is divided into two parts.
--- Part 1. Shore hardness test method (Shore hardness);
--- Part 2. Portable rubber international hardness test method.
This part is the second part of GB/T 531.
This part is equivalent to the international standard ISO 7619-2.2004 "Vulcanized rubber or thermoplastic rubber indentation hardness test method Part 2
Points. Portable Rubber International Hardness Test Method (English version).
For ease of use, this section has made the following editorial changes.
a) replace “this International Standard” with “this part”;
b) replace the "," as a decimal point with a decimal point ".";
c) deleted the preamble of international standards;
d) Remove footnote 1) from Chapter 2 of the ISO Standard, footnote 2 in 8.2 and footnote 3) in the References section.
This part replaces the rubber international hardness pocket of GB/T 531-1999 "Rubber Pocket Hardness Tester Hardness Test Method"
The content of the method.
The main technical differences between this part and GB/T 531-1999 are as follows.
--- For vulcanized rubber or unknown type of rubber, the spring test force retention time is changed from the original "1s" to 3s, due to the first few seconds
The hardness value drops significantly during the time, which leads to more accurate results (7.1 of the.1999 edition; 7.2 of this edition);
--- For thermoplastic rubber, a spring test force of 15 s is introduced to maintain the time because the hardness value decreases with respect to the vulcanized rubber.
The process lasts for a longer period of time, as specified in ISO 868 (7.2 of this edition).
This section was proposed by the China Petroleum and Chemical Industry Association.
This part is divided into the National Technical Committee for Standardization of Rubber and Rubber Products Standardization Technical Committee (SAC/TC35/SC2)
Return to the mouth.
This section drafted by. Guangdong Institute of Metrology.
Drafters of this section. Chen Minghua, Gao Furong, Tang Changshe.
The previous versions of the standards replaced by this section are.
---GB/T 531-1965, GB/T 531-1992, GB/T 531-1999.
GB/T 531.2-2009/ISO 7619-2.2004
introduction
Whether using a Shore hardness tester or a portable rubber international hardness tester to measure rubber hardness, it is formed by a combined effect on the rubber surface.
A certain depth of penetration to indicate the hardness measurement, which depends on.
a) the modulus of elasticity of the rubber;
b) the viscoelasticity and hysteresis of the rubber;
c) the thickness of the sample;
d) the geometry of the needle;
e) the pressure applied;
f) the rate at which the pressure increases;
g) Record the hardness interval.
Due to these factors, it is not recommended to convert the rubber international hardness (IRHD) directly to the Shore hardness value, although for certain rubbers and combinations
Object, once established a correction value between the two hardness conversion.
Note. Further information on the relationship between Shore hardness and rubber international hardness can be found in references [4], [5], [6].
GB/T 531.2-2009/ISO 7619-2.2004
Vulcanized rubber or thermoplastic rubber
Pressing hardness test method
Part 2. Portable Rubber International Hardness Tester
Warning---The personnel using this part of GB/T 531 should have practical experience in formal laboratory work. This section does not point out that all
Possible security issues. It is the responsibility of the user to take appropriate safety and health measures and to ensure compliance with the conditions set by the relevant national regulations.
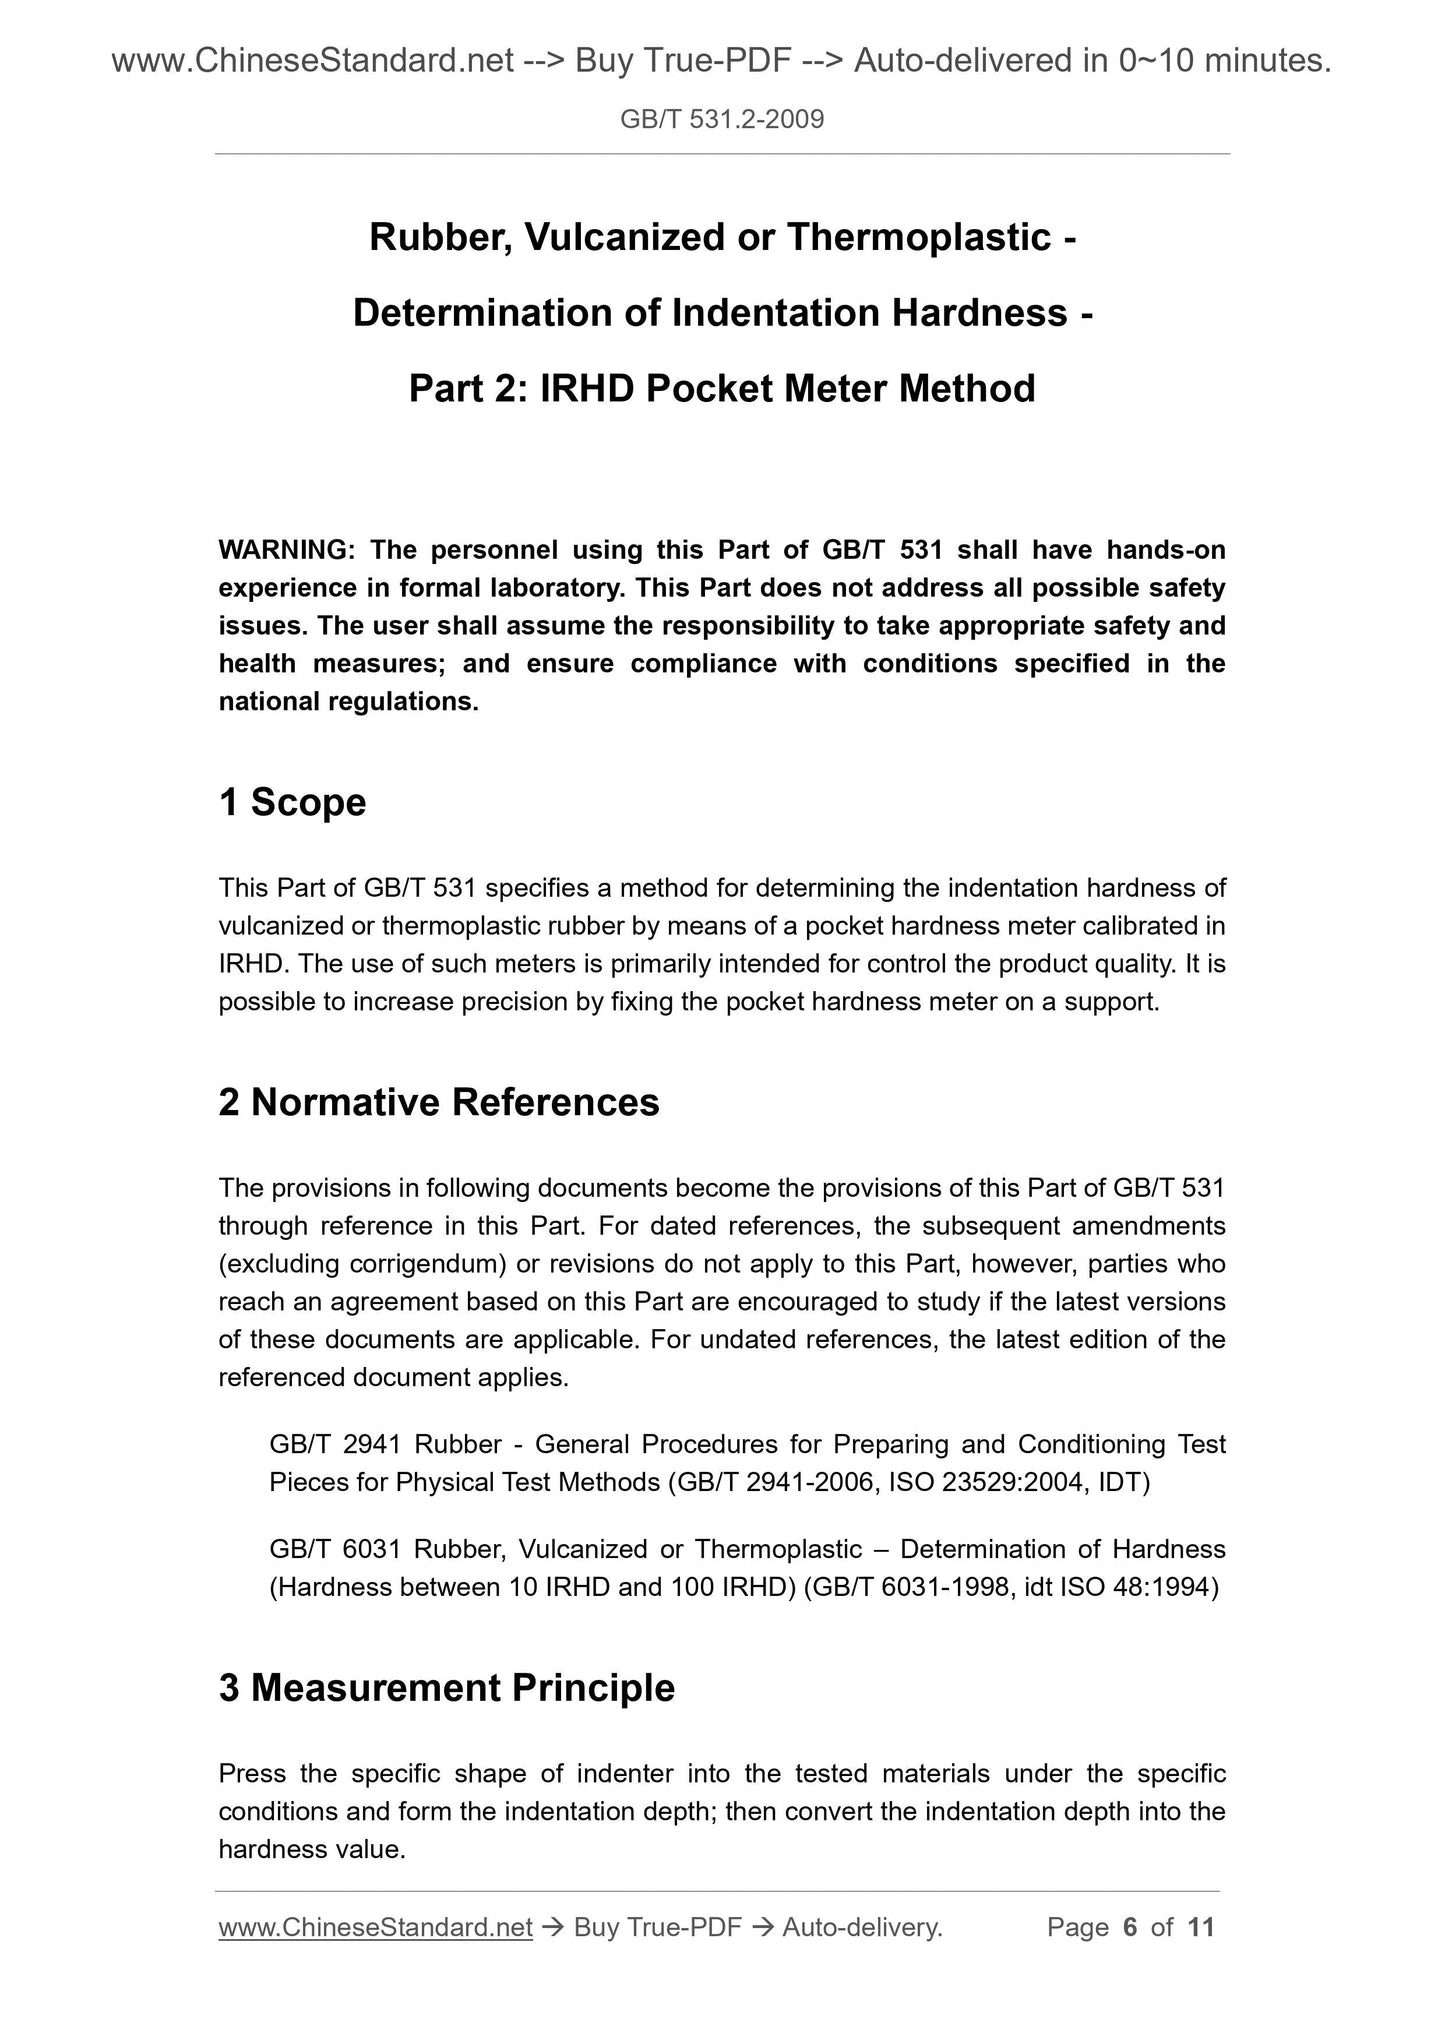
1 range
This part of GB/T 531 specifies a method for measuring the hardness of vulcanized or thermoplastic rubber by using a portable rubber international hardness tester.
The use of such durometers is mainly to control the quality of the product, and the fixing of the portable hardness tester to the bracket can improve the measurement accuracy.
2 Normative references
The provisions in the following documents become the provisions of this part by reference to this part of GB/T 531. Quotations with dated
And all subsequent amendments (not including errata content) or revisions do not apply to this section, however, encouragement is achieved in accordance with this section.
The parties to the agreement study whether the latest versions of these documents can be used. For undated references, the latest edition applies to this
section.
GB/T 2941 Rubber physical test method General procedure for preparation and adjustment of specimens (GB/T 2941-2006, ISO 23529.2004,
IDT)
GB/T 6031 Determination of hardness of vulcanized rubber or thermoplastic rubber (10-100 IRHD) (GB/T 6031-1998, idt
ISO 48.1994)
3 Measuring principle
The measuring principle is to press a specified shape of the pressing needle into the material to be tested under specified conditions to form a press-in depth, and then convert the indentation depth.
It is the hardness value.
4 instruments
4.1 Portable Rubber International Hardness Tester
4.1.1 to 4.1.4 detail the various components of the portable rubber international hardness tester.
4.1.1 Pressing the foot
The pressing foot should be a square with a side length of 20 mm ± 2.5 mm and a middle hole with a diameter of 2.5 mm ± 0.5 mm (see Figure 1).
4.1.2 Pressure pin
The tip of the needle is a hemispherical shape with a diameter of 1.575 mm ± 0.025 mm (see Figure 1).
GB/T 531.2-2009/ISO 7619-2.2004
The unit is mm
1---hemispherical needle (diameter 1.575mm ± 0.025mm).
The a hardness is shown to be 30 IRHD.
Figure 1 Portable rubber international hardness tester
4.1.3 indicating device
The indicating device is used to read the length of the end of the pressing needle which protrudes from the surface of the pressing foot and is expressed by the hardness value. The indication range of the indicating device can be
Calibrate by the following method. When the maximum extension of the needle is 1.65 mm, the indication value is 30 IRHD, and the pressing foot and the needle are in close contact.
In the glass plane, when the amount of protrusion is 0, the indication value is 100IRHD.
4.1.4 Spring
In the range of hardness values from 30 IRHD to 100 IRHD, the spring is used to apply a constant size of 2.65 N ± 0.15 N to the needle.
Test force.
5 sample
5.1 Thickness
The hardness is measured with a portable hardness tester and the thickness of the sample should be at least 6 mm.
For sheets with a thickness of less than 6 mm, in order to obtain a sufficient test thickness, the sample may be formed by stacking no more than 3 sheets, each sheet being thick.
The degree should not be less than 2mm. However, the measurement results obtained by this method may be inconsistent with the measurement results of the single layer.
The specimens used for comparison purposes should be similar in shape and size.
5.2 Surface
The size of the sample shall be sufficiently large that the measurement point shall be at least 12 mm away from either edge of the specimen, and the surface of the specimen in contact with the pressed foot shall be
smooth.
Satisfactory measurements cannot be obtained on curved, uneven or rough surfaces with portable rubber international hardness testers. However they
There are also special applications, such as ISO 7267-1 for hardness measurement of rubber rollers. The limitations of these special applications should be clear
understanding.
6 adjustment
The sample shall be conditioned for at least 1 h at the standard laboratory temperature in accordance with the provisions of GB/T 2941 for comparison purposes.
Any single or series of tests should always use the same temperature.
GB/T 531.2-2009/ISO 7619-2.2004
7 procedures
7.1 General procedure
Place the specimen on a flat, rigid, rigid surface. Hold the hardness tester so that the center of the end of the needle and the edge of the sample have at least
12mm distance. Press the presser foot onto the specimen as quickly and without vibration as possible. Ensure that the pressing foot is parallel to the surface of the sample, and the needle and rubber table
The face is vertical.
7.2 Test force retention time
Apply sufficient pressure to keep the press foot in intimate contact with the sample surface and then read at the specified time. Vulcanized rubber standard test
The force retention time is 3 s and the thermoplastic rubber is 15 s. If other test forces are used to maintain the time, it should be stated in the test report. Unknown class
The rubber is treated as a vulcanized rubber.
7.3 Number of measurements
Five measurements were taken at different points on the surface of the sample. The measurement points were separated by at least 6 mm, and then the median of the measurements was taken five times.
8 Calibration and verification
8.1 Calibration
The spring test force and related geometry of the durometer should be adjusted and calibrated regularly using a suitable instrument.
Note. For calibration of the Shore hardness tester, refer to ISO 18898.
8.2 Verification using standard rubber blocks
Press the hardness tester on the glass plate and adjust the reading on the dial to 100 IRHD. Use a set of hardness values of approximately 30IRHD~
The 90IRHD standard rubber block is calibrated and all adjustments should be made in accordance with the manufacturer's instructions. A set of standard rubber blocks included
At least 6 pieces are sprinkled with talcum powder between standard rubber blocks and stored in a covered box protected from light, heat and grease. Standard rubber blocks are to be followed
The method given in GB/T 6031 is periodically recalibrated with a fixed-duty hardness tester, with each calibration interval not exceeding 6 months. Daily use
Hardness testers should be inspected at least weekly using standard rubber blocks.
9 test report
The test report should contain the following information.
a) The standard name and number on which the test is based.
b) Sample details
--- Detailed description of the sample and its source;
---Details of known compounds and processing adjustments;
--- Description of the sample, including the thickness, the number of laminates for the laminated sample.
c) Test details
--- Test temperature, when the hardness of the material is related to humidity, give the relative humidity;
--- Use the model number of the instrument;
--- the time interval between sample preparation and measuring hardness;
--- Any procedure that deviates from the requirements of this section;
--- This section does not give details of the procedures, such as any factors that may affect the measurement results.
d) Test results - each indentation hardness value and the time between each reading when the spring test force holding time is not 3s
Separate, measure the median, maximum and minimum values.
e) Test date.
GB/T 531.2-2009/ISO 7619-2.2004
Book GB/T 531.2-2009/ISO 7619-2.2004
references
[1] ISO 868 Hardness tester (Shore hardness) test method for hardness and hardness of plastics
[2] ISO 7267-1 Rubber roll hardness determination Rubber international hardness test method
[3] Calibration and verification of ISO 18898 rubber hardness tester
[4] BROWN, R. P, Rubber Physics Test, Chapman and Hal, London,.1996
[5] ObertoS Rubber Chemical Technology, 1955, 28, 1054
[6] JuveA. E Rubber Chemical Technology, 1957, 30, 367
4002.
OSI/9002-
2.
T/B
GB/T 531.2-2009
Rubber, vulcanized and thermoplastic.Determination of indentation hardness.Part 2. IRHD pocket meter method
ICS 83.060
G40
National Standards of People's Republic of China
GB/T 531.2-2009/ISO 7619-2.2004
Partially replace GB/T 531-1999
Vulcanized rubber or thermoplastic rubber
Pressing hardness test method
Part 2. Portable Rubber International Hardness Tester
(ISO 7619-2.2004, IDT)
Released on.2009-04-24
2009-12-01 implementation
General Administration of Quality Supervision, Inspection and Quarantine of the People's Republic of China
China National Standardization Administration issued
Foreword
GB/T 531 "Vulcanized rubber or thermoplastic rubber indentation hardness test method" is divided into two parts.
--- Part 1. Shore hardness test method (Shore hardness);
--- Part 2. Portable rubber international hardness test method.
This part is the second part of GB/T 531.
This part is equivalent to the international standard ISO 7619-2.2004 "Vulcanized rubber or thermoplastic rubber indentation hardness test method Part 2
Points. Portable Rubber International Hardness Test Method (English version).
For ease of use, this section has made the following editorial changes.
a) replace “this International Standard” with “this part”;
b) replace the "," as a decimal point with a decimal point ".";
c) deleted the preamble of international standards;
d) Remove footnote 1) from Chapter 2 of the ISO Standard, footnote 2 in 8.2 and footnote 3) in the References section.
This part replaces the rubber international hardness pocket of GB/T 531-1999 "Rubber Pocket Hardness Tester Hardness Test Method"
The content of the method.
The main technical differences between this part and GB/T 531-1999 are as follows.
--- For vulcanized rubber or unknown type of rubber, the spring test force retention time is changed from the original "1s" to 3s, due to the first few seconds
The hardness value drops significantly during the time, which leads to more accurate results (7.1 of the.1999 edit...
Share