GB/T 5137.1-2020 English PDF (GBT5137.1-2020)
Regular price
$355.00 USD
Regular price
Sale price
$355.00 USD
Unit price
/
per
Delivery: 3 seconds. Download true-PDF + Invoice.
Get QUOTATION in 1-minute: Click GB/T 5137.1-2020
Historical versions: GB/T 5137.1-2020
Preview True-PDF (Reload/Scroll if blank)
GB/T 5137.1-2020: Test methods of safety glazing materials used on road vehicles -- Part 1: Mechanical properties tests
GB/T 5137.1-2020
NATIONAL STANDARD OF THE
PEOPLE’S REPUBLIC OF CHINA
ICS 43.040.60
T 34
Replacing GB/T 5137.1-2002
Test methods of safety glazing materials used on road
vehicles - Part 1: Mechanical properties tests
(ISO 3537:2015, Road vehicles - Safety glazing materials -
Mechanical tests, MOD)
ISSUED ON: MARCH 31, 2020
IMPLEMENTED ON: FEBRUARY 01, 2021
Issued by: State Administration for Market Regulation;
Standardization Administration of the PRC.
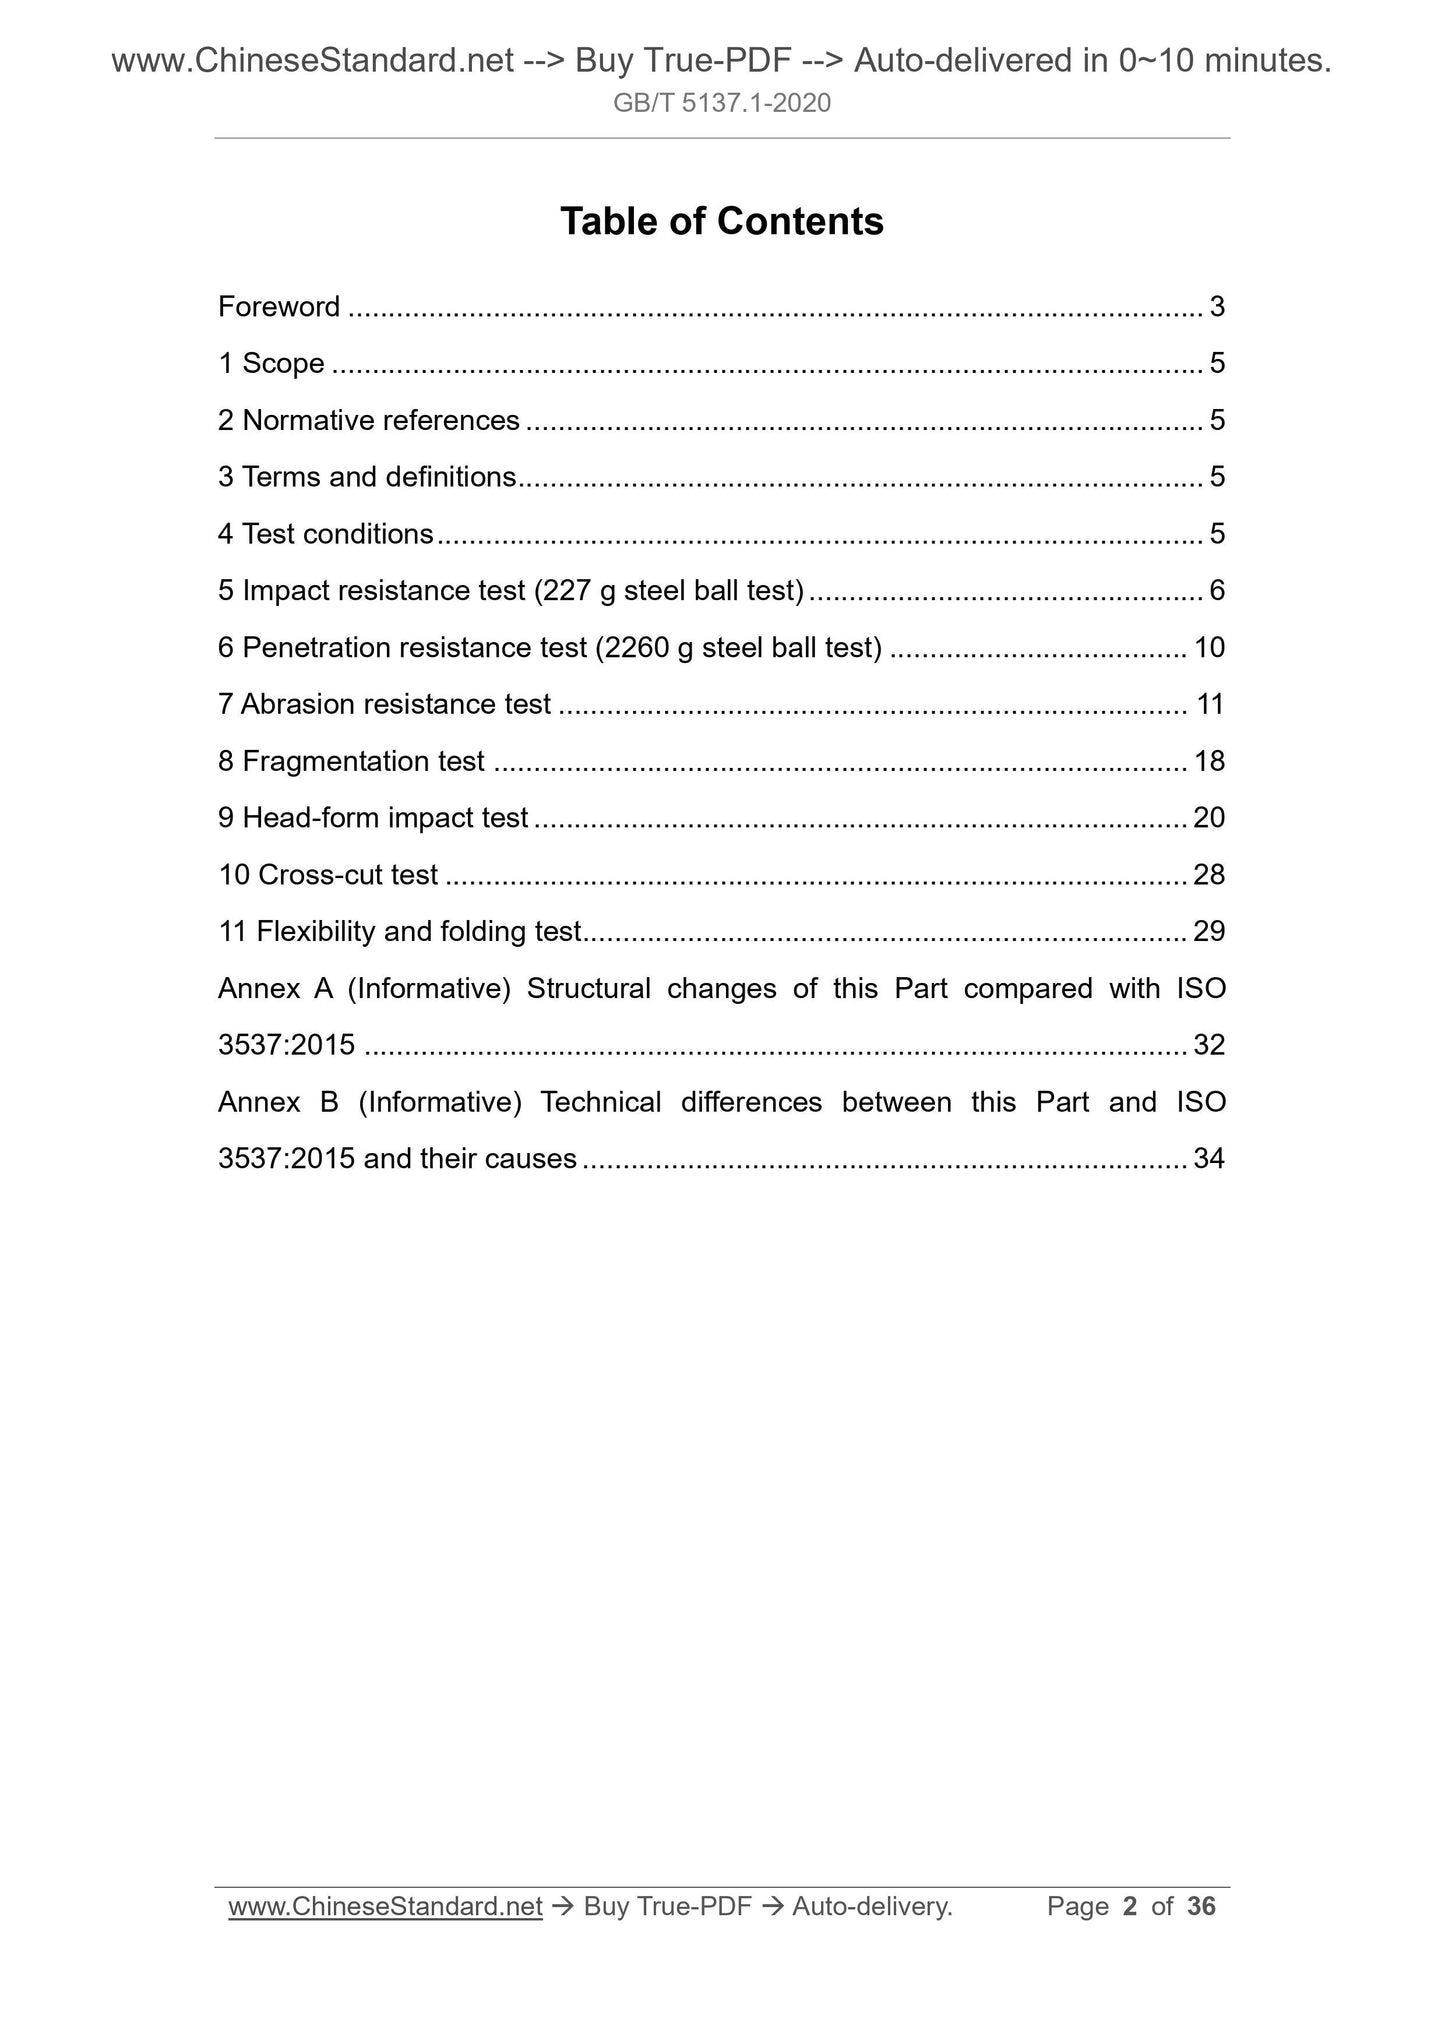
Table of Contents
Foreword ... 3
1 Scope ... 5
2 Normative references ... 5
3 Terms and definitions ... 5
4 Test conditions ... 5
5 Impact resistance test (227 g steel ball test) ... 6
6 Penetration resistance test (2260 g steel ball test) ... 10
7 Abrasion resistance test ... 11
8 Fragmentation test ... 18
9 Head-form impact test ... 20
10 Cross-cut test ... 28
11 Flexibility and folding test ... 29
Annex A (Informative) Structural changes of this Part compared with ISO
3537:2015 ... 32
Annex B (Informative) Technical differences between this Part and ISO
3537:2015 and their causes ... 34
Test methods of safety glazing materials used on road
vehicles - Part 1: Mechanical properties tests
1 Scope
This Part of GB/T 5137 specifies the test methods for impact resistance test,
penetration resistance test, abrasion resistance test, fragmentation test, head-
form impact test, cross-cut test, and flexibility and folding test of safety glazing
materials used on road vehicles.
This Part applies to the tests of safety glazing materials used on road vehicles.
2 Normative references
The following documents are indispensable for the application of this document.
For the dated references, only the editions with the dates indicated are
applicable to this document. For the undated references, the latest edition
(including all the amendments) are applicable to this document.
QC/T 1119 Road vehicles - Glazing materials - Terminology (QC/T 1119-
2019, ISO 3536:2016, MOD)
ISO 6487 Road vehicles - Measurement techniques in impact tests -
Instrumentation
3 Terms and definitions
For the purposes of this document, the terms and definitions given in QC/T 1119
apply.
4 Test conditions
Unless otherwise specified, the tests shall be carried out under the following
ambient conditions:
a) Ambient temperature: 20 °C±5 °C;
b) Atmospheric pressure: 8.60×10⁴ Pa~1.06×10⁵ Pa;
c) Relative humidity: 40%~80%.
the sample in the fixture, it shall be clamped to ensure that the movement of
the sample during test shall not exceed 2 mm at any point along the inside
periphery of the fixture. Impact height refers to the distance from the lower
surface of the steel ball to the upper surface of the sample.
The ball shall strike the face of the sample which represents the outside face of
the safety glazing material when mounted on the vehicle. The ball shall be
allowed to make only one impact.
After the impact, evaluate the damage form and degree of the sample. If there
is a requirement for the mass of the detached fragments on the reverse side of
the impact surface, it shall weigh and record the total mass of the detached
fragments.
6 Penetration resistance test (2260 g steel ball test)
6.1 Test purpose
Evaluation of the penetration resistance of the safety glazing material.
6.2 Test devices
6.2.1 Steel ball
Hardened steel ball, with a mass of 2260 g±20 g and a diameter of
approximately 82 mm.
6.2.2 Means for dropping
Means for dropping the ball freely from a height to be specified. The impact
point of the steel ball shall be within a circle with a radius of 25 mm at the center
of the sample.
6.2.3 Sample supporting fixture
Same as 5.2.3.
6.3 Sample
USE the special flat test piece prepared under the same material and process
conditions as the product or the test piece cut from the flattest part of the
product AS the sample. The size is mm× mm. When applicable,
the product can also be a sample.
Before the test, the laminated glass test sample shall be placed at a
temperature of 20 °C±5 °C and a relative humidity of 40%~80% for at least 4 h.
The sample of plastic-glass composite material shall be placed at a temperature
of 23 °C±2 °C and a relative humidity of 45%~55% for at least 48 h. The sample
of plastic-glass composite material shall be tested within 30 s of leaving the
placement condition.
6.4 Test procedure
PLACE the sample in the supporting fixture as described in 5.2.3. The impact
plane of the sample shall be perpendicular, within 3°, to the incident direction
of the ball. In the case of curved samples, it shall make sure that the sample
can fully contact the edge of the supporting fixture. When necessary to retain
the sample in the fixture, it shall be clamped to ensure that the movement of
the sample during test shall not exceed 2 mm at any point along the inside
periphery of the fixture. The impact height is 4000 mm; the tolerance range is 0
mm~25 mm, which refers to the distance from the lower surface of the steel ball
to the upper surface of the sample.
The ball shall strike the face of the sample which represents the internal face of
the safety glazing material when mounted on the vehicle. The ball shall be
allowed to make only one impact.
After the impact, evaluate whether the steel ball penetrates the sample within 5
s.
7 Abrasion resistance test
7.1 Test purpose
Determination of whether the safety glazing material has a certain minimum
resistance to abrasion at ambient temperature.
7.2 Test devices
7.2.1 Abrading instrument, shown diagrammatically in Figure 2, and consisting
of the following:
a) A horizontal turntable and center clamp which revolves counter-clockwise.
The turntable shall rotate steadily and be kept on a horizontal surface. The
runout of the end face at 1.6 mm from the periphery of the turntable shall
be no more than ±0.05 mm. Its speed is 55 r/min~75 r/min.
b) Two weighted parallel arms, each carrying a special abrasive wheel freely
rotating on a ball bearing horizontal spindle. The distance between the
inner surfaces of the two abrasive wheels is (52.4±1.0)mm (corresponding
to the centerline distance 65.1 mm between the two abrasive wheels). The
horizontal offset distance between the centerline of the two abrasive wheel
spindles and the axis of the rotary table is (19.05±0.30)mm, as shown in
7 - Filter;
8 - Photodetector;
9 - Light trap;
10 - Reflectance standard.
Figure 3 -- Diagram of hazemeter
Calibrate the hazemeter before the initial measurement of the haze with no
sample present and verify that the reading of the hazemeter is zero. The whole
apparatus shall be checked at regular intervals by means of calibration
standards of defined haze.
If haze measurements are made using equipment or methods differing from the
above, the results shall be corrected in order to agree with those obtained by
the apparatus described above.
7.3 Ambient conditions for test
The test shall be conducted under the following ambient conditions:
a) Ambient temperature: 23 °C±2 °C;
b) Atmospheric pressure: 8.60×10⁴ Pa~1.06×10⁵ Pa;
c) Relative humidity: 45%~55%.
7.4 Sample
USE a square special flat test piece with a side length of 100 mm prepared
under the same material and process conditions as the product or a test piece
cut from a flat product AS a sample. The two surfaces shall be flat and parallel
enough; if ...