Skip to product information
1 of 5

PayPal, credit cards. Download editable-PDF and invoice in 1 second!

GB/T 5028-2008 English PDF (GBT5028-2008)

GB/T 5028-2008 English PDF (GBT5028-2008)

Regular price $170.00 USD
Regular price Sale price $170.00 USD
Sale Sold out
Shipping calculated at checkout.
Delivery: 3 seconds. Download true-PDF + Invoice.
Get QUOTATION in 1-minute: Click GB/T 5028-2008
Historical versions: GB/T 5028-2008
Preview True-PDF (Reload/Scroll if blank)

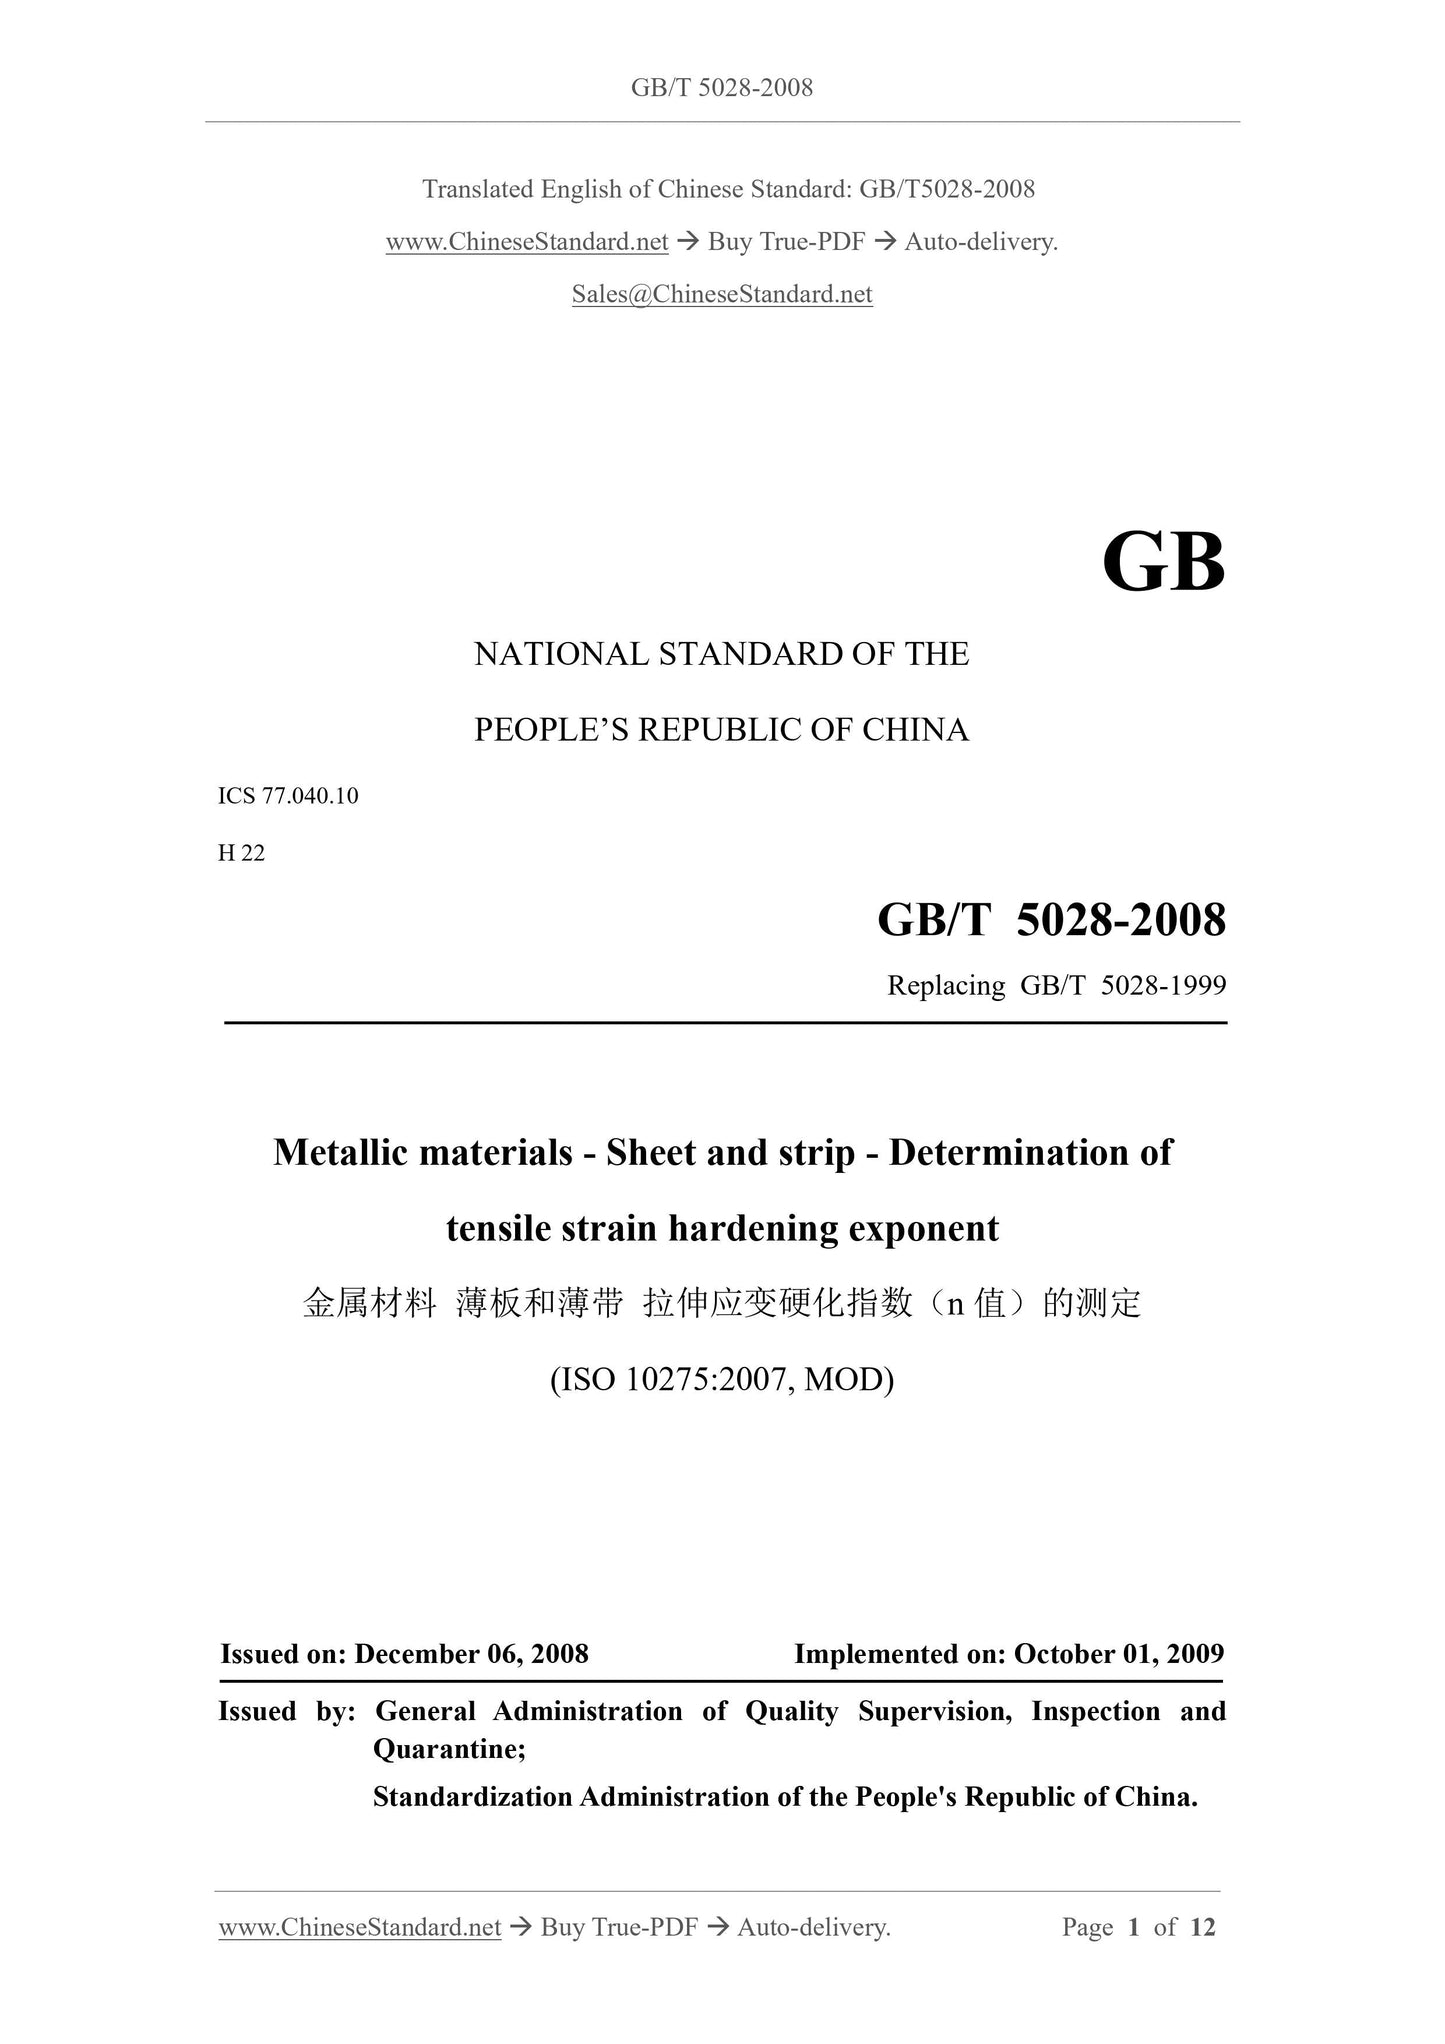
GB/T 5028-2008: Metallic materials -- Sheet and strip -- Determination of tensile strain hardening exponent
GB/T 5028-2008
NATIONAL STANDARD OF THE
PEOPLE’S REPUBLIC OF CHINA
ICS 77.040.10
H 22
Replacing GB/T 5028-1999
Metallic materials - Sheet and strip - Determination of
tensile strain hardening exponent
(ISO 10275.2007, MOD)
ISSUED ON. DECEMBER 06, 2008
IMPLEMENTED ON. OCTOBER 01, 2009
Issued by. General Administration of Quality Supervision, Inspection and
Quarantine;
Standardization Administration of the People's Republic of China.
Table of Contents
Foreword... 3
1 Scope... 5
2 Normative references... 5
3 Symbols and descriptions... 6
4 Test principle... 7
5 Test equipment... 7
6 Specimen... 7
7 Test procedures... 8
8 Test report... 12
Metallic materials - Sheet and strip - Determination of
tensile strain hardening exponent
1 Scope
This document specifies the method to determine the tensile strain hardening exponent
(n value) of metal sheets and strips.
This method is only applicable to the part where the stress-strain curve is monotonically
rising continuously within the plastic deformation range (see 7.4).
If the stress-strain curve of the material in the work hardening stage is serrated (such as
the Portevin-Le Chatelier serration yield effect exhibited by some AlMg alloys), to
make the given results have a certain reproducibility, it shall use an automatic
measurement method (for linear regression of the log of true stress-true plastic strain,
see 7.7).
2 Normative references
The provisions in following documents become the provisions of this Standard through
reference in this Standard. For dated references, the subsequent amendments (excluding
corrigendum) or revisions do not apply to this Standard, however, parties who reach an
agreement based on this Standard are encouraged to study if the latest versions of these
documents are applicable. For undated references, the latest edition of the referenced
document applies.
GB/T 228, Metallic materials - Tensile testing at ambient temperature (GB/T 228-
2002, eqv ISO 6892.1998)
GB/T 5027, Metallic materials - Sheet and strip - Determination of plastic strain
ratio (GB/T 5027-2007, ISO 10113.2006, IDT)
GB/T 8170, Rules of rounding off for numerical values and expression and
judgement of limiting values
GB/T 12160, Metallic materials - Calibration of extensometers systems used in
uniaxial testing (GB/T 12160-2002, idt ISO 9513.1999)
GB/T 16825.1, Verification of static uniaxial testing machines - Part 1.
Tension/compression testing machines - Verification and calibration of the force-
measuring system (GB/T 16825.1-2002, ISO 7500-1.2004, MOD)
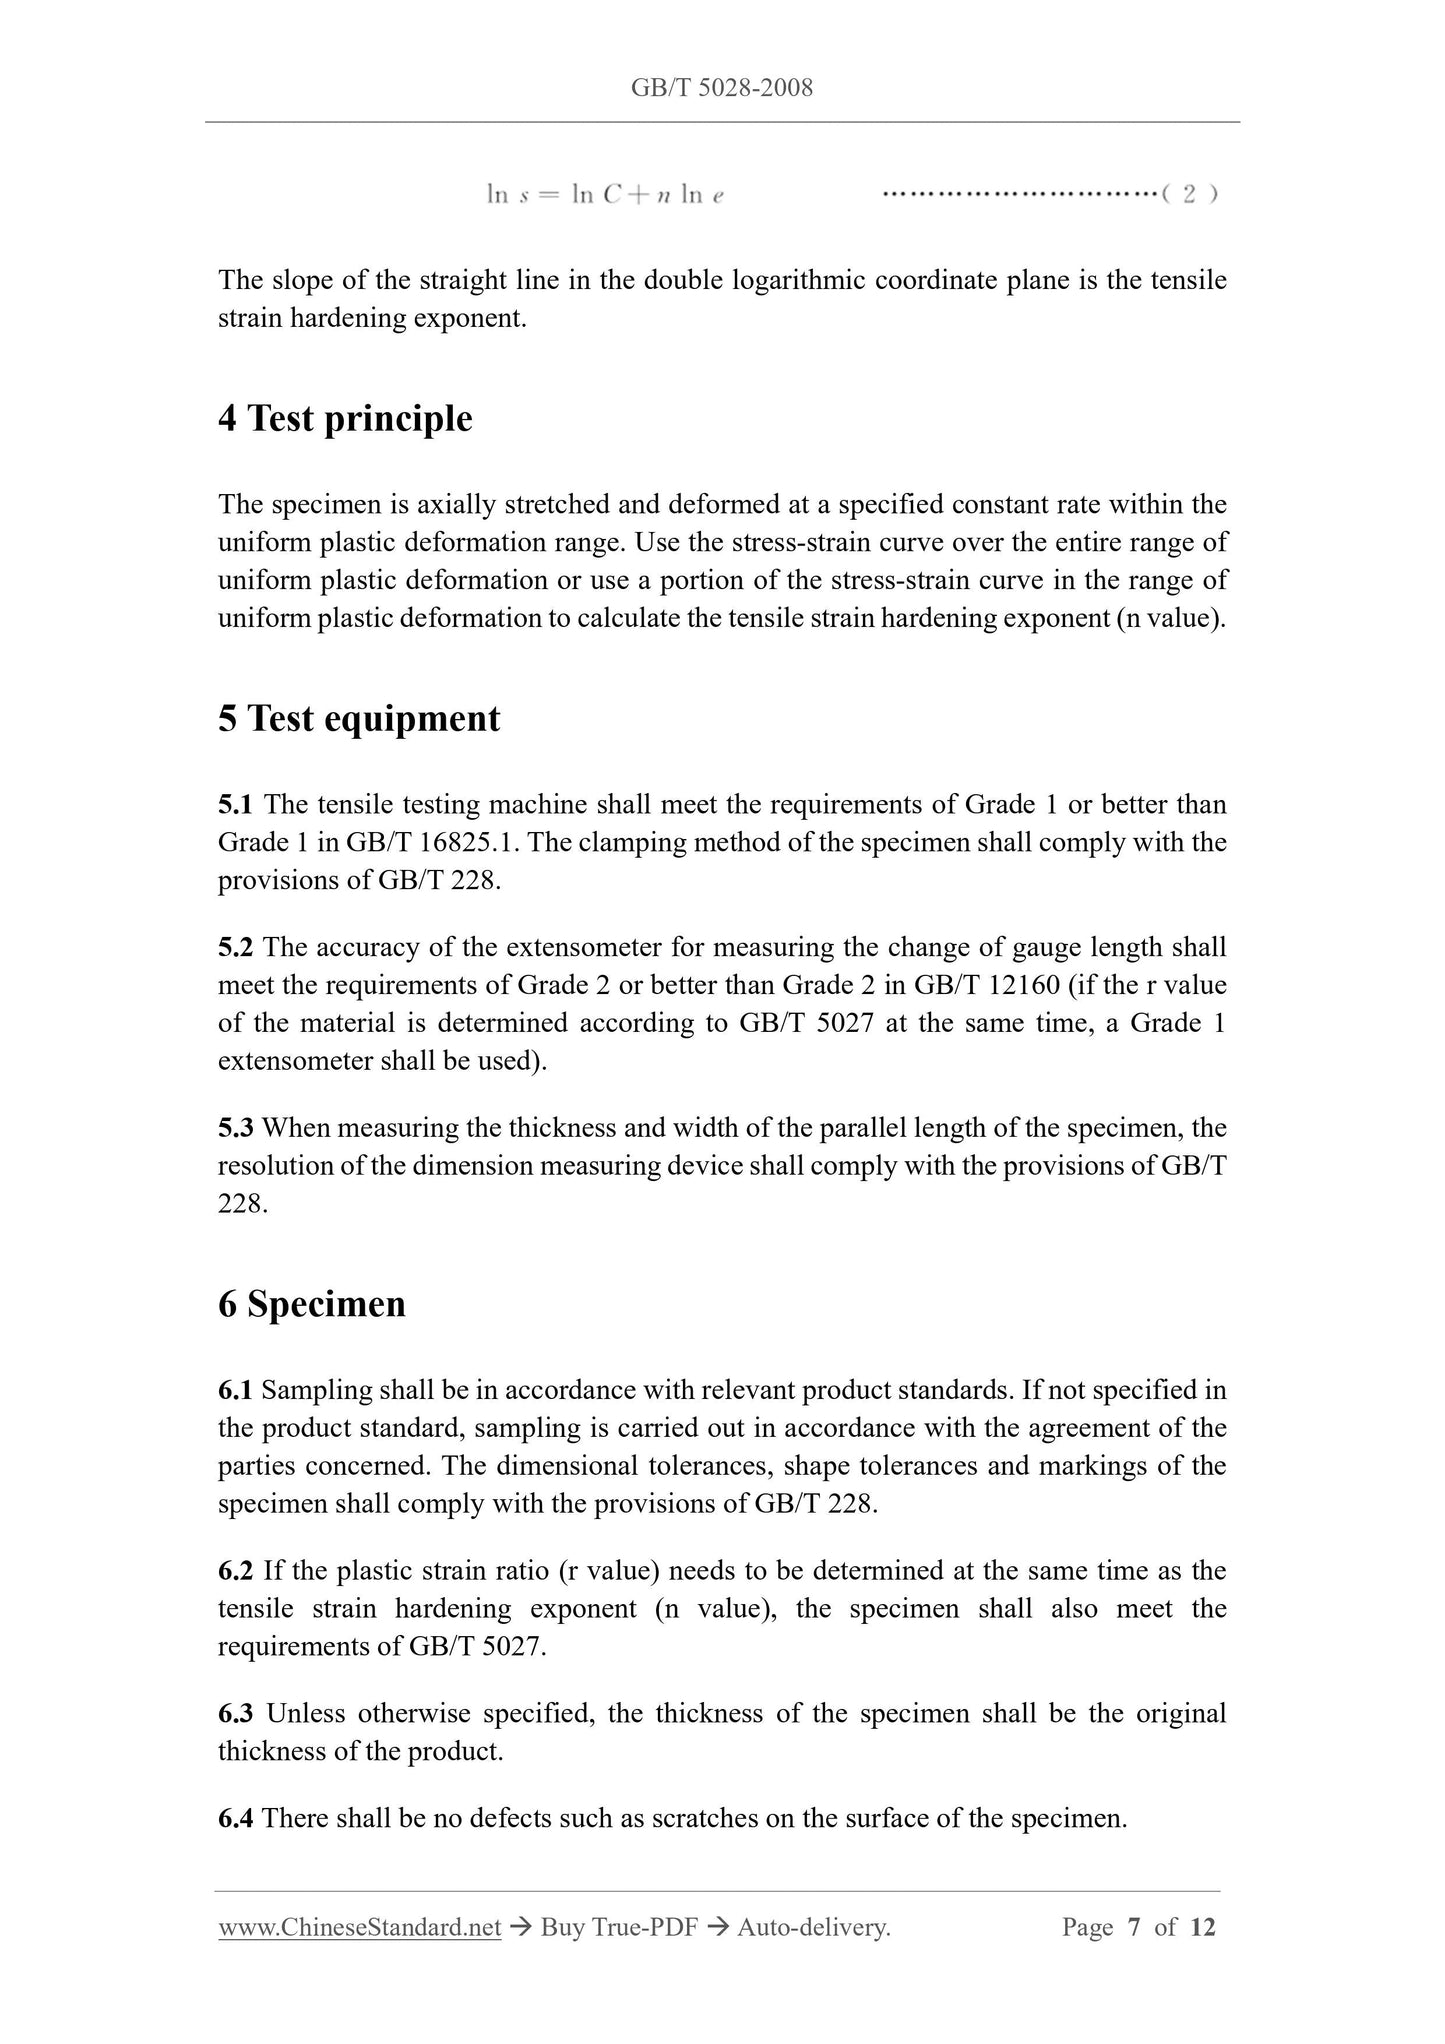
The slope of the straight line in the double logarithmic coordinate plane is the tensile
strain hardening exponent.
4 Test principle
The specimen is axially stretched and deformed at a specified constant rate within the
uniform plastic deformation range. Use the stress-strain curve over the entire range of
uniform plastic deformation or use a portion of the stress-strain curve in the range of
uniform plastic deformation to calculate the tensile strain hardening exponent (n value).
5 Test equipment
5.1 The tensile testing machine shall meet the requirements of Grade 1 or better than
Grade 1 in GB/T 16825.1.The clamping method of the specimen shall comply with the
provisions of GB/T 228.
5.2 The accuracy of the extensometer for measuring the change of gauge length shall
meet the requirements of Grade 2 or better than Grade 2 in GB/T 12160 (if the r value
of the material is determined according to GB/T 5027 at the same time, a Grade 1
extensometer shall be used).
5.3 When measuring the thickness and width of the parallel length of the specimen, the
resolution of the dimension measuring device shall comply with the provisions of GB/T
228.
6 Specimen
6.1 Sampling shall be in accordance with relevant product standards. If not specified in
the product standard, sampling is carried out in accordance with the agreement of the
parties concerned. The dimensional tolerances, shape tolerances and markings of the
specimen shall comply with the provisions of GB/T 228.
6.2 If the plastic strain ratio (r value) needs to be determined at the same time as the
tensile strain hardening exponent (n value), the specimen shall also meet the
requirements of GB/T 5027.
6.3 Unless otherwise specified, the thickness of the specimen shall be the original
thickness of the product.
6.4 There shall be no defects such as scratches on the surface of the specimen.
7 Test procedures
7.1 The test is generally carried out at room temperature between 10°C ~ 35°C. If the
test is required to be carried out under controlled temperature conditions, the
temperature shall be controlled at (23 ± 5)°C.
7.2 Clamp the specimen to the testing machine (see 5.1). The axial force of the specimen
must be guaranteed to meet the requirements of GB/T 228.
7.3 Unless otherwise specified in the standard, during the plastic deformation stage, the
strain rate of the parallel length of the specimen shall not exceed 0.008s-1.This rate
shall remain constant throughout the strain interval for which the n value is determined.
If the specified plastic elongation strength, yield strength and other properties need to
be measured while measuring the tensile strain hardening exponent (n value), the test
rate shall also meet the relevant regulations in GB/T 228.
7.4 When the n value is determined over the entire uniform plastic strain range, the
upper limit of the measured strain shall be slightly less than the plastic strain
corresponding to the maximum force.
When the material exhibits a monotonically rising uniform deformation behavior (that
is, the material has no obvious upper and lower yield), the lower limit of the measured
strain shall be slightly larger than the strain corresponding to the test rate switching
point for determining Rm, as shown in Figure 1.
When the material exhibits obvious yield (that is, the material has upper and lower yield
strengths), the lower limit of the measured strain shall be slightly larger than the strain
amount corresponding to the work hardening starting point and the test rate switching
point for determining Rm, as shown in Figures 2 and 3.
The upper and lower limits of the measured strain shall be indicated in the report.

View full details