GB/T 4956-2003 English PDF (GBT4956-2003)
Regular price
$90.00 USD
Regular price
Sale price
$90.00 USD
Unit price
/
per
Delivery: 3 seconds. Download true-PDF + Invoice.
Get QUOTATION in 1-minute: Click GB/T 4956-2003
Historical versions: GB/T 4956-2003
Preview True-PDF (Reload/Scroll if blank)
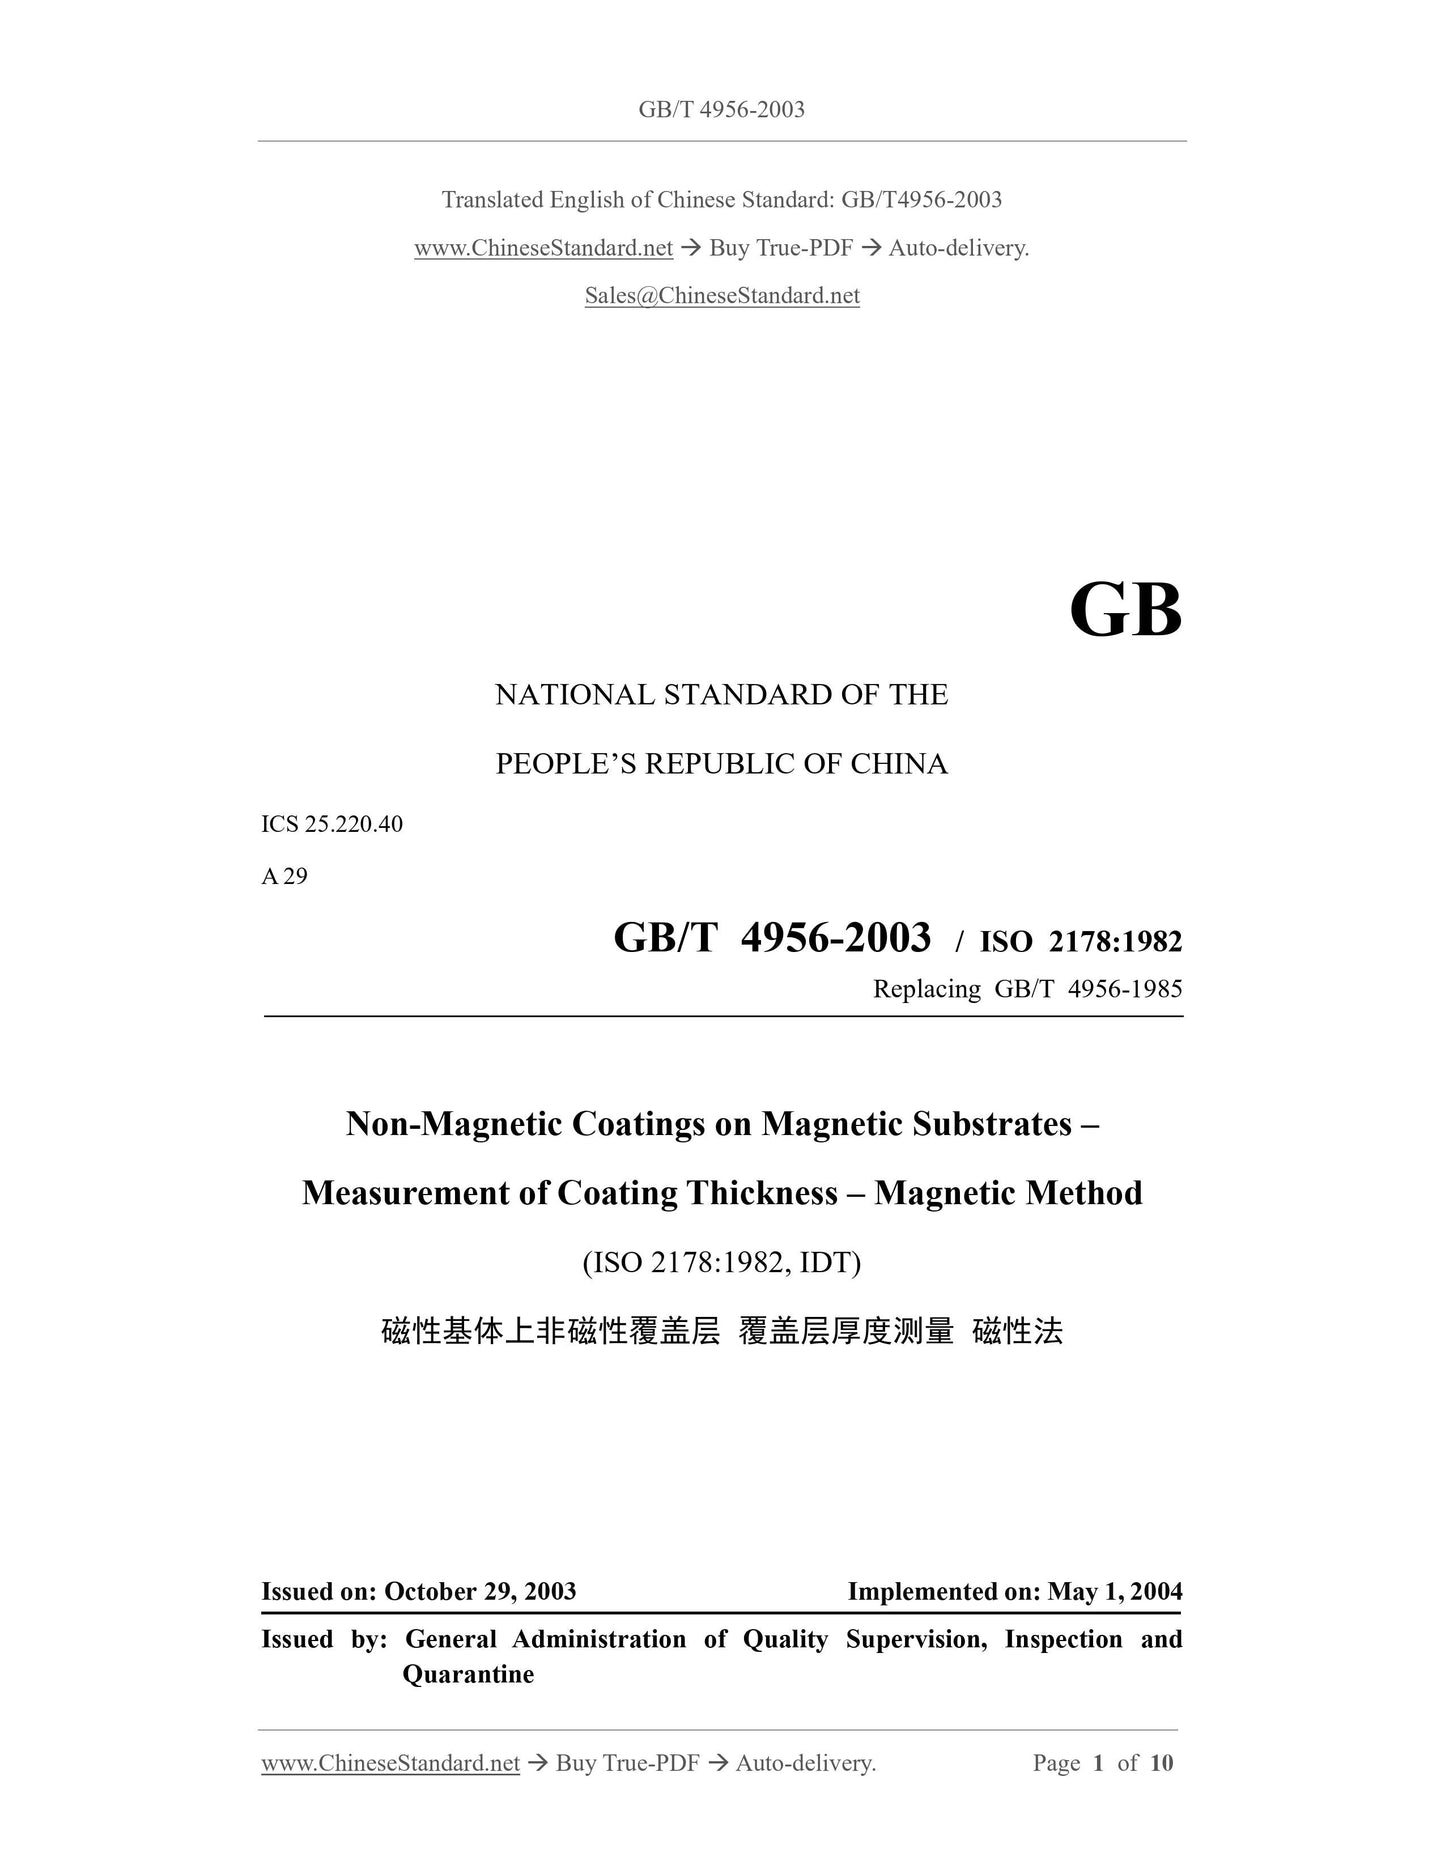
GB/T 4956-2003: Non-magnetic coatings on magnetic substrates -- Measurement of coating thickness -- Magnetic method
GB/T 4956-2003
GB
NATIONAL STANDARD OF THE
PEOPLE’S REPUBLIC OF CHINA
ICS 25.220.40
A 29
GB/T 4956-2003 / ISO 2178:1982
Replacing GB/T 4956-1985
Non-Magnetic Coatings on Magnetic Substrates –
Measurement of Coating Thickness – Magnetic Method
(ISO 2178:1982, IDT)
ISSUED ON: OCTOBER 29, 2003
IMPLEMENTED ON: MAY 1, 2004
Issued by: General Administration of Quality Supervision, Inspection and
Quarantine
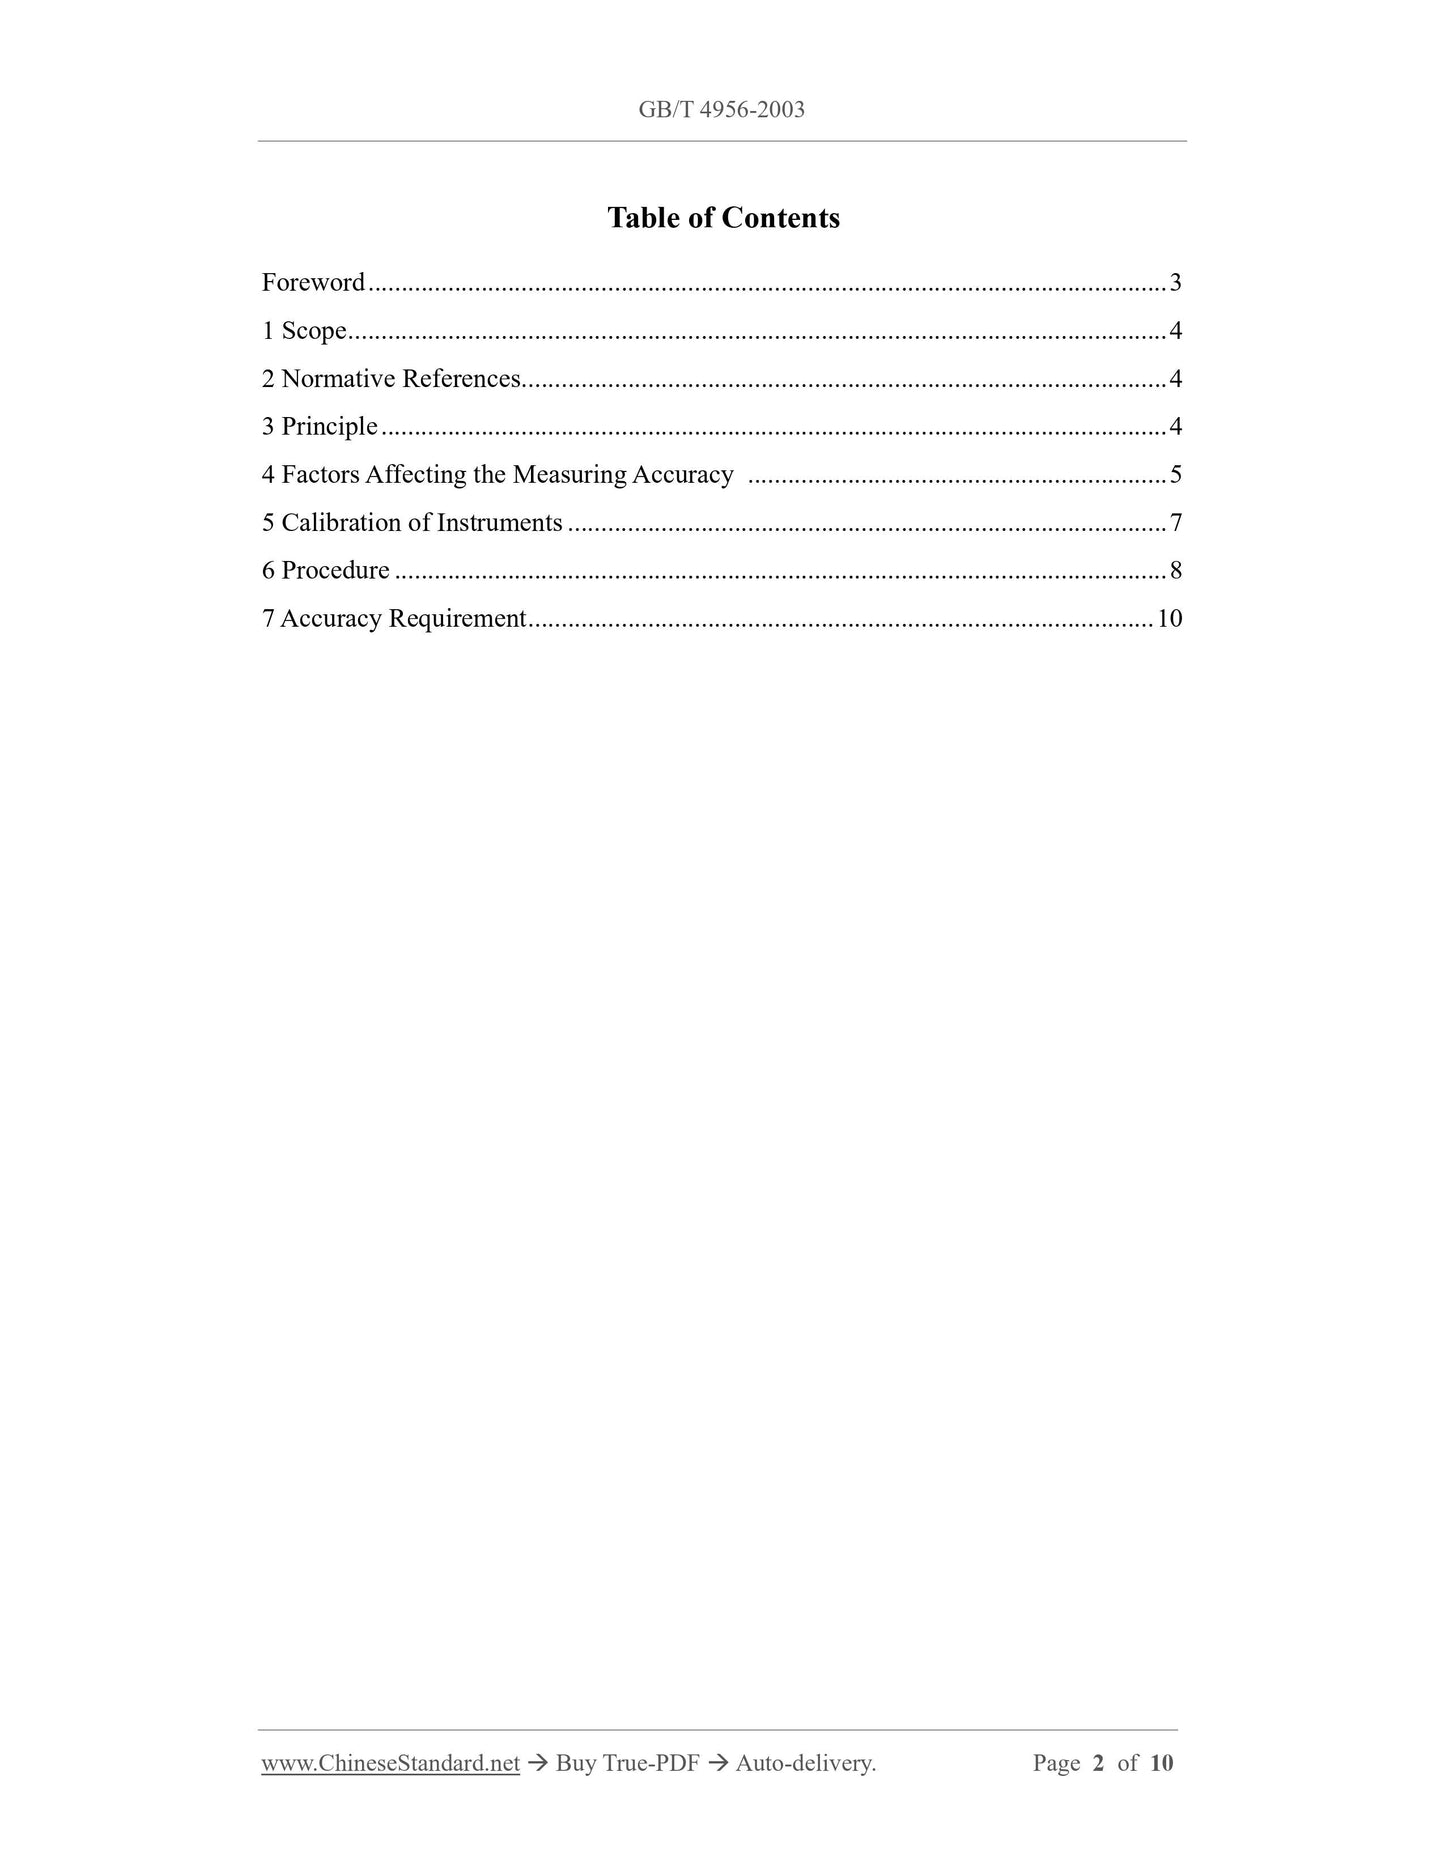
Table of Contents
Foreword ... 3
1 Scope ... 4
2 Normative References ... 4
3 Principle ... 4
4 Factors Affecting the Measuring Accuracy ... 5
5 Calibration of Instruments ... 7
6 Procedure ... 8
7 Accuracy Requirement ... 10
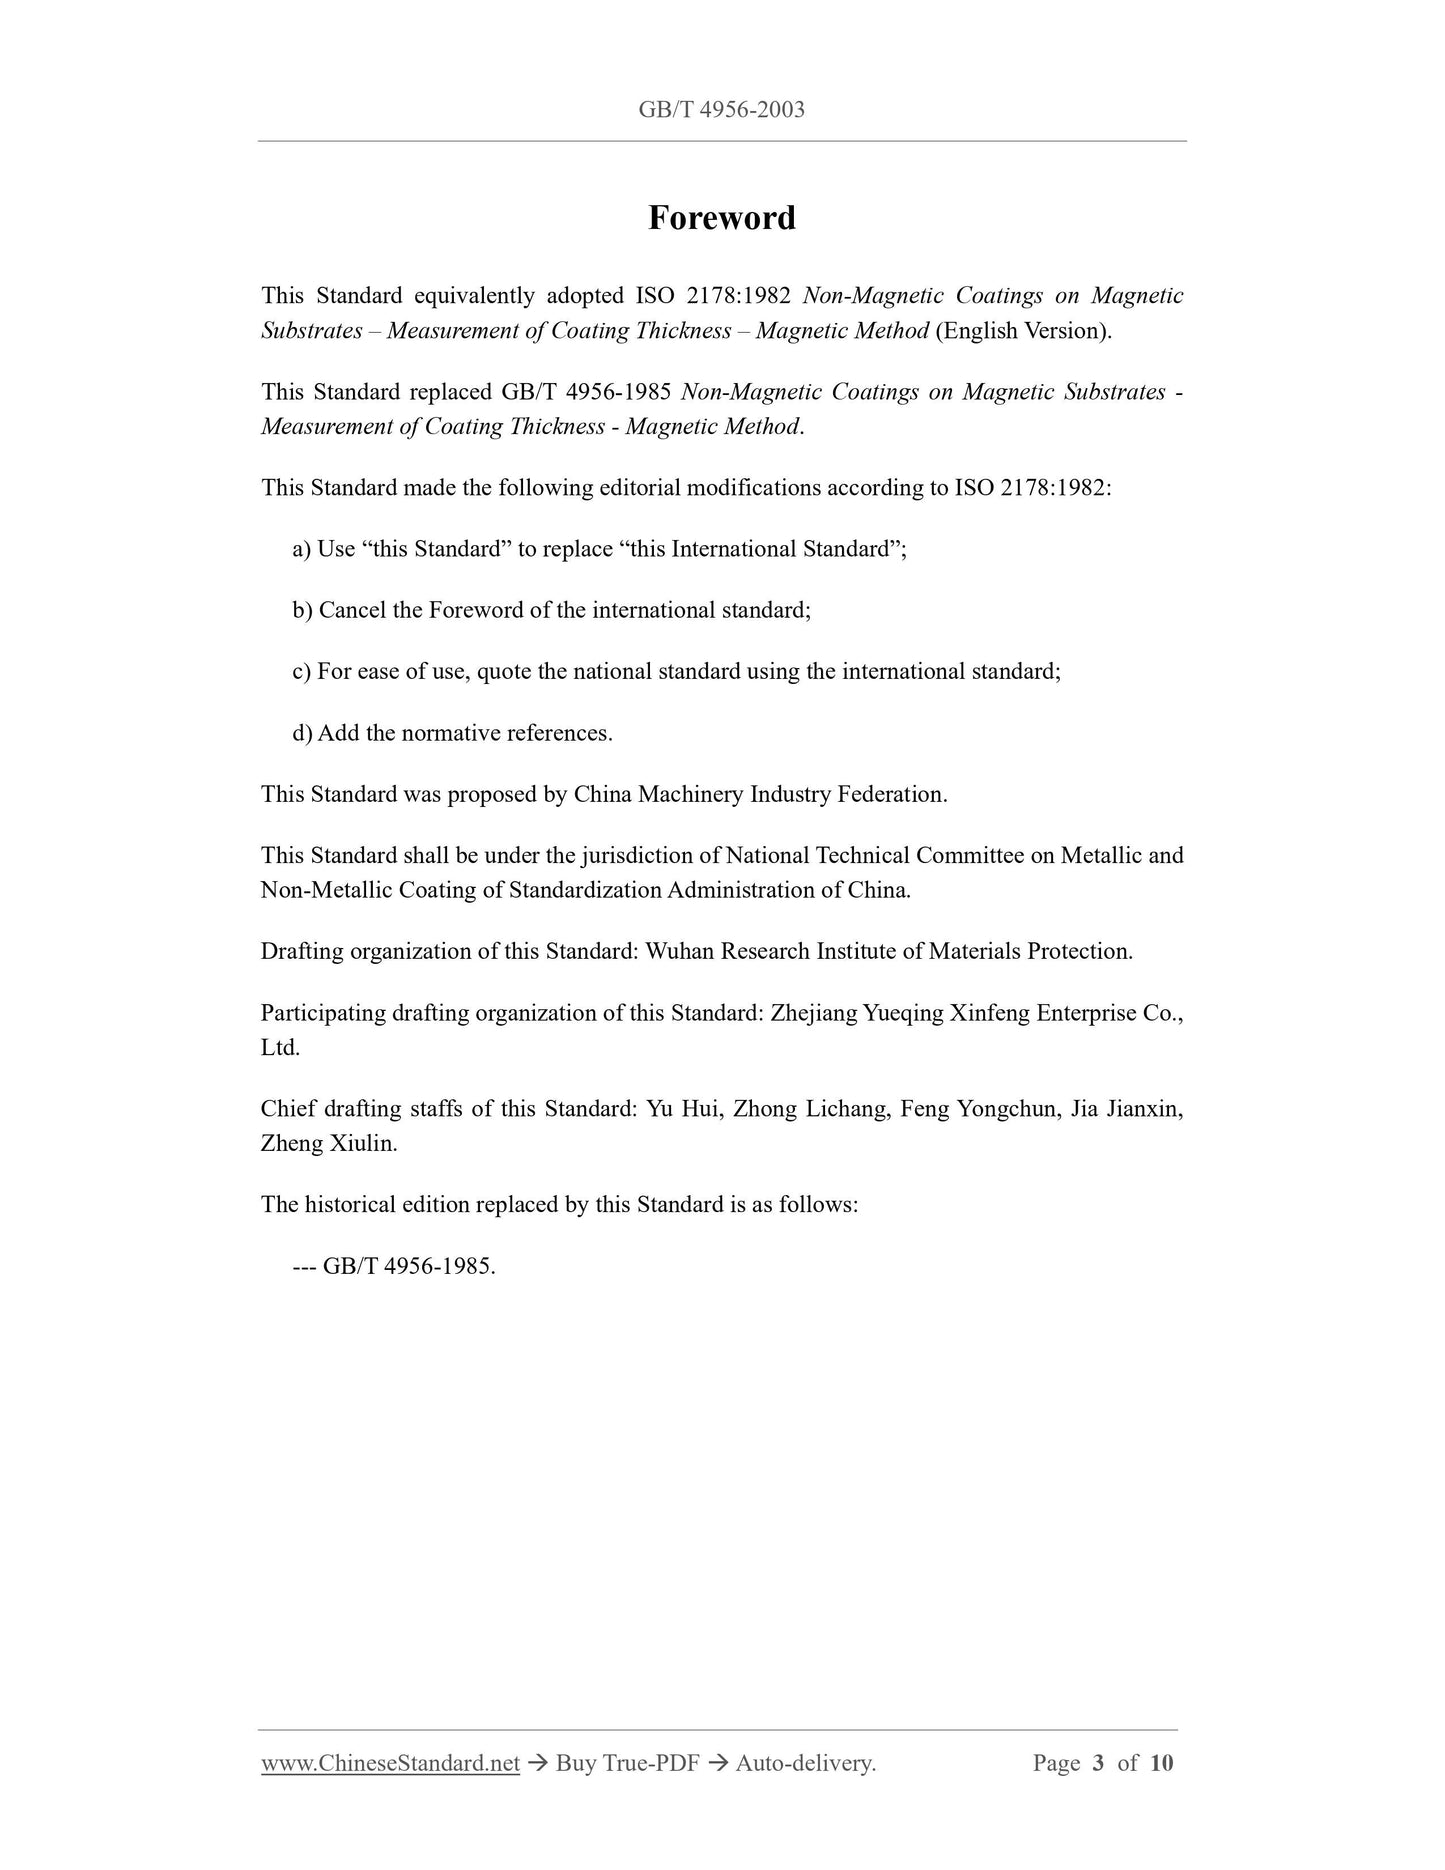
Foreword
This Standard equivalently adopted ISO 2178:1982 Non-Magnetic Coatings on Magnetic
Substrates – Measurement of Coating Thickness – Magnetic Method (English Version).
This Standard replaced GB/T 4956-1985 Non-Magnetic Coatings on Magnetic Substrates -
Measurement of Coating Thickness - Magnetic Method.
This Standard made the following editorial modifications according to ISO 2178:1982:
a) Use “this Standard” to replace “this International Standard”;
b) Cancel the Foreword of the international standard;
c) For ease of use, quote the national standard using the international standard;
d) Add the normative references.
This Standard was proposed by China Machinery Industry Federation.
This Standard shall be under the jurisdiction of National Technical Committee on Metallic and
Non-Metallic Coating of Standardization Administration of China.
Drafting organization of this Standard: Wuhan Research Institute of Materials Protection.
Participating drafting organization of this Standard: Zhejiang Yueqing Xinfeng Enterprise Co.,
Ltd.
Chief drafting staffs of this Standard: Yu Hui, Zhong Lichang, Feng Yongchun, Jia Jianxin,
Zheng Xiulin.
The historical edition replaced by this Standard is as follows:
--- GB/T 4956-1985.
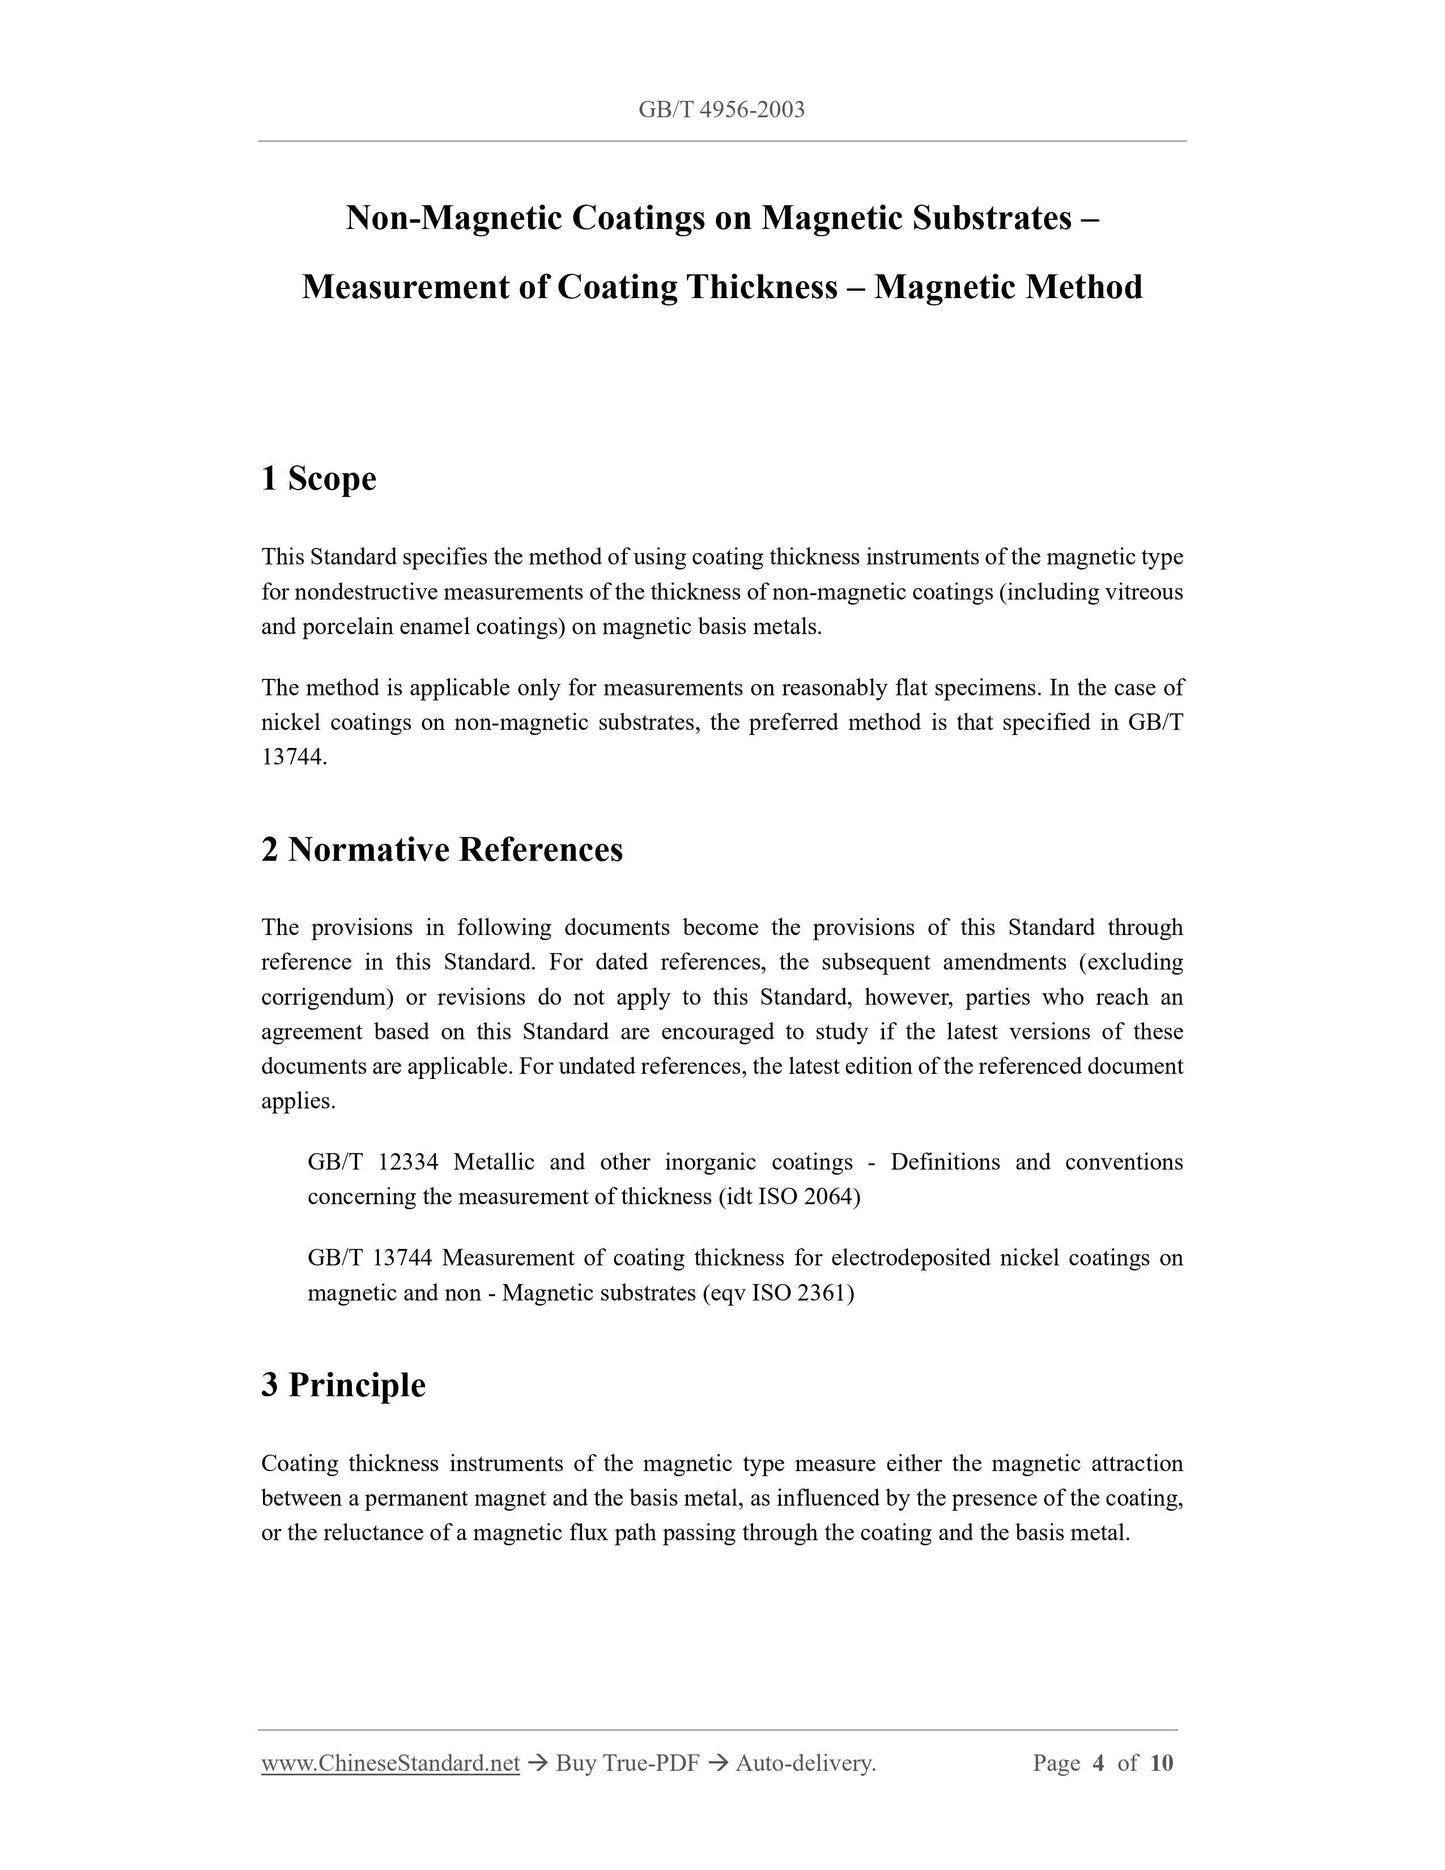
Non-Magnetic Coatings on Magnetic Substrates –
Measurement of Coating Thickness – Magnetic Method
1 Scope
This Standard specifies the method of using coating thickness instruments of the magnetic type
for nondestructive measurements of the thickness of non-magnetic coatings (including vitreous
and porcelain enamel coatings) on magnetic basis metals.
The method is applicable only for measurements on reasonably flat specimens. In the case of
nickel coatings on non-magnetic substrates, the preferred method is that specified in GB/T
13744.
2 Normative References
The provisions in following documents become the provisions of this Standard through
reference in this Standard. For dated references, the subsequent amendments (excluding
corrigendum) or revisions do not apply to this Standard, however, parties who reach an
agreement based on this Standard are encouraged to study if the latest versions of these
documents are applicable. For undated references, the latest edition of the referenced document
applies.
GB/T 12334 Metallic and other inorganic coatings - Definitions and conventions
concerning the measurement of thickness (idt ISO 2064)
GB/T 13744 Measurement of coating thickness for electrodeposited nickel coatings on
magnetic and non - Magnetic substrates (eqv ISO 2361)
3 Principle
Coating thickness instruments of the magnetic type measure either the magnetic attraction
between a permanent magnet and the basis metal, as influenced by the presence of the coating,
or the reluctance of a magnetic flux path passing through the coating and the basis metal.
Coated standards consist of coatings of known, uniform thickness permanently bonded to a
basis metal.
5.3 Calibration
5.3.1 The surface roughness and magnetic properties of the basis metal of the calibration
standards shall be similar to those of the test specimen. To confirm their suitability, a
comparison of the readings obtained from the basis metal of the uncoated calibration standard
and that of the uncoated test specimen is recommended.
5.3.2 In some cases, the calibration of the instrument has to be checked by rotating the probe
through increments of 90° (see 4.7 and 4.8).
5.3.3 The thickness of the basis metal of the test specimen and of the calibration standard has
to be the same, if the critical thickness, defined in 4.3, is not exceeded.
It is often possible to back up the basis metal of the calibration standard or of the test specimen
with a sufficient thickness of similar metal to make the readings independent of the basis metal
thickness.
5.3.4 If the curvature of the coating to be measured is such as to preclude calibration on a flat
surface, the curvature of the coated standard, or of the substrate on which the calibration foil is
placed, shall be the same as that of the test specimen.
6 Procedure
6.1 General
Operate each instrument in accordance with the manufacturer's instructions, giving appropriate
attention to the factors listed in Clause 4,
Check the calibration of the instrument (see Clause 5) at the test site, each time the instrument
is put into service, and at frequent intervals during use, to ensure proper performance,
The following precautions shall be observed.
6.2 Basis metal thickness
Check whether the basis metal thickness exceeds the critical thickness. If not, either use the
back-up method described in 5.3.3 or ensure that the calibration has been made on a calibration
standard having the same thickness and magnetic properties as the test specimen.
6.3 Edge effects
Do not make measurements in the proximity of a discontinuity, such as an edge, hole, inside
corner, of a test specimen, unless the validity of the calibration for such measurements has been