1
/
of
5
www.ChineseStandard.us -- Field Test Asia Pte. Ltd.
GB/T 4909.5-2009 English PDF (GB/T4909.5-2009)
GB/T 4909.5-2009 English PDF (GB/T4909.5-2009)
Regular price
$130.00
Regular price
Sale price
$130.00
Unit price
/
per
Shipping calculated at checkout.
Couldn't load pickup availability
GB/T 4909.5-2009: Test methods for bare wires - Part 5: Bend test - Reverse bend test
Delivery: 9 seconds. Download (and Email) true-PDF + Invoice.Get Quotation: Click GB/T 4909.5-2009 (Self-service in 1-minute)
Newer / historical versions: GB/T 4909.5-2009
Preview True-PDF
Scope
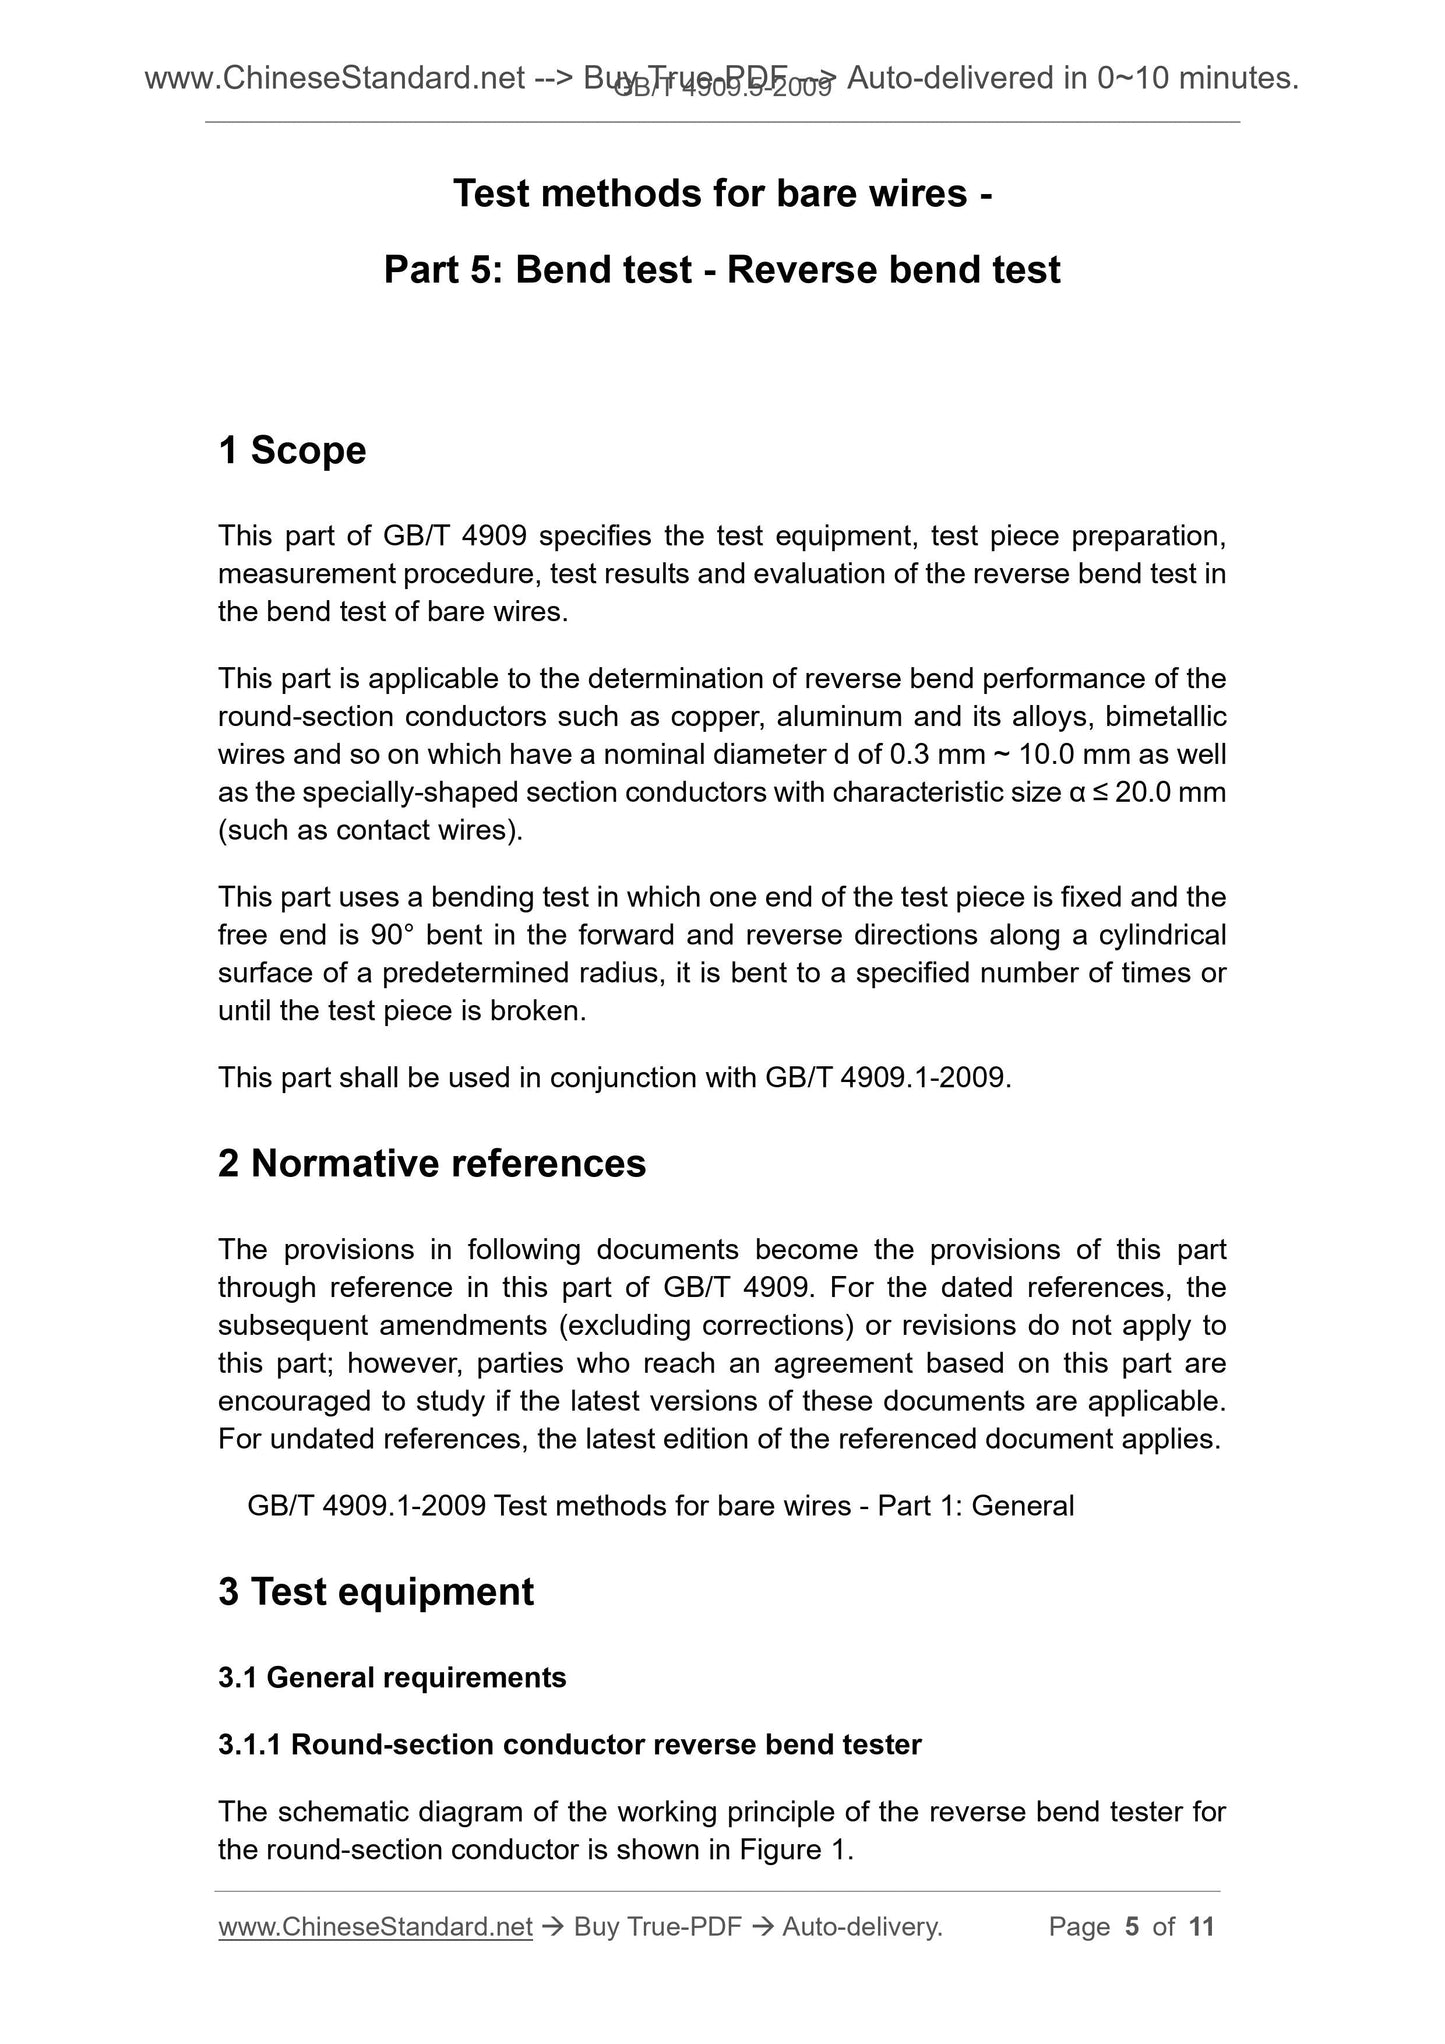
This part of GB/T 4909 specifies the test equipment, test piece preparation, measurement procedure, test results and evaluation of the reverse bend test in the bend test of bare wires.This part is applicable to the determination of reverse bend performance of the round-section conductors such as copper, aluminum and its alloys, bimetallic wires and so on which have a nominal diameter d of 0.3 mm ~ 10.0 mm as well as the specially-shaped section conductors with characteristic size α ≤ 20.0 mm (such as contact wires).
This part uses a bending test in which one end of the test piece is fixed and the free end is 90° bent in the forward and reverse directions along a cylindrical surface of a predetermined radius, it is bent to a specified number of times or until the test piece is broken.
This part shall be used in conjunction with GB/T 4909.1-2009.
Basic Data
| Standard ID | GB/T 4909.5-2009 (GB/T4909.5-2009) |
| Description (Translated English) | Test methods for bare wires - Part 5: Bend test - Reverse bend test |
| Sector / Industry | National Standard (Recommended) |
| Classification of Chinese Standard | K11 |
| Classification of International Standard | 29.060.10 |
| Word Count Estimation | 8,854 |
| Date of Issue | 2009-03-19 |
| Date of Implementation | 2009-12-01 |
| Older Standard (superseded by this standard) | GB/T 4909.5-1985 |
| Quoted Standard | GB/T 4909.1-2009 |
| Regulation (derived from) | Announcement of Newly Approved National Standards No. 3, 2009 (No. 143 overall) |
| Issuing agency(ies) | General Administration of Quality Supervision, Inspection and Quarantine of the People's Republic of China, Standardization Administration of the People's Republic of China |
| Summary | This standard specifies the bare wires bend test repeated bending test equipment, specimen preparation, measurement procedures, test results and evaluation and so on. This section applies to the determination of nominal diameter d is 0. 3mm ~ 10. 0mm copper, aluminum and its alloys, bi-metal conductor lines and characteristics of circular cross-section dimensions a �� 20. 0mm profiled cross-section conductors (such as contact lines, etc.) of the repeated bending performance. This part of the test pieces fixed at one end to the free end of the cylindrical surface along a predetermined radius of 90 �� for the positive and negative direction of the bending test, the bending to a predetermined number of times or until the specimen breaks. This part should GB/T 4909. 1-2009 together. |
Share
