Skip to product information
1 of 8

PayPal, credit cards. Download editable-PDF and invoice in 1 second!

GB/T 42800-2023 English PDF (GBT42800-2023)

GB/T 42800-2023 English PDF (GBT42800-2023)

Regular price $170.00 USD
Regular price Sale price $170.00 USD
Sale Sold out
Shipping calculated at checkout.
Delivery: 3 seconds. Download true-PDF + Invoice.
Get QUOTATION in 1-minute: Click GB/T 42800-2023
Historical versions: GB/T 42800-2023
Preview True-PDF (Reload/Scroll if blank)

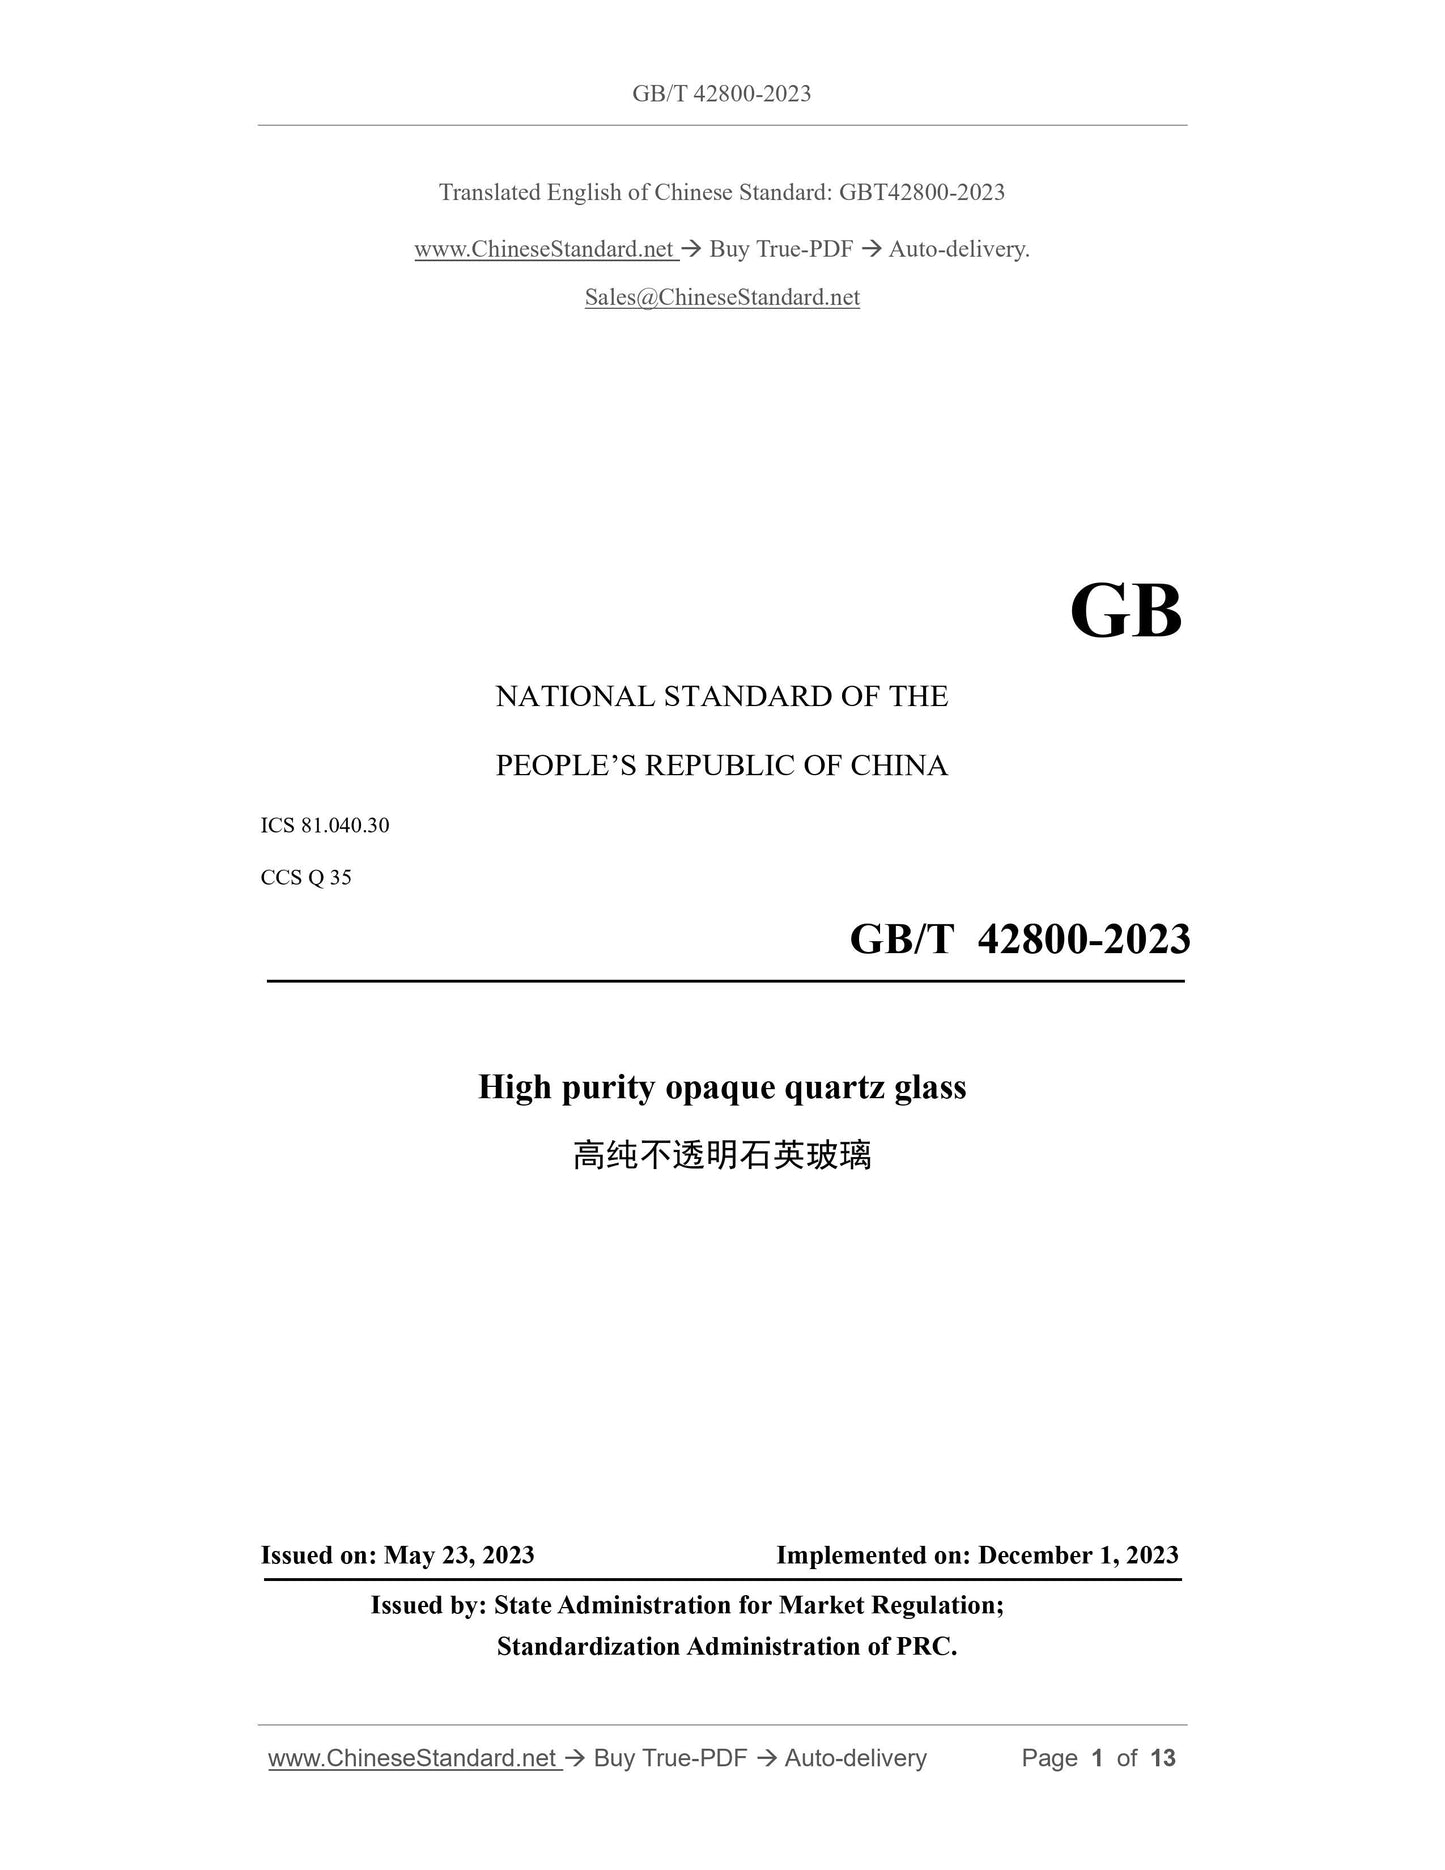
GB/T 42800-2023: High purity opaque quartz glass
GB/T 42800-2023
GB
NATIONAL STANDARD OF THE
PEOPLE’S REPUBLIC OF CHINA
ICS 81.040.30
CCS Q 35
High purity opaque quartz glass
高纯不透明石英玻璃
ISSUED ON: MAY 23, 2023
IMPLEMENTED ON: DECEMBER 1, 2023
Issued by: State Administration for Market Regulation;
Standardization Administration of PRC.
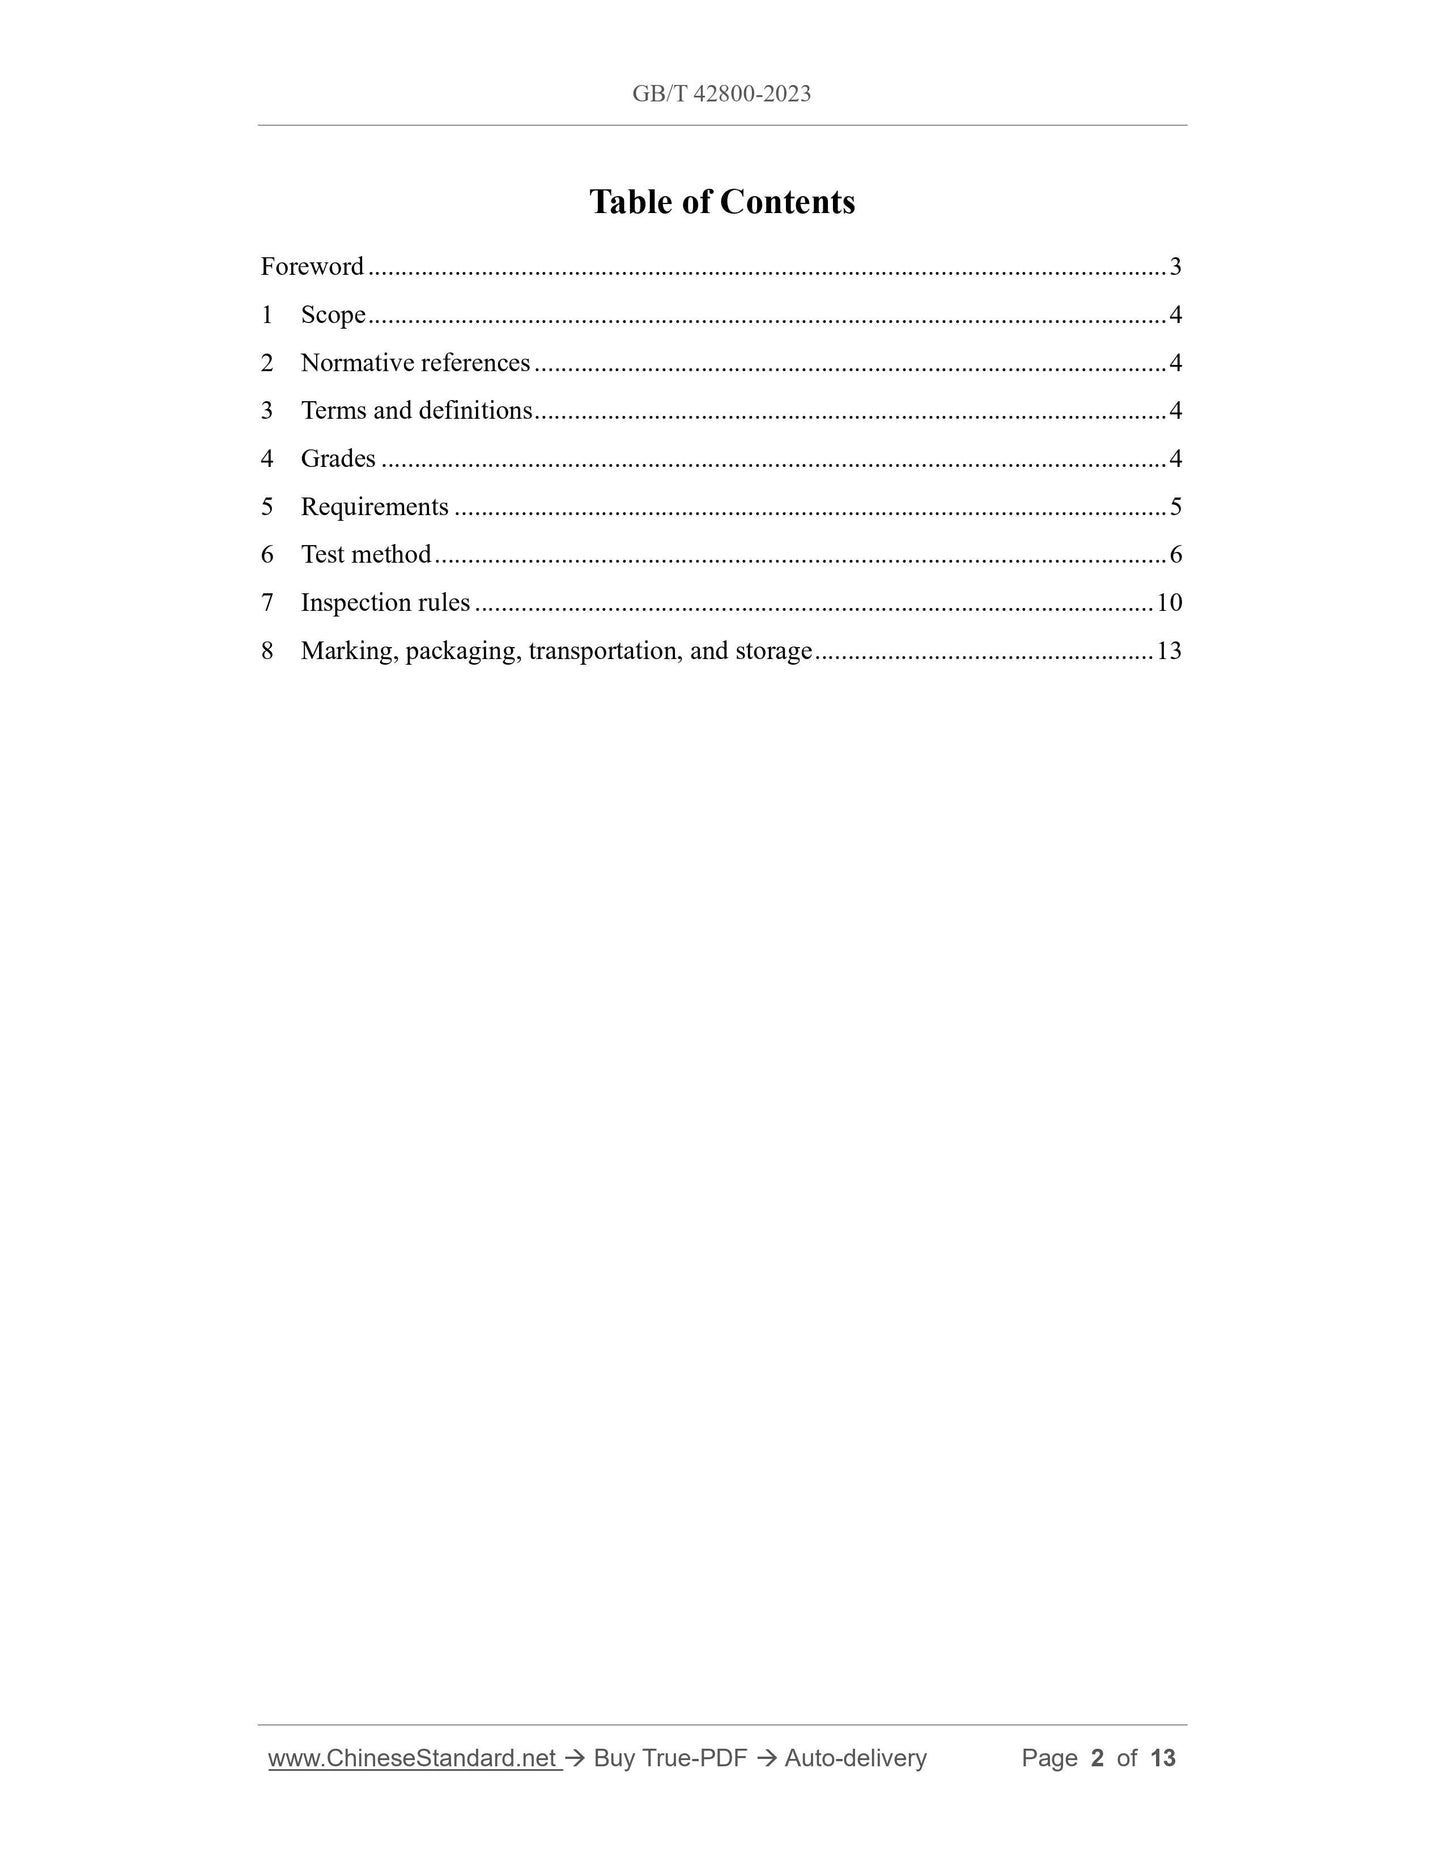
Table of Contents
Foreword ... 3
1 Scope ... 4
2 Normative references ... 4
3 Terms and definitions ... 4
4 Grades ... 4
5 Requirements ... 5
6 Test method ... 6
7 Inspection rules ... 10
8 Marking, packaging, transportation, and storage ... 13
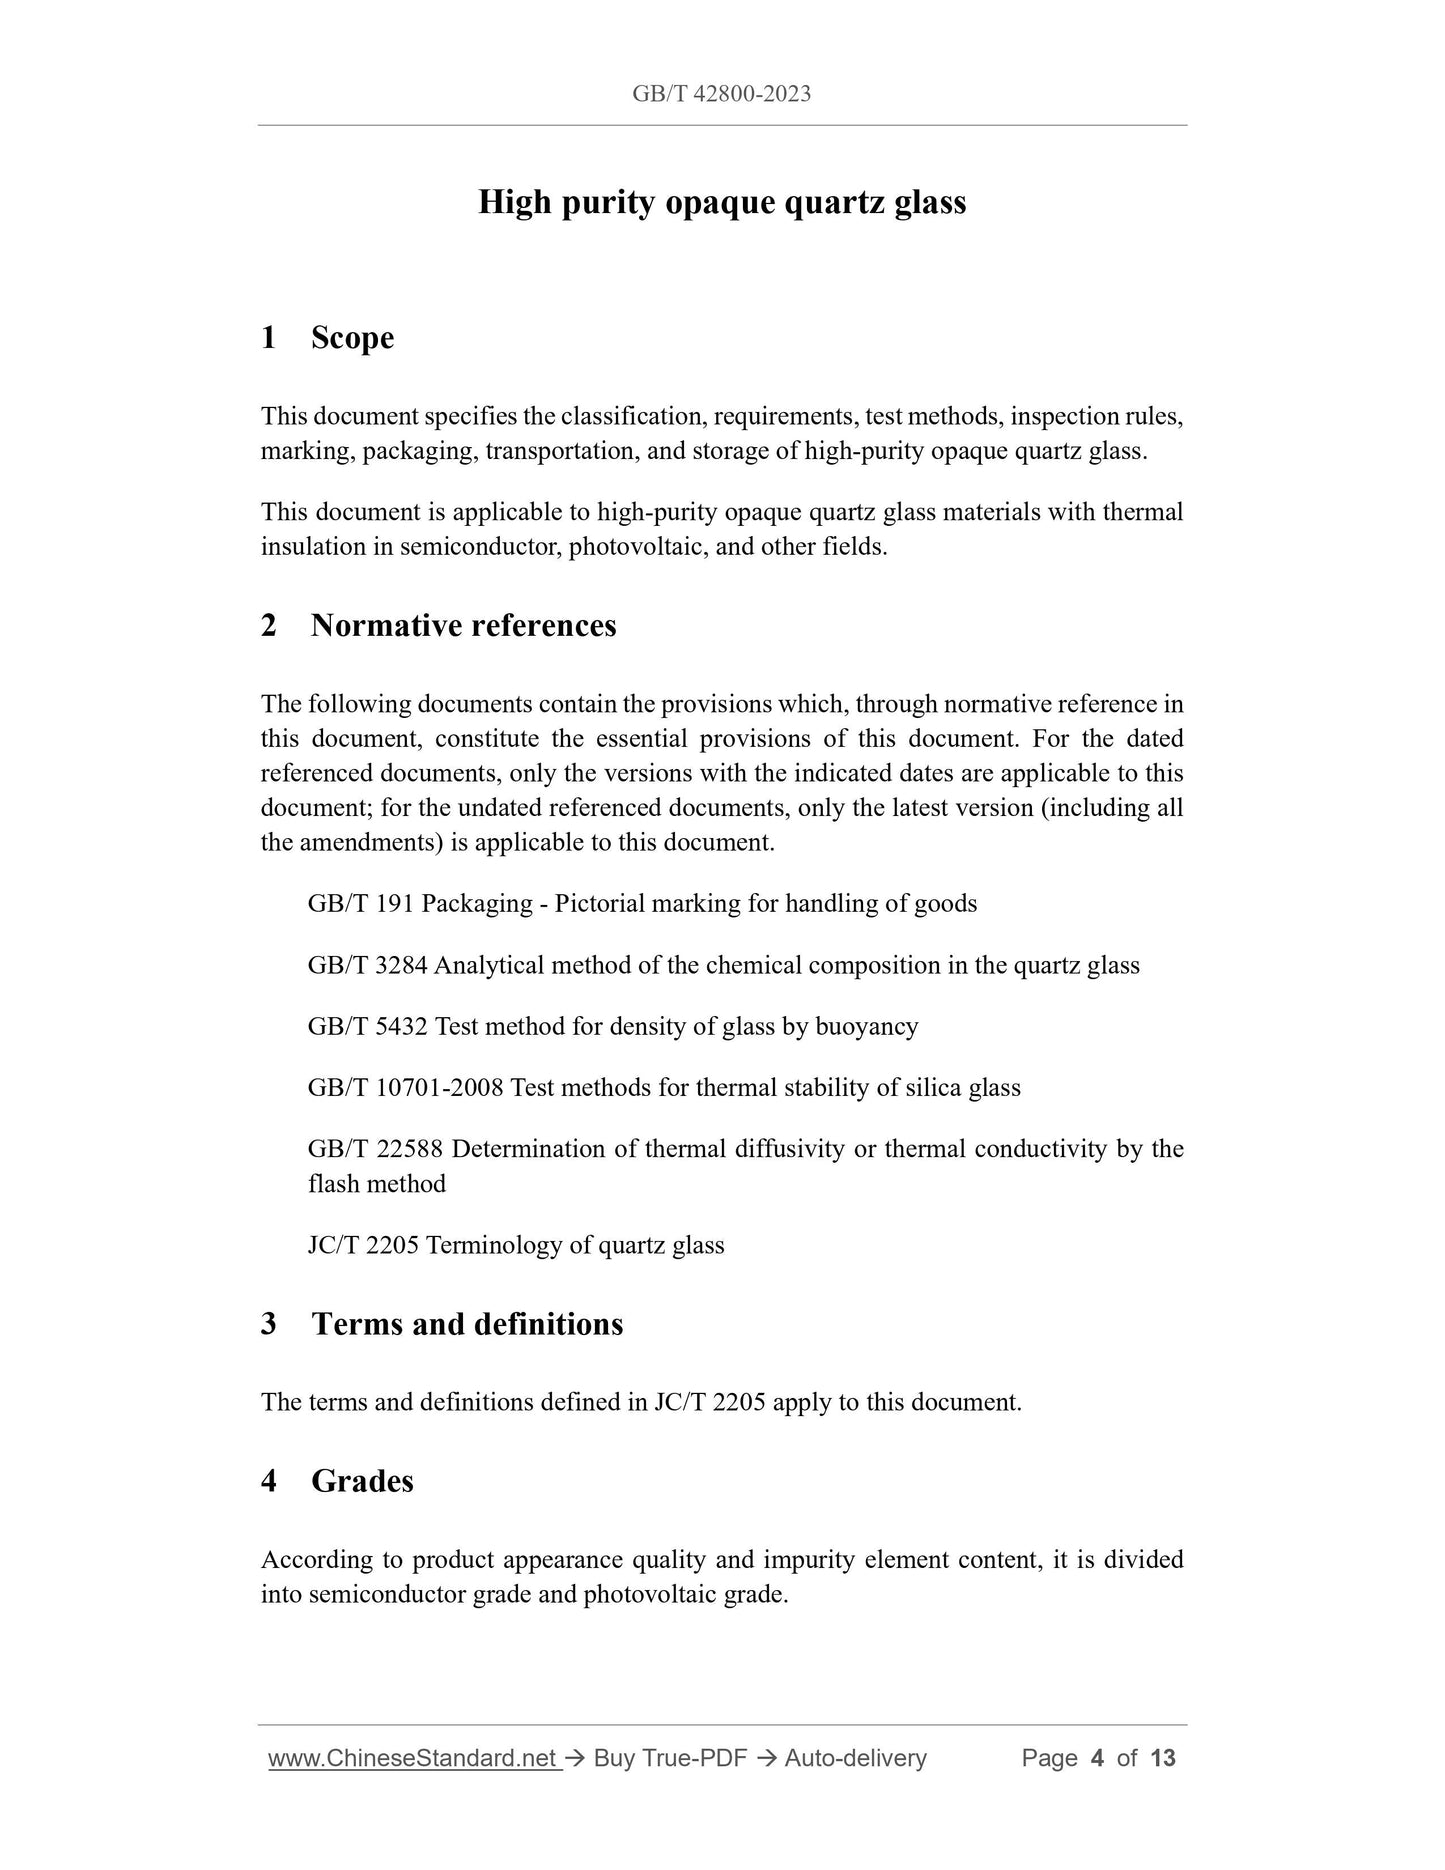
High purity opaque quartz glass
1 Scope
This document specifies the classification, requirements, test methods, inspection rules,
marking, packaging, transportation, and storage of high-purity opaque quartz glass.
This document is applicable to high-purity opaque quartz glass materials with thermal
insulation in semiconductor, photovoltaic, and other fields.
2 Normative references
The following documents contain the provisions which, through normative reference in
this document, constitute the essential provisions of this document. For the dated
referenced documents, only the versions with the indicated dates are applicable to this
document; for the undated referenced documents, only the latest version (including all
the amendments) is applicable to this document.
GB/T 191 Packaging - Pictorial marking for handling of goods
GB/T 3284 Analytical method of the chemical composition in the quartz glass
GB/T 5432 Test method for density of glass by buoyancy
GB/T 10701-2008 Test methods for thermal stability of silica glass
GB/T 22588 Determination of thermal diffusivity or thermal conductivity by the
flash method
JC/T 2205 Terminology of quartz glass
3 Terms and definitions
The terms and definitions defined in JC/T 2205 apply to this document.
4 Grades
According to product appearance quality and impurity element content, it is divided
into semiconductor grade and photovoltaic grade.
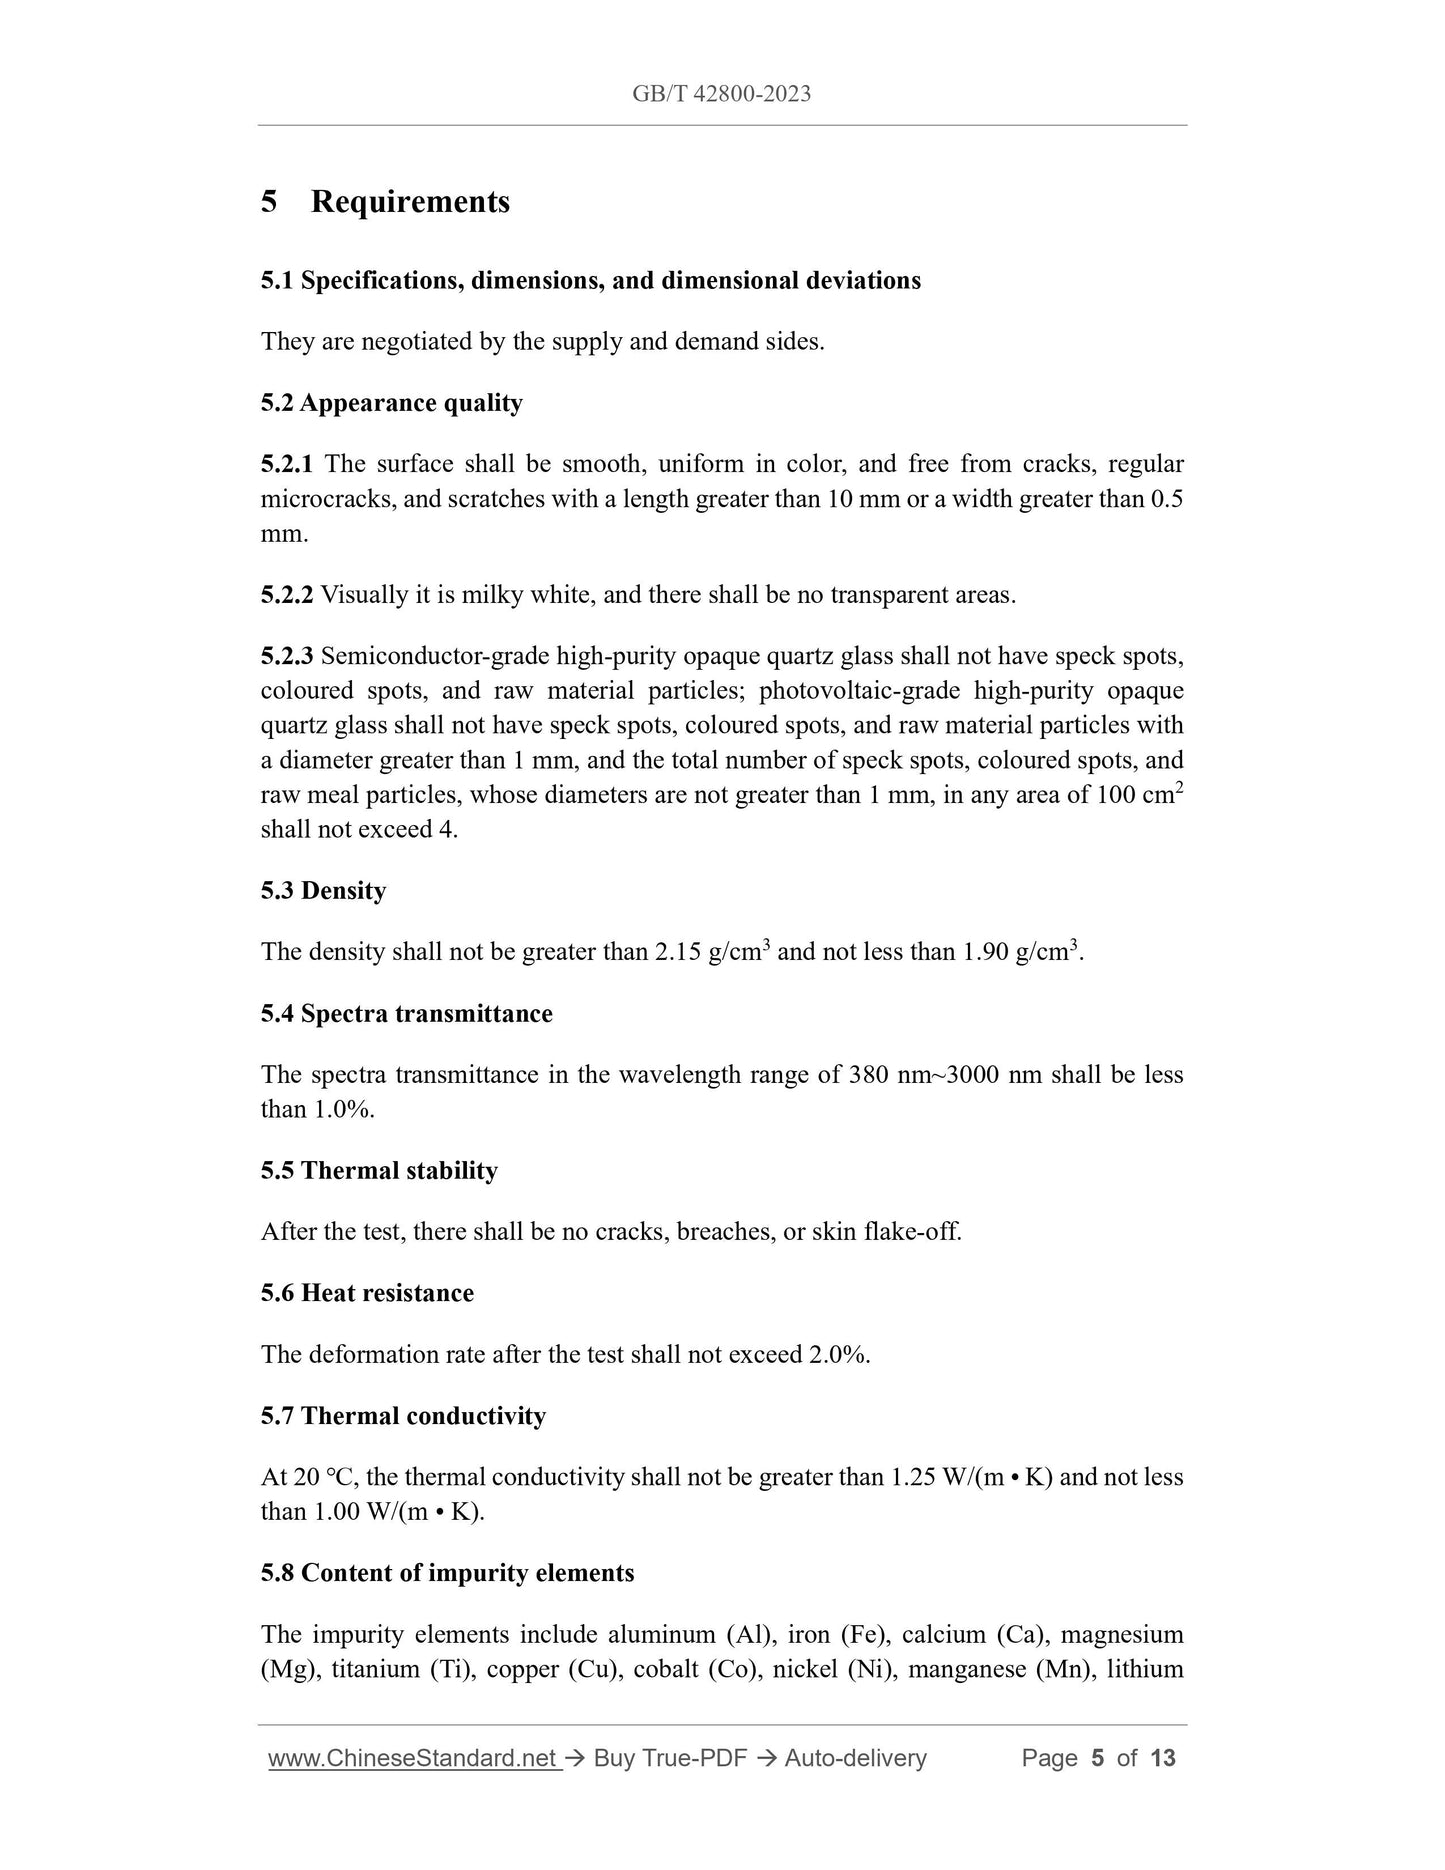
5 Requirements
5.1 Specifications, dimensions, and dimensional deviations
They are negotiated by the supply and demand sides.
5.2 Appearance quality
5.2.1 The surface shall be smooth, uniform in color, and free from cracks, regular
microcracks, and scratches with a length greater than 10 mm or a width greater than 0.5
mm.
5.2.2 Visually it is milky white, and there shall be no transparent areas.
5.2.3 Semiconductor-grade high-purity opaque quartz glass shall not have speck spots,
coloured spots, and raw material particles; photovoltaic-grade high-purity opaque
quartz glass shall not have speck spots, coloured spots, and raw material particles with
a diameter greater than 1 mm, and the total number of speck spots, coloured spots, and
raw meal particles, whose diameters are not greater than 1 mm, in any area of 100 cm2
shall not exceed 4.
5.3 Density
The density shall not be greater than 2.15 g/cm3 and not less than 1.90 g/cm3.
5.4 Spectra transmittance
The spectra transmittance in the wavelength range of 380 nm~3000 nm shall be less
than 1.0%.
5.5 Thermal stability
After the test, there shall be no cracks, breaches, or skin flake-off.
5.6 Heat resistance
The deformation rate after the test shall not exceed 2.0%.
5.7 Thermal conductivity
At 20 ℃, the thermal conductivity shall not be greater than 1.25 W/(m • K) and not less
than 1.00 W/(m • K).
5.8 Content of impurity elements
The impurity elements include aluminum (Al), iron (Fe), calcium (Ca), magnesium
(Mg), titanium (Ti), copper (Cu), cobalt (Co), nickel (Ni), manganese (Mn), lithium
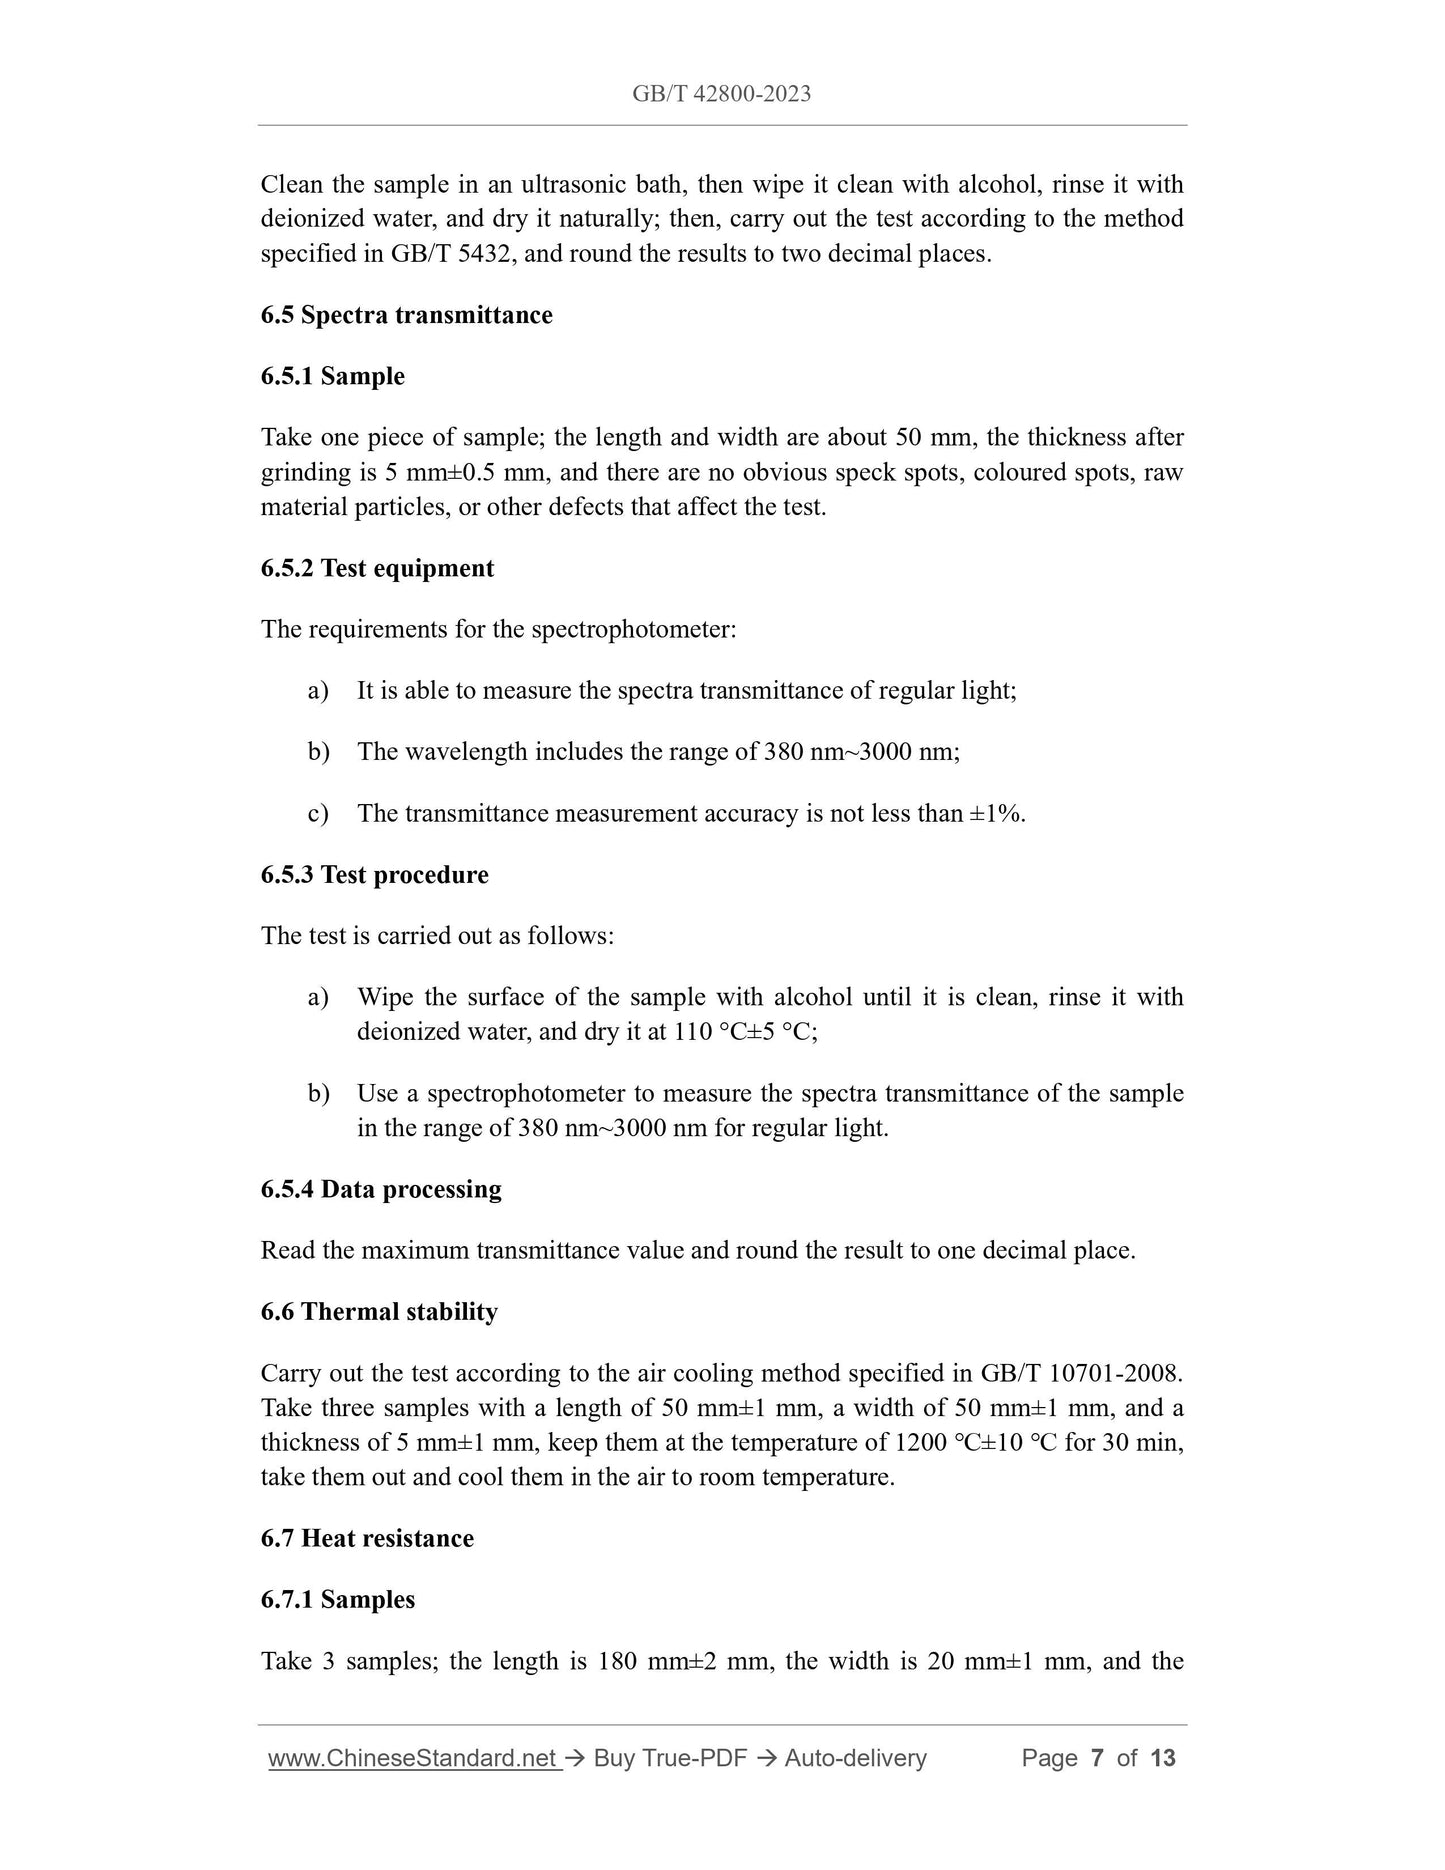
Clean the sample in an ultrasonic bath, then wipe it clean with alcohol, rinse it with
deionized water, and dry it naturally; then, carry out the test according to the method
specified in GB/T 5432, and round the results to two decimal places.
6.5 Spectra transmittance
6.5.1 Sample
Take one piece of sample; the length and width are about 50 mm, the thickness after
grinding is 5 mm±0.5 mm, and there are no obvious speck spots, coloured spots, raw
material particles, or other defects that affect the test.
6.5.2 Test equipment
The requirements for the spectrophotometer:
a) It is able to measure the spectra transmittance of regular light;
b) The wavelength includes the range of 380 nm~3000 nm;
c) The transmittance measurement accuracy is not less than ±1%.
6.5.3 Test procedure
The test is carried out as follows:
a) Wipe the surface of the sample with alcohol until it is clean, rinse it with
deionized water, and dry it at 110 °C±5 °C;
b) Use a spectrophotometer to measure the spectra transmittance of the sample
in the range of 380 nm~3000 nm for regular light.
6.5.4 Data processing
Read the maximum transmittance value and round the result to one decimal place.
6.6 Thermal stability
Carry out the test according to the air cooling method specified in GB/T 10701-2008.
Take three samples with a length of 50 mm±1 mm, a width of 50 mm±1 mm, and a
thickness of 5 mm±1 mm, keep them at the temperature of 1200 ℃±10 ℃ for 30 min,
take them out and cool them in the air to room temperature.
6.7 Heat resistance
6.7.1 Samples
Take 3 samples; the length is 180 mm±2 mm, the width is 20 mm±1 mm, and the
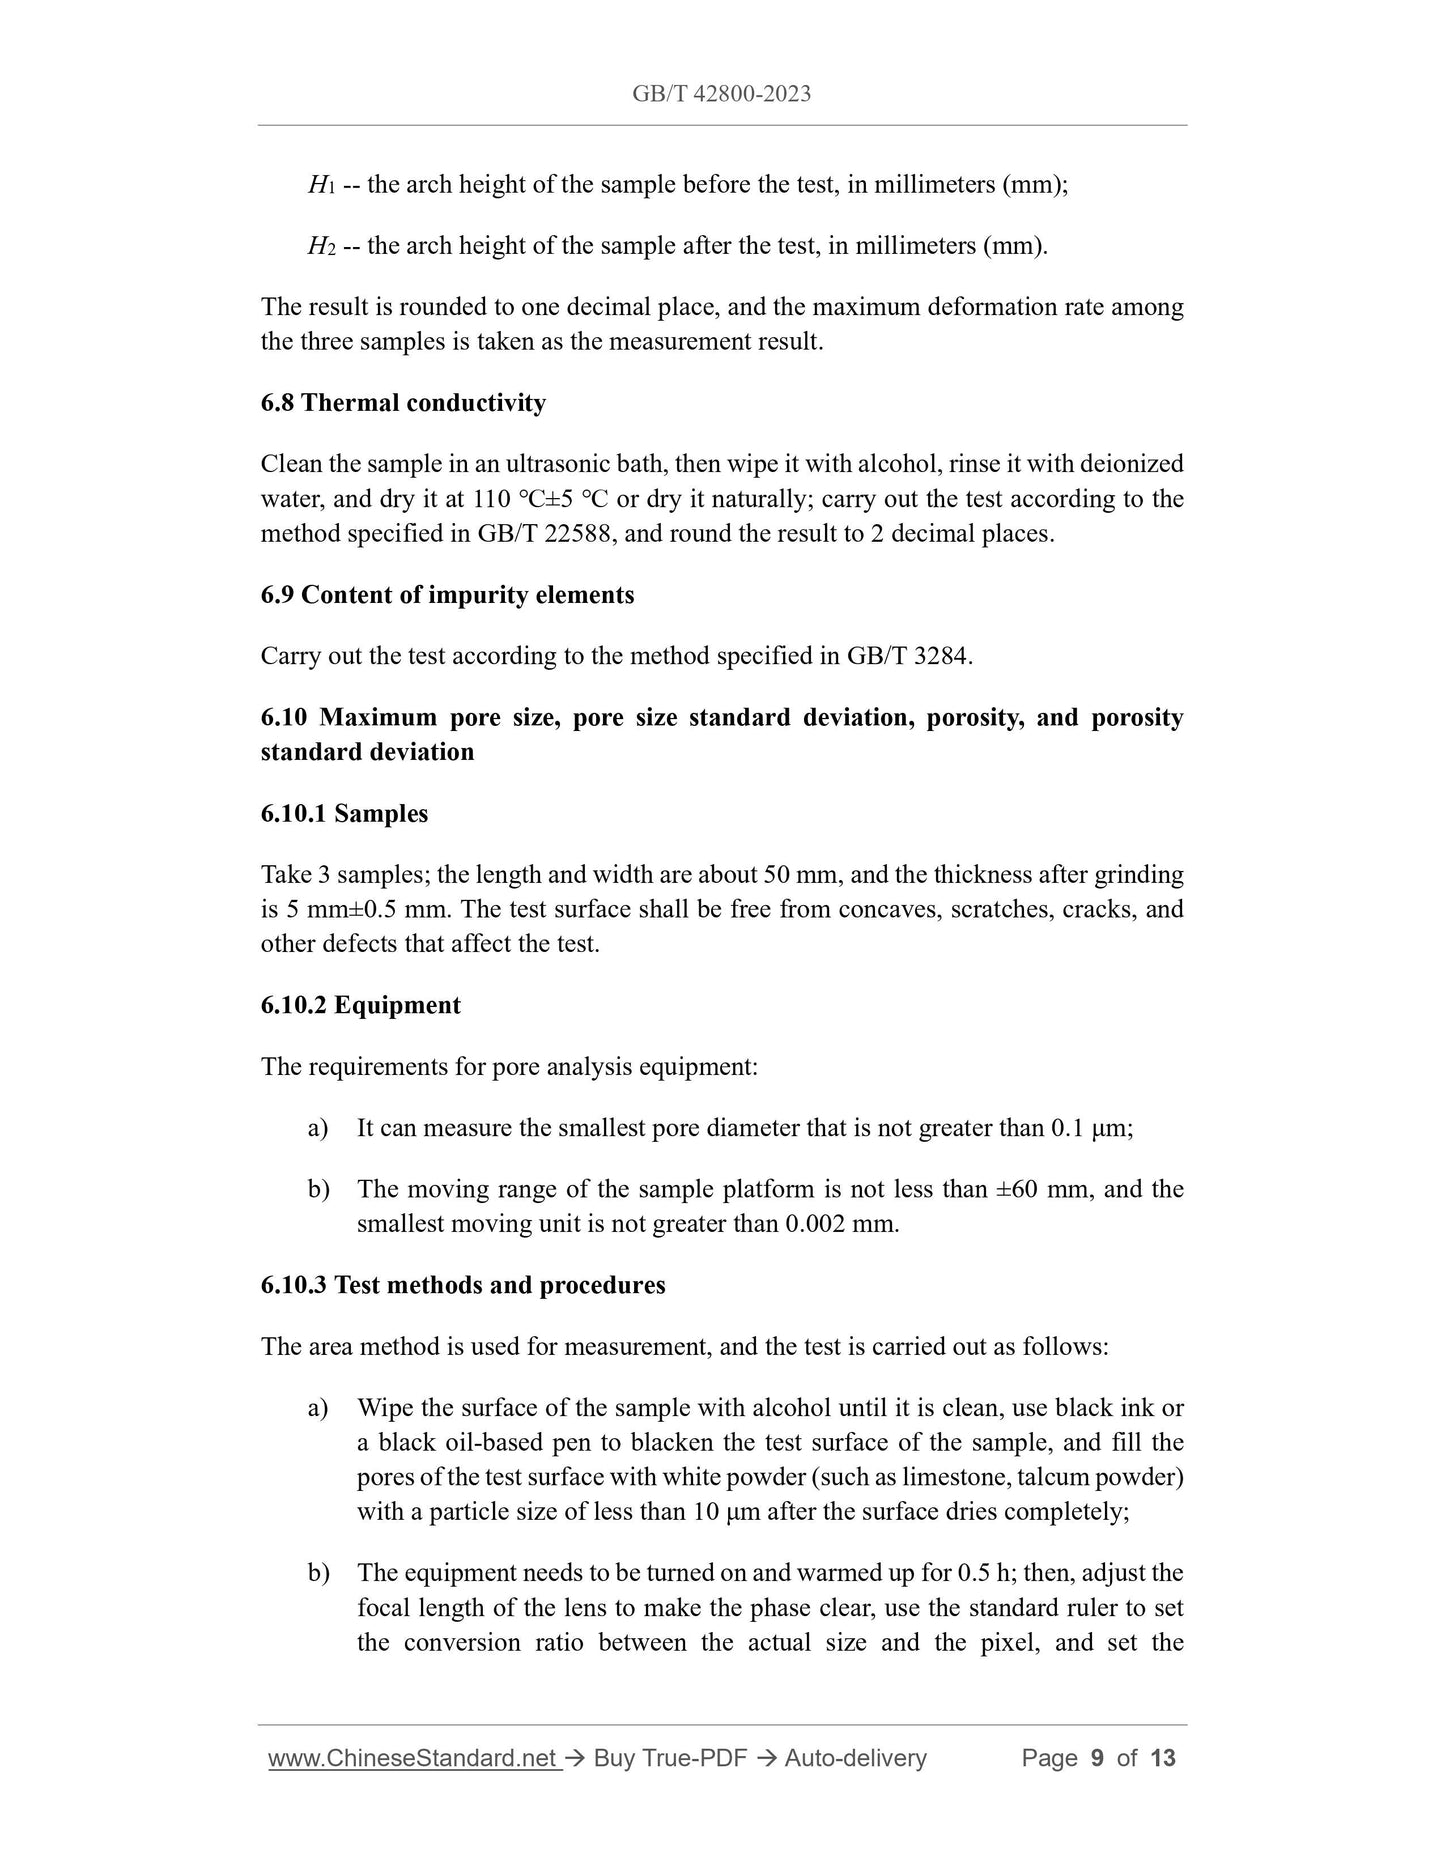
H1 -- the arch height of the sample before the test, in millimeters (mm);
H2 -- the arch height of the sample after the test, in millimeters (mm).
The result is rounded to one decimal place, and the maximum deformation rate among
the three samples is taken as the measurement result.
6.8 Thermal conductivity
Clean the sample in an ultrasonic bath, then wipe it with alcohol, rinse it with deionized
water, and dry it at 110 ℃±5 ℃ or dry it naturally; carry out the test according to the
method specified in GB/T 22588, and round the result to 2 decimal places.
6.9 Content of impurity elements
Carry out the test according to the method specified in GB/T 3284.
6.10 Maximum pore size, pore size standard deviation, porosity, and porosity
standard deviation
6.10.1 Samples
Take 3 samples; the length and width are about 50 mm, and the thickness after grinding
is 5 mm±0.5 mm. The test surface shall be free from concaves, scratches, cracks, and
other defects that affect the test.
6.10.2 Equipment
The requirements for pore analysis equipment:
a) It can measure the smallest pore diameter that is not greater than 0.1 μm;
b) The moving range of the sample platform is not less than ±60 mm, and the
smallest moving unit is not greater than 0.002 mm.
6.10.3 Test methods and procedures
The area method is used for measurement, and the test is carried out as follows:
a) Wipe the surface of the sample with alcohol until it is clean, use black ink or
a black oil-based pen to blacken the test surface of the sample, and fill the
pores of the test surface with white powder (such as limestone, talcum powder)
with a particle size of less than 10 μm after the surface dries completely;
b) The equipment needs to be turned on and warmed up for 0.5 h; then, adjust the
focal length of the lens to make the phase clear, use the standard ruler to set
the conversion ratio between the actual size and the pixel, and set the
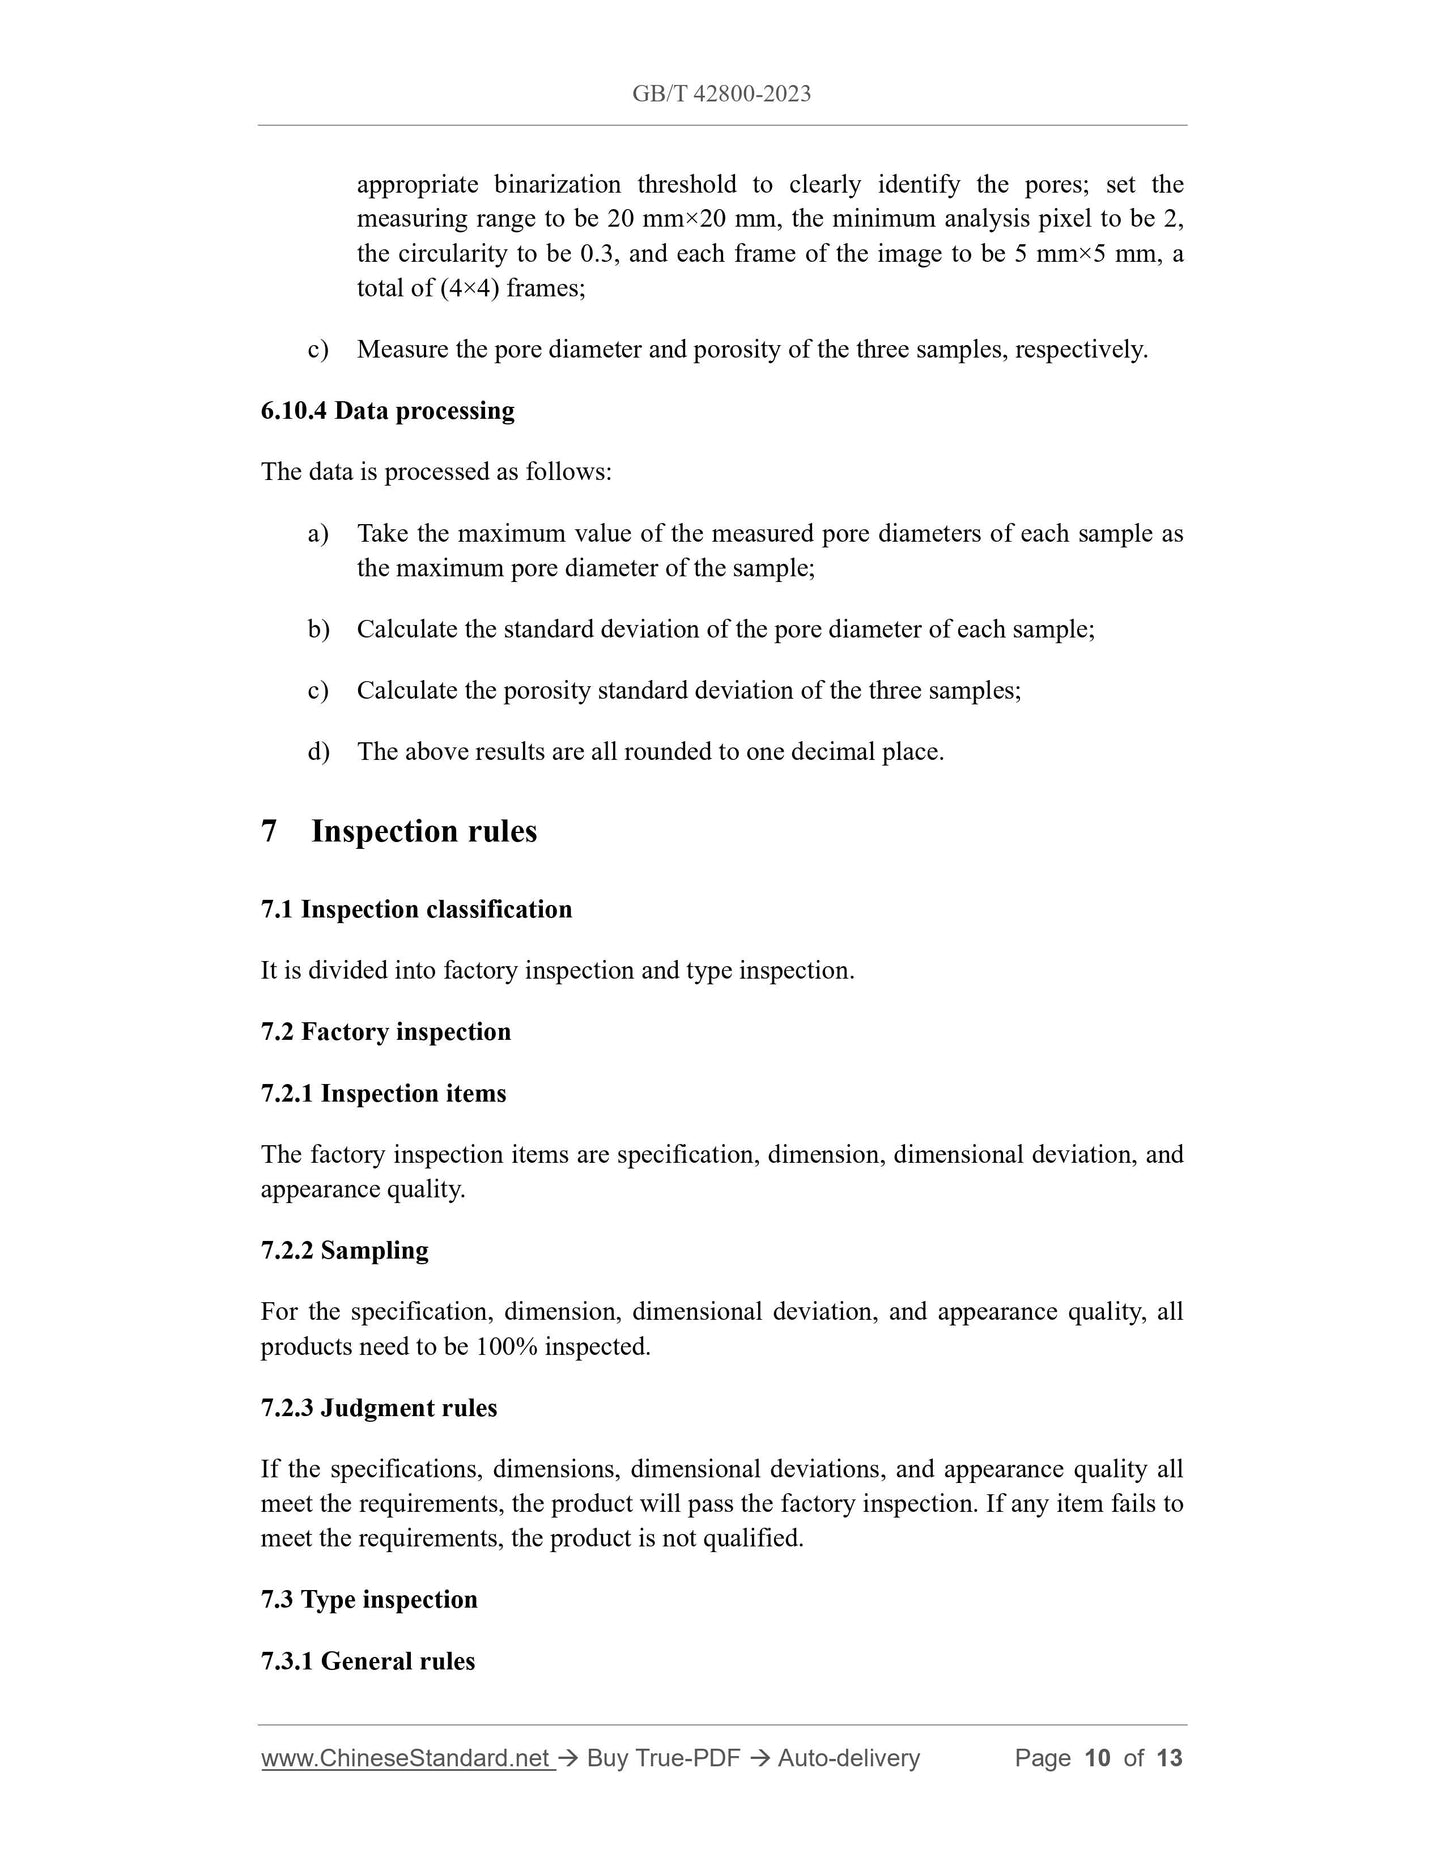
appropriate binarization threshold to clearly identify the pores; set the
measuring range to be 20 mm×20 mm, the minimum analysis pixel to be 2,
the circularity to be 0.3, and each frame of the image to be 5 mm×5 mm, a
total of (4×4) frames;
c) Measure the pore diameter and porosity of the th...
View full details