1
/
of
7
PayPal, credit cards. Download editable-PDF and invoice in 1 second!
GB/T 42673-2023 English PDF (GB/T42673-2023)
Regular price
$170.00
Regular price
Sale price
$170.00
Unit price
/
per
Shipping calculated at checkout.
Couldn't load pickup availability
GB/T 42673-2023: Non-destructive testing of steel tubes - Magnetic particle inspection of seamless and welded ferromagnetic steel tubes for the detection of surface imperfections
Delivery: 9 seconds. Download (& Email) true-PDF + Invoice.
Get Quotation: Click GB/T 42673-2023 (Self-service in 1-minute)
Historical versions (Master-website): GB/T 42673-2023
Preview True-PDF (Reload/Scroll-down if blank)
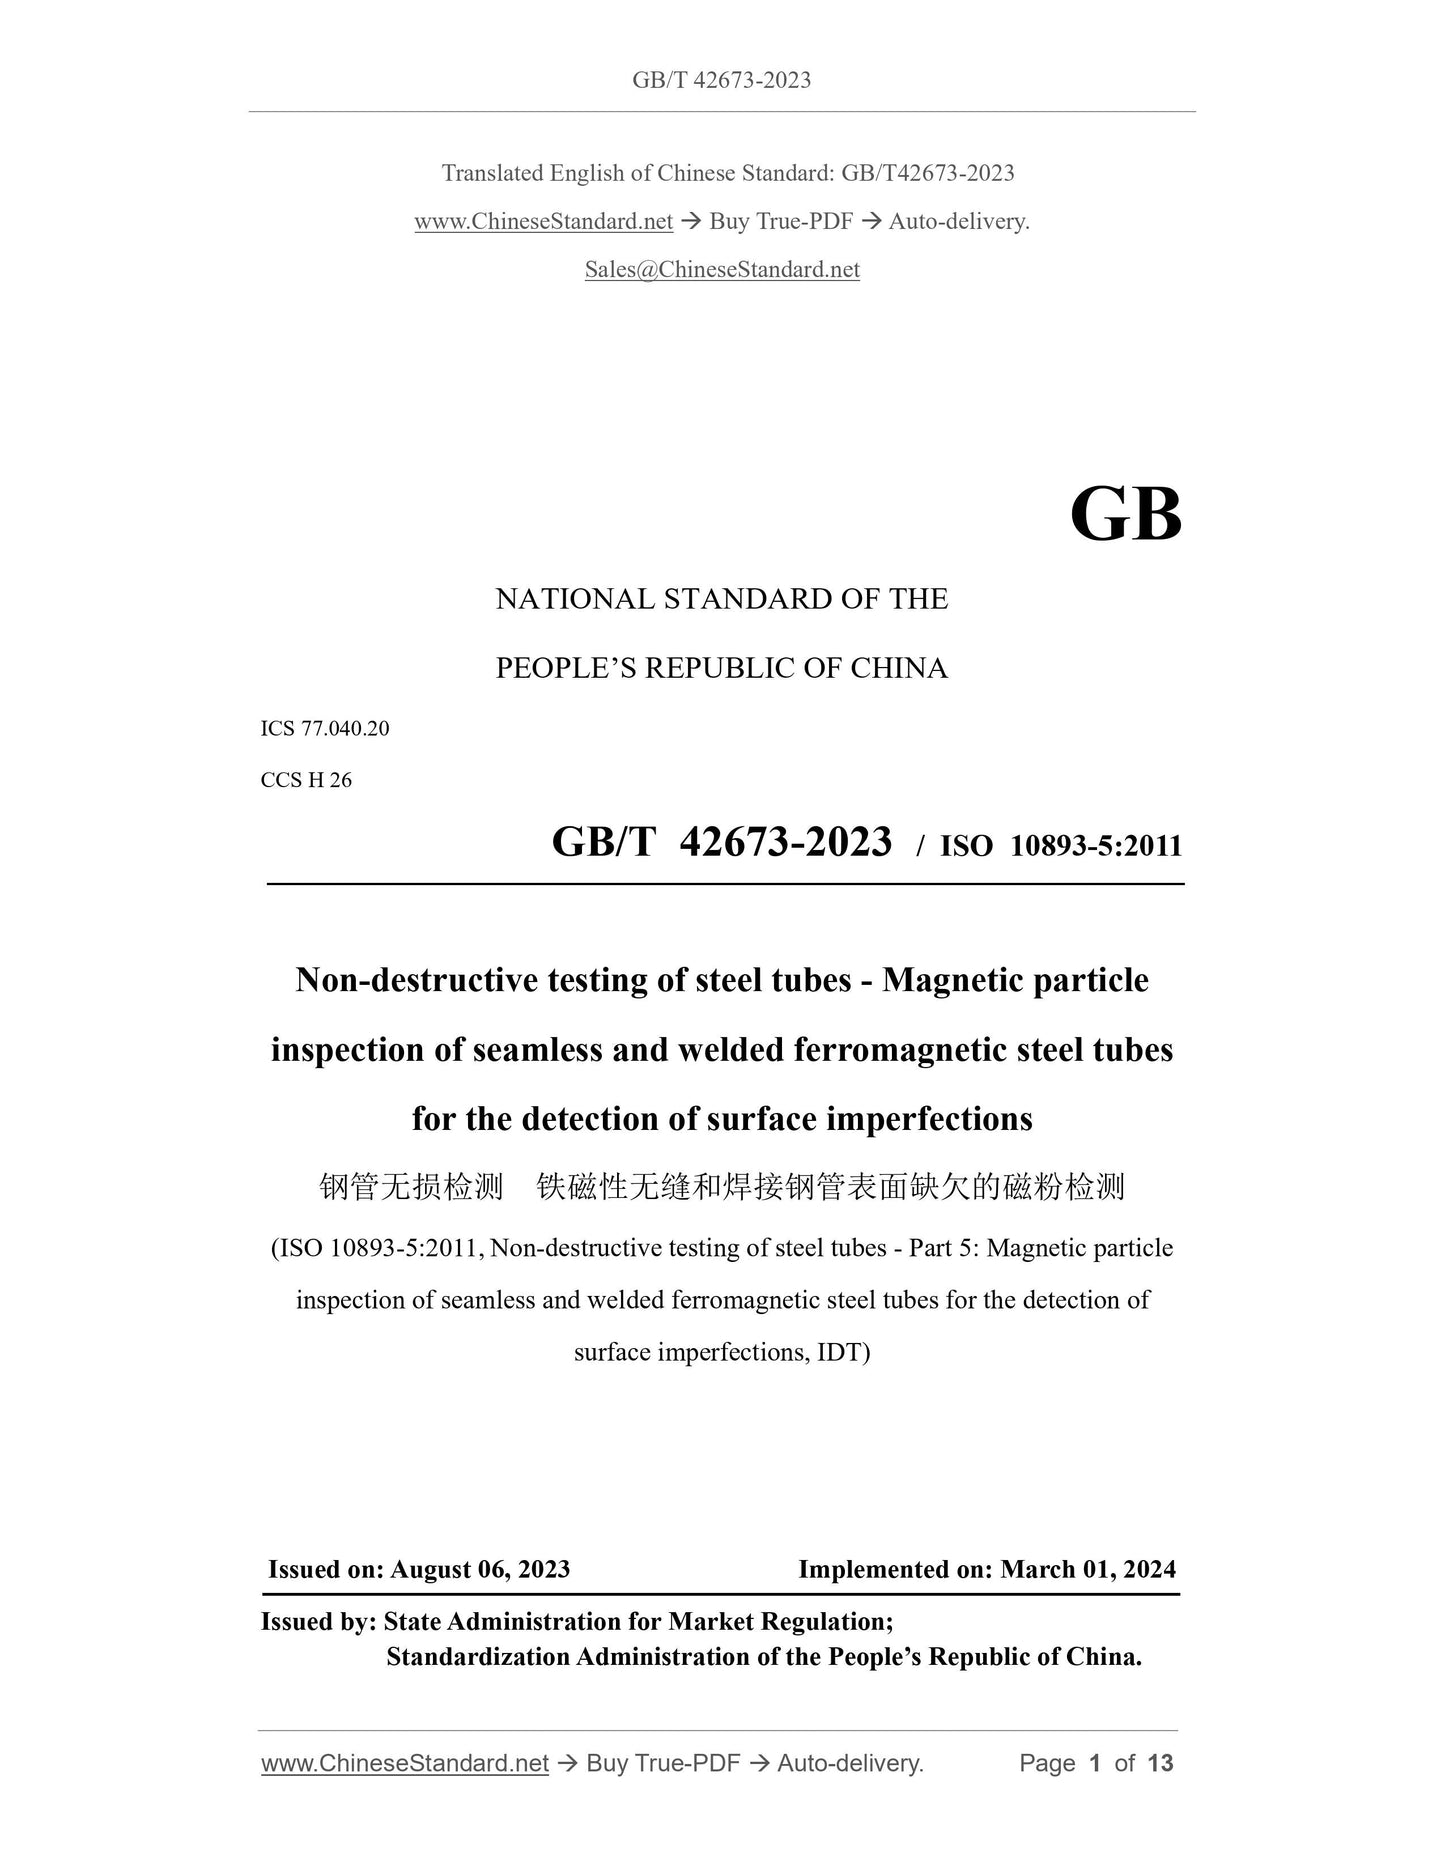
GB/T 42673-2023
GB
NATIONAL STANDARD OF THE
PEOPLE’S REPUBLIC OF CHINA
ICS 77.040.20
CCS H 26
GB/T 42673-2023 / ISO 10893-5:2011
Non-destructive testing of steel tubes - Magnetic particle
inspection of seamless and welded ferromagnetic steel tubes
for the detection of surface imperfections
(ISO 10893-5:2011, Non-destructive testing of steel tubes - Part 5: Magnetic particle
inspection of seamless and welded ferromagnetic steel tubes for the detection of
surface imperfections, IDT)
ISSUED ON: AUGUST 06, 2023
IMPLEMENTED ON: MARCH 01, 2024
Issued by: State Administration for Market Regulation;
Standardization Administration of the People’s Republic of China.
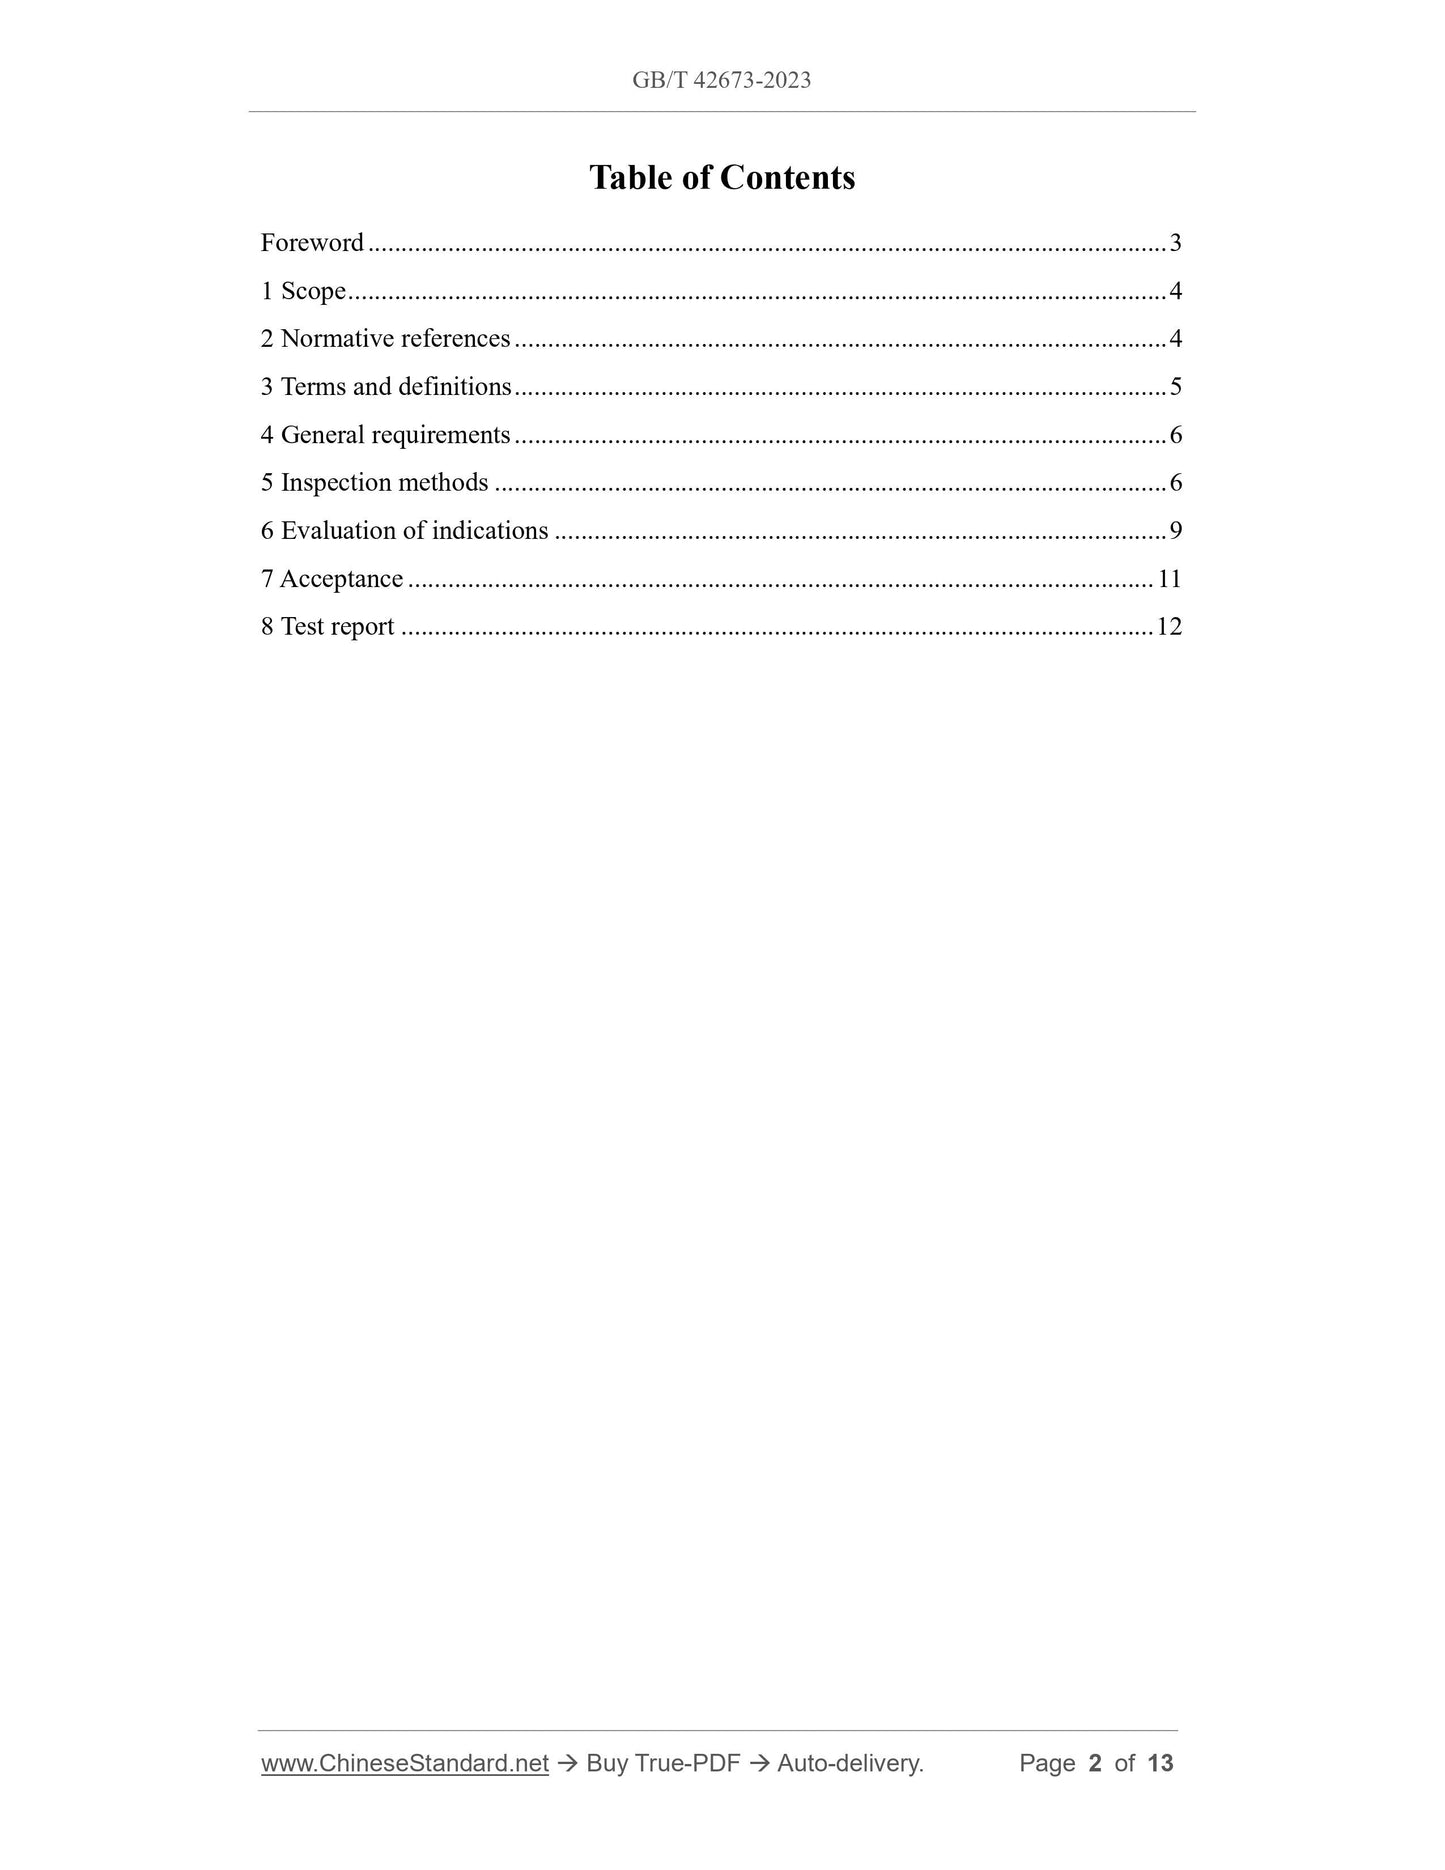
Table of Contents
Foreword ... 3
1 Scope ... 4
2 Normative references ... 4
3 Terms and definitions ... 5
4 General requirements ... 6
5 Inspection methods ... 6
6 Evaluation of indications ... 9
7 Acceptance ... 11
8 Test report ... 12
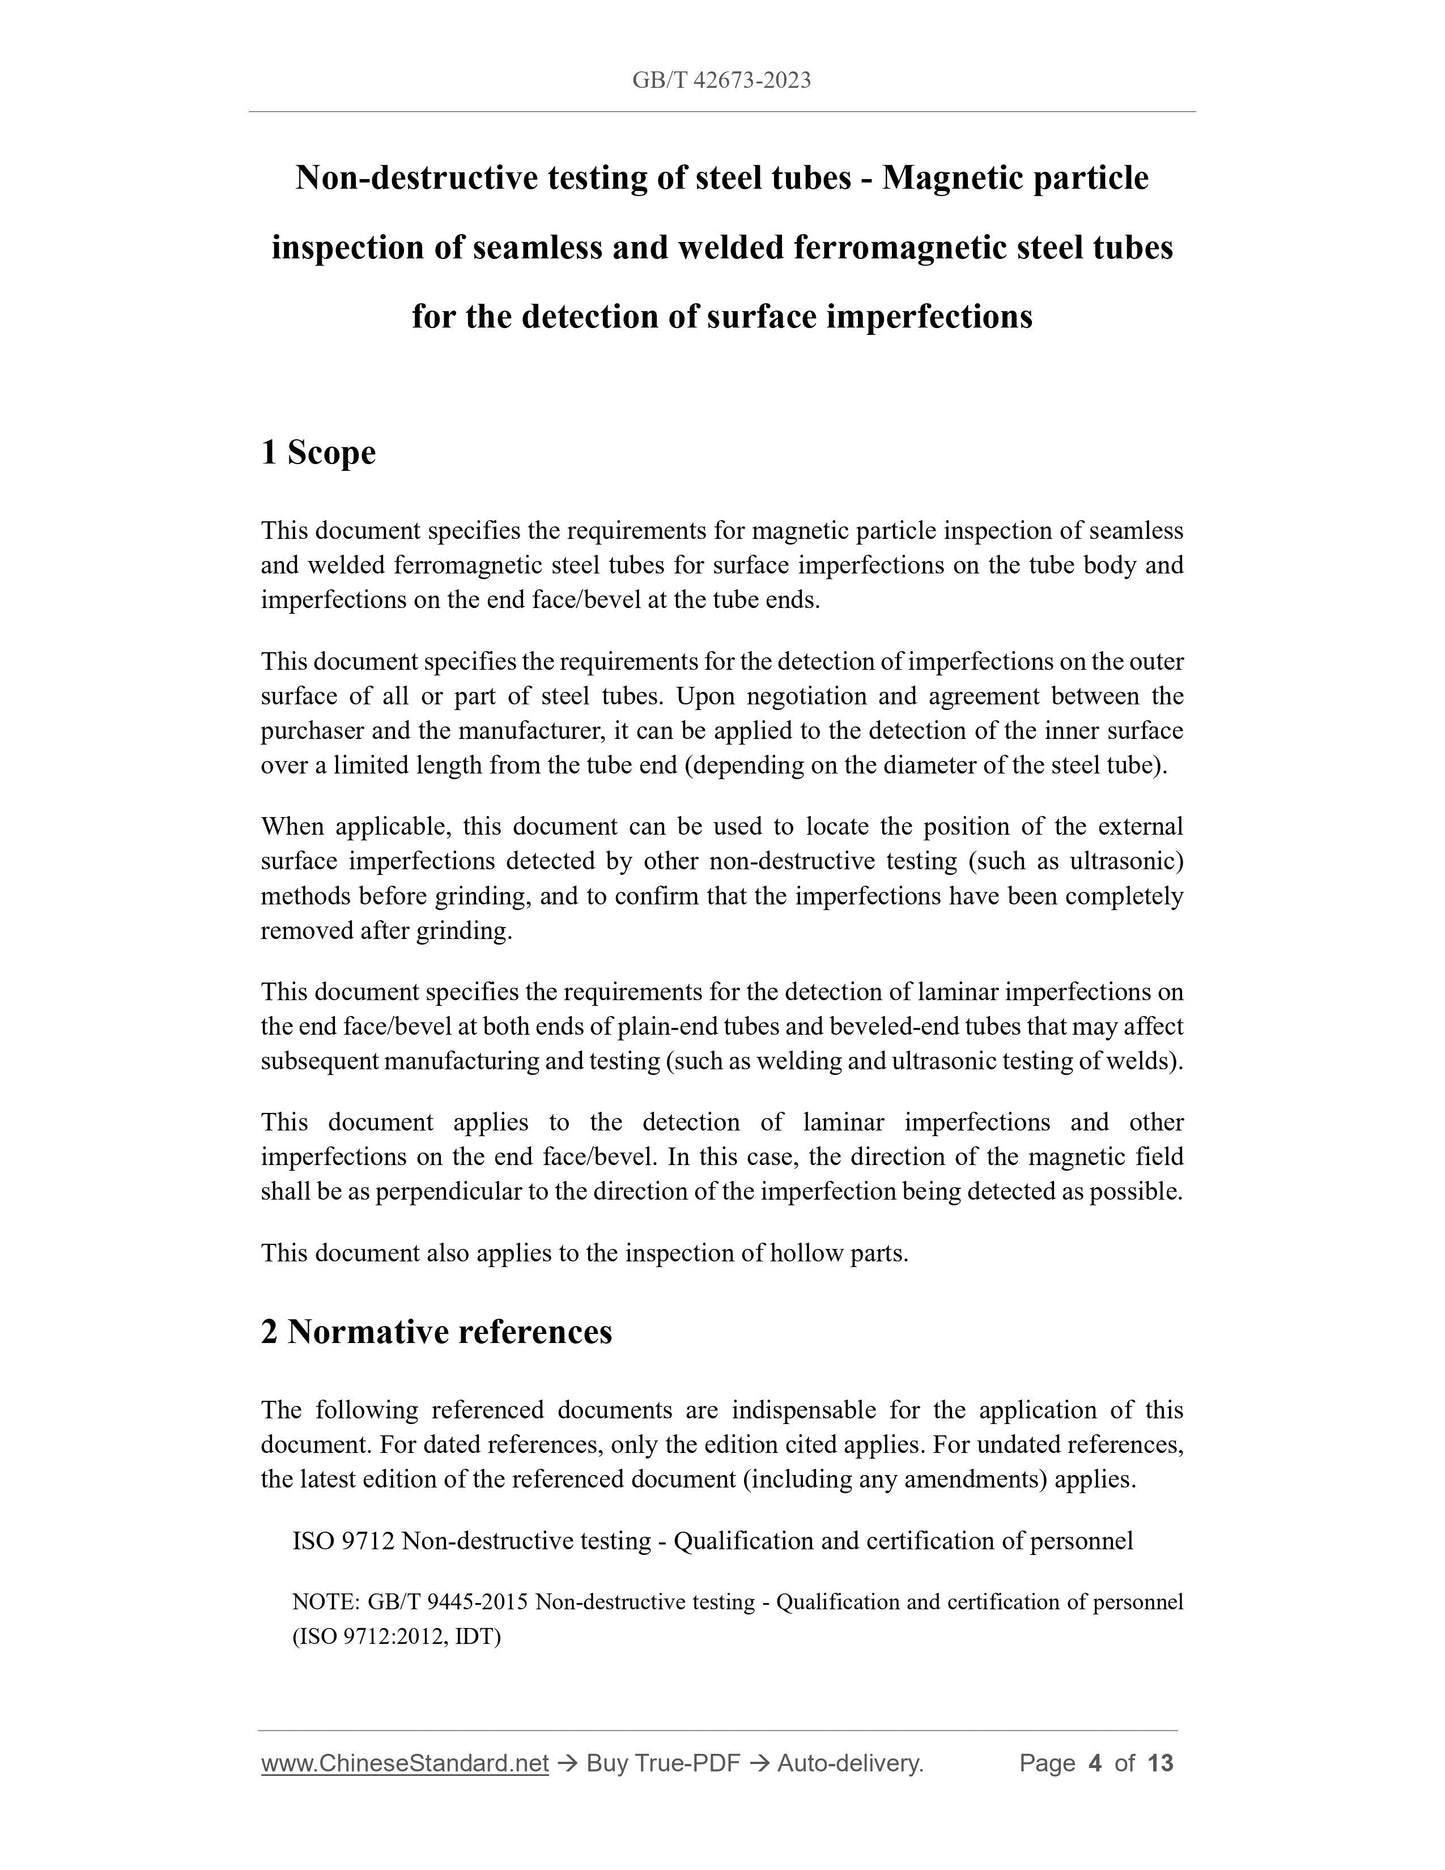
Non-destructive testing of steel tubes - Magnetic particle
inspection of seamless and welded ferromagnetic steel tubes
for the detection of surface imperfections
1 Scope
This document specifies the requirements for magnetic particle inspection of seamless
and welded ferromagnetic steel tubes for surface imperfections on the tube body and
imperfections on the end face/bevel at the tube ends.
This document specifies the requirements for the detection of imperfections on the outer
surface of all or part of steel tubes. Upon negotiation and agreement between the
purchaser and the manufacturer, it can be applied to the detection of the inner surface
over a limited length from the tube end (depending on the diameter of the steel tube).
When applicable, this document can be used to locate the position of the external
surface imperfections detected by other non-destructive testing (such as ultrasonic)
methods before grinding, and to confirm that the imperfections have been completely
removed after grinding.
This document specifies the requirements for the detection of laminar imperfections on
the end face/bevel at both ends of plain-end tubes and beveled-end tubes that may affect
subsequent manufacturing and testing (such as welding and ultrasonic testing of welds).
This document applies to the detection of laminar imperfections and other
imperfections on the end face/bevel. In this case, the direction of the magnetic field
shall be as perpendicular to the direction of the imperfection being detected as possible.
This document also applies to the inspection of hollow parts.
2 Normative references
The following referenced documents are indispensable for the application of this
document. For dated references, only the edition cited applies. For undated references,
the latest edition of the referenced document (including any amendments) applies.
ISO 9712 Non-destructive testing - Qualification and certification of personnel
NOTE: GB/T 9445-2015 Non-destructive testing - Qualification and certification of personnel
(ISO 9712:2012, IDT)
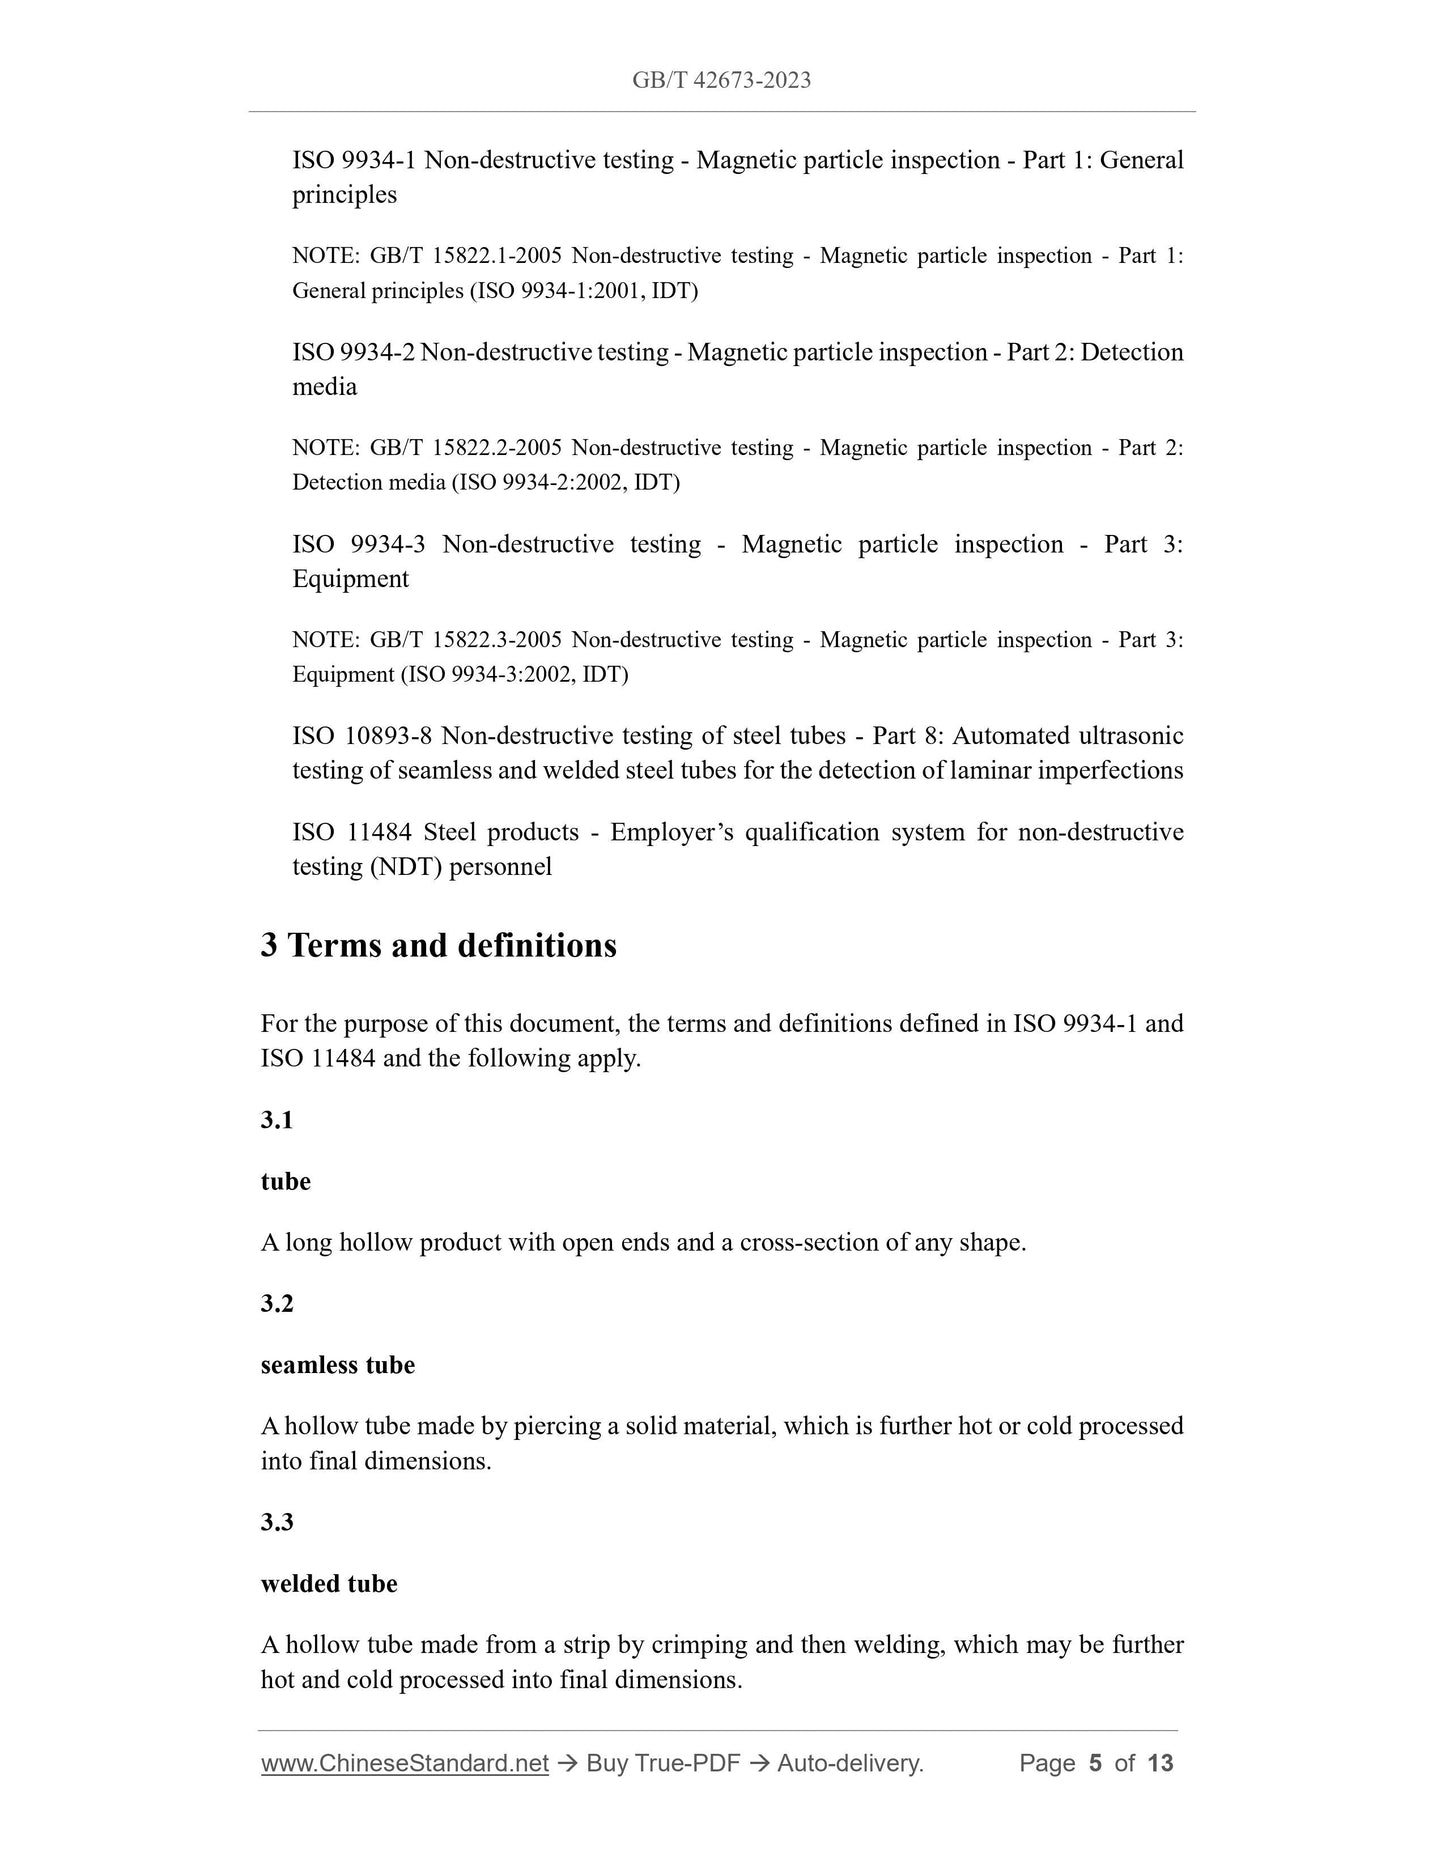
ISO 9934-1 Non-destructive testing - Magnetic particle inspection - Part 1: General
principles
NOTE: GB/T 15822.1-2005 Non-destructive testing - Magnetic particle inspection - Part 1:
General principles (ISO 9934-1:2001, IDT)
ISO 9934-2 Non-destructive testing - Magnetic particle inspection - Part 2: Detection
media
NOTE: GB/T 15822.2-2005 Non-destructive testing - Magnetic particle inspection - Part 2:
Detection media (ISO 9934-2:2002, IDT)
ISO 9934-3 Non-destructive testing - Magnetic particle inspection - Part 3:
Equipment
NOTE: GB/T 15822.3-2005 Non-destructive testing - Magnetic particle inspection - Part 3:
Equipment (ISO 9934-3:2002, IDT)
ISO 10893-8 Non-destructive testing of steel tubes - Part 8: Automated ultrasonic
testing of seamless and welded steel tubes for the detection of laminar imperfections
ISO 11484 Steel products - Employer’s qualification system for non-destructive
testing (NDT) personnel
3 Terms and definitions
For the purpose of this document, the terms and definitions defined in ISO 9934-1 and
ISO 11484 and the following apply.
3.1
tube
A long hollow product with open ends and a cross-section of any shape.
3.2
seamless tube
A hollow tube made by piercing a solid material, which is further hot or cold processed
into final dimensions.
3.3
welded tube
A hollow tube made from a strip by crimping and then welding, which may be further
hot and cold processed into final dimensions.
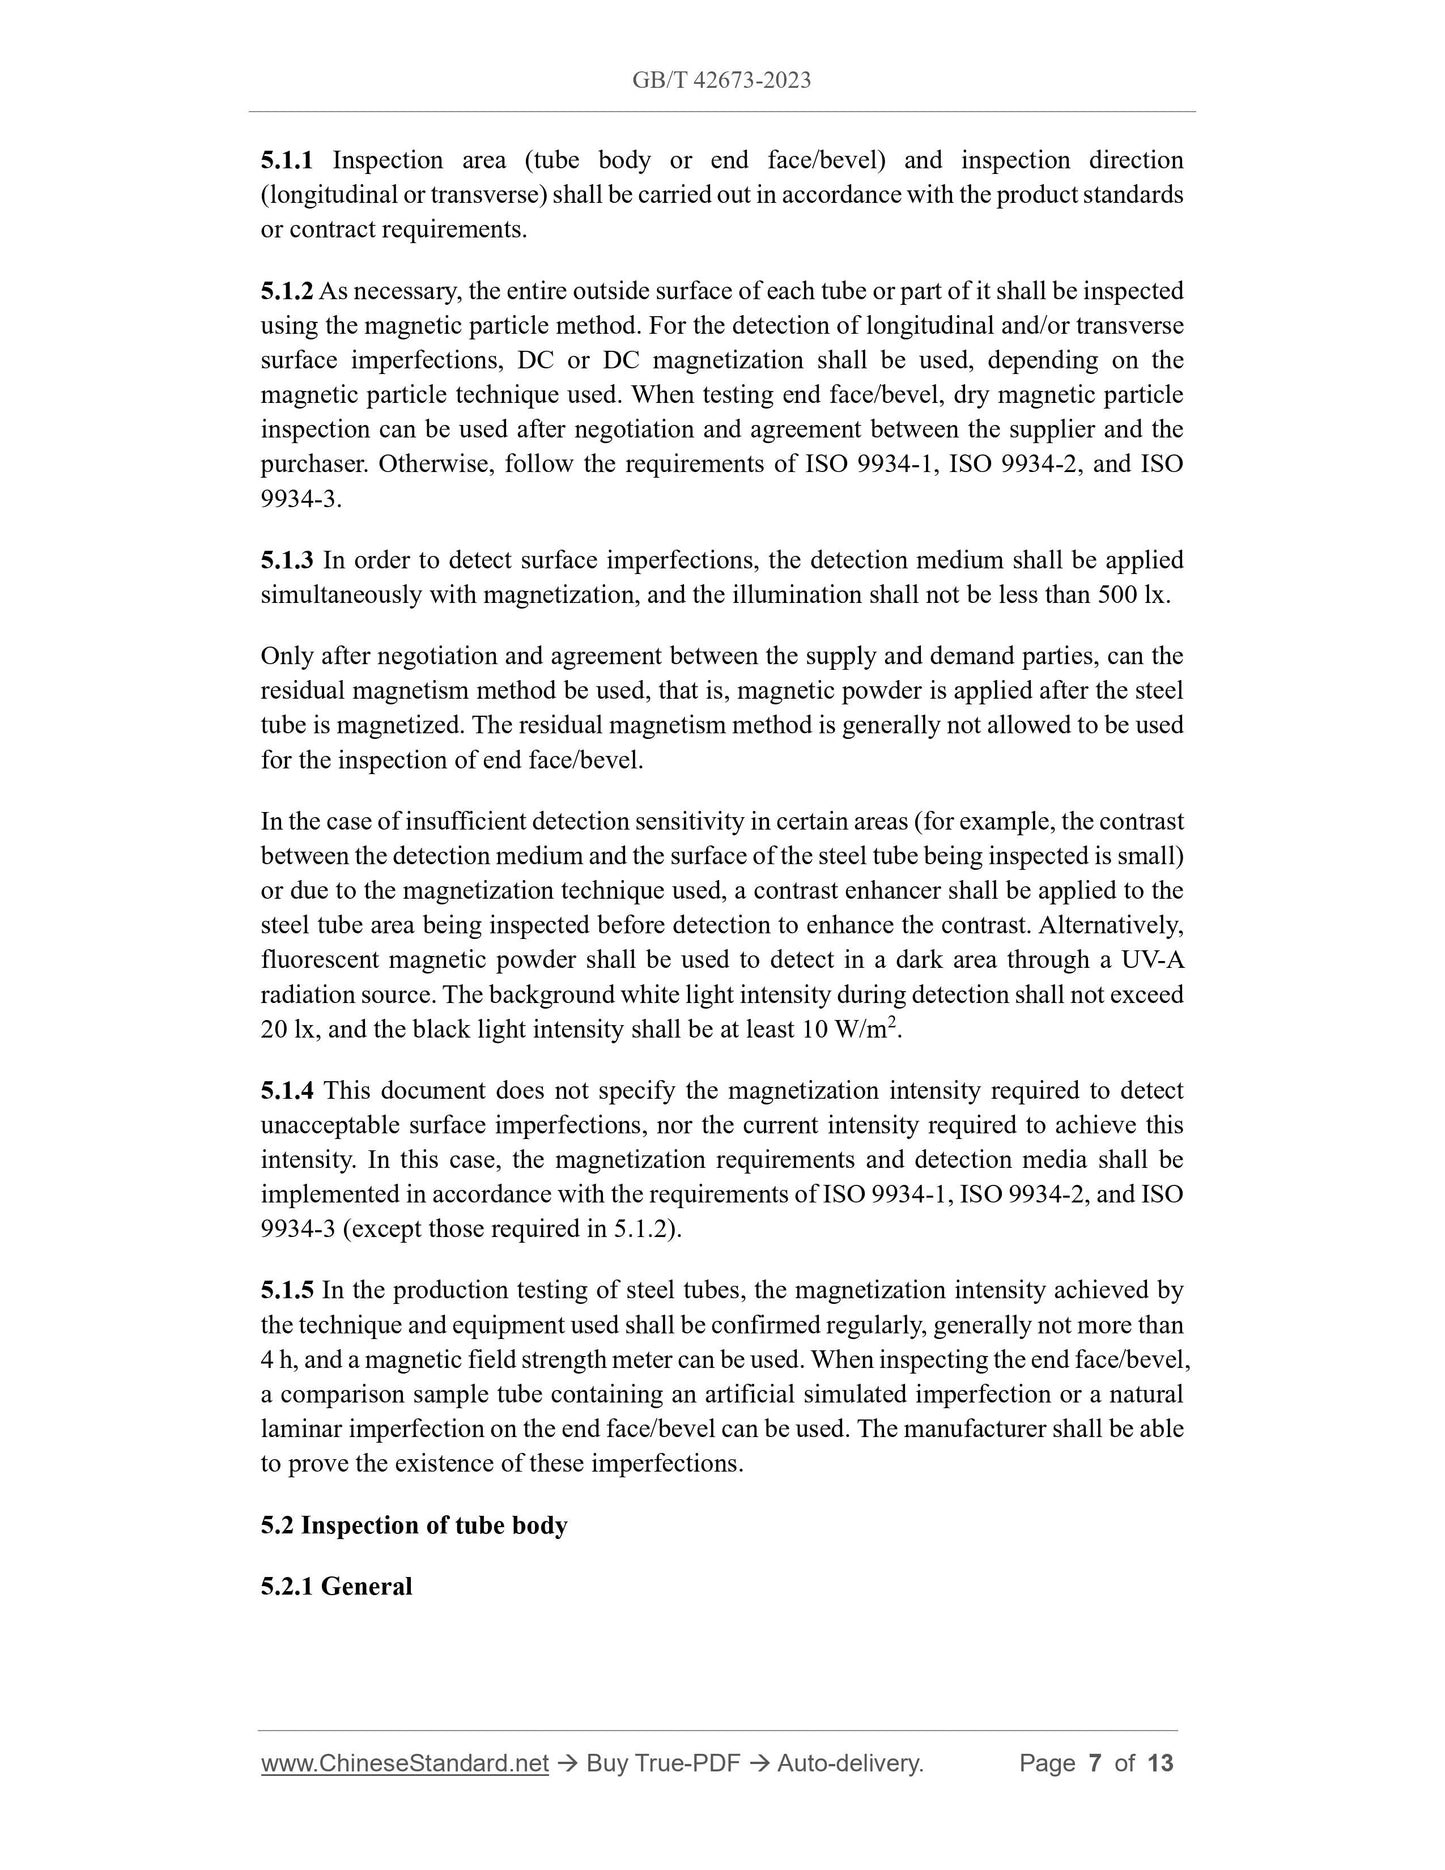
5.1.1 Inspection area (tube body or end face/bevel) and inspection direction
(longitudinal or transverse) shall be carried out in accordance with the product standards
or contract requirements.
5.1.2 As necessary, the entire outside surface of each tube or part of it shall be inspected
using the magnetic particle method. For the detection of longitudinal and/or transverse
surface imperfections, DC or DC magnetization shall be used, depending on the
magnetic particle technique used. When testing end face/bevel, dry magnetic particle
inspection can be used after negotiation and agreement between the supplier and the
purchaser. Otherwise, follow the requirements of ISO 9934-1, ISO 9934-2, and ISO
9934-3.
5.1.3 In order to detect surface imperfections, the detection medium shall be applied
simultaneously with magnetization, and the illumination shall not be less than 500 lx.
Only after negotiation and agreement between the supply and demand parties, can the
residual magnetism method be used, that is, magnetic powder is applied after the steel
tube is magnetized. The residual magnetism method is generally not allowed to be used
for the inspection of end face/bevel.
In the case of insufficient detection sensitivity in certain areas (for example, the contrast
between the detection medium and the surface of the steel tube being inspected is small)
or due to the magnetization technique used, a contrast enhancer shall be applied to the
steel tube area being inspected before detection to enhance the contrast. Alternatively,
fluorescent magnetic powder shall be used to detect in a dark area through a UV-A
radiation source. The background white light intensity during detection shall not exceed
20 lx, and the black light intensity shall be at least 10 W/m2.
5.1.4 This document does not specify the magnetization intensity required to detect
unacceptable surface imperfections, nor the current intensity required to achieve this
intensity. In this case, the magnetization requirements and detection media shall be
implemented in accordance with the requirements of ISO 9934-1, ISO 9934-2, and ISO
9934-3 (except those required in 5.1.2).
5.1.5 In the production testing of steel tubes, the magnetization intensity achieved by
the technique and equipment used shall be confirmed regularly, generally not more than
4 h, and a magnetic field strength meter can be used. When inspecting the end face/bevel,
a comparison sample tube containing an artificial simulated imperfection or a natural
laminar imperfection on the end face/bevel can be used. The manufacturer shall be able
to prove the existence of these imperfections.
5.2 Inspection of tube body
5.2.1 General
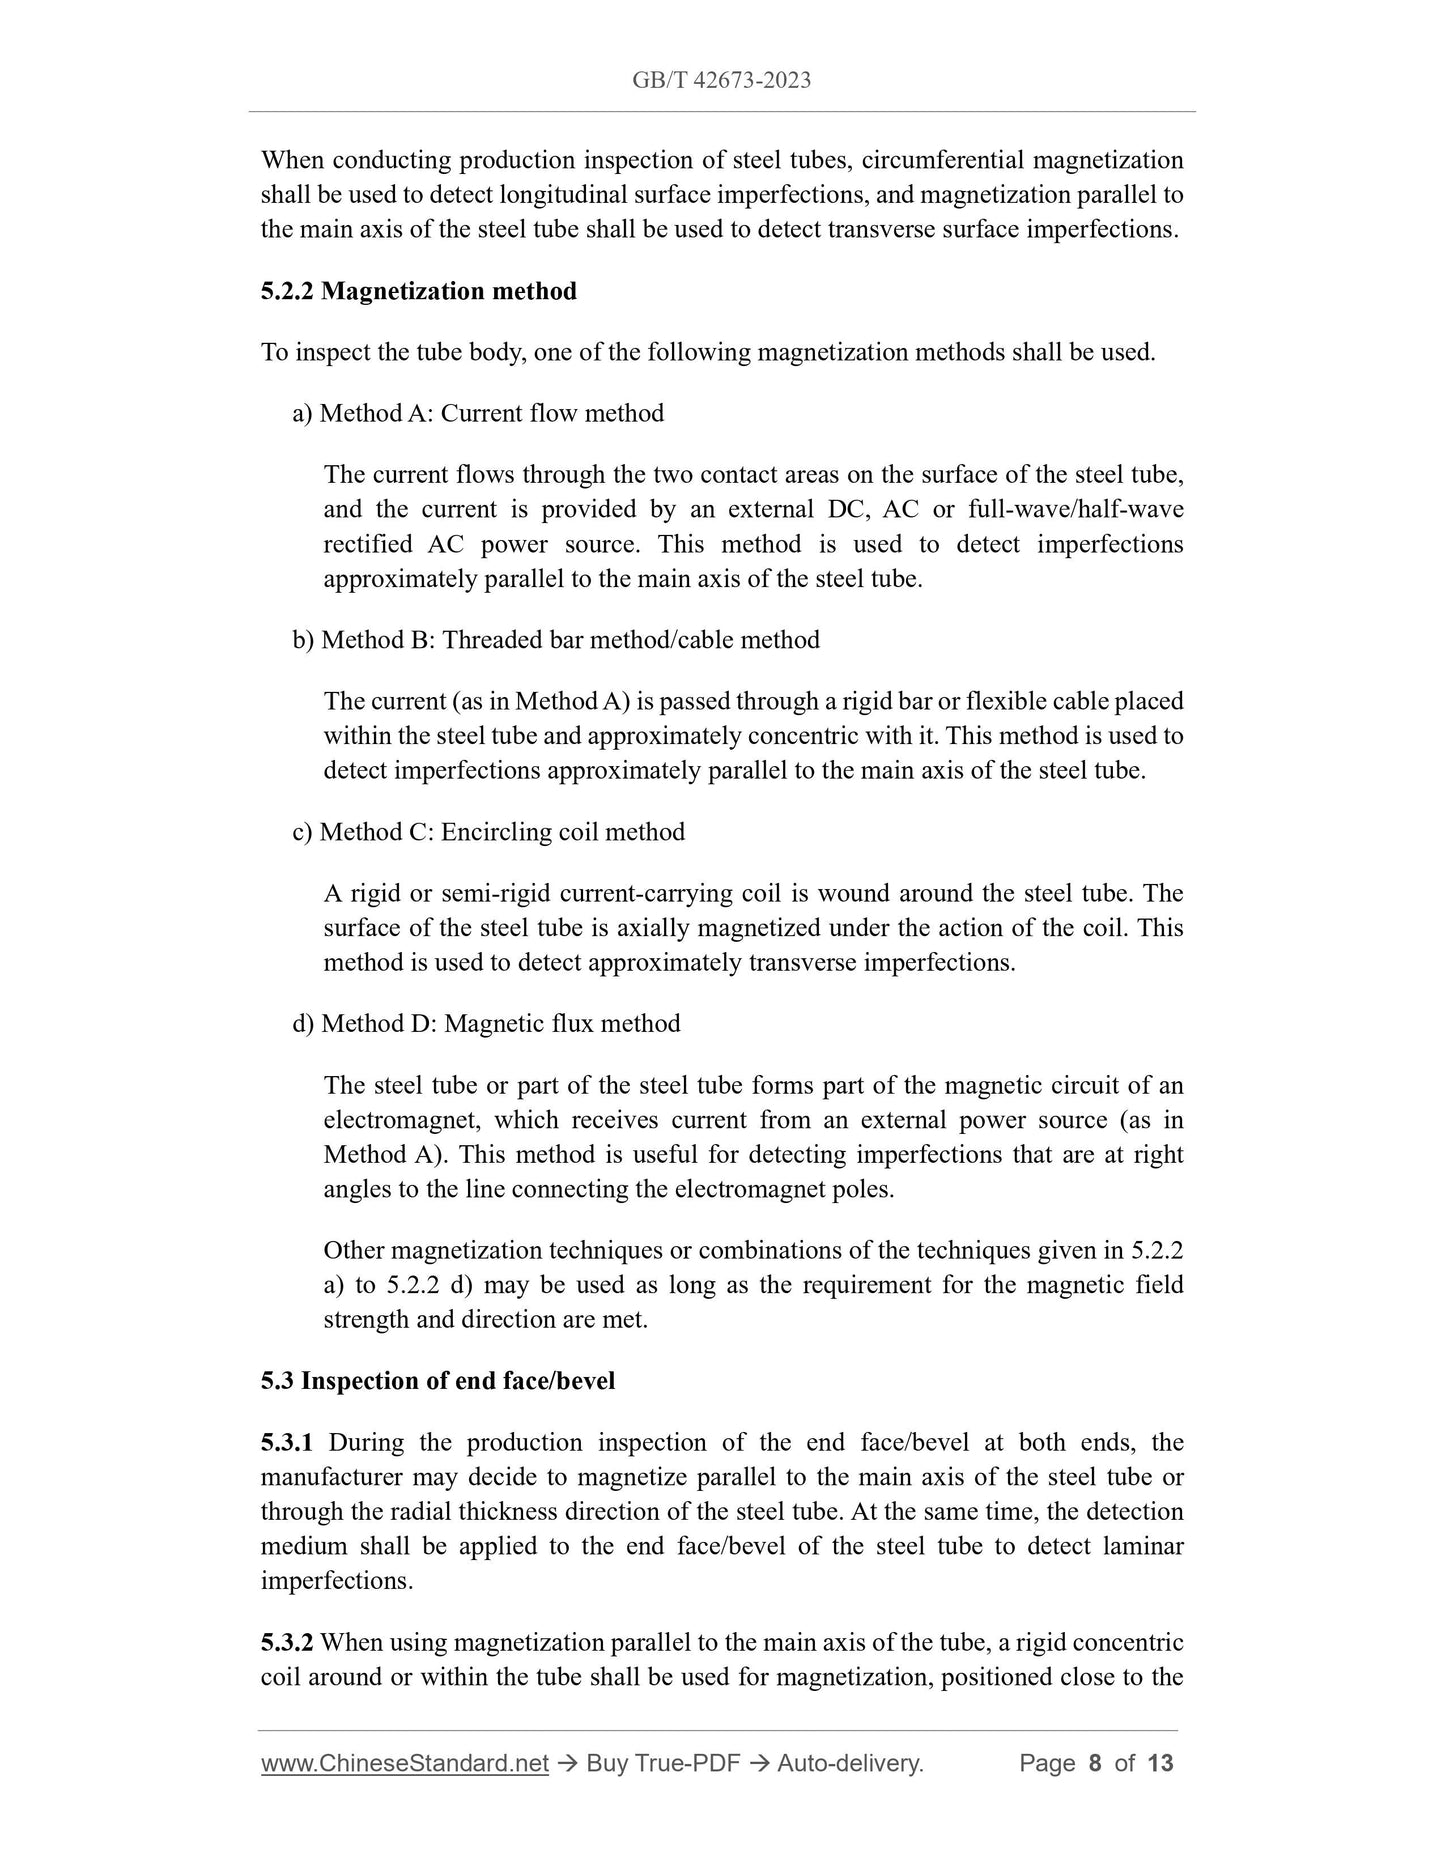
When conducting production inspection of steel tubes, circumferential magnetization
shall be used to detect longitudinal surface imperfections, and magnetization parallel to
the main axis of the steel tube shall be used to detect transverse surface imperfections.
5.2.2 Magnetization method
To inspect the tube body, one of the following magnetization methods shall be used.
a) Method A: Current flow method
The current flows through the two contact areas on the surface of the steel tube,
and the current is provided by an external DC, AC or full-wave/half-wave
rectified AC power source. This method is used to detect imperfections
approximately parallel to the main axis of the steel tube.
b) Method B: Threaded bar method/cable method
The current (as in Method A) is passed through a rigid bar or flexible cable placed
within the steel tube and approximately concentric with it. This method is used to
detect imperfections approximately parallel to the main axis of the steel tube.
c) Method C: Encircling coil method
A rigid or semi-rigid current-carrying coil is wound around the steel tube. The
surface of the steel tube is axially magnetized under the action of the coil. This
method is used to detect approximately transverse imperfections.
d) Method D: Magnetic flux method
The steel tube or part of the steel tube forms part of the magnetic circuit of an
electromagnet, which receives current from an external power source (as in
Method A). This method is useful for detecting imperfections that are at right
angles to the line connecting the electromagnet poles.
Other magnetization techniques or combinations of the techniques given in 5.2.2
a) to 5.2.2 d) may be used as long as the requirement for the magnetic field
strength and direction are met.
5.3 Inspection of end face/bevel
5.3.1 During the production inspection of the end face/bevel at both ends, the
manufacturer may decide to magnetize parallel to the main axis of the steel tube or
through the radial thickness direction of the steel tube. At the same time, the detection
medium shall be applied to the end face/bevel of the steel tube to detect laminar
imperfections.
5.3.2 When using magnetization parallel to the main axis of the tube, a rigid concentric
coil around or within the tube shall be used for magnetization, positioned close to the
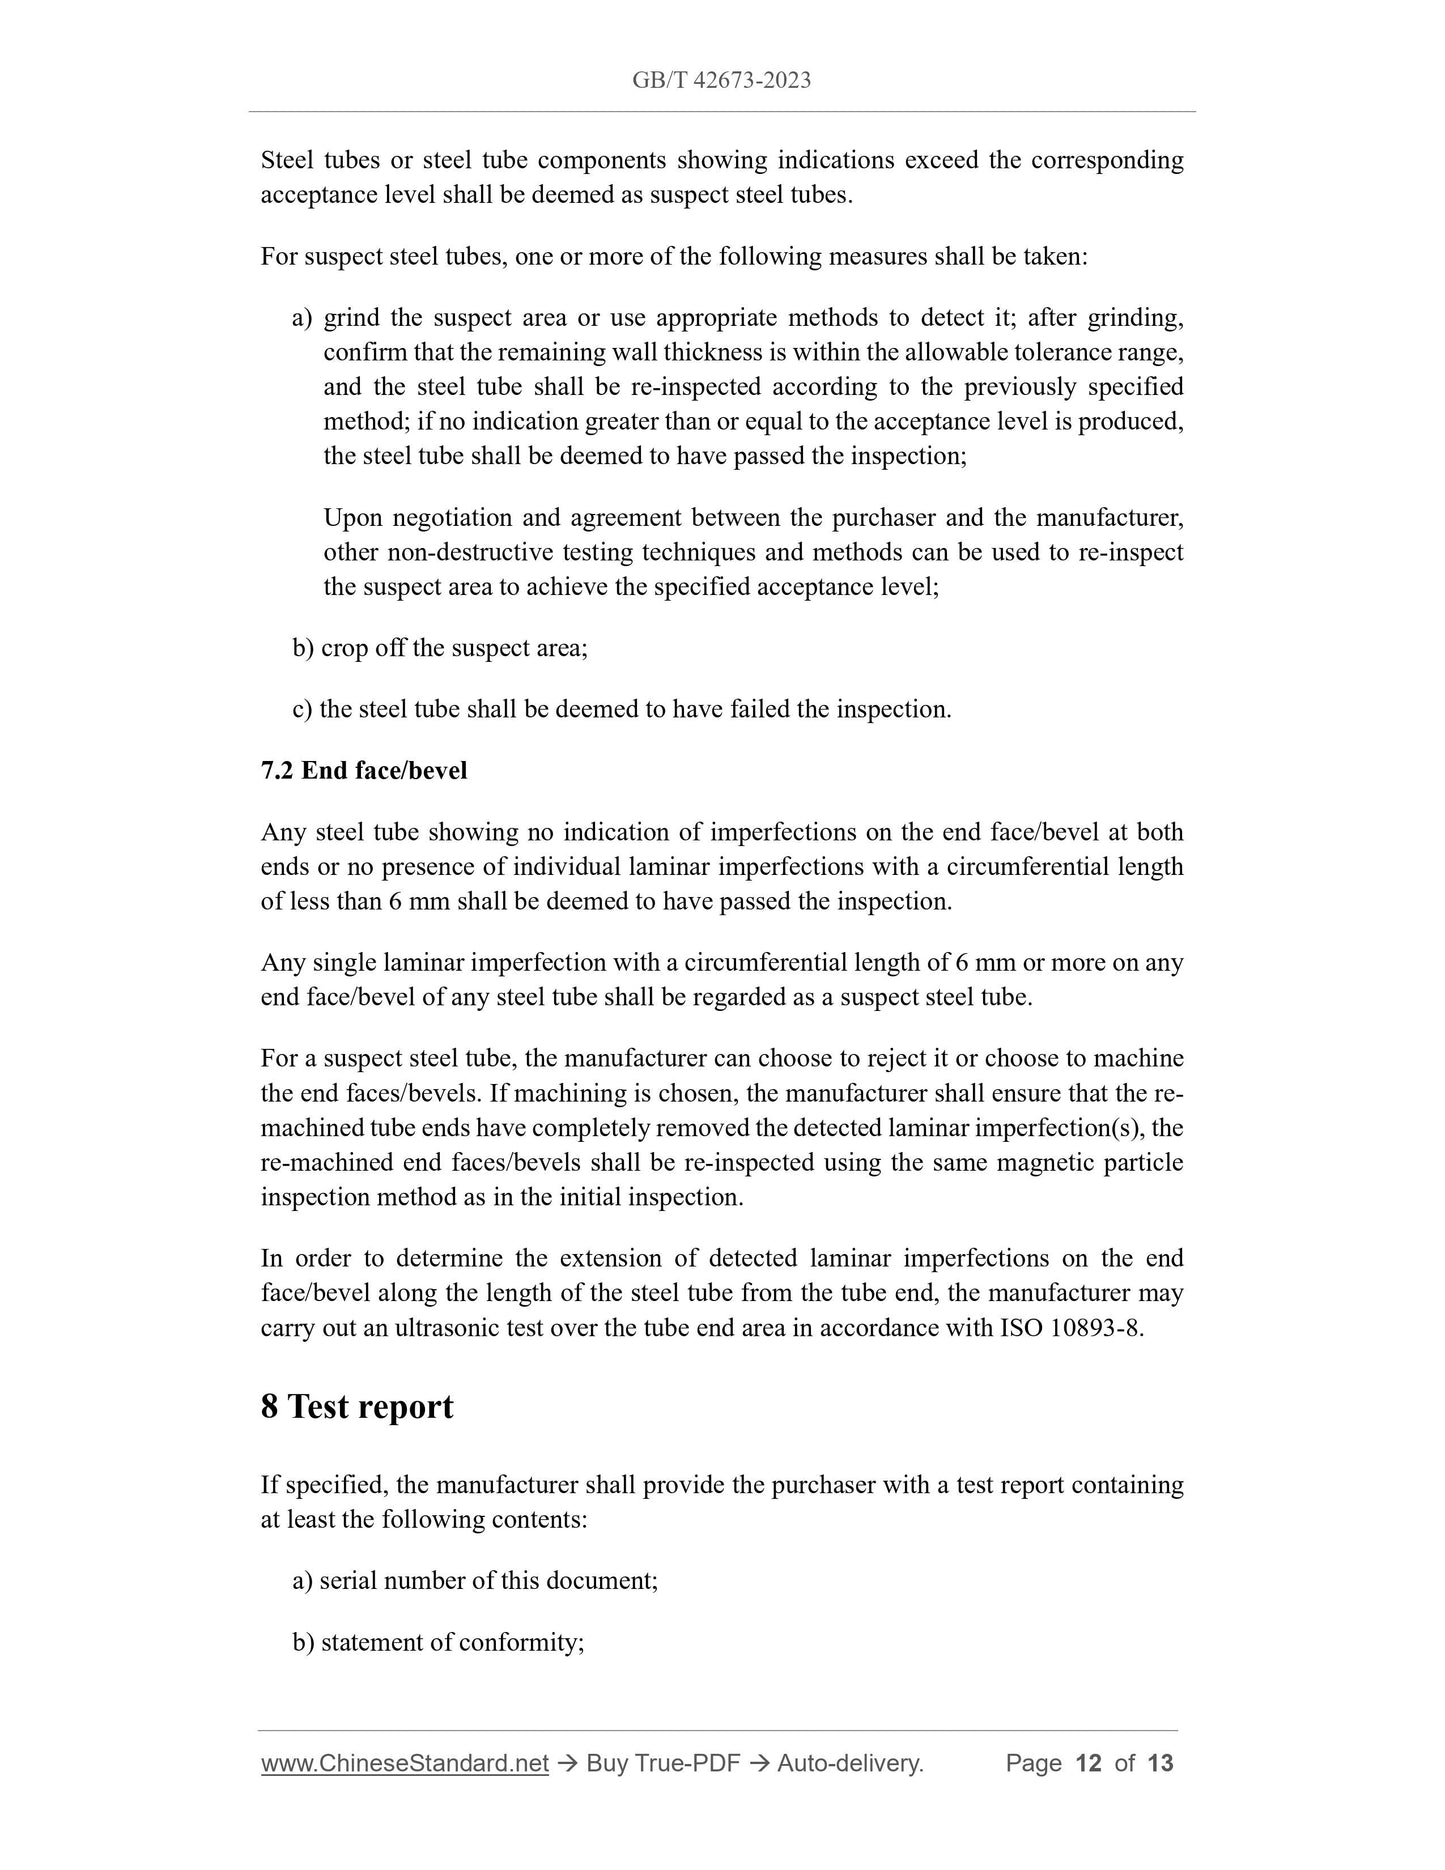
Steel tubes or steel tube components showing indications exceed the corresponding
acceptance level shall be deemed as suspect steel tubes.
For suspect steel tubes, one or more of the following measures shall be taken:
a) grind the suspect area or use appropriate methods to detect it; after grinding,
confirm that the remaining wall thickness is within the allowable tolerance range,
and the steel tube shall be re-inspected according to the previously specified
method; if no indication greater than or equal to the acceptance level is produced,
the steel tube shall be deemed to have passed the inspection;
Upon negotiation and agreement between the purchaser and the manufacturer,
other non-destructive testing techniques and methods can be used to re-inspect
the suspect area to achieve the specified acceptance level;
b) crop off the suspect area;
c) the steel tube shall be deemed to have failed the inspection.
7.2 End face/bevel
Any steel tube showing no indication of imperfections on the end face/bevel at both
ends or no presence of individual laminar imperfections with a circumferential length
of less than 6 mm shall be deemed to have passed the inspection.
Any single laminar imperfection with a circumferential length of 6 mm or more on any
end face/bevel of any steel tube shall be regarded as a suspect steel tube.
For a suspect steel tube, the manufacturer can choose to reject it or choose to machine
the end faces/bevels. If machining is chosen, the manufacturer shall ensure that the re-
machined tube ends have completely removed the detected laminar imperfection(s), the
re-machined end faces/bevels shall be re-inspected using the same magnetic particle
inspection method as in the initial inspection.
In order to determine the extension of detected laminar imperfections on the end
face/bevel along the length of the steel tube from the tube end, the manufacturer may
carry out an ultrasonic test over the tube end area in accordance with ISO 10893-8.
8 Test report
If specified, the manufacturer shall provide the purchaser with a test report containing
at least the following contents:
a) serial number of this document;
b) statement of conformity;
GB/T 42673-2023
GB
NATIONAL STANDARD OF THE
PEOPLE’S REPUBLIC OF CHINA
ICS 77.040.20
CCS H 26
GB/T 42673-2023 / ISO 10893-5:2011
Non-destructive testing of steel tubes - Magnetic particle
inspection of seamless and welded ferromagnetic steel tubes
for the detection of surface imperfections
(ISO 10893-5:2011, Non-destructive testing of steel tubes - Part 5: Magnetic particle
inspection of seamless and welded ferromagnetic steel tubes for the detection of
surface imperfections, IDT)
ISSUED ON: AUGUST 06, 2023
IMPLEMENTED ON: MARCH 01, 2024
Issued by: State Administration for Market Regulation;
Standardization Administration of the People’s Republic of China.
Table of Contents
Foreword ... 3
1 Scope ... 4
2 Normative references ... 4
3 Terms and definitions ... 5
4 General requirements ... 6
5 Inspection methods ... 6
6 Evaluation of indications ... 9
7 Acceptance ... 11
8 Test report ... 12
Non-destructive testing of steel tubes - Magnetic particle
inspection of seamless and welded ferromagnetic steel tubes
for the detection of surface imperfections
1 Scope
This document specifies the requirements for magnetic particle inspection of seamless
and welded ferromagnetic steel tubes for surface imperfections on the tube body and
imperfections on the end face/bevel at the tube ends.
This document specifies the requirements for the detection of imperfections on the outer
surface of all or part of steel tubes. Upon negotiation and agreement between the
purchaser and the manufacturer, it can be applied to the detection of the inner surface
over a limited length from the tube end (depending on the diameter of the steel tube).
When applicable, this document can be used to locate the position of the external
surface imperfections detected by other non-destructive testing (such as ultrasonic)
methods before grinding, and to confirm that the imperfections have been completely
removed after grinding.
This document specifies the requirements for the detection of laminar imperfections on
the end face/bevel at both ends of plain-end tubes and beveled-end tubes that may affect
subsequent manufacturing and testing (such as welding and ultrasonic testing of welds).
This document applies to the detection of laminar imperfections and other
imperfe...
Share