1
/
of
7
www.ChineseStandard.us -- Field Test Asia Pte. Ltd.
GB/T 42662-2023 English PDF (GB/T42662-2023)
Regular price
$230.00
Regular price
Sale price
$230.00
Unit price
/
per
Shipping calculated at checkout.
Couldn't load pickup availability
GB/T 42662-2023: Non-destructive testing of steel tubes - Automated ultrasonic testing for the detection of laminar imperfections in strip/plate used for the manufacture of welded steel tubes
Delivery: 9 seconds. Download (& Email) true-PDF + Invoice.
Get Quotation: Click GB/T 42662-2023 (Self-service in 1-minute)
Historical versions (Master-website): GB/T 42662-2023
Preview True-PDF (Reload/Scroll-down if blank)
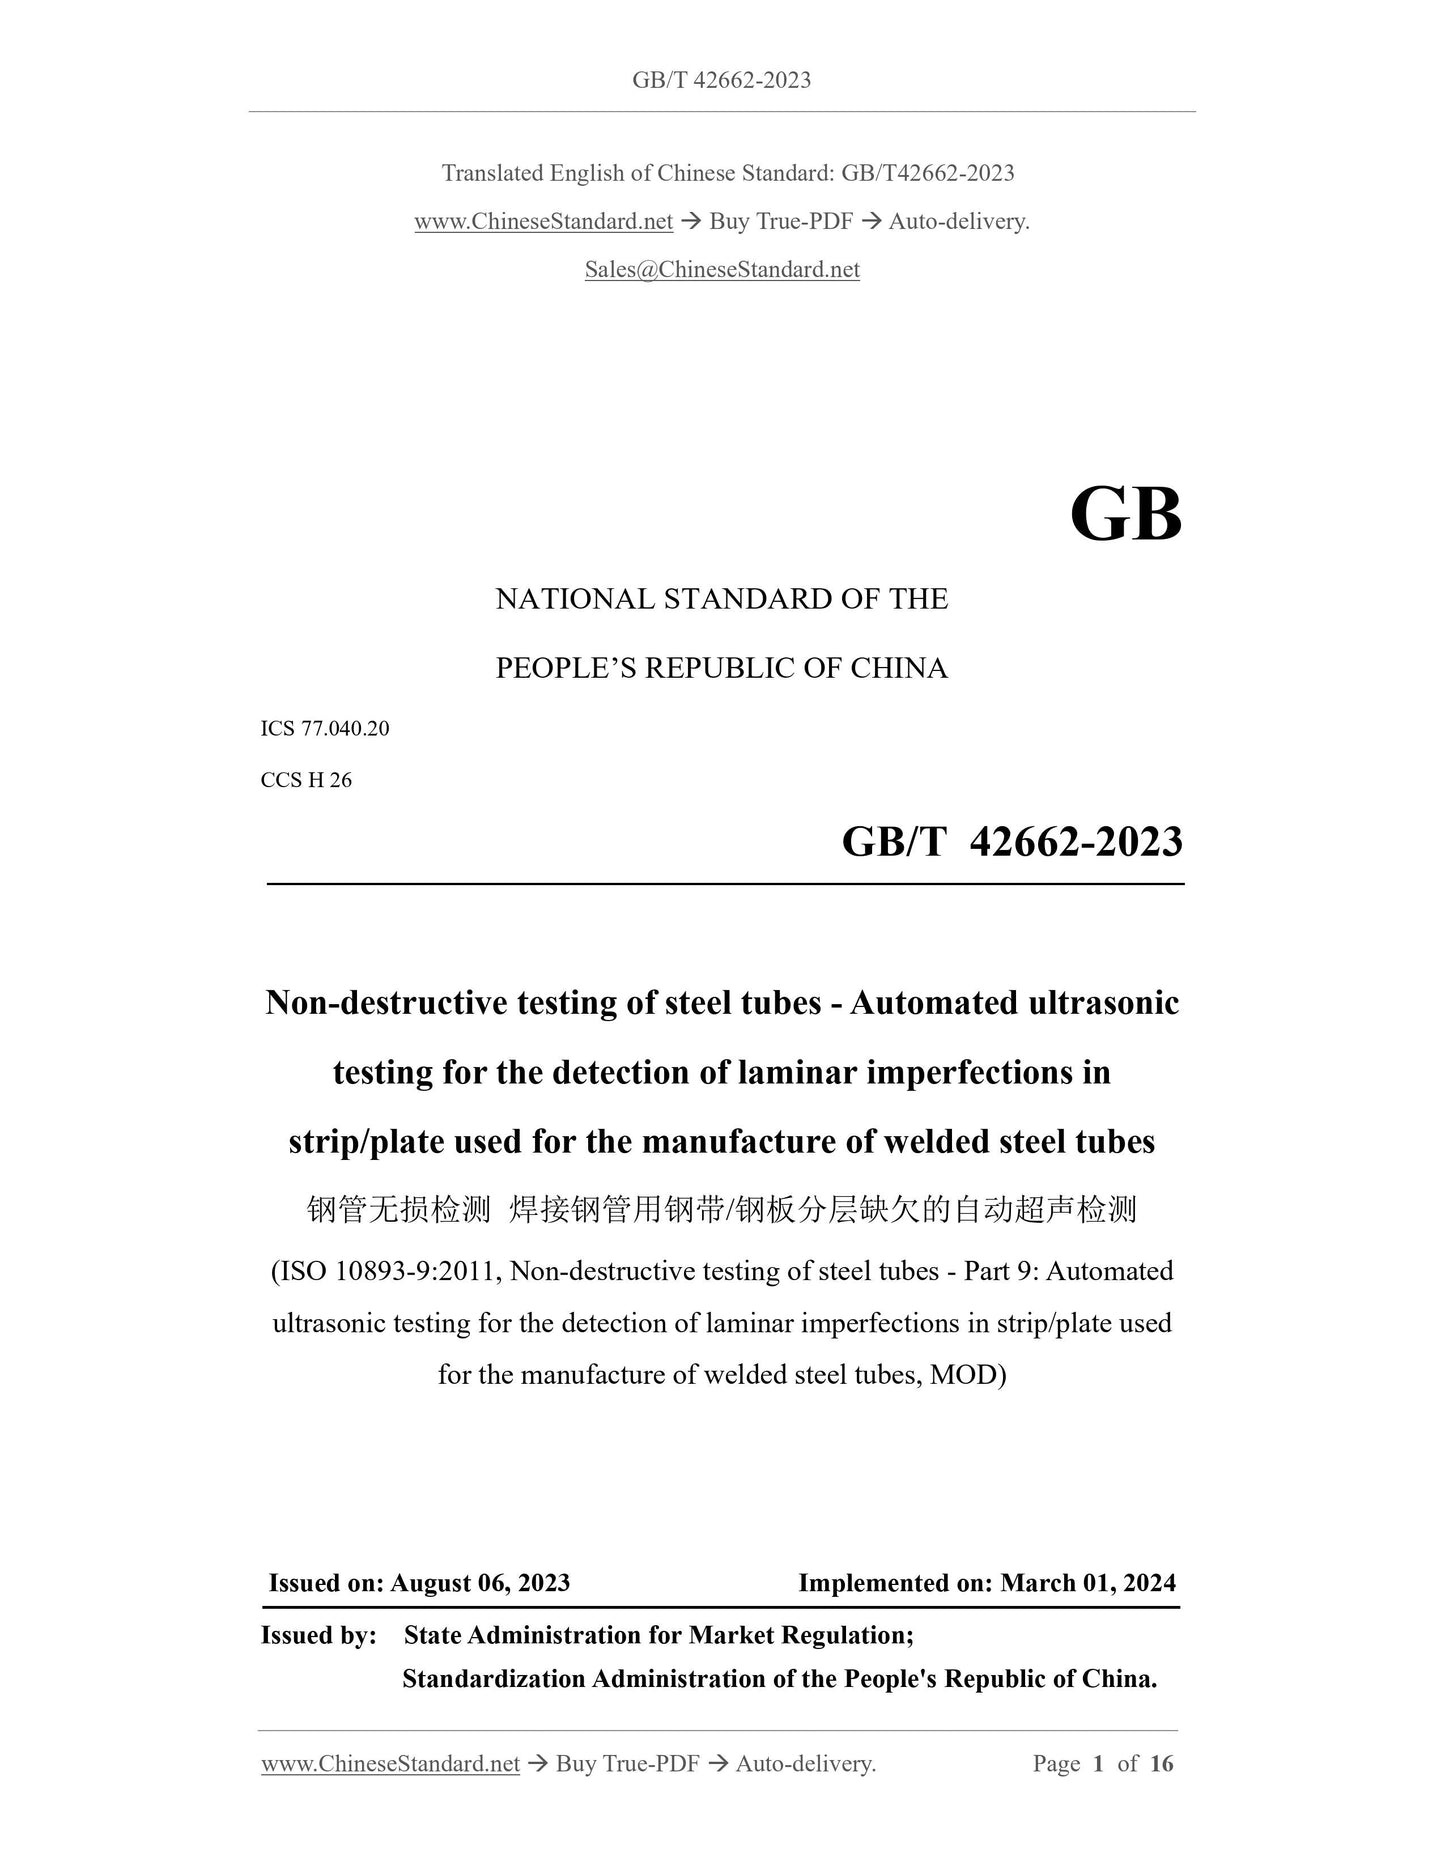
GB/T 42662-2023
GB
NATIONAL STANDARD OF THE
PEOPLE’S REPUBLIC OF CHINA
ICS 77.040.20
CCS H 26
Non-destructive testing of steel tubes - Automated ultrasonic
testing for the detection of laminar imperfections in
strip/plate used for the manufacture of welded steel tubes
(ISO 10893-9:2011, Non-destructive testing of steel tubes - Part 9: Automated
ultrasonic testing for the detection of laminar imperfections in strip/plate used
for the manufacture of welded steel tubes, MOD)
ISSUED ON: AUGUST 06, 2023
IMPLEMENTED ON: MARCH 01, 2024
Issued by: State Administration for Market Regulation;
Standardization Administration of the People's Republic of China.
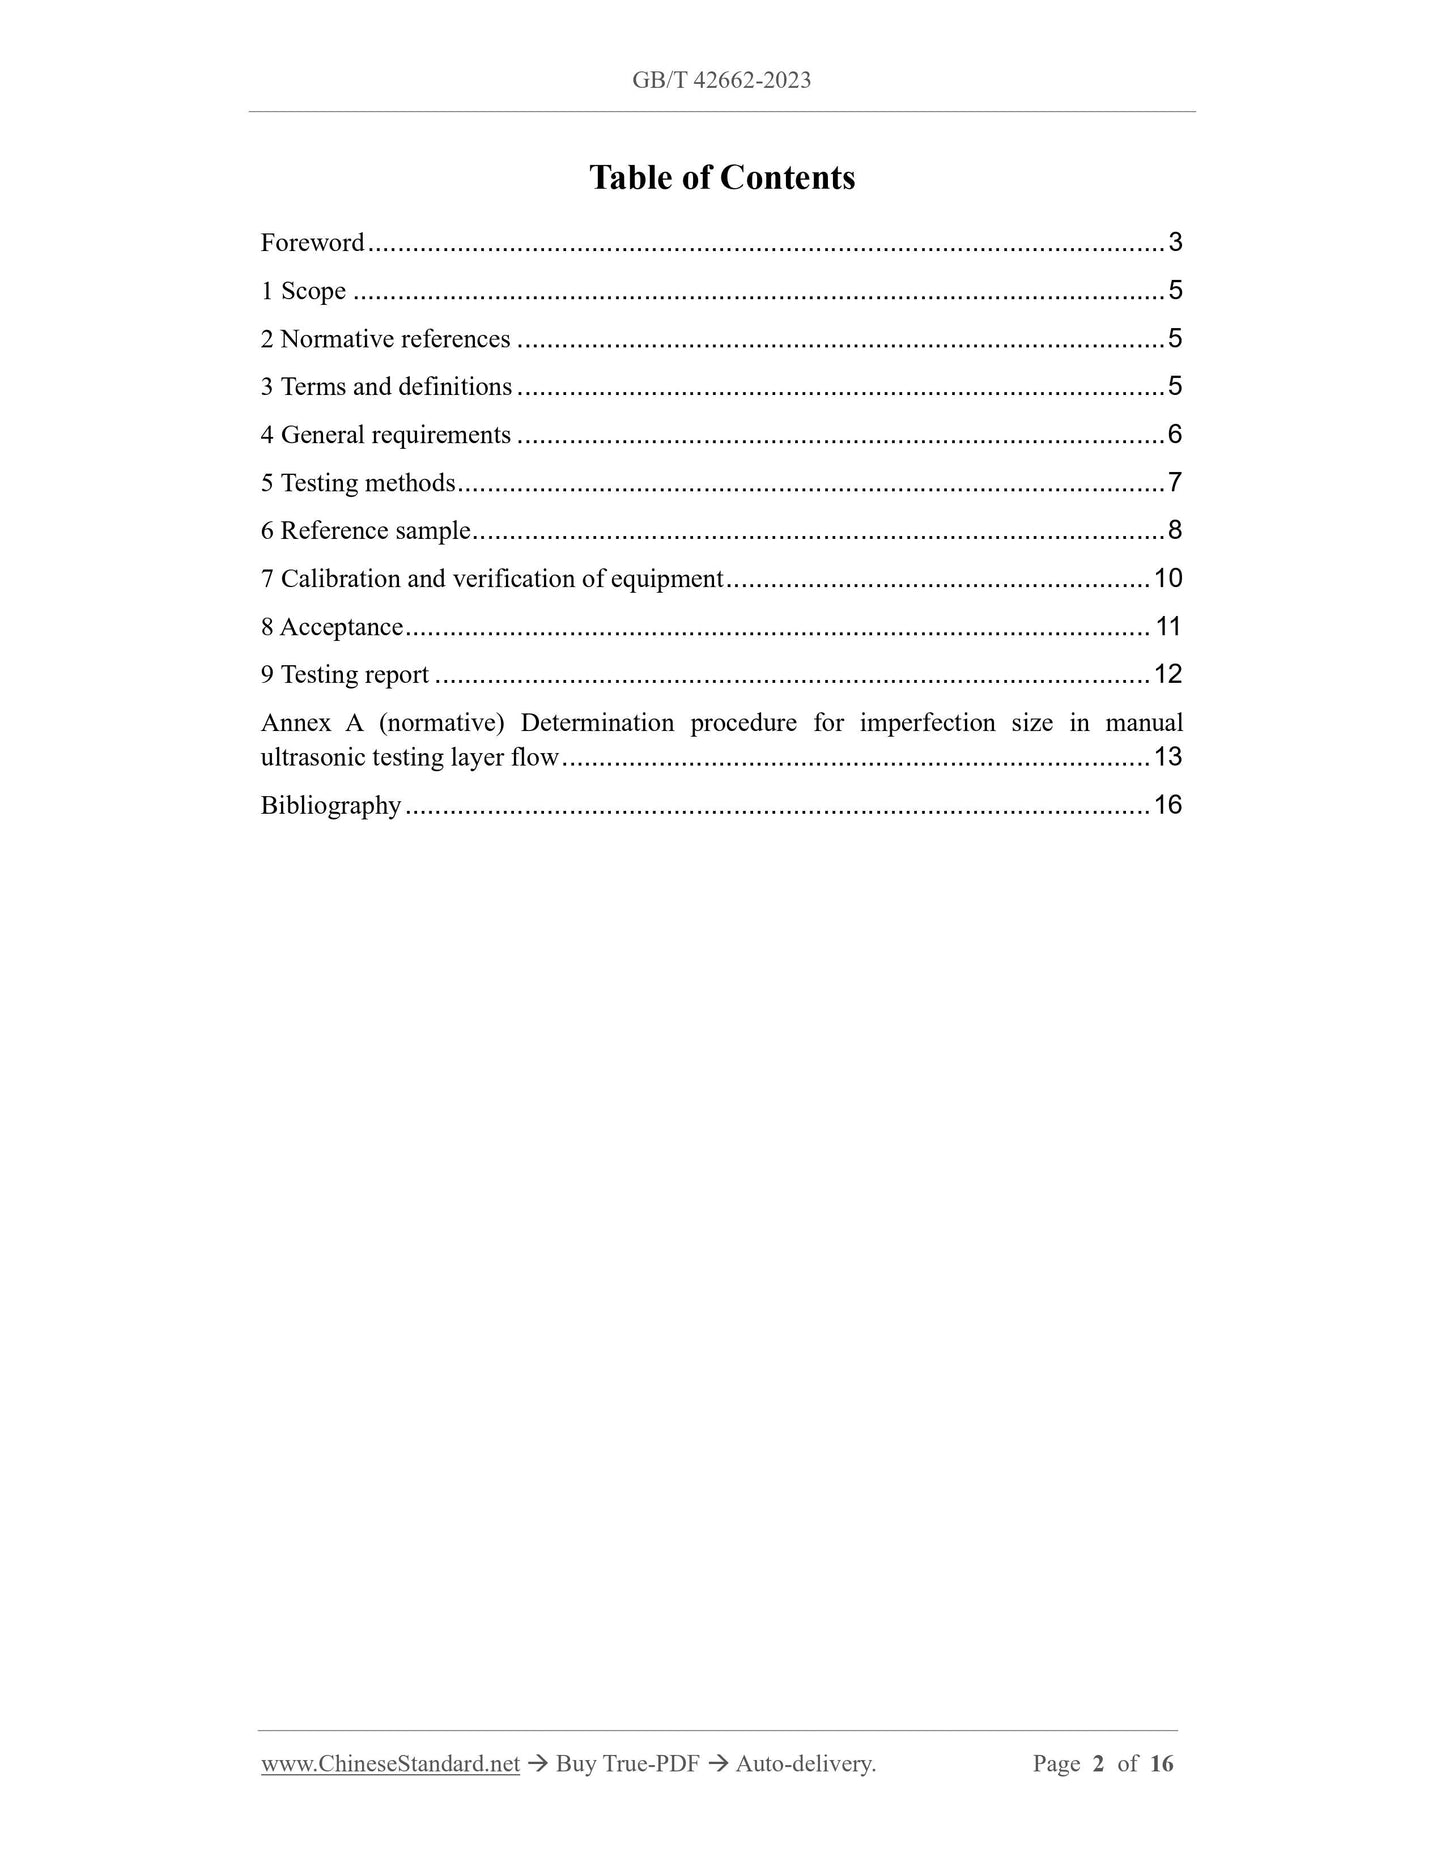
Table of Contents
Foreword ... 3
1 Scope ... 5
2 Normative references ... 5
3 Terms and definitions ... 5
4 General requirements ... 6
5 Testing methods ... 7
6 Reference sample ... 8
7 Calibration and verification of equipment ... 10
8 Acceptance ... 11
9 Testing report ... 12
Annex A (normative) Determination procedure for imperfection size in manual
ultrasonic testing layer flow ... 13
Bibliography ... 16
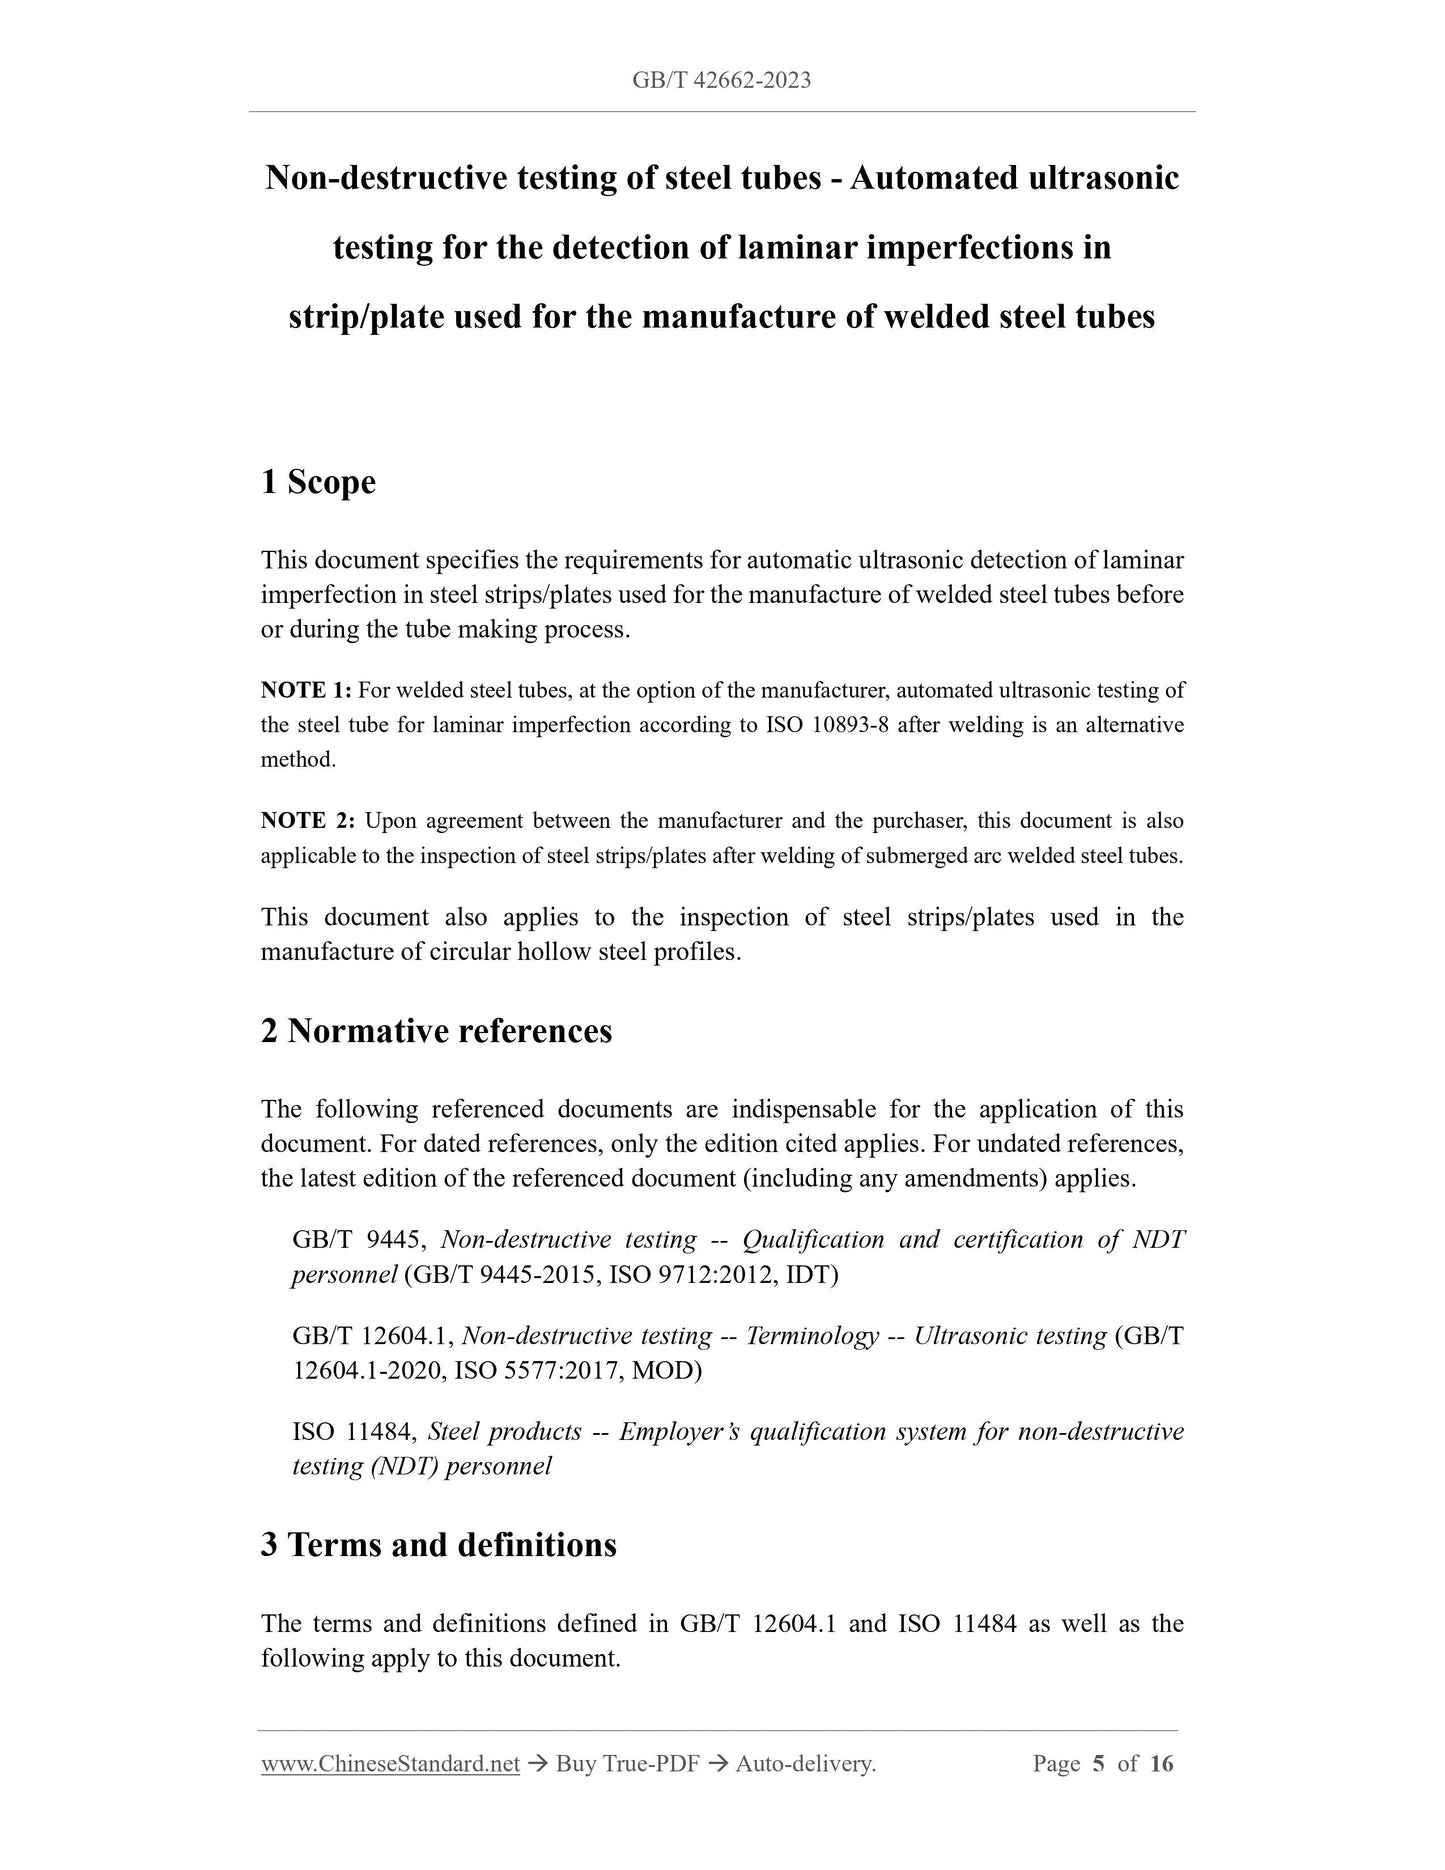
Non-destructive testing of steel tubes - Automated ultrasonic
testing for the detection of laminar imperfections in
strip/plate used for the manufacture of welded steel tubes
1 Scope
This document specifies the requirements for automatic ultrasonic detection of laminar
imperfection in steel strips/plates used for the manufacture of welded steel tubes before
or during the tube making process.
NOTE 1: For welded steel tubes, at the option of the manufacturer, automated ultrasonic testing of
the steel tube for laminar imperfection according to ISO 10893-8 after welding is an alternative
method.
NOTE 2: Upon agreement between the manufacturer and the purchaser, this document is also
applicable to the inspection of steel strips/plates after welding of submerged arc welded steel tubes.
This document also applies to the inspection of steel strips/plates used in the
manufacture of circular hollow steel profiles.
2 Normative references
The following referenced documents are indispensable for the application of this
document. For dated references, only the edition cited applies. For undated references,
the latest edition of the referenced document (including any amendments) applies.
GB/T 9445, Non-destructive testing -- Qualification and certification of NDT
personnel (GB/T 9445-2015, ISO 9712:2012, IDT)
GB/T 12604.1, Non-destructive testing -- Terminology -- Ultrasonic testing (GB/T
12604.1-2020, ISO 5577:2017, MOD)
ISO 11484, Steel products -- Employer’s qualification system for non-destructive
testing (NDT) personnel
3 Terms and definitions
The terms and definitions defined in GB/T 12604.1 and ISO 11484 as well as the
following apply to this document.
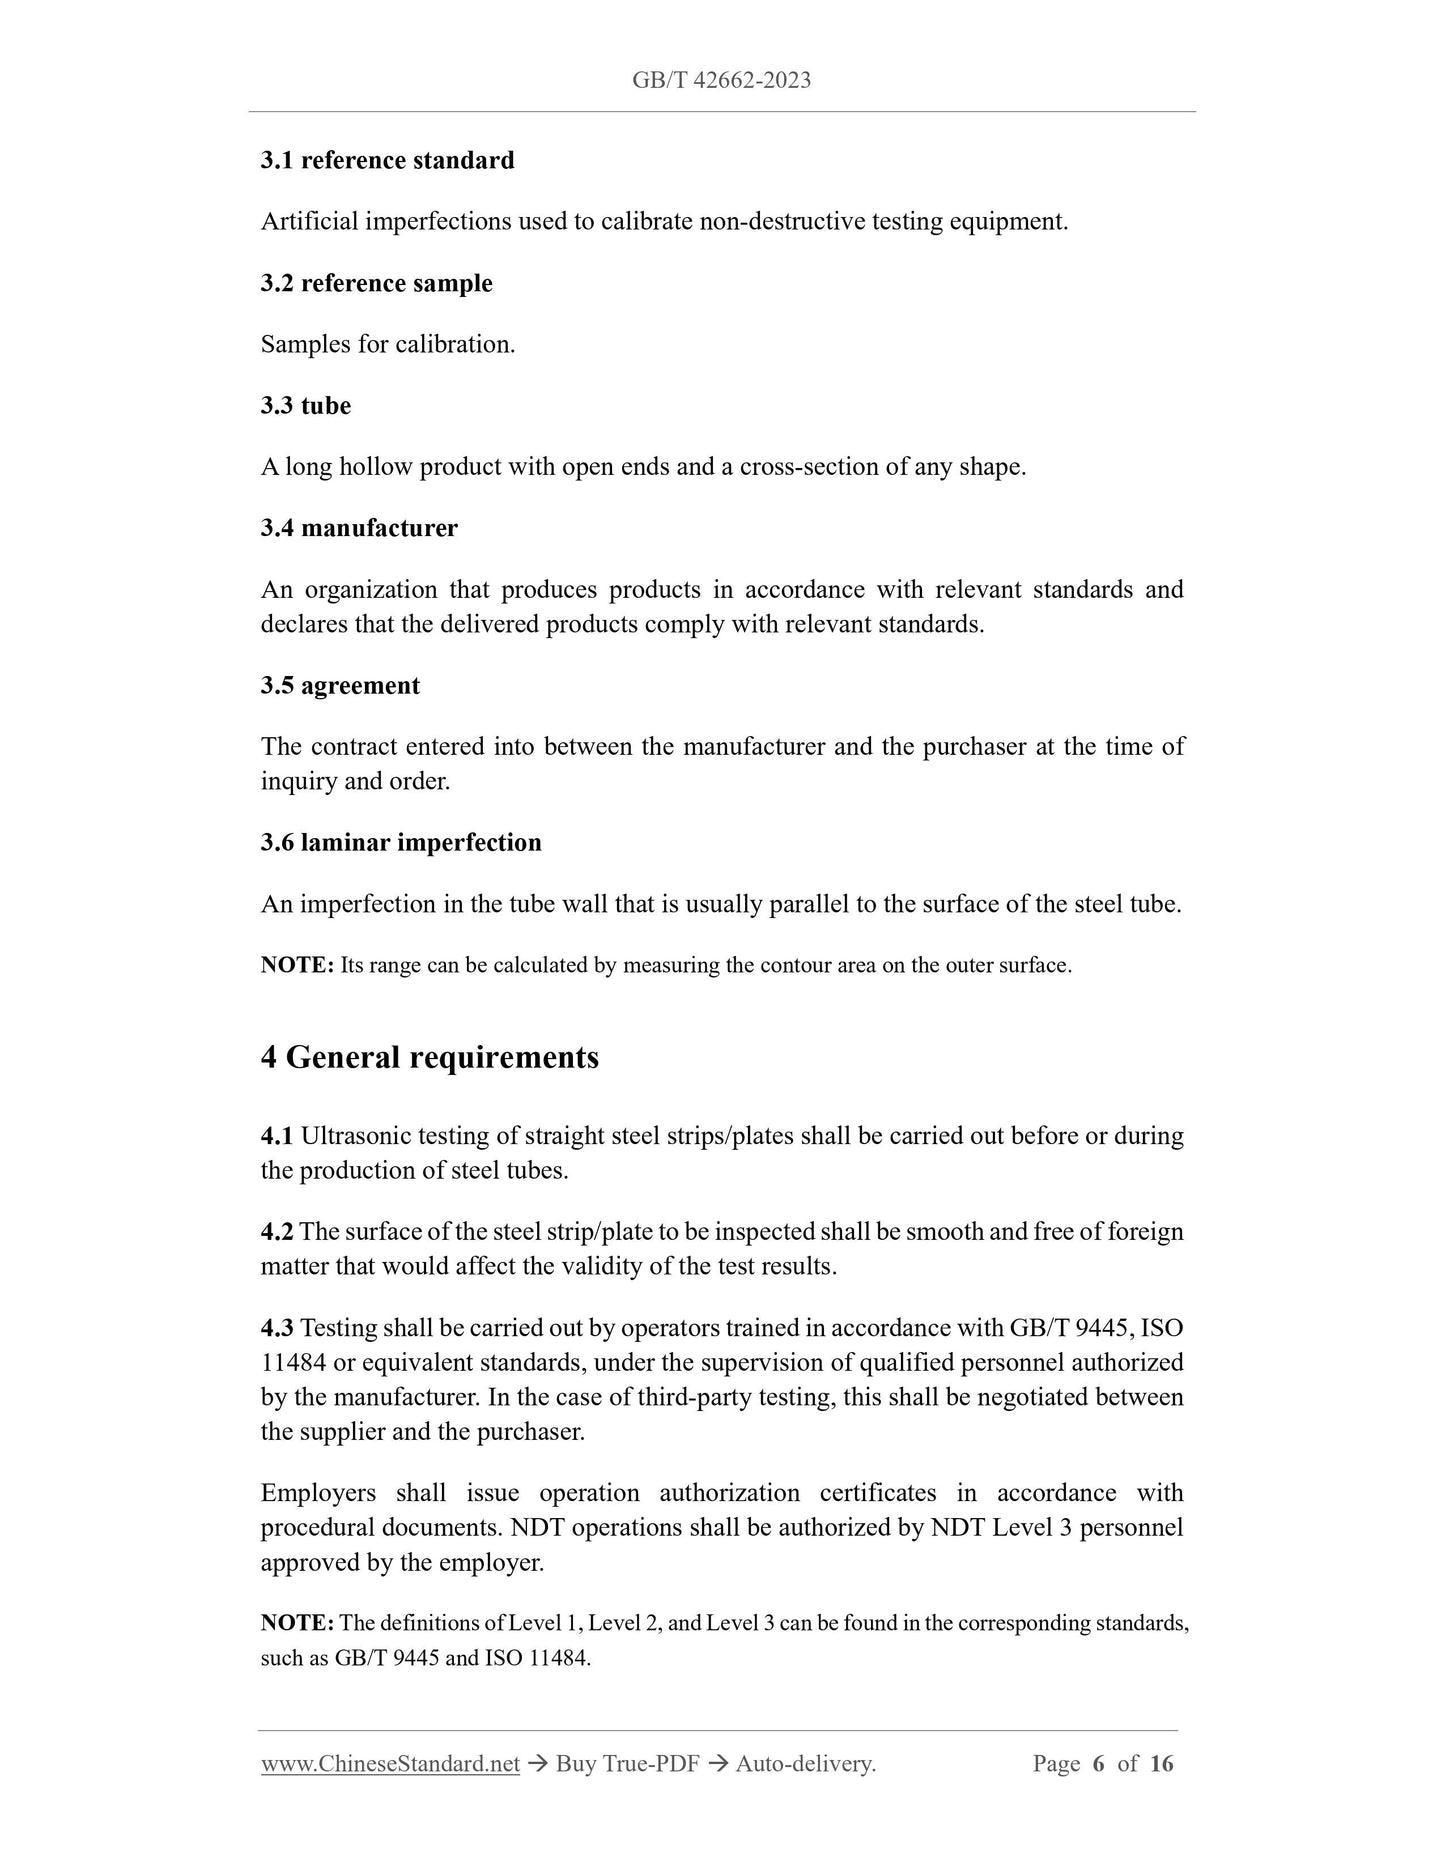
3.1 reference standard
Artificial imperfections used to calibrate non-destructive testing equipment.
3.2 reference sample
Samples for calibration.
3.3 tube
A long hollow product with open ends and a cross-section of any shape.
3.4 manufacturer
An organization that produces products in accordance with relevant standards and
declares that the delivered products comply with relevant standards.
3.5 agreement
The contract entered into between the manufacturer and the purchaser at the time of
inquiry and order.
3.6 laminar imperfection
An imperfection in the tube wall that is usually parallel to the surface of the steel tube.
NOTE: Its range can be calculated by measuring the contour area on the outer surface.
4 General requirements
4.1 Ultrasonic testing of straight steel strips/plates shall be carried out before or during
the production of steel tubes.
4.2 The surface of the steel strip/plate to be inspected shall be smooth and free of foreign
matter that would affect the validity of the test results.
4.3 Testing shall be carried out by operators trained in accordance with GB/T 9445, ISO
11484 or equivalent standards, under the supervision of qualified personnel authorized
by the manufacturer. In the case of third-party testing, this shall be negotiated between
the supplier and the purchaser.
Employers shall issue operation authorization certificates in accordance with
procedural documents. NDT operations shall be authorized by NDT Level 3 personnel
approved by the employer.
NOTE: The definitions of Level 1, Level 2, and Level 3 can be found in the corresponding standards,
such as GB/T 9445 and ISO 11484.
6.3 Verification of reference standard
Appropriate techniques shall be used to verify the size and shape of reference standard.
7 Calibration and verification of equipment
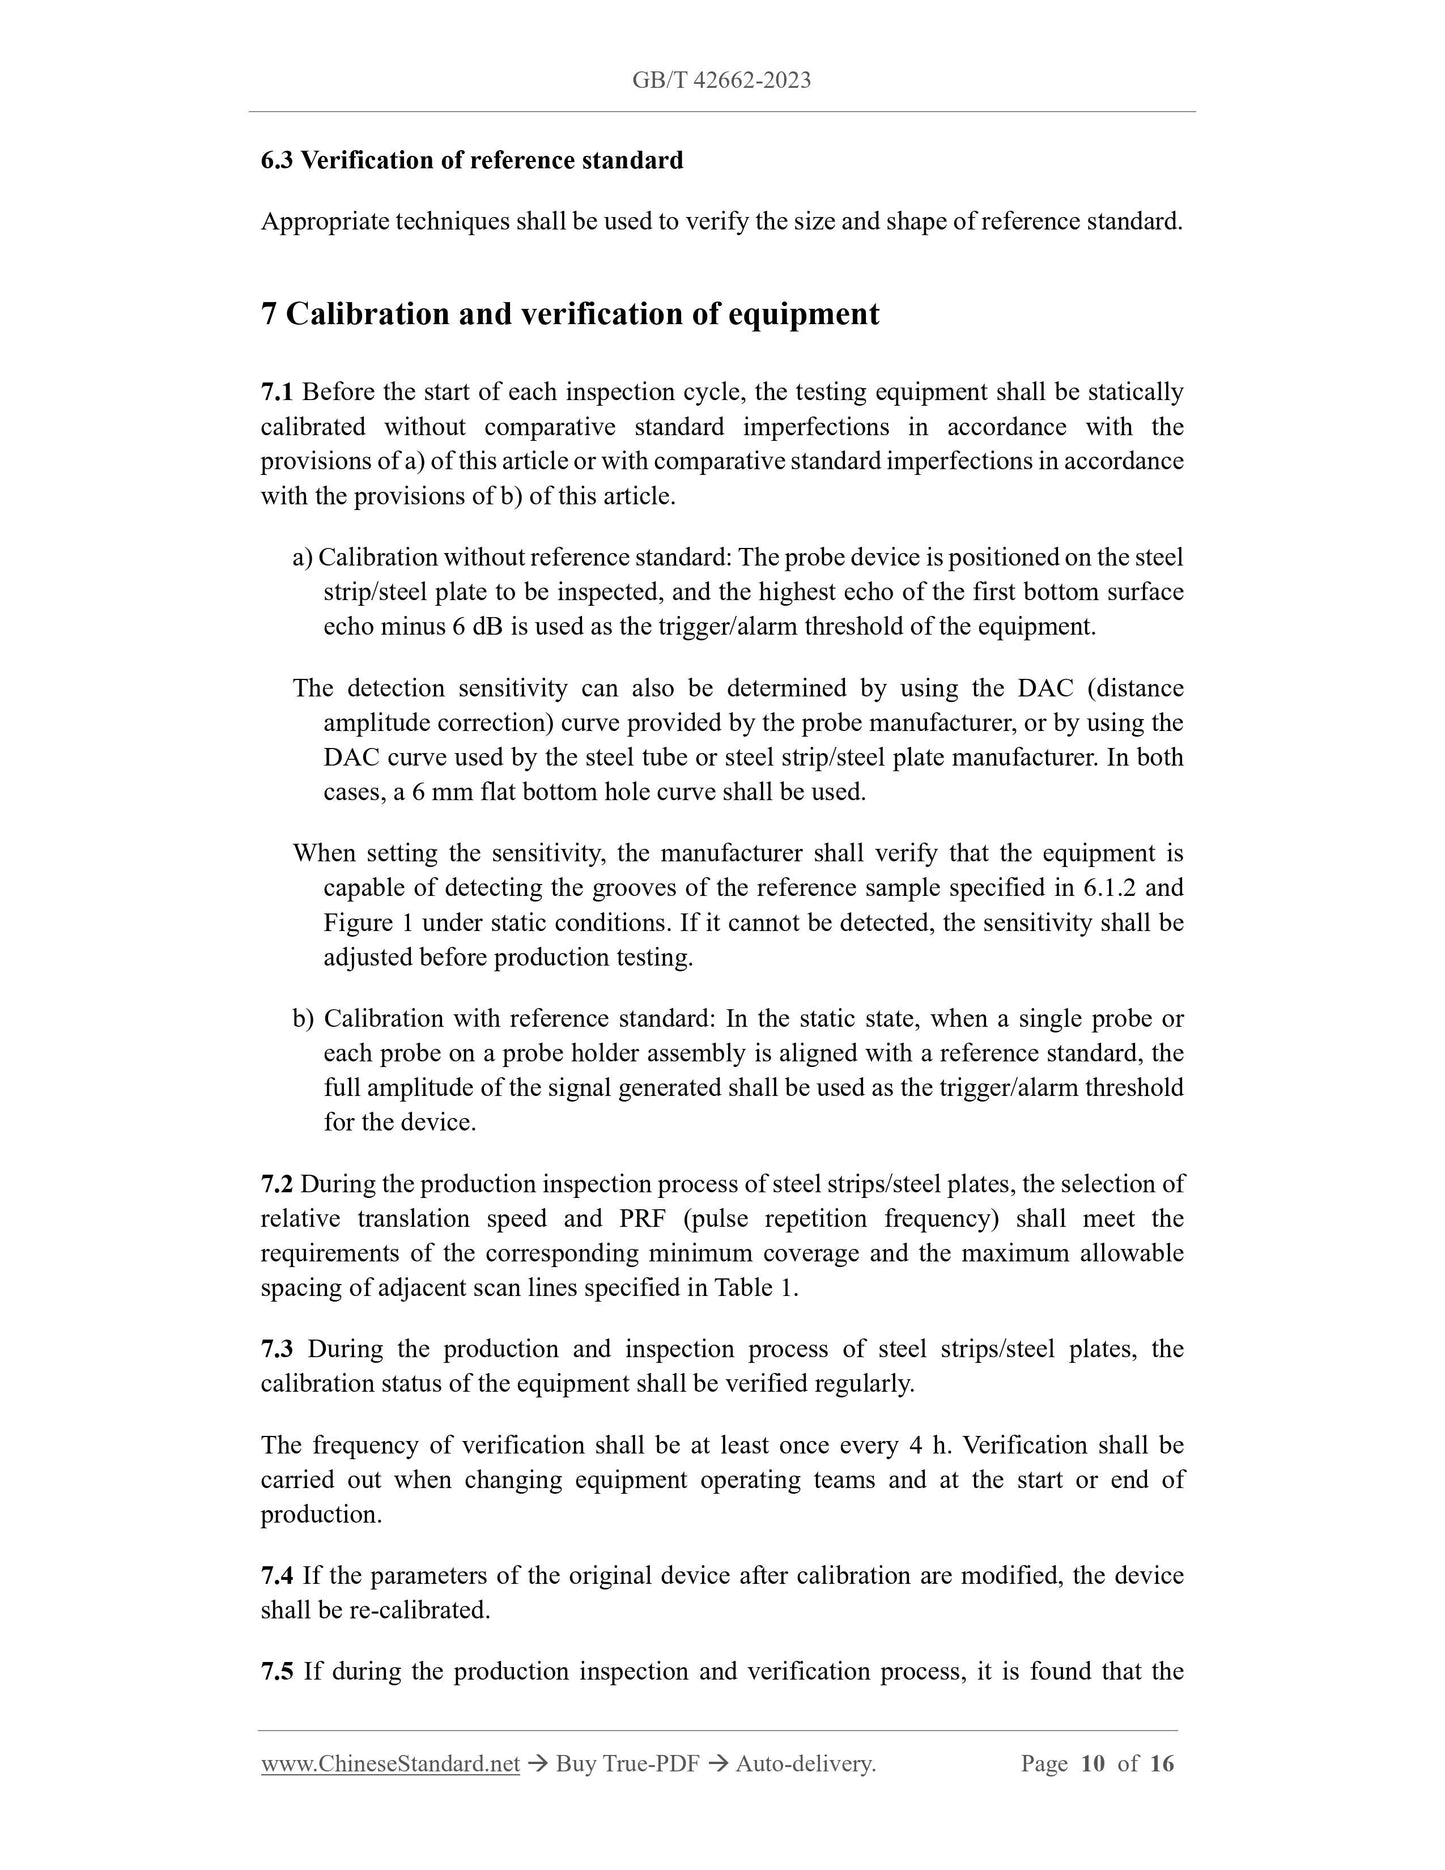
7.1 Before the start of each inspection cycle, the testing equipment shall be statically
calibrated without comparative standard imperfections in accordance with the
provisions of a) of this article or with comparative standard imperfections in accordance
with the provisions of b) of this article.
a) Calibration without reference standard: The probe device is positioned on the steel
strip/steel plate to be inspected, and the highest echo of the first bottom surface
echo minus 6 dB is used as the trigger/alarm threshold of the equipment.
The detection sensitivity can also be determined by using the DAC (distance
amplitude correction) curve provided by the probe manufacturer, or by using the
DAC curve used by the steel tube or steel strip/steel plate manufacturer. In both
cases, a 6 mm flat bottom hole curve shall be used.
When setting the sensitivity, the manufacturer shall verify that the equipment is
capable of detecting the grooves of the reference sample specified in 6.1.2 and
Figure 1 under static conditions. If it cannot be detected, the sensitivity shall be
adjusted before production testing.
b) Calibration with reference standard: In the static state, when a single probe or
each probe on a probe holder assembly is aligned with a reference standard, the
full amplitude of the signal generated shall be used as the trigger/alarm threshold
for the device.
7.2 During the production inspection process of steel strips/steel plates, the selection of
relative translation speed and PRF (pulse repetition frequency) shall meet the
requirements of the corresponding minimum coverage and the maximum allowable
spacing of adjacent scan lines specified in Table 1.
7.3 During the production and inspection process of steel strips/steel plates, the
calibration status of the equipment shall be verified regularly.
The frequency of verification shall be at least once every 4 h. Verification shall be
carried out when changing equipment operating teams and at the start or end of
production.
7.4 If the parameters of the original device after calibration are modified, the device
shall be re-calibrated.
7.5 If during the production inspection and verification process, it is found that the
equipment does not meet the calibration requirements, even after increasing the test
sensitivity by up to 3 dB to allow the system to drift, the equipment shall be re-calibrated
after all steel strips/plates tested after the first inspection shall be re-tested.
8 Acceptance
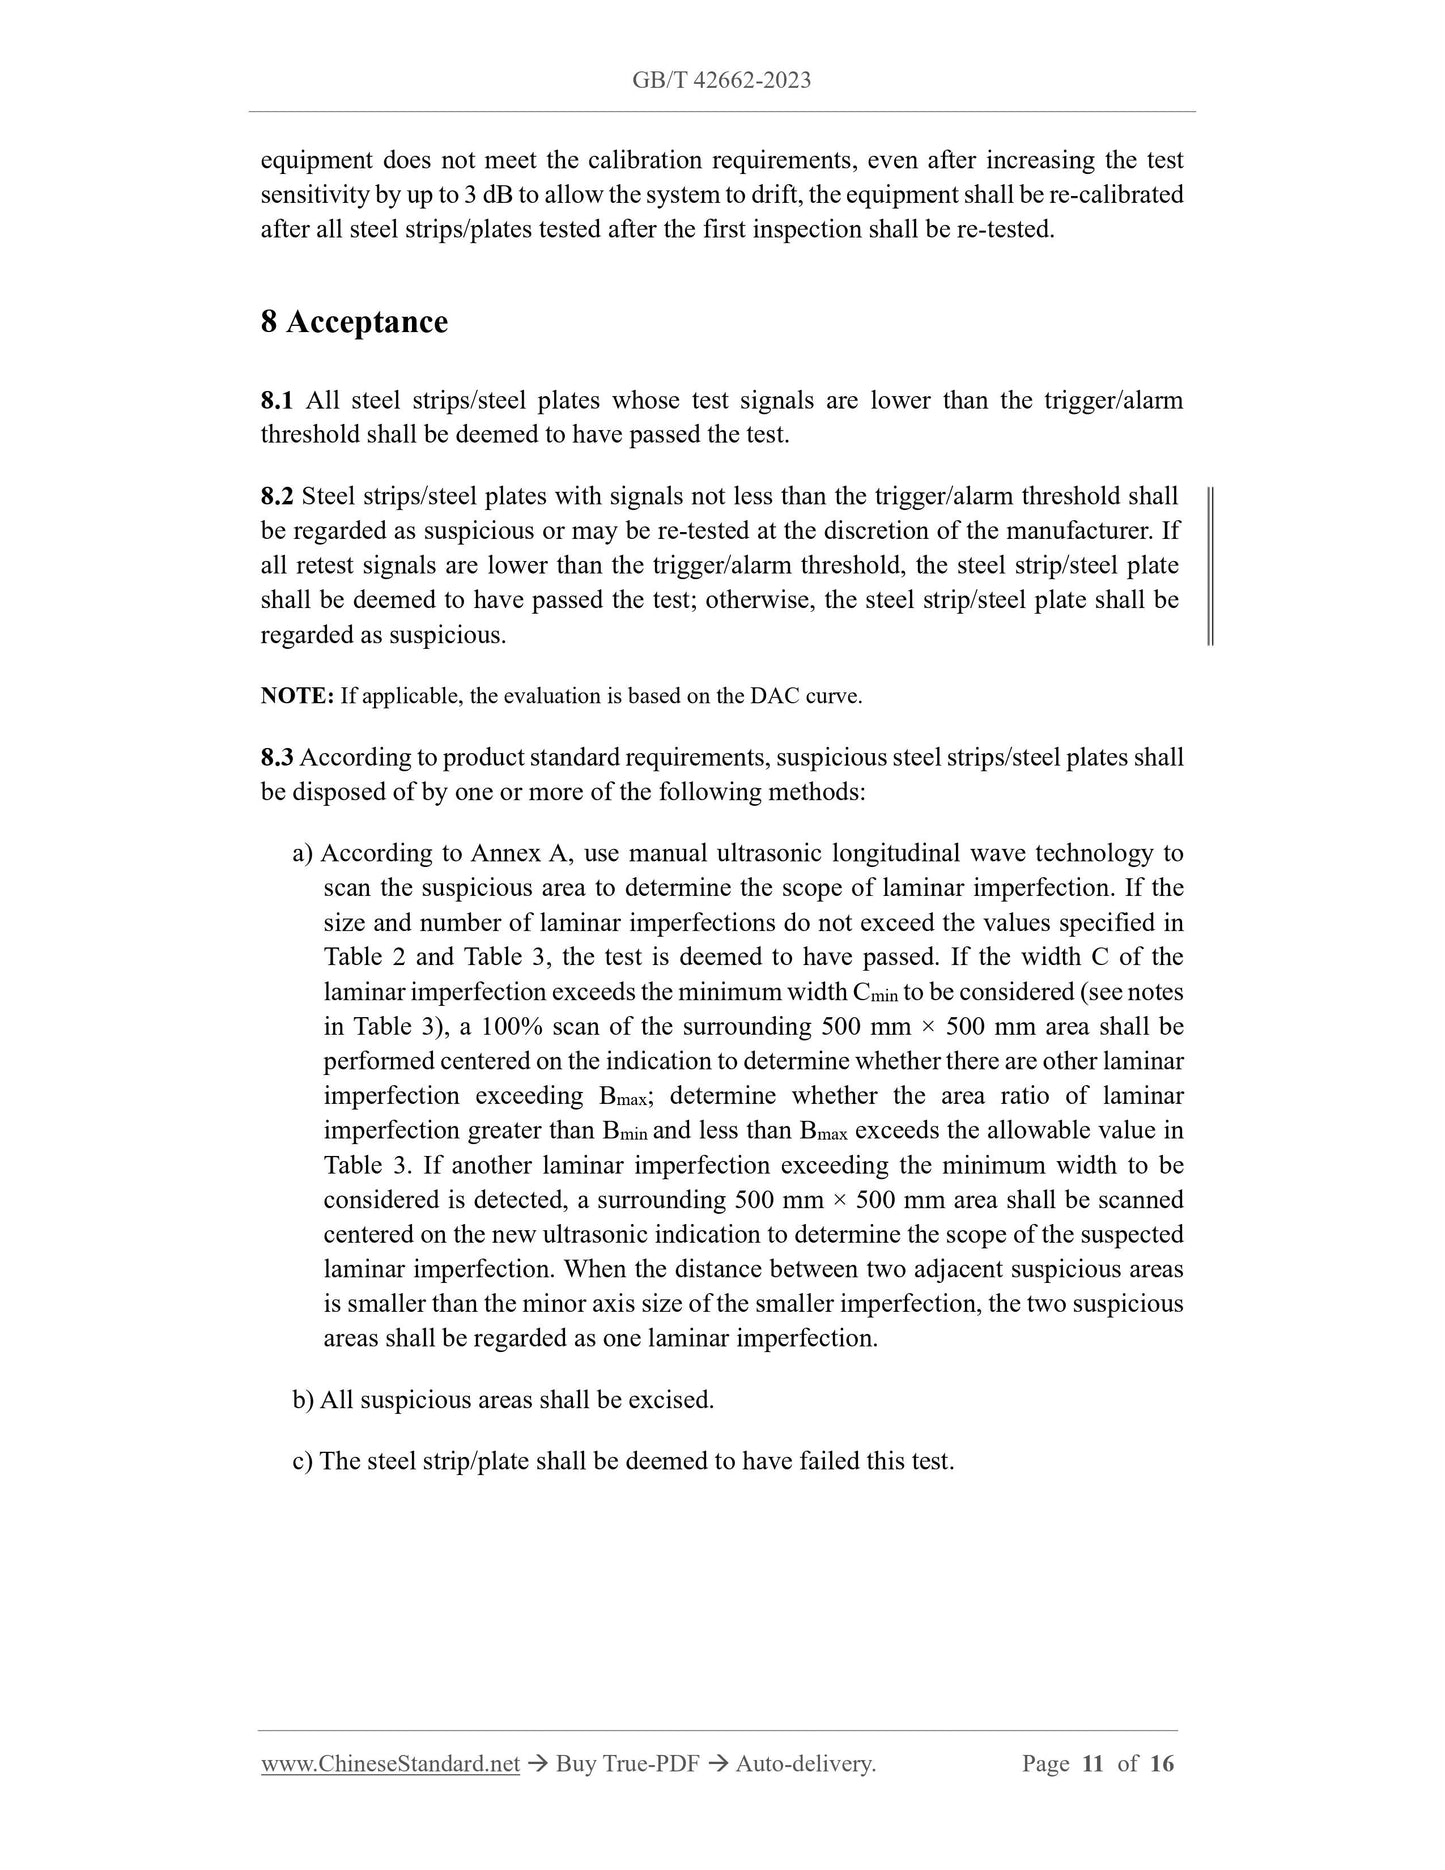
8.1 All steel strips/steel plates whose test signals are lower than the trigger/alarm
threshold shall be deemed to have passed the test.
8.2 Steel strips/steel plates with signals not less than the trigger/alarm threshold shall
be regarded as suspicious or may be re-tested at the discretion of the manufacturer. If
all retest signals are lower than the trigger/alarm threshold, the steel strip/steel plate
shall be deemed to have passed the test; otherwise, the steel strip/steel plate shall be
regarded as suspicious.
NOTE: If applicable, the evaluation is based on the DAC curve.
8.3 According to product standard requirements, suspicious steel strips/steel plates shall
be disposed of by one or more of the following methods:
a) According to Annex A, use manual ultrasonic longitudinal wave technology to
scan the suspicious area to determine the scope of laminar imperfection. If the
size and number of laminar imperfections do not exceed the values specified in
Table 2 and Table 3, the test is deemed to have passed. If the width C of the
laminar imperfection exceeds the minimum width Cmin to be considered (see notes
in Table 3), a 100% scan of the surrounding 500 mm × 500 mm area shall be
performed centered on the indication to determine whether there are other laminar
imperfection exceeding Bmax; determine whether the area ratio of laminar
imperfection greater than Bmin and less than Bmax exceeds the allowable value in
Table 3. If another laminar imperfection exceeding the minimum width to be
considered is detected, a surrounding 500 mm × 500 mm area shall be scanned
centered on the new ultrasonic indication to determine the scope of the suspected
laminar imperfection. When the distance between two adjacent suspicious areas
is smaller than the minor axis size of the smaller imperfection, the two suspicious
areas shall be regarded as one laminar imperfection.
b) All suspicious areas shall be excised.
c) The steel strip/plate shall be deemed to have failed this test.
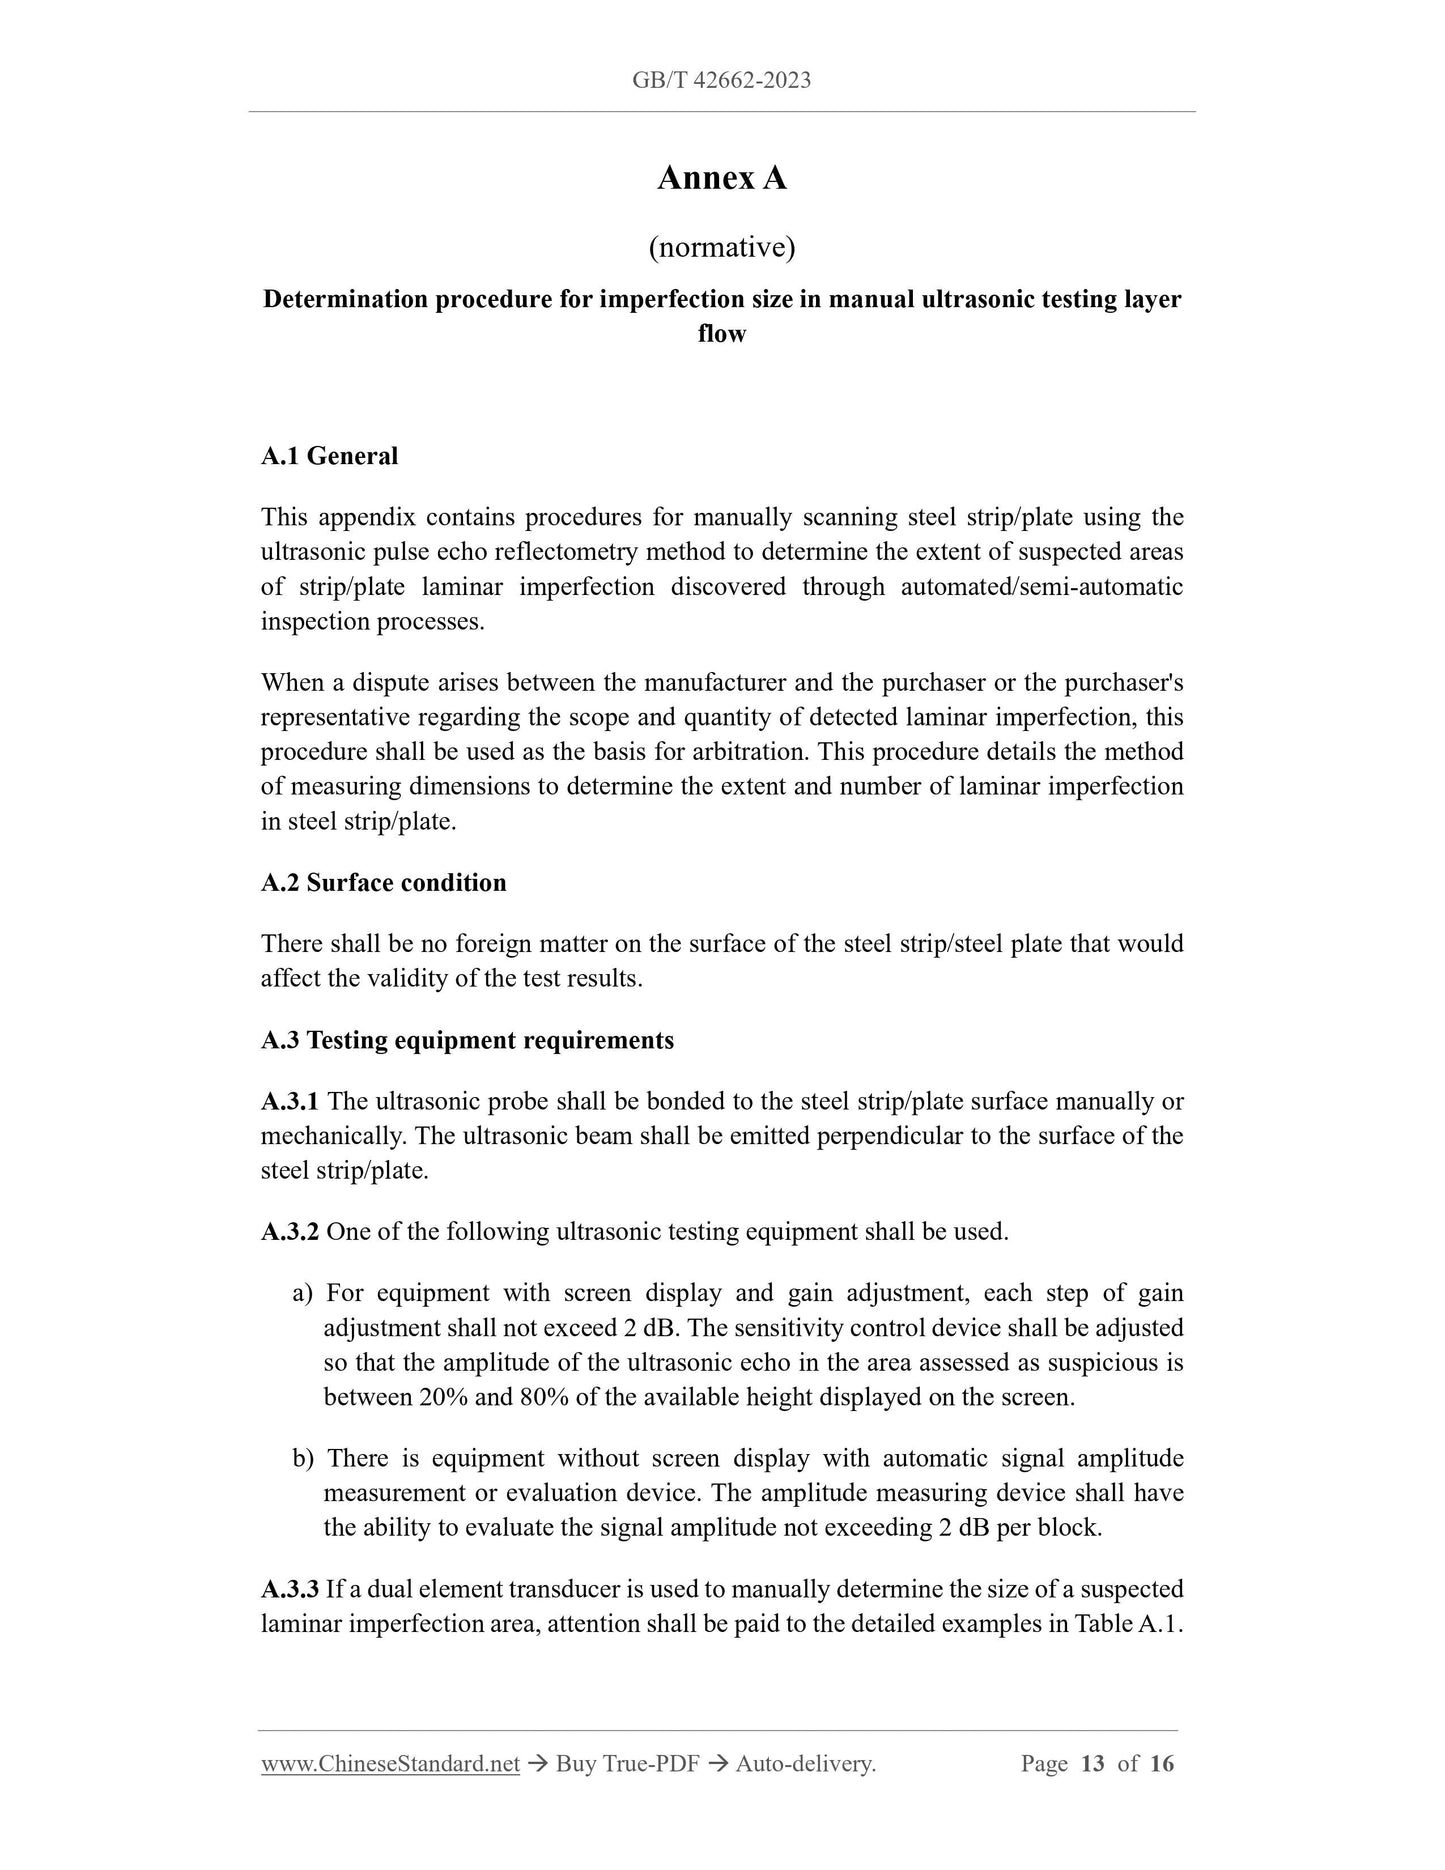
Annex A
(normative)
Determination procedure for imperfection size in manual ultrasonic testing layer
flow
A.1 General
This appendix contains procedures for manually scanning steel strip/plate using the
ultrasonic pulse echo reflectometry method to determine the extent of suspected areas
of strip/plate laminar imperfection discovered through automated/semi-automatic
inspection processes.
When a dispute arises between the manufacturer and the purchaser or the purchaser's
representative regarding the scope and quantity of detected laminar imperfection, this
procedure shall be used as the basis for arbitration. This procedure details the method
of measuring dimensions to determine the extent and number of laminar imperfection
in steel strip/plate.
A.2 Surface condition
There shall be no foreign matter on the surface of the steel strip/steel plate that would
affect the validity of the test results.
A.3 Testing equipment requirements
A.3.1 The ultrasonic probe shall be bonded to the steel strip/plate surface manually or
mechanically. The ultrasonic beam shall be emitted perpendicular to the surface of the
steel strip/plate.
A.3.2 One of the following ultrasonic testing equipment shall be used.
a) For equipment with screen display and gain adjustment, each step of gain
adjustment shall not exceed 2 dB. The sensitivity control device shall be adjusted
so that the amplitude of the ultrasonic echo in the area assessed as suspicious is
between 20% and 80% of the available height displayed on the screen.
b) There is equipment without screen display with automatic signal amplitude
measurement or evaluation device. The amplitude measuring device shall have
the ability to evaluate the signal amplitude not exceeding 2 dB per block.
A.3.3 If a dual element transducer is used to manually determine the size of a suspected
laminar imperfection area, attention shall be paid to the detailed examples in Table A.1.
GB/T 42662-2023
GB
NATIONAL STANDARD OF THE
PEOPLE’S REPUBLIC OF CHINA
ICS 77.040.20
CCS H 26
Non-destructive testing of steel tubes - Automated ultrasonic
testing for the detection of laminar imperfections in
strip/plate used for the manufacture of welded steel tubes
(ISO 10893-9:2011, Non-destructive testing of steel tubes - Part 9: Automated
ultrasonic testing for the detection of laminar imperfections in strip/plate used
for the manufacture of welded steel tubes, MOD)
ISSUED ON: AUGUST 06, 2023
IMPLEMENTED ON: MARCH 01, 2024
Issued by: State Administration for Market Regulation;
Standardization Administration of the People's Republic of China.
Table of Contents
Foreword ... 3
1 Scope ... 5
2 Normative references ... 5
3 Terms and definitions ... 5
4 General requirements ... 6
5 Testing methods ... 7
6 Reference sample ... 8
7 Calibration and verification of equipment ... 10
8 Acceptance ... 11
9 Testing report ... 12
Annex A (normative) Determination procedure for imperfection size in manual
ultrasonic testing layer flow ... 13
Bibliography ... 16
Non-destructive testing of steel tubes - Automated ultrasonic
testing for the detection of laminar imperfections in
strip/plate used for the manufacture of welded steel tubes
1 Scope
This document specifies the requirements for automatic ultrasonic detection of laminar
imperfection in steel strips/plates used for the manufacture of welded steel tubes before
or during the tube making process.
NOTE 1: For welded steel tubes, at the option of the manufacturer, automated ultrasonic testing of
the steel tube for laminar imperfection according to ISO 10893-8 after welding is an alternative
method.
NOTE 2: Upon agreement between the manufacturer and the purchaser, this document is also
applicable to the inspection of steel strips/plates after welding of submerged arc welded steel tubes.
This document also applies to the inspection of steel strips/plates used in the
manufacture of circular hollow steel profiles.
2 Normative references
The following referenced documents are indispensable for the application of this
document. For dated references, only the edition cited applies. For undated references,
the latest edition of the referenced document (including any amendments) applies.
GB/T 9445, Non-destructive testing -- Qualification and certification of NDT
personnel (GB/T 9445-2015, ISO 9712:2012, IDT)
GB/T 12604.1, Non-destructive testing -- Terminology -- Ultrasonic testing (GB/T
12604.1-2020, ISO 5577:2017, MOD)
ISO 11484, Steel products -- Employer’s qualification system for non-destructive
testing (NDT) personnel
3 Terms and definitions
The terms and definitions defined in GB/T 12604.1 and ISO 11484 as well as the
following apply to this document.
3.1 reference standard
Artificial imperfections used to calibrate non-destructive testing equipment.
3.2 reference...
Share