1
/
of
10
www.ChineseStandard.us -- Field Test Asia Pte. Ltd.
GB/T 39733-2024 English PDF (GB/T39733-2024)
Regular price
$440.00
Regular price
Sale price
$440.00
Unit price
/
per
Shipping calculated at checkout.
Couldn't load pickup availability
GB/T 39733-2024: Recycling iron-steel materials
Delivery: 9 seconds. Download (and Email) true-PDF + Invoice.
Get Quotation: Click GB/T 39733-2024 (Self-service in 1-minute)
Historical versions (Master-website): GB/T 39733-2024
Preview True-PDF (Reload/Scroll-down if blank)
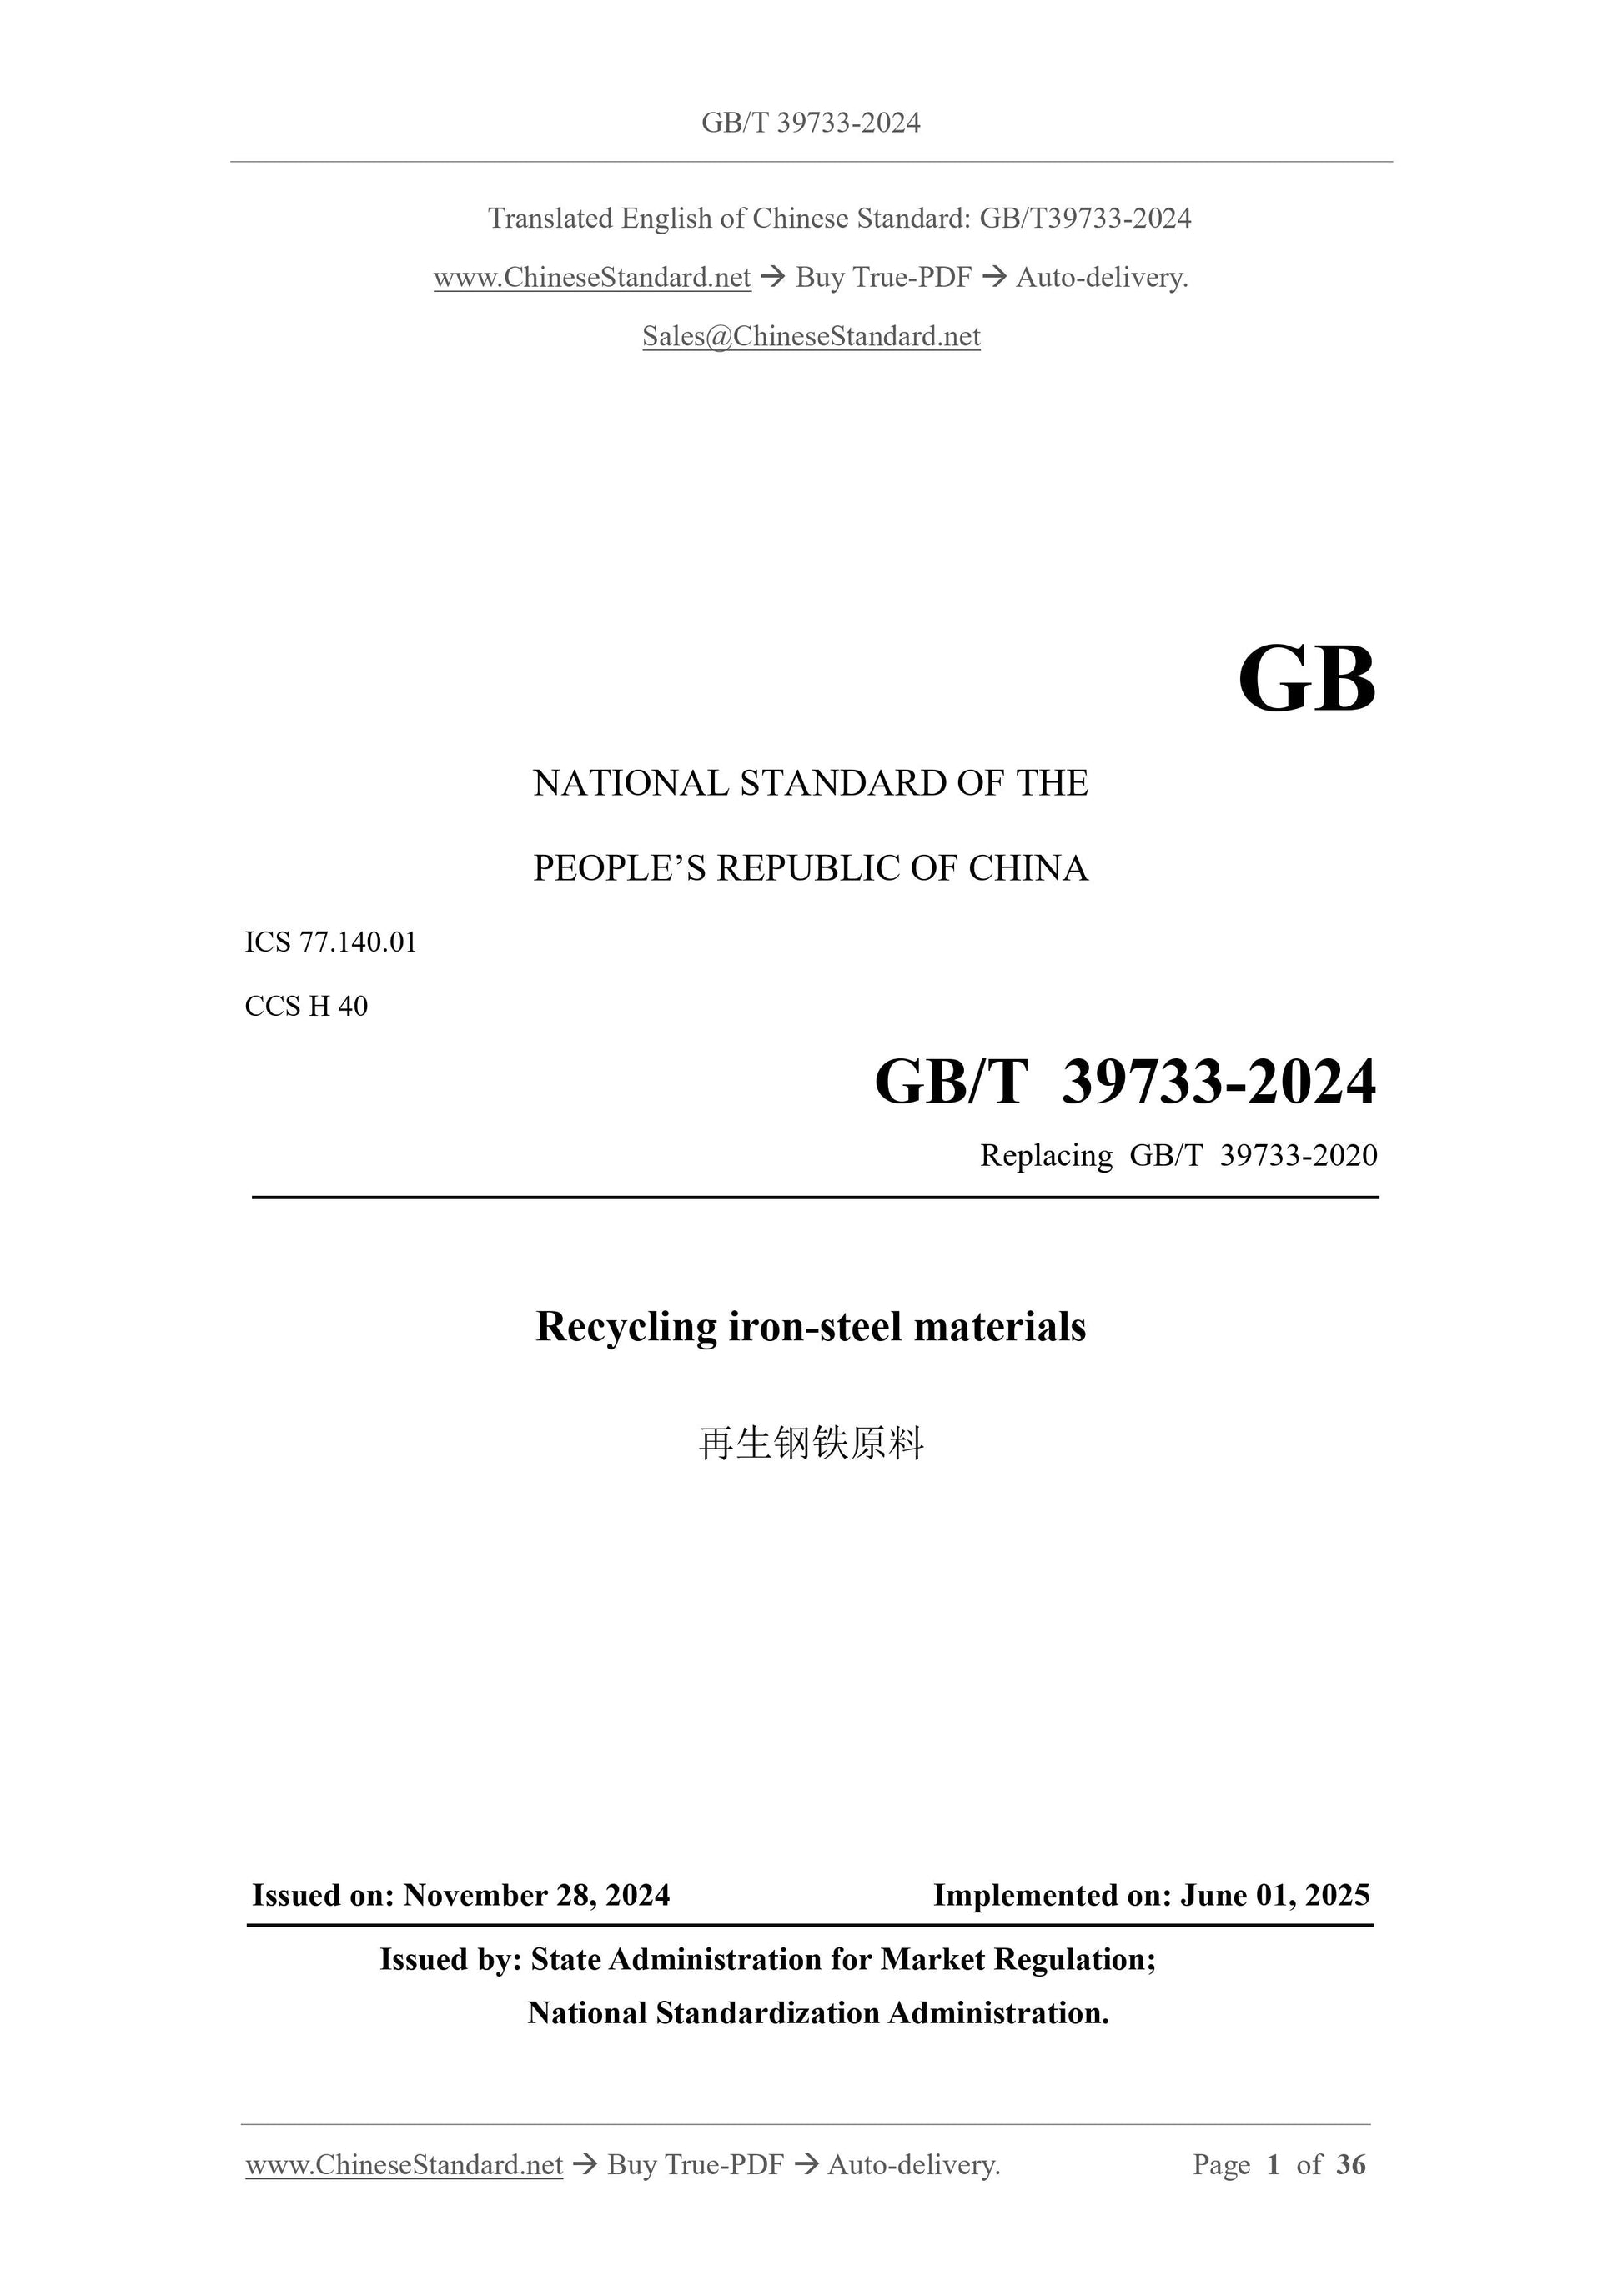
GB/T 39733-2024
GB
NATIONAL STANDARD OF THE
PEOPLE’S REPUBLIC OF CHINA
ICS 77.140.01
CCS H 40
Replacing GB/T 39733-2020
Recycling iron-steel materials
ISSUED ON: NOVEMBER 28, 2024
IMPLEMENTED ON: JUNE 01, 2025
Issued by: State Administration for Market Regulation;
National Standardization Administration.
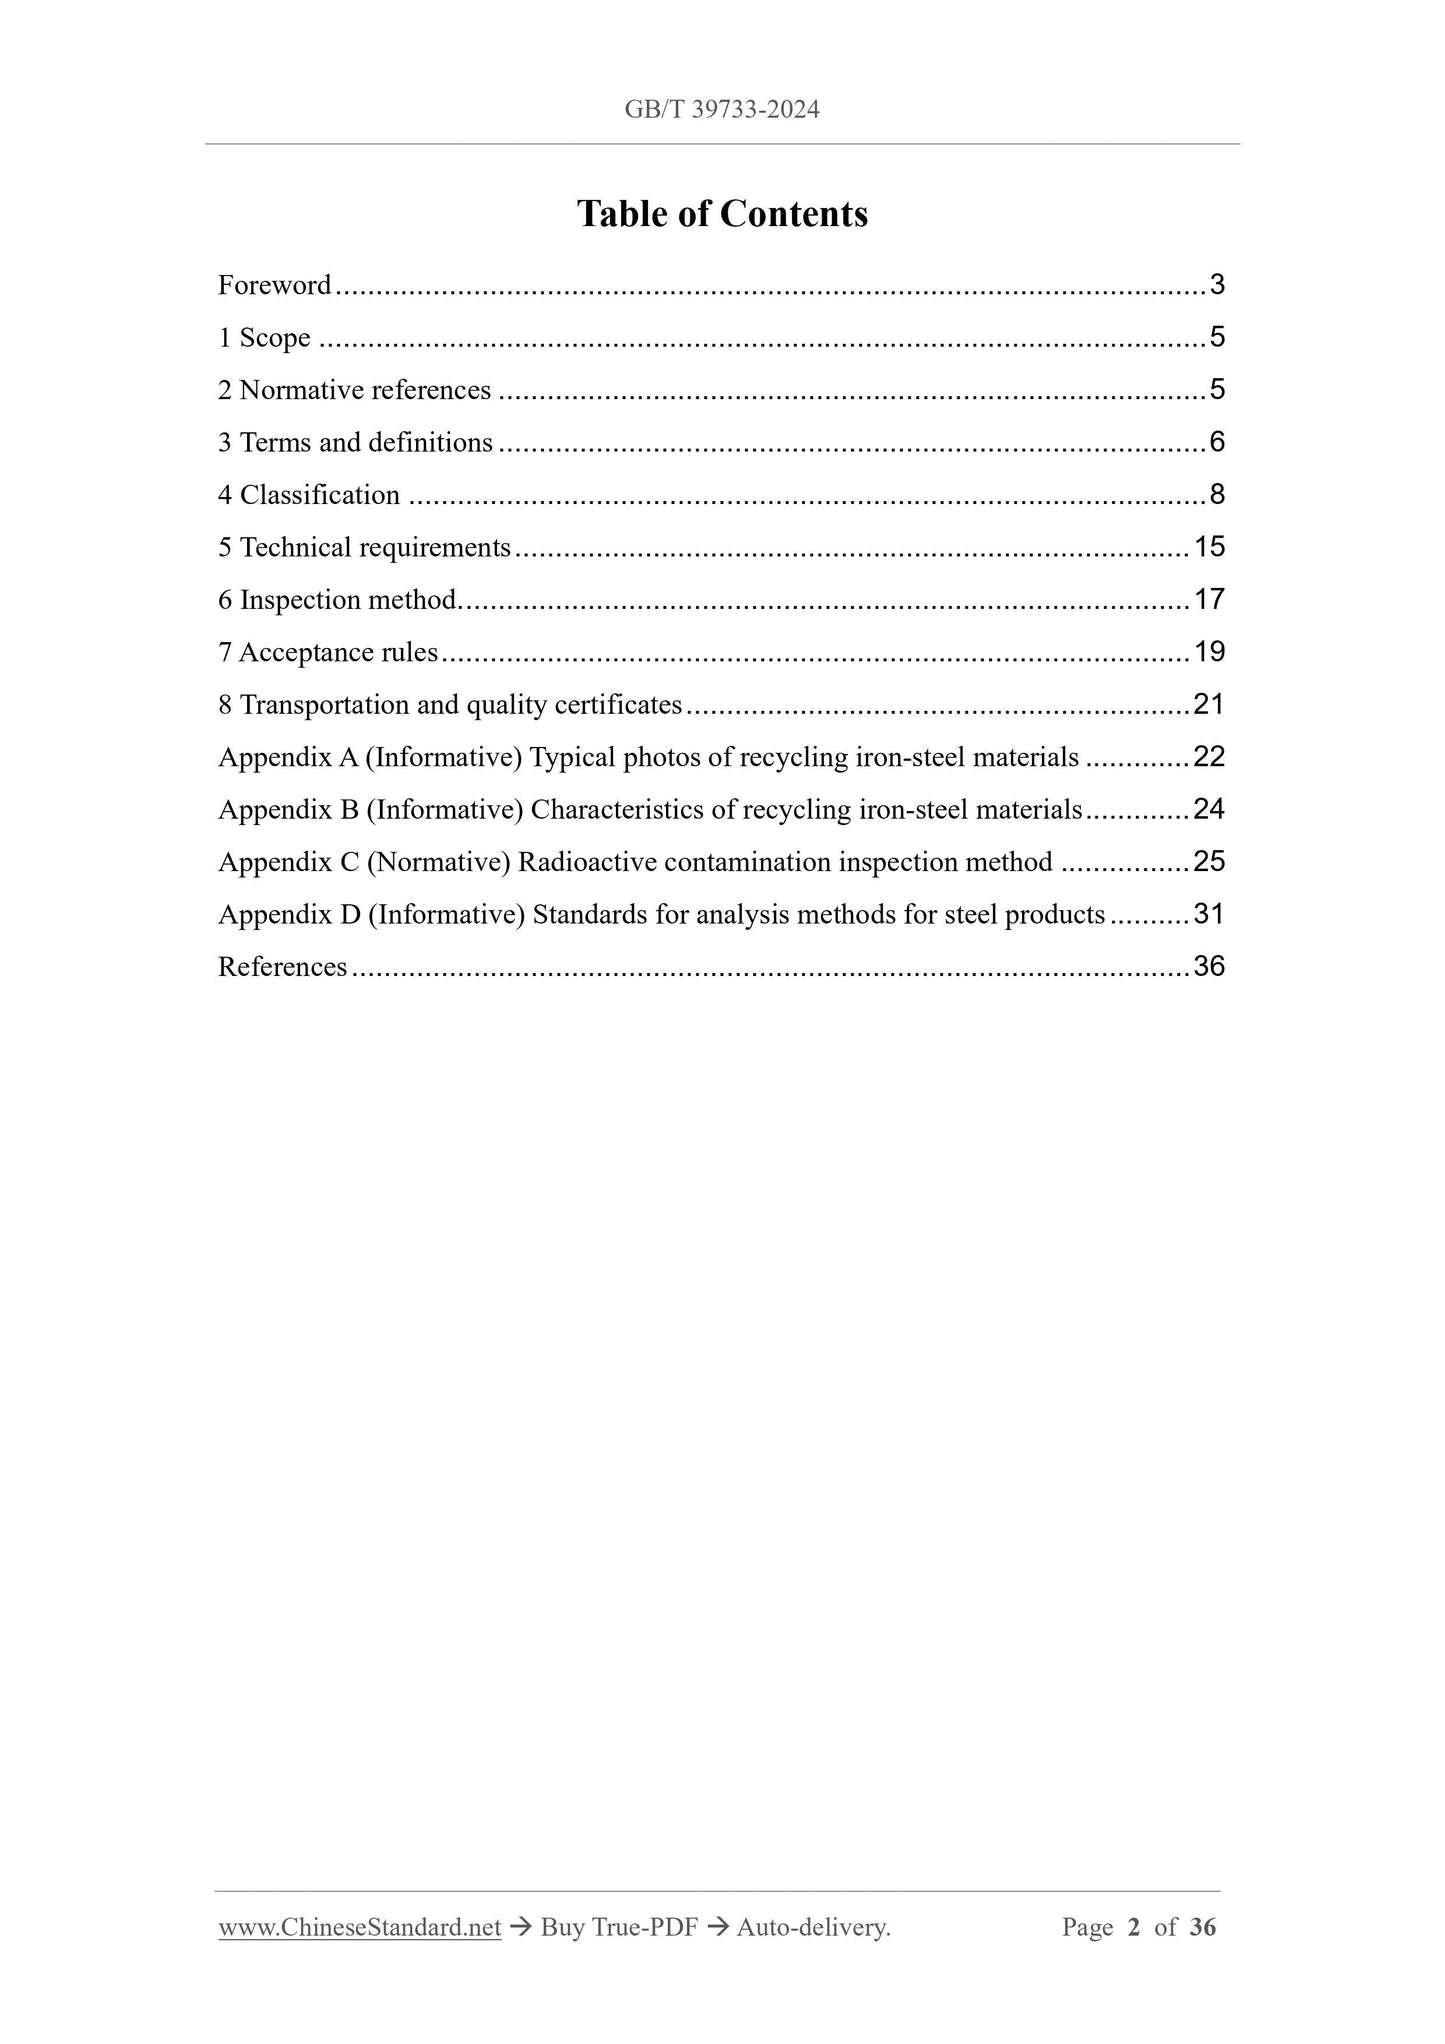
Table of Contents
Foreword ... 3
1 Scope ... 5
2 Normative references ... 5
3 Terms and definitions ... 6
4 Classification ... 8
5 Technical requirements ... 15
6 Inspection method ... 17
7 Acceptance rules ... 19
8 Transportation and quality certificates ... 21
Appendix A (Informative) Typical photos of recycling iron-steel materials ... 22
Appendix B (Informative) Characteristics of recycling iron-steel materials ... 24
Appendix C (Normative) Radioactive contamination inspection method ... 25
Appendix D (Informative) Standards for analysis methods for steel products ... 31
References ... 36
Recycling iron-steel materials
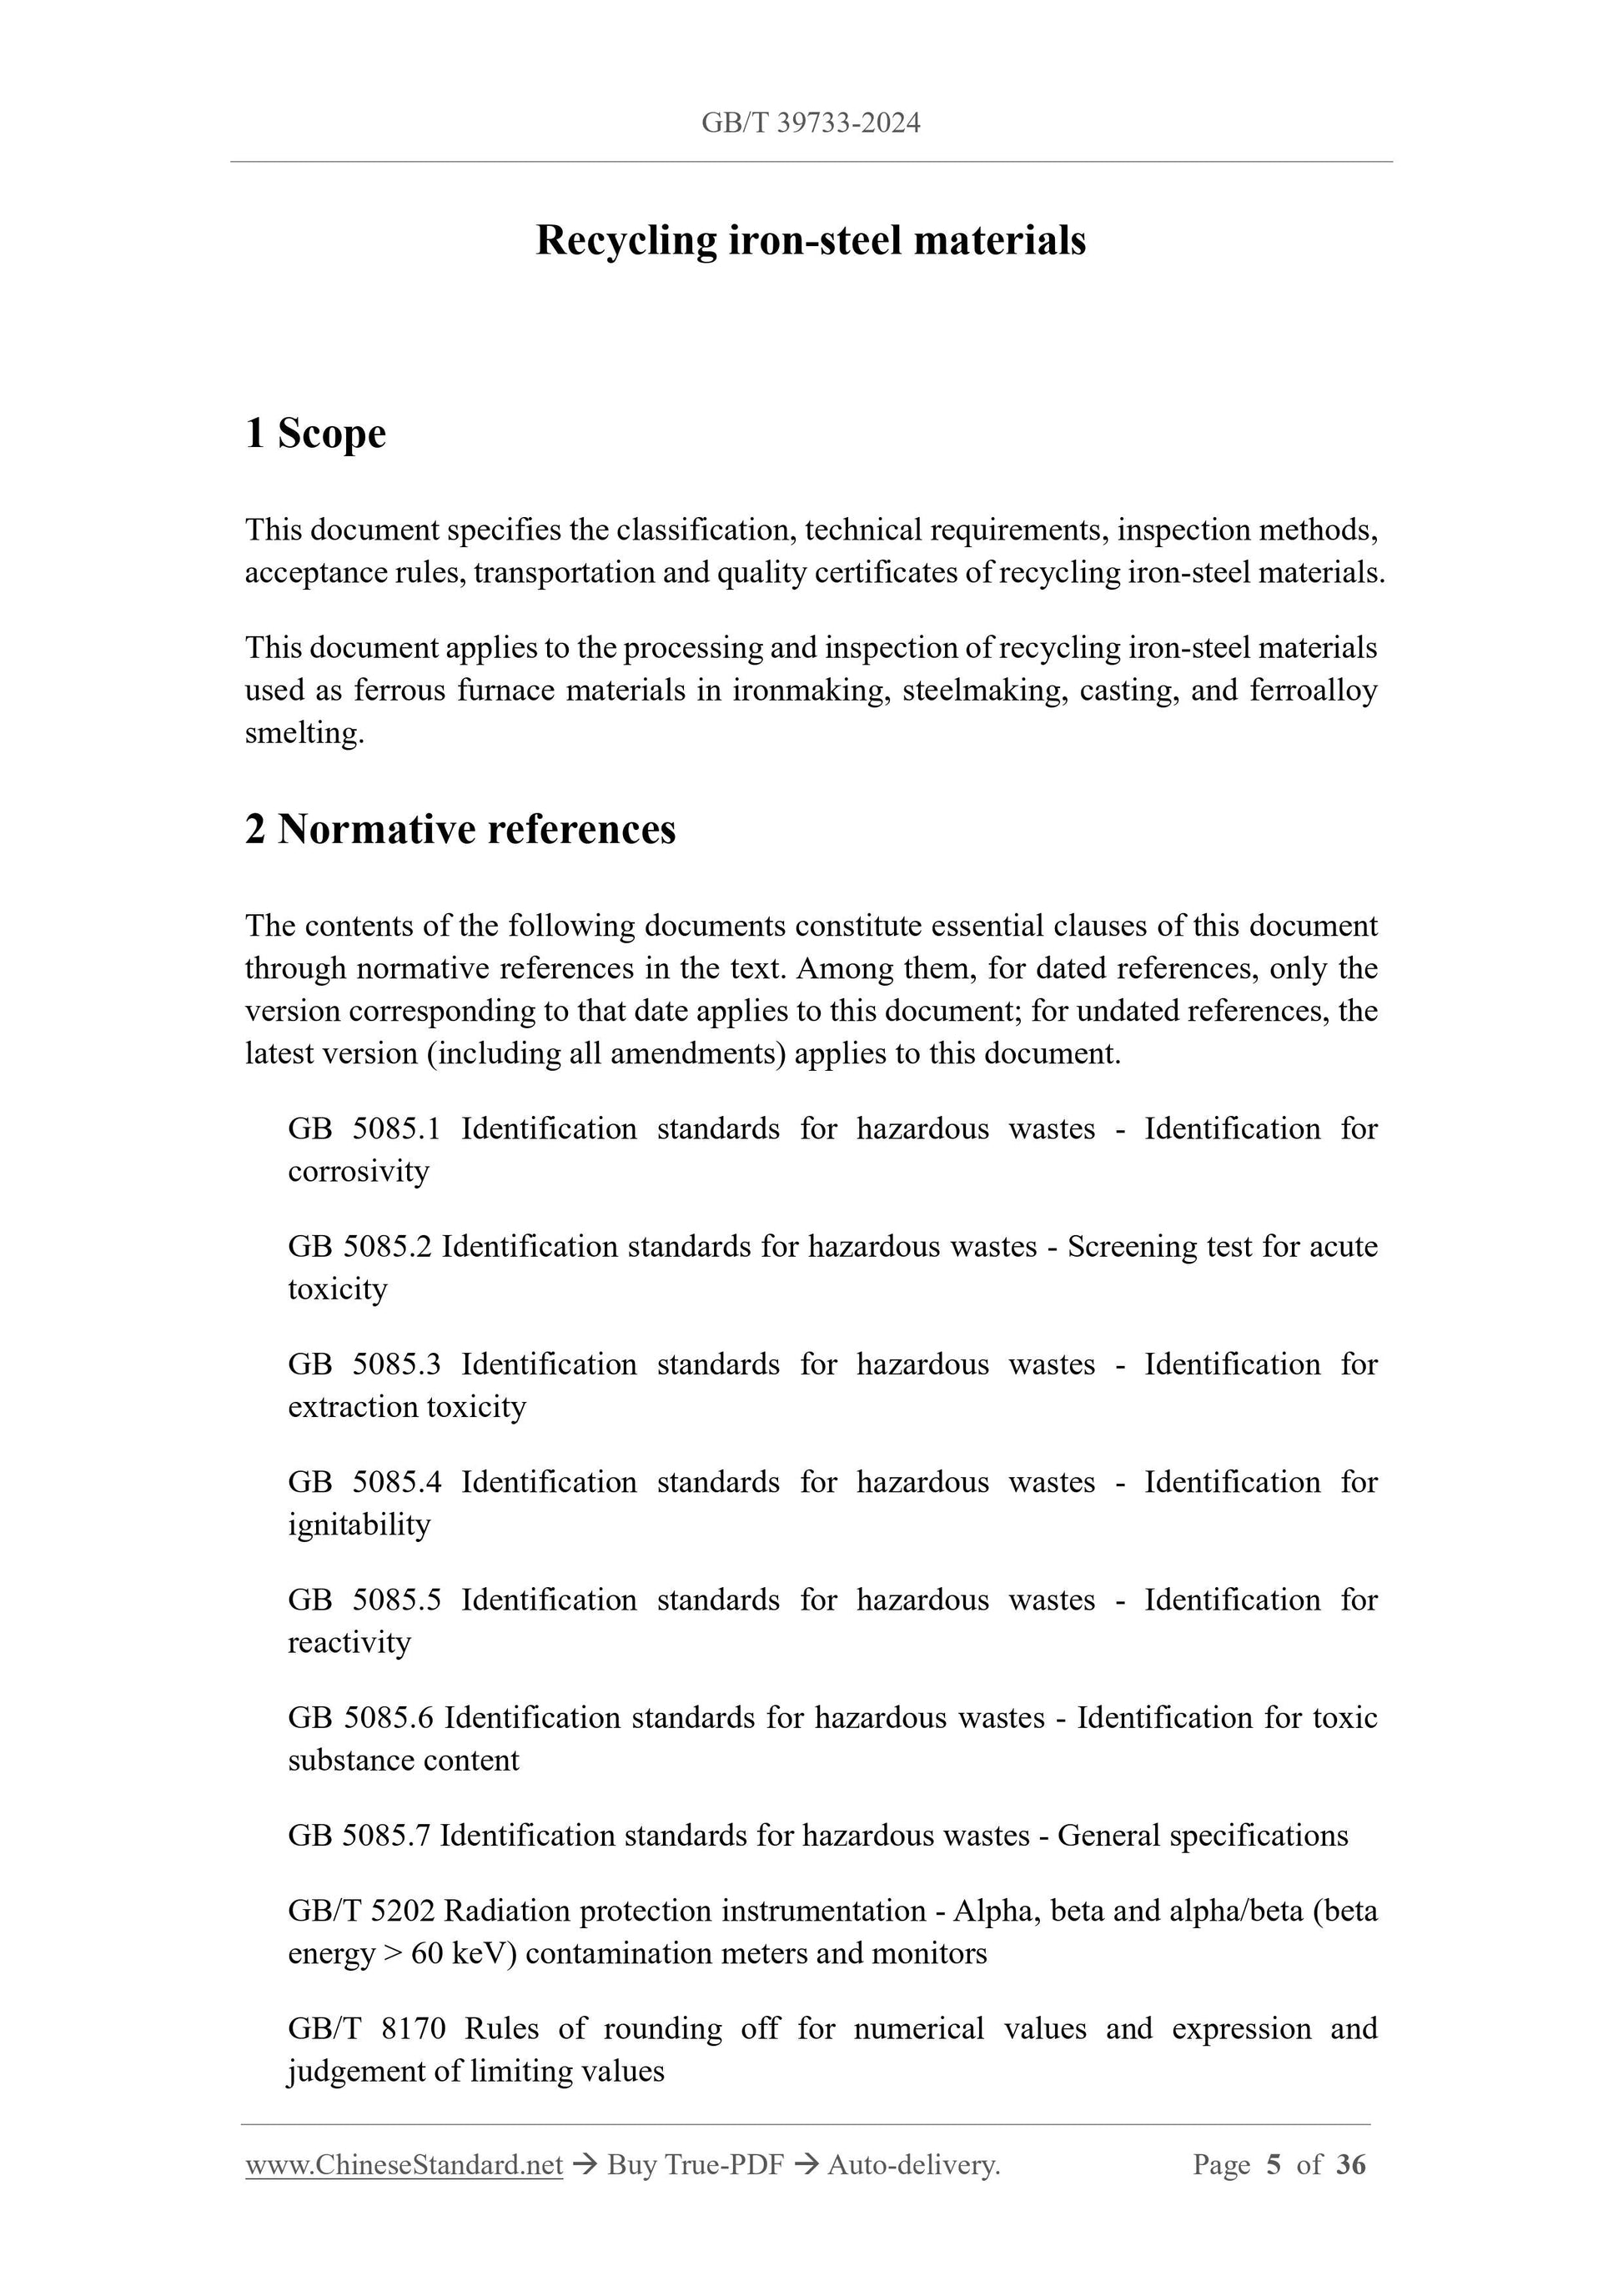
1 Scope
This document specifies the classification, technical requirements, inspection methods,
acceptance rules, transportation and quality certificates of recycling iron-steel materials.
This document applies to the processing and inspection of recycling iron-steel materials
used as ferrous furnace materials in ironmaking, steelmaking, casting, and ferroalloy
smelting.
2 Normative references
The contents of the following documents constitute essential clauses of this document
through normative references in the text. Among them, for dated references, only the
version corresponding to that date applies to this document; for undated references, the
latest version (including all amendments) applies to this document.
GB 5085.1 Identification standards for hazardous wastes - Identification for
corrosivity
GB 5085.2 Identification standards for hazardous wastes - Screening test for acute
toxicity
GB 5085.3 Identification standards for hazardous wastes - Identification for
extraction toxicity
GB 5085.4 Identification standards for hazardous wastes - Identification for
ignitability
GB 5085.5 Identification standards for hazardous wastes - Identification for
reactivity
GB 5085.6 Identification standards for hazardous wastes - Identification for toxic
substance content
GB 5085.7 Identification standards for hazardous wastes - General specifications
GB/T 5202 Radiation protection instrumentation - Alpha, beta and alpha/beta (beta
energy > 60 keV) contamination meters and monitors
GB/T 8170 Rules of rounding off for numerical values and expression and
judgement of limiting values
6.2 Explosive materials
Visual sensory inspection.
6.3 Hazardous wastes
Visual sensory inspection. When it is uncertain whether it meets the requirements, it
shall be implemented in accordance with the provisions of GB 5085.7.
Identification shall be carried out in accordance with the "National List of Hazardous
Wastes"; if it is not included in the "National List of Hazardous Wastes" but it is not
excluded that it is corrosive, toxic, flammable, or reactive, it shall be identified in
accordance with GB 5085.1 ~ GB 5085.6 and HJ 298.
6.4 Carried-waste
6.4.1 The carried-waste of recycling iron-steel materials shall first be inspected visually
to estimate the mass percentage. When it is uncertain whether it meets the requirements,
it shall be inspected in accordance with 6.4.2.
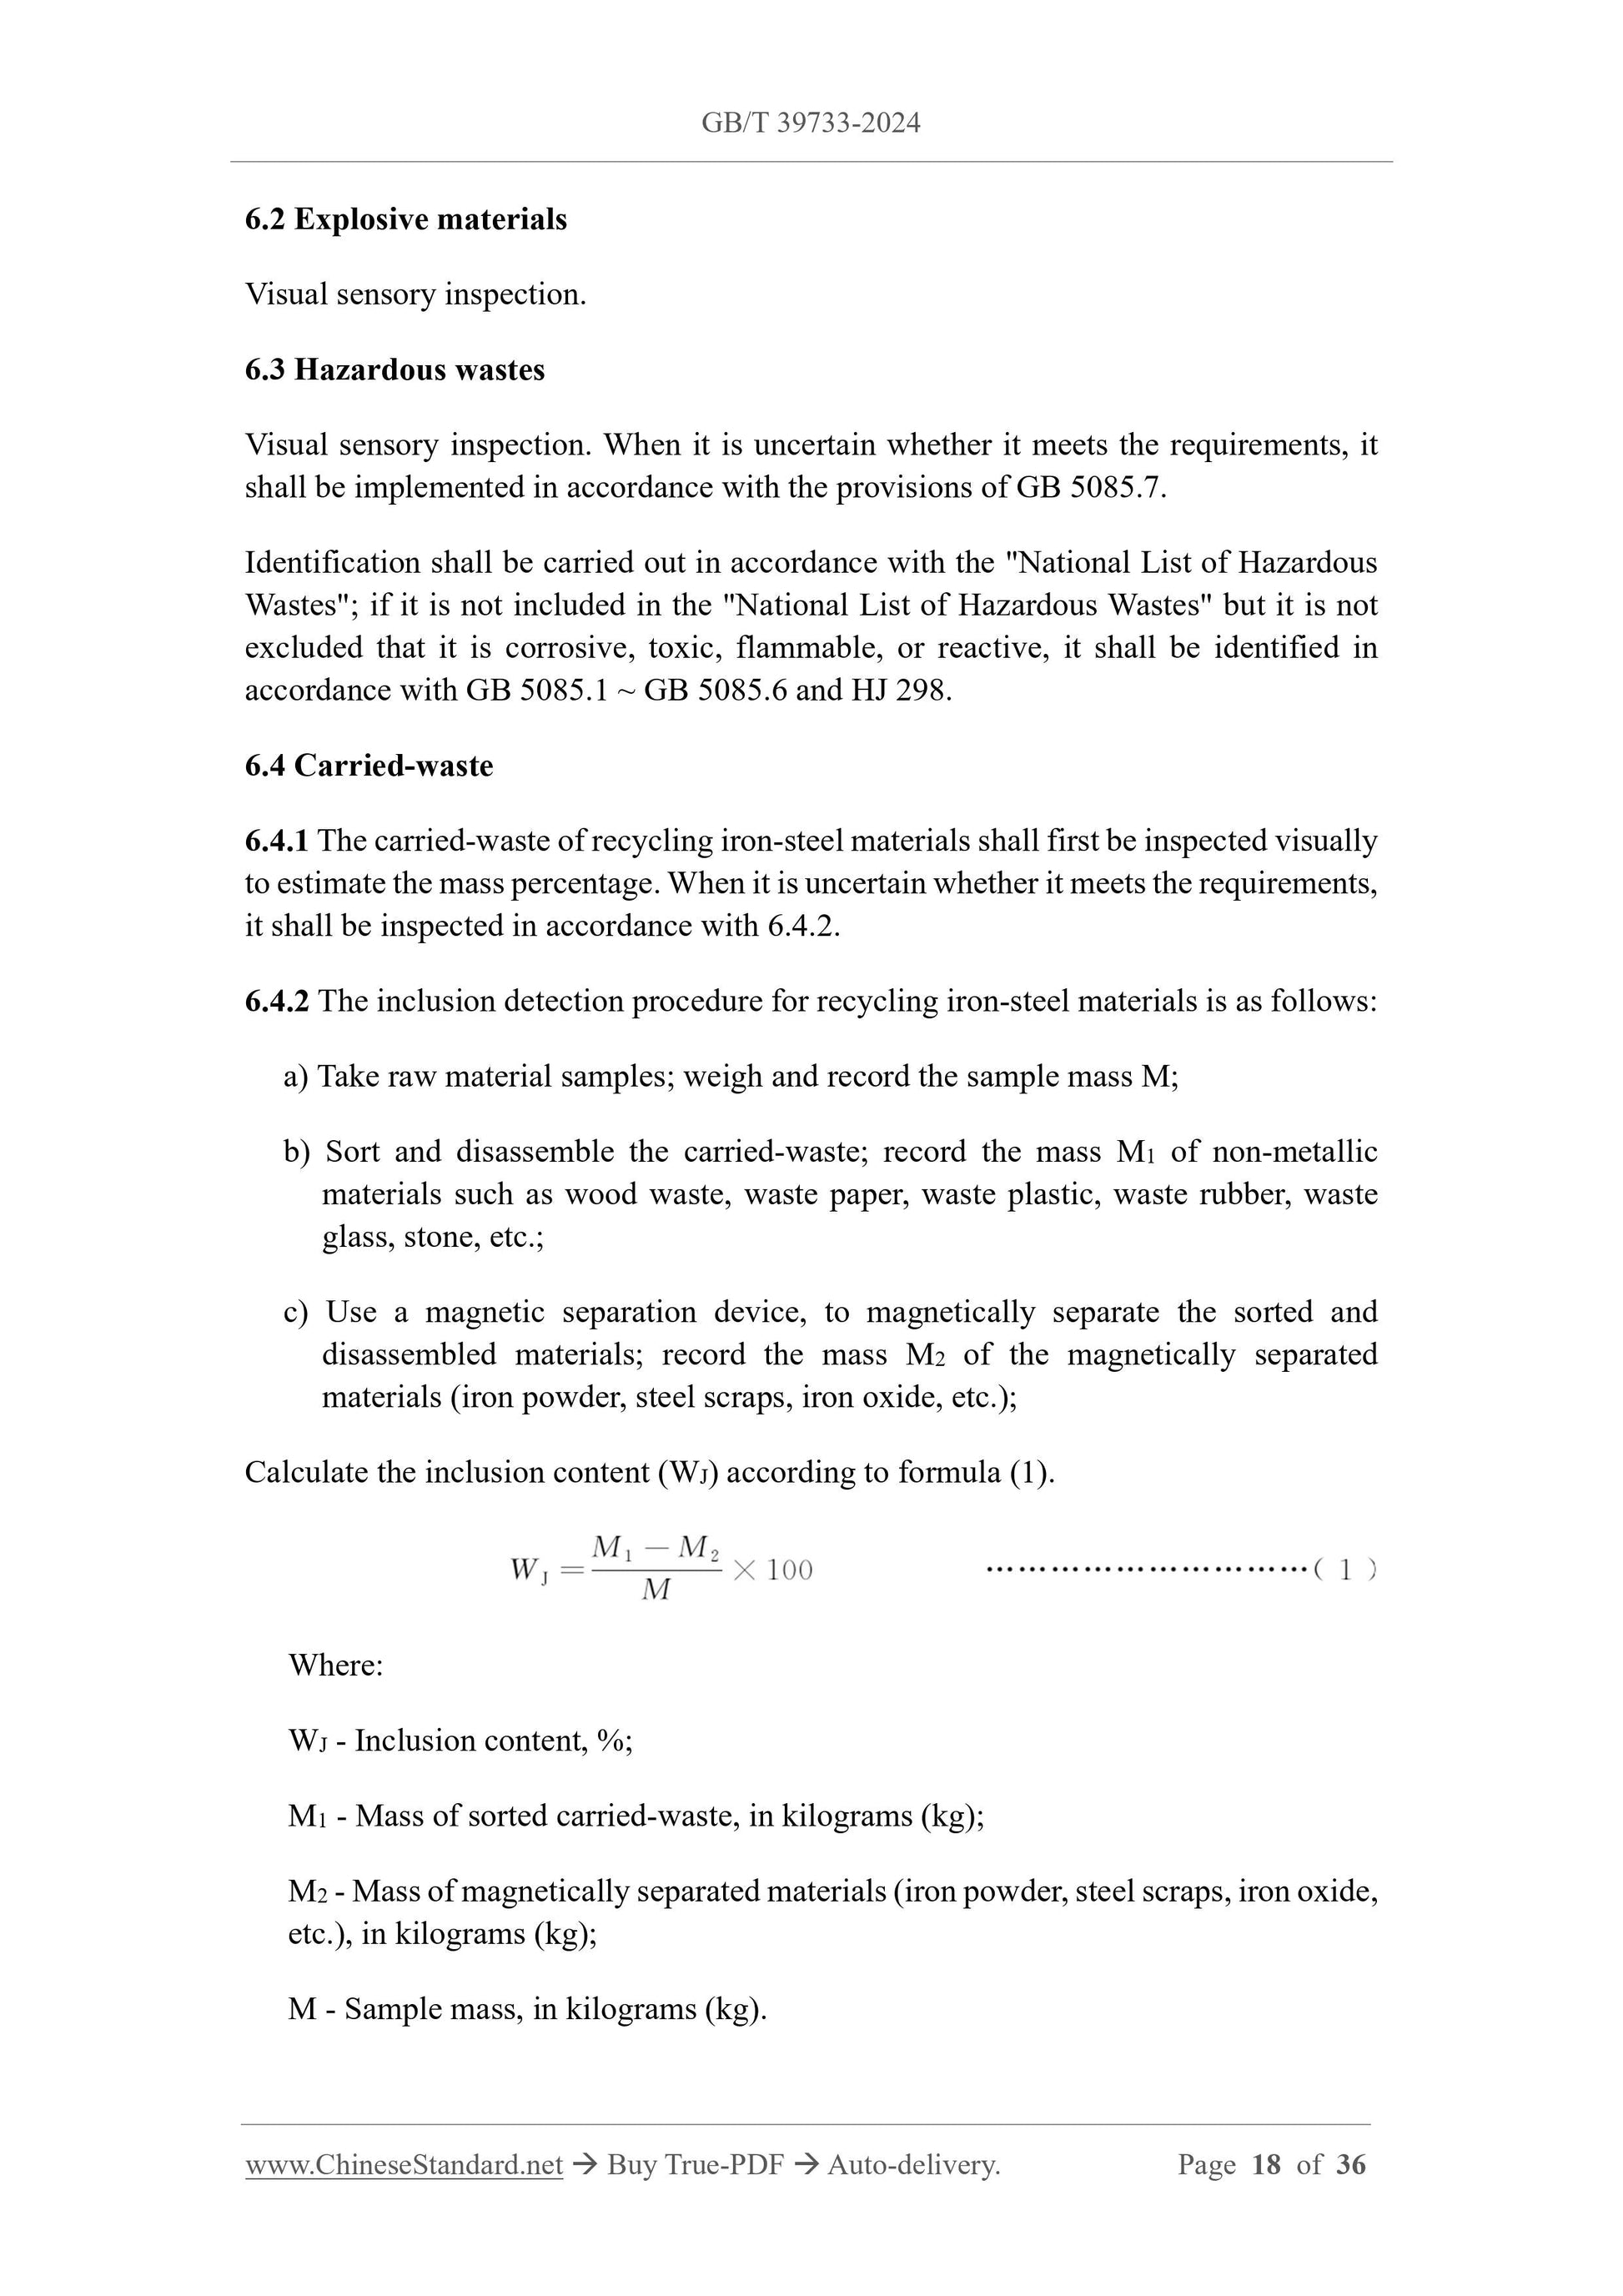
6.4.2 The inclusion detection procedure for recycling iron-steel materials is as follows:
a) Take raw material samples; weigh and record the sample mass M;
b) Sort and disassemble the carried-waste; record the mass M1 of non-metallic
materials such as wood waste, waste paper, waste plastic, waste rubber, waste
glass, stone, etc.;
c) Use a magnetic separation device, to magnetically separate the sorted and
disassembled materials; record the mass M2 of the magnetically separated
materials (iron powder, steel scraps, iron oxide, etc.);
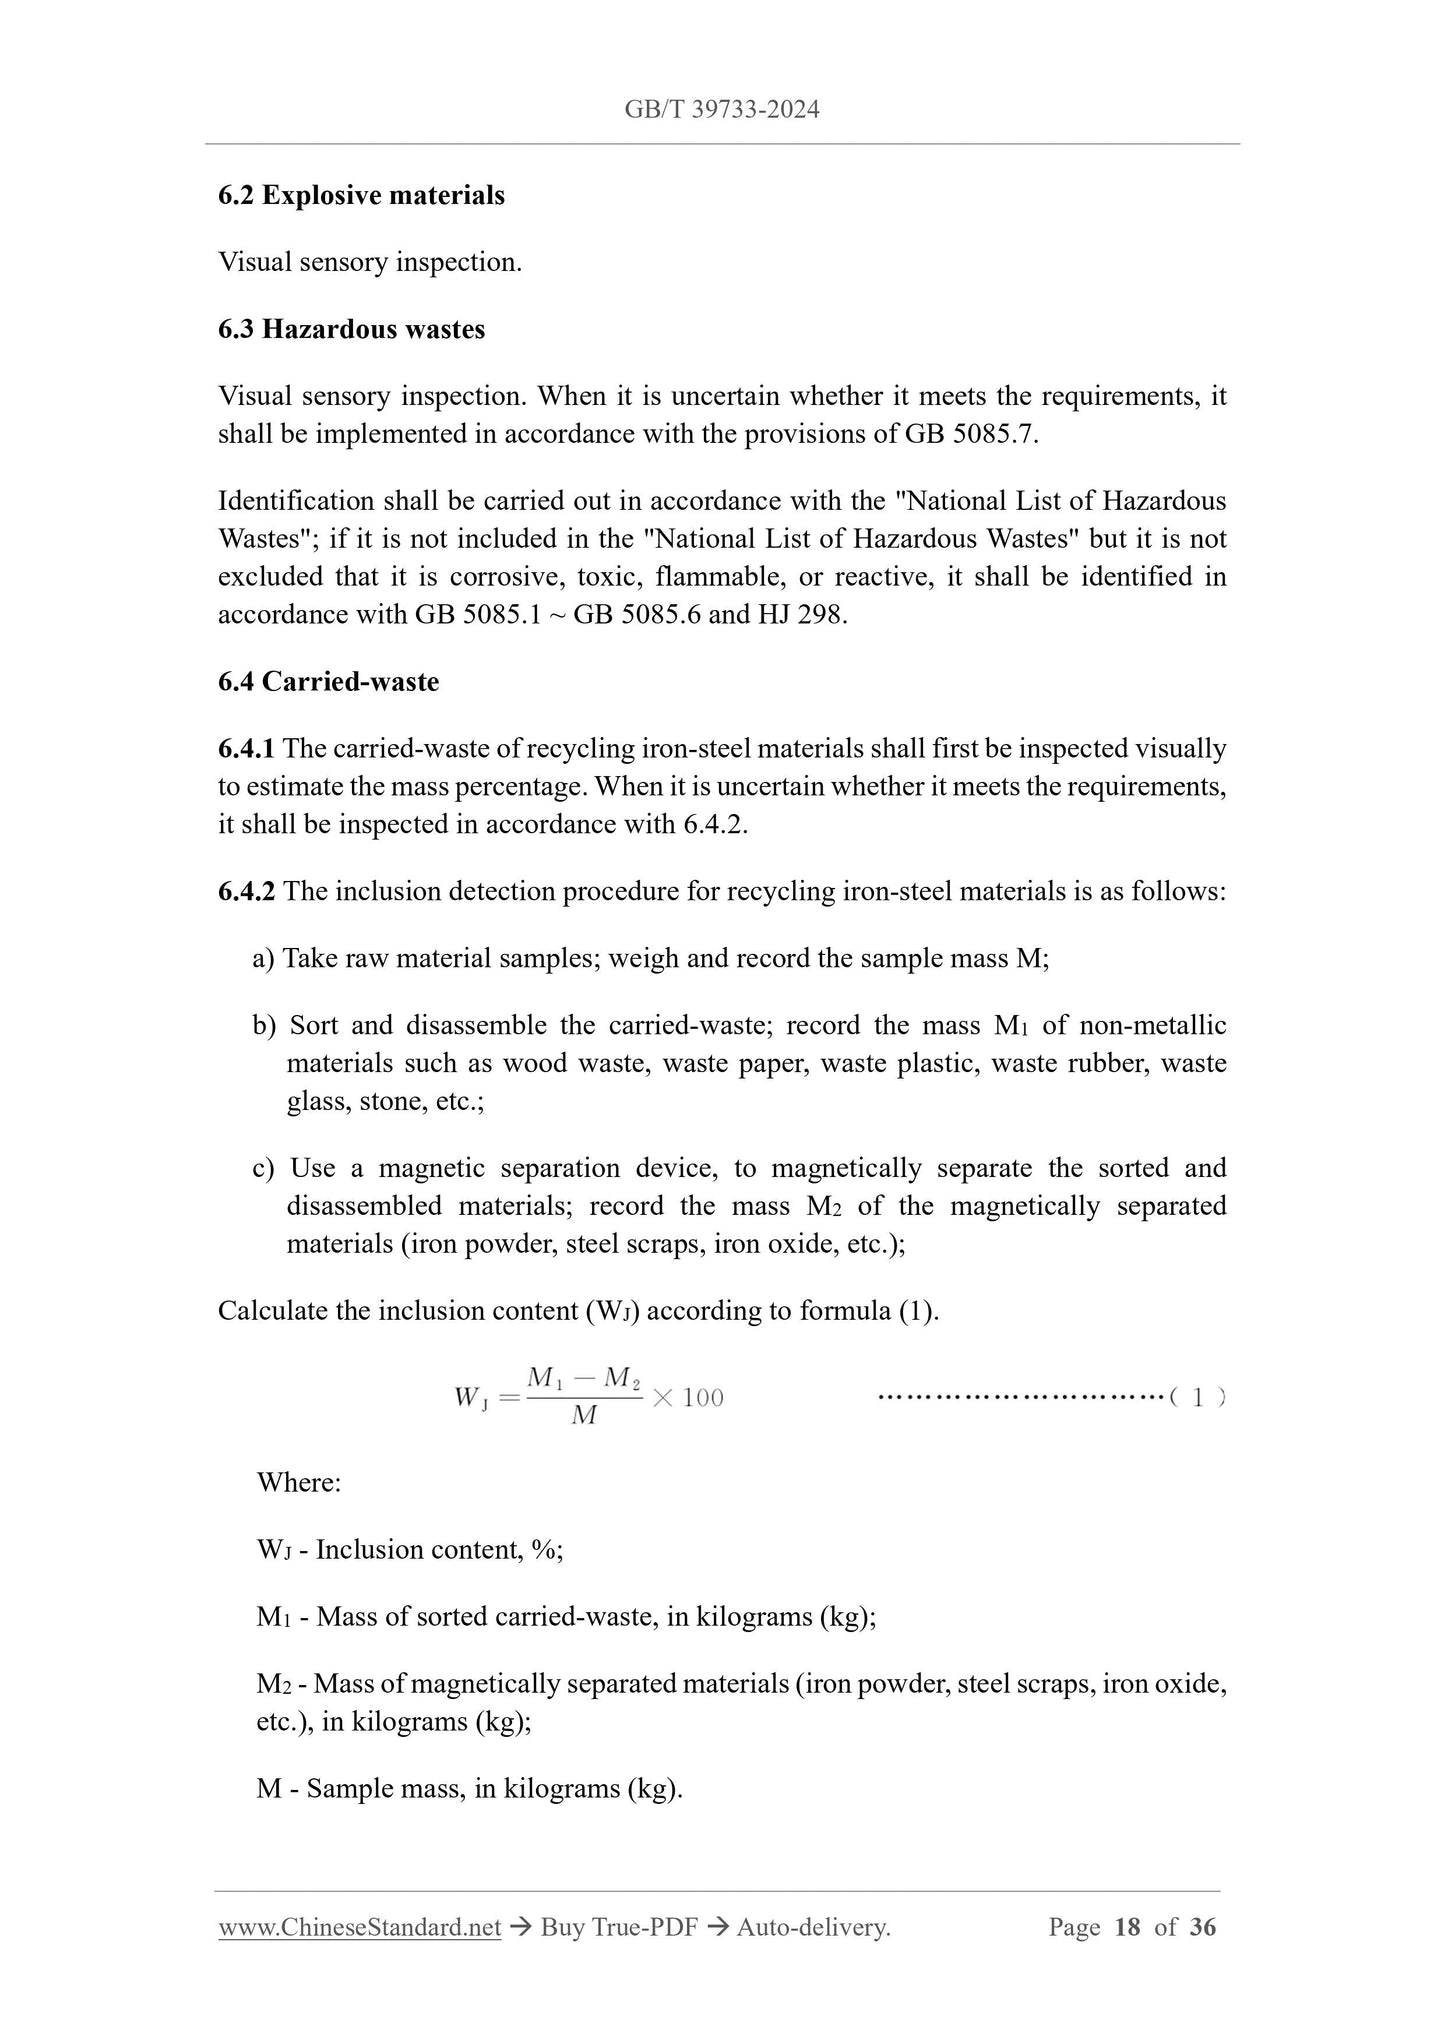
Calculate the inclusion content (WJ) according to formula (1).
Where:
WJ - Inclusion content, %;
M1 - Mass of sorted carried-waste, in kilograms (kg);
M2 - Mass of magnetically separated materials (iron powder, steel scraps, iron oxide,
etc.), in kilograms (kg);
M - Sample mass, in kilograms (kg).
6.5 Physical quantity of steel
6.5.1 Physical quantity of steel of recycling iron-steel materials shall first be inspected
visually to estimate the mass percentage. When it is uncertain whether it meets the
requirements, it shall be inspected according to 6.5.2.
6.5.2 Physical quantity of steel of recycling iron-steel materials shall be inspected as
follows:
a) Take raw material samples; weigh and record the sample mass M;
b) Sort the samples and record the mass of carried-waste and non-ferrous metal
substances M3;
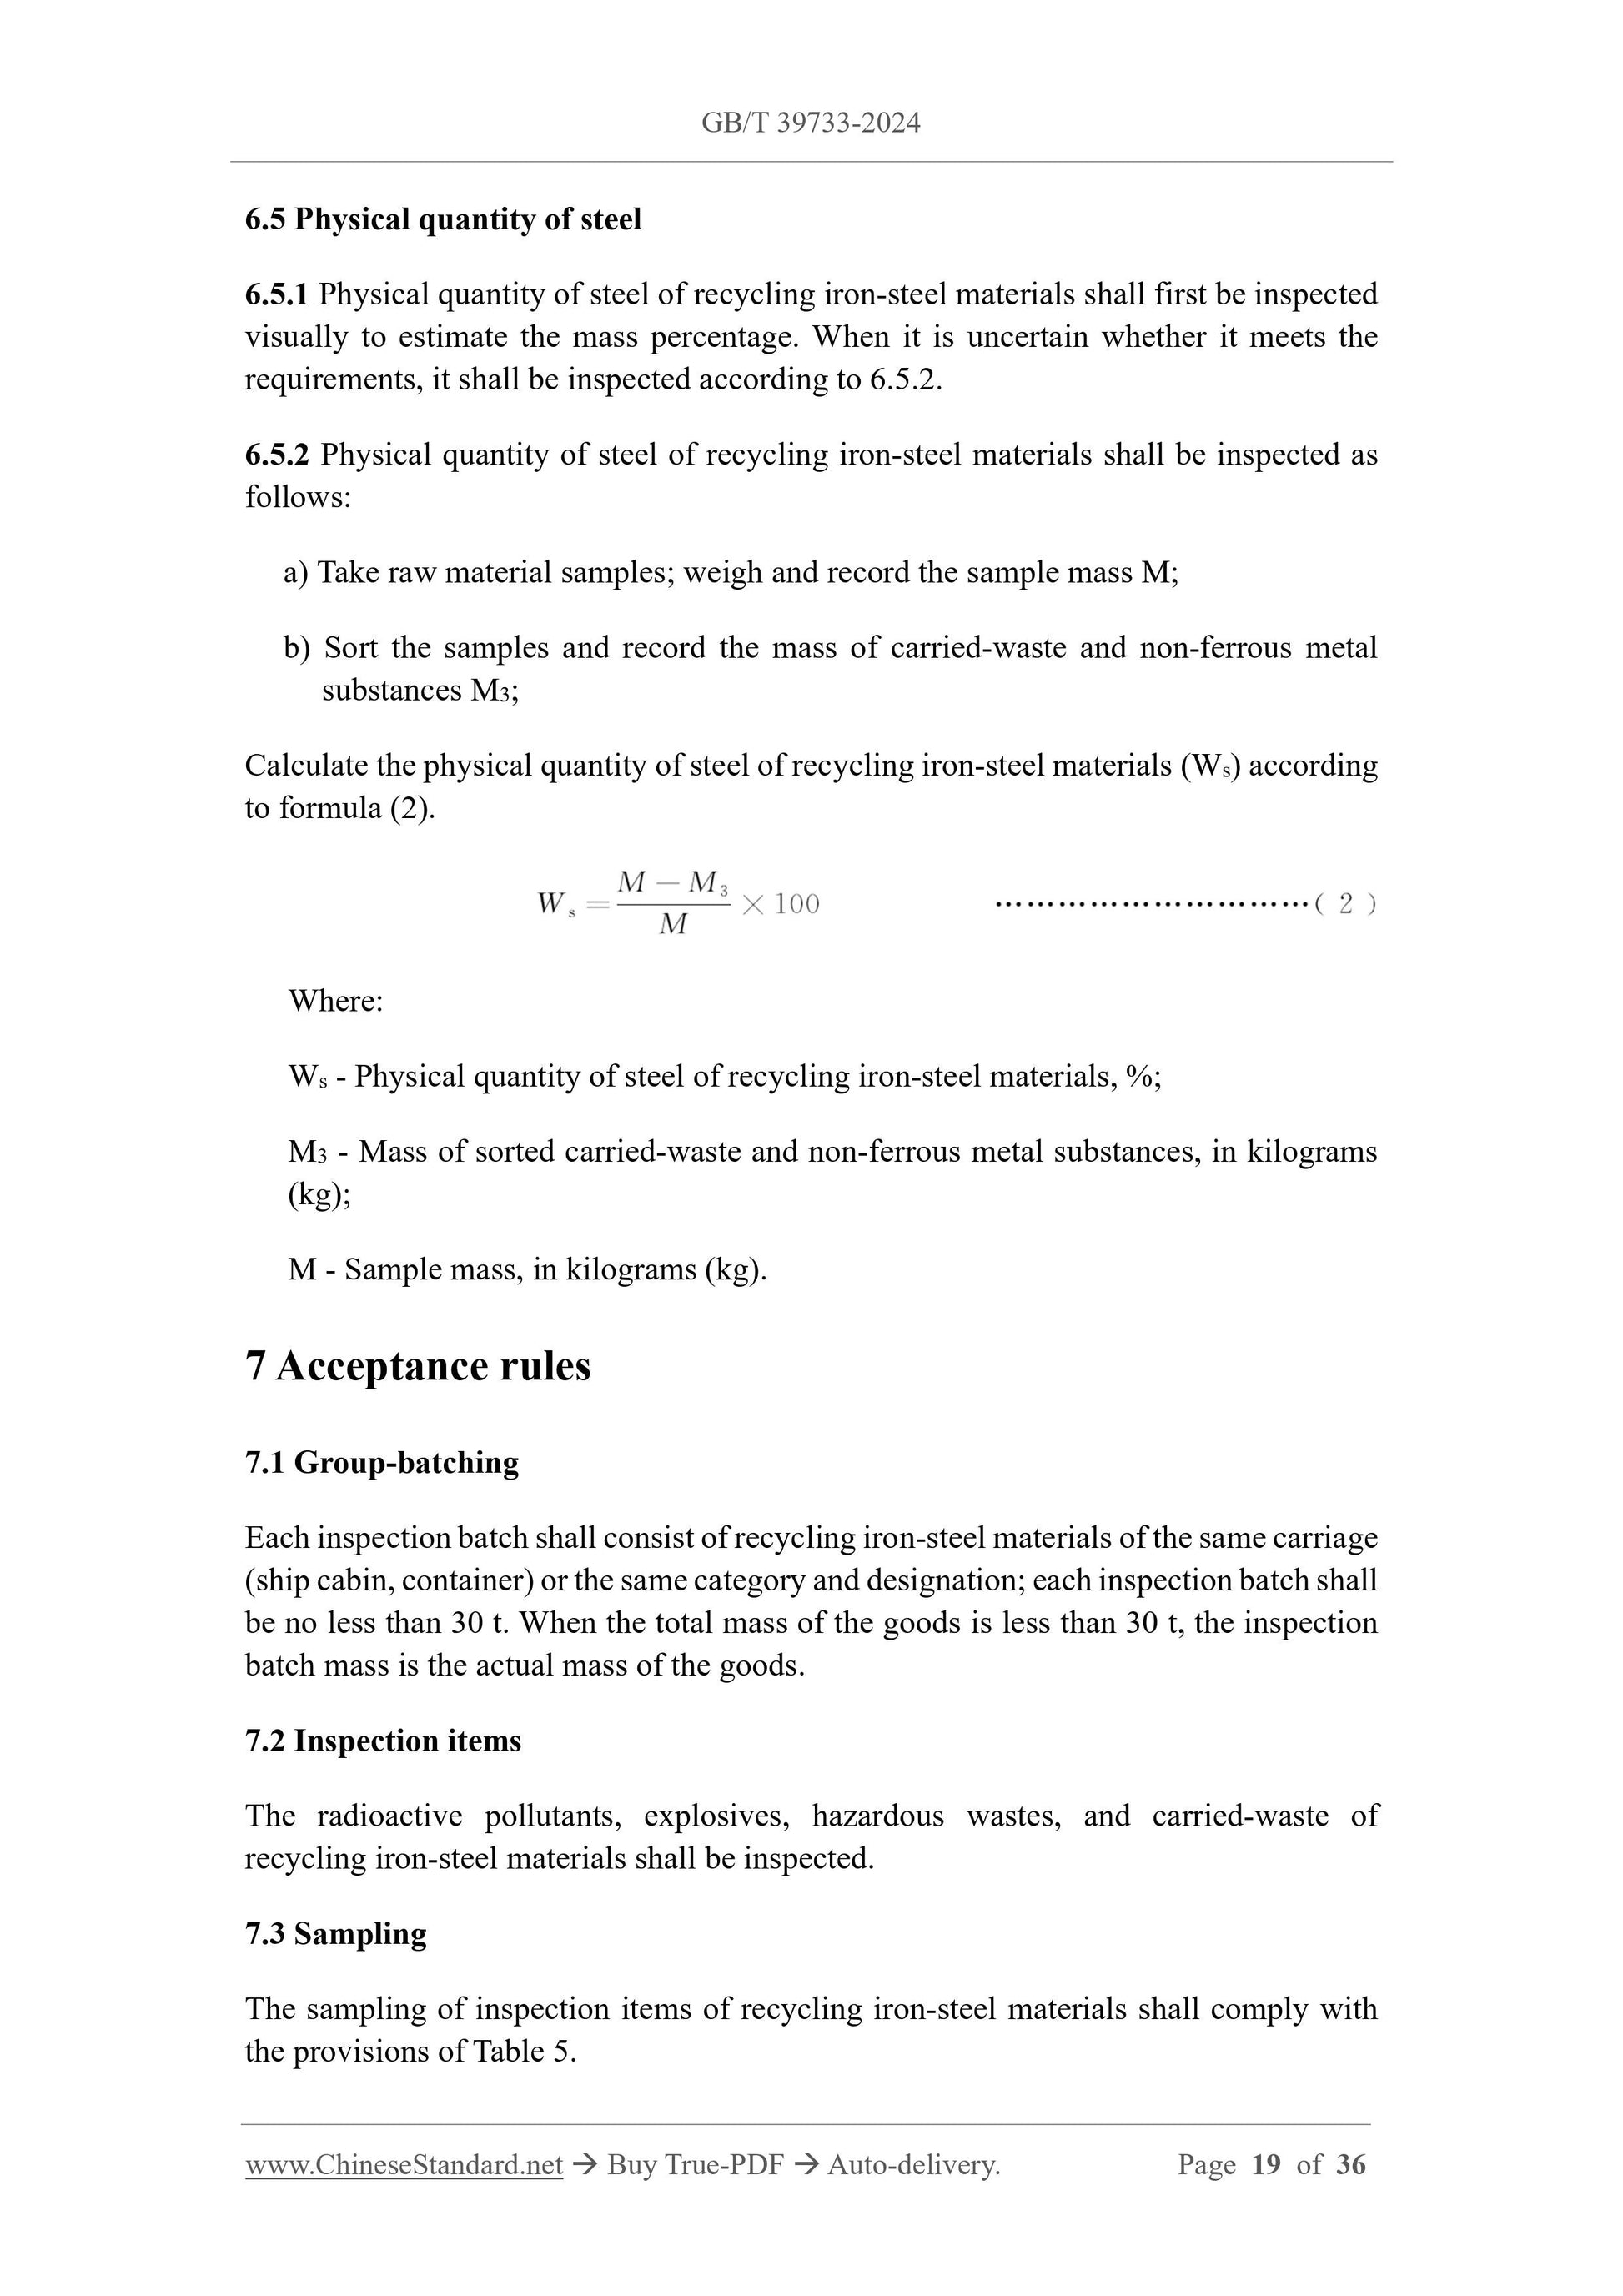
Calculate the physical quantity of steel of recycling iron-steel materials (Ws) according
to formula (2).
Where:
Ws - Physical quantity of steel of recycling iron-steel materials, %;
M3 - Mass of sorted carried-waste and non-ferrous metal substances, in kilograms
(kg);
M - Sample mass, in kilograms (kg).
7 Acceptance rules
7.1 Group-batching
Each inspection batch shall consist of recycling iron-steel materials of the same carriage
(ship cabin, container) or the same category and designation; each inspection batch shall
be no less than 30 t. When the total mass of the goods is less than 30 t, the inspection
batch mass is the actual mass of the goods.
7.2 Inspection items
The radioactive pollutants, explosives, hazardous wastes, and carried-waste of
recycling iron-steel materials shall be inspected.
7.3 Sampling
The sampling of inspection items of recycling iron-steel materials shall comply with
the provisions of Table 5.
Appendix B
(Informative)
Characteristics of recycling iron-steel materials
B.1 Surface characteristics
B.1.1 The appearance of recycling iron-steel materials shall not contain obvious waste
paper, waste plastic, waste fiber and other substances.
B.1.2 The mass of recycling iron-steel materials that exceeds the maximum
specification shall not exceed 5% of the total mass.
B.1.3 The appearance of recycling iron-steel materials shall not be seriously rusted.
B.1.4 Recycling iron-steel materials shall not have closed containers.
B.1.5 Container products such as steel cylinders and steel drums shall be cut and
shredded until they no longer have the original container function and the original
contents shall be removed.
B.2 Chemical composition
B.2.1 The phosphorus and sulfur contents in recycling iron-steel materials shall not
exceed 0.050% respectively, the arsenic content shall not exceed 0.050%. The copper
content in non-alloy recycling iron-steel materials shall not exceed 0.300%.
B.2.2 In alloy recycling iron-steel materials, stainless steel recycling iron-steel
materials shall contain nickel (Ni) of not less than 7.0% or chromium (Cr) of not less
than 11.5%.
B.2.3 The chemical composition of cast iron and other alloy steel recycling iron-steel
materials shall be negotiated and agreed upon by the supplier and the buyer.
B.2.4 The detection method of the chemical composition of recycling iron-steel
materials is shown in Appendix D.
B.3 Classification requirements
B.3.1 Recycling iron-steel materials shall be classified.
B.3.2 Under the condition of meeting the relevant requirements of national laws and
regulations, recycling iron-steel materials of different designations can be mixed with
the consent of both the supplier and the buyer.
Appendix C
(Normative)
Radioactive contamination inspection method
C.1 Inspection instrument
The inspection instrument shall comply with the provisions of GB 18871, GB/T
12162.3, GB/T 5202.
C.2 Measurement of external irradiation penetrating radiation dose rate
C.2.1 Measurement of natural environment radiation background value
C.2.1.1 Before measuring the external irradiation penetrating radiation dose rate, the
local natural environment radiation background value shall be measured and
determined.
C.2.1.2 Select 3 ~ 5 points (which can be used as fixed survey points) on flat and open
ground that can represent the normal natural radiation background state of the local area
and are free of radioactive contamination, as measurement points.
C.2.1.3 Place the measuring probe of the measuring instrument 1 m above the
measuring point; measure the external irradiation penetrating radiation dose rate; read
the measured value once every 10 s; take the average of 10 readings as the measured
value of the point; take the arithmetic mean of the measured values of each measuring
point as the normal natural radiation average.
C.2.2 Patrol inspection
C.2.2.1 Before the raw materials pass through the port channel, a patrol inspection of
radioactive contamination shall be carried out. During the patrol inspection, the
measuring instrument shall be brought as close as possible to the surface of the object
to be measured or the surface of the container, vehicle body, warehouse body, etc. that
loads the raw materials; the surrounding surface of the object to be measured shall be
patrol inspected.
C.2.2.2 When it is found that the radioactive contamination obviously exceeds the
management limit of the three detection indicators during the patrol inspection, it is
judged as unqualified. When the radioactive contamination is found to exceed the
management limit of the three detection indicators, no further inspection or selection
shall be carried out.
C.2.3 Distribution of test points
C.2.3.1 For cars, trains, containers, ships or bulk raw materials piled up, the points shall
C.3 Inspection of α, β surface contamination
C.3.1 Inspection requirements
Generally, the patrol inspection and point arrangement measurement of α, β surface
contamination levels shall be carried out simultaneously with the measurement of
external irradiation penetrating radiation dose rate. If necessary, the inspection and
point measurement of this item can also be carried out separately.
C.3.2 Test point layout
The test point layout for α, β surface contamination level detection shall be carried out
according to the provisions of C.2.3; the measurement area shall be greater than 300
cm2.
C.3.3 Efficiency determination of α surface contamination measuring instrument
C.3.3.1 Use the α surface contamination measuring instrument to measure the counts
N0,α of the natural environment residual radiation background for 10 min.
C.3.3.2 Measure the instrument calibration source for 5 min and measure the counts
N1,α.
C.3.3.3 After the instrument probe is reversed 180°, measure it for another 5 min and
measure the counts N2,α of the calibration source (considering the non-uniformity of the
plane source).
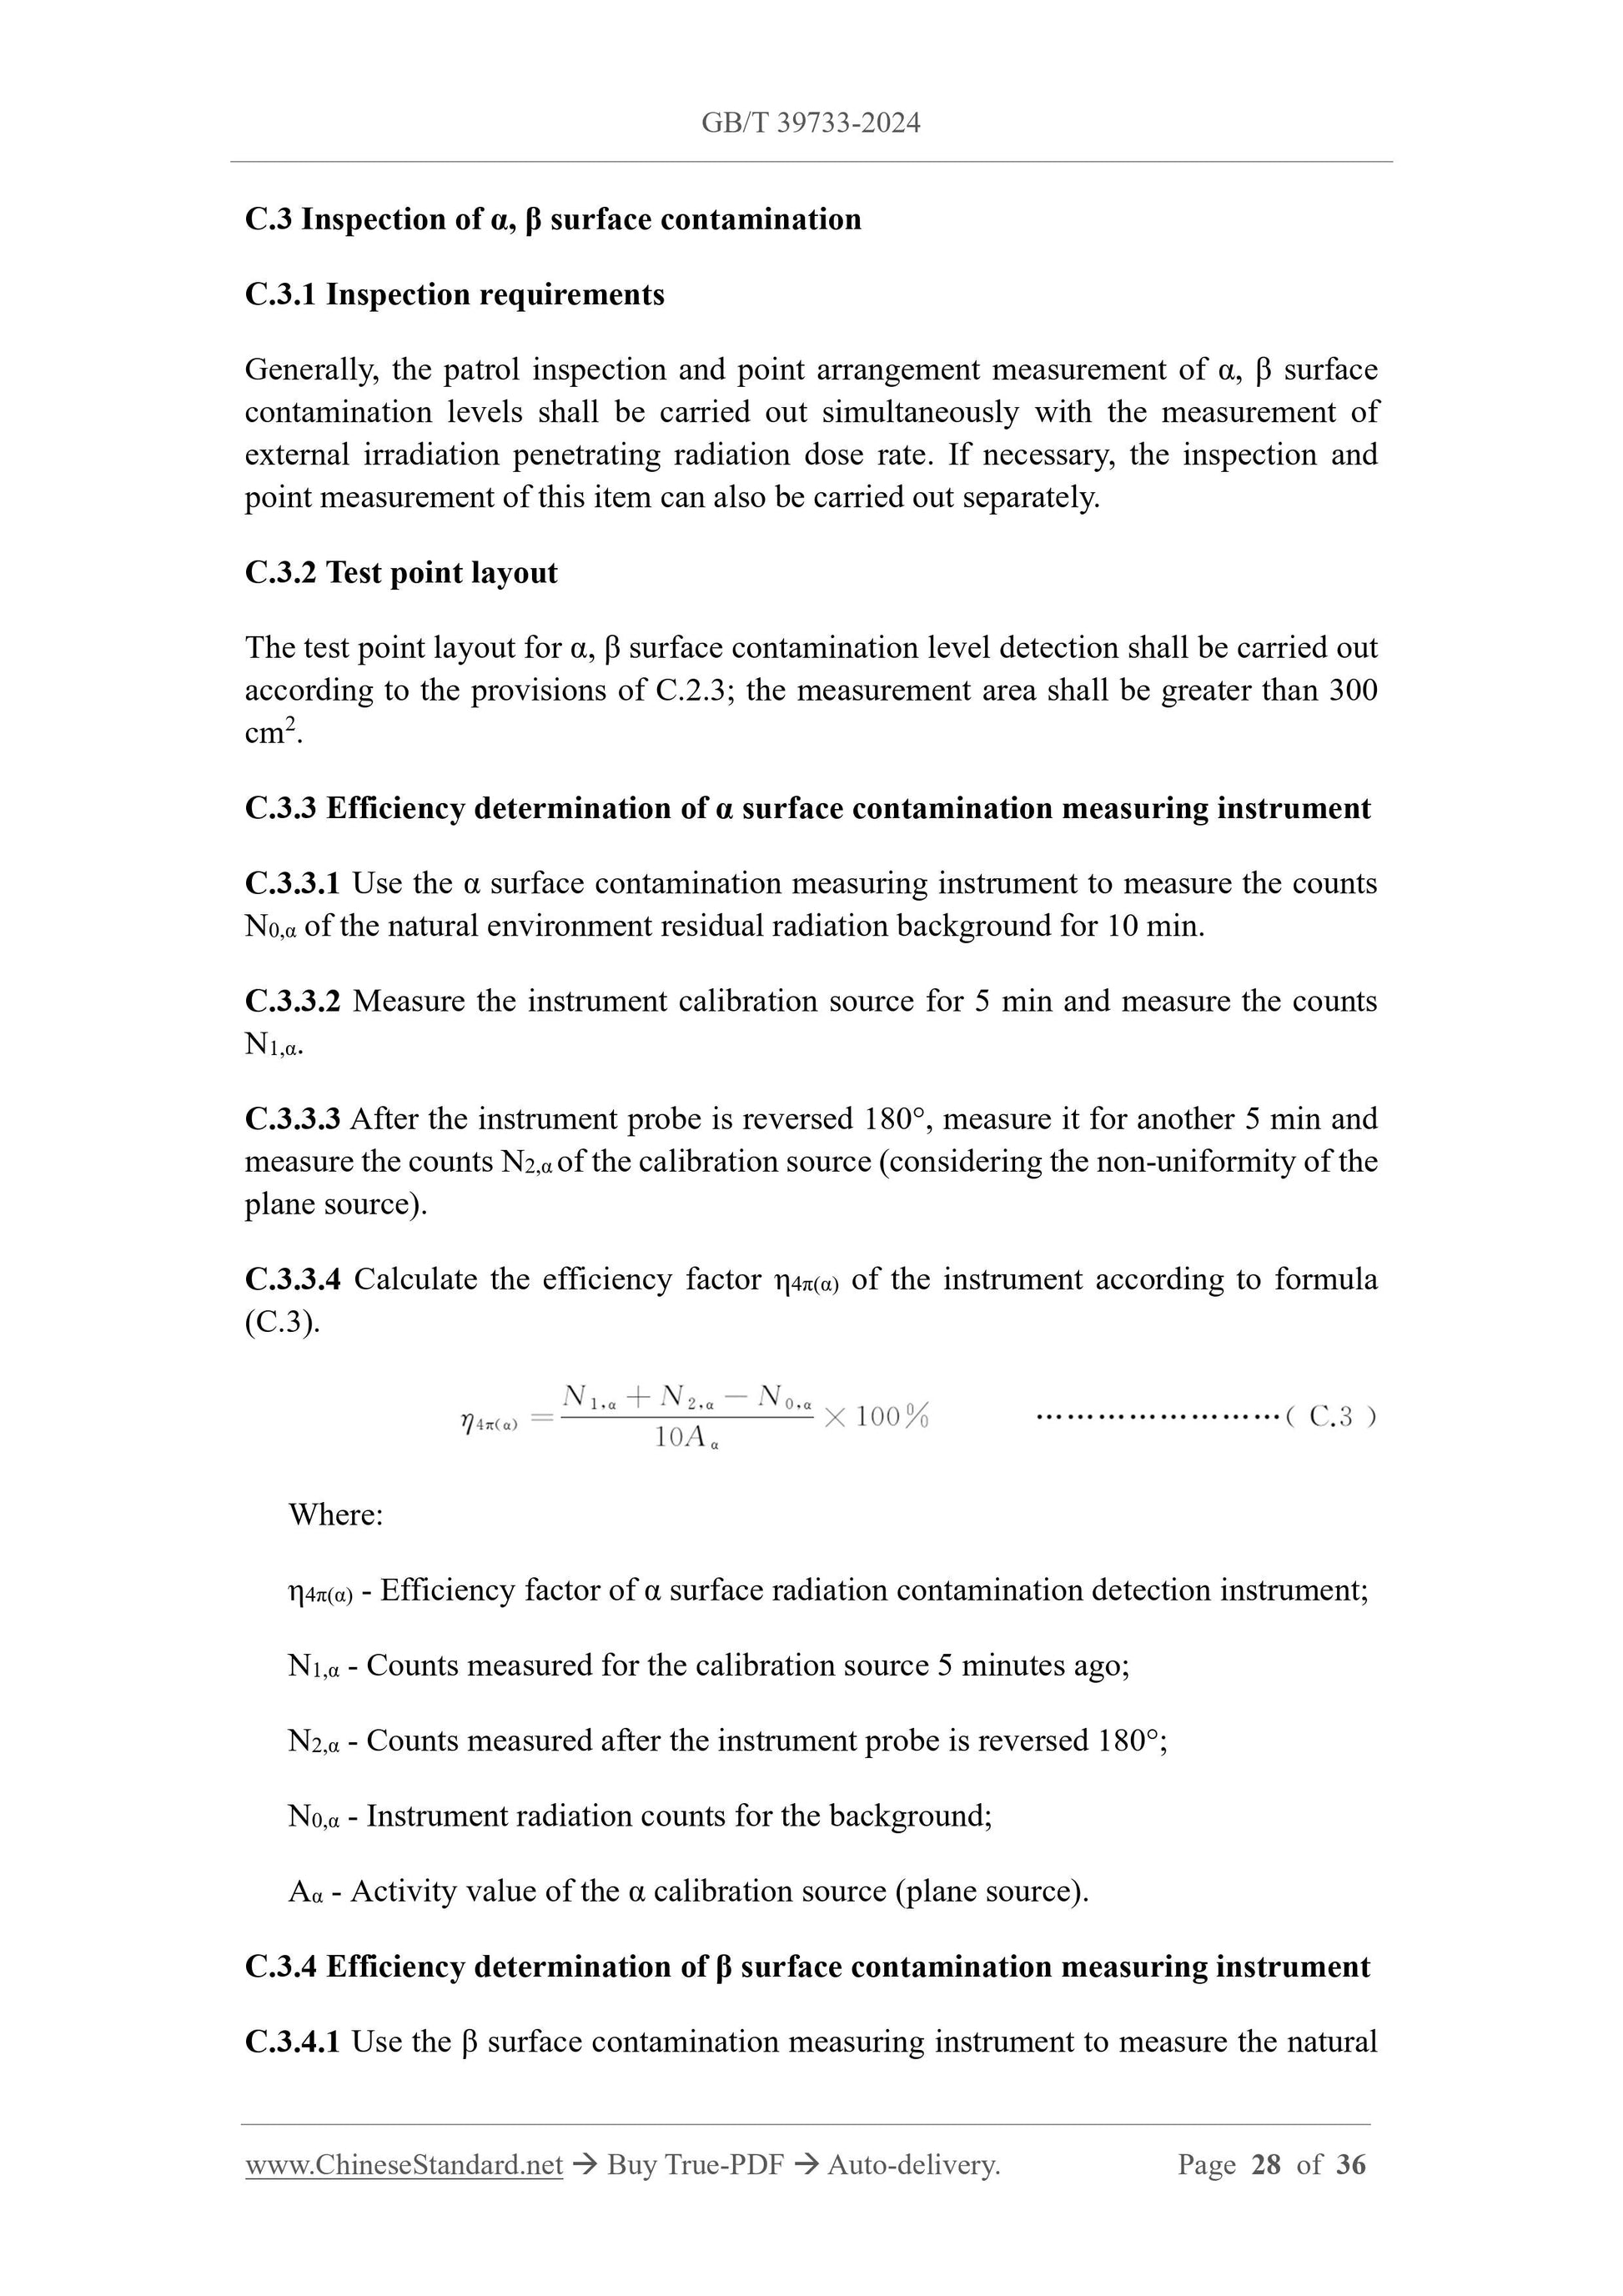
C.3.3.4 Calculate the efficiency factor η4π(α) of the instrument according to formula
(C.3).
Where:
η4π(α) - Efficiency factor of α surface radiation contamination detection instrument;
N1,α - Counts measured for the calibration source 5 minutes ago;
N2,α - Counts measured after the instrument probe is reversed 180°;
N0,α - Instrument radiation counts for the background;
Aα - Activity value of the α calibration source (plane source).
C.3.4 Efficiency determination of β surface contamination measuring instrument
C.3.4.1 Use the β surface contamination measuring instrument to measure the natural
environment radiation background count N0,β for 4 minutes.
C.3.4.2 Measure the calibration source for 2 minutes; obtain the count N1,β.
C.3.4.3 Reverse the instrument probe 180°; measure the calibration source count N2,β
for another 2 minutes (considering the non-uniformity of the plane source).
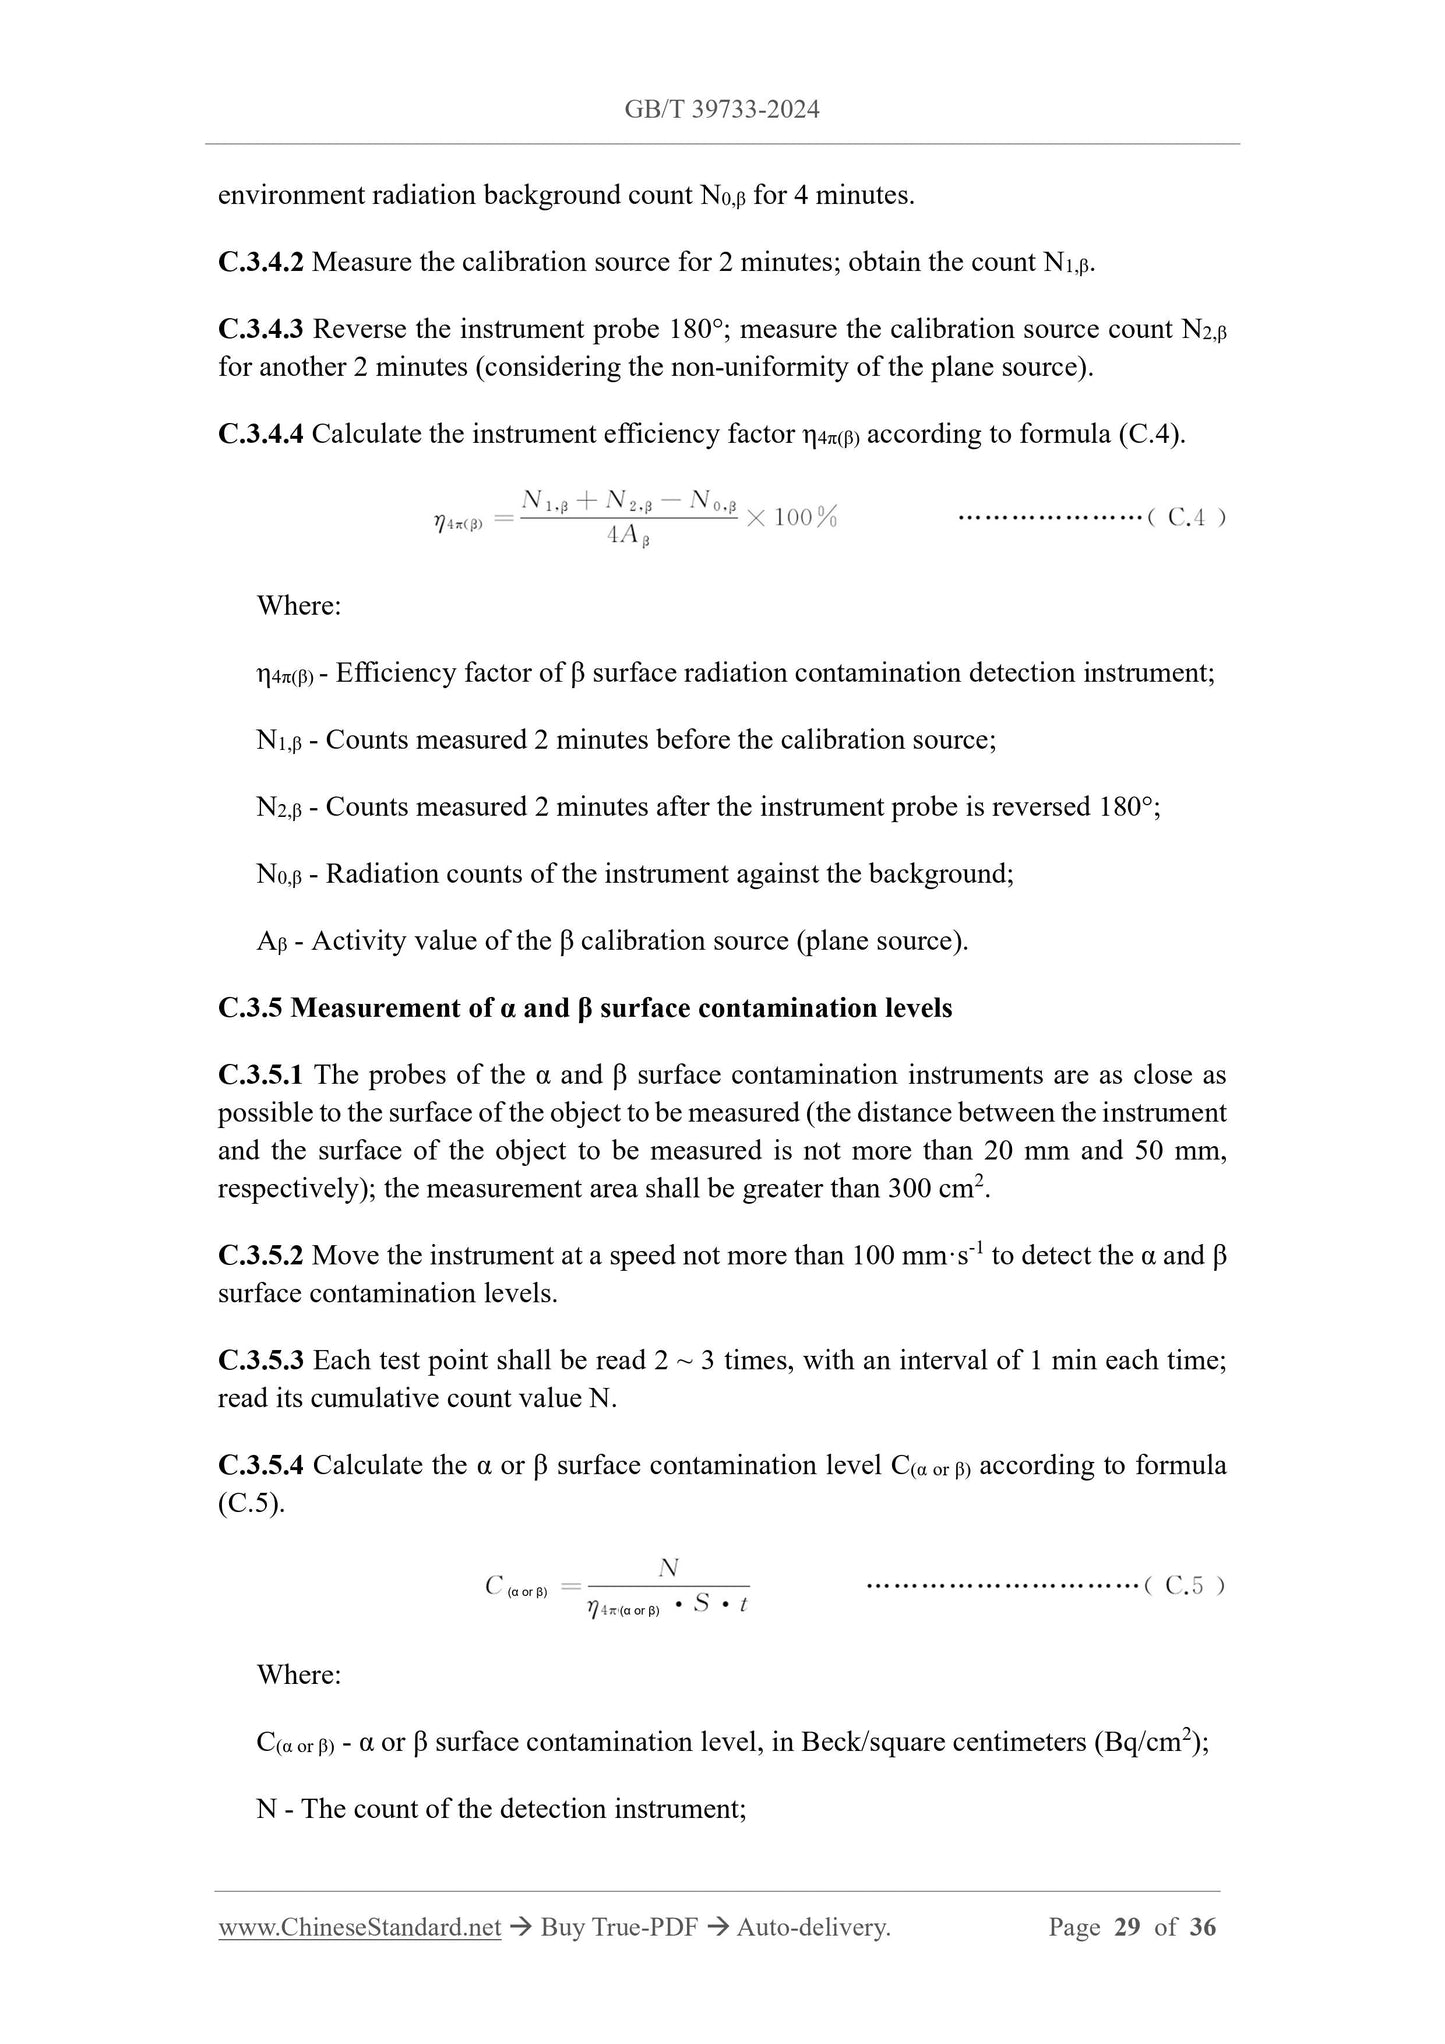
C.3.4.4 Calculate the instrument efficiency factor η4π(β) according to formula (C.4).
Where:
η4π(β) - Efficiency factor of β surface radiation contamination detection instrument;
N1,β - Counts measured 2 minutes before the calibration source;
N2,β - Counts measured 2 minutes after the instrument probe is reversed 180°;
N0,β - Radiation counts of the instrument against the background;
Aβ - Activity value of the β calibration source (plane source).
C.3.5 Measurement of α and β surface contamination levels
C.3.5.1 The probes of the α and β surface contamination instruments are as close as
possible to the surface of the object to be measured (the distance between the instrument
and the surface of the object to be measured is not more than 20 mm and 50 mm,
respectively); the measurement area shall be greater than 300 cm2.
C.3.5.2 Move the instrument at a speed not more than 100 mm·s-1 to detect the α and β
surface contamination levels.
C.3.5.3 Each test point shall be read 2 ~ 3 times, with an interval of 1 min each time;
read its cumulative count value N.
C.3.5.4 Calculate the α or β surface contamination level C(α or β) according to formula
(C.5).
Where:
C(α or β) - α or β surface contamination level, in Beck/square centimeters (Bq/cm2);
N - The count of the detection instrument;
(α or β)
(α or β)
GB/T 39733-2024
GB
NATIONAL STANDARD OF THE
PEOPLE’S REPUBLIC OF CHINA
ICS 77.140.01
CCS H 40
Replacing GB/T 39733-2020
Recycling iron-steel materials
ISSUED ON: NOVEMBER 28, 2024
IMPLEMENTED ON: JUNE 01, 2025
Issued by: State Administration for Market Regulation;
National Standardization Administration.
Table of Contents
Foreword ... 3
1 Scope ... 5
2 Normative references ... 5
3 Terms and definitions ... 6
4 Classification ... 8
5 Technical requirements ... 15
6 Inspection method ... 17
7 Acceptance rules ... 19
8 Transportation and quality certificates ... 21
Appendix A (Informative) Typical photos of recycling iron-steel materials ... 22
Appendix B (Informative) Characteristics of recycling iron-steel materials ... 24
Appendix C (Normative) Radioactive contamination inspection method ... 25
Appendix D (Informative) Standards for analysis methods for steel products ... 31
References ... 36
Recycling iron-steel ...
Share