Skip to product information
1 of 5

PayPal, credit cards. Download editable-PDF & invoice in 1 second!

GB/T 38518-2020 English PDF (GBT38518-2020)

GB/T 38518-2020 English PDF (GBT38518-2020)

Regular price $105.00 USD
Regular price Sale price $105.00 USD
Sale Sold out
Shipping calculated at checkout.
Delivery: 3 seconds. Download true-PDF + Invoice.
Get QUOTATION in 1-minute: Click GB/T 38518-2020
Historical versions: GB/T 38518-2020
Preview True-PDF (Reload/Scroll if blank)

GB/T 38518-2020: Measurement of coating thickness on flexible film substrate
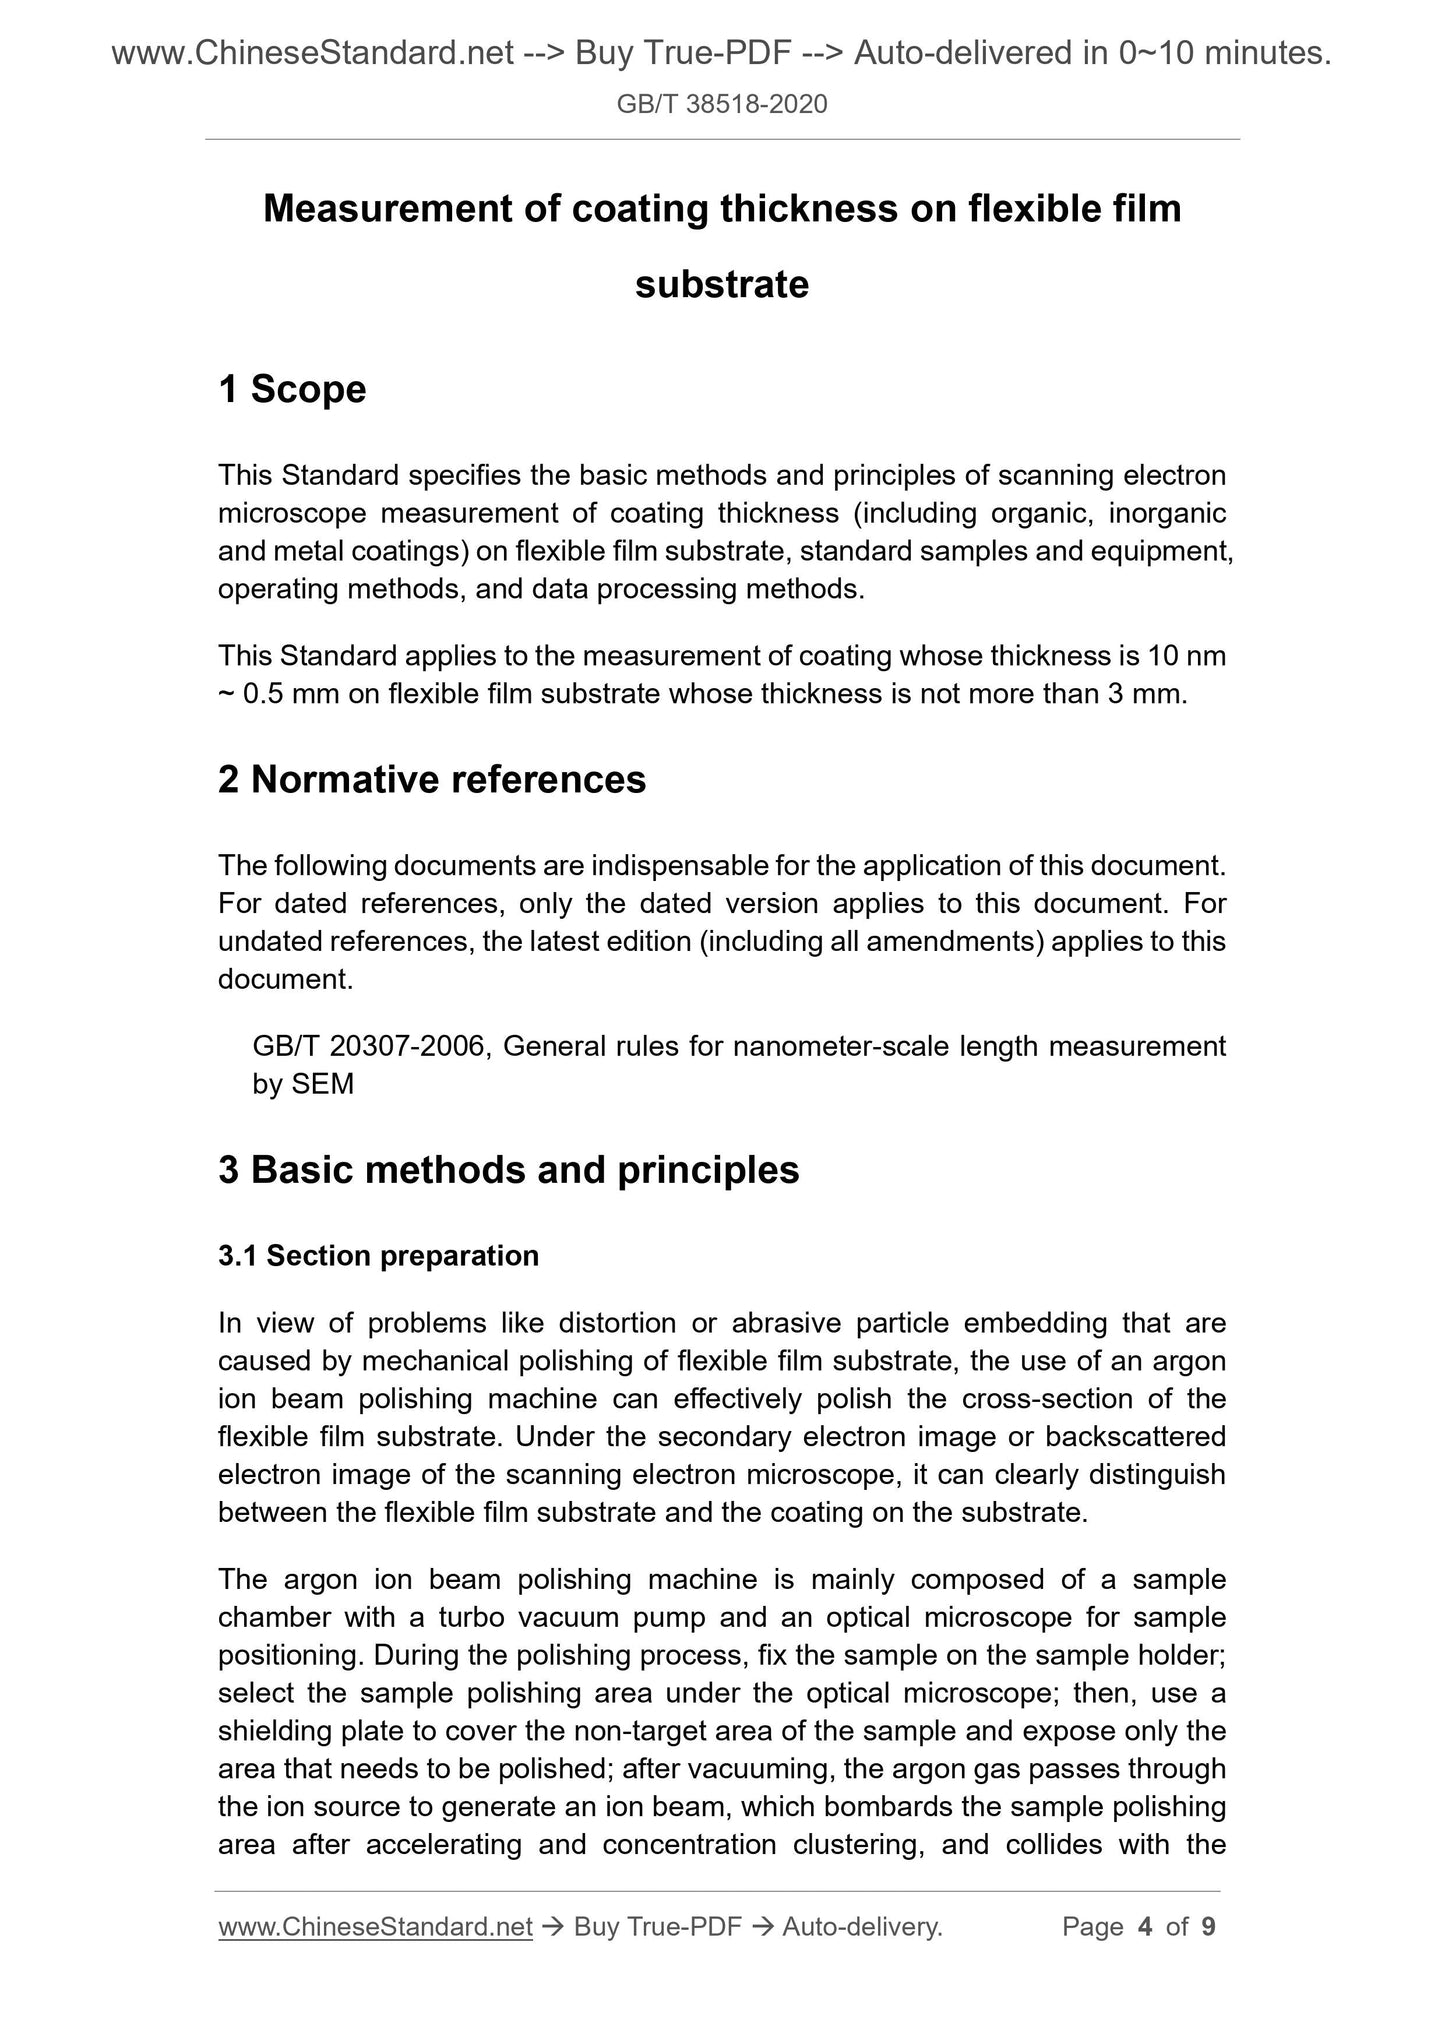
GB/T 38518-2020
GB
NATIONAL STANDARD OF THE
PEOPLE’S REPUBLIC OF CHINA
ICS 25.220.01
A 29
Measurement of coating thickness on flexible film
substrate
ISSUED ON. MARCH 06, 2020
IMPLEMENTED ON. FEBRUARY 01, 2021
Issued by. State Administration for Market Regulation;
Standardization Administration of the People’s Republic of
China.
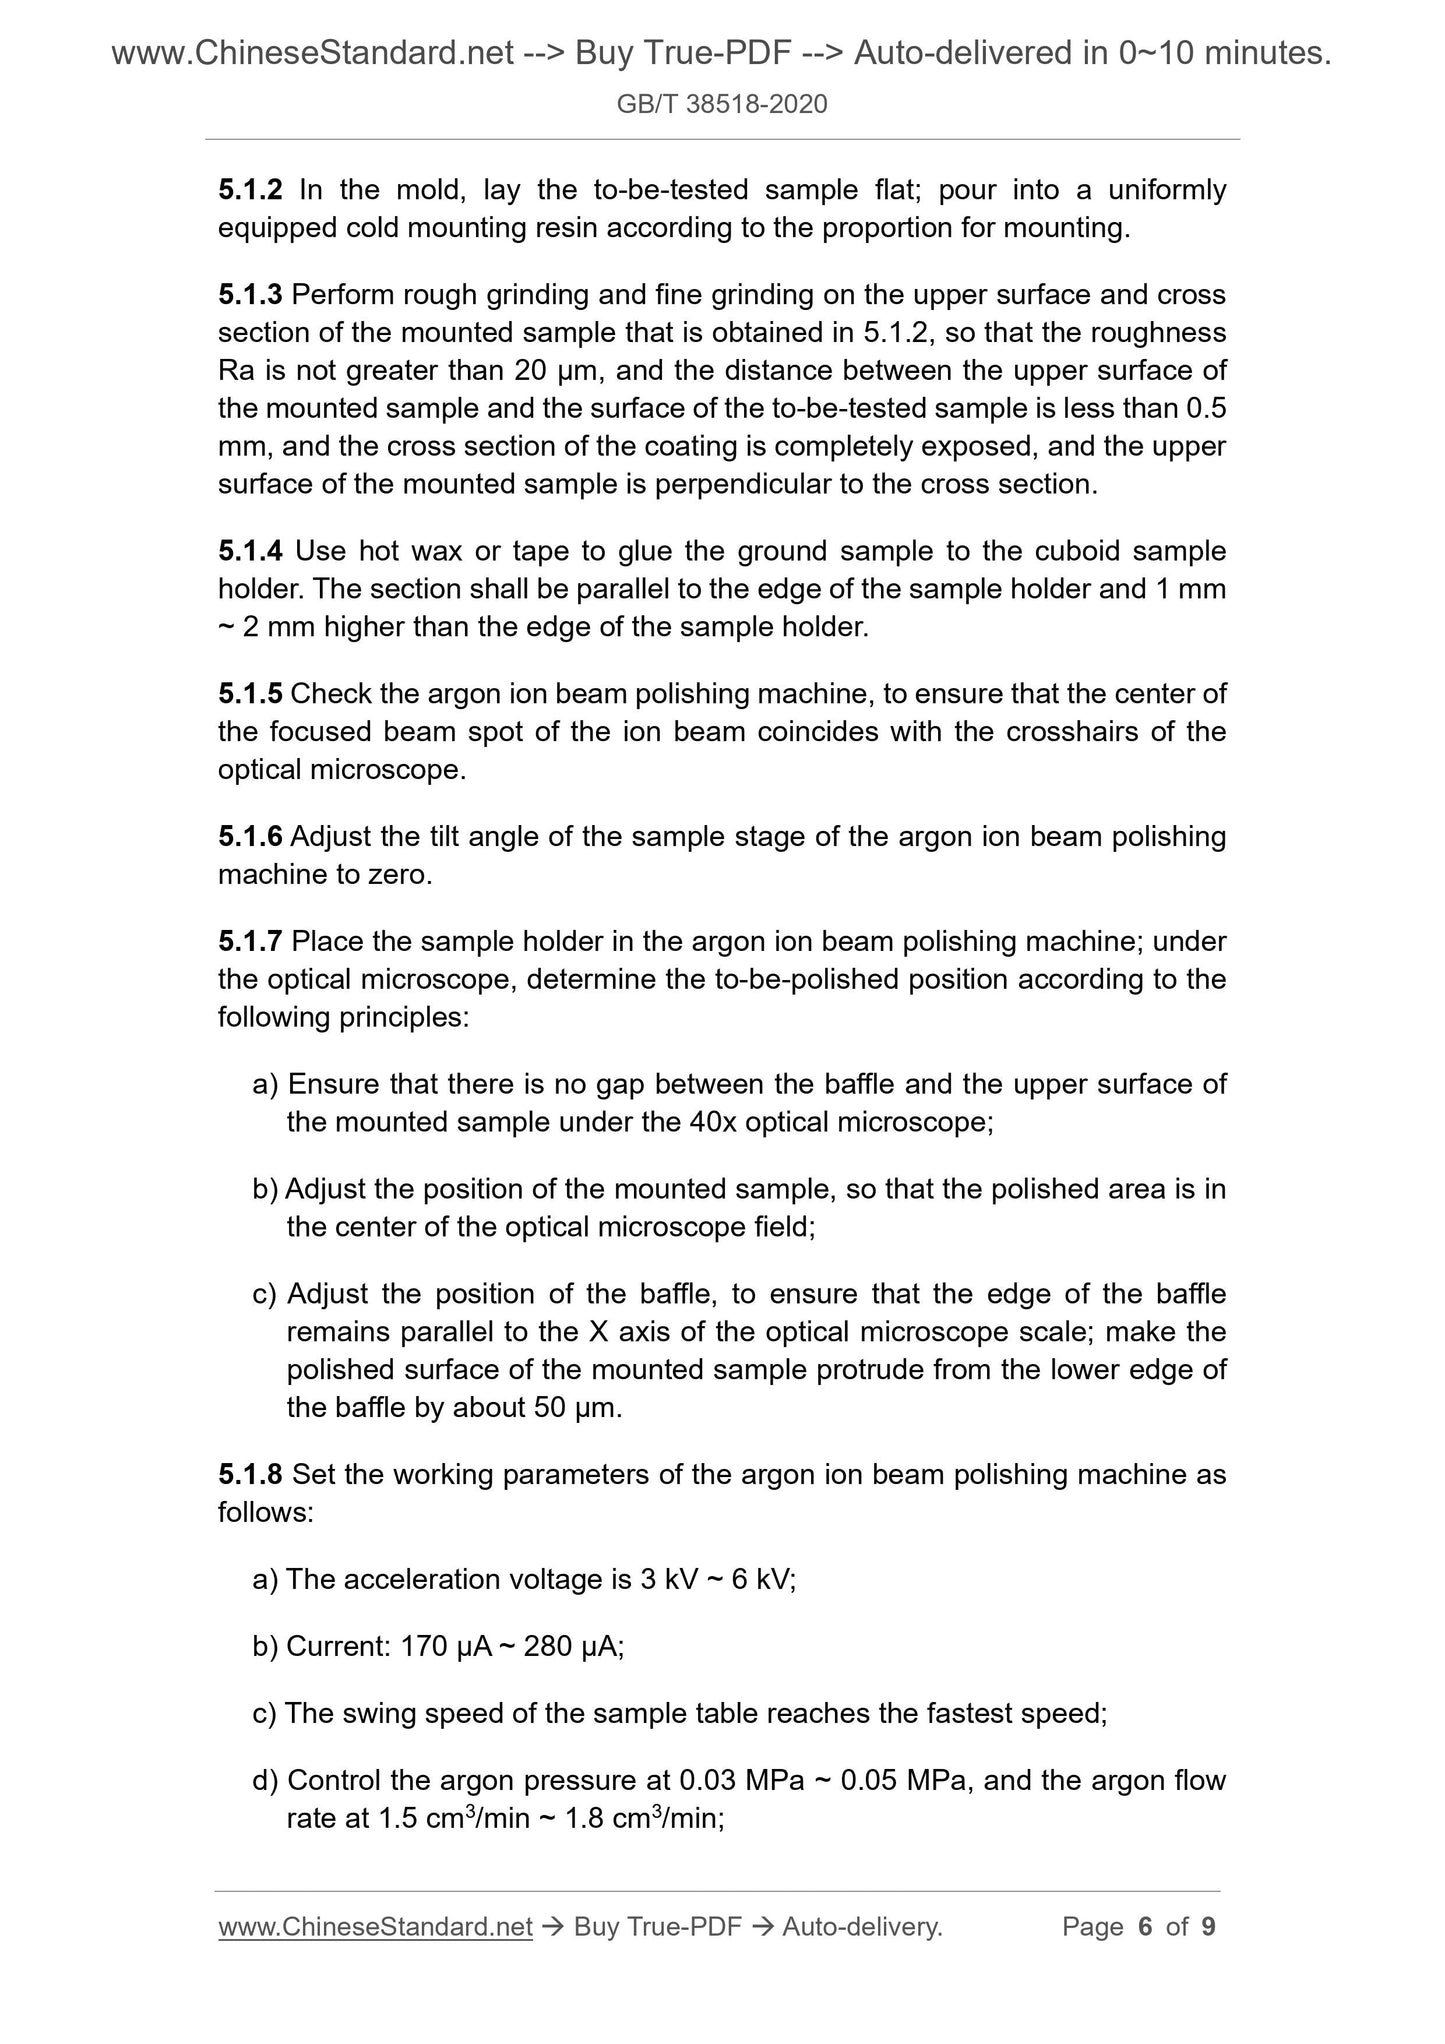
Table of Contents
Foreword... 3 
1 Scope... 4 
2 Normative references... 4 
3 Basic methods and principles... 4 
4 Standard samples and equipment... 5 
5 Operating methods... 5 
6 Data processing... 9 
Measurement of coating thickness on flexible film
substrate
1 Scope
This Standard specifies the basic methods and principles of scanning electron
microscope measurement of coating thickness (including organic, inorganic
and metal coatings) on flexible film substrate, standard samples and equipment,
operating methods, and data processing methods.
This Standard applies to the measurement of coating whose thickness is 10 nm
~ 0.5 mm on flexible film substrate whose thickness is not more than 3 mm.
2 Normative references
The following documents are indispensable for the application of this document.
For dated references, only the dated version applies to this document. For
undated references, the latest edition (including all amendments) applies to this
document.
GB/T 20307-2006, General rules for nanometer-scale length measurement
by SEM
3 Basic methods and principles
3.1 Section preparation
In view of problems like distortion or abrasive particle embedding that are
caused by mechanical polishing of flexible film substrate, the use of an argon
ion beam polishing machine can effectively polish the cross-section of the
flexible film substrate. Under the secondary electron image or backscattered
electron image of the scanning electron microscope, it can clearly distinguish
between the flexible film substrate and the coating on the substrate.
The argon ion beam polishing machine is mainly composed of a sample
chamber with a turbo vacuum pump and an optical microscope for sample
positioning. During the polishing process, fix the sample on the sample holder;
select the sample polishing area under the optical microscope; then, use a
shielding plate to cover the non-target area of the sample and expose only the
area that needs to be polished; after vacuuming, the argon gas passes through
the ion source to generate an ion beam, which bombards the sample polishing
area after accelerating and concentration clustering, and collides with the
5.1.2 In the mold, lay the to-be-tested sample flat; pour into a uniformly
equipped cold mounting resin according to the proportion for mounting.
5.1.3 Perform rough grinding and fine grinding on the upper surface and cross
section of the mounted sample that is obtained in 5.1.2, so that the roughness
Ra is not greater than 20 μm, and the distance between the upper surface of
the mounted sample and the surface of the to-be-tested sample is less than 0.5
mm, and the cross section of the coating is completely exposed, and the upper
surface of the mounted sample is perpendicular to the cross section.
5.1.4 Use hot wax or tape to glue the ground sample to the cuboid sample
holder. The section shall be parallel to the edge of the sample holder and 1 mm
~ 2 mm higher than the edge of the sample holder.
5.1.5 Check the argon ion beam polishing machine, to ensure that the center of
the focused beam spot of the ion beam coincides with the crosshairs of the
optical microscope.
5.1.6 Adjust the tilt angle of the sample stage of the argon ion beam polishing
machine to zero.
5.1.7 Place the sample holder in the argon ion beam polishing machine; under
the optical microscope, determine the to-be-polished position according to the
following principles.
a) Ensure that there is no gap between the baffle and the upper surface of
the mounted sample under the 40x optical microscope;
b) Adjust the position of the mounted sample, so that the polished area is in
the center of the optical microscope field;
c) Adjust the position of the baffle, to ensure that the edge of the baffle
remains parallel to the X axis of the optical microscope scale; make the
polished surface of the mounted sample protrude from the lower edge of
the baffle by about 50 μm.
5.1.8 Set the working parameters of the argon ion beam polishing machine as
follows.
a) The acceleration voltage is 3 kV ~ 6 kV;
b) Current. 170 μA ~ 280 μA;
c) The swing speed of the sample table reaches the fastest speed;
d) Control the argon pressure at 0.03 MPa ~ 0.05 MPa, and the argon flow
rate at 1.5 cm3/min ~ 1.8 cm3/min;
f) If there is no standard sample of appropriate graduation value, extend the
standard sample in accordance with B.2 of GB/T 20307-2006.
5.4 Installation of to-be-tested samples and standard samples
Simultaneously fix the standard sample and the to-be-tested sample on one
side or both sides of the cuboid sample holder of the scanning electron
microscope, so that the length direction of the standard sample is parallel to the
thickness direction of the to-be-tested coating.
5.5 Obtain the secondary electron image or backscattered electron image
of the standard sample and the to-be-tested sample
5.5.1 Adjust the scanning electron microscope to the best working condition.
The general requirements are.
a) Select an appropriate working distance;
b) Select an appropriate acceleration voltage;
c) Select an appropriate electron beam current;
d) Select appropriate image contrast and brightness, to make the length
mark sharp;
e) Eliminate astigmatism of the electron beam as much as possible;
f) Make the image in focus.
5.5.2 Adjust the tilt angle of the sample stage of the scanning electron
microscope to zero.
5.5.3 Select the appropriate magnification. in the to-be-tested magnified image
on the display, the coating on the to-be-tested flexible film substrate does not
exceed four-fifths of the field; the coating thickness shall be as large as possible.
5.5.4 Move the sample stage, so that the graduated image of the standard
sample is in the center of the field; obtain the graduated image of the standard
sample; record the actual working distance.
5.5.5 Adjust the height of the to-be-tested sample to the actual working distance
of the same testing time as the standard sample. Without changing the state
and other parameters of the scanning electron microscope, move the sample
stage, so that the thickness direction of the to-be-tested coating in the field is
consistent with the gradation direction of the standard sample, and it is in the
center of the field, to obtain the image of the to-be-tested coating.
5.6 Measurement of enlarged image

View full details