1
/
of
12
PayPal, credit cards. Download editable-PDF and invoice in 1 second!
GB/T 38471-2019 English PDF (GB/T38471-2019)
Regular price
$360.00
Regular price
Sale price
$360.00
Unit price
/
per
Shipping calculated at checkout.
Couldn't load pickup availability
GB/T 38471-2019: Recycling materials for copper
Delivery: 9 seconds. Download (and Email) true-PDF + Invoice.
Newer version: (Replacing this standard) GB/T 38471-2023
Get Quotation: Click GB/T 38471-2019 (Self-service in 1-minute)
Historical versions (Master-website): GB/T 38471-2023
Preview True-PDF (Reload/Scroll-down if blank)
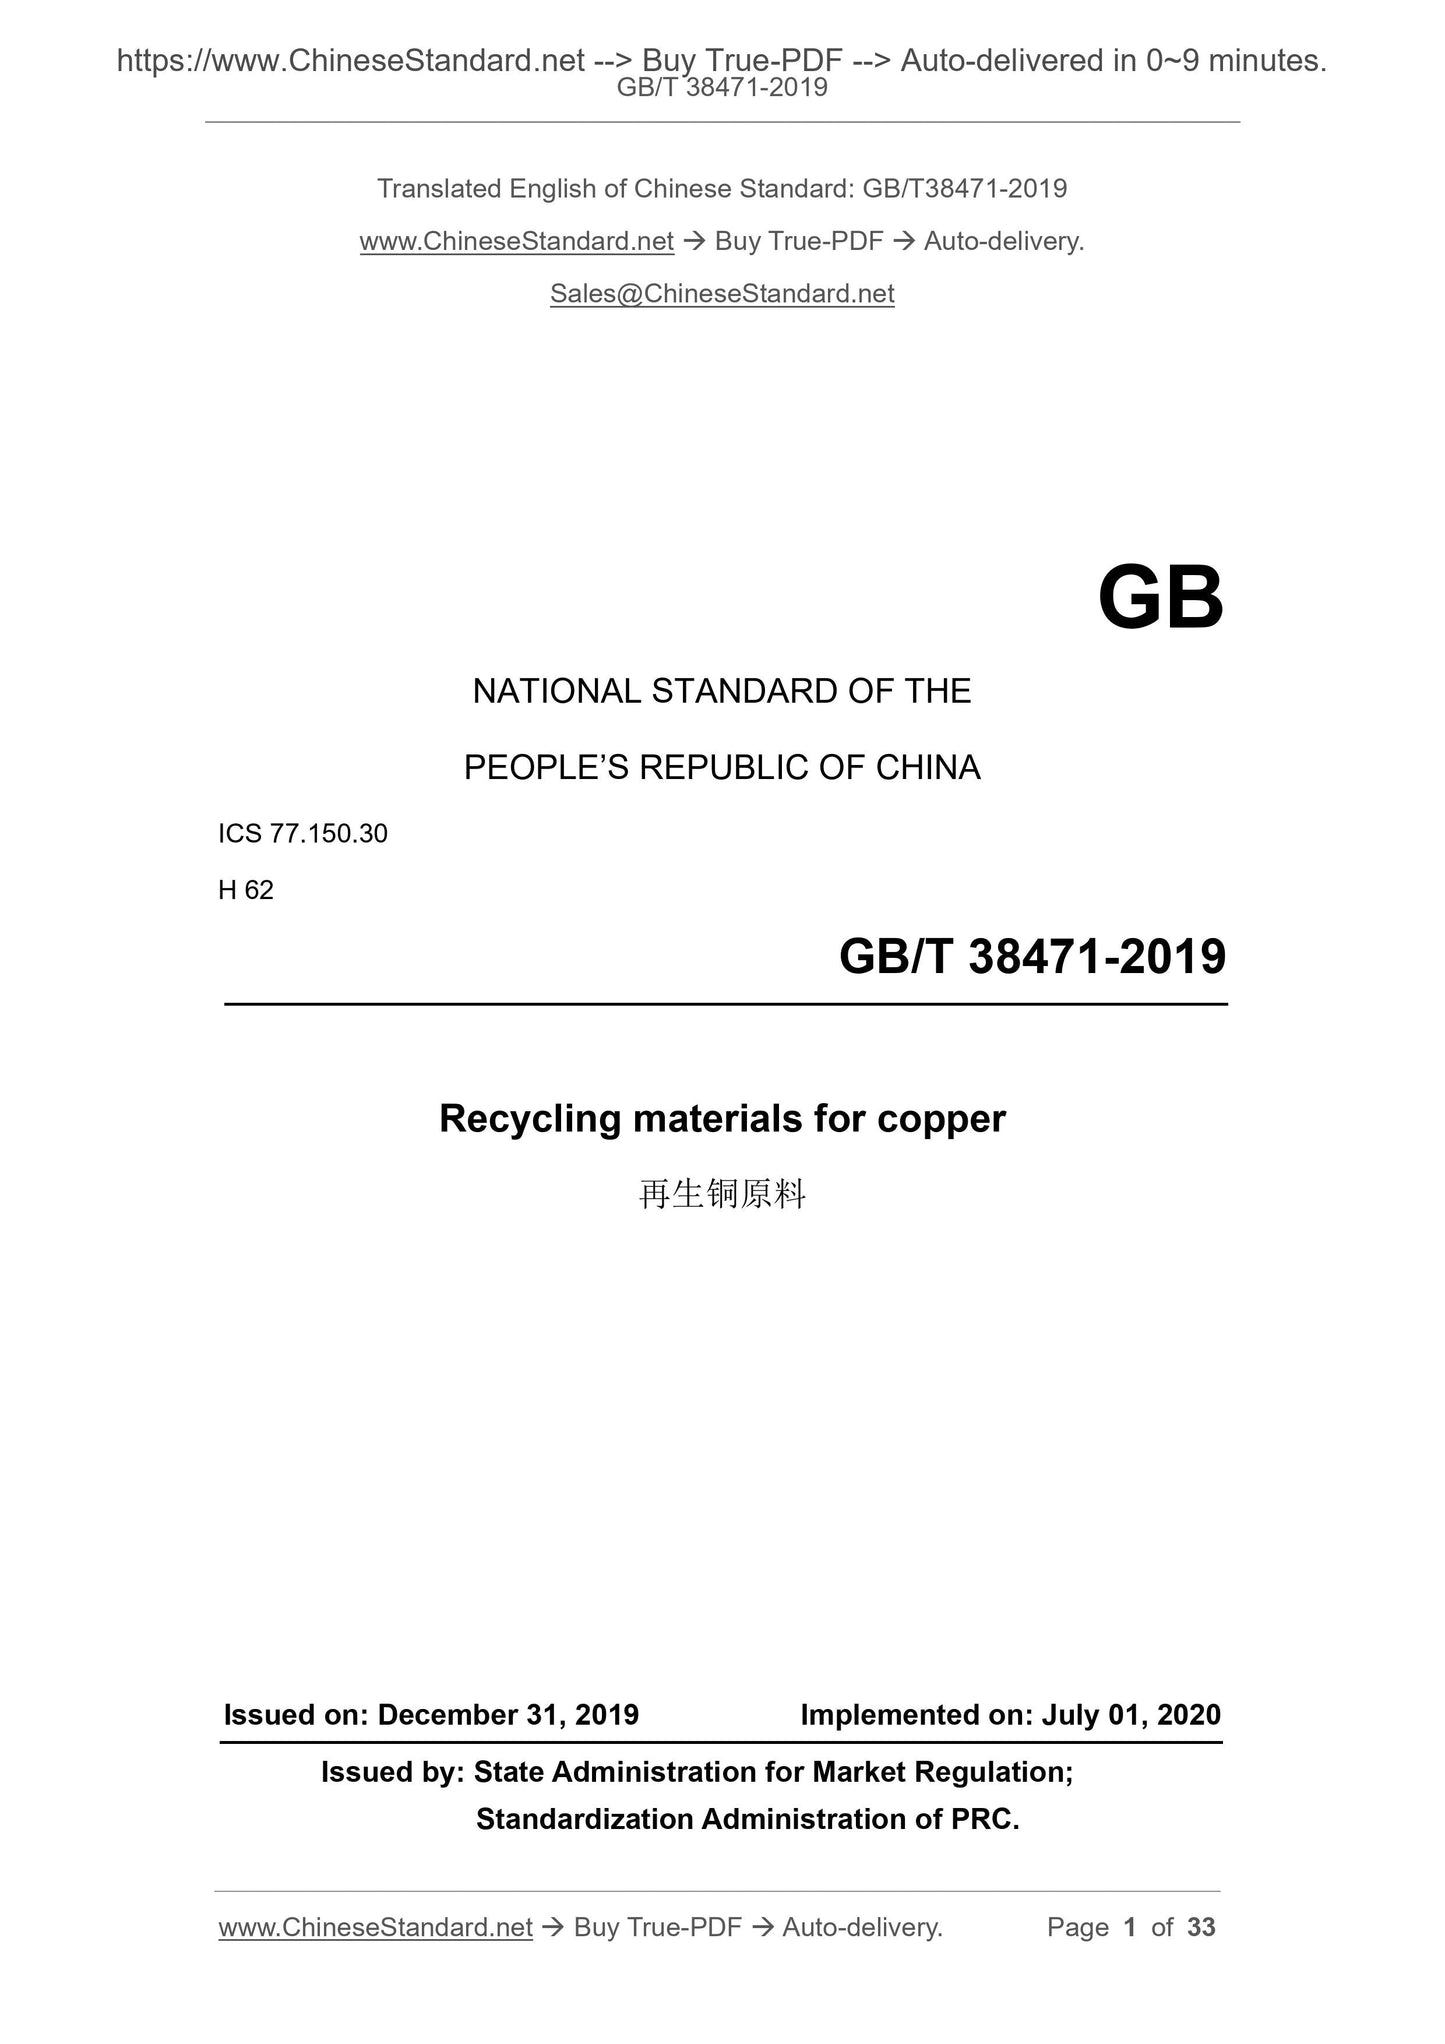
GB/T 38471-2019
GB
NATIONAL STANDARD OF THE
PEOPLE’S REPUBLIC OF CHINA
ICS 77.150.30
H 62
Recycling materials for copper
ISSUED ON: DECEMBER 31, 2019
IMPLEMENTED ON: JULY 01, 2020
Issued by: State Administration for Market Regulation;
Standardization Administration of PRC.
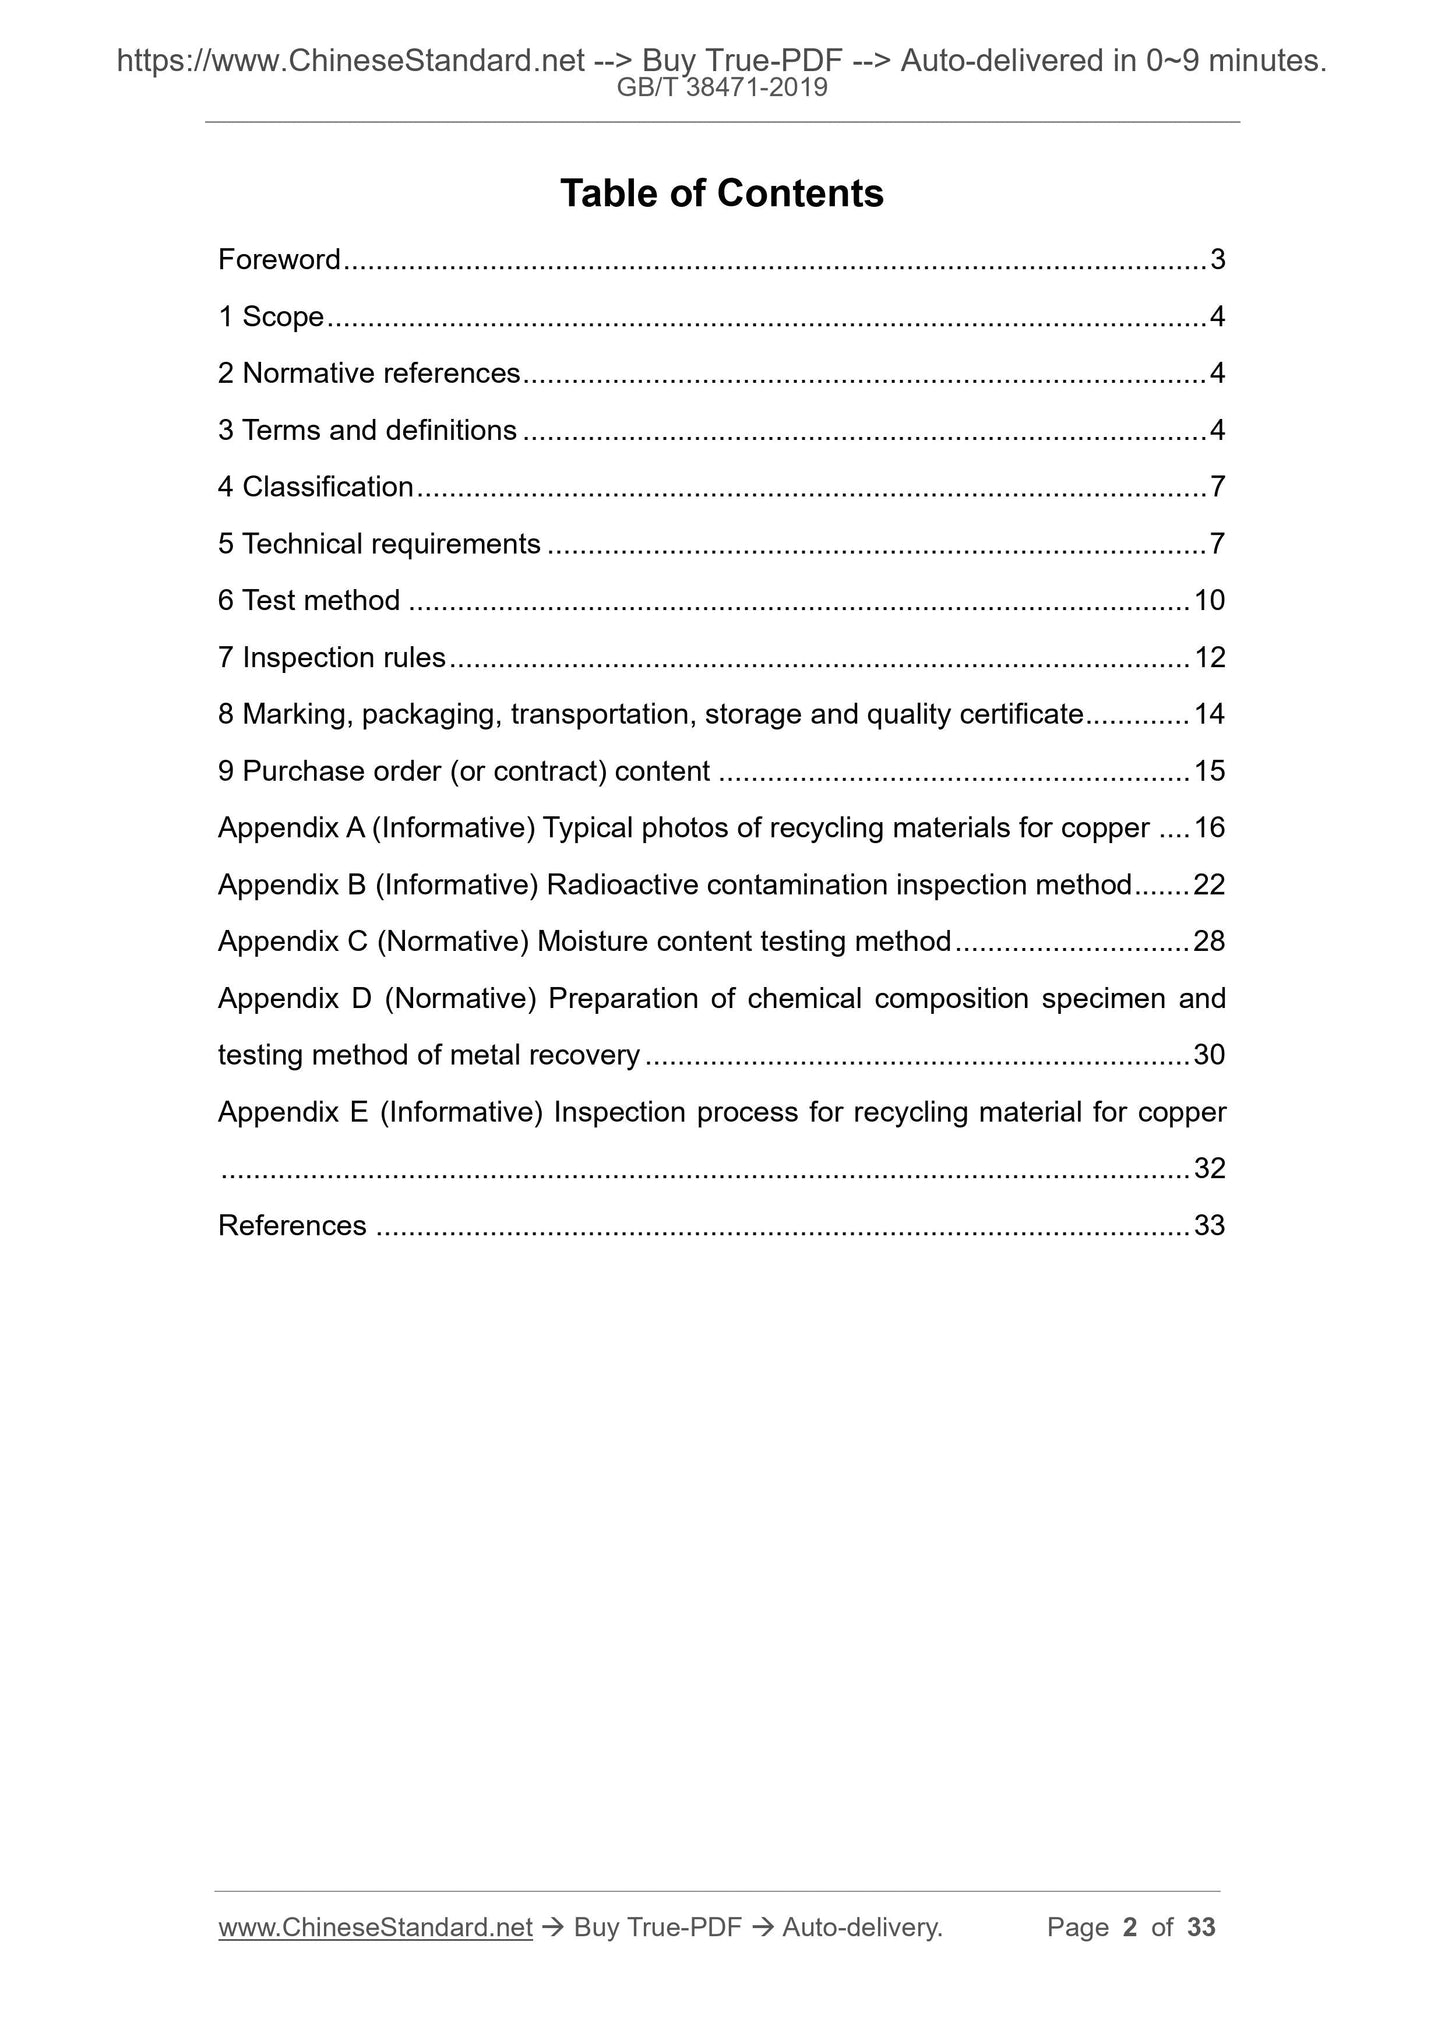
Table of Contents
Foreword ... 3
1 Scope ... 4
2 Normative references ... 4
3 Terms and definitions ... 4
4 Classification ... 7
5 Technical requirements ... 7
6 Test method ... 10
7 Inspection rules ... 12
8 Marking, packaging, transportation, storage and quality certificate ... 14
9 Purchase order (or contract) content ... 15
Appendix A (Informative) Typical photos of recycling materials for copper ... 16
Appendix B (Informative) Radioactive contamination inspection method ... 22
Appendix C (Normative) Moisture content testing method ... 28
Appendix D (Normative) Preparation of chemical composition specimen and
testing method of metal recovery ... 30
Appendix E (Informative) Inspection process for recycling material for copper
... 32
References ... 33
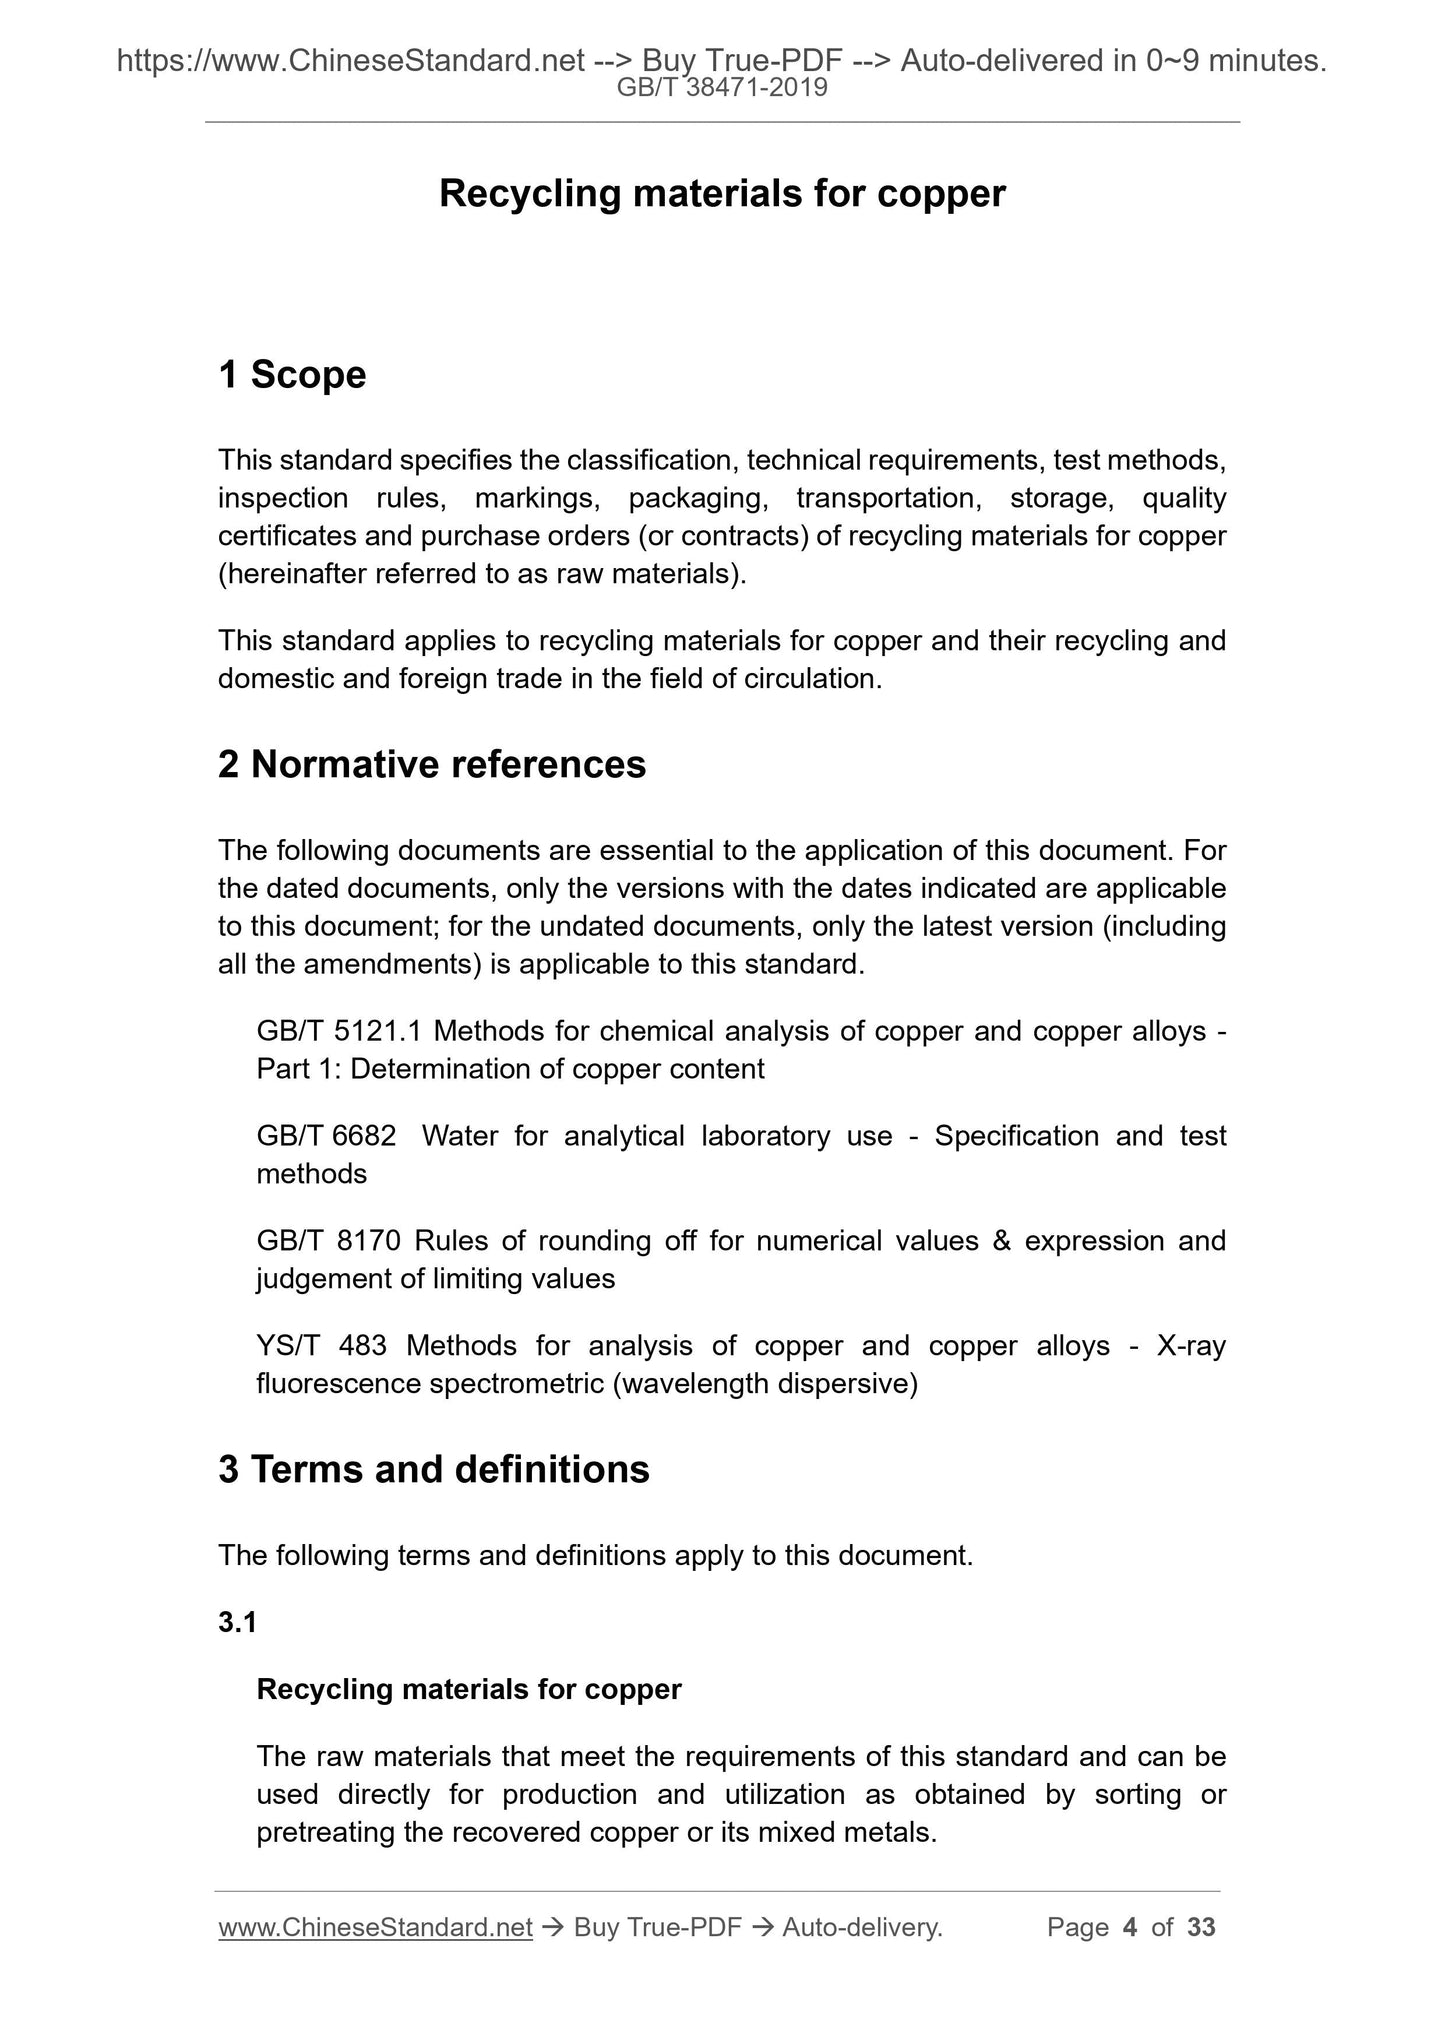
Recycling materials for copper
1 Scope
This standard specifies the classification, technical requirements, test methods,
inspection rules, markings, packaging, transportation, storage, quality
certificates and purchase orders (or contracts) of recycling materials for copper
(hereinafter referred to as raw materials).
This standard applies to recycling materials for copper and their recycling and
domestic and foreign trade in the field of circulation.
2 Normative references
The following documents are essential to the application of this document. For
the dated documents, only the versions with the dates indicated are applicable
to this document; for the undated documents, only the latest version (including
all the amendments) is applicable to this standard.
GB/T 5121.1 Methods for chemical analysis of copper and copper alloys -
Part 1: Determination of copper content
GB/T 6682 Water for analytical laboratory use - Specification and test
methods
GB/T 8170 Rules of rounding off for numerical values and expression and
judgement of limiting values
YS/T 483 Methods for analysis of copper and copper alloys - X-ray
fluorescence spectrometric (wavelength dispersive)
3 Terms and definitions
The following terms and definitions apply to this document.
3.1
Recycling materials for copper
The raw materials that meet the requirements of this standard and can be
used directly for production and utilization as obtained by sorting or
pretreating the recovered copper or its mixed metals.
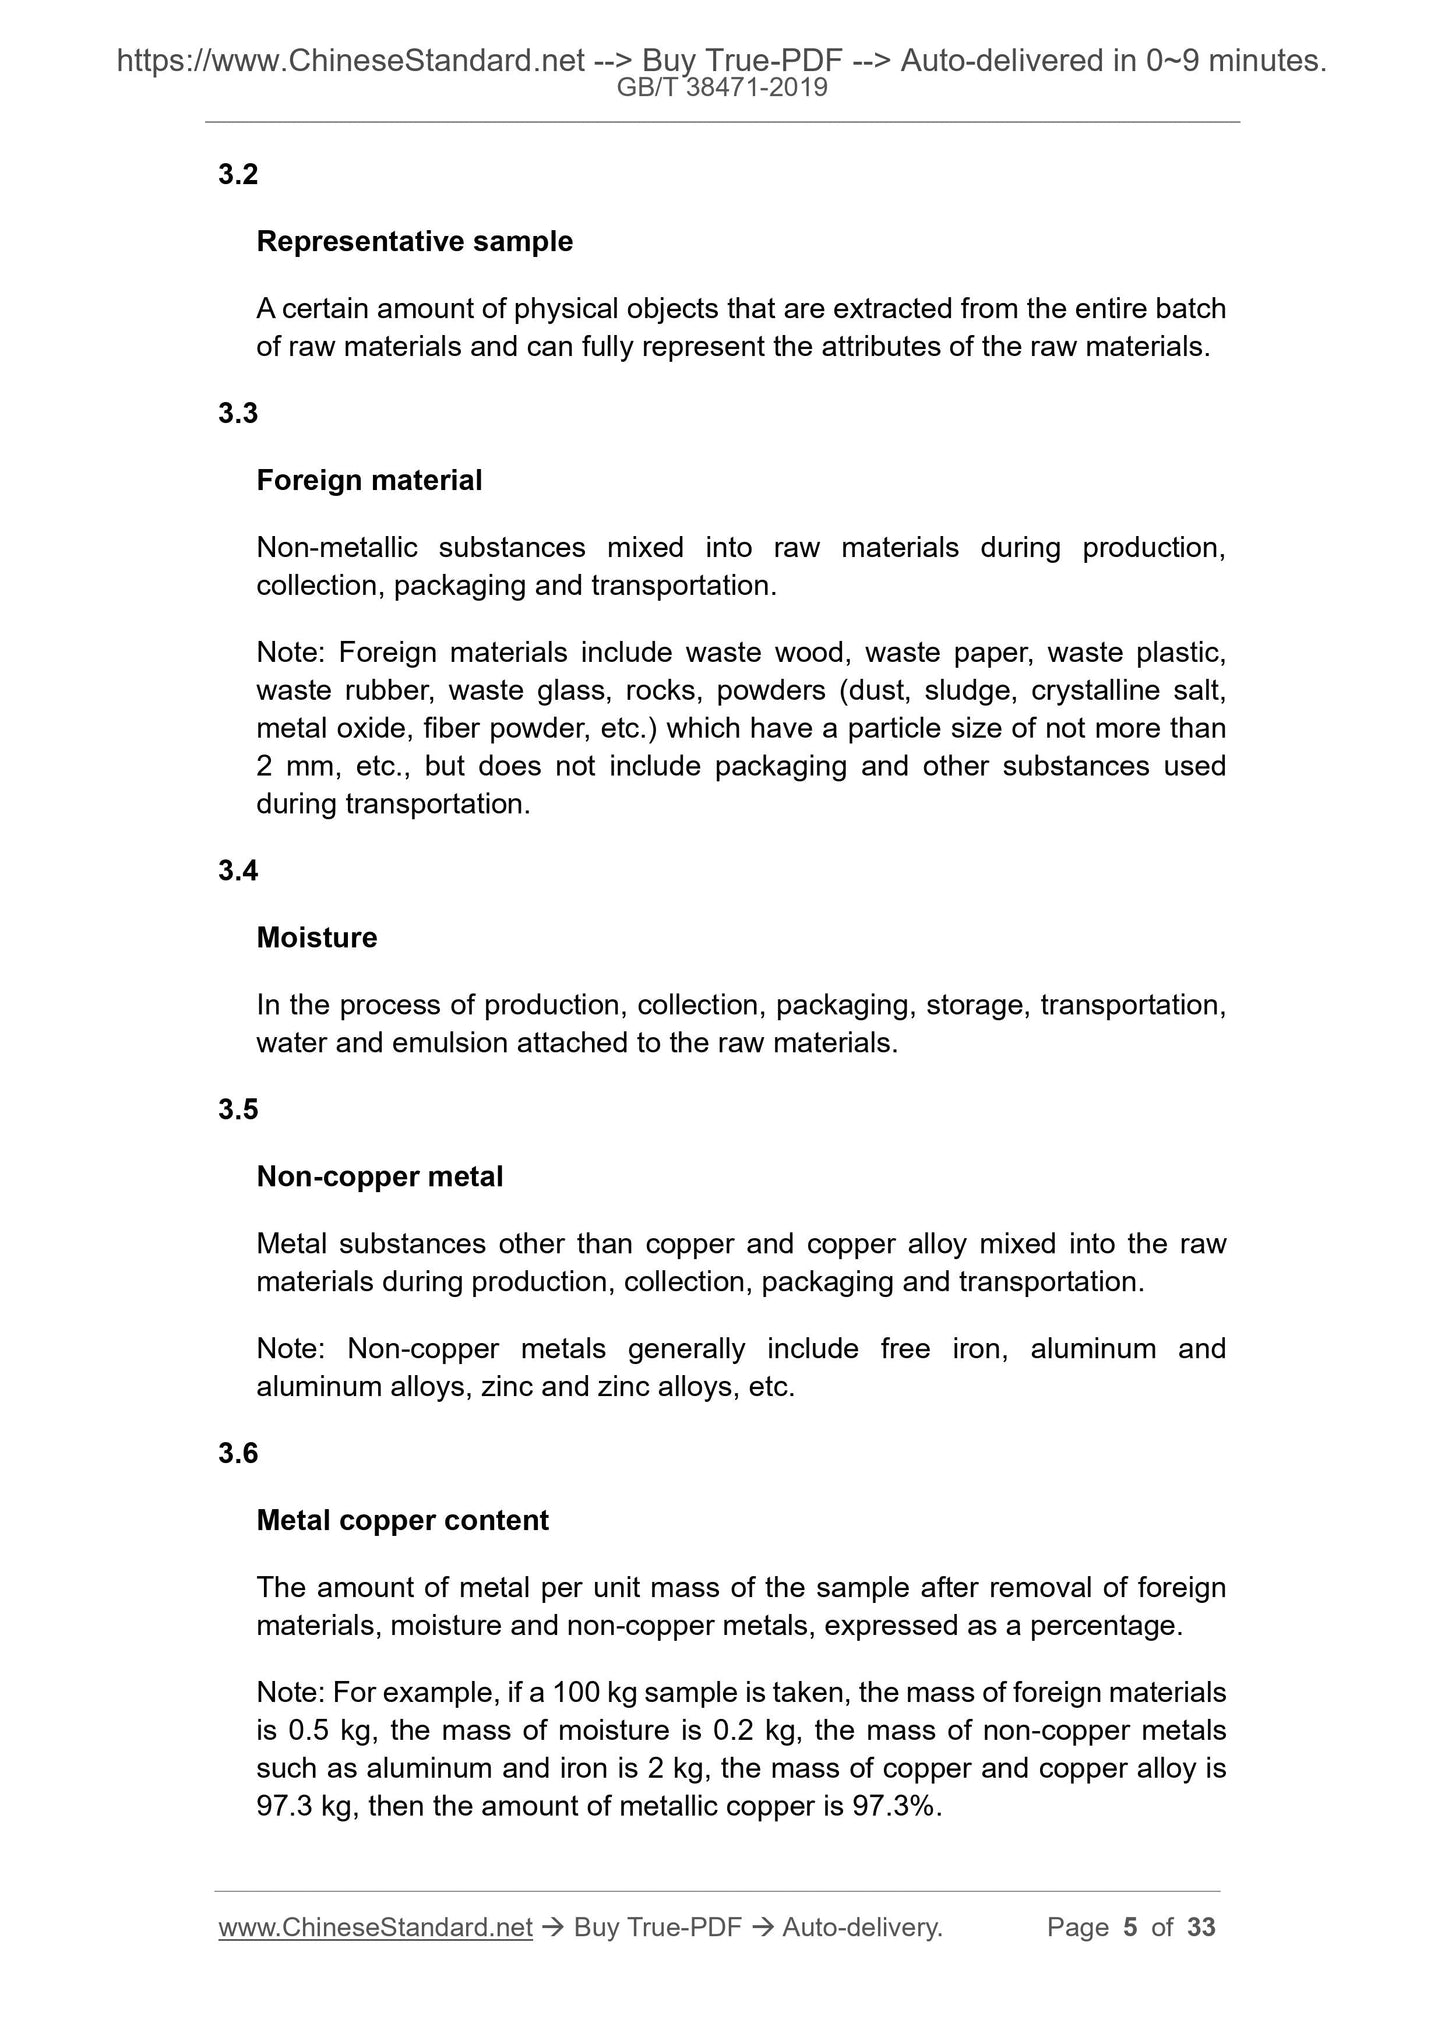
3.2
Representative sample
A certain amount of physical objects that are extracted from the entire batch
of raw materials and can fully represent the attributes of the raw materials.
3.3
Foreign material
Non-metallic substances mixed into raw materials during production,
collection, packaging and transportation.
Note: Foreign materials include waste wood, waste paper, waste plastic,
waste rubber, waste glass, rocks, powders (dust, sludge, crystalline salt,
metal oxide, fiber powder, etc.) which have a particle size of not more than
2 mm, etc., but does not include packaging and other substances used
during transportation.
3.4
Moisture
In the process of production, collection, packaging, storage, transportation,
water and emulsion attached to the raw materials.
3.5
Non-copper metal
Metal substances other than copper and copper alloy mixed into the raw
materials during production, collection, packaging and transportation.
Note: Non-copper metals generally include free iron, aluminum and
aluminum alloys, zinc and zinc alloys, etc.
3.6
Metal copper content
The amount of metal per unit mass of the sample after removal of foreign
materials, moisture and non-copper metals, expressed as a percentage.
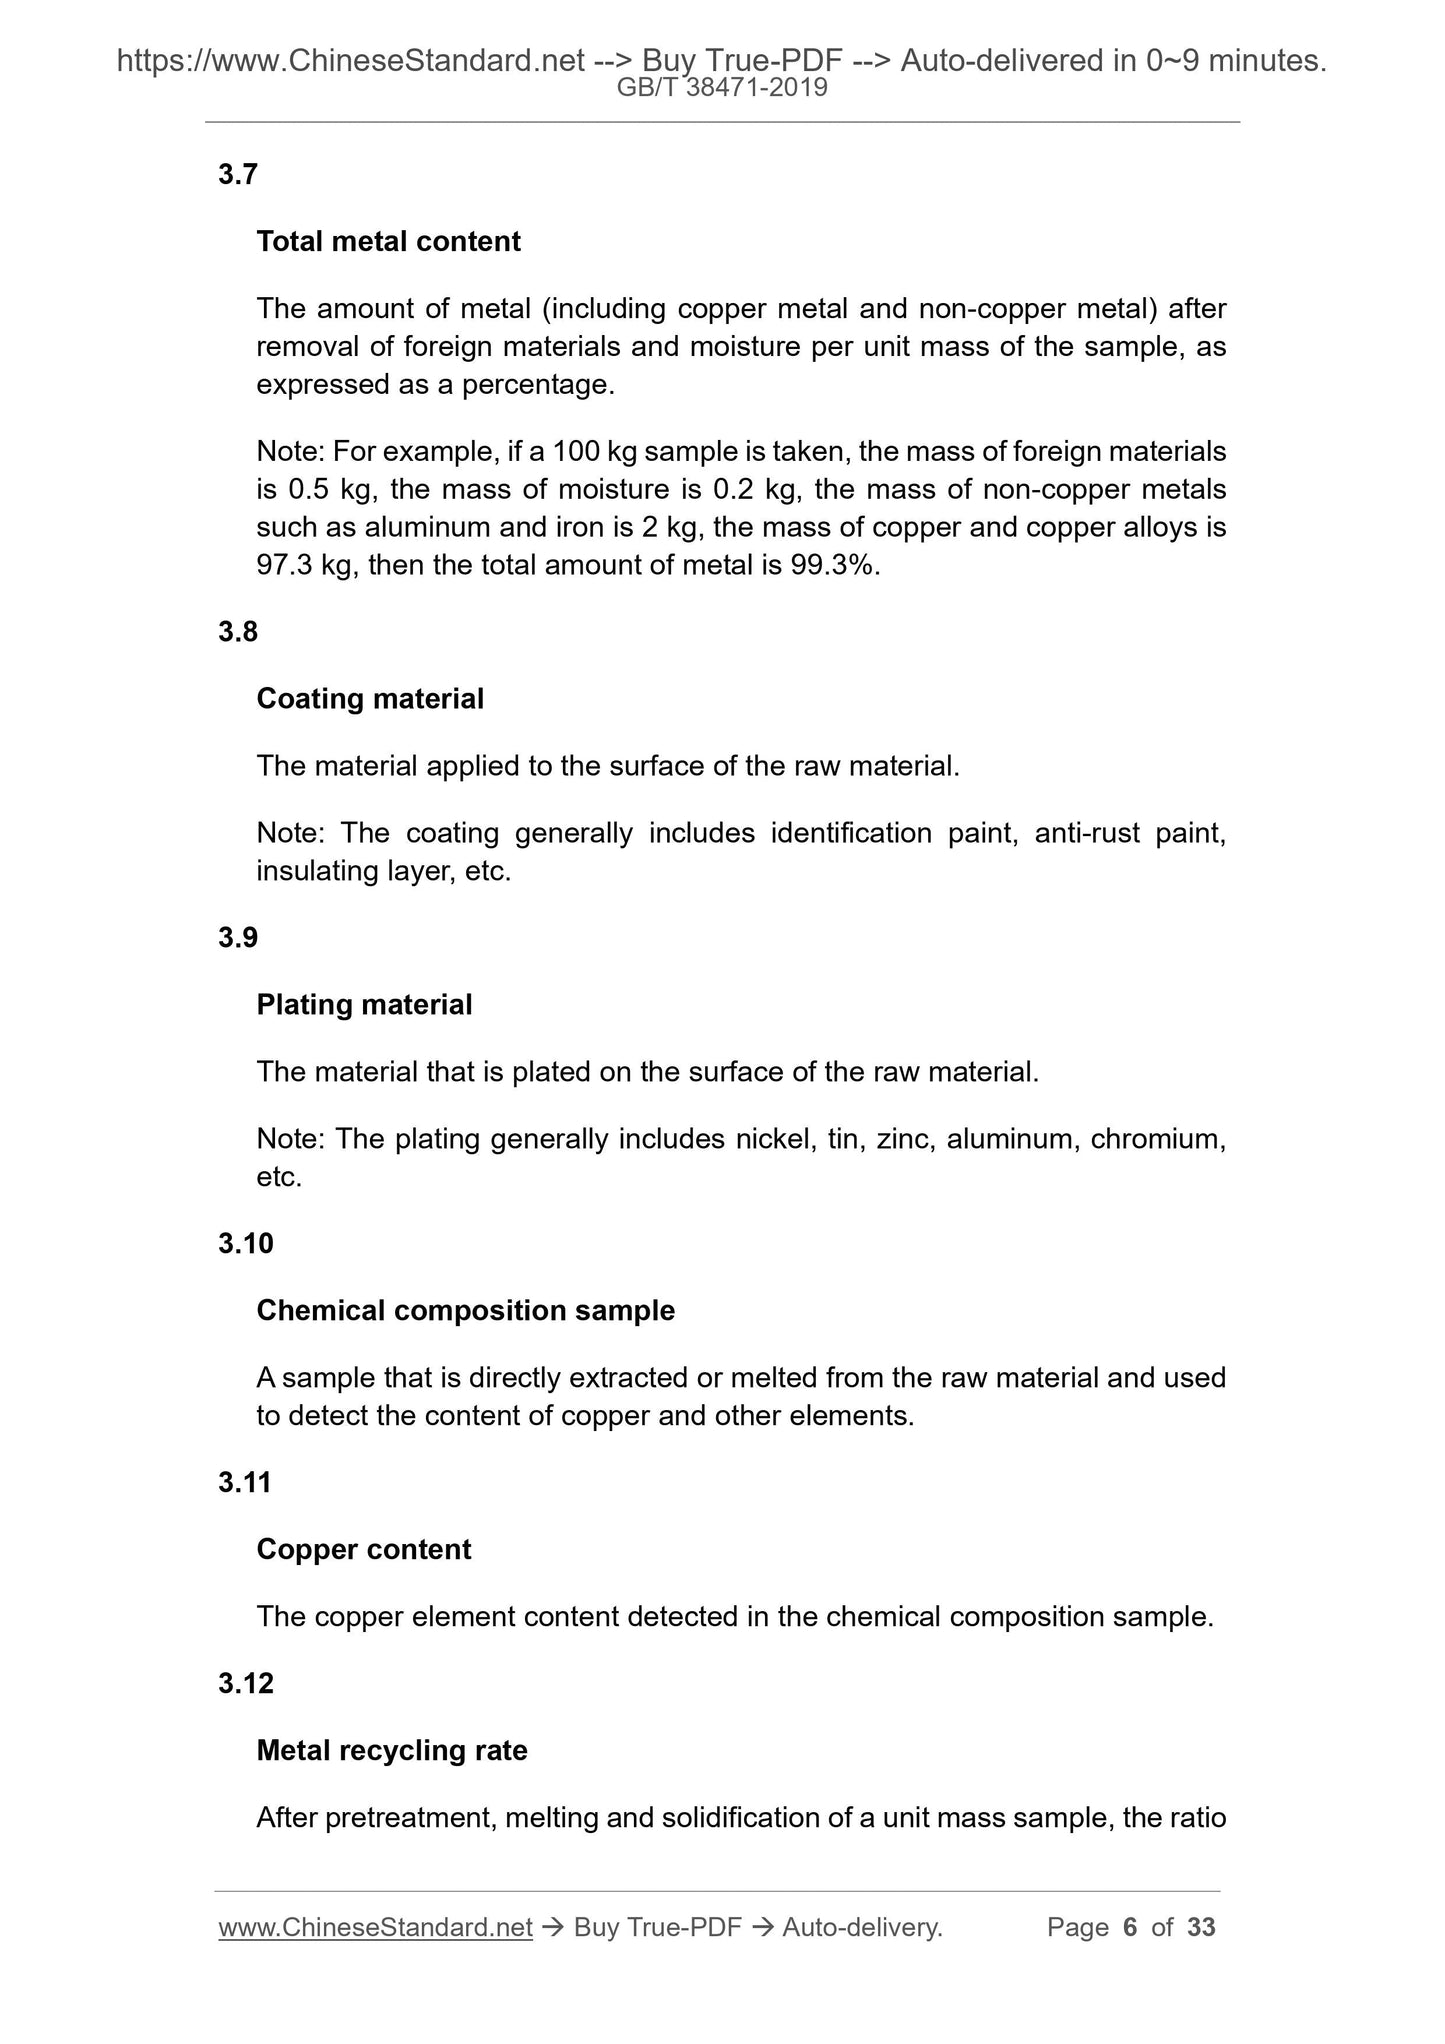
Note: For example, if a 100 kg sample is taken, the mass of foreign materials
is 0.5 kg, the mass of moisture is 0.2 kg, the mass of non-copper metals
such as aluminum and iron is 2 kg, the mass of copper and copper alloy is
97.3 kg, then the amount of metallic copper is 97.3%.
3.7
Total metal content
The amount of metal (including copper metal and non-copper metal) after
removal of foreign materials and moisture per unit mass of the sample, as
expressed as a percentage.
Note: For example, if a 100 kg sample is taken, the mass of foreign materials
is 0.5 kg, the mass of moisture is 0.2 kg, the mass of non-copper metals
such as aluminum and iron is 2 kg, the mass of copper and copper alloys is
97.3 kg, then the total amount of metal is 99.3%.
3.8
Coating material
The material applied to the surface of the raw material.
Note: The coating generally includes identification paint, anti-rust paint,
insulating layer, etc.
3.9
Plating material
The material that is plated on the surface of the raw material.
Note: The plating generally includes nickel, tin, zinc, aluminum, chromium,
etc.
3.10
Chemical composition sample
A sample that is directly extracted or melted from the raw material and used
to detect the content of copper and other elements.
3.11
Copper content
The copper element content detected in the chemical composition sample.
3.12
Metal recycling rate
After pretreatment, melting and solidification of a unit mass sample, the ratio
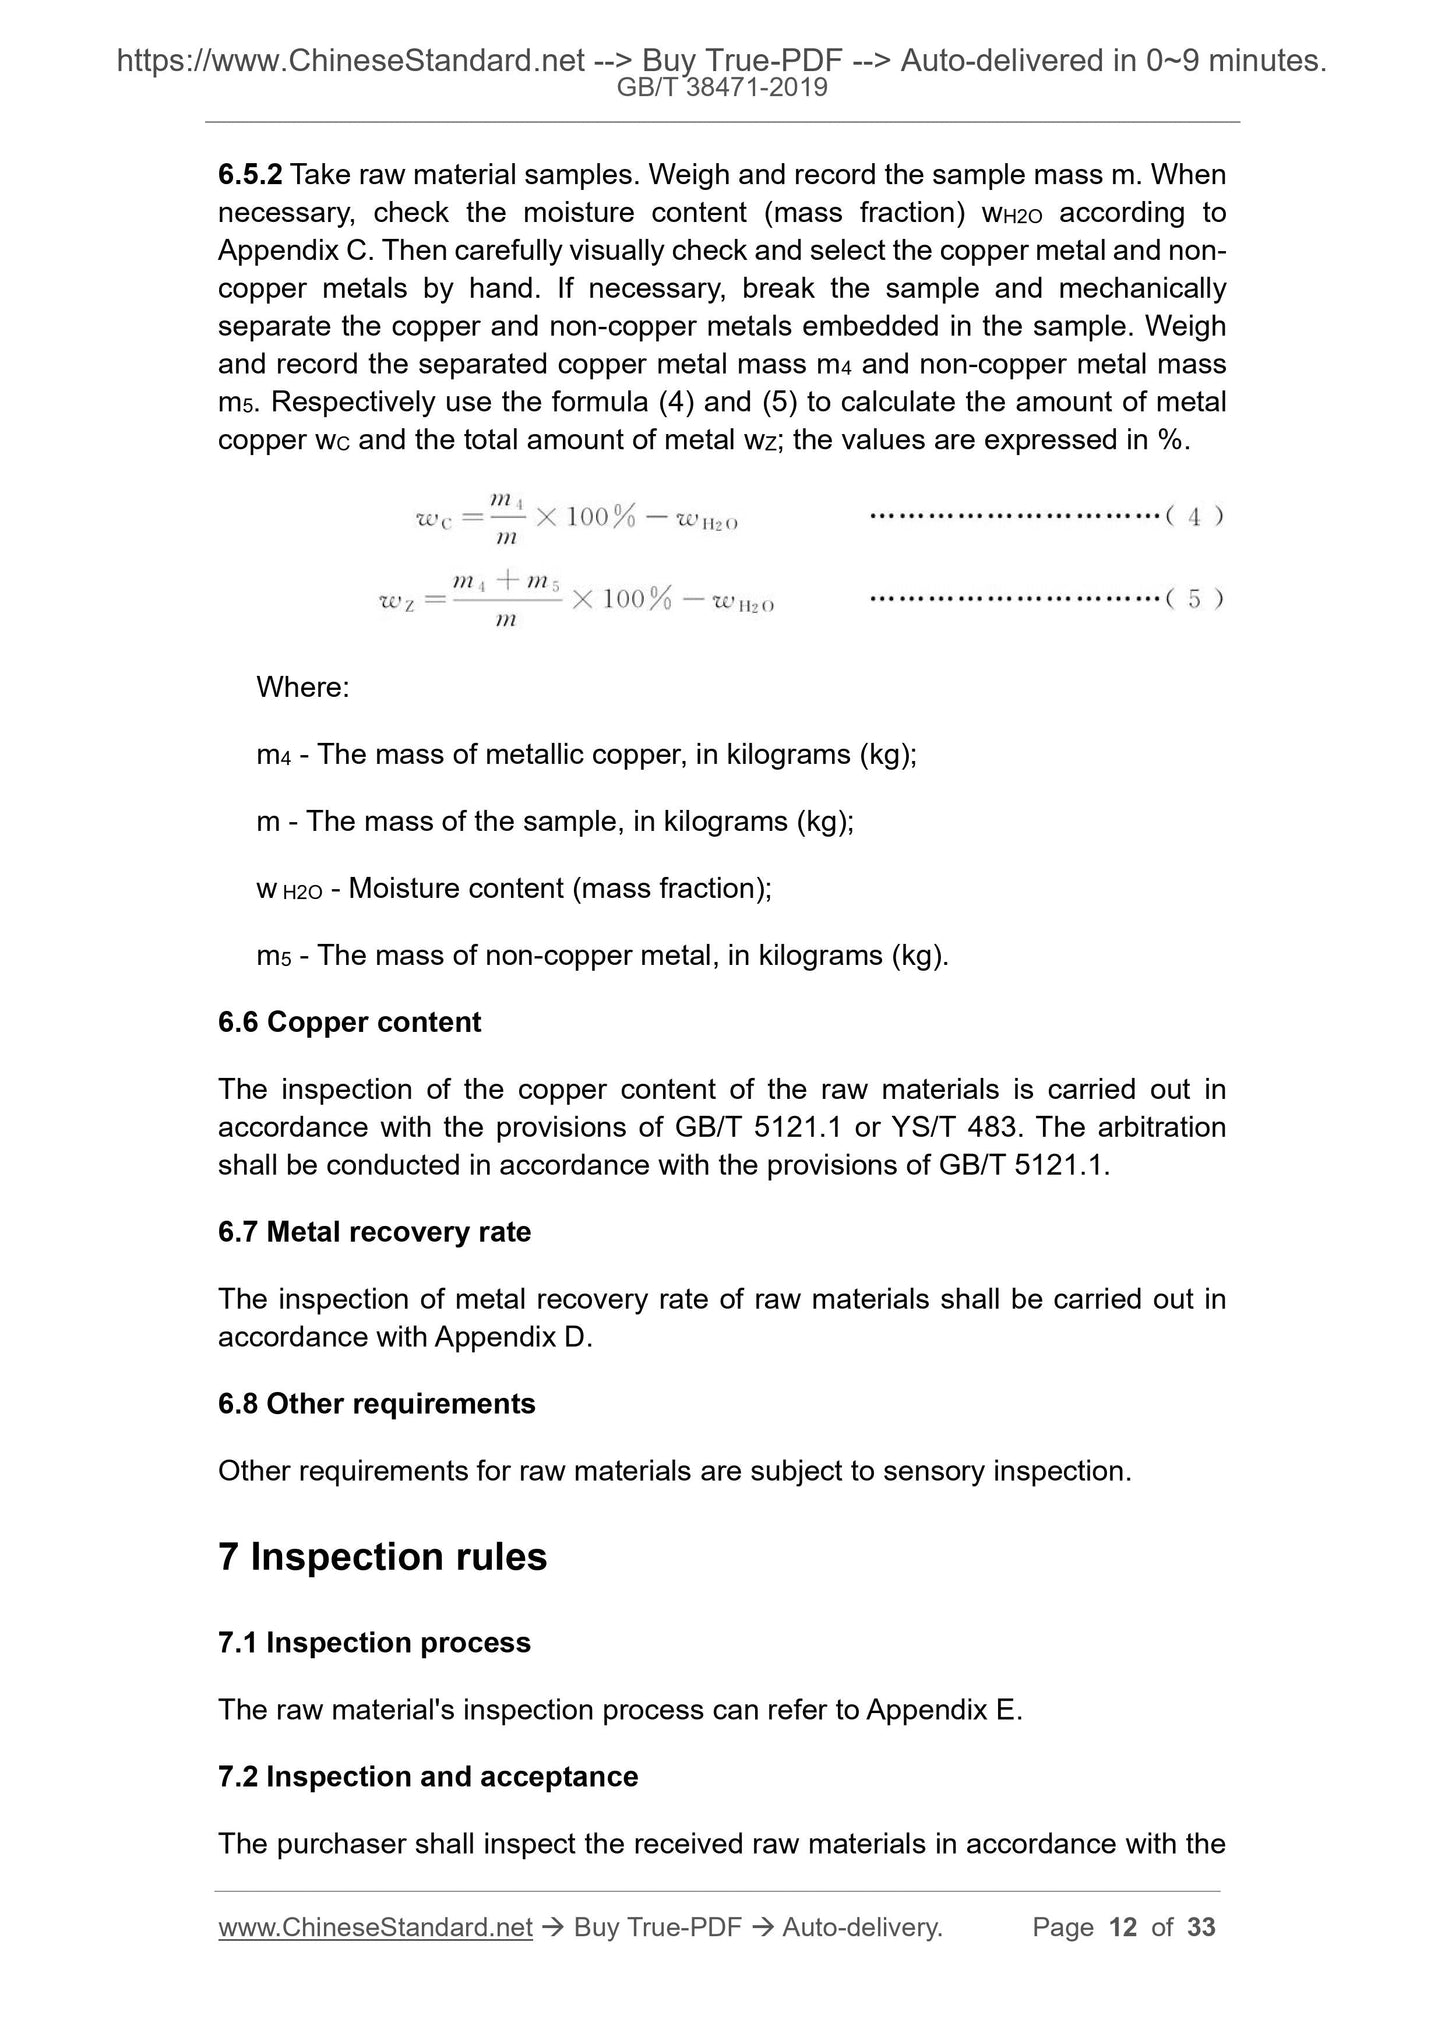
6.5.2 Take raw material samples. Weigh and record the sample mass m. When
necessary, check the moisture content (mass fraction) wH2O according to
Appendix C. Then carefully visually check and select the copper metal and non-
copper metals by hand. If necessary, break the sample and mechanically
separate the copper and non-copper metals embedded in the sample. Weigh
and record the separated copper metal mass m4 and non-copper metal mass
m5. Respectively use the formula (4) and (5) to calculate the amount of metal
copper wC and the total amount of metal wZ; the values are expressed in %.
Where:
m4 - The mass of metallic copper, in kilograms (kg);
m - The mass of the sample, in kilograms (kg);
w H2O - Moisture content (mass fraction);
m5 - The mass of non-copper metal, in kilograms (kg).
6.6 Copper content
The inspection of the copper content of the raw materials is carried out in
accordance with the provisions of GB/T 5121.1 or YS/T 483. The arbitration
shall be conducted in accordance with the provisions of GB/T 5121.1.
6.7 Metal recovery rate
The inspection of metal recovery rate of raw materials shall be carried out in
accordance with Appendix D.
6.8 Other requirements
Other requirements for raw materials are subject to sensory inspection.
7 Inspection rules
7.1 Inspection process
The raw material's inspection process can refer to Appendix E.
7.2 Inspection and acceptance
The purchaser shall inspect the received raw materials in accordance with the
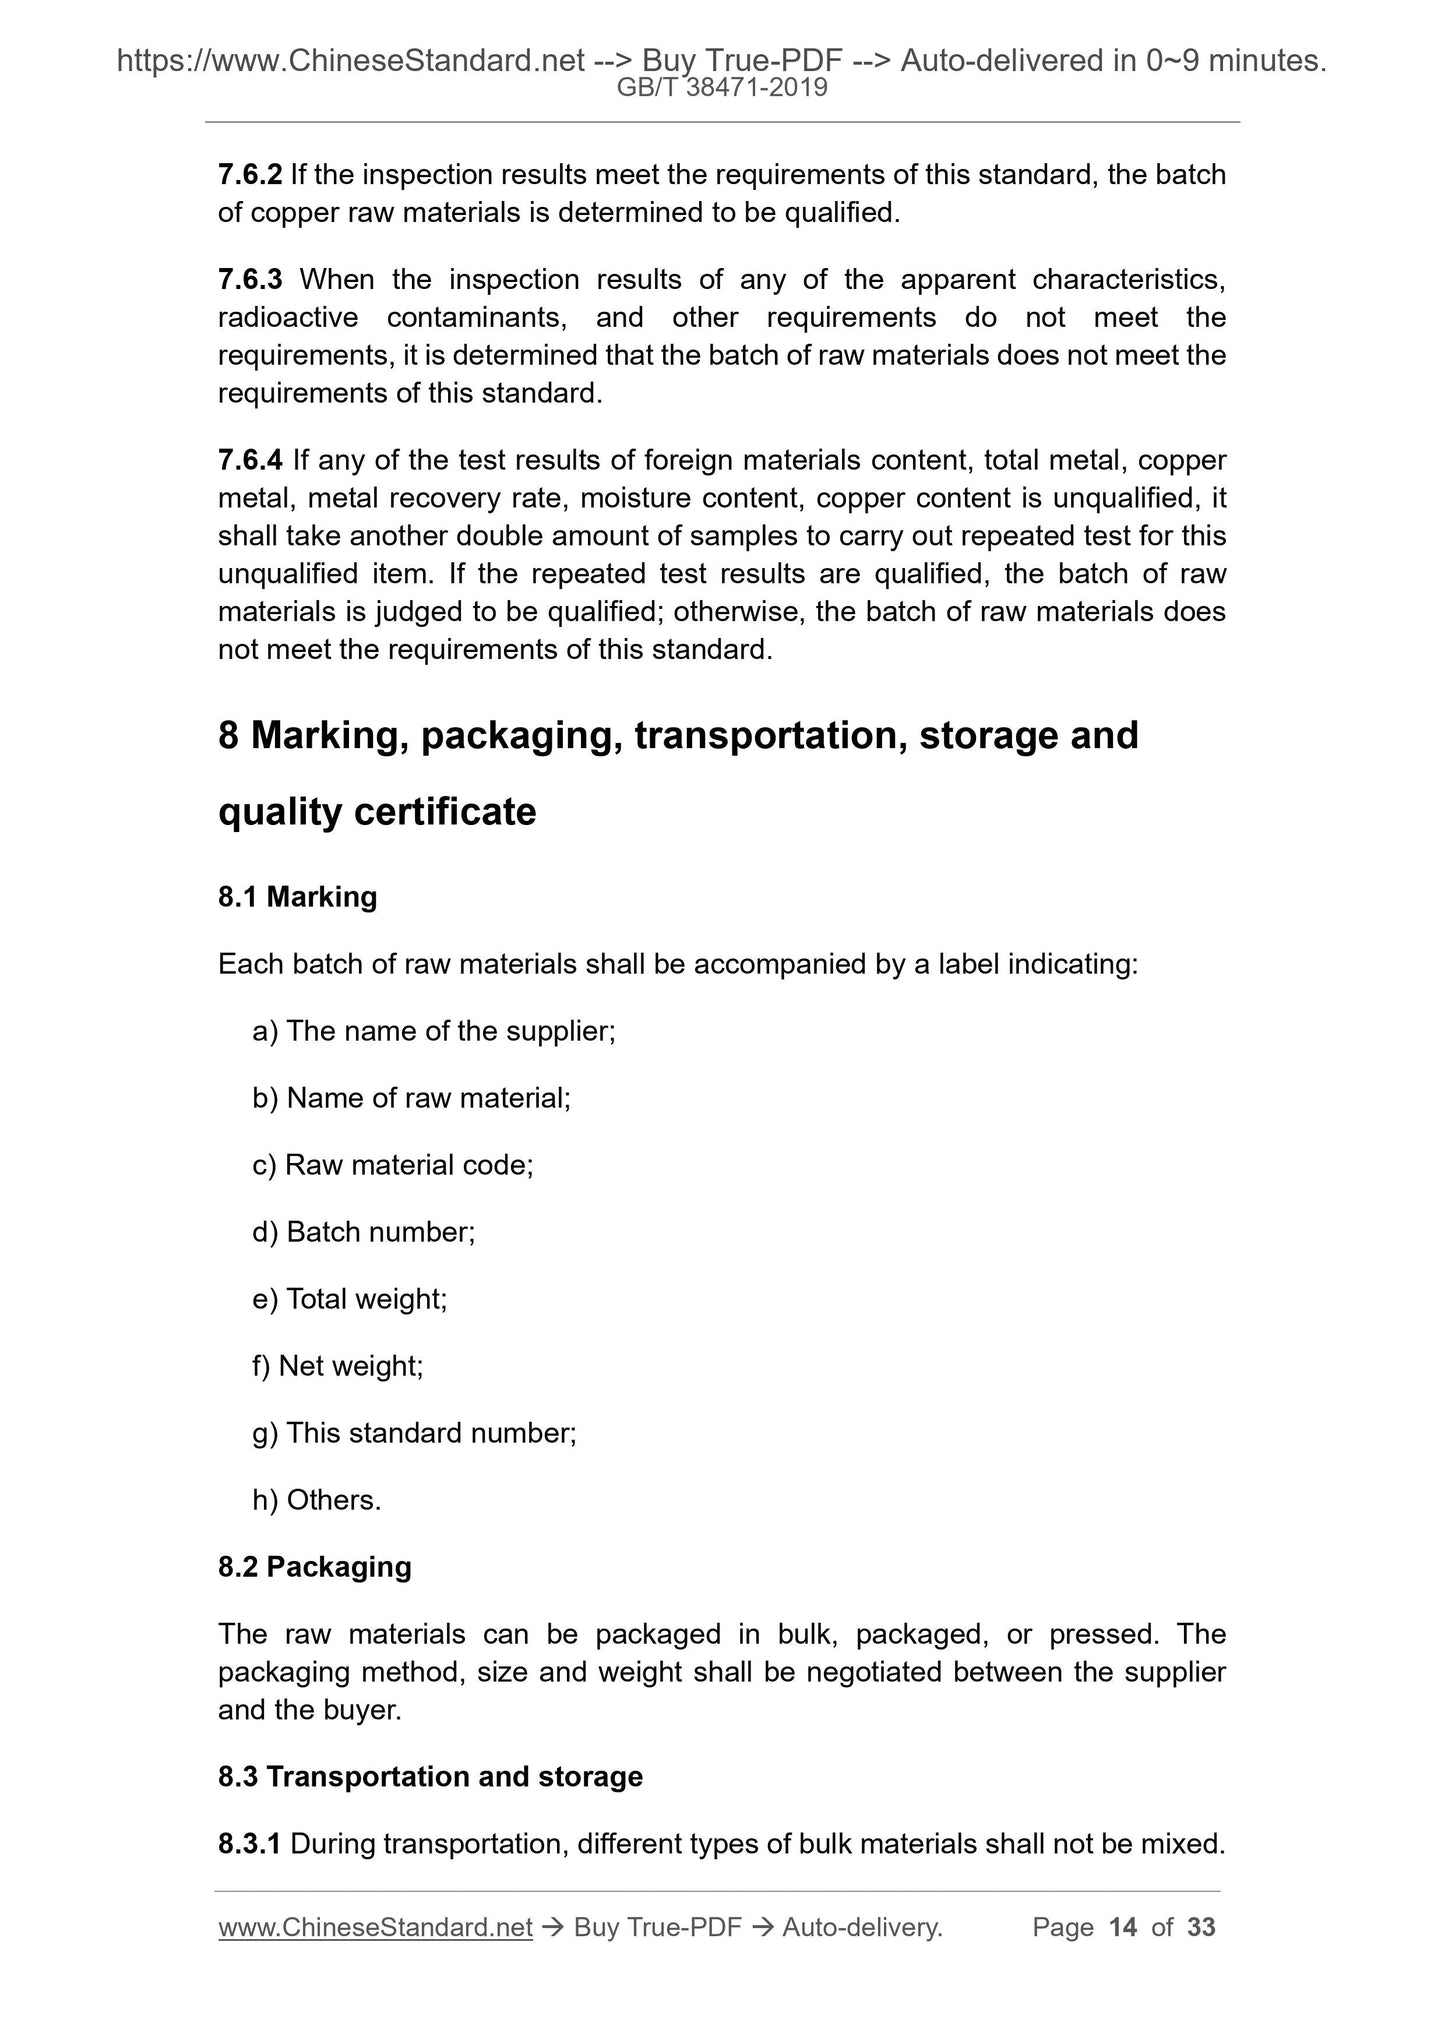
7.6.2 If the inspection results meet the requirements of this standard, the batch
of copper raw materials is determined to be qualified.
7.6.3 When the inspection results of any of the apparent characteristics,
radioactive contaminants, and other requirements do not meet the
requirements, it is determined that the batch of raw materials does not meet the
requirements of this standard.
7.6.4 If any of the test results of foreign materials content, total metal, copper
metal, metal recovery rate, moisture content, copper content is unqualified, it
shall take another double amount of samples to carry out repeated test for this
unqualified item. If the repeated test results are qualified, the batch of raw
materials is judged to be qualified; otherwise, the batch of raw materials does
not meet the requirements of this standard.
8 Marking, packaging, transportation, storage and
quality certificate
8.1 Marking
Each batch of raw materials shall be accompanied by a label indicating:
a) The name of the supplier;
b) Name of raw material;
c) Raw material code;
d) Batch number;
e) Total weight;
f) Net weight;
g) This standard number;
h) Others.
8.2 Packaging
The raw materials can be packaged in bulk, packaged, or pressed. The
packaging method, size and weight shall be negotiated between the supplier
and the buyer.
8.3 Transportation and storage
8.3.1 During transportation, different types of bulk materials shall not be mixed.
8.3.2 The transportation and storage of raw materials shall be protected from
rain and snow.
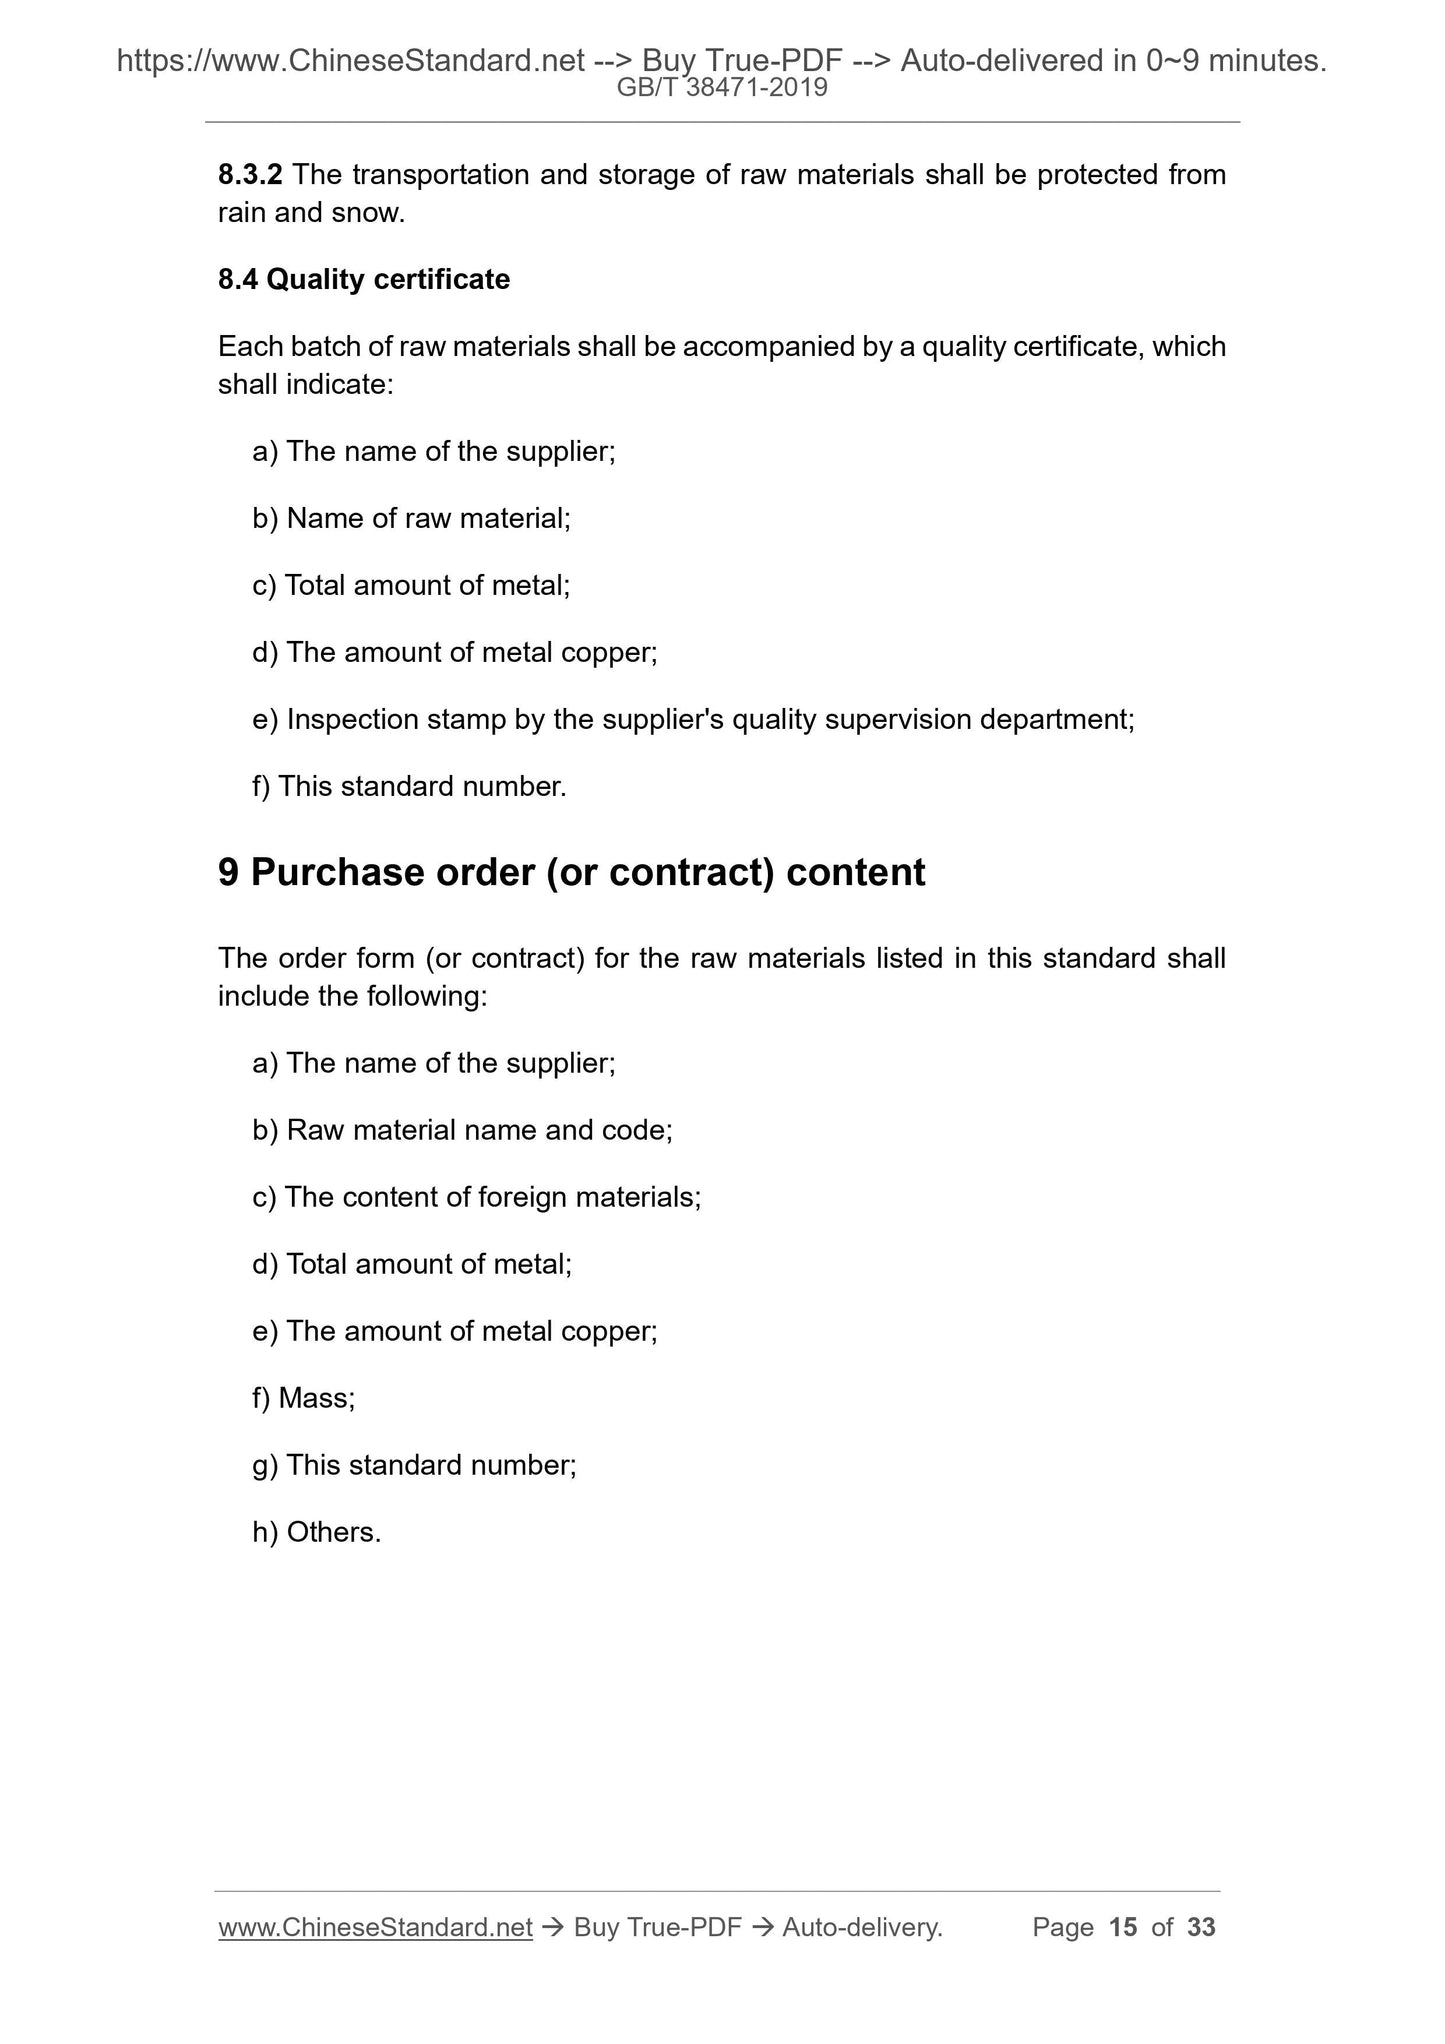
8.4 Quality certificate
Each batch of raw materials shall be accompanied by a quality certificate, which
shall indicate:
a) The name of the supplier;
b) Name of raw material;
c) Total amount of metal;
d) The amount of metal copper;
e) Inspection stamp by the supplier's quality supervision department;
f) This standard number.
9 Purchase order (or contract) content
The order form (or contract) for the raw materials listed in this standard shall
include the following:
a) The name of the supplier;
b) Raw material name and code;
c) The content of foreign materials;
d) Total amount of metal;
e) The amount of metal copper;
f) Mass;
g) This standard number;
h) Others.
Appendix B
(Informative)
Radioactive contamination inspection method
B.1 Inspection instrument
The inspection instrument shall meet the requirements of GB 18871, GB/T
12162.3 and GB/T 5202.
B.2 Measurement of penetration radiation dose rate of external radiation
B.2.1 Measurement of natural environmental radiation background
B.2.1.1 Before the measurement of external radiation penetration radiation
dose rate, it shall first measure and determine the local natural environmental
radiation background value.
B.2.1.2 Select 3 to 5 points (which can be used as fixed survey points) on a flat
open ground without radioactive contamination that can represent the local
normal natural radiation background state, as the measurement points.
B.2.1.3 Place the measuring probe of the measuring instrument at a height of
1 m above the measuring point from the ground, to determine the external
radiation penetration radiation dose rate. The measured value is read once
every 10 s. Take the average of the 10 readings as the measured value at this
point. Take the arithmetic average of the measured values of each measuring
point as the average value of normal natural radiation.
B.2.2 Patrol inspection
B.2.2.1 The raw materials shall be inspected for radioactive contamination
before passing through the port channel. During the patrol inspection, the
measuring instrument shall be as close as possible to the surface of the
measured object or the surface of the container, car body, warehouse body, etc.
which is loaded with raw materials, to perform the patrol inspection of the
peripheral surface of the measured object.
B.2.2.2 When it is found that the radioactivity has significantly exceeded the
management limit of the three detection indicators during the patrol inspection,
it is judged as unqualified. When the radioactive contamination has been found
to exceed the management limits of the three detection indicators, no sub-
inspection or selection will be carried out.
B.2.3 Distribution of test points
Where:
- The corrected measurement value of the measuring instrument, in
microGy per hour (μGy/h);
K1 - The scale factor of the measuring instrument (given by the instrument's
calibration certificate);
Kη - The efficiency factor of the measuring instrument;
- The reading of the measured value of the measuring instrument, in
microGy per hour (μGy/h).
B.3 Inspection of α, β surface contamination
B.3.1 Testing requirements
Generally, the patrol and spot measurement of the surface contamination level
of α and β shall be carried out simultaneously with the measurement of the
external radiation penetration radiation dose rate. If necessary, the patrol and
spot measurement of the item can also be carried out separately.
B.3.2 Test point layout
For the testing of α and β surface contamination levels, the test points shall be
arranged in accordance with B.2.3; the measurement area shall be greater than
300 cm2.
B.3.3 Efficiency measurement of α surface contamination measuring
instrument
B.3.3.1 Use the α surface contamination measuring instrument to measure the
count N0,α of the natural environment for 10 minutes.
B.3.3.2 Determine the instrument calibration source for 5 minutes, to obtain the
count N1,α.
B.3.3.3 Reverse the probe of the instrument by 180° and measure it for 5
minutes, to obtain the count N2,α of the calibration source (considering the
unevenness of the plane source).
B.3.3.4 Calculate the efficiency factor η4π(α) of the instrument according to
formula (B.3).
Appendix C
(Normative)
Moisture content testing method
C.1 Scope
This Appendix specifies the testing method for the moisture content of raw
materials.
This Appendix applies to the testing of the moisture content of raw materials.
C.2 Method summary
The specimen is cleaned by alcohol and water, heated to a fixed temperature
and kept to a constant weight; the mass loss is measured to calculate the
moisture content.
C.3 Reagents or materials
C.3.1 Industrial alcohol: The mass fraction of ethanol is not less than 95%.
C.3.2 Water: Grade 2 water specified in GB/T 6682.
C.4 Instruments
C.4.1 Drying oven: The temperature control range is 105 °C ± 5 °C.
C.4.2 Drying tray.
C.4.3 Electronic scale: The accuracy is 0.01 g.
C.5 Sampling
In each inspection lot, take 2 representative samples of raw materials; the mass
of each sample is not less than 1.0 kg.
C.6 Test procedure
C.6.1 After the drying tray reaches a constant weight at 105 °C, it is placed in a
drying box and cooled to room temperature. The mass is weighed and recorded
as m6.
C.6.2 Put the sample into the drying tray and flatten it; weigh the mass of the
drying tray with the sample; record it as m7.
C.6.3 Use the ind...
Share