Skip to product information
1 of 5

www.ChineseStandard.us -- Field Test Asia Pte. Ltd.

GB/T 38191-2019 English PDF (GB/T38191-2019)

GB/T 38191-2019 English PDF (GB/T38191-2019)

Regular price $140.00
Regular price Sale price $140.00
Sale Sold out
Shipping calculated at checkout.
GB/T 38191-2019: Plain Bearing - Nickel Alloy Self-lubricated Bearing Material Specifications
Delivery: 9 seconds. Download (& Email) true-PDF + Invoice.
Get Quotation: Click GB/T 38191-2019 (Self-service in 1-minute)
Historical versions (Master-website): GB/T 38191-2019
Preview True-PDF (Reload/Scroll-down if blank)

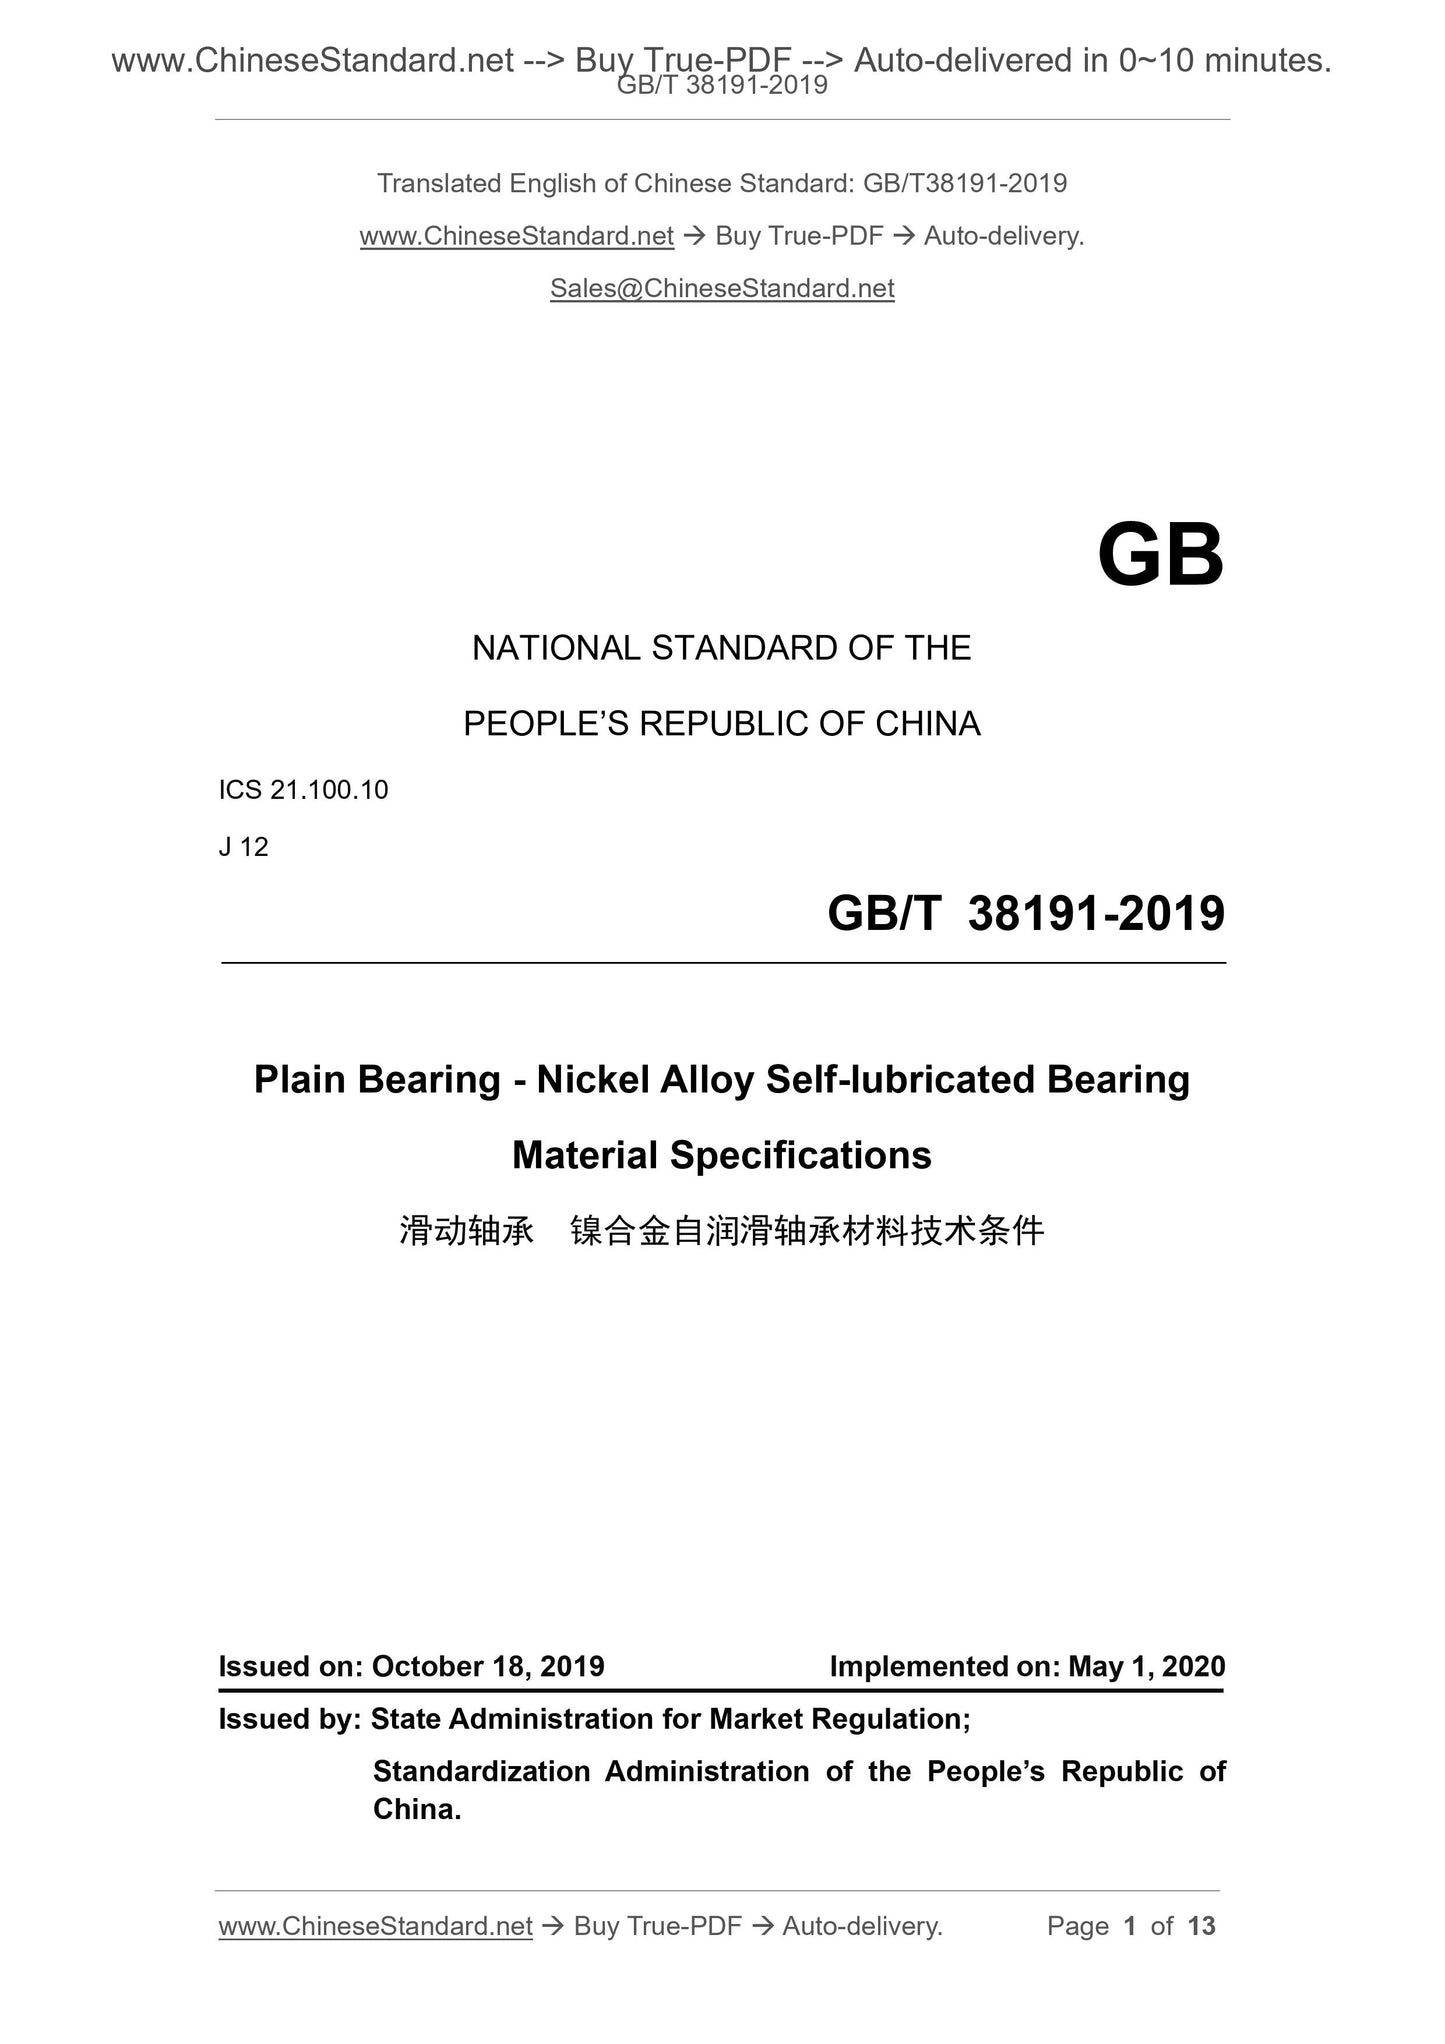
GB/T 38191-2019
NATIONAL STANDARD OF THE
PEOPLE’S REPUBLIC OF CHINA
ICS 21.100.10
J 12
Plain Bearing - Nickel Alloy Self-lubricated Bearing
Material Specifications
ISSUED ON: OCTOBER 18, 2019
IMPLEMENTED ON: MAY 1, 2020
Issued by: State Administration for Market Regulation;
Standardization Administration of the People’s Republic of
China.
Table of Contents
Foreword ... 3 
1 Scope ... 4 
2 Normative References ... 4 
3 Material Structure ... 4 
4 Technical Requirements ... 6 
5 Test Methods ... 7 
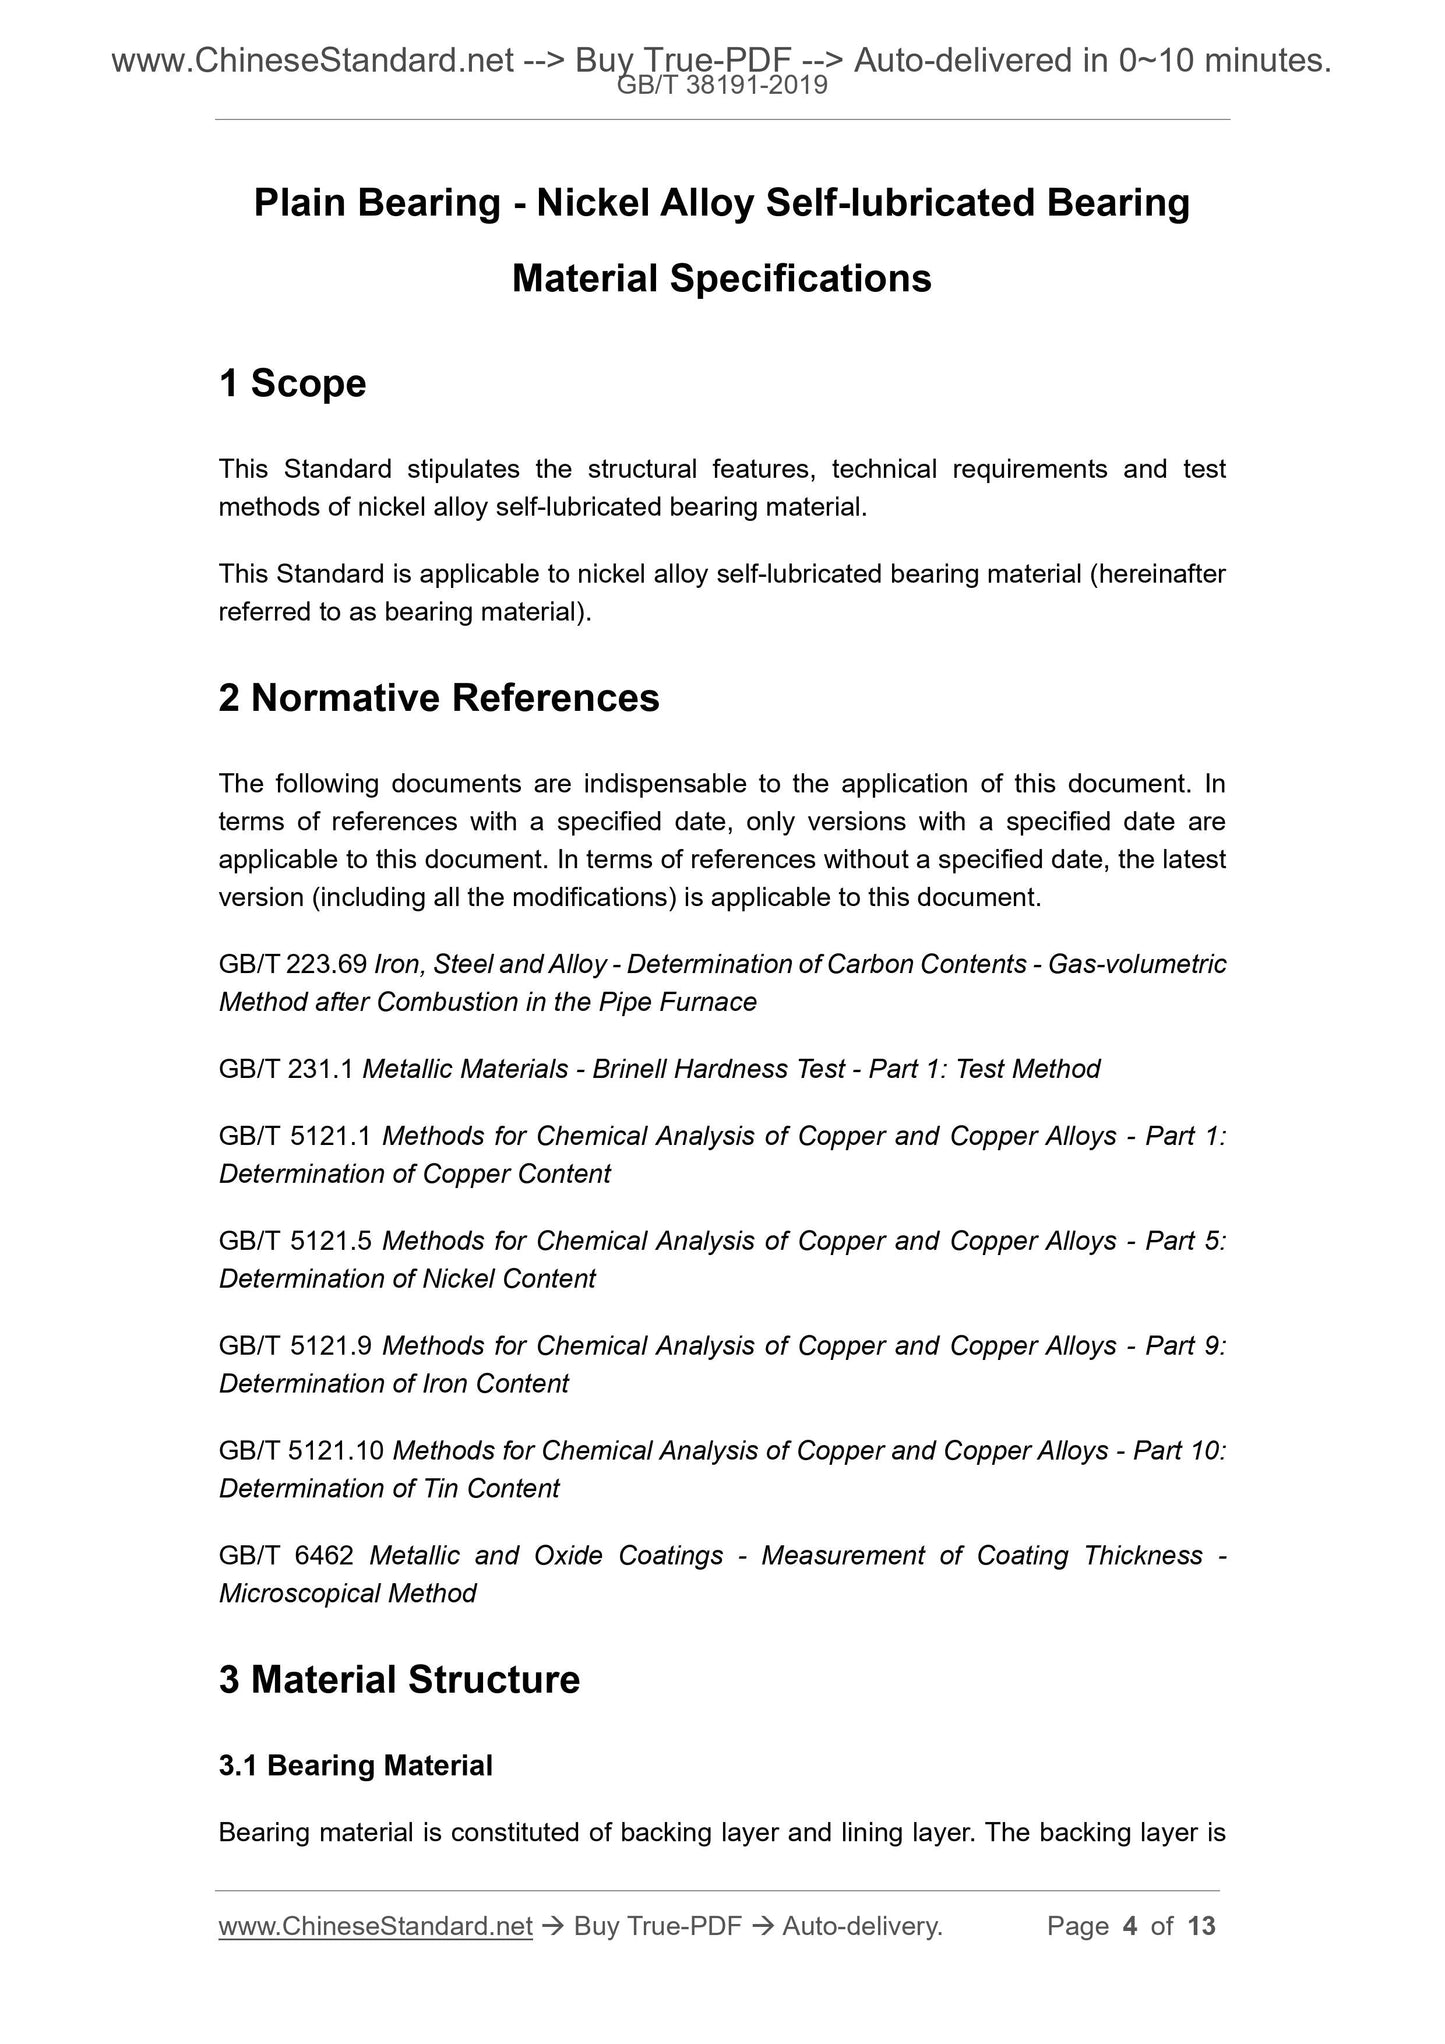
Plain Bearing - Nickel Alloy Self-lubricated Bearing
Material Specifications
1 Scope
This Standard stipulates the structural features, technical requirements and test
methods of nickel alloy self-lubricated bearing material.
This Standard is applicable to nickel alloy self-lubricated bearing material (hereinafter
referred to as bearing material).
2 Normative References
The following documents are indispensable to the application of this document. In
terms of references with a specified date, only versions with a specified date are
applicable to this document. In terms of references without a specified date, the latest
version (including all the modifications) is applicable to this document.
GB/T 223.69 Iron, Steel and Alloy - Determination of Carbon Contents - Gas-volumetric
Method after Combustion in the Pipe Furnace
GB/T 231.1 Metallic Materials - Brinell Hardness Test - Part 1: Test Method
GB/T 5121.1 Methods for Chemical Analysis of Copper and Copper Alloys - Part 1:
Determination of Copper Content
GB/T 5121.5 Methods for Chemical Analysis of Copper and Copper Alloys - Part 5:
Determination of Nickel Content
GB/T 5121.9 Methods for Chemical Analysis of Copper and Copper Alloys - Part 9:
Determination of Iron Content
GB/T 5121.10 Methods for Chemical Analysis of Copper and Copper Alloys - Part 10:
Determination of Tin Content
GB/T 6462 Metallic and Oxide Coatings - Measurement of Coating Thickness -
Microscopical Method
3 Material Structure
3.1 Bearing Material
Bearing material is constituted of backing layer and lining layer. The backing layer is
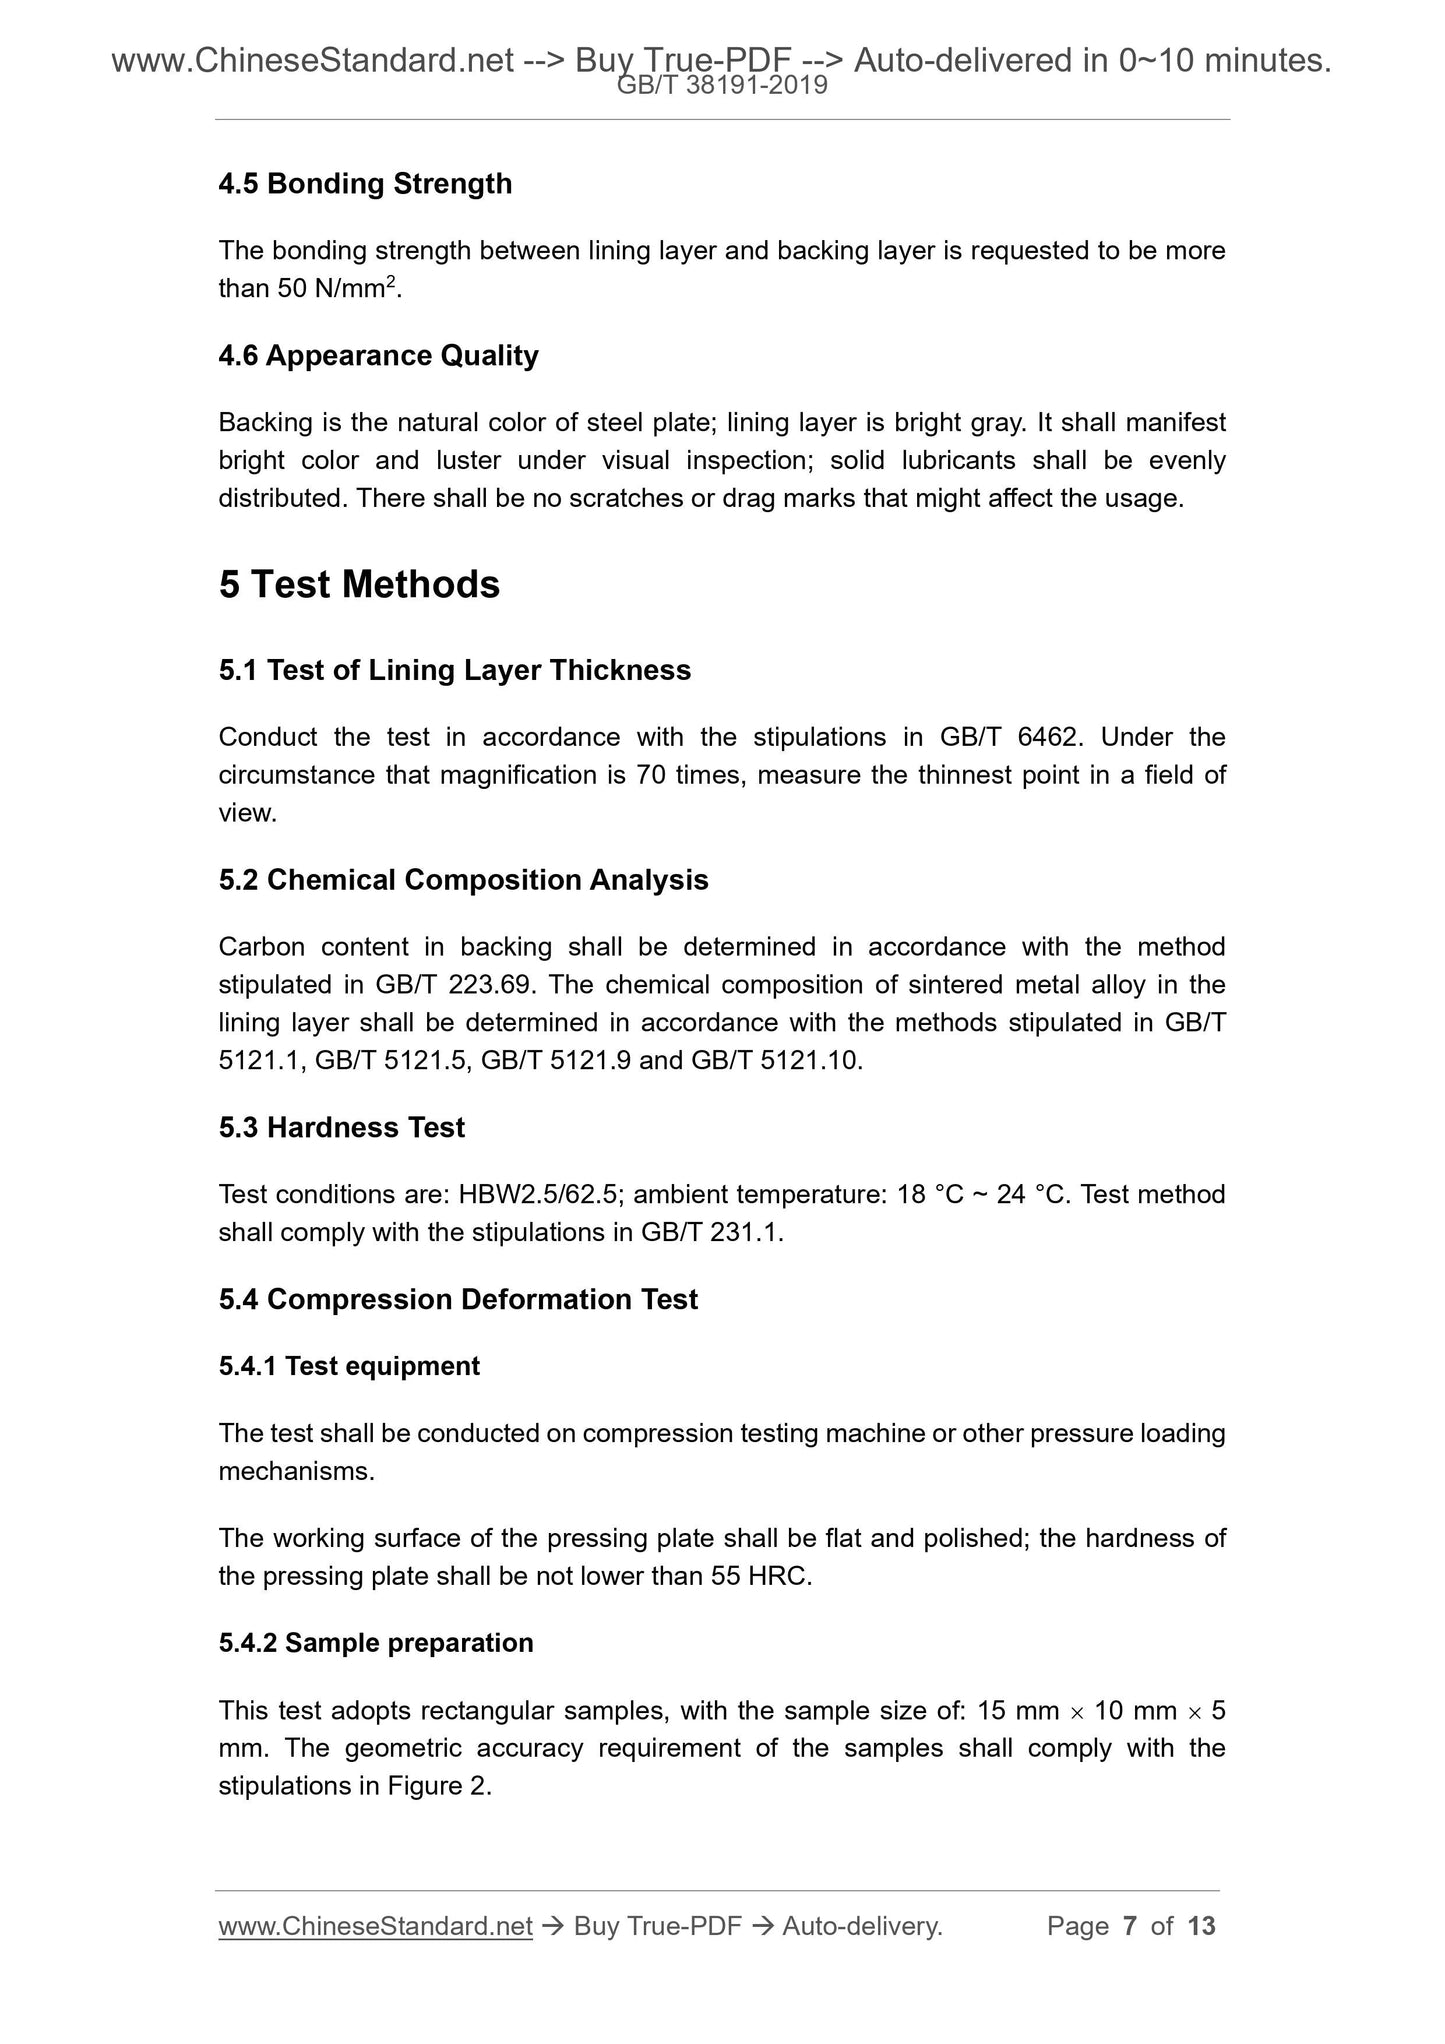
4.5 Bonding Strength
The bonding strength between lining layer and backing layer is requested to be more
than 50 N/mm2.
4.6 Appearance Quality
Backing is the natural color of steel plate; lining layer is bright gray. It shall manifest
bright color and luster under visual inspection; solid lubricants shall be evenly
distributed. There shall be no scratches or drag marks that might affect the usage.
5 Test Methods
5.1 Test of Lining Layer Thickness
Conduct the test in accordance with the stipulations in GB/T 6462. Under the
circumstance that magnification is 70 times, measure the thinnest point in a field of
view.
5.2 Chemical Composition Analysis
Carbon content in backing shall be determined in accordance with the method
stipulated in GB/T 223.69. The chemical composition of sintered metal alloy in the
lining layer shall be determined in accordance with the methods stipulated in GB/T
5121.1, GB/T 5121.5, GB/T 5121.9 and GB/T 5121.10.
5.3 Hardness Test
Test conditions are: HBW2.5/62.5; ambient temperature: 18 °C ~ 24 °C. Test method
shall comply with the stipulations in GB/T 231.1.
5.4 Compression Deformation Test
5.4.1 Test equipment
The test shall be conducted on compression testing machine or other pressure loading
mechanisms.
The working surface of the pressing plate shall be flat and polished; the hardness of
the pressing plate shall be not lower than 55 HRC.
5.4.2 Sample preparation
This test adopts rectangular samples, with the sample size of: 15 mm  10 mm  5
mm. The geometric accuracy requirement of the samples shall comply with the
stipulations in Figure 2.
5.5.3 Requirements of grinding part
The material of grinding part shall be 45 Steel; hardness: 43 HRC ~ 47 HRC;
roughness: Ra0.8 μm.
5.5.4 Lubrication
Before the test begins, thoroughly smear No.2 lithium base lubricating grease on the
friction surface of the sample. During the test process, do not lubricate the sample.
5.5.5 Test method
Adopt constant speed and load test; test time shall be: 34 h (reciprocate for around
65,000 times); ambient temperature: 18 °C ~ 24 °C; extreme temperature: 100 °C; load:
10 kN (5 N/mm2); average speed: 7 m/min; stroke: 110 mm ± 10 mm. When one of the
following circumstances emerges, the test shall be terminated in advance, products
shall be determined as disqualified:
a) Temperature reaches the stipulated extreme value;
b) Friction factor exceeds the limit value.
Through computer, print the friction factor and temperature curve that varies with the
time.
5.5.6 Friction and wear determination method
Before the test begins, use wall thickness micrometer to measure the thickness of the
sample in over 4 points; take the arithmetic mean value. After the test is terminated,
wait till the sample cools down to room temperature, then, measure the wear part of
the sample in over 4 points; take the arithmetic mean value. The thickness difference
before and after the wear shall be the wear extent.
5.6 Shear Test of Bonding Strength between Lining and Backing Layer
5.6.1 Sample preparation
Take bearing material, process it in accordance with Figure 5. During the processing,
do not damage the backing layer.

View full details