1
/
of
5
PayPal, credit cards. Download editable-PDF and invoice in 1 second!
GB/T 36259-2018 English PDF (GB/T36259-2018)
Regular price
$150.00
Regular price
Sale price
$150.00
Unit price
/
per
Shipping calculated at checkout.
Couldn't load pickup availability
GB/T 36259-2018: High aluminum silicate cover glass for touch panel
Delivery: 9 seconds. Download (& Email) true-PDF + Invoice.
Get Quotation: Click GB/T 36259-2018 (Self-service in 1-minute)
Historical versions (Master-website): GB/T 36259-2018
Preview True-PDF (Reload/Scroll-down if blank)
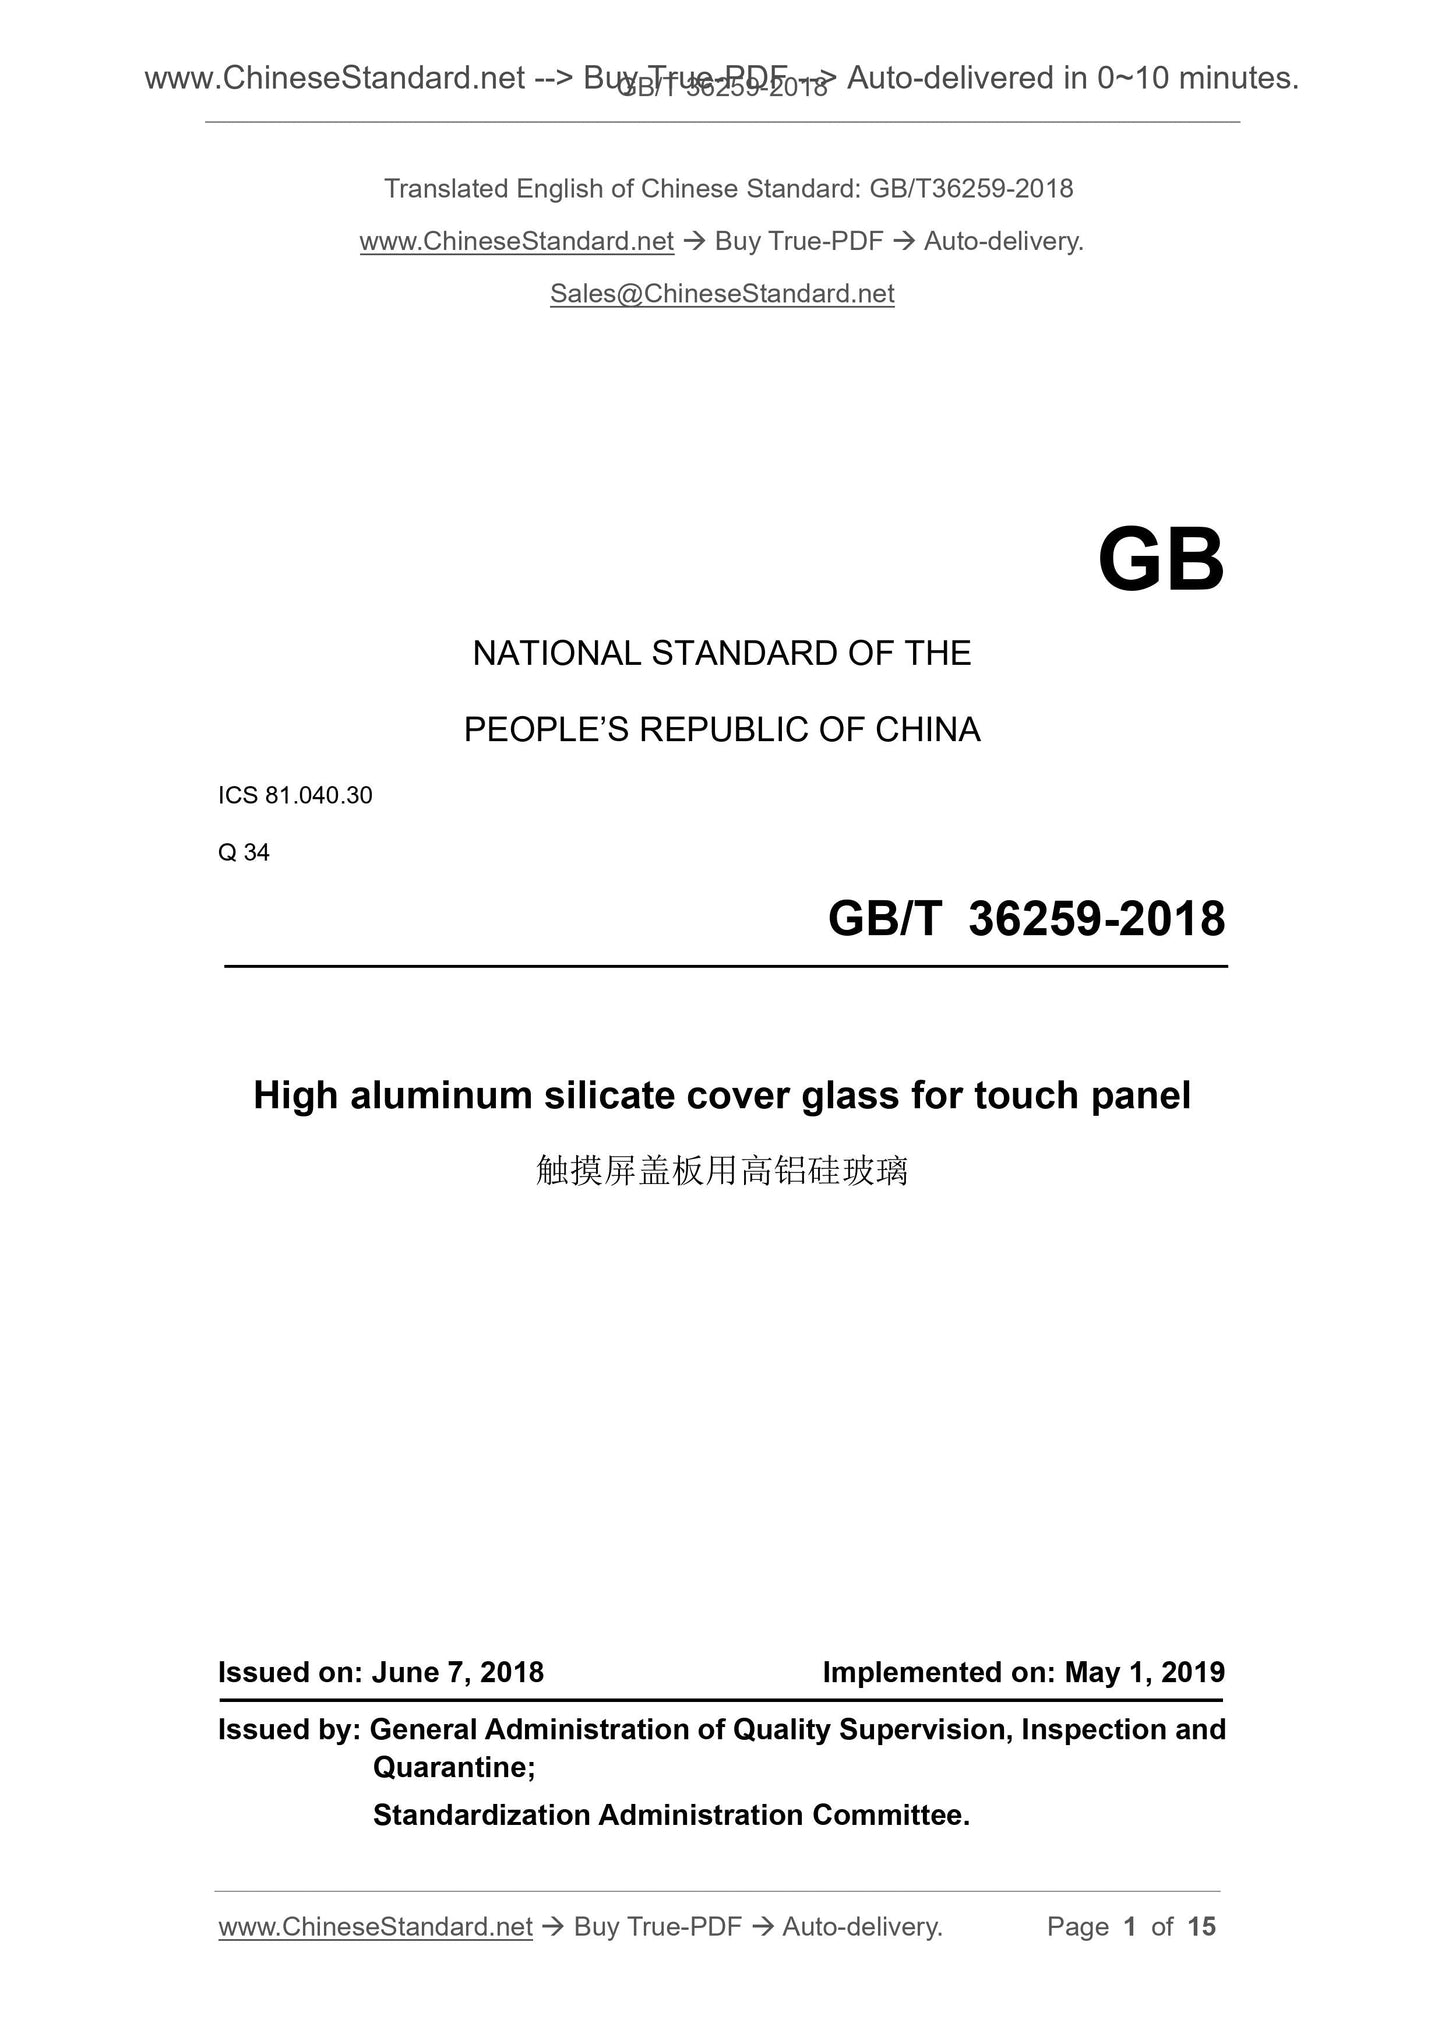
GB/T 36259-2018
GB
NATIONAL STANDARD OF THE
PEOPLE’S REPUBLIC OF CHINA
ICS 81.040.30
Q 34
High aluminum silicate cover glass for touch panel
ISSUED ON. JUNE 7, 2018
IMPLEMENTED ON. MAY 1, 2019
Issued by. General Administration of Quality Supervision, Inspection and
Quarantine;
Standardization Administration Committee.
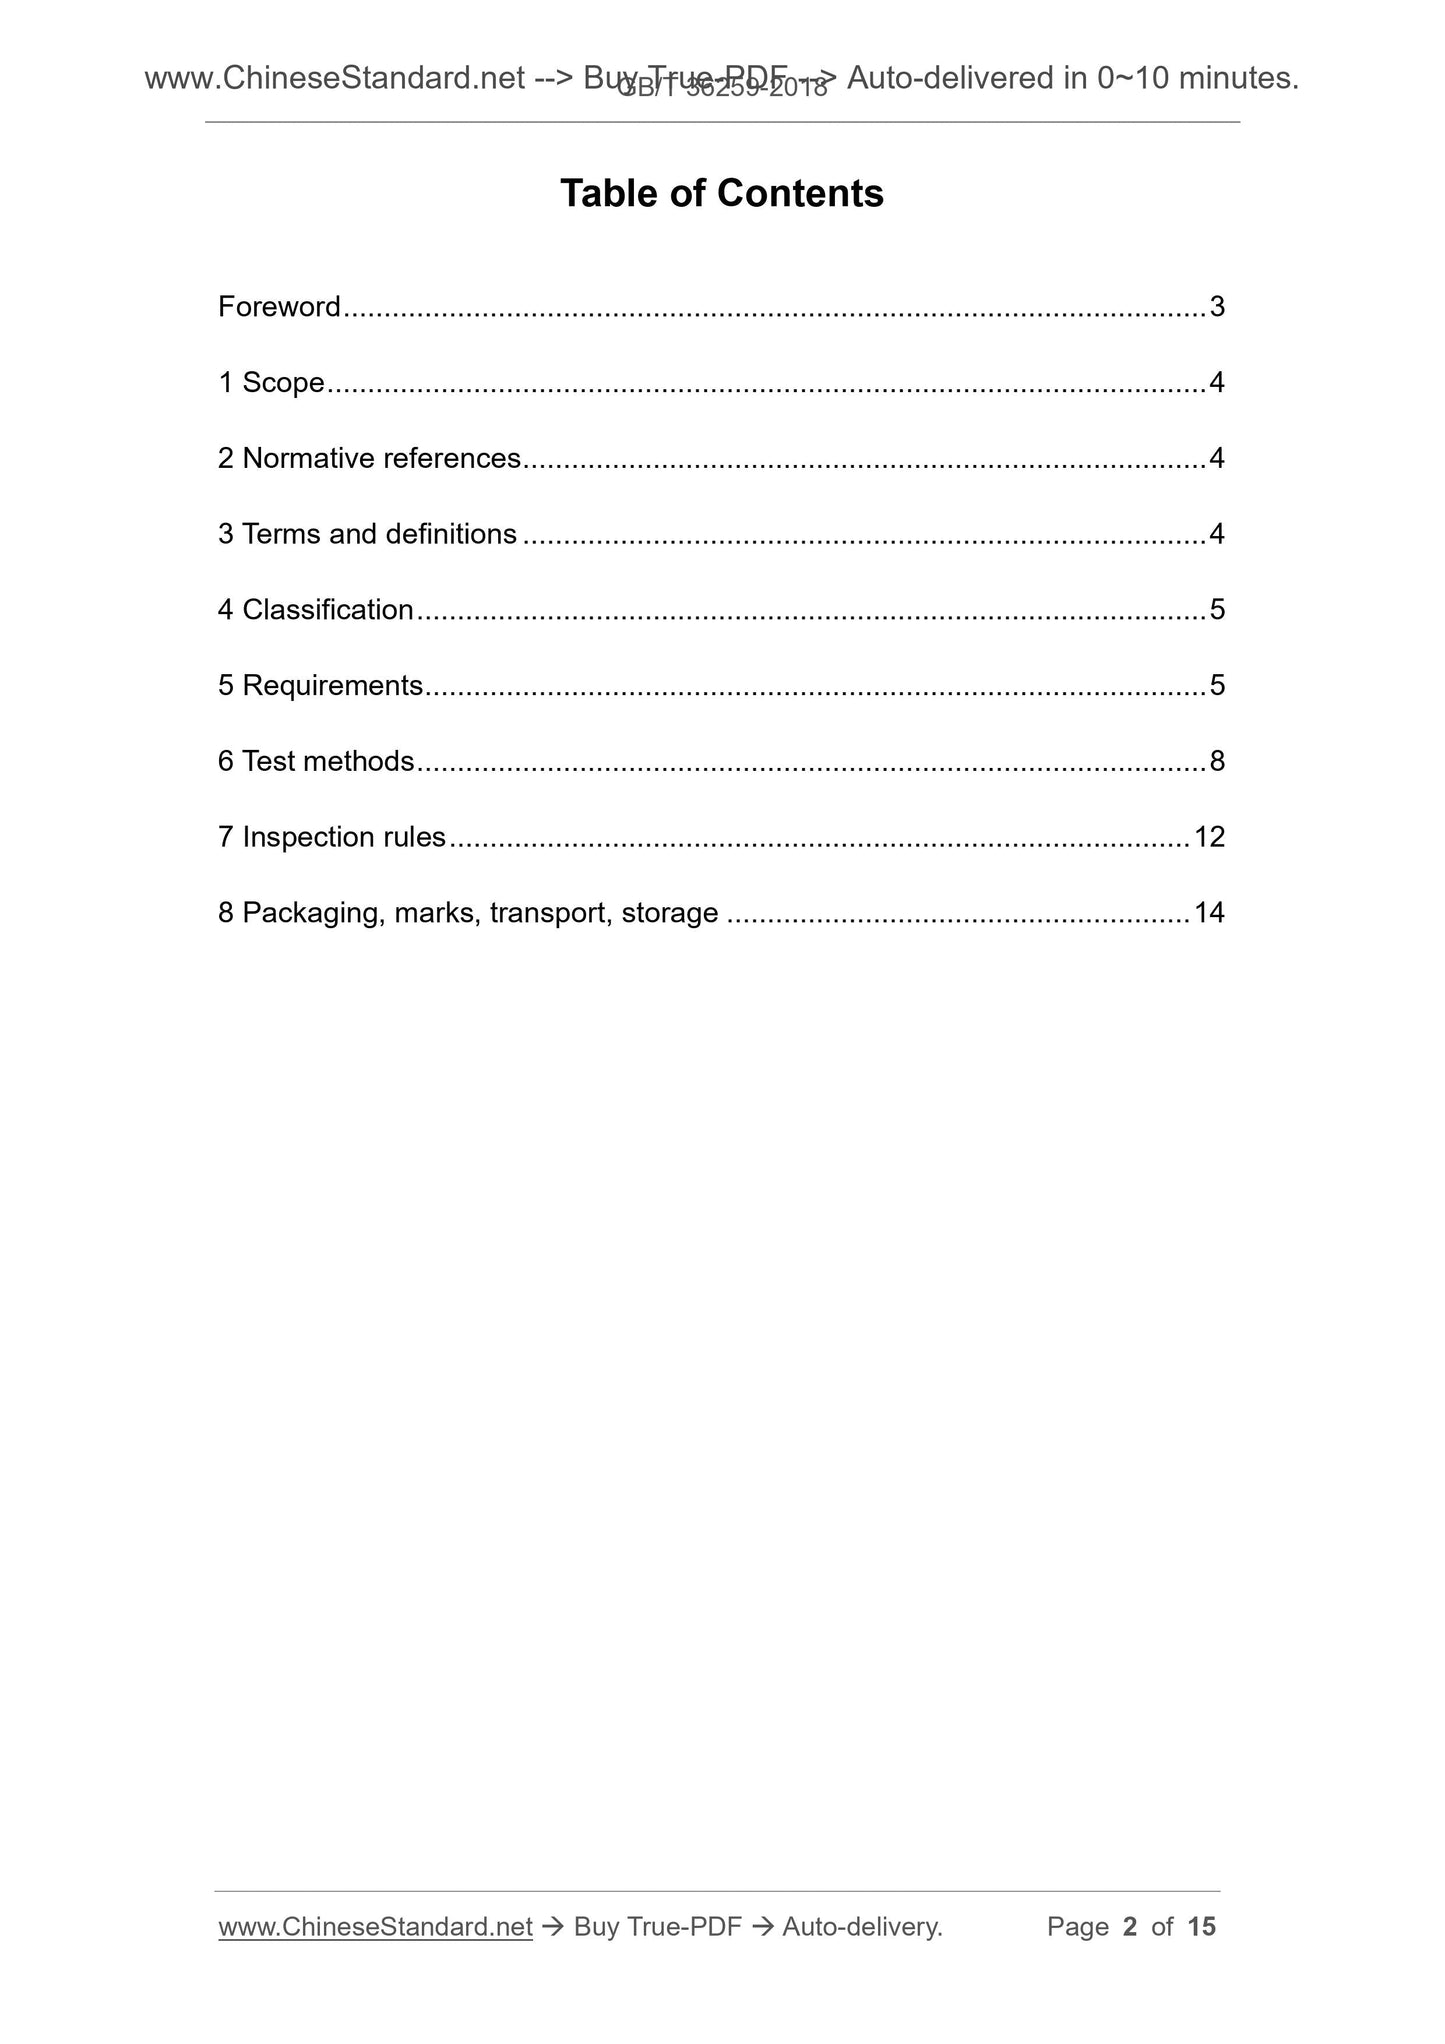
Table of Contents
Foreword ... 3
1 Scope ... 4
2 Normative references ... 4
3 Terms and definitions ... 4
4 Classification ... 5
5 Requirements ... 5
6 Test methods ... 8
7 Inspection rules ... 12
8 Packaging, marks, transport, storage ... 14
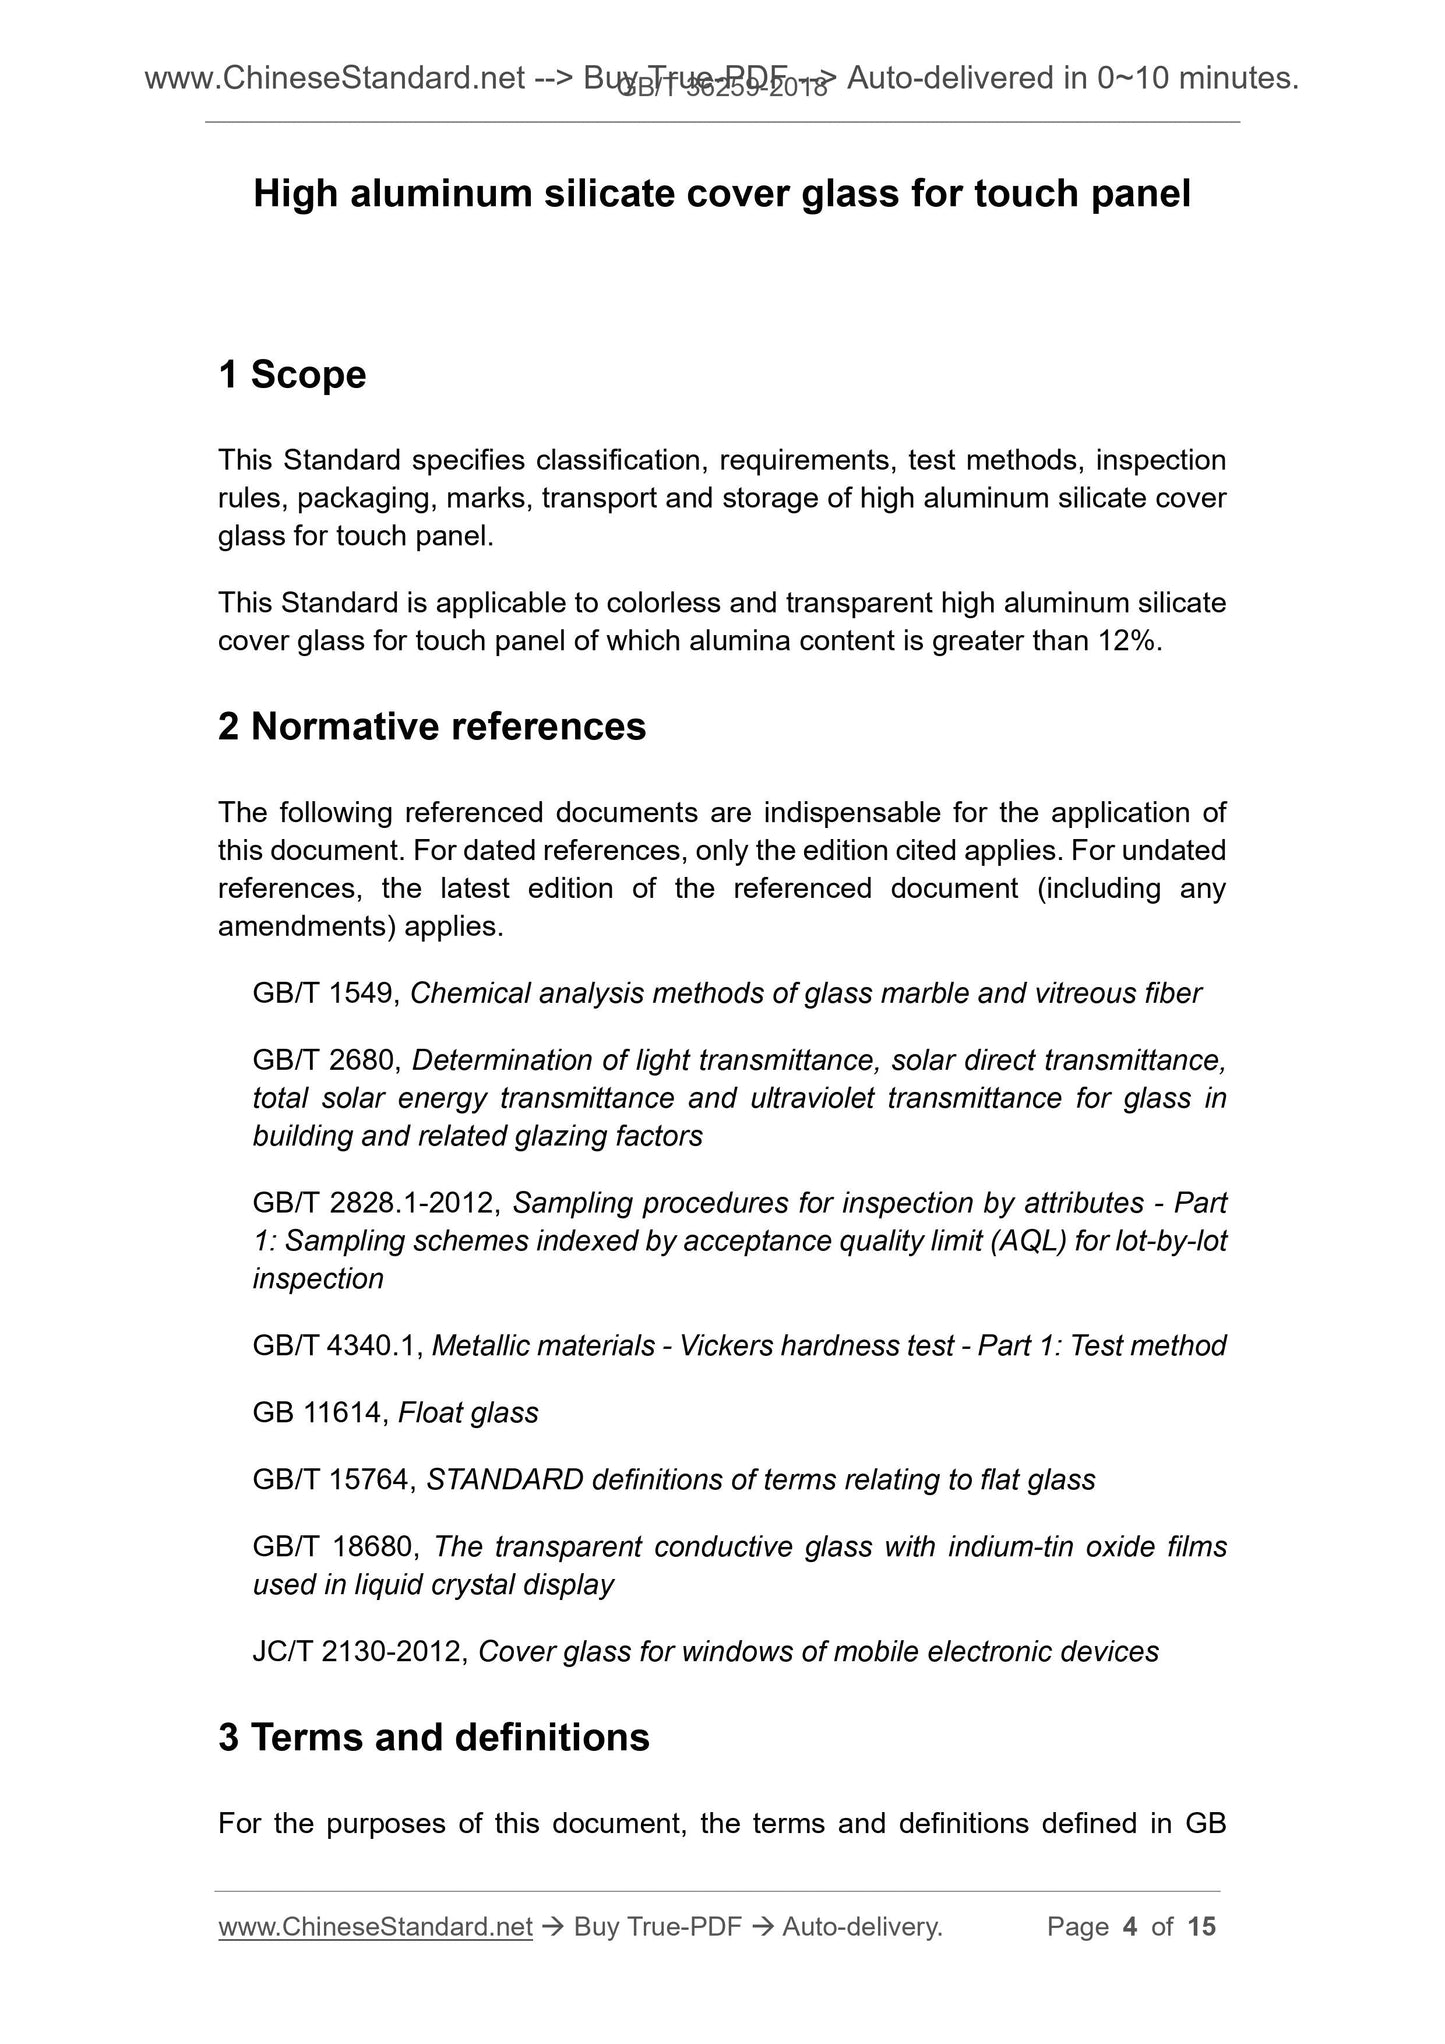
High aluminum silicate cover glass for touch panel
1 Scope
This Standard specifies classification, requirements, test methods, inspection
rules, packaging, marks, transport and storage of high aluminum silicate cover
glass for touch panel.
This Standard is applicable to colorless and transparent high aluminum silicate
cover glass for touch panel of which alumina content is greater than 12%.
2 Normative references
The following referenced documents are indispensable for the application of
this document. For dated references, only the edition cited applies. For undated
references, the latest edition of the referenced document (including any
amendments) applies.
GB/T 1549, Chemical analysis methods of glass marble and vitreous fiber
GB/T 2680, Determination of light transmittance, solar direct transmittance,
total solar energy transmittance and ultraviolet transmittance for glass in
building and related glazing factors
GB/T 2828.1-2012, Sampling procedures for inspection by attributes - Part
1. Sampling schemes indexed by acceptance quality limit (AQL) for lot-by-lot
inspection
GB/T 4340.1, Metallic materials - Vickers hardness test - Part 1. Test method
GB 11614, Float glass
GB/T 15764, STANDARD definitions of terms relating to flat glass
GB/T 18680, The transparent conductive glass with indium-tin oxide films
used in liquid crystal display
JC/T 2130-2012, Cover glass for windows of mobile electronic devices
3 Terms and definitions
For the purposes of this document, the terms and definitions defined in GB
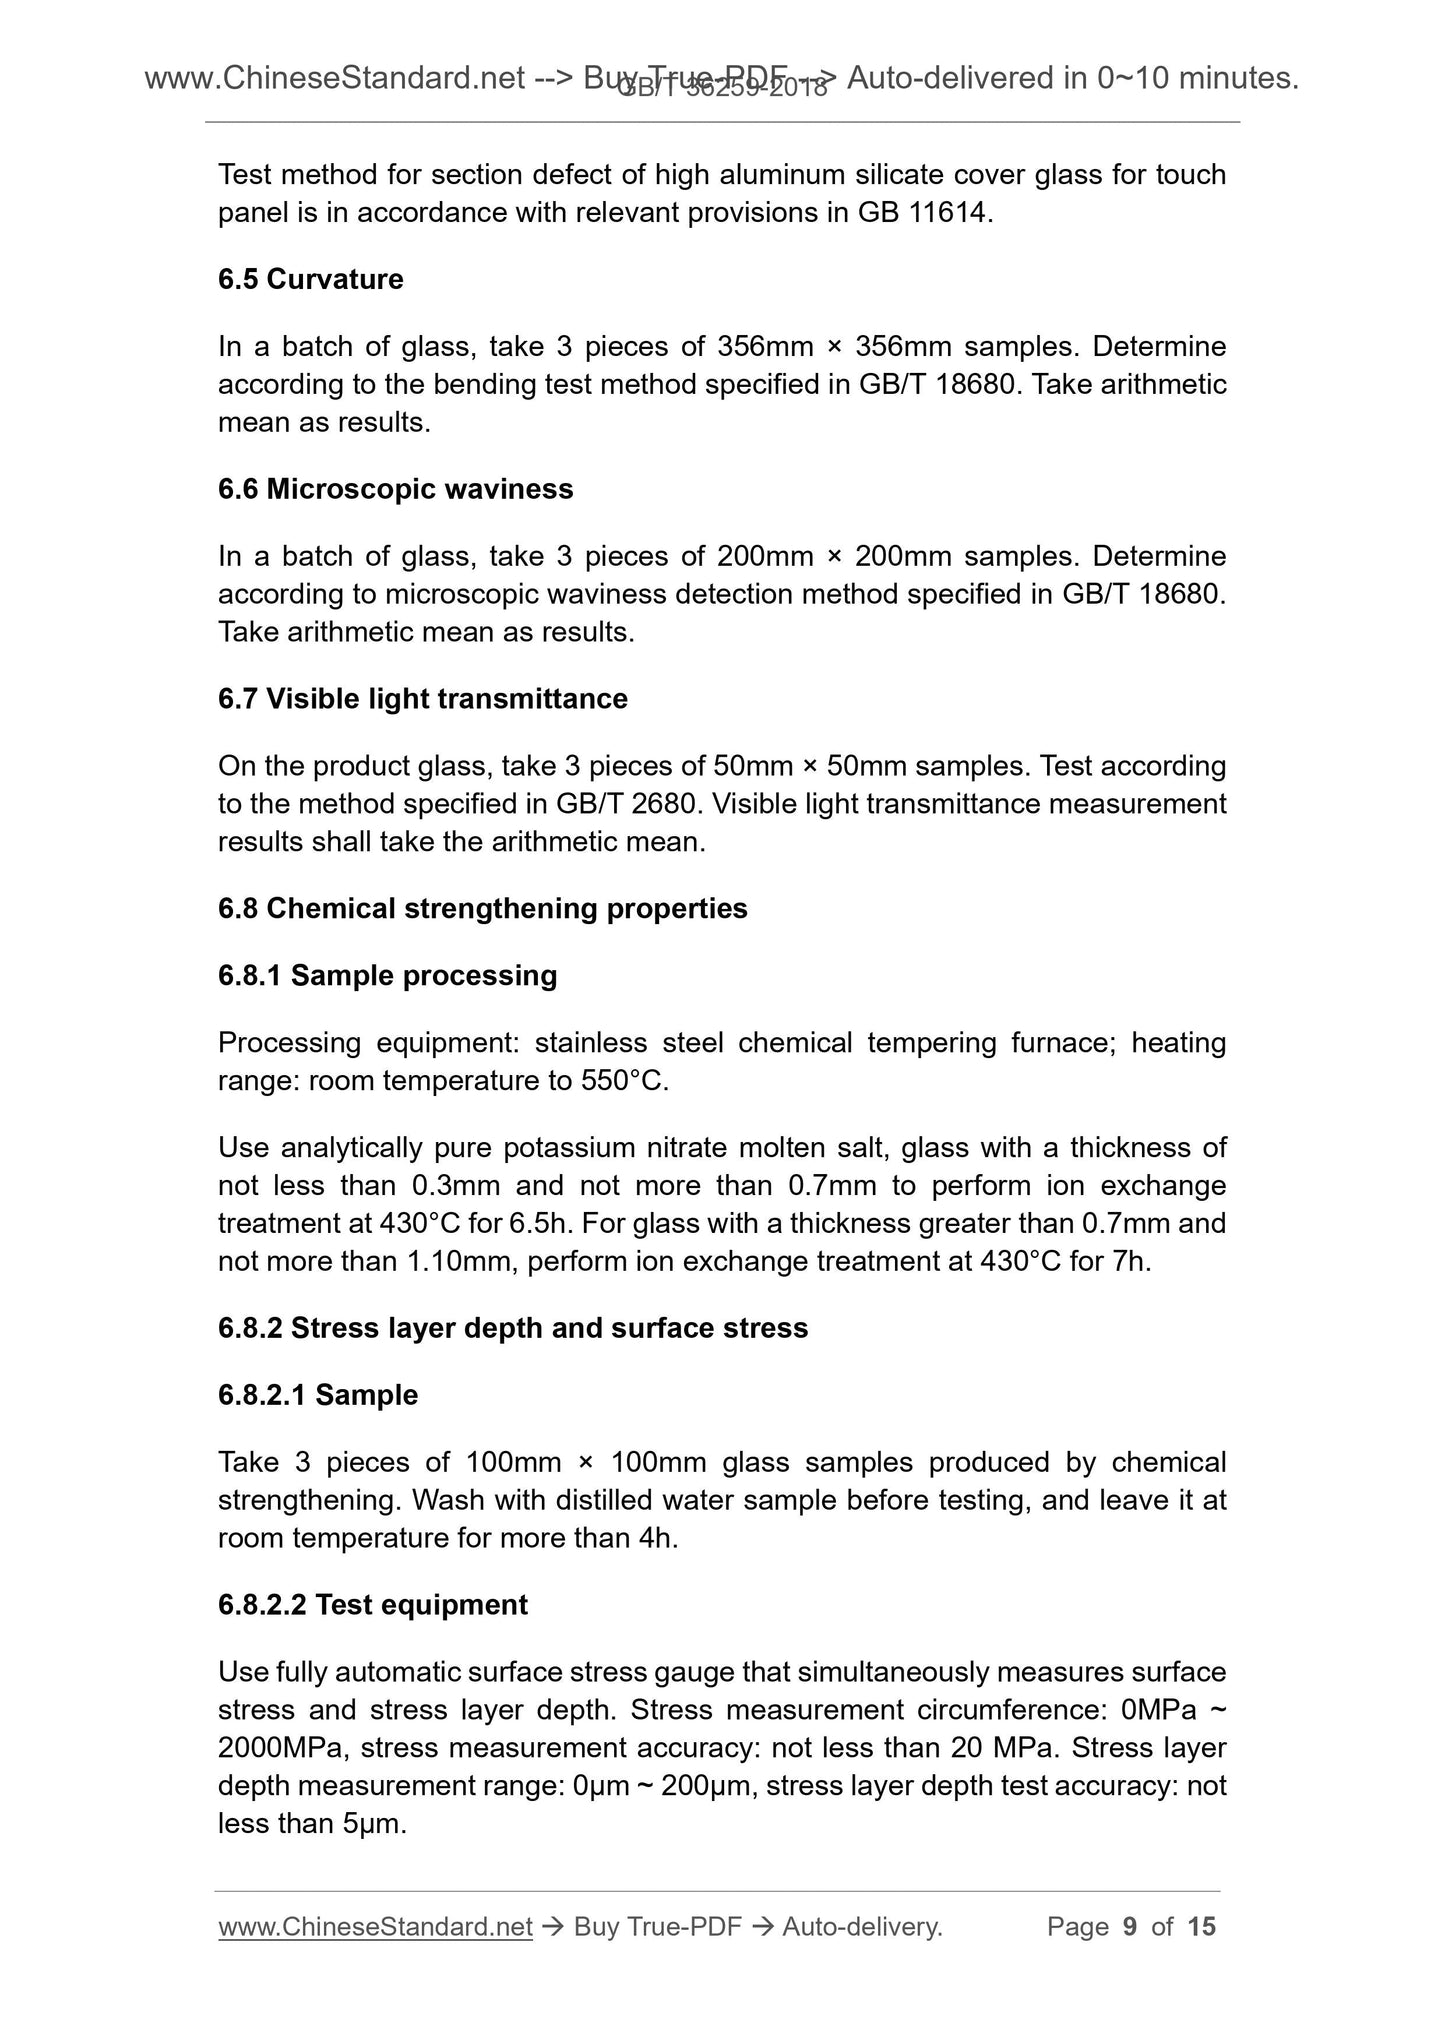
Test method for section defect of high aluminum silicate cover glass for touch
panel is in accordance with relevant provisions in GB 11614.
6.5 Curvature
In a batch of glass, take 3 pieces of 356mm × 356mm samples. Determine
according to the bending test method specified in GB/T 18680. Take arithmetic
mean as results.
6.6 Microscopic waviness
In a batch of glass, take 3 pieces of 200mm × 200mm samples. Determine
according to microscopic waviness detection method specified in GB/T 18680.
Take arithmetic mean as results.
6.7 Visible light transmittance
On the product glass, take 3 pieces of 50mm × 50mm samples. Test according
to the method specified in GB/T 2680. Visible light transmittance measurement
results shall take the arithmetic mean.
6.8 Chemical strengthening properties
6.8.1 Sample processing
Processing equipment. stainless steel chemical tempering furnace; heating
range. room temperature to 550°C.
Use analytically pure potassium nitrate molten salt, glass with a thickness of
not less than 0.3mm and not more than 0.7mm to perform ion exchange
treatment at 430°C for 6.5h. For glass with a thickness greater than 0.7mm and
not more than 1.10mm, perform ion exchange treatment at 430°C for 7h.
6.8.2 Stress layer depth and surface stress
6.8.2.1 Sample
Take 3 pieces of 100mm × 100mm glass samples produced by chemical
strengthening. Wash with distilled water sample before testing, and leave it at
room temperature for more than 4h.
6.8.2.2 Test equipment
Use fully automatic surface stress gauge that simultaneously measures surface
stress and stress layer depth. Stress measurement circumference. 0MPa ~
2000MPa, stress measurement accuracy. not less than 20 MPa. Stress layer
depth measurement range. 0μm ~ 200μm, stress layer depth test accuracy. not
less than 5μm.
batch of glass are qualified. If the number of unqualified pieces is not less than
the rejection number in Table 10, the above indicators of the batch of glass are
unqualified.
For chemical composition, visible light transmittance, stress layer depth and
surface stress, Vickers hardness, flexural strength, after the sample is tested, if
qualified, the above indicators of the batch of glass are determined to be
qualified.
For impact resistance, when 5 pieces or more are qualified, it is determined that
the impact resistance of the batch of glasses is qualified. When 3 or less passes,
it is determined that the impact resistance of the batch of glass is unqualified.
When 4 samples are qualified, 6 additional samples are retested. When all 6
pieces are qualified, it is determined that the impact resistance of the batch of
glass is qualified.
If all the test items are qualified, the batch of glass is determined as qualified. If
one or more of the item indicators are unqualified, it is determined that the batch
of glass is unqualified.
8 Packaging, marks, transport, storage
8.1 Packaging
8.1.1 Glass shall be packed in wooden boxes or containers (racks). Boxes
(racks) shall be easy to load, unload and transport. The number of packages
per box (rack) shall be compatible with the strength of the box (rack). A box
(rack) shall be filled with glass of same thickness, size and grade.
8.1.2 The product packaging site shall be clean and free of flying dust. The
glass shall be lined with mildew-proof paper or mildew-proof powder. The paper
is flat, smooth and clean, no streaks or pleats. Glass plates shall be kept clean
and dry.
8.1.3 The product is packed in plastic cloth and put into a wooden box or other
packaging. The plastic cloth shall be placed with a desiccant.
8.2 Marks
The glass packaging shall have a mark or label indicating the product name,
manufacturer, registered trademark, site, quality grade, size, thickness, quantity,
date of manufacture, direction of drawing and standard number, and printed
with "handling with care, fragile, water and moisture proof" in words or marks.
The products produced in float glass process shall indicate tin surface or upper
and lower surfaces of glass.
Share