Skip to product information
1 of 8

PayPal, credit cards. Download editable-PDF & invoice in 1 second!

GB/T 33624-2017 English PDF (GB/T33624-2017)

GB/T 33624-2017 English PDF (GB/T33624-2017)

Regular price $200.00 USD
Regular price Sale price $200.00 USD
Sale Sold out
Shipping calculated at checkout.
Delivery: 3 seconds. Download true-PDF + Invoice.
Get Quotation: Click GB/T 33624-2017 (Self-service in 1-minute)
Historical versions (Master-website): GB/T 33624-2017
Preview True-PDF (Reload/Scroll-down if blank)

GB/T 33624-2017: Rolling Bearings - Test and Assessment Methods for Cleanliness
GB/T 33624-2017
Rolling bearings - Test and assessment methods for cleanliness
ICS 21.100.20
J11
National Standards of People's Republic of China
Rolling bearing cleanliness measurement and evaluation method
2017-05-12 released
2017-12-01 implementation
General Administration of Quality Supervision, Inspection and Quarantine of the People 's Republic of China
China National Standardization Management Committee released
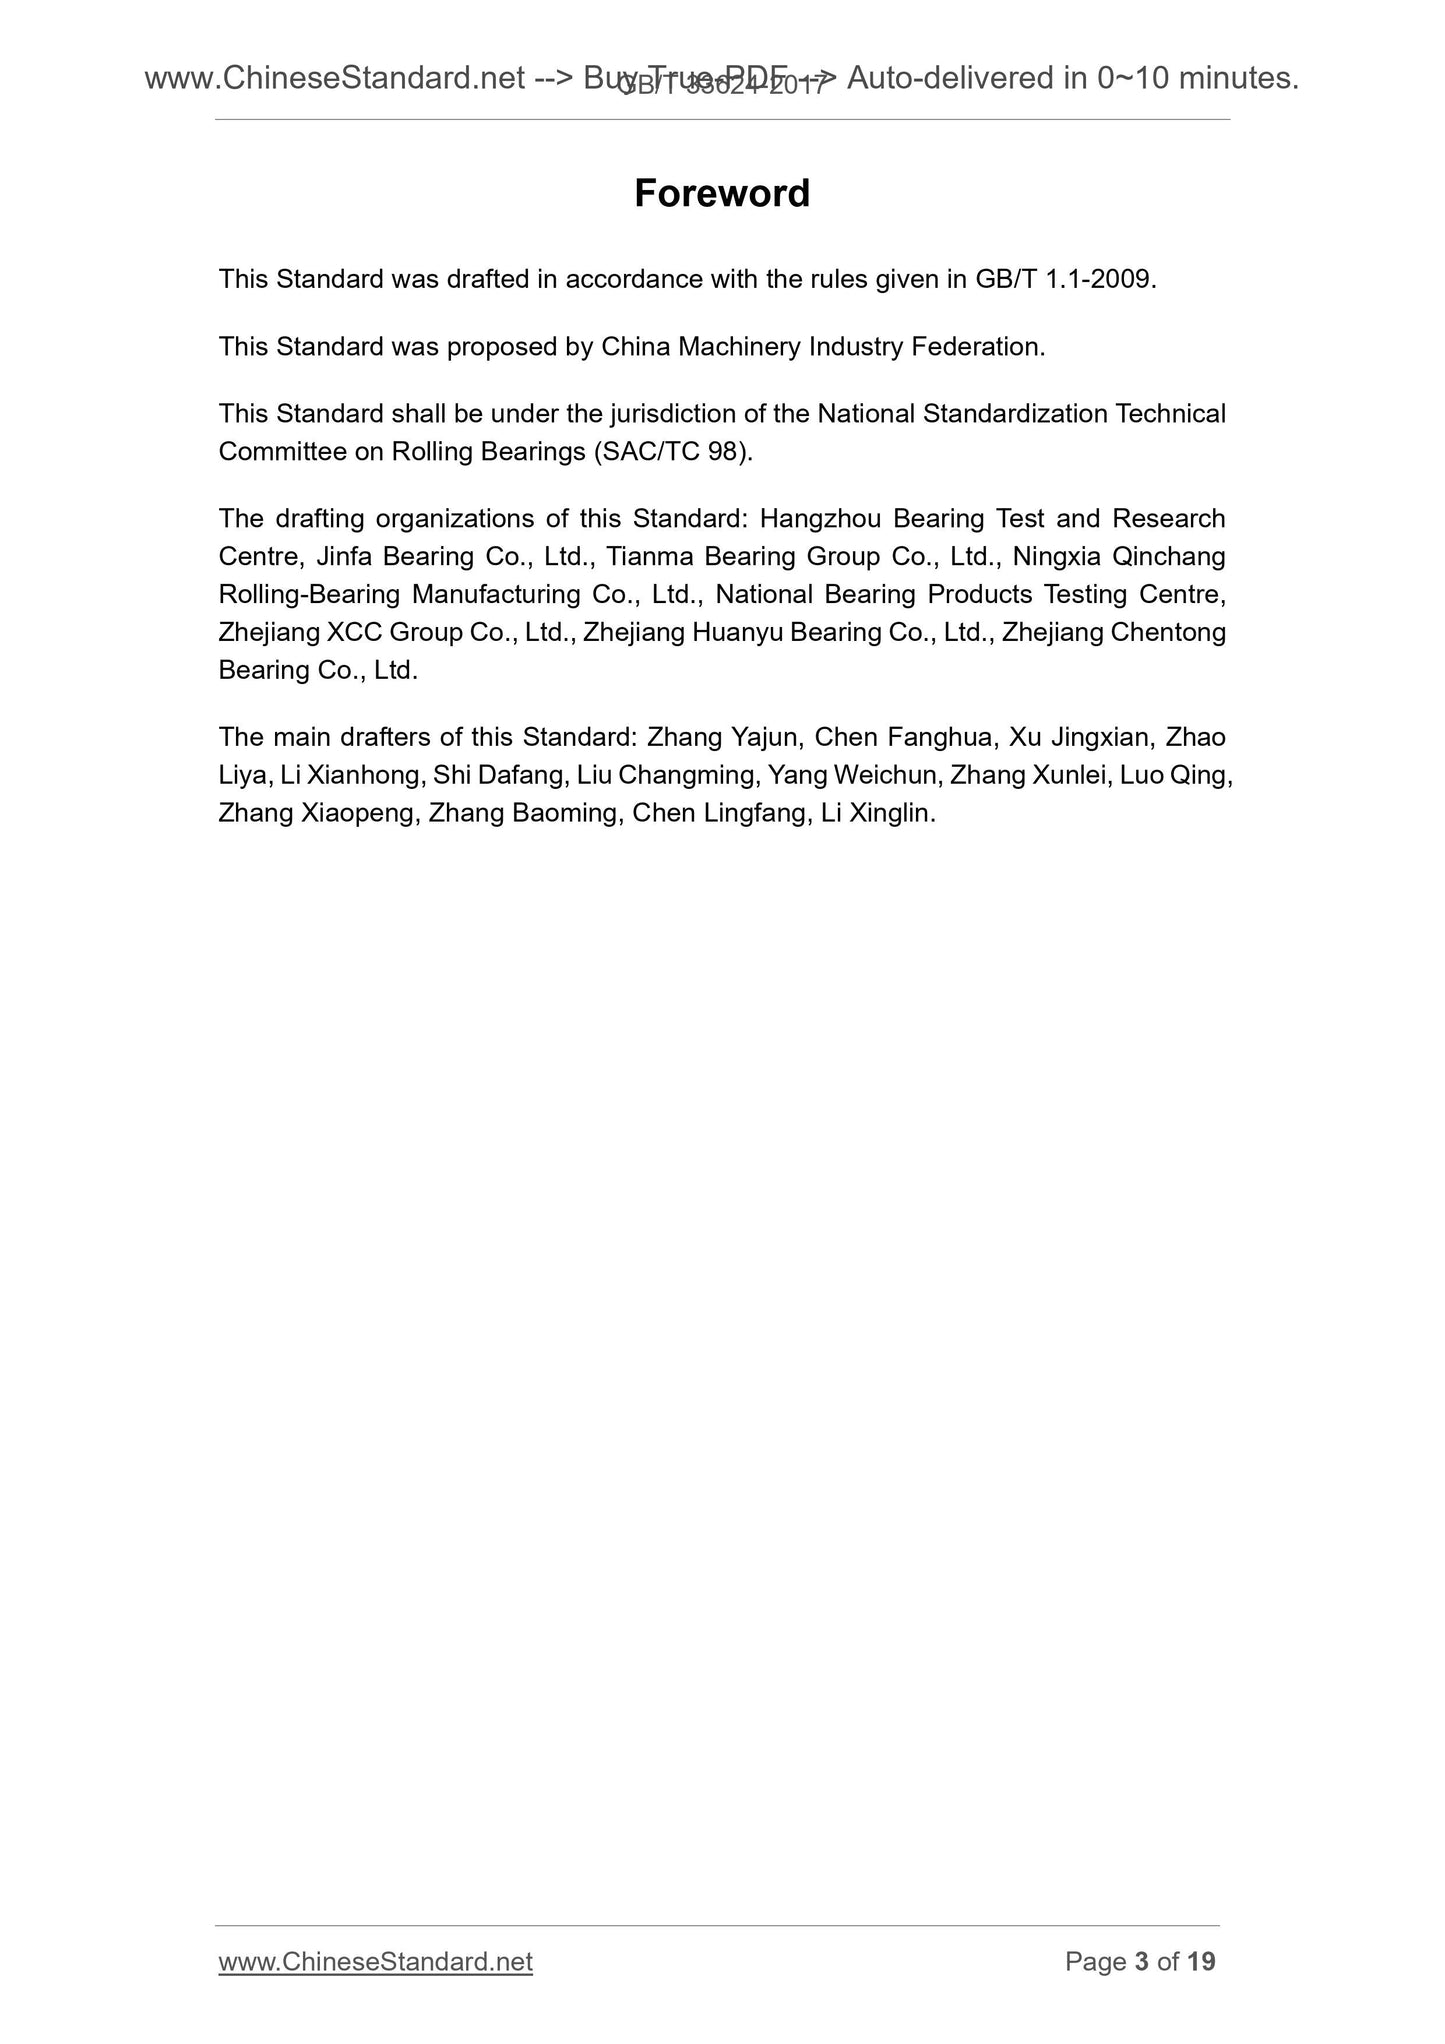
Preface
This standard is drafted in accordance with the rules given in GB/T 1.1-2009.
This standard is proposed by the China Machinery Industry Federation.
This standard by the National Rolling Bearing Standardization Technical Committee (SAC/TC98) centralized.
The drafting unit of this standard. Hangzhou Bearing Experimental Research Center Co., Ltd., Bearing Co., Ltd., Tianma Bearing Group Co., Ltd.
Division, Ningxia Qinchang Rolling Bearing Manufacturing Co., Ltd., the national small and medium-sized bearing product quality supervision and inspection center, Zhejiang Wuzhou New Year Group shares
Co., Ltd., Zhejiang Universal Bearing Co., Ltd., Zhejiang Chen-Bearing Co., Ltd.
The main drafters of this standard. Zhang Yajun, Chen Fanghua, Xu Jingxian, Zhao Liya, Li Xianhong, Shi Dafang, Liu Changming, Yang Weichun, Zhang Xunlei,
Luo Qing, Zheng Xiaopeng, Zhang Baoming, Chen Lingfang, Li Xinglin.
Rolling bearing cleanliness measurement and evaluation method
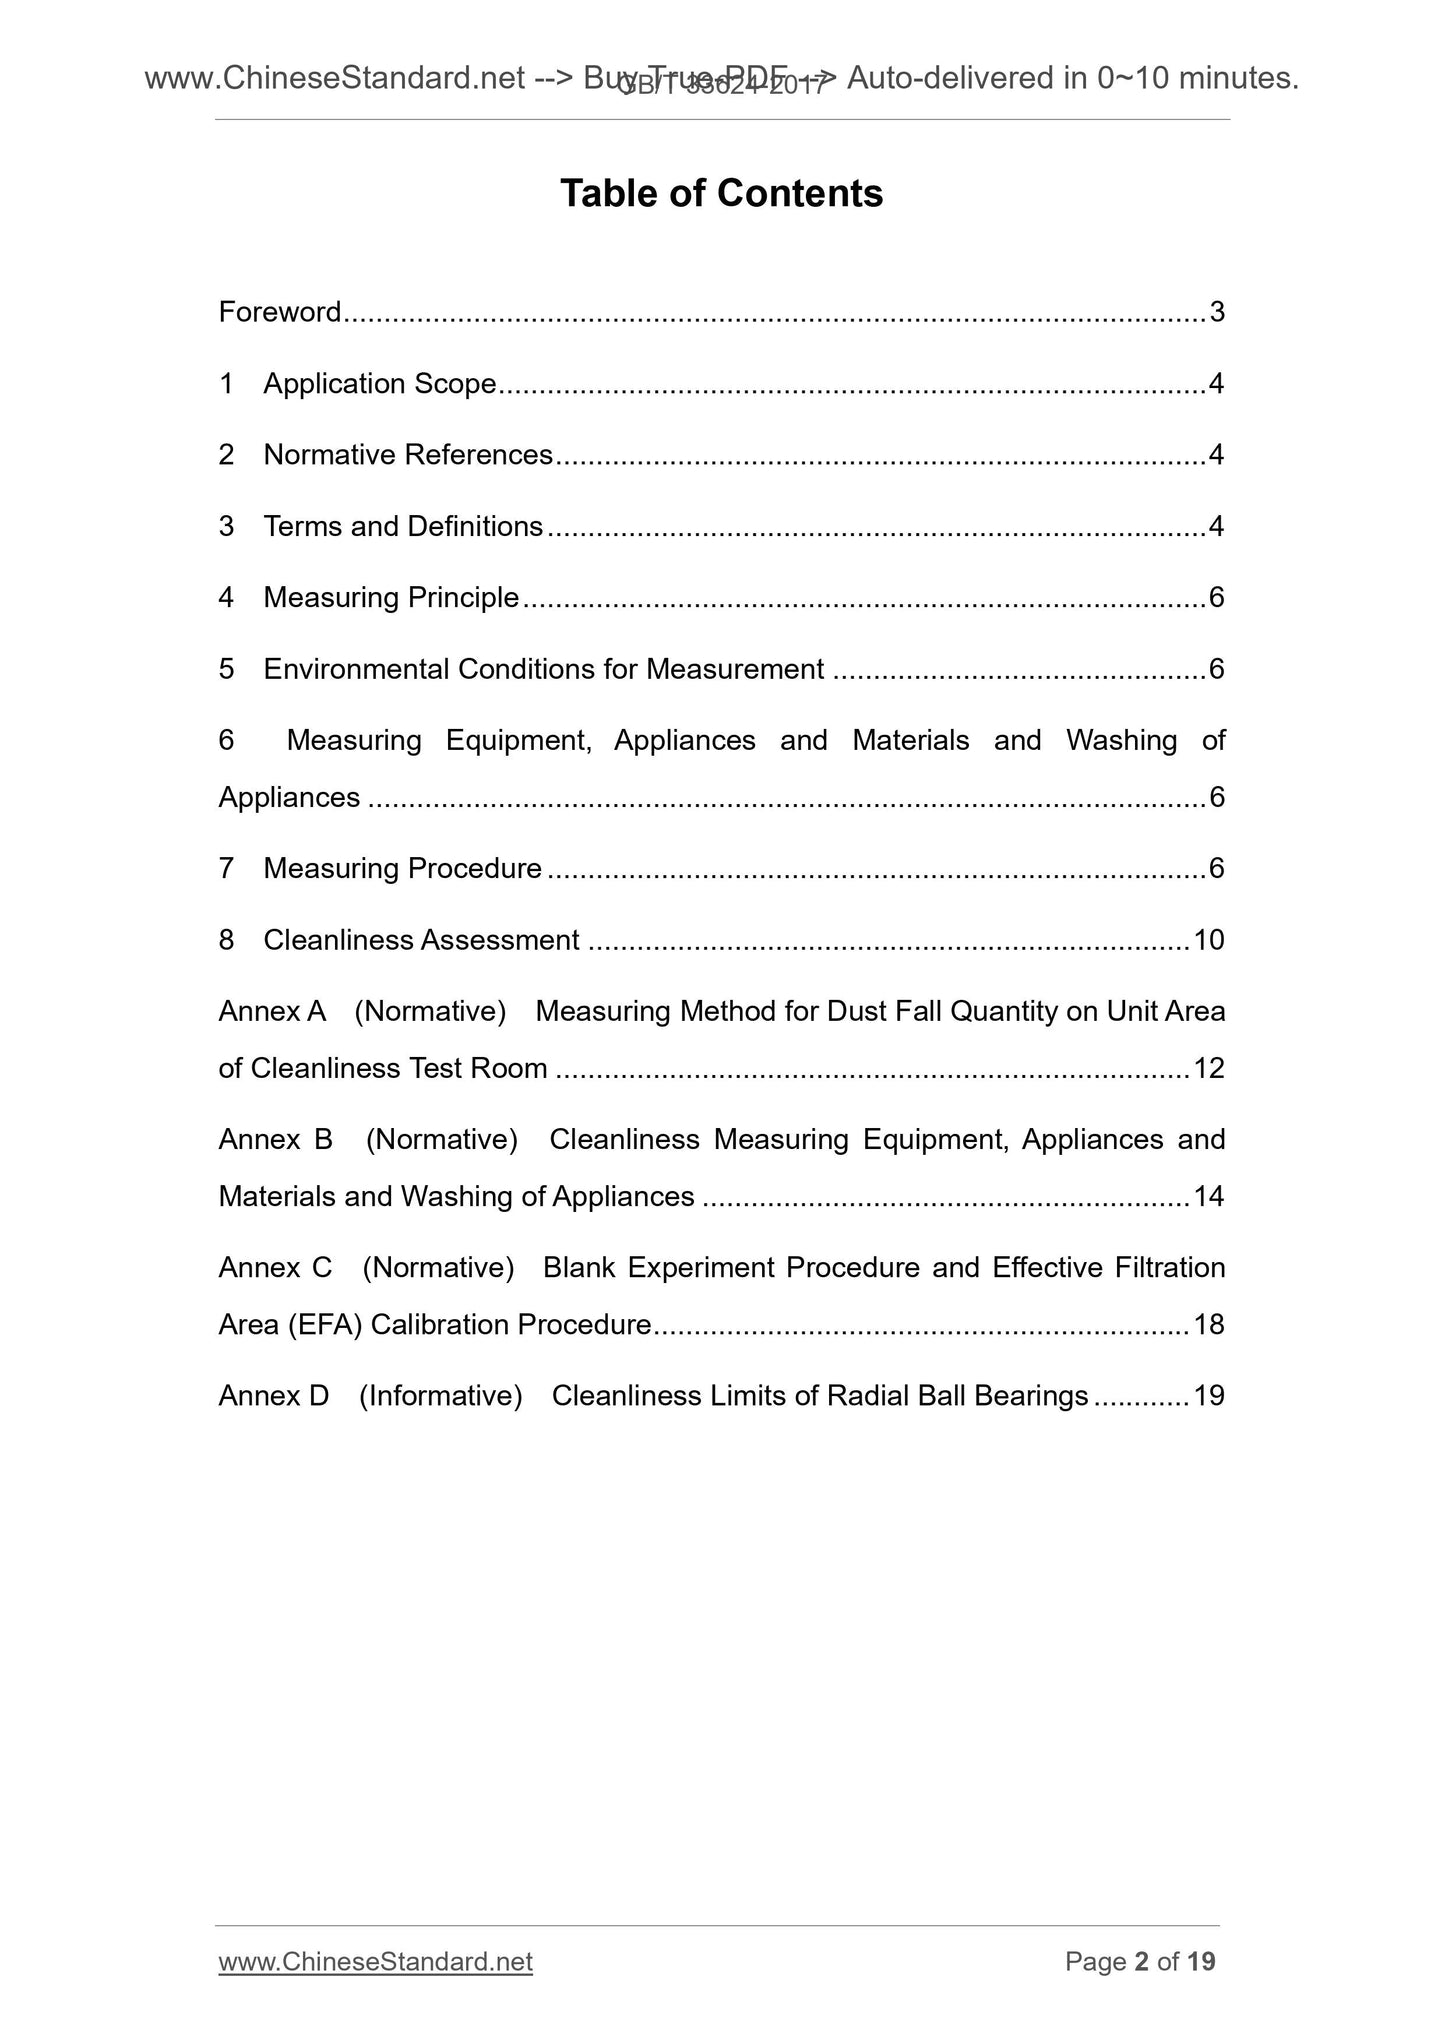
1 Scope
This standard specifies the rolling bearing (hereinafter referred to as bearings) and bearing parts cleanliness measurement and assessment methods.
This standard applies to all types of open bearings and closed bearings before the measurement and evaluation of fat, but also for bearing parts measurement and evaluation.
2 normative reference documents
The following documents are indispensable for the application of this document. For dated references, only the dated edition applies to this article
Pieces. For undated references, the latest edition (including all modifications) applies to this document.
Solvent oil for rubber industry
3 terms and definitions
The following terms and definitions apply to this document.
3.1
Impurity
Adhesive to the bearing/bearing parts surface, the impact of bearing performance of the particles.
3.2
Particle size particlesize
The maximum size of the particles (the distance between the largest point and the point on the contour of the particle image).
3.3
Bearing/bearing parts cleanliness bearing/bearingpartcleanliness
Each bearing/bearing parts of the quality of impurities or the size of the unit surface area impurity quality; each bearing/bearing parts
The size and quantity of the impurity particle size, and the size and quantity of the impurity particle size per unit surface area.
3.4
Fiber fiber
A particle having a size of more than 100 m and a ratio of the length to the width of not less than 10.
3.5
Image analyzer imageanalyser
Can analyze the particles on the filter, the automatic measurement of particle size and quantity of the instrument.
Note. According to the particle and background color, the microscope can be distributed under the microscope field of view through the camera into the image on the screen, and automatically calculate the particle size
Inch and quantity.
3.6
Calculation factor
Effective filter area (3.7) and the counting area (3.8) ratio.
3.7
Effective filter area effectivefiltrationarea; EFA
The liquid flows through the filter to form a circular area.
3.8
Count area countarea
Image Analyzer The effective field area taken by the camera.
Note. The general image analyzer intake of the effective field of view is adjustable, the greater the effective field of view intake, the smaller the uncertainty of the count.
3.9
Blank test blankexperiment
Tests to test for additional contamination that may be caused by measurement conditions (eg solvent, vessel, filter production process, etc.).
4 measurement principle
4.1 Weighing method of measurement principle
With the solvent to impurities from the bearing/bearing parts (hereinafter referred to as the sample) surface cleaning liquid sample, and then through the vacuum filter impurities
Set to the filter, the quality of the impurity is measured by weighing the filter mass. With each set/piece of sample impurity quality or sample unit surface area impurity quality
Evaluate the bearing/bearing parts cleanliness.
Note. The bearing count units for the sets, bearing parts count units for the pieces.
4.2 particle counting method of measurement principle
The impurities were collected on the filter membrane in the same manner as the weighing method, and the size and quantity of the particles were measured by image resolution. With each
The particle size and quantity of the specimen/piece sample size and the particle size and quantity of the unit surface area of the specimen shall be used to evaluate the bearing/bearing parts cleanliness.
5 Measure environmental conditions
5.1 Cleanliness The measuring room shall have good dust and ventilation facilities.
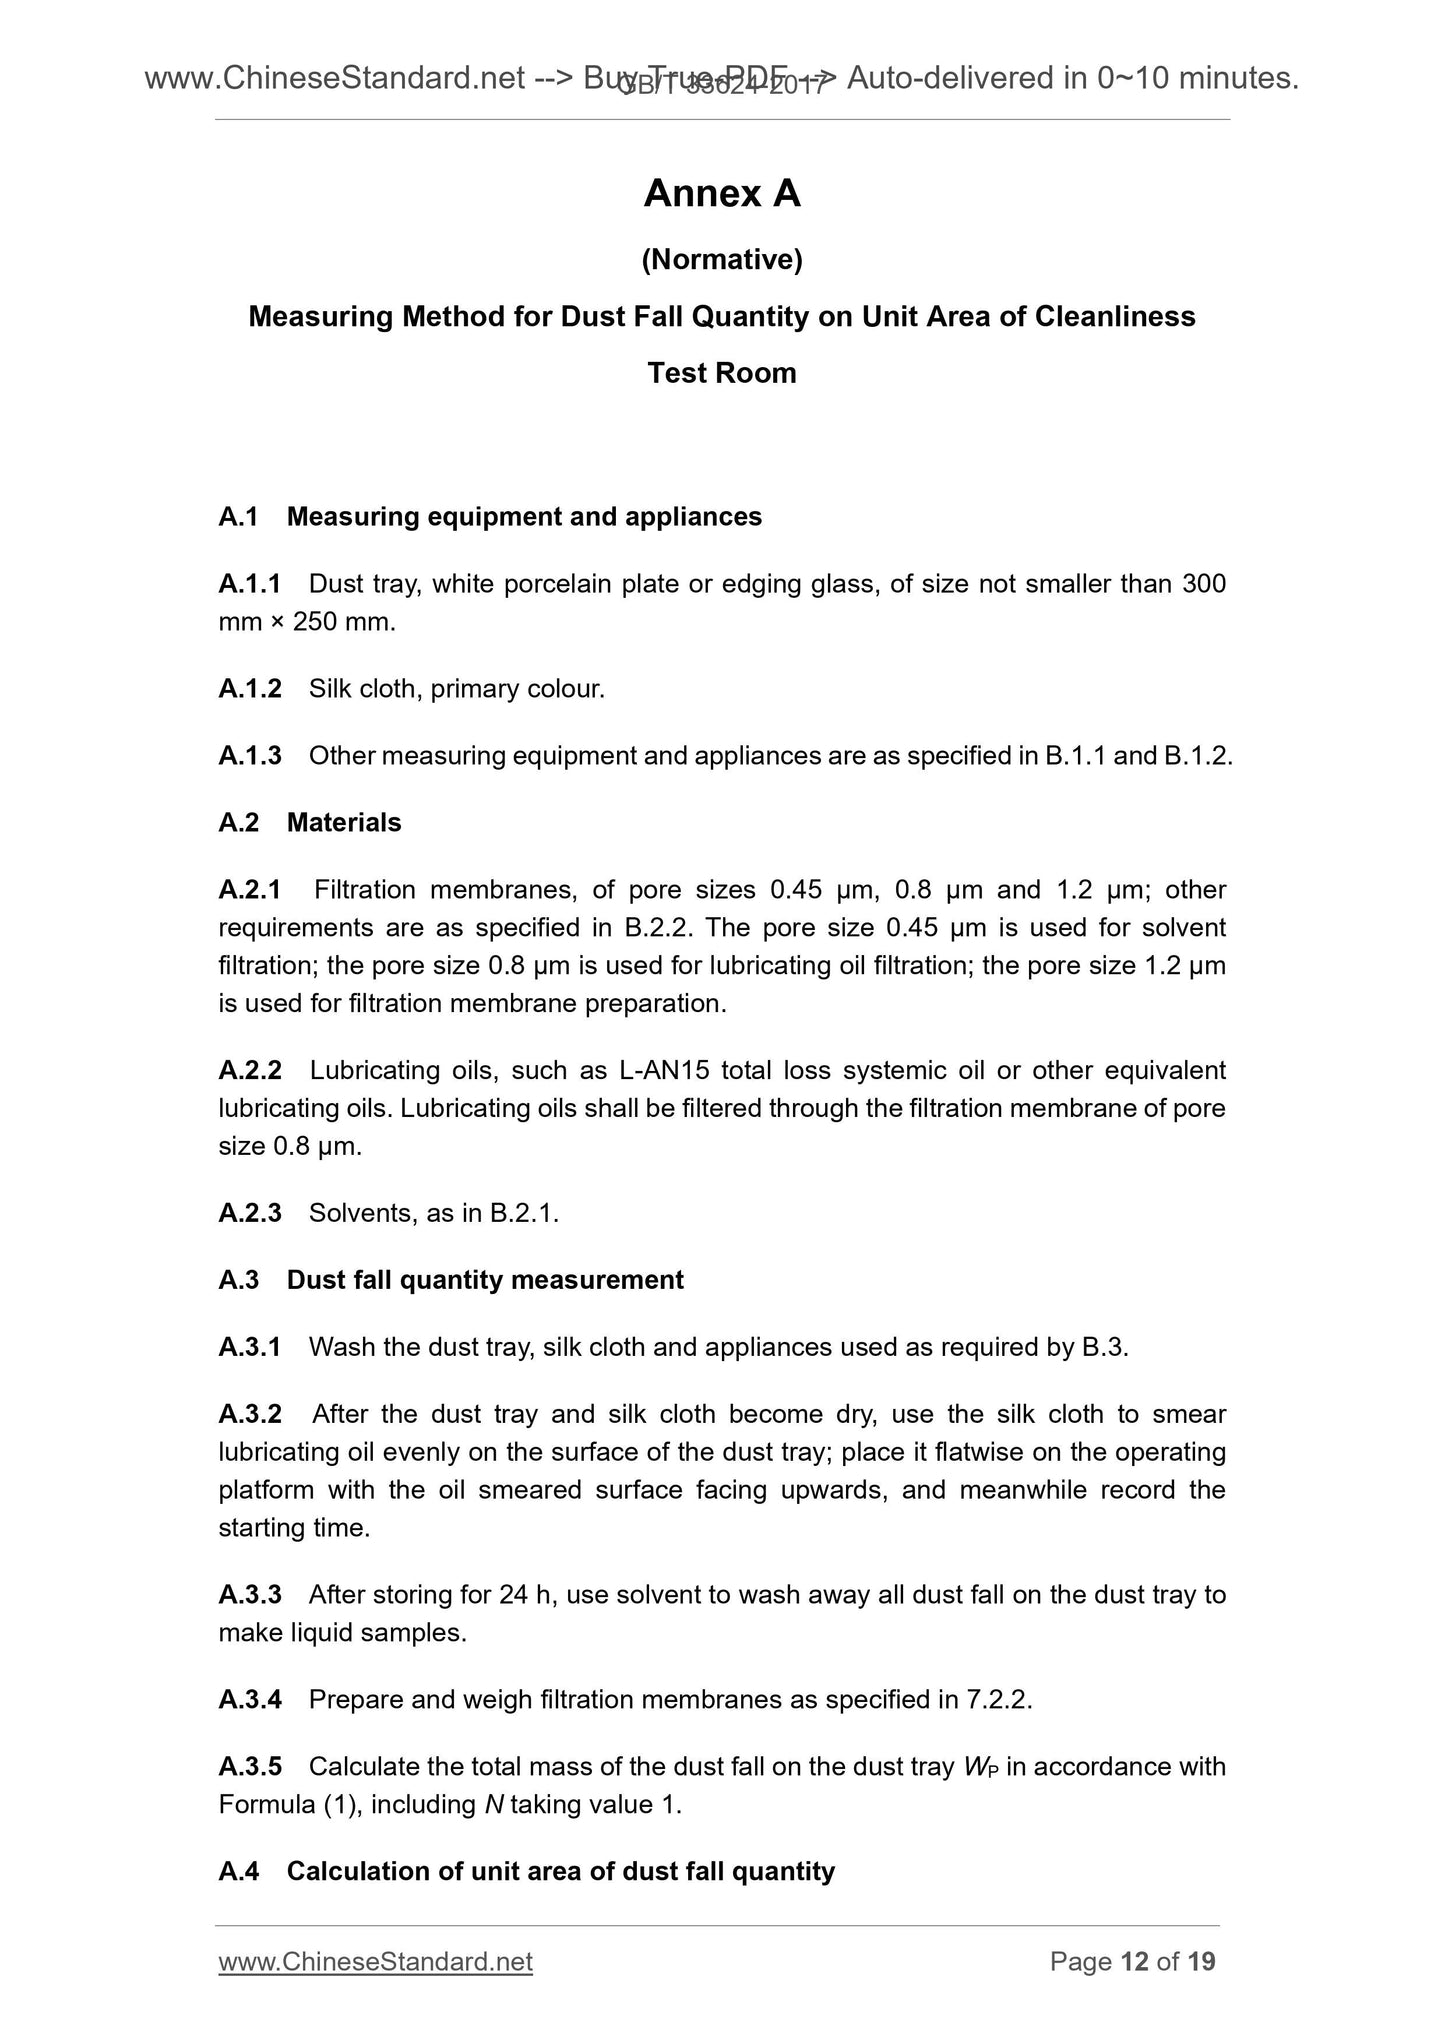
5.2 Cleanliness of the measurement room for 24 hours per unit area of dust D0 should not exceed 40mg/m2, the measurement method see Appendix A.
6 measuring devices, appliances, materials and equipment cleaning
See Appendix B.
7 measurement procedures
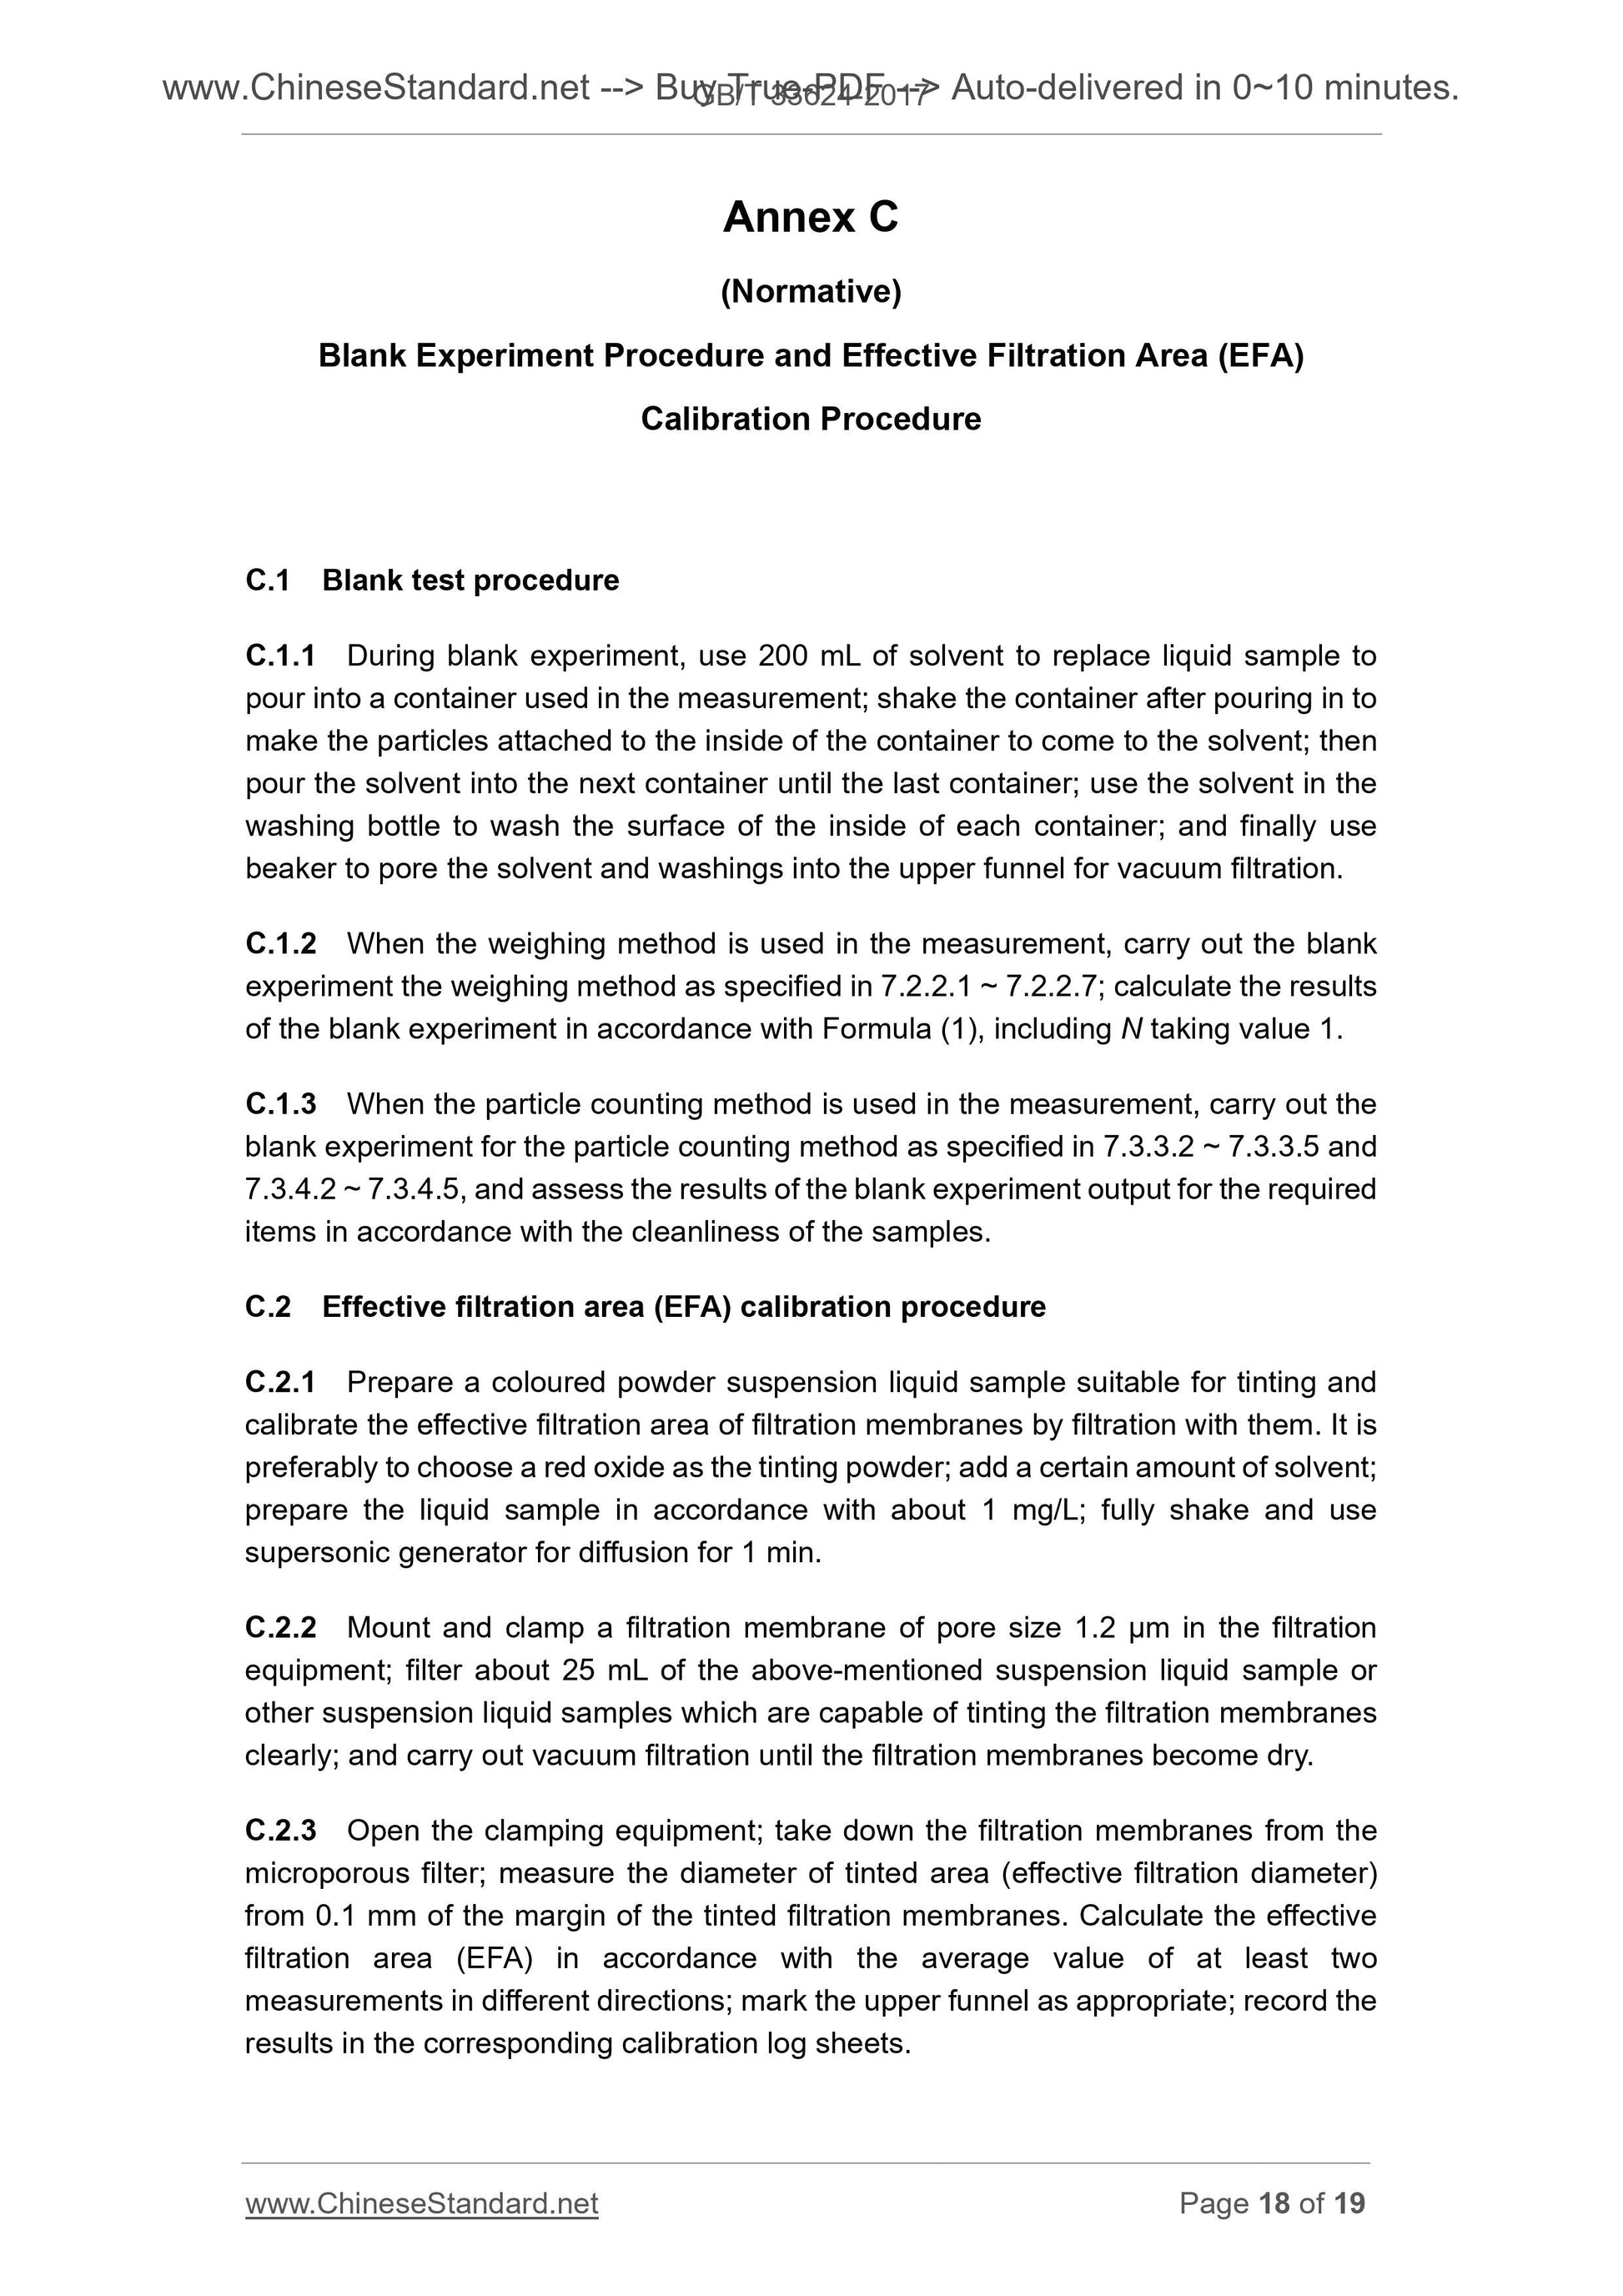
7.1 blank test
Before the measurement should be blank test to test the measurement conditions brought about by the additional pollution on the measurement results can be accepted, blank test
See Appendix C. for procedures. Weighing method blank test results greater than 0.5mg or particle counting method blank test output results in a project over
10% of the limit, it should be re-cleaned according to the requirements of B.3 or 0.45μm aperture filter re-filter the solvent, re-blank
test.
7.2 Weighing method
7.2.1 Preparation of liquid samples
7.2.1.1 Unless the sample cleanliness of the poor impact of liquid sample filtration rate, otherwise the weighing method can be more sets/pieces together to clean and measure.
7.2.1.2 No scrub shall be carried out after the specimen is opened.
7.2.1.3 soak cleaning. With the solvent soak the sample in the container for more than 2h, shake or turn one by one, so that the sample surface impurities into the
Solvent. The amount of solvent should be so that the sample is completely immersed in the container more than 10mm.
7.2.1.4 Ultrasonic cleaning. The samples were washed twice by ultrasonic cleaning, each time the cleaning time was 2 min. The amount of solvent used should not be less than each time
200 mL, and the height of the solvent in the container should not be less than twice the height of the sample. Allow multiple sets of pieces to be cleaned together, but not allow sample overlap
Or misplaced
7.2.1.5 Flushing with grooved and crimped samples. Rinse the surface of the sample with the solvent in the bottle so that the impurities are completely washed and rinsed
Liquid in the container.
7.2.1.6 All lotions are liquid.
7.2.2 filter production and weighing
7.2.2.1 Take two filters with a diameter of 1.2μm with tweezers and put them in two weighing bottles labeled "test" and "control" (k)
Weigh the bottle half-open into the 60 ℃ ± 5 ℃ oven for 60min, then weigh the lid and put it into the dryer after the cooling
30min, and then use the analytical balance of the two filters were constant weight weighing, recording ms1 and mk1. The filter should be subjected to two drying and weighed,
The difference between the two weighing should not be greater than 0.2mg, if the difference exceeds 0.2mg, it should be re-drying weighing to the final weighing results prevail.
7.2.2.2 Remove the filter from the weighing bottle with tweezers, place it in a solvent and place it on the microporous filter. The lower membrane is the control membrane (k),
The membrane is the test membrane (s).
7.2.2.3 Press the upper funnel against the filter and clamp the upper funnel, filter, microfilter, lower funnel and suction filter with a clamping device
Connect the anti-static device and connect the vacuum device to the side of the suction filter.
7.2.2.4 Use a beaker to pour the liquid sample into the upper funnel and rinse the liquid container and the inner wall of the beaker with the solvent in the bottle and pour the lotion into the funnel
Vacuum filtration.
7.2.2.5 When the fluid in the funnel is filtered to a smaller volume (eg 20 mL), close the vacuum pump and rinse the leak in the helical direction with the solvent in the bottle
Bucket wall, so that impurities are completely collected on the filter, do not rinse the flow of particles on the surface of the filter, and then vacuum filter to filter dry.
7.2.2.6 Remove the upper filter with the tweezers from the microporous filter and place it in the weighing bottle labeled "(s)". Remove the lower filter.
"Control (k)" in the weighing bottle. Take the filter should be careful to operate, to avoid the particles on the filter fall.
7.2.2.7 The filter is dried and weighed according to 7.2.2.1, and ms2 and mk2 are recorded.
7.3 Particulate counting method
7.3.1 Effective filter area (EFA) calibration
When calibrating with the particle counting method, the calibration of the effective filtration area of the upper funnel should be within the validity period. Use a new upper funnel before
To be calibrated once every five years. The effective filter area (EFA) calibration procedure is given in Appendix C.
7.3.2 Particulate counting method General principles of measurement
7.3.2.1 When measuring by particle counting, the bearing is generally cleaned and measured in a single set, and the bearing parts can be cleaned and measured together. Recoverable
With the image analyzer auxiliary function in the screen to check the grain overlap, the wrong stacking phenomenon, if there are more large particles overlap, wrong stack phenomenon, it should be reduced
The number of samples to be cleaned and measured together.
7.3.2.2 The minimum counting particle size selected according to the assessment requirements shall include at least part or all of the following dimensions. 5 μm, 15 μm,
25 μm, 50 μm and 100 μm.
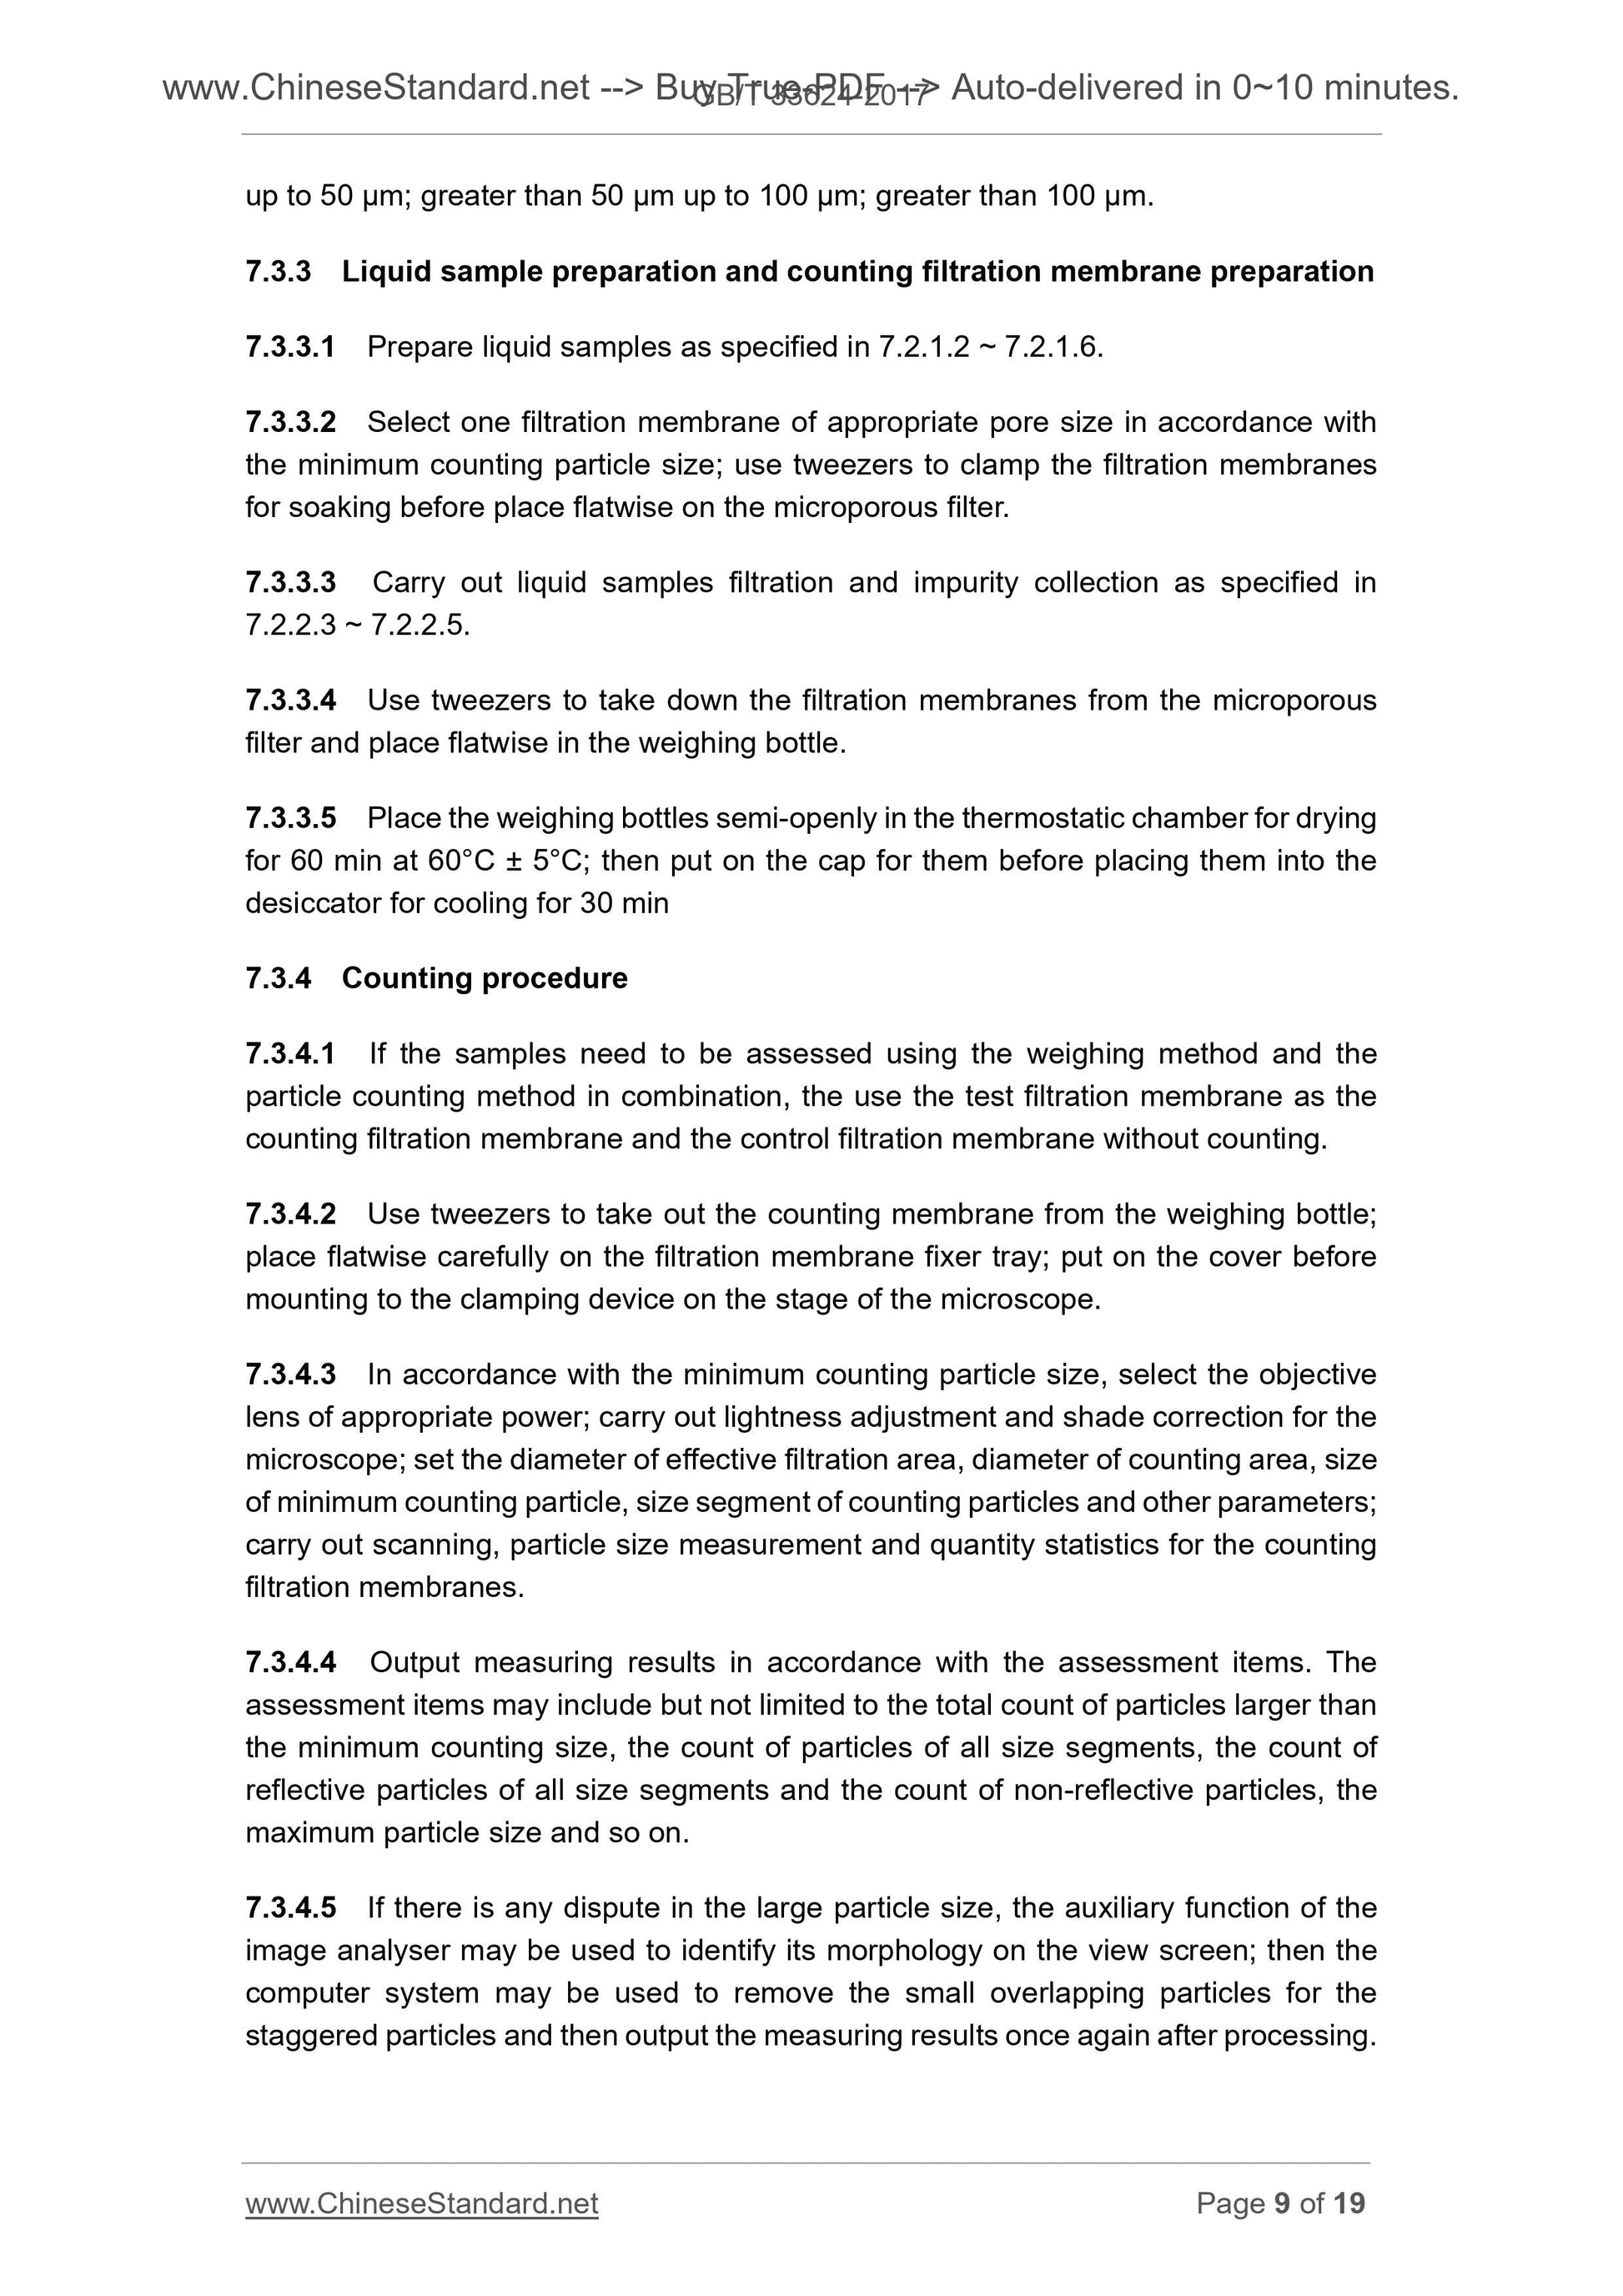
7.3.2.3 Select the counting particle size section according to the assessment requirements, generally selecting part or all of the following size ranges. greater than 5 μm to
15 μm; greater than 15 μm to 25 μm; greater than 25 μm to 50 μm; greater than 50 μm to 100 μm;
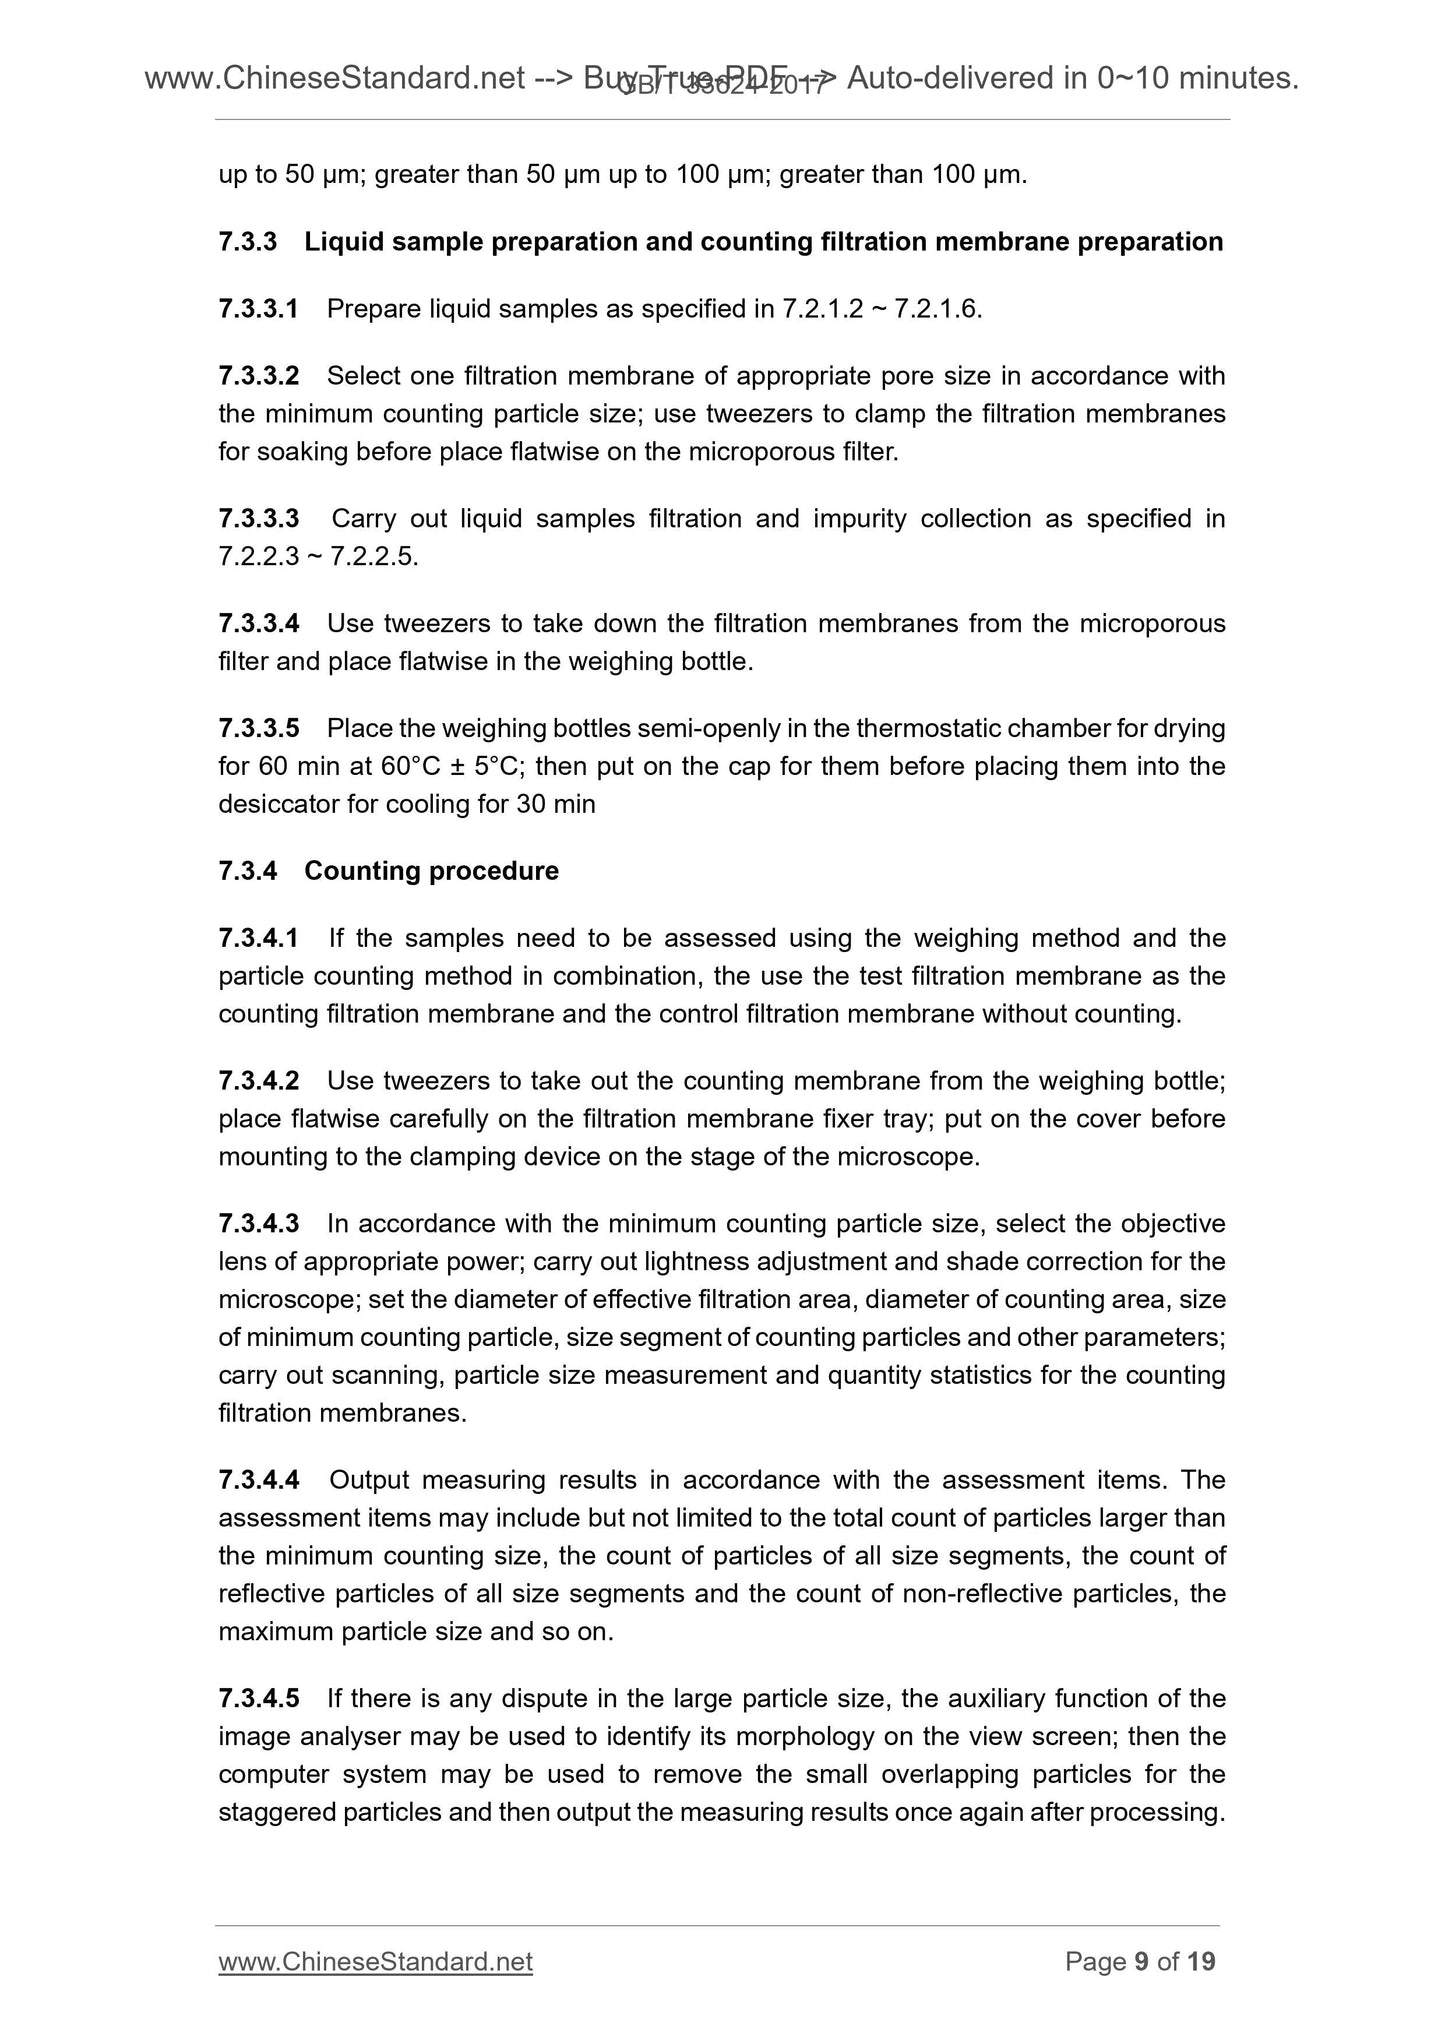
7.3.3 Preparation and counting of liquid samples
7.3.3.1 Preparation of liquid samples according to 7.2.1.2 to 7.2.1.6.
7.3.3.2 Select a suitable pore size filter according to the minimum counting particle size, clamp the filter with tweezers and immerse them in the solvent
Hole filter.
7.3.3.3 Liquid sample filtration and impurity collection according to 7.2.2.3 to 7.2.2.5.
7.3.3.4 Remove the filter from the microporous filter with tweezers and place it in the weighing bottle.
7.3.3.5 Dip the flask in half-open 60 ℃ ± 5 ℃ in the incubator for 60min, then cover the lid into the dryer and cool
30min.
7.3.4 Counting procedures
7.3.4.1 If the sample needs to be evaluated by the combination of the weighing method and the particle counting method, the test membrane shall be used as the counting filter,
Control the filter does not count.
7.3.4.2 Remove the counting filter from the weighing bottle with tweezers, carefully place it onto the filter holder tray, cover the cover and insert it into the microscope
In the holding device of the stage.
7.3.4.3 According to the assessment of the minimum count particle size, select the appropriate magnification objective lens, and the brightness adjustment of the microscope and brightness correction,
Set the effective filter area diameter, count the area diameter, the minimum count particle size, counting particle size and other parameters, the counting filter
Scanning, particle size measurement and quantity statistics.
7.3.4.4 Output the measurement results according to the evaluation items. The assessment items may include, but are not limited to, the total number of particles larger than the minimum count size
The number of particles, the number of reflective particles in each size section and the number of non-reflective particles, the maximum particle size.
7.3.4.5 When there is any doubt about the large particle size, the image analyzer can be used to identify the topography on the screen, and the computer system
The superimposed particles were removed and the measured results were re-output.
8 cleanliness assessment
8.1 Review of cleanliness of a batch of bearing/bearing parts A random sampling method shall be used for sampling and the number of samples shall not be less than
Table 1.
Table 1 Cleanliness Measure the number of samples
Measurement methods
Bearing bearing parts a
Bearing nominal diameter D
D ≤ 80mm 80mm \u003cD≤200mm D\u003e.200 mm D? 80 mm 80 mm \u003cD≤200mm D\u003e.200mm
Weighing method 8 sets of 5 sets of 3 sets of 8 sets of bearing the amount of 5 sets of bearing the amount of 3 sets of bearing volume
Particle counting method 5 sets of 3 sets of 2 sets of 5 sets of bearing the amount of 3 sets of bearing the amount of 2 sets of bearing volume
a bearing parts include steel balls, rollers, cages, dust caps and seals.
8.2 Weighing method measurement, the use of each set of pieces of sample impurity quality or sample unit surface area impurity quality assessment bearing/bearing parts cleaning
Degree, for cleanable bearing/bearing parts, cleanliness should not be greater than the limits of both parties. When the quality of each sample is assessed,
For the ball bearing cleanliness limits, see Appendix D. According to formula (1) to calculate the quality of each sample/sample sample Wg, according to formula (2) calculated sample unit table
Area Impurity Quality WS.
Wg =
(ms2-ms1) - (mk2-mk1)
(1)
WS =
(ms2-ms1) - (mk2-mk1)
N × S
(2)
Where.
Wg --- sample impurity quality in milligrams per set (piece) [mg/set (piece)];
WS --- sample unit surface area impurity quality in milligrams per square millimeter (mg/mm2);
ms2 --- try the quality of the test filter in milligrams (mg);
ms1 --- try the quality of the test filter in milligrams (mg);
mk2 --- try to control the quality of the fil...
View full details