GB/T 3246.1-2024 English PDF (GBT3246.1-2024)
Regular price
$1,060.00 USD
Regular price
Sale price
$1,060.00 USD
Unit price
/
per
Delivery: 3 seconds. Download true-PDF + Invoice.
Get QUOTATION in 1-minute: Click GB/T 3246.1-2024
Historical versions: GB/T 3246.1-2024
Preview True-PDF (Reload/Scroll if blank)
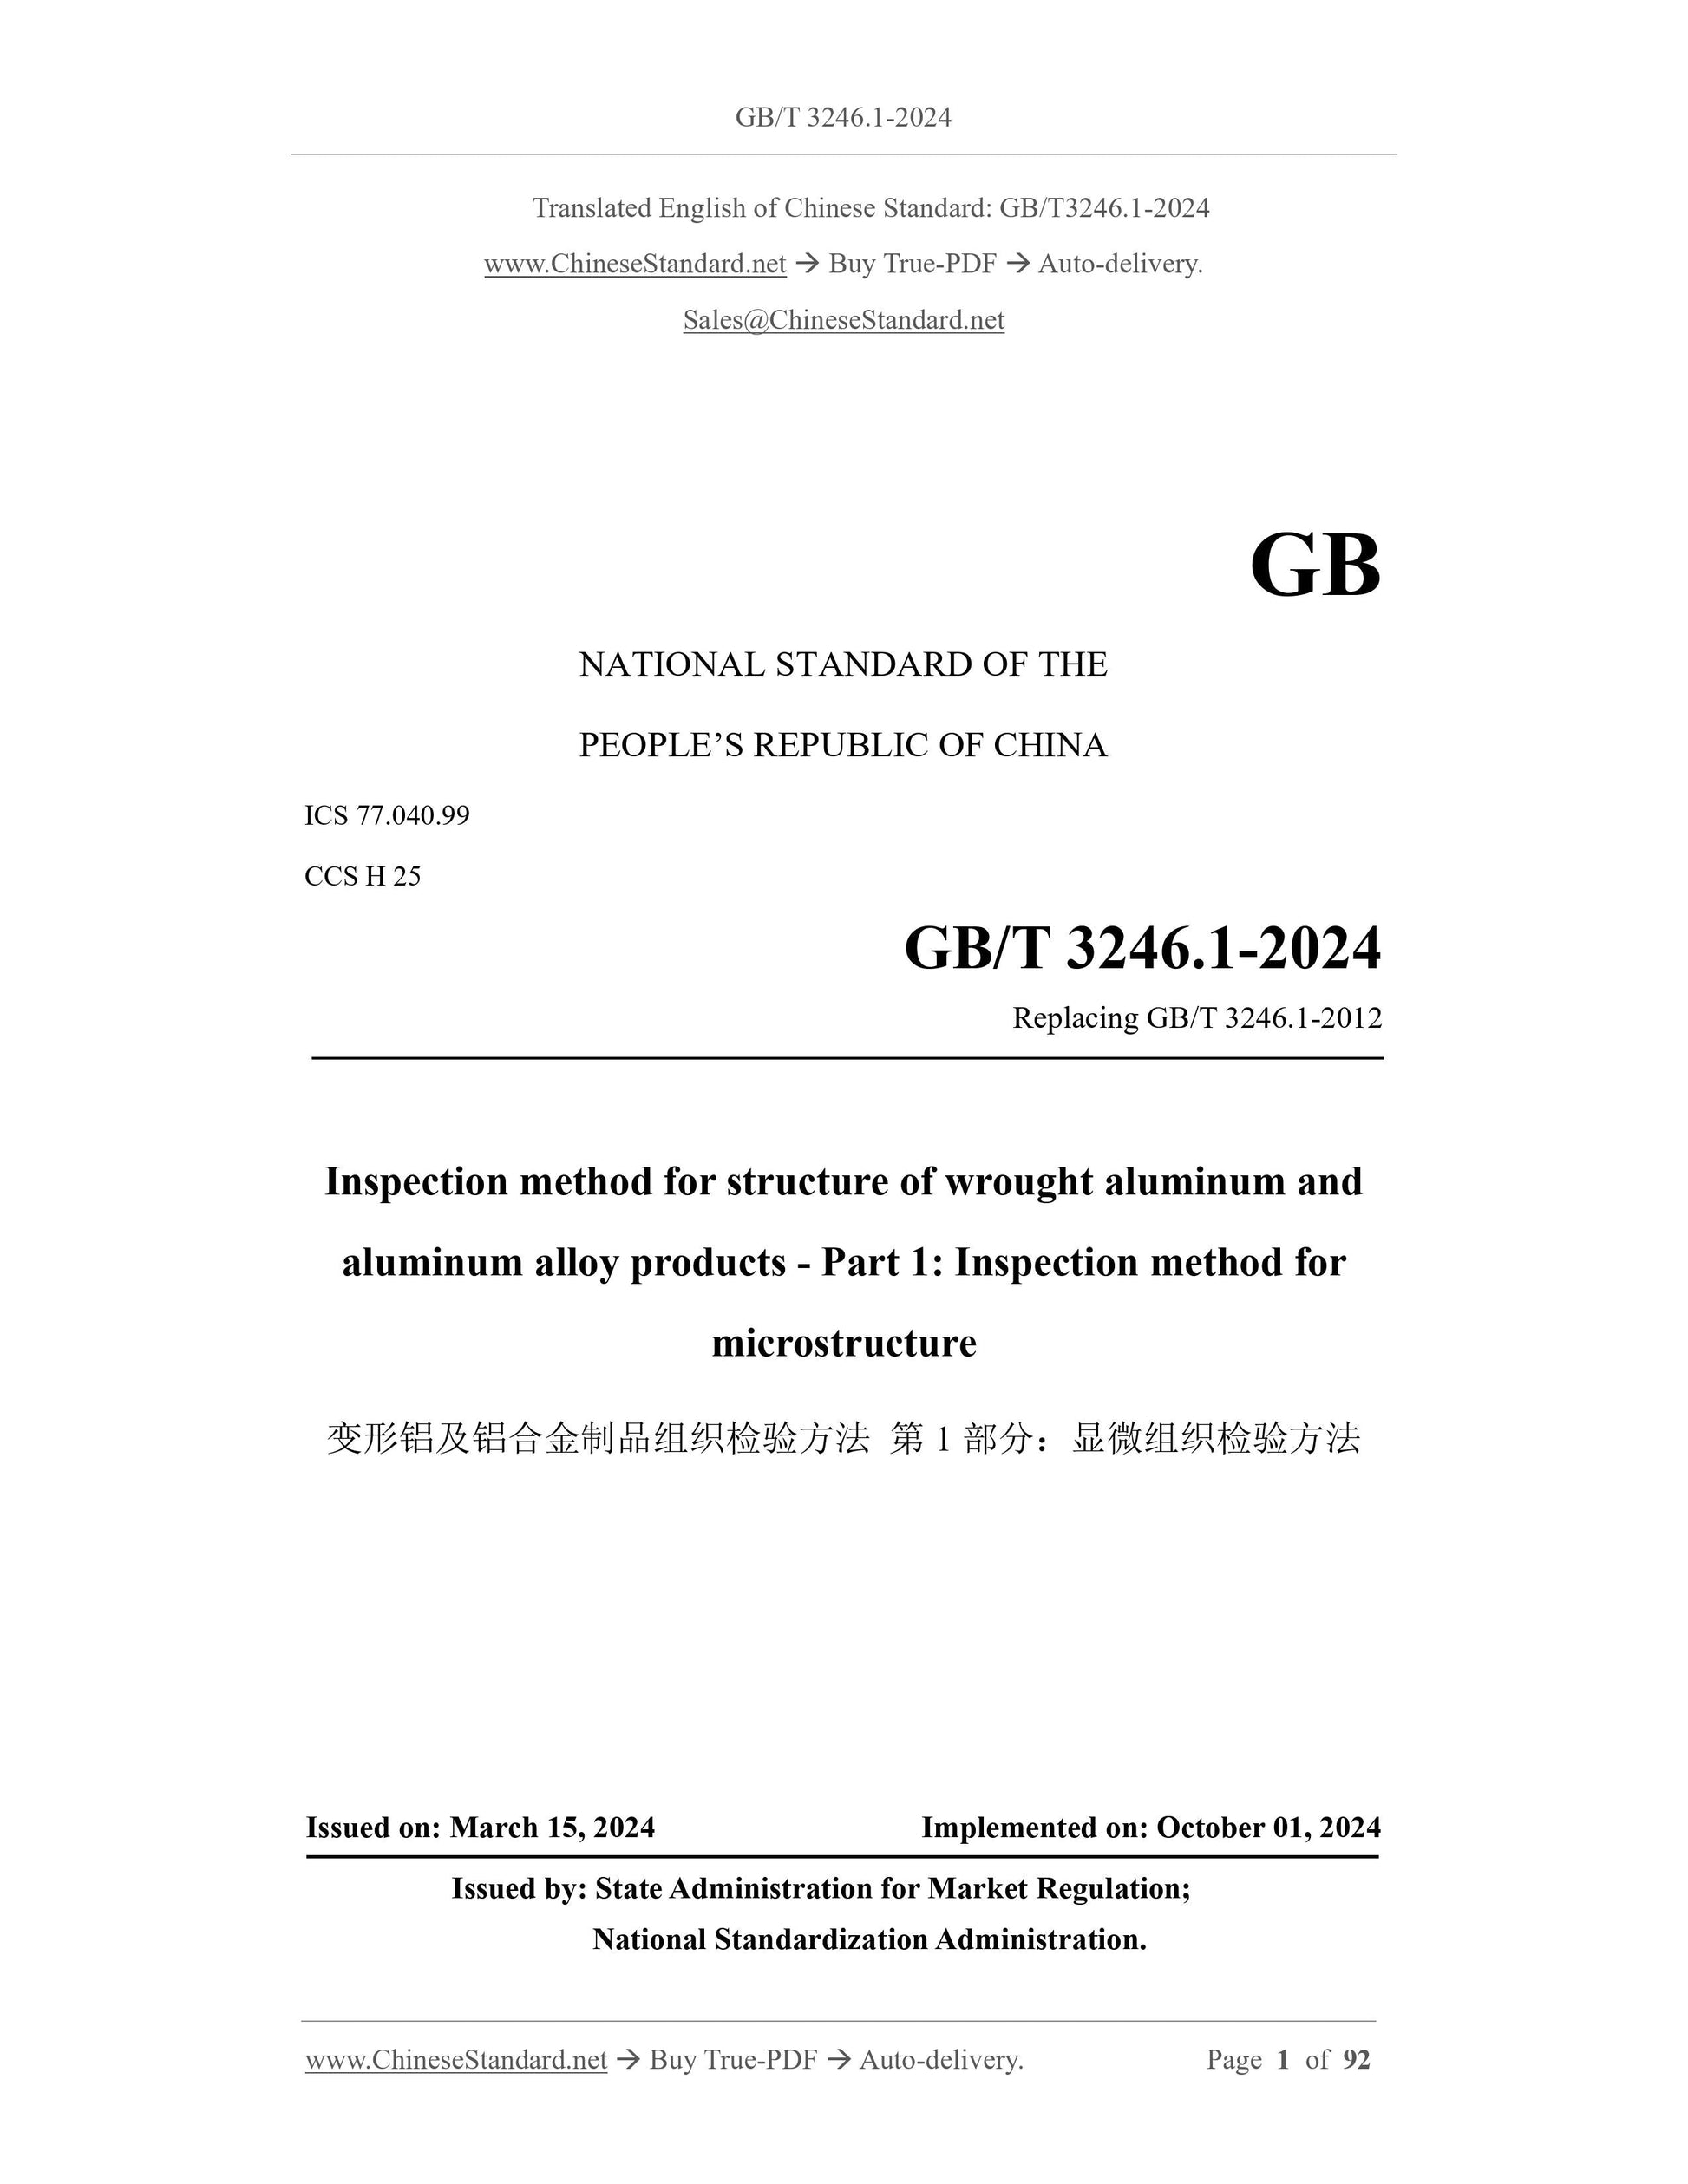
GB/T 3246.1-2024: Inspection method for structure of wrought aluminium and aluminium alloy products - Part 1: Inspection method for microstructure
GB/T 3246.1-2024
GB
NATIONAL STANDARD OF THE
PEOPLE’S REPUBLIC OF CHINA
ICS 77.040.99
CCS H 25
Replacing GB/T 3246.1-2012
Inspection method for structure of wrought aluminum and
aluminum alloy products - Part 1.Inspection method for
microstructure
ISSUED ON. MARCH 15, 2024
IMPLEMENTED ON. OCTOBER 01, 2024
Issued by. State Administration for Market Regulation;
National Standardization Administration.
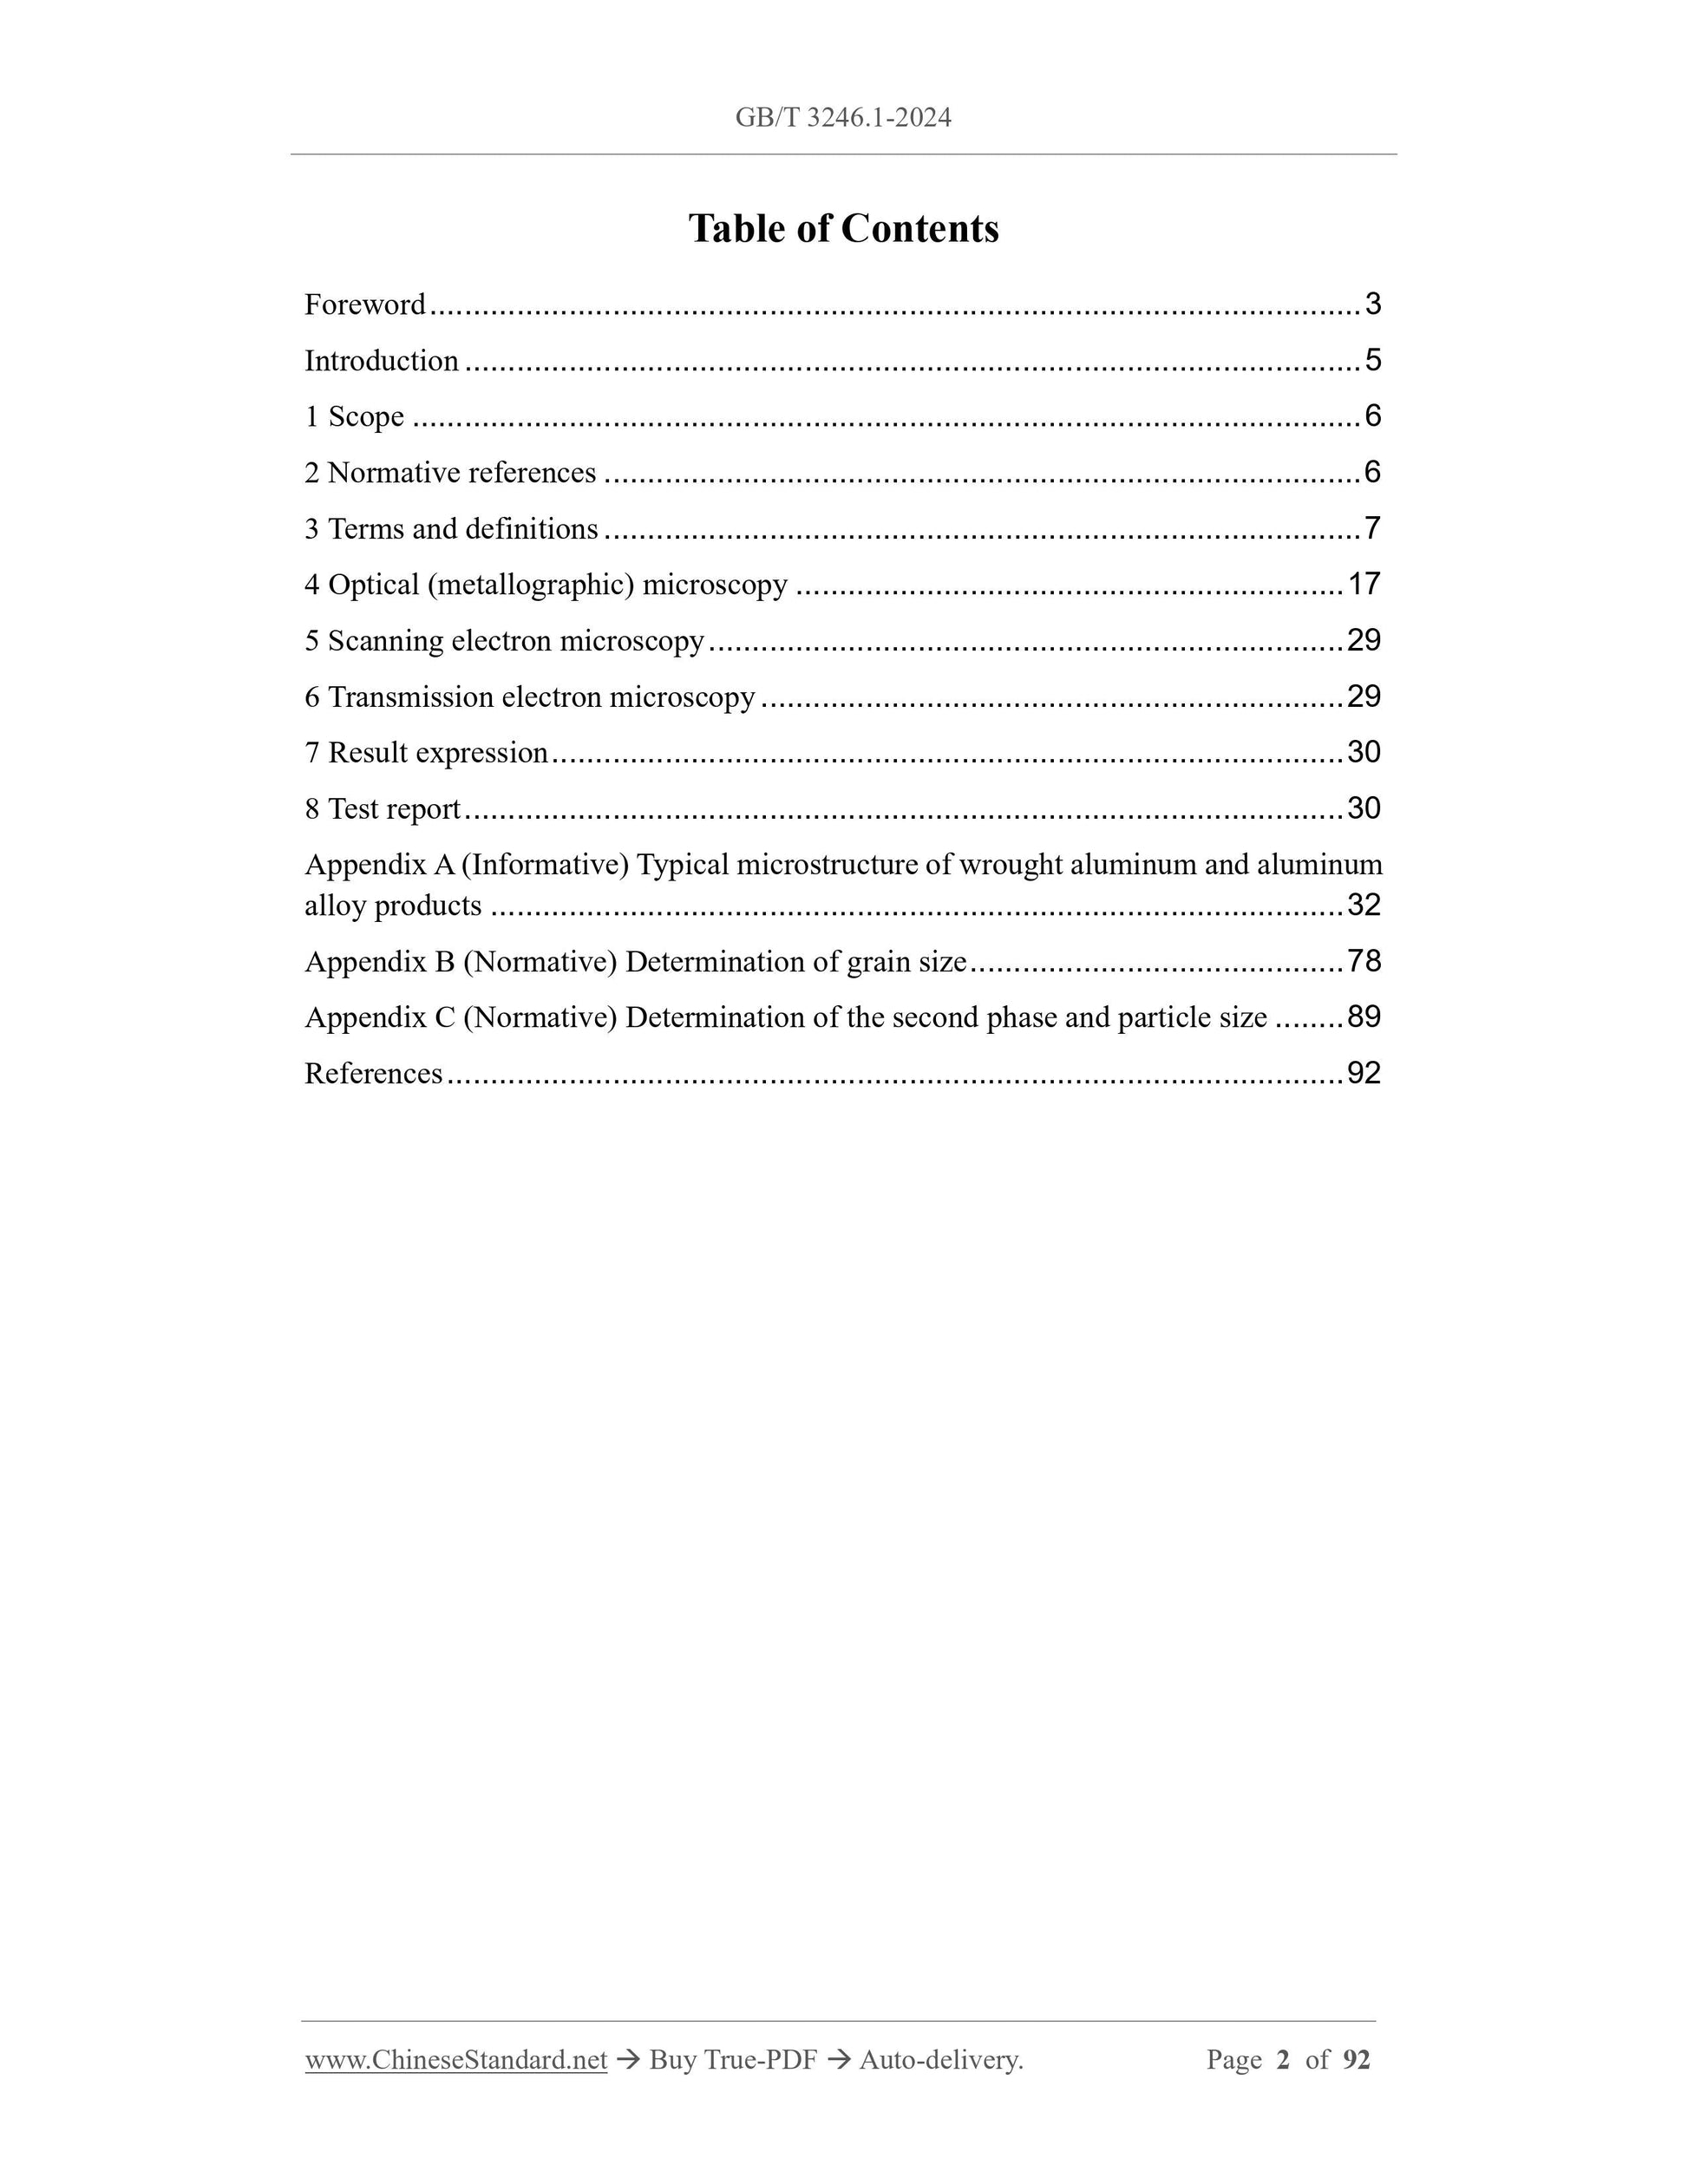
Table of Contents
Foreword... 3
Introduction... 5
1 Scope... 6
2 Normative references... 6
3 Terms and definitions... 7
4 Optical (metallographic) microscopy... 17
5 Scanning electron microscopy... 29
6 Transmission electron microscopy... 29
7 Result expression... 30
8 Test report... 30
Appendix A (Informative) Typical microstructure of wrought aluminum and aluminum
alloy products... 32
Appendix B (Normative) Determination of grain size... 78
Appendix C (Normative) Determination of the second phase and particle size... 89
References... 92
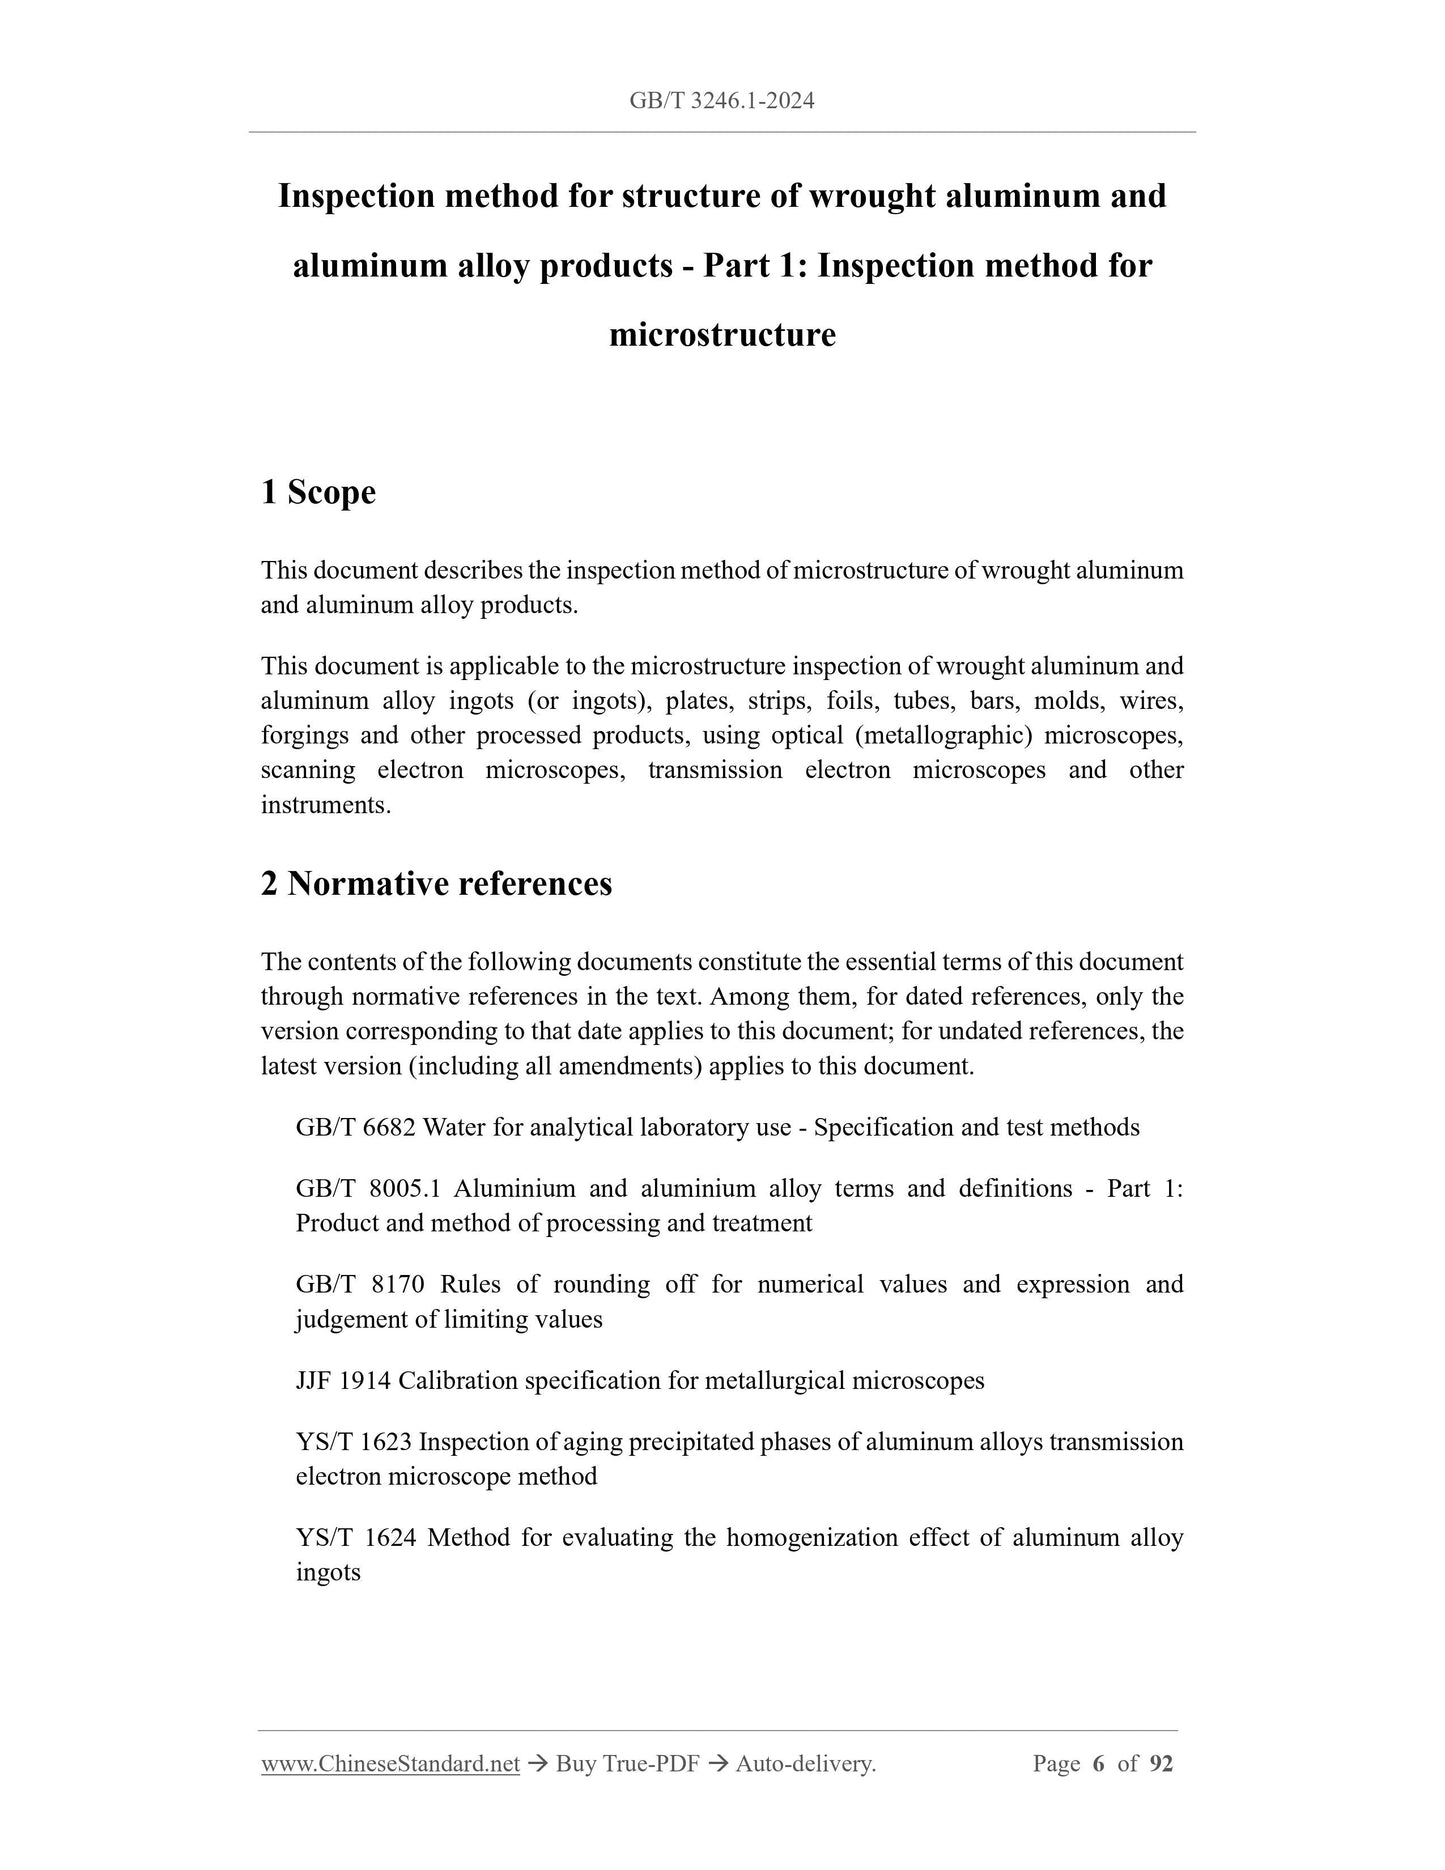
Inspection method for structure of wrought aluminum and
aluminum alloy products - Part 1.Inspection method for
microstructure
1 Scope
This document describes the inspection method of microstructure of wrought aluminum
and aluminum alloy products.
This document is applicable to the microstructure inspection of wrought aluminum and
aluminum alloy ingots (or ingots), plates, strips, foils, tubes, bars, molds, wires,
forgings and other processed products, using optical (metallographic) microscopes,
scanning electron microscopes, transmission electron microscopes and other
instruments.
2 Normative references
The contents of the following documents constitute the essential terms of this document
through normative references in the text. Among them, for dated references, only the
version corresponding to that date applies to this document; for undated references, the
latest version (including all amendments) applies to this document.
GB/T 6682 Water for analytical laboratory use - Specification and test methods
GB/T 8005.1 Aluminium and aluminium alloy terms and definitions - Part 1.
Product and method of processing and treatment
GB/T 8170 Rules of rounding off for numerical values and expression and
judgement of limiting values
JJF 1914 Calibration specification for metallurgical microscopes
YS/T 1623 Inspection of aging precipitated phases of aluminum alloys transmission
electron microscope method
YS/T 1624 Method for evaluating the homogenization effect of aluminum alloy
ingots
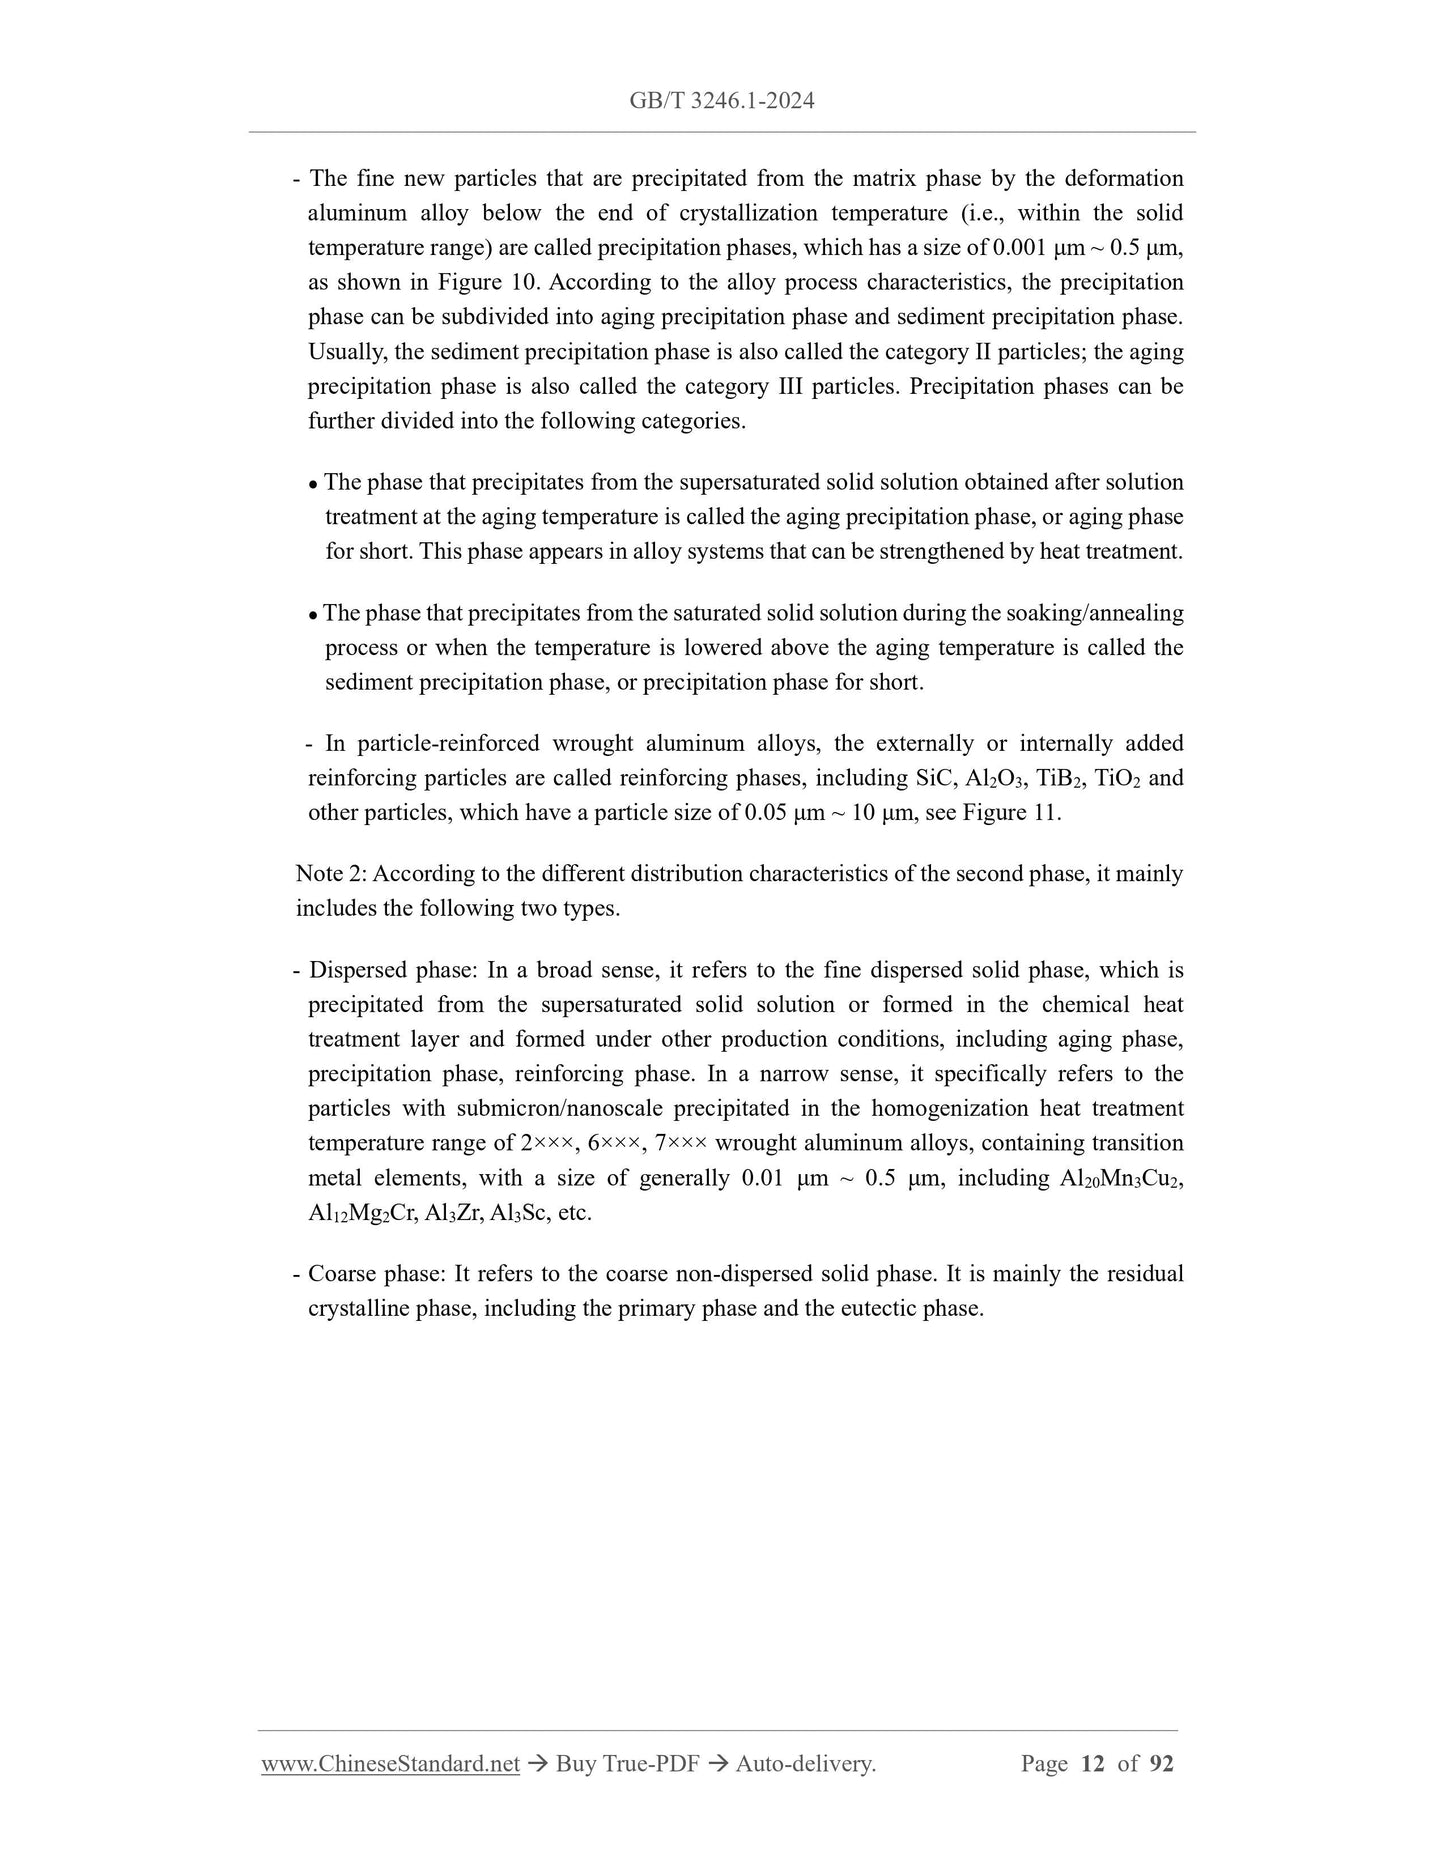
- The fine new particles that are precipitated from the matrix phase by the deformation
aluminum alloy below the end of crystallization temperature (i.e., within the solid
temperature range) are called precipitation phases, which has a size of 0.001 μm ~ 0.5 μm,
as shown in Figure 10.According to the alloy process characteristics, the precipitation
phase can be subdivided into aging precipitation phase and sediment precipitation phase.
Usually, the sediment precipitation phase is also called the category II particles; the aging
precipitation phase is also called the category III particles. Precipitation phases can be
further divided into the following categories.
● The phase that precipitates from the supersaturated solid solution obtained after solution
treatment at the aging temperature is called the aging precipitation phase, or aging phase
for short. This phase appears in alloy systems that can be strengthened by heat treatment.
● The phase that precipitates from the saturated solid solution during the soaking/annealing
process or when the temperature is lowered above the aging temperature is called the
sediment precipitation phase, or precipitation phase for short.
- In particle-reinforced wrought aluminum alloys, the externally or internally added
reinforcing particles are called reinforcing phases, including SiC, Al2O3, TiB2, TiO2 and
other particles, which have a particle size of 0.05 μm ~ 10 μm, see Figure 11.
Note 2.According to the different distribution characteristics of the second phase, it mainly
includes the following two types.
- Dispersed phase. In a broad sense, it refers to the fine dispersed solid phase, which is
precipitated from the supersaturated solid solution or formed in the chemical heat
treatment layer and formed under other production conditions, including aging phase,
precipitation phase, reinforcing phase. In a narrow sense, it specifically refers to the
particles with submicron/nanoscale precipitated in the homogenization heat treatment
temperature range of 2×××, 6×××, 7××× wrought aluminum alloys, containing transition
metal elements, with a size of generally 0.01 μm ~ 0.5 μm, including Al20Mn3Cu2,
Al12Mg2Cr, Al3Zr, Al3Sc, etc.
- Coarse phase. It refers to the coarse non-dispersed solid phase. It is mainly the residual
crystalline phase, including the primary phase and the eutectic phase.
4.2.16 Plush cloth.
4.2.17 Synthetic leather.
4.2.18 Diamond. The particle size is 3 μm.
4.2.19 Diamond. The particle size is 9 μm.
4.2.20 Silica suspension. The particle size is 0.04 μm.
4.2.21 Alumina suspension. The particle size is 0.05 μm.
4.2.22 Rough polishing agent. Use a suspension of chromium trioxide mixed with water
with high concentration and coarse particles or other polishing materials.
4.2.23 Fine polishing agent. Use a suspension of chromium trioxide mixed with water
with a relatively low concentration and fine particles, or other polishing materials.
4.2.24 Fine polishing agent. Use a suspension of magnesium oxide or extremely fine
aluminum trioxide mixed with water, or other polishing materials.
4.2.25 Water-based lubricant.
4.2.26 Kerosene.
4.3 Instruments and equipment
4.3.1 Optical (metallographic) microscope. In accordance with JJF 1914, it shall be
equipped with an eyepiece scale plate of not less than 0.1 mm (or integrated with the
eyepiece). The magnification should be 50 times ~ 500 times.
4.3.2 Metallographic polishing machine.
4.3.3 Vibration polishing machine.
4.3.4 Electrolytic polishing and anode film-making device, see Figure 15.Lead plate or
stainless steel plate shall be used as the cathode.
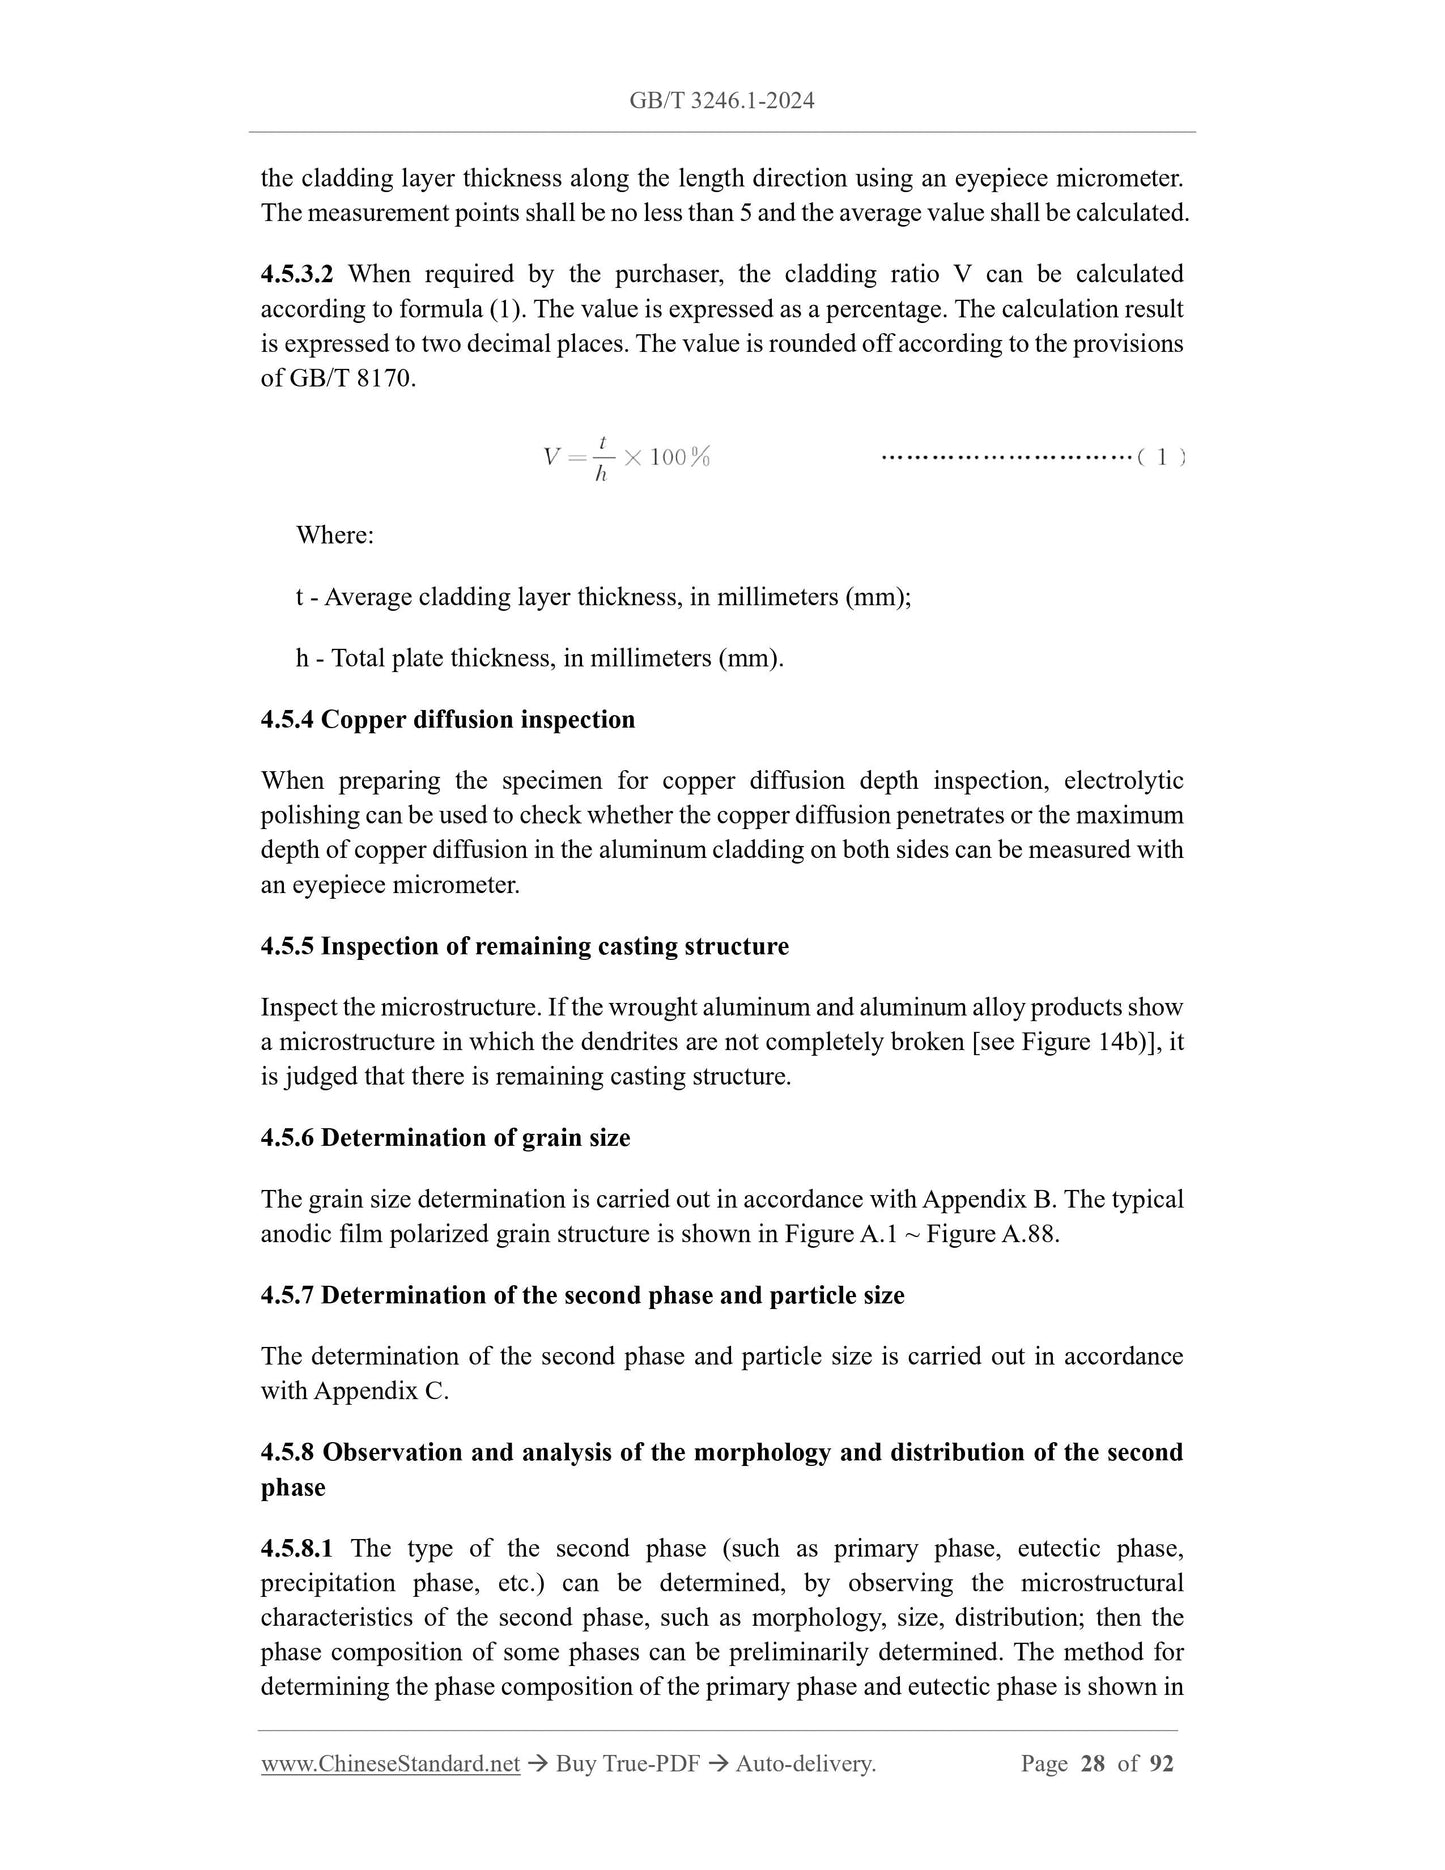
the cladding layer thickness along the length direction using an eyepiece micrometer.
The measurement points shall be no less than 5 and the average value shall be calculated.
4.5.3.2 When required by the purchaser, the cladding ratio V can be calculated
according to formula (1). The value is expressed as a percentage. The calculation result
is expressed to two decimal places. The value is rounded off according to the provisions
of GB/T 8170.
Where.
t - Average cladding layer thickness, in millimeters (mm);
h - Total plate thickness, in millimeters (mm).
4.5.4 Copper diffusion inspection
When preparing the specimen for copper diffusion depth inspection, electrolytic
polishing can be used to check whether the copper diffusion penetrates or the maximum
depth of copper diffusion in the aluminum cladding on both sides can be measured with
an eyepiece micrometer.
4.5.5 Inspection of remaining casting structure
Inspect the microstructure. If the wrought aluminum and aluminum alloy products show
a microstructure in which the dendrites are not completely broken [see Figure 14b)], it
is judged that there is remaining casting structure.
4.5.6 Determination of grain size
The ...