1
/
of
5
www.ChineseStandard.us -- Field Test Asia Pte. Ltd.
GB/T 32323-2015 English PDF (GB/T32323-2015)
Regular price
$105.00
Regular price
Sale price
$105.00
Unit price
/
per
Shipping calculated at checkout.
Couldn't load pickup availability
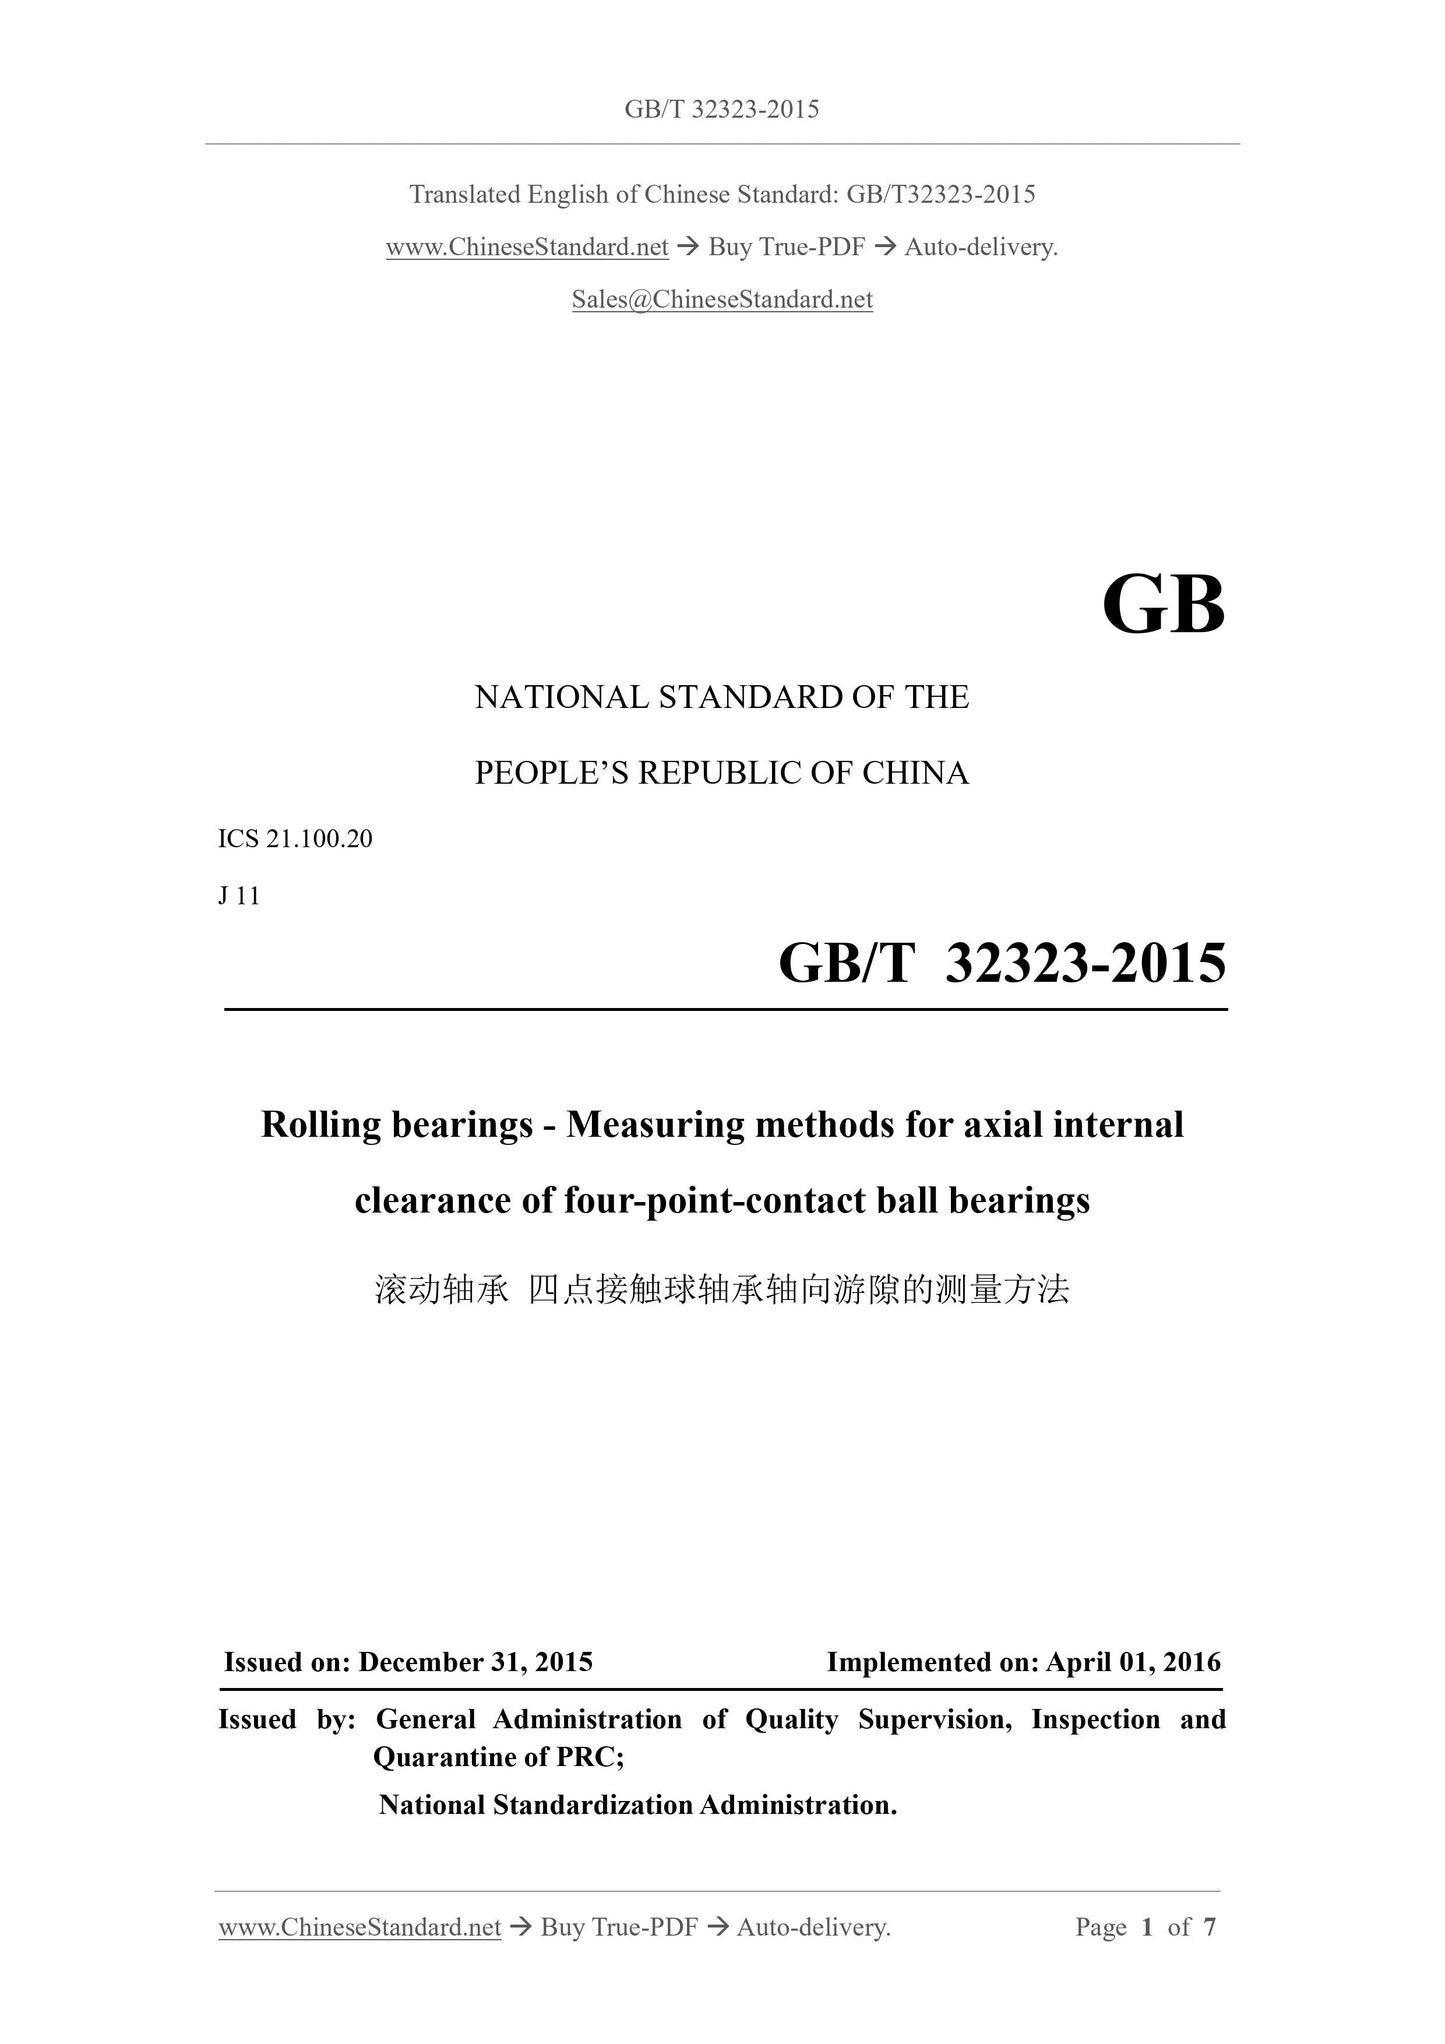
GB/T 32323-2015: Rolling bearings - Measuring methods for axial internal clearance of four-point-contact ball bearings
Delivery: 9 seconds. Download (& Email) true-PDF + Invoice.
Get Quotation: Click GB/T 32323-2015 (Self-service in 1-minute)
Historical versions (Master-website): GB/T 32323-2015
Preview True-PDF (Reload/Scroll-down if blank)
GB/T 32323-2015
GB
NATIONAL STANDARD OF THE
PEOPLE’S REPUBLIC OF CHINA
ICS 21.100.20
J 11
Rolling bearings - Measuring methods for axial internal
clearance of four-point-contact ball bearings
ISSUED ON. DECEMBER 31, 2015
IMPLEMENTED ON. APRIL 01, 2016
Issued by. General Administration of Quality Supervision, Inspection and
Quarantine of PRC;
National Standardization Administration.
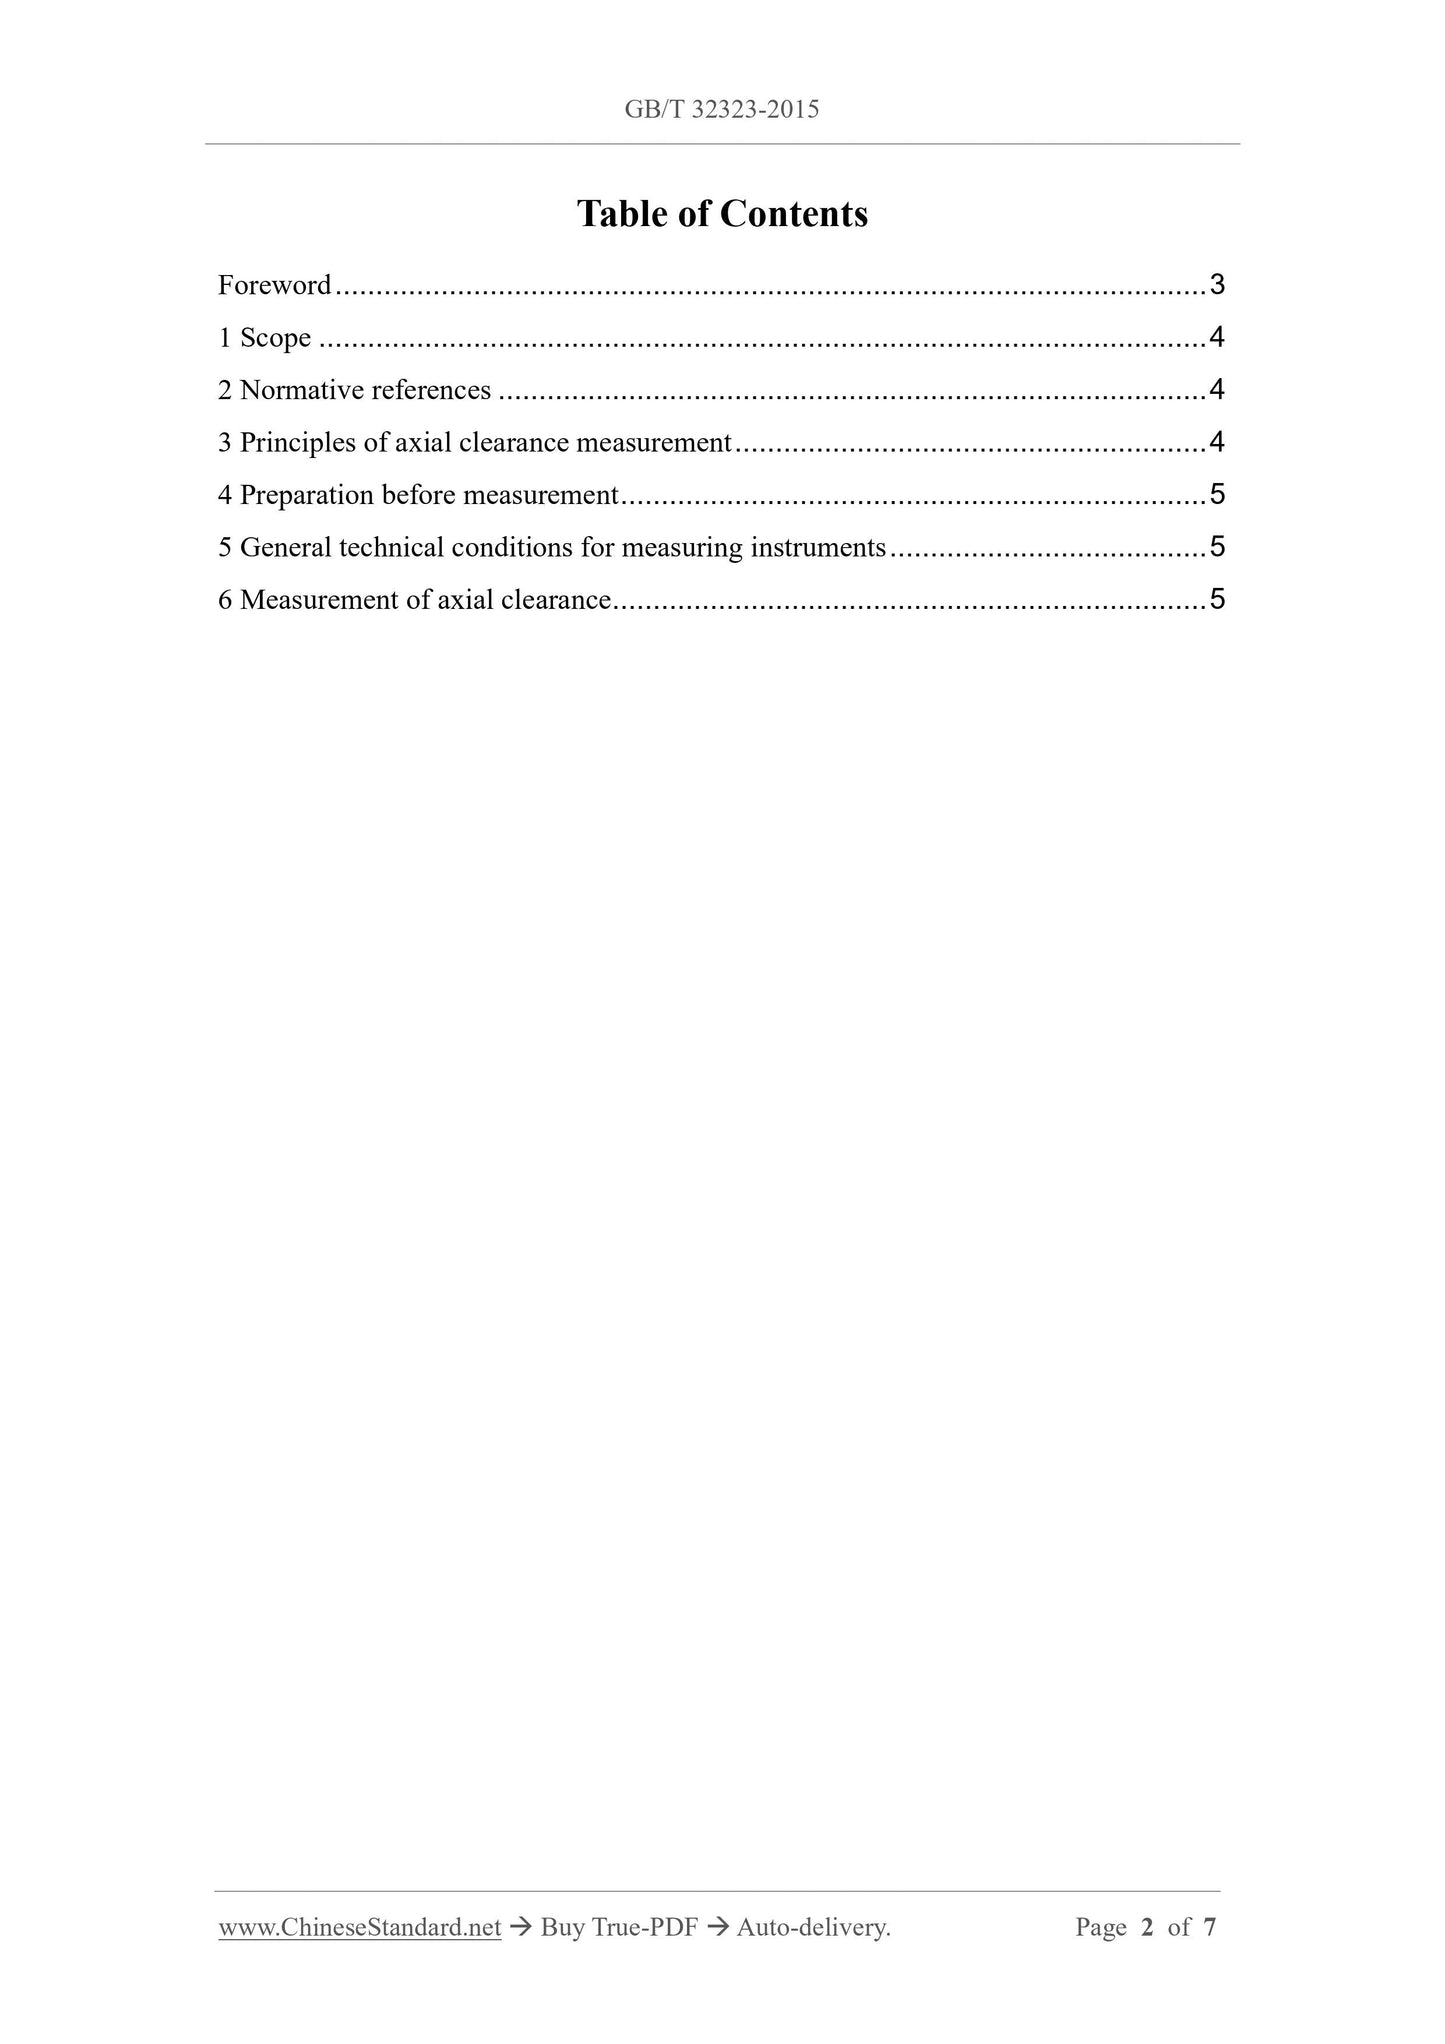
Table of Contents
Foreword... 3
1 Scope... 4
2 Normative references... 4
3 Principles of axial clearance measurement... 4
4 Preparation before measurement... 5
5 General technical conditions for measuring instruments... 5
6 Measurement of axial clearance... 5
Rolling bearings - Measuring methods for axial internal
clearance of four-point-contact ball bearings
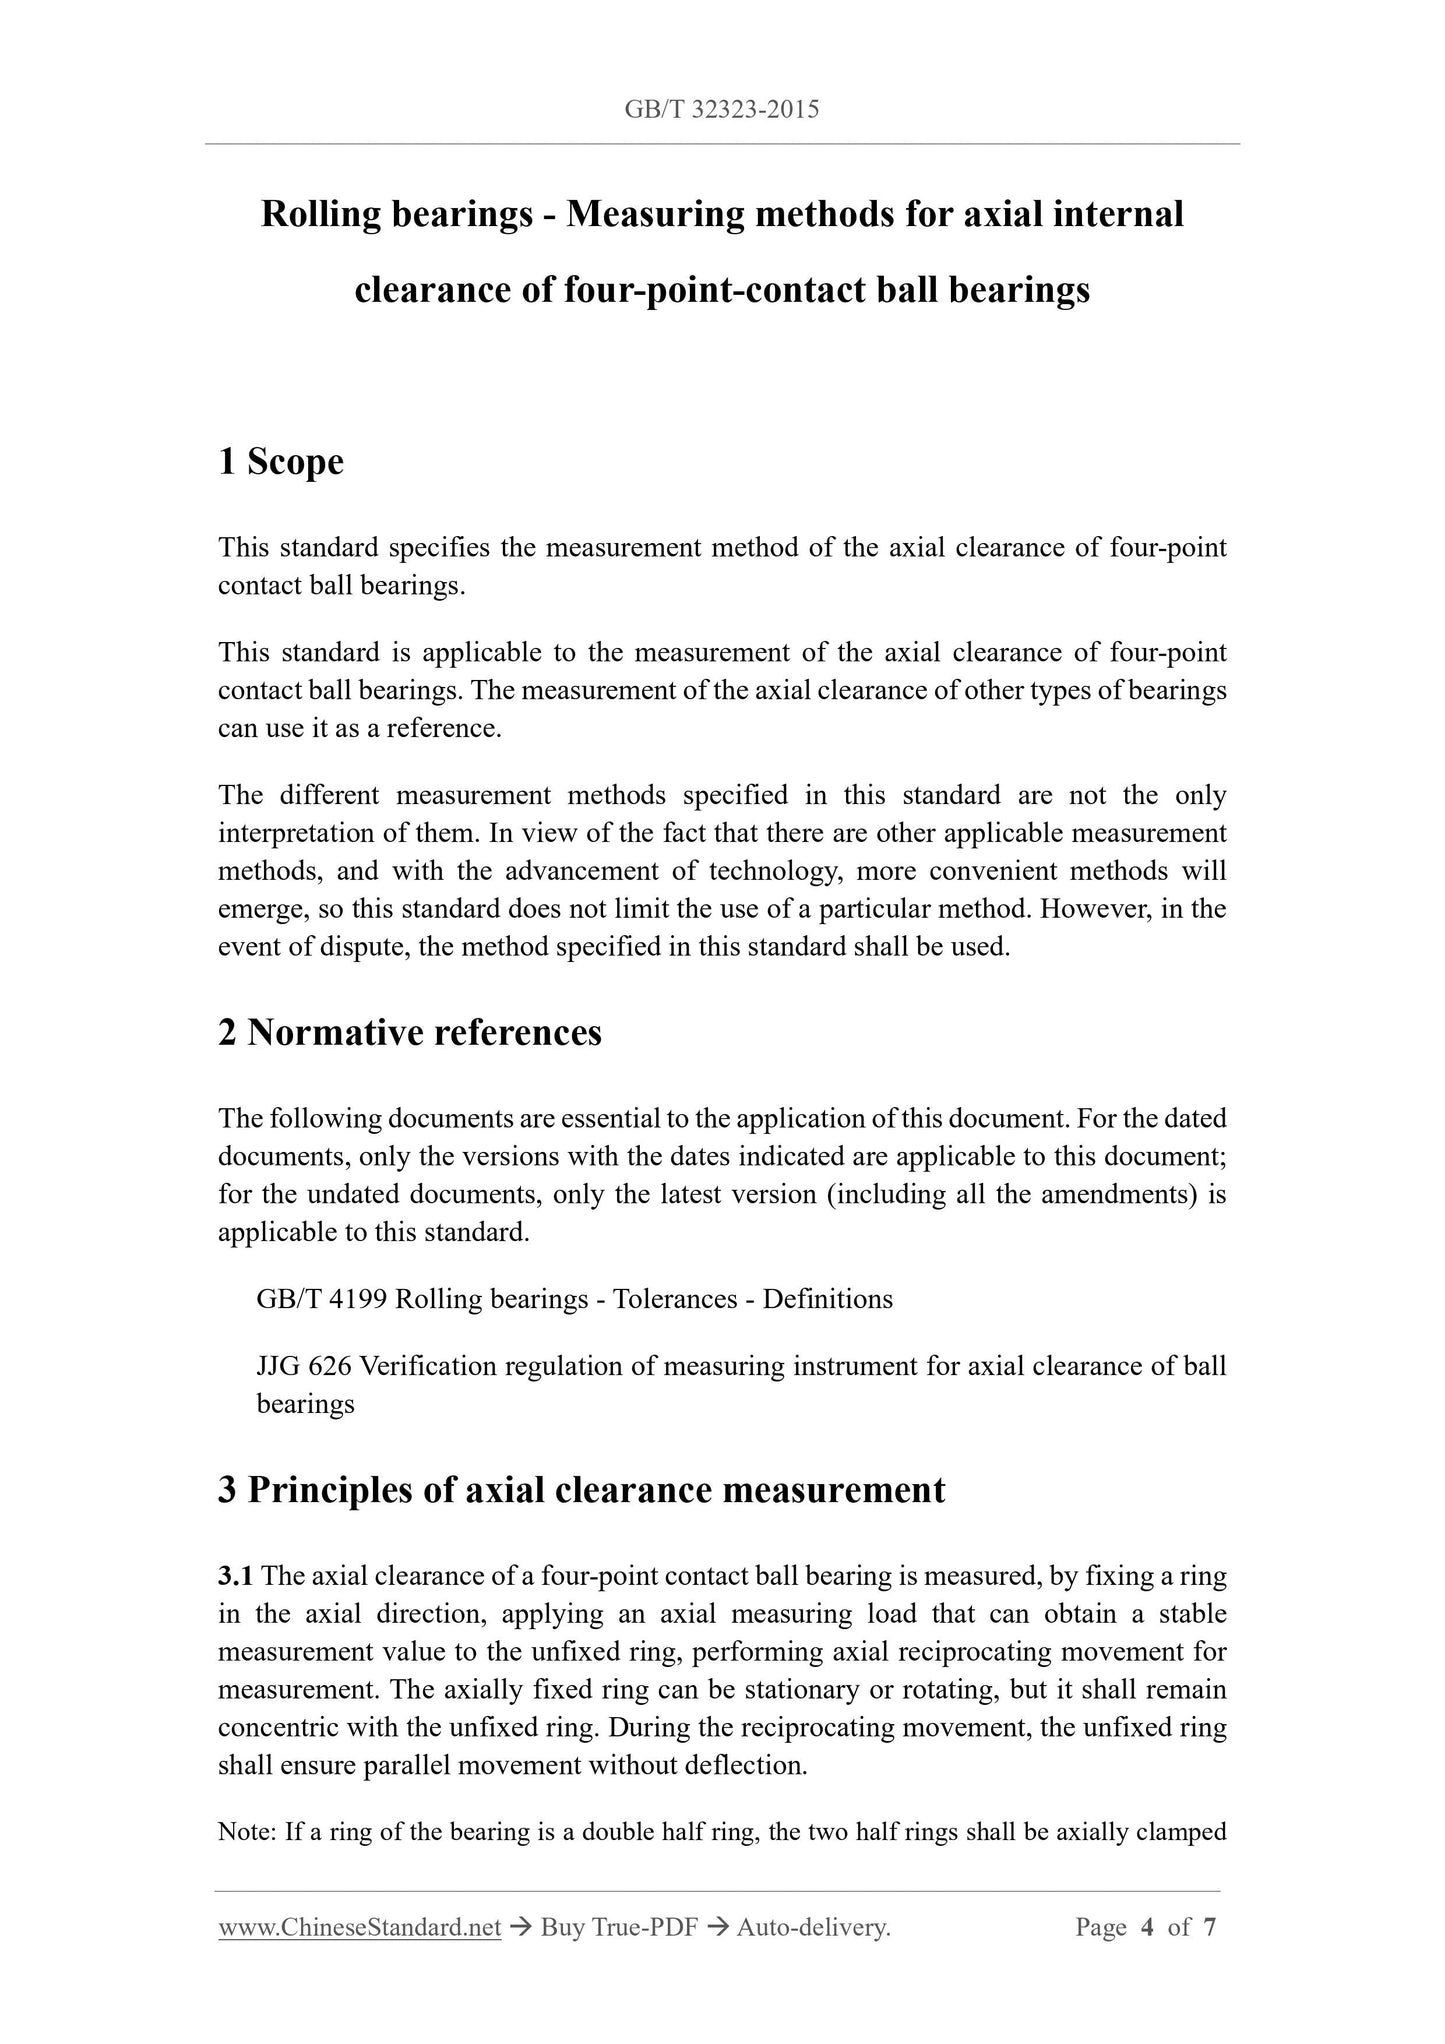
1 Scope
This standard specifies the measurement method of the axial clearance of four-point
contact ball bearings.
This standard is applicable to the measurement of the axial clearance of four-point
contact ball bearings. The measurement of the axial clearance of other types of bearings
can use it as a reference.
The different measurement methods specified in this standard are not the only
interpretation of them. In view of the fact that there are other applicable measurement
methods, and with the advancement of technology, more convenient methods will
emerge, so this standard does not limit the use of a particular method. However, in the
event of dispute, the method specified in this standard shall be used.
2 Normative references
The following documents are essential to the application of this document. For the dated
documents, only the versions with the dates indicated are applicable to this document;
for the undated documents, only the latest version (including all the amendments) is
applicable to this standard.
GB/T 4199 Rolling bearings - Tolerances - Definitions
JJG 626 Verification regulation of measuring instrument for axial clearance of ball
bearings
3 Principles of axial clearance measurement
3.1 The axial clearance of a four-point contact ball bearing is measured, by fixing a ring
in the axial direction, applying an axial measuring load that can obtain a stable
measurement value to the unfixed ring, performing axial reciprocating movement for
measurement. The axially fixed ring can be stationary or rotating, but it shall remain
concentric with the unfixed ring. During the reciprocating movement, the unfixed ring
shall ensure parallel movement without deflection.
Note. If a ring of the bearing is a double half ring, the two half rings shall be axially clamped
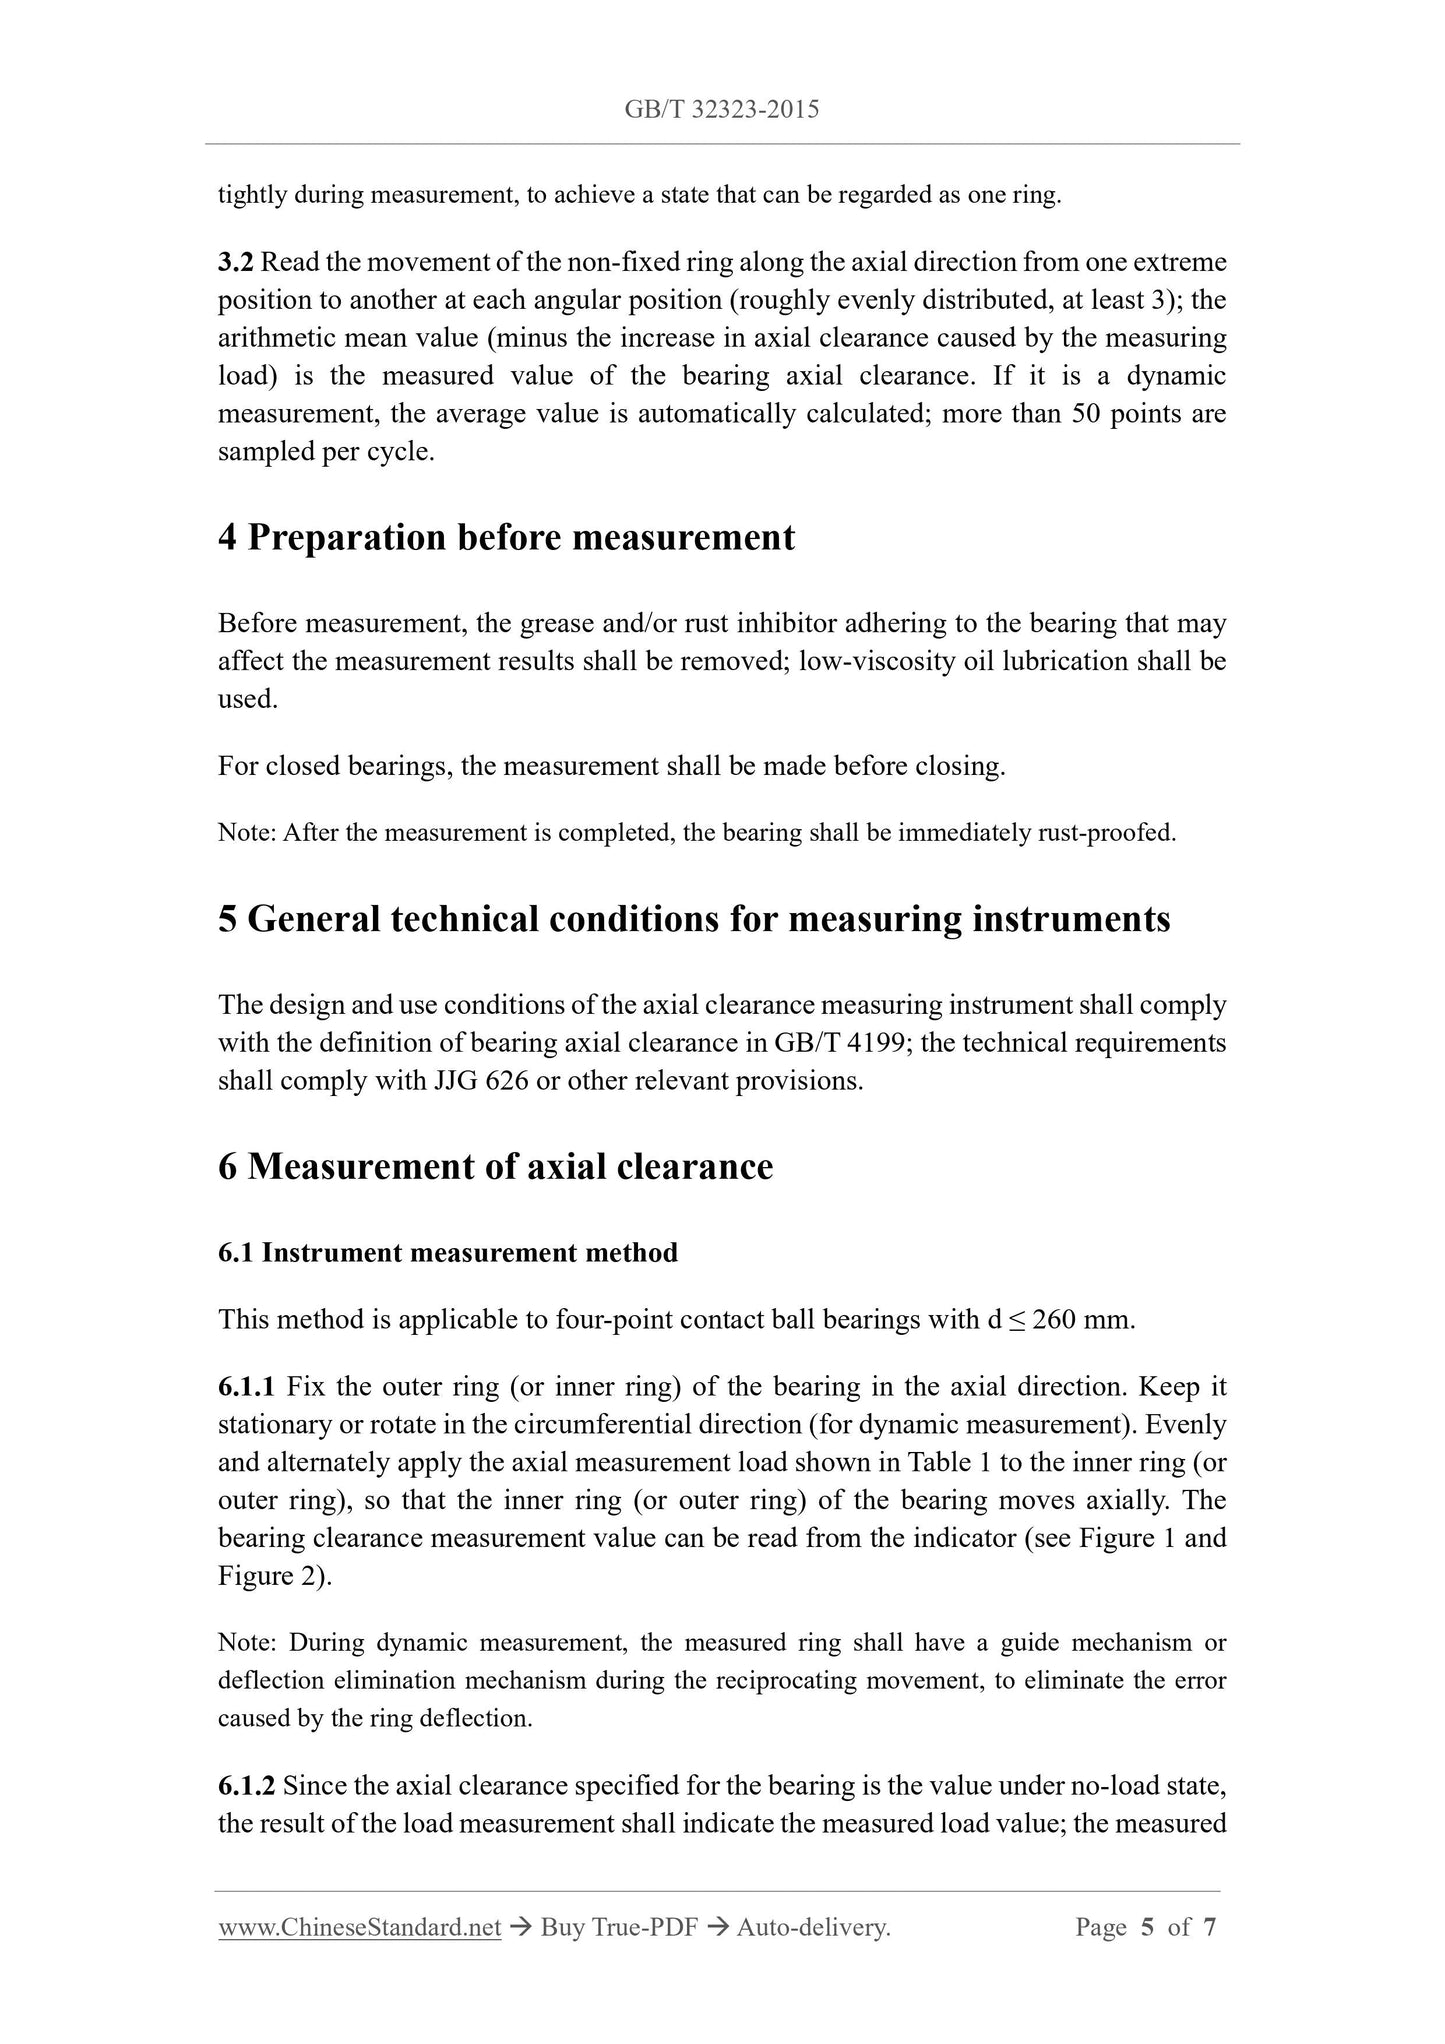
tightly during measurement, to achieve a state that can be regarded as one ring.
3.2 Read the movement of the non-fixed ring along the axial direction from one extreme
position to another at each angular position (roughly evenly distributed, at least 3); the
arithmetic mean value (minus the increase in axial clearance caused by the measuring
load) is the measured value of the bearing axial clearance. If it is a dynamic
measurement, the average value is automatically calculated; more than 50 points are
sampled per cycle.
4 Preparation before measurement
Before measurement, the grease and/or rust inhibitor adhering to the bearing that may
affect the measurement results shall be removed; low-viscosity oil lubrication shall be
used.
For closed bearings, the measurement shall be made before closing.
Note. After the measurement is completed, the bearing shall be immediately rust-proofed.
5 General technical conditions for measuring instruments
The design and use conditions of the axial clearance measuring instrument shall comply
with the definition of bearing axial clearance in GB/T 4199; the technical requirements
shall comply with JJG 626 or other relevant provisions.
6 Measurement of axial clearance
6.1 Instrument measurement method
This method is applicable to four-point contact ball bearings with d ≤ 260 mm.
6.1.1 Fix the outer ring (or inner ring) of the bearing in the axial direction. Keep it
stationary or rotate in the circumferential direction (for dynamic measurement). Evenly
and alternately apply the axial measurement load shown in Table 1 to the inner ring (or
outer ring), so that the inner ring (or outer ring) of the bearing moves axially. The
bearing clearance measurement value can be read from the indicator (see Figure 1 and
Figure 2).
Note. During dynamic measurement, the measured ring shall have a guide mechanism or
deflection elimination mechanism during the reciprocating movement, to eliminate the error
caused by the ring deflection.
6.1.2 Since the axial clearance specified for the bearing is the value under no-load state,
the result of the load measurement shall indicate the measured load value; the measured
Share