Skip to product information
1 of 12

www.ChineseStandard.us -- Field Test Asia Pte. Ltd.

GB/T 32166.2-2015 English PDF (GB/T32166.2-2015)

GB/T 32166.2-2015 English PDF (GB/T32166.2-2015)

Regular price $325.00
Regular price Sale price $325.00
Sale Sold out
Shipping calculated at checkout.
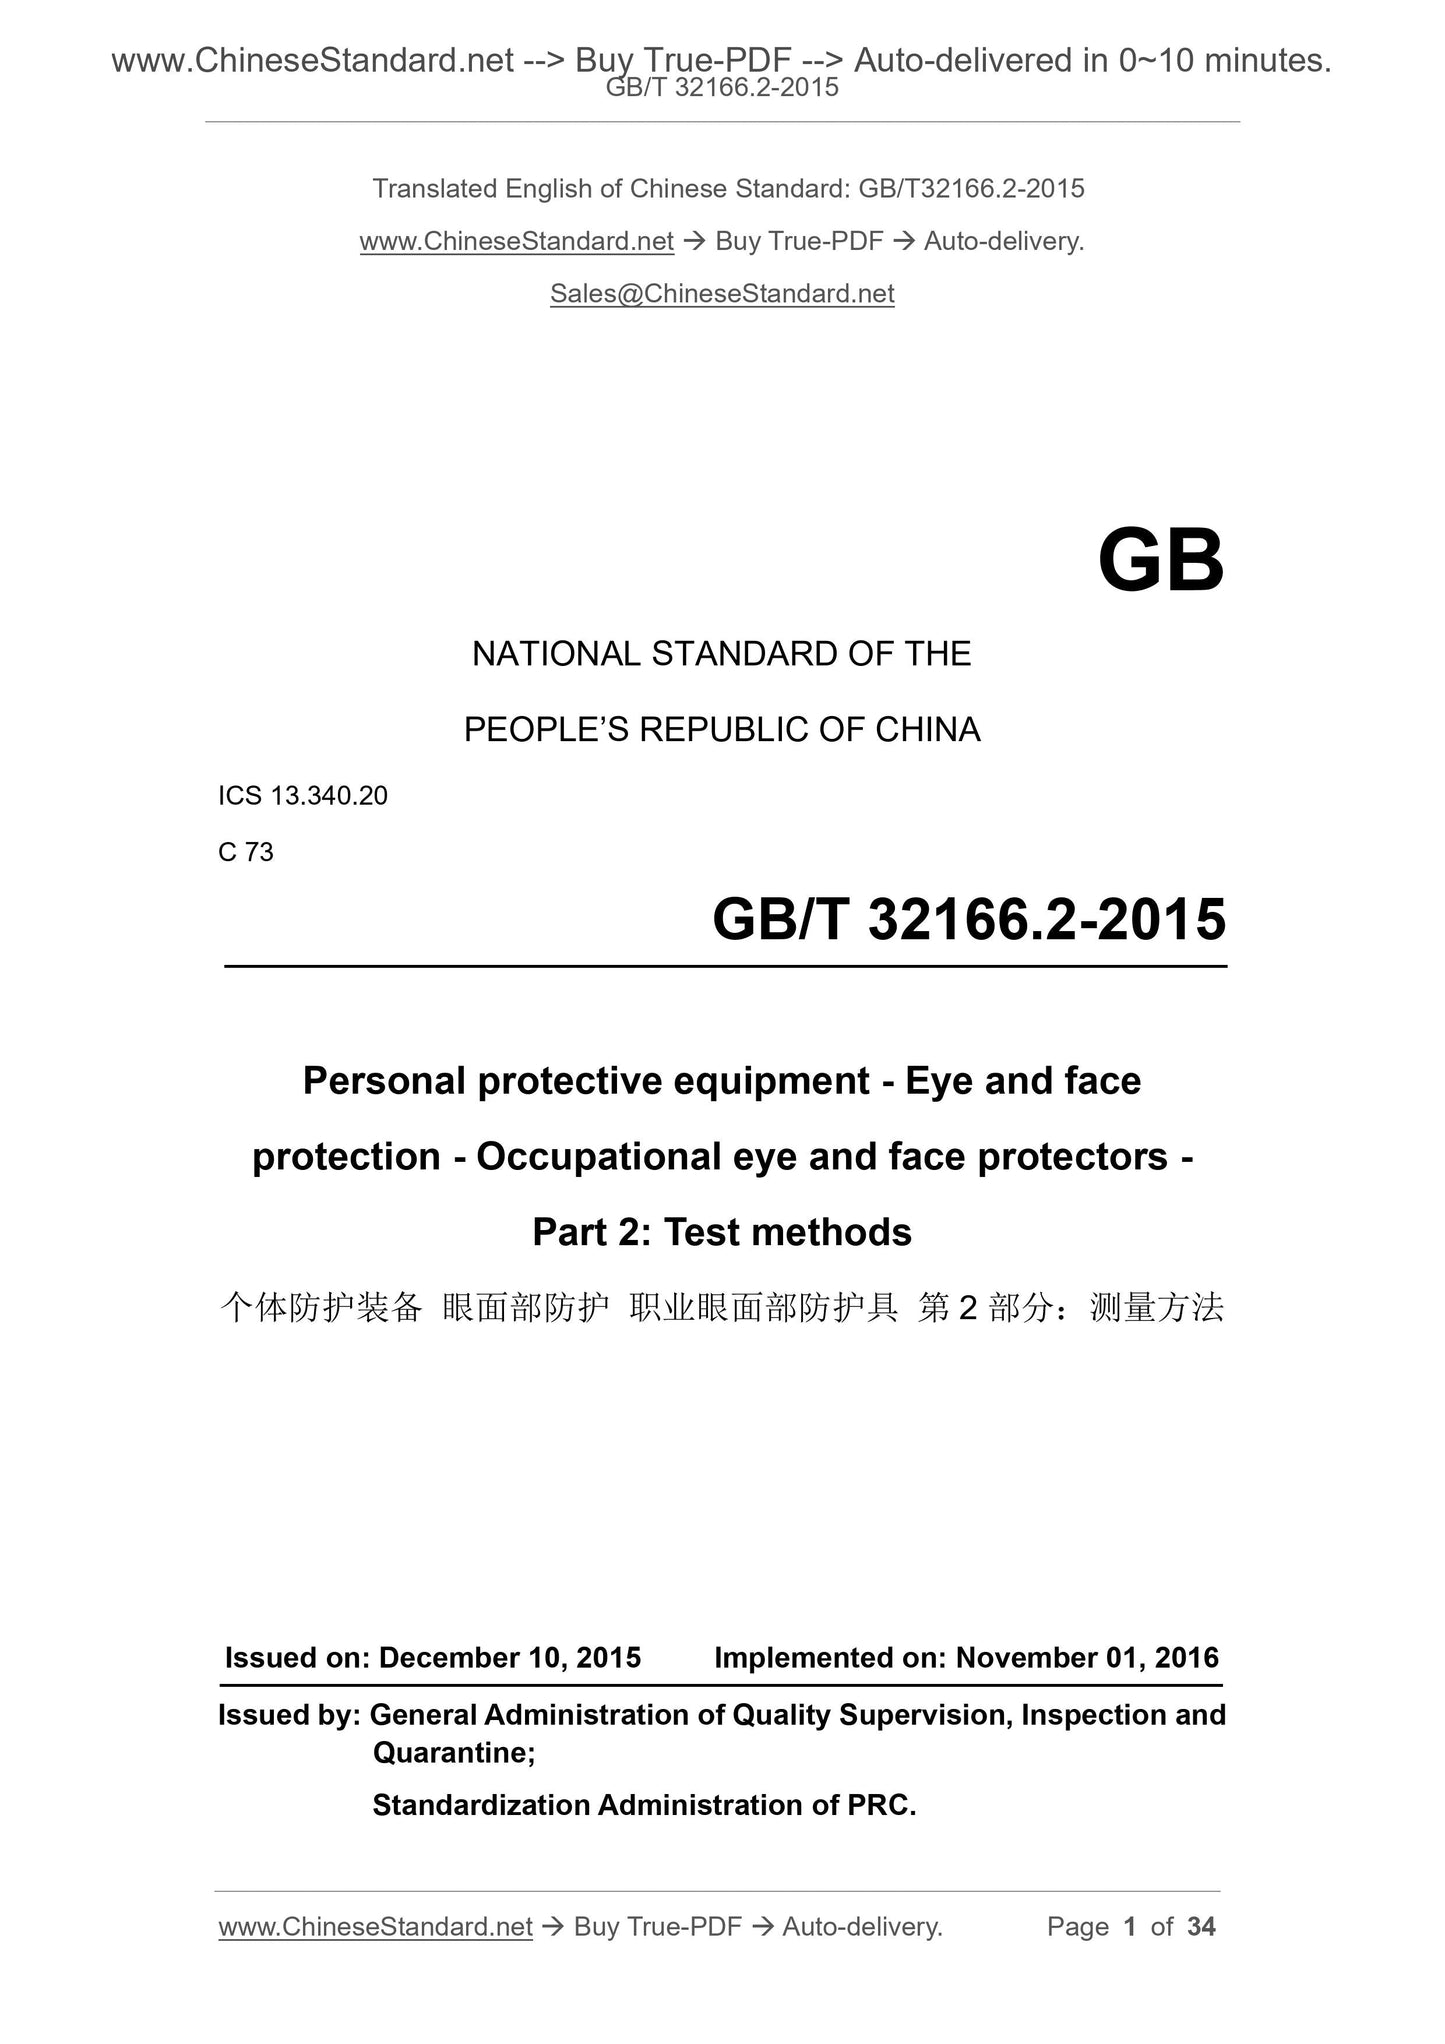
GB/T 32166.2-2015: Personal protective equipment - Eye and face protection - Occupational eye and face protectors - Part 2: Test methods
Delivery: 9 seconds. Download (& Email) true-PDF + Invoice.
Get Quotation: Click GB/T 32166.2-2015 (Self-service in 1-minute)
Historical versions (Master-website): GB/T 32166.2-2015
Preview True-PDF (Reload/Scroll-down if blank)

GB/T 32166.2-2015
NATIONAL STANDARD OF THE
PEOPLE’S REPUBLIC OF CHINA
ICS 13.340.20
C 73
Personal protective equipment - Eye and face
protection - Occupational eye and face protectors -
Part 2: Test methods
ISSUED ON: DECEMBER 10, 2015
IMPLEMENTED ON: NOVEMBER 01, 2016
Issued by: General Administration of Quality Supervision, Inspection and
Quarantine;
Standardization Administration of PRC.
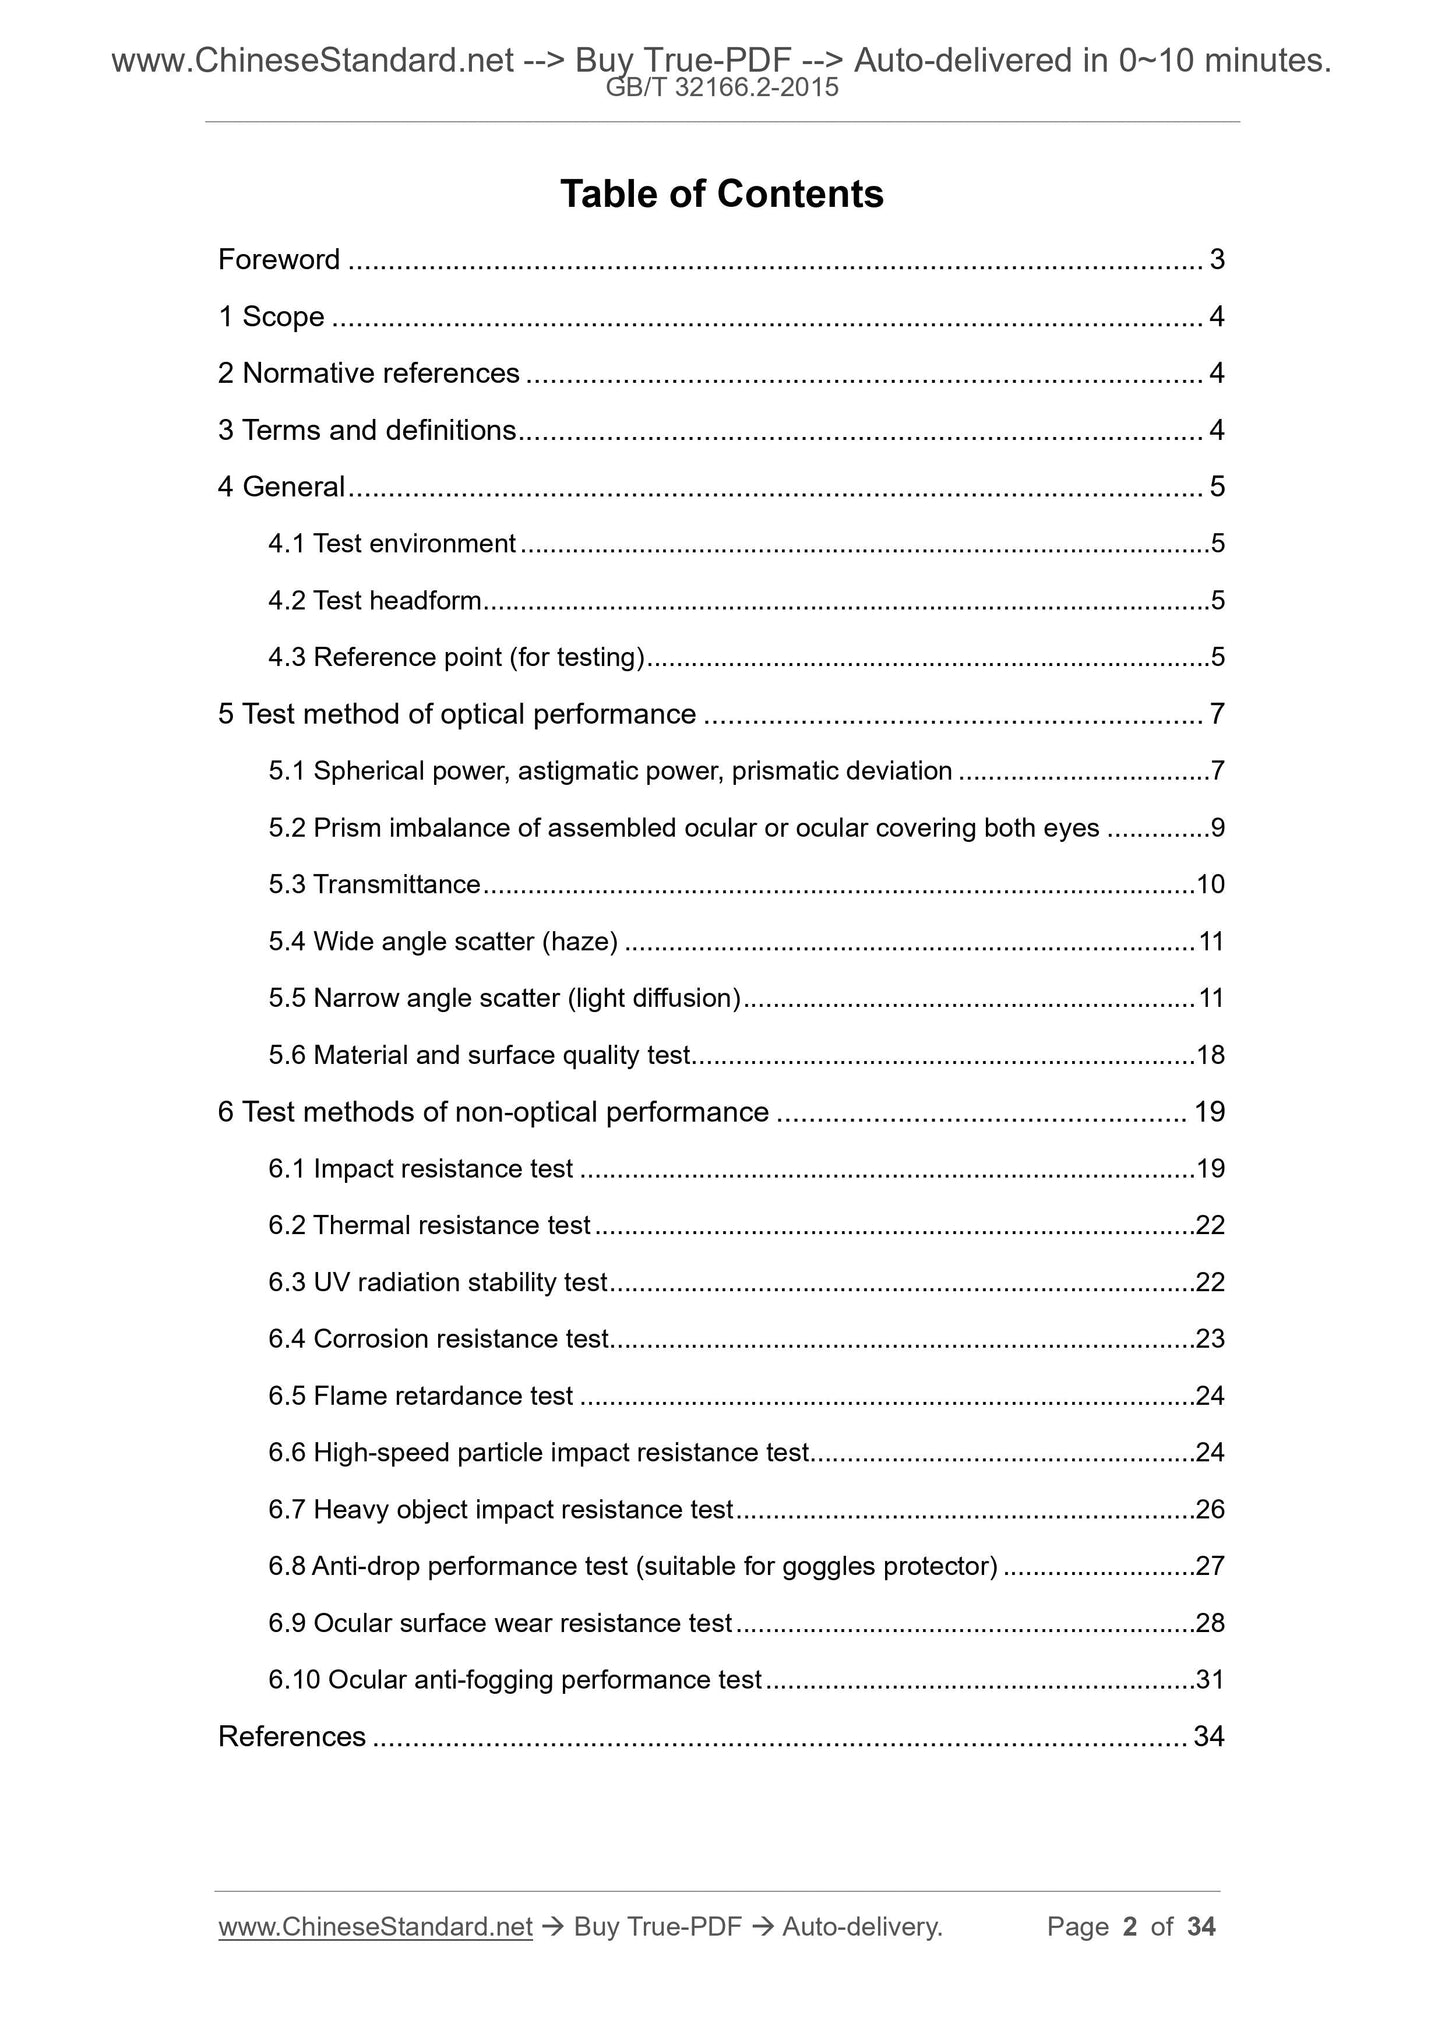
Table of Contents
Foreword ... 3 
1 Scope ... 4 
2 Normative references ... 4 
3 Terms and definitions ... 4 
4 General ... 5 
4.1 Test environment ... 5 
4.2 Test headform ... 5 
4.3 Reference point (for testing) ... 5 
5 Test method of optical performance ... 7 
5.1 Spherical power, astigmatic power, prismatic deviation ... 7 
5.2 Prism imbalance of assembled ocular or ocular covering both eyes ... 9 
5.3 Transmittance ... 10 
5.4 Wide angle scatter (haze) ... 11 
5.5 Narrow angle scatter (light diffusion) ... 11 
5.6 Material and surface quality test ... 18 
6 Test methods of non-optical performance ... 19 
6.1 Impact resistance test ... 19 
6.2 Thermal resistance test ... 22 
6.3 UV radiation stability test ... 22 
6.4 Corrosion resistance test ... 23 
6.5 Flame retardance test ... 24 
6.6 High-speed particle impact resistance test ... 24 
6.7 Heavy object impact resistance test ... 26 
6.8 Anti-drop performance test (suitable for goggles protector) ... 27 
6.9 Ocular surface wear resistance test ... 28 
6.10 Ocular anti-fogging performance test ... 31 
References ... 34 
Personal protective equipment - Eye and face
protection - Occupational eye and face protectors -
Part 2: Test methods
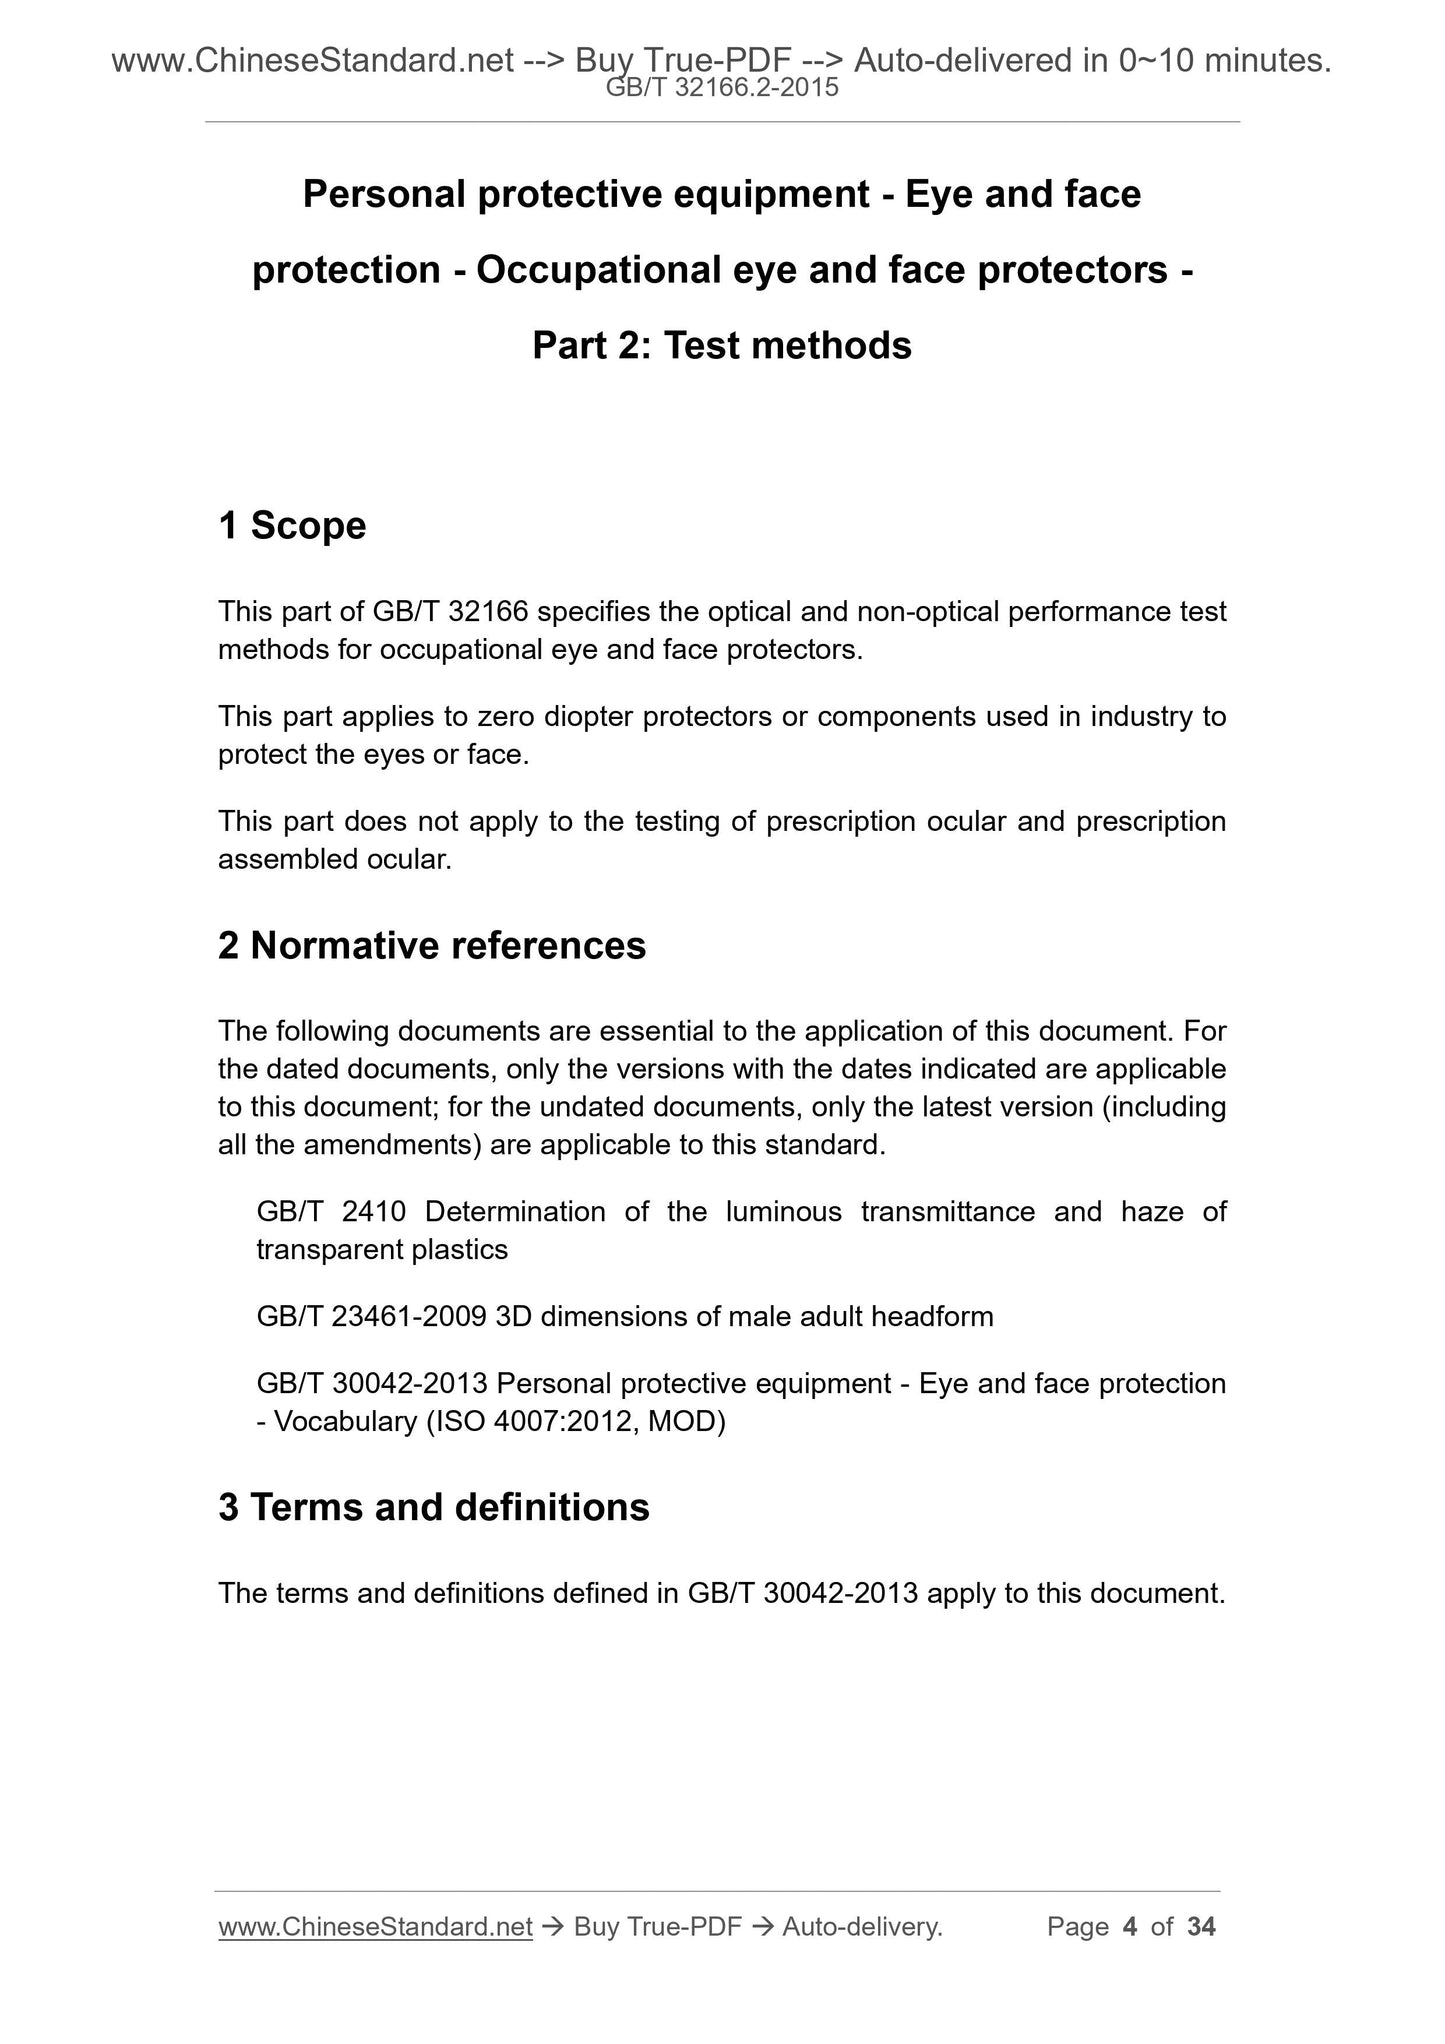
1 Scope
This part of GB/T 32166 specifies the optical and non-optical performance test
methods for occupational eye and face protectors.
This part applies to zero diopter protectors or components used in industry to
protect the eyes or face.
This part does not apply to the testing of prescription ocular and prescription
assembled ocular.
2 Normative references
The following documents are essential to the application of this document. For
the dated documents, only the versions with the dates indicated are applicable
to this document; for the undated documents, only the latest version (including
all the amendments) are applicable to this standard.
GB/T 2410 Determination of the luminous transmittance and haze of
transparent plastics
GB/T 23461-2009 3D dimensions of male adult headform
GB/T 30042-2013 Personal protective equipment - Eye and face protection
- Vocabulary (ISO 4007:2012, MOD)
3 Terms and definitions
The terms and definitions defined in GB/T 30042-2013 apply to this document.
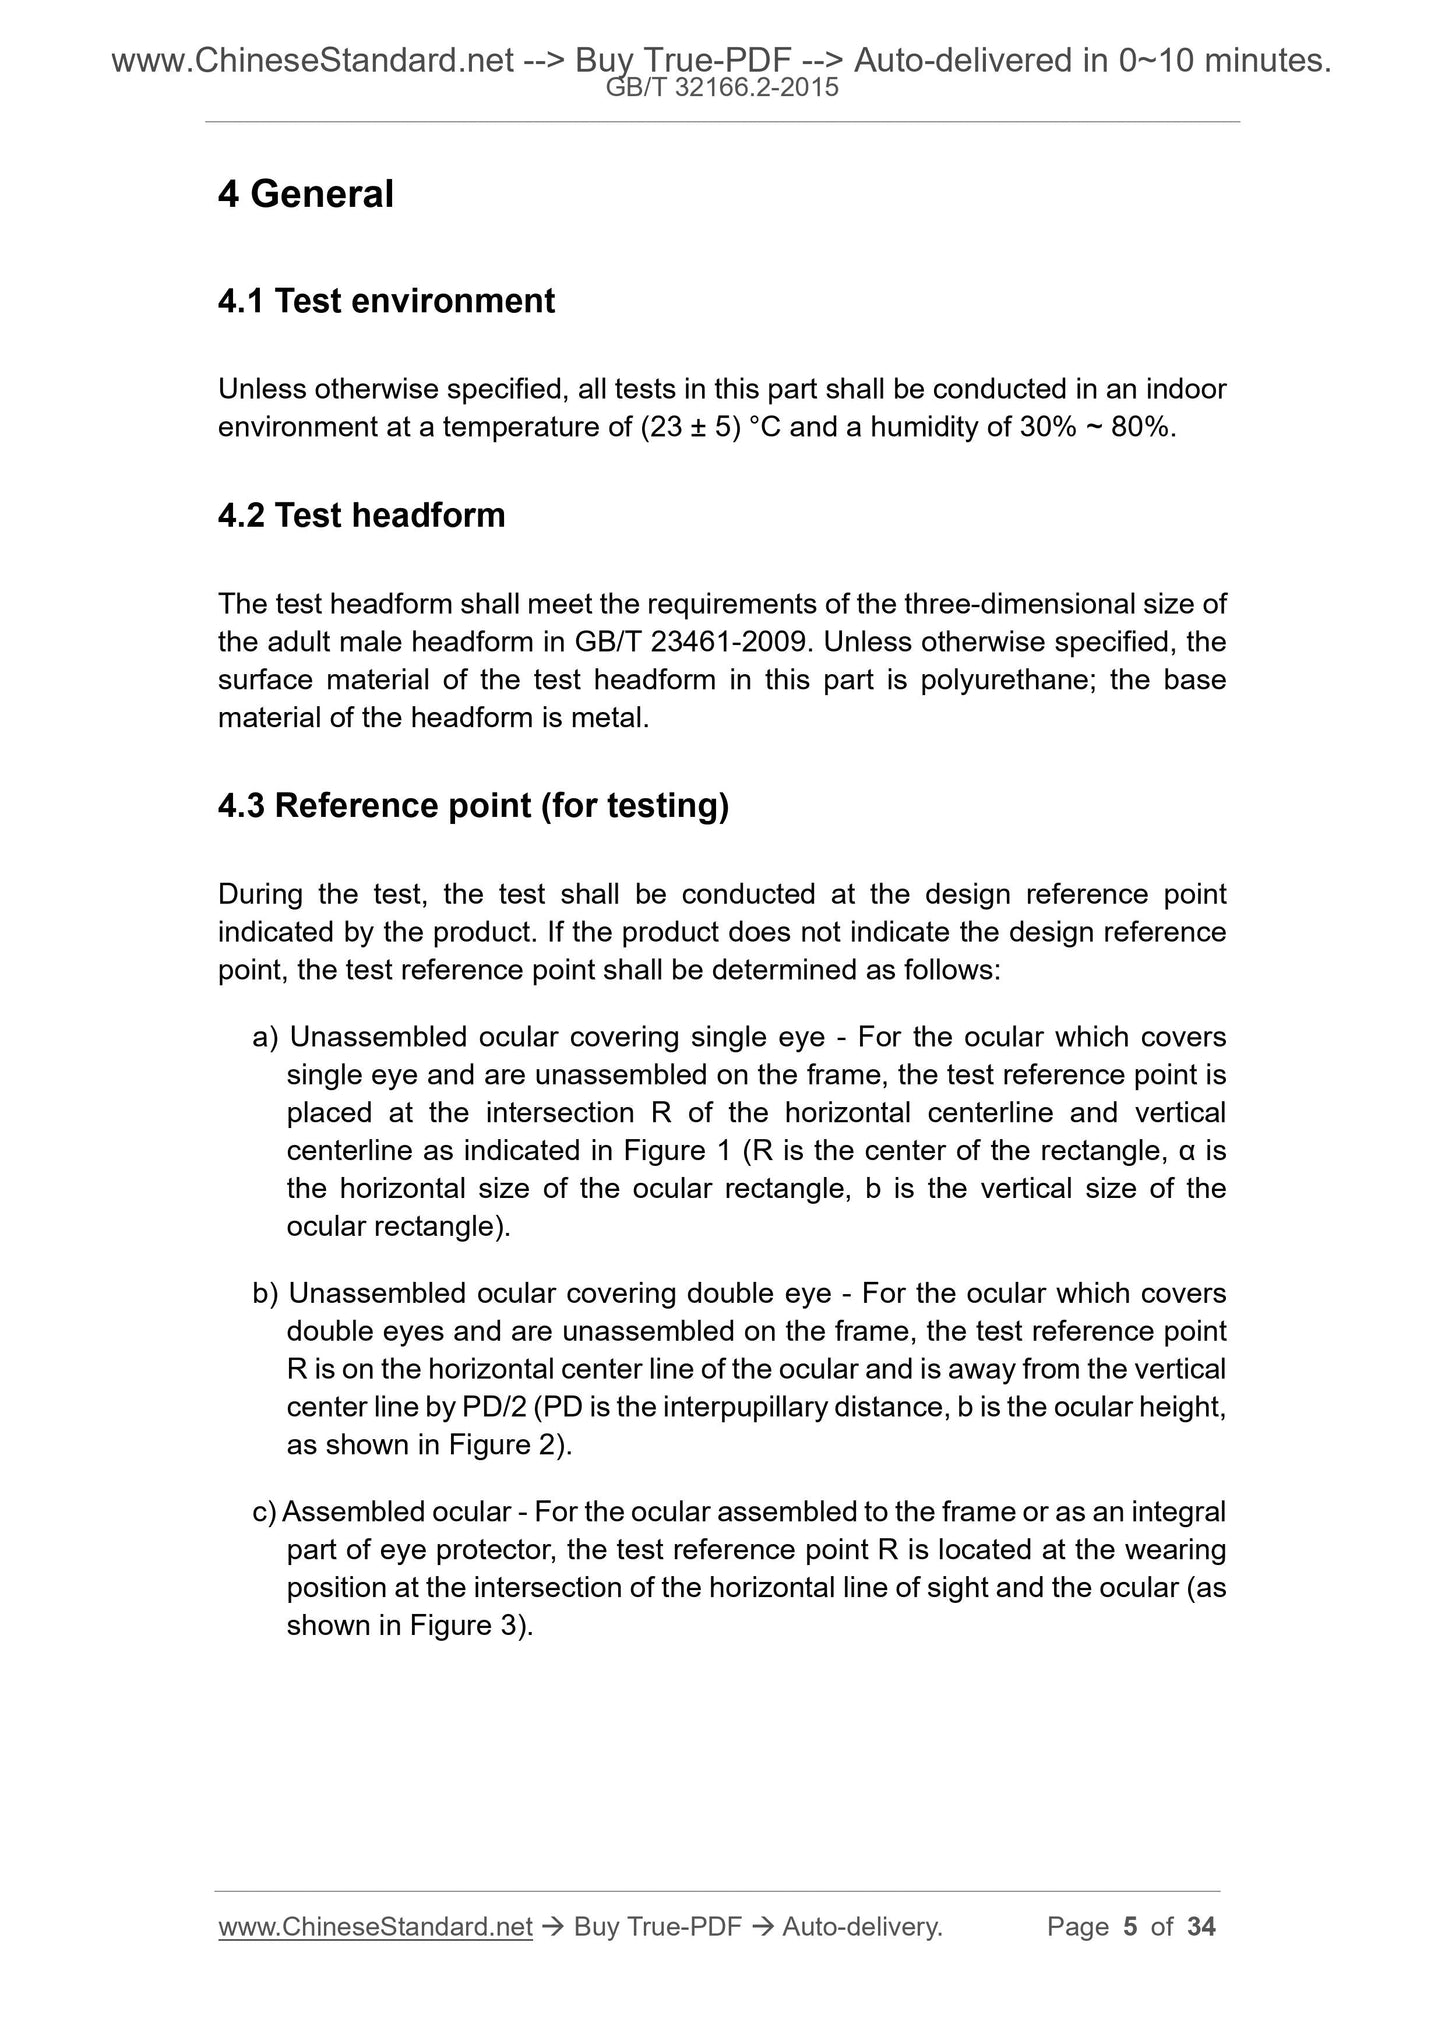
4 General
4.1 Test environment
Unless otherwise specified, all tests in this part shall be conducted in an indoor
environment at a temperature of (23 ± 5) °C and a humidity of 30% ~ 80%.
4.2 Test headform
The test headform shall meet the requirements of the three-dimensional size of
the adult male headform in GB/T 23461-2009. Unless otherwise specified, the
surface material of the test headform in this part is polyurethane; the base
material of the headform is metal.
4.3 Reference point (for testing)
During the test, the test shall be conducted at the design reference point
indicated by the product. If the product does not indicate the design reference
point, the test reference point shall be determined as follows:
a) Unassembled ocular covering single eye - For the ocular which covers
single eye and are unassembled on the frame, the test reference point is
placed at the intersection R of the horizontal centerline and vertical
centerline as indicated in Figure 1 (R is the center of the rectangle, α is
the horizontal size of the ocular rectangle, b is the vertical size of the
ocular rectangle).
b) Unassembled ocular covering double eye - For the ocular which covers
double eyes and are unassembled on the frame, the test reference point
R is on the horizontal center line of the ocular and is away from the vertical
center line by PD/2 (PD is the interpupillary distance, b is the ocular height,
as shown in Figure 2).
c) Assembled ocular - For the ocular assembled to the frame or as an integral
part of eye protector, the test reference point R is located at the wearing
position at the intersection of the horizontal line of sight and the ocular (as
shown in Figure 3).
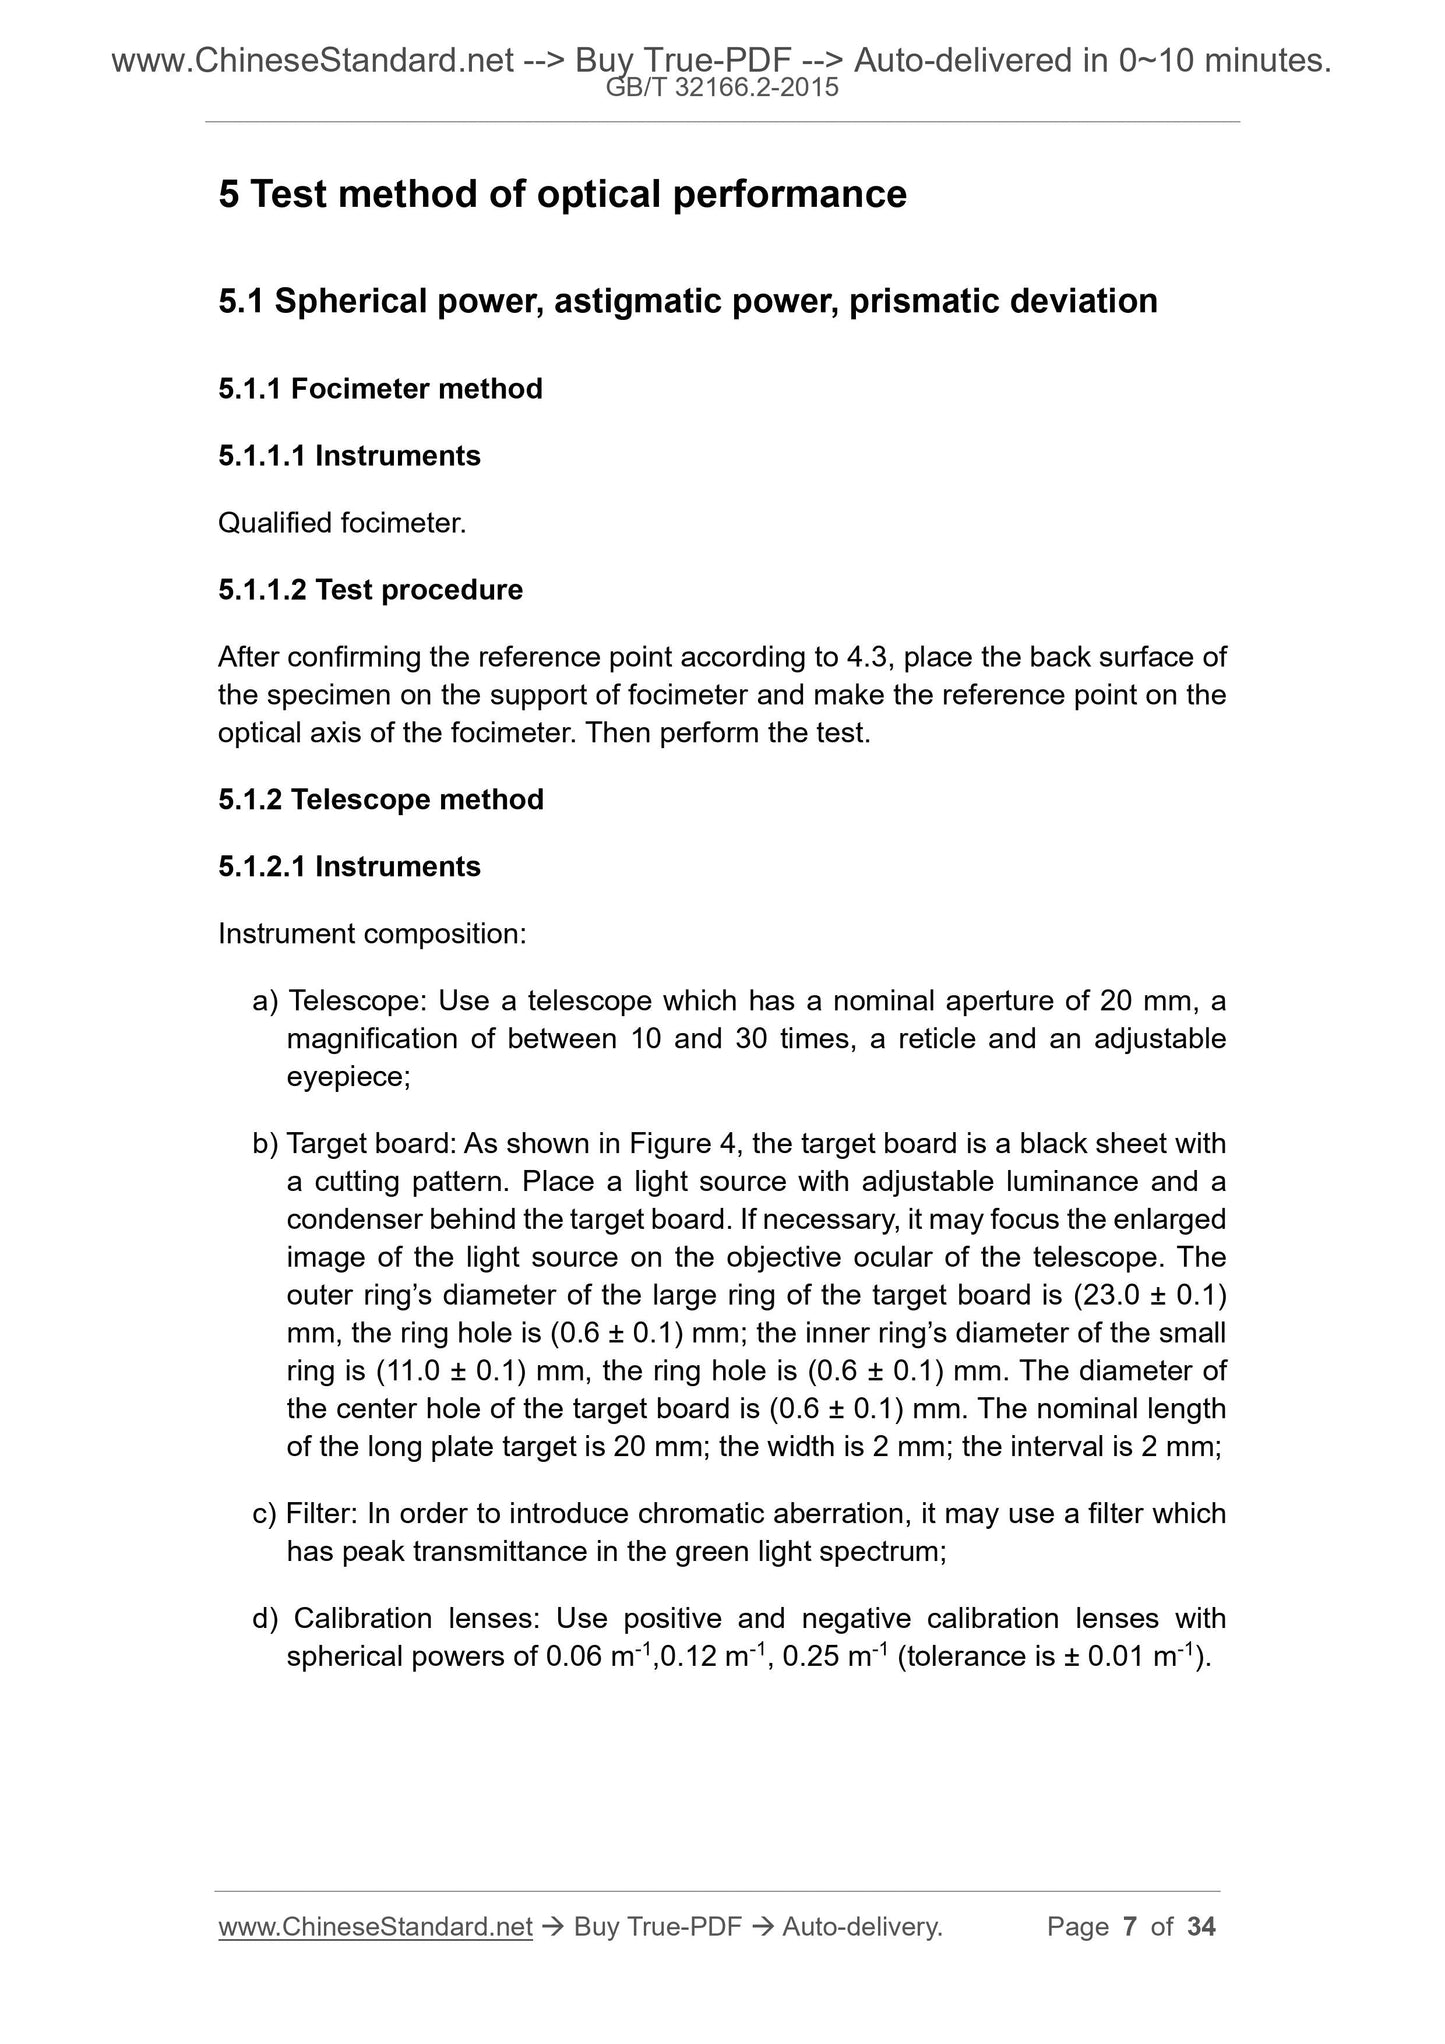
5 Test method of optical performance
5.1 Spherical power, astigmatic power, prismatic deviation
5.1.1 Focimeter method
5.1.1.1 Instruments
Qualified focimeter.
5.1.1.2 Test procedure
After confirming the reference point according to 4.3, place the back surface of
the specimen on the support of focimeter and make the reference point on the
optical axis of the focimeter. Then perform the test.
5.1.2 Telescope method
5.1.2.1 Instruments
Instrument composition:
a) Telescope: Use a telescope which has a nominal aperture of 20 mm, a
magnification of between 10 and 30 times, a reticle and an adjustable
eyepiece;
b) Target board: As shown in Figure 4, the target board is a black sheet with
a cutting pattern. Place a light source with adjustable luminance and a
condenser behind the target board. If necessary, it may focus the enlarged
image of the light source on the objective ocular of the telescope. The
outer ring’s diameter of the large ring of the target board is (23.0 ± 0.1)
mm, the ring hole is (0.6 ± 0.1) mm; the inner ring’s diameter of the small
ring is (11.0 ± 0.1) mm, the ring hole is (0.6 ± 0.1) mm. The diameter of
the center hole of the target board is (0.6 ± 0.1) mm. The nominal length
of the long plate target is 20 mm; the width is 2 mm; the interval is 2 mm;
c) Filter: In order to introduce chromatic aberration, it may use a filter which
has peak transmittance in the green light spectrum;
d) Calibration lenses: Use positive and negative calibration lenses with
spherical powers of 0.06 m-1,0.12 m-1, 0.25 m-1 (tolerance is ± 0.01 m-1).
to ensure the accurate determination of the solid angle ω, the measurement
error of the ring diameter of the ring diaphragm shall not exceed 0.01 mm,
meanwhile any deviation from the nominal diameter shall be corrected in the
calculation.
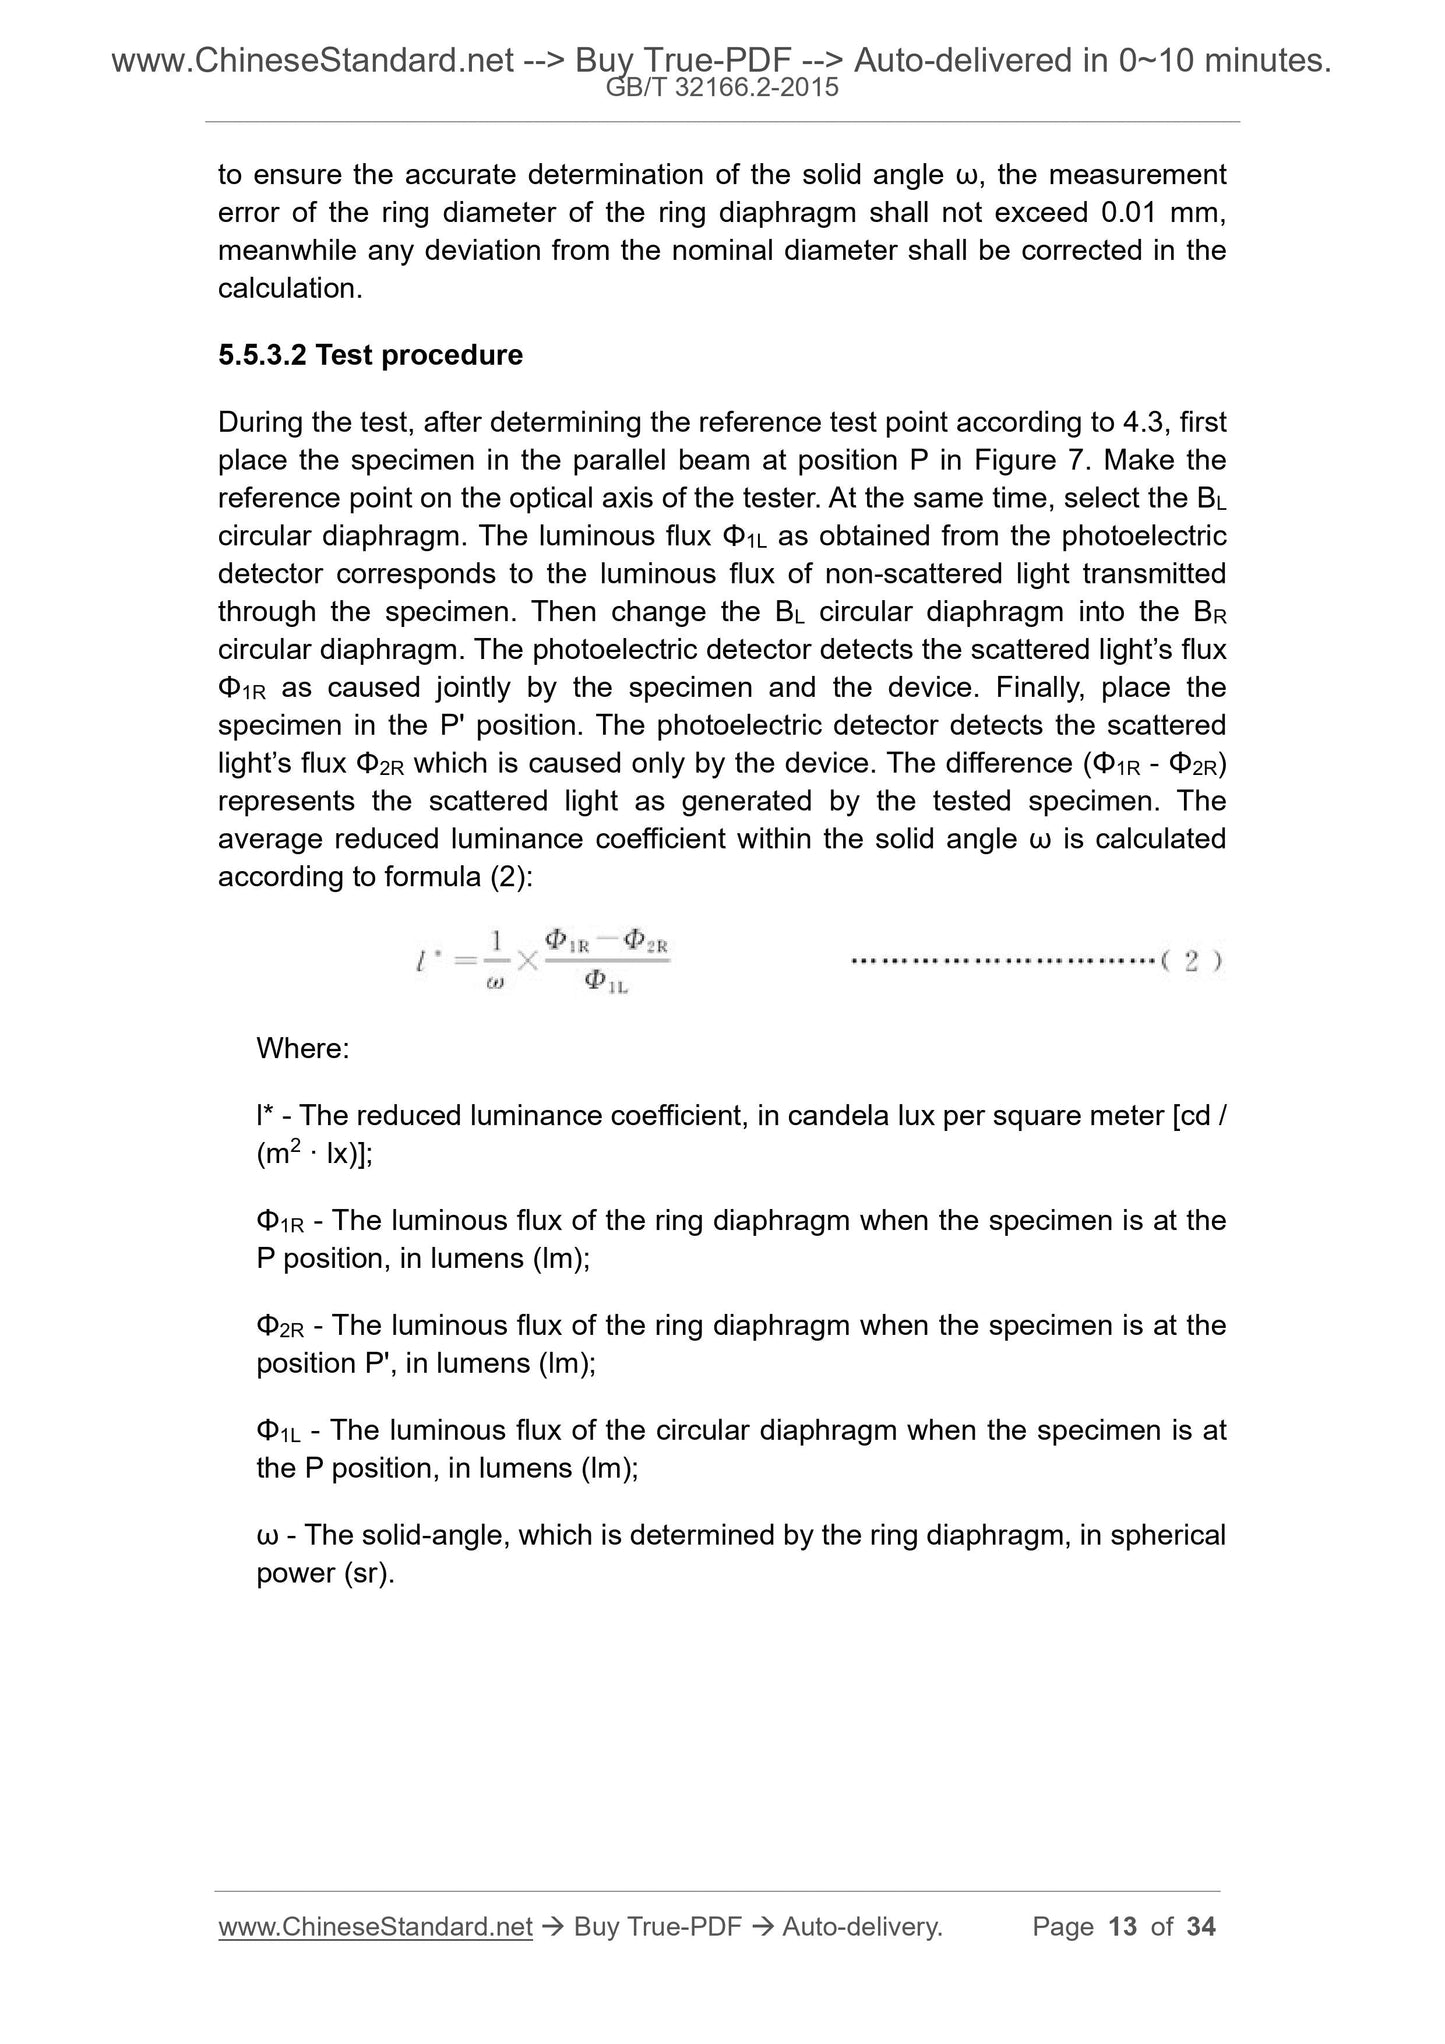
5.5.3.2 Test procedure
During the test, after determining the reference test point according to 4.3, first
place the specimen in the parallel beam at position P in Figure 7. Make the
reference point on the optical axis of the tester. At the same time, select the BL
circular diaphragm. The luminous flux Φ1L as obtained from the photoelectric
detector corresponds to the luminous flux of non-scattered light transmitted
through the specimen. Then change the BL circular diaphragm into the BR
circular diaphragm. The photoelectric detector detects the scattered light’s flux
Φ1R as caused jointly by the specimen and the device. Finally, place the
specimen in the P' position. The photoelectric detector detects the scattered
light’s flux Φ2R which is caused only by the device. The difference (Φ1R - Φ2R)
represents the scattered light as generated by the tested specimen. The
average reduced luminance coefficient within the solid angle ω is calculated
according to formula (2):
Where:
l* - The reduced luminance coefficient, in candela lux per square meter [cd /
(m2 · lx)];
Φ1R - The luminous flux of the ring diaphragm when the specimen is at the
P position, in lumens (lm);
Φ2R - The luminous flux of the ring diaphragm when the specimen is at the
position P', in lumens (lm);
Φ1L - The luminous flux of the circular diaphragm when the specimen is at
the P position, in lumens (lm);
ω - The solid-angle, which is determined by the ring diaphragm, in spherical
power (sr).
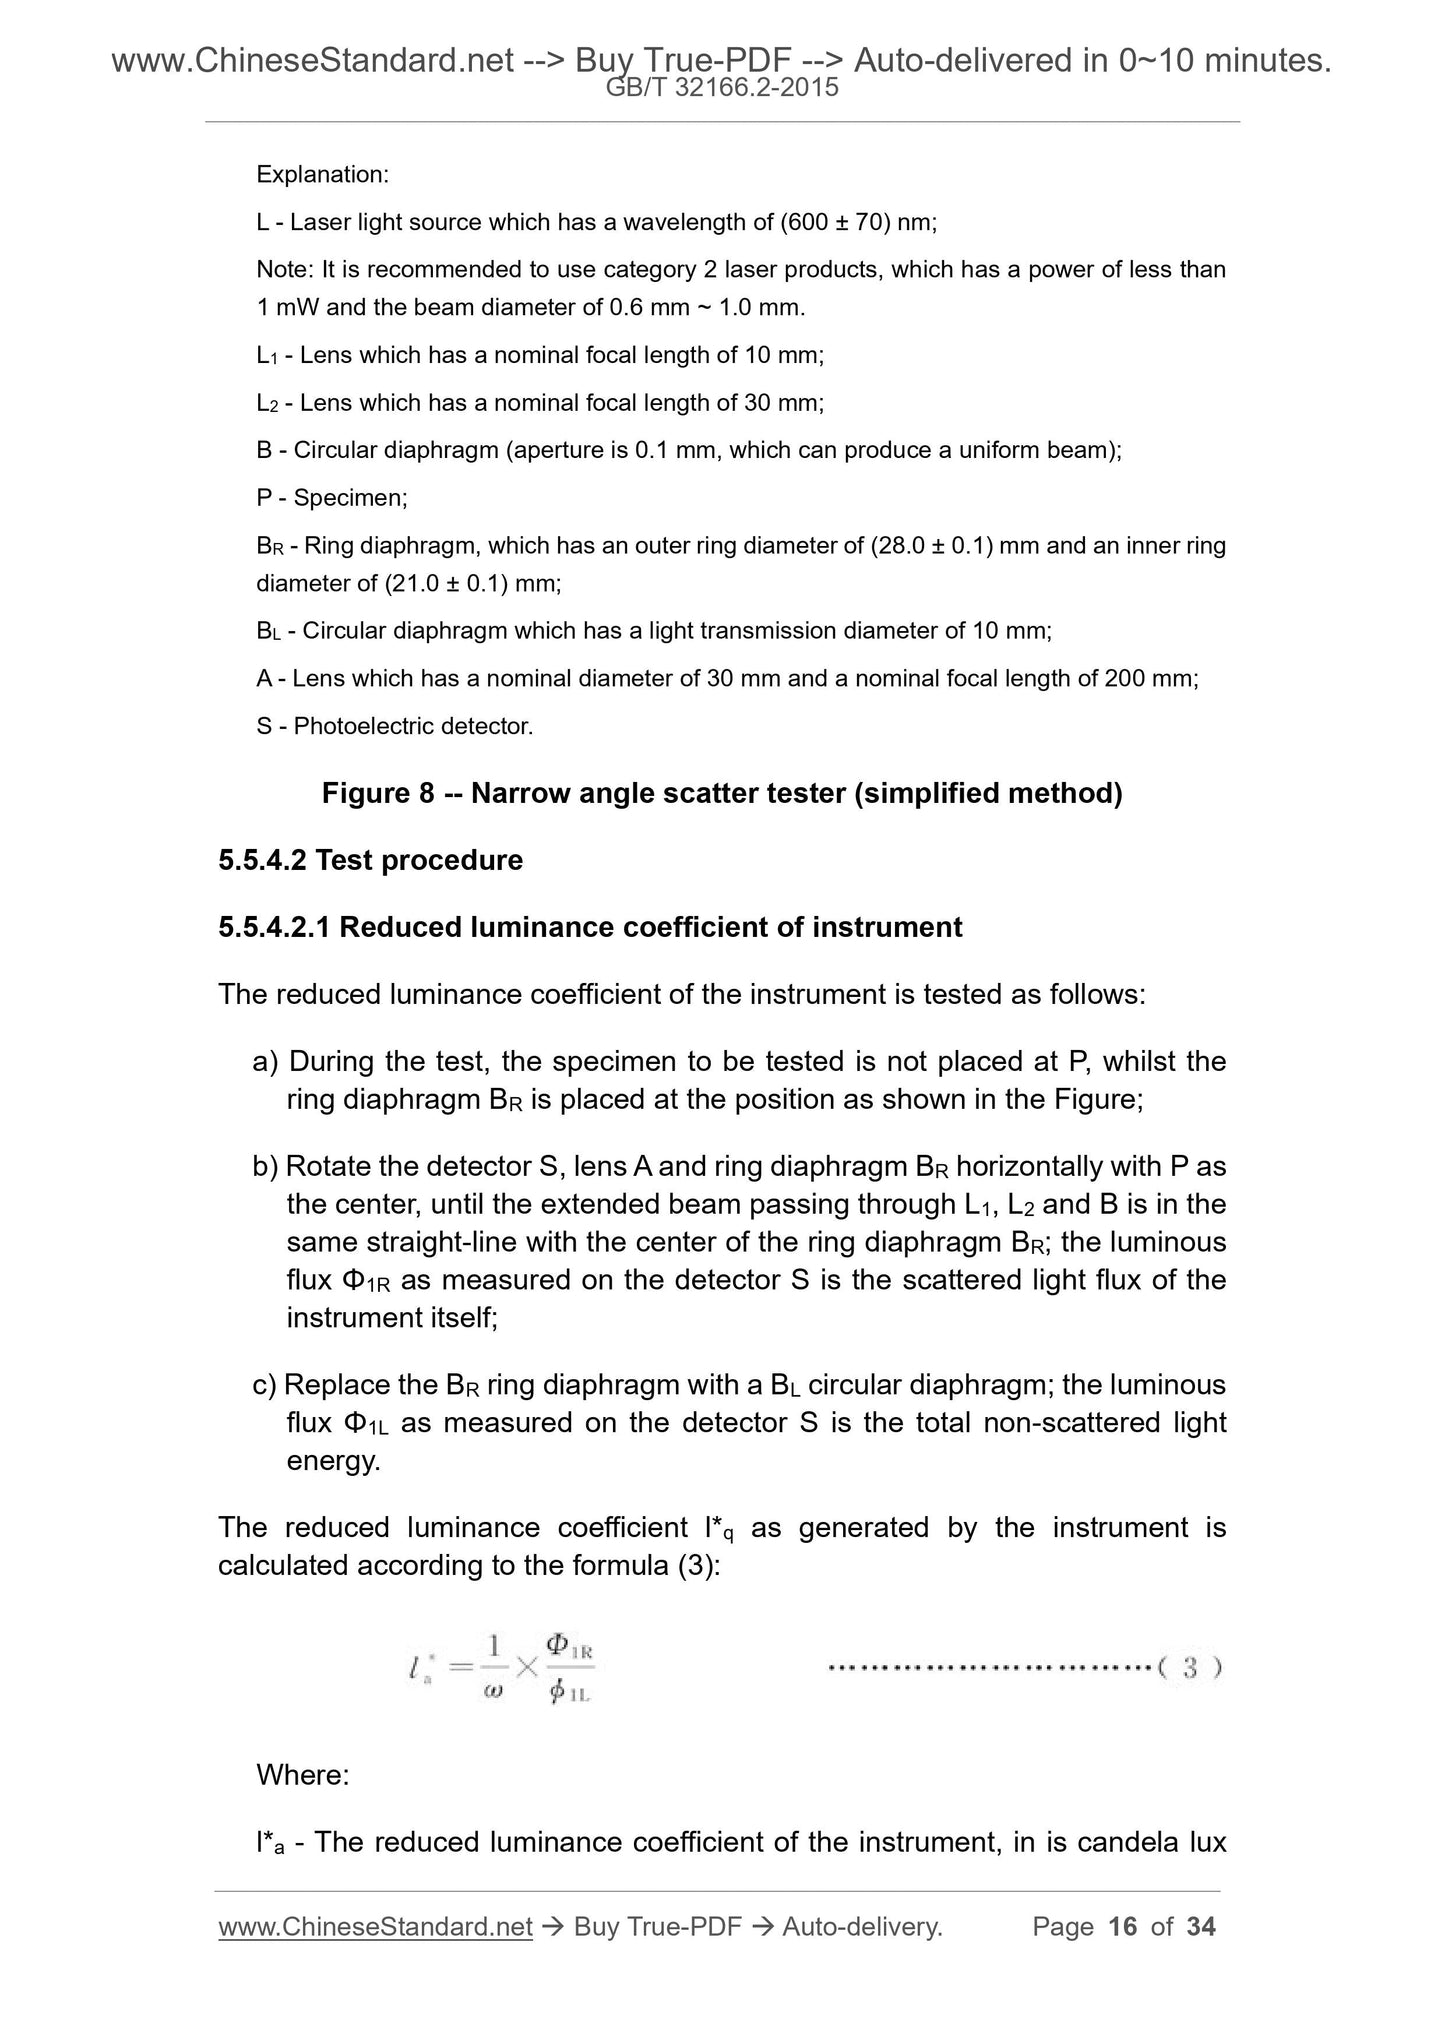
Explanation:
L - Laser light source which has a wavelength of (600 ± 70) nm;
Note: It is recommended to use category 2 laser products, which has a power of less than
1 mW and the beam diameter of 0.6 mm ~ 1.0 mm.
L1 - Lens which has a nominal focal length of 10 mm;
L2 - Lens which has a nominal focal length of 30 mm;
B - Circular diaphragm (aperture is 0.1 mm, which can produce a uniform beam);
P - Specimen;
BR - Ring diaphragm, which has an outer ring diameter of (28.0 ± 0.1) mm and an inner ring
diameter of (21.0 ± 0.1) mm;
BL - Circular diaphragm which has a light transmission diameter of 10 mm;
A - Lens which has a nominal diameter of 30 mm and a nominal focal length of 200 mm;
S - Photoelectric detector.
Figure 8 -- Narrow angle scatter tester (simplified method)
5.5.4.2 Test procedure
5.5.4.2.1 Reduced luminance coefficient of instrument
The reduced luminance coefficient of the instrument is tested as follows:
a) During the test, the specimen to be tested is not placed at P, whilst the
ring diaphragm BR is placed at the position as shown in the Figure;
b) Rotate the detector S, lens A and ring diaphragm BR horizontally with P as
the center, until the extended beam passing through L1, L2 and B is in the
same straight-line with the center of the ring diaphragm BR; the luminous
flux Φ1R as measured on the detector S is the scattered light flux of the
instrument itself;
c) Replace the BR ring diaphragm with a BL circular diaphragm; the luminous
flux Φ1L as measured on the detector S is the total non-scattered light
energy.
The reduced luminance coefficient l*q as generated by the instrument is
calculated according to the formula (3):
Where:
l*a - The reduced luminance coefficient of the instrument, in is candela lux
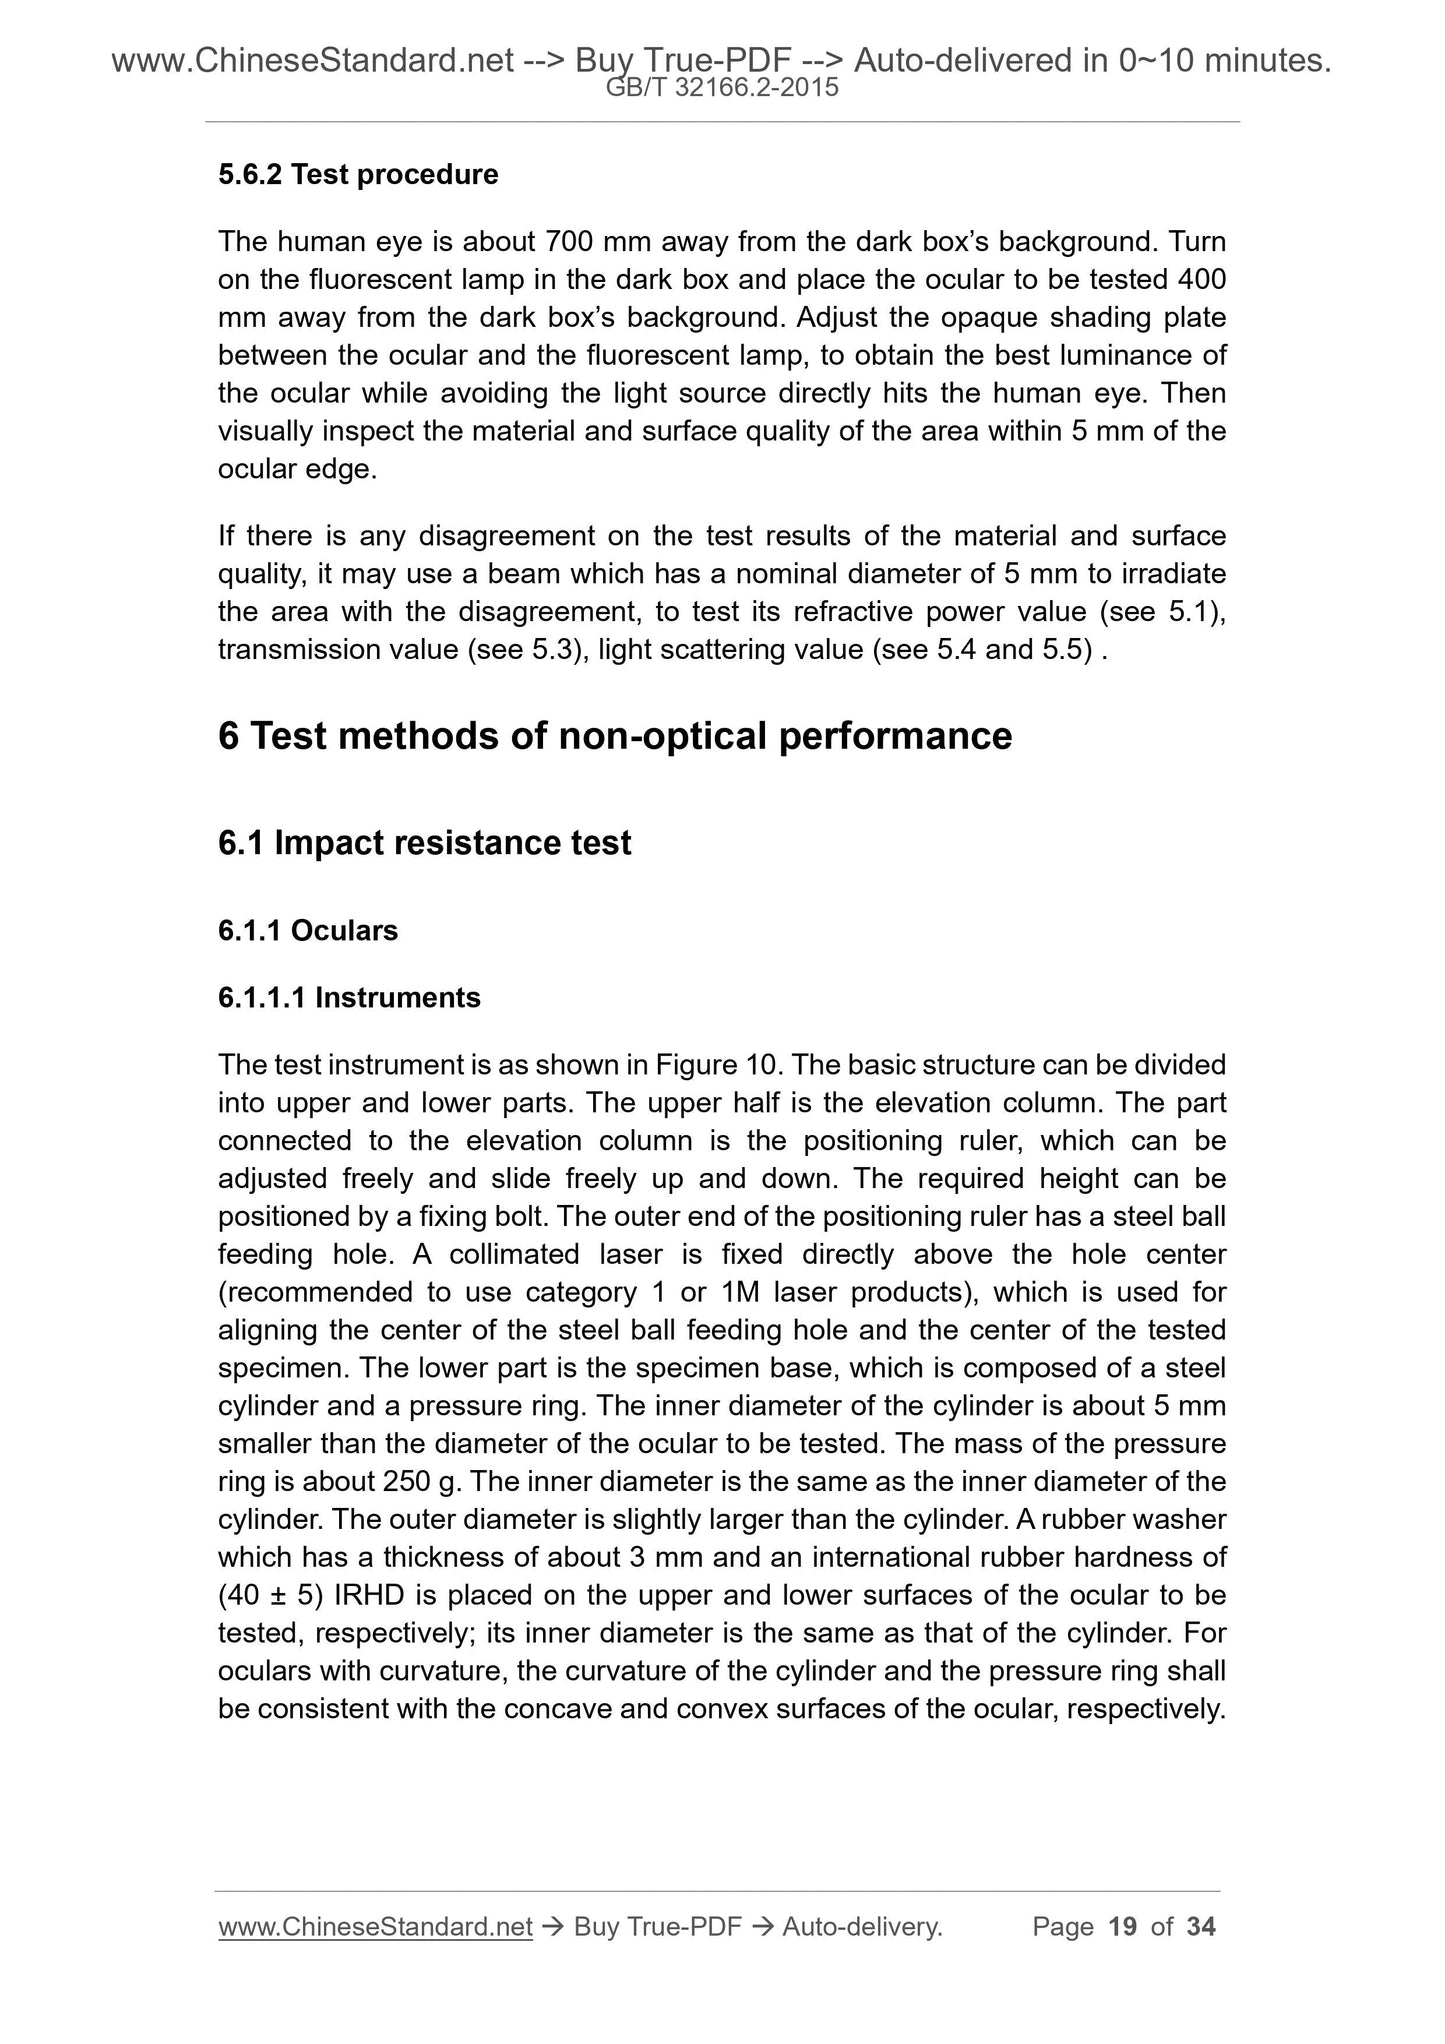
5.6.2 Test procedure
The human eye is about 700 mm away from the dark box’s background. Turn
on the fluorescent lamp in the dark box and place the ocular to be tested 400
mm away from the dark box’s background. Adjust the opaque shading plate
between the ocular and the fluorescent lamp, to obtain the best luminance of
the ocular while avoiding the light source directly hits the human eye. Then
visually inspect the material and surface quality of the area within 5 mm of the
ocular edge.
If there is any disagreement on the test results of the material and surface
quality, it may use a beam which has a nominal diameter of 5 mm to irradiate
the area with the disagreement, to test its refractive power value (see 5.1),
transmission value (see 5.3), light scattering value (see 5.4 and 5.5) .
6 Test methods of non-optical performance
6.1 Impact resistance test
6.1.1 Oculars
6.1.1.1 Instruments
The test instrument is as shown in Figure 10. The basic structure can be divided
into upper and lower parts. The upper half is the elevation column. The part
connected to the elevation column is the positioning ruler, which can be
adjusted freely and slide freely up and down. The required height can be
positioned by a fixing bolt. The outer end of the positioning ruler has a steel ball
feeding hole. A collimated laser is fixed directly above the hole center
(recommended to use category 1 or 1M laser products), which is used for
aligning the center of the steel ball feeding hole and the center of the tested
specimen. The lower part is the specimen base, which is composed of a steel
cylinder and a pressure ring. The inner diameter of the cylinder is about 5 mm
smaller than the diameter of the ocular to be tested. The mass of the pressure
ring is about 250 g. The inner diameter is the same as the inner diameter of the
cylinder. The outer diameter is slightly larger than the cylinder. A rubber washer
which has a thickness of about 3 mm and an international rubber hardness of
(40 ± 5) IRHD is placed on the upper and lower surfaces of the ocular to be
tested, respectively; its inner diameter is the same as that of the cylinder. For
oculars with curvature, the curvature of the cylinder and the pressure ring shall
be consistent with the concave and convex surfaces of the ocular, respectively.
a piece of white paper and carbon paper between the headform and the
specimen. The white paper is on the side of the headform and the carbon paper
is on the side of the ocular. The steel ball feeding point is right above the
specimen. The effective range of steel ball hitting the specimen is a circular
area with a radius of 10 mm centered on the test reference point as determined
in 4.3c). If the specimen has side protection, the side shield shall also be
subjected to an impact test. The effective range of the steel ball impacting the
side shield is the circular side protection area with a radius of 10 mm centered
on the outer corner of the headform eye.
The impact test is carried out after pretreatment under the following conditions:
a) The specimen is heated to (55 ± 2) °C and kept at this temperature for at
least 1 h;
b) The specimen is cooled to (-5 ± 2) °C and kept at this temperature for at
least 1 h.
Each impact test and each pretreatment condition shall use a new specimen.
The test shall be carried out within 30 s after the completion of thermal-
insulation.
6.2 Thermal resistance test
6.2.1 Instruments
Oven, the temperature in the oven shall be uniform and maintained at (55 ±
2) °C.
6.2.2 Test procedure
First adjust the temperature in the oven to (55 ± 2) °C. Then put the specimen
into the oven. The ocular surface shall not contact the oven wall. After keeping
the temperature for (60 ± 5) min, take out the specimen and place it under
normal temperature for at least 60 min. Perform visual inspection.
6.3 UV radiation stability test
6.3.1 Instruments
The design of the ultraviolet irradiation box shall be reasonable, to ensure that
the ocular surface is perpendicular to the ultraviolet irradiation direction. The
ocular does not touch the inner wall of the box.
The source of ultraviolet radiation shall be a high-pressure xenon lamp. Under
working conditions, the pressure of the xenon gas in the lamp shall be stabilized
Immerse it in a 10% (mass solution) sodium chloride (NaCl) boiling water
solution. After soaking it for 15 min, take it out of the boiling water solution. Then
immerse ...
View full details