Skip to product information
1 of 5

PayPal, credit cards. Download editable-PDF and invoice in 1 second!

GB/T 2790-1995 English PDF (GBT2790-1995)

GB/T 2790-1995 English PDF (GBT2790-1995)

Regular price $70.00 USD
Regular price Sale price $70.00 USD
Sale Sold out
Shipping calculated at checkout.
Delivery: 3 seconds. Download true-PDF + Invoice.
Get QUOTATION in 1-minute: Click GB/T 2790-1995
Historical versions: GB/T 2790-1995
Preview True-PDF (Reload/Scroll if blank)

GB/T 2790-1995: Adhesives, 180-degreepeel strength test method for a flexible-bonded-to-rigid test specimen assembly
GB/T 2790-1995
NATIONAL STANDARD OF THE
PEOPLE’S REPUBLIC OF CHINA
Replacing GB 2790-81
Adhesives, 180 Peel Strength Test Method for a
Flexible-bonded-to-rigid Test Specimen Assembly
挠性材料对刚性材料
APPROVED ON: DECEMBER 20, 1995
IMPLEMENTED ON: AUGUST 1, 1996
Issued by: The Quality and Technology Supervision Bureau of the
People’s Republic of China.
Table of Contents
1 Main Content and Scope of Application ... 3 
2 Normative References ... 3 
3 Principle ... 3 
4 Devices ... 3 
5 Test Specimens ... 4 
6 Conditioning and Test Environment ... 6 
7 Test Procedures ... 6 
8 Processing of Test Result ... 7 
9 Test Report ... 8 
Additional information ... 9 
Adhesives, 180 Peel Strength Test Method for a
Flexible-bonded-to-rigid Test Specimen Assembly
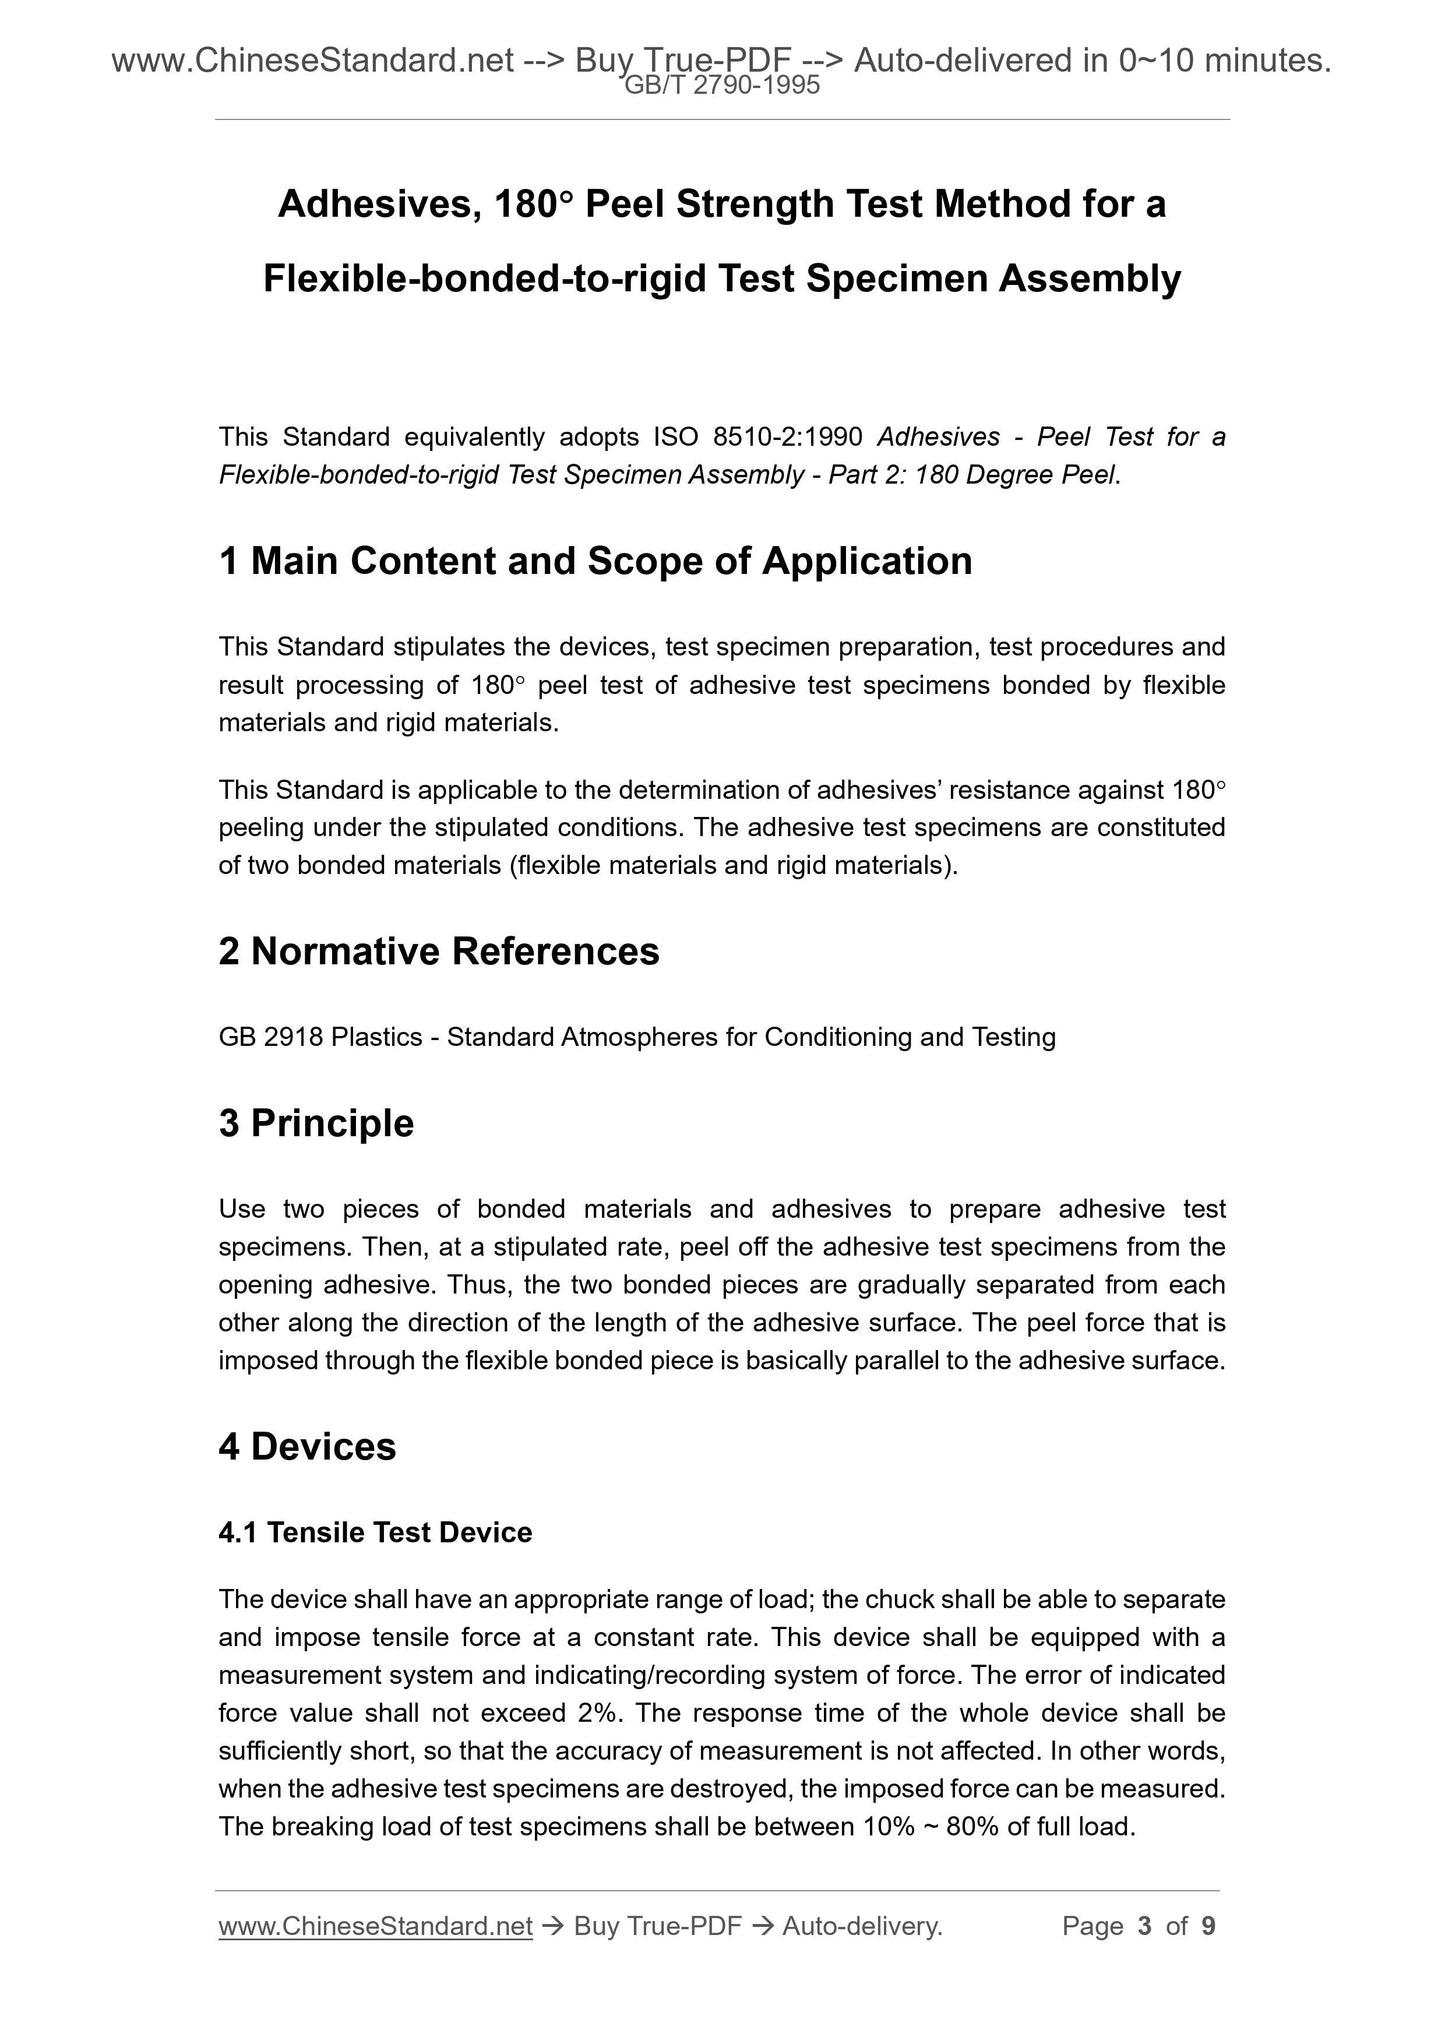
This Standard equivalently adopts ISO 8510-2:1990 Adhesives - Peel Test for a
Flexible-bonded-to-rigid Test Specimen Assembly - Part 2: 180 Degree Peel.
1 Main Content and Scope of Application
This Standard stipulates the devices, test specimen preparation, test procedures and
result processing of 180 peel test of adhesive test specimens bonded by flexible
materials and rigid materials.
This Standard is applicable to the determination of adhesives’ resistance against 180
peeling under the stipulated conditions. The adhesive test specimens are constituted
of two bonded materials (flexible materials and rigid materials).
2 Normative References
GB 2918 Plastics - Standard Atmospheres for Conditioning and Testing
3 Principle
Use two pieces of bonded materials and adhesives to prepare adhesive test
specimens. Then, at a stipulated rate, peel off the adhesive test specimens from the
opening adhesive. Thus, the two bonded pieces are gradually separated from each
other along the direction of the length of the adhesive surface. The peel force that is
imposed through the flexible bonded piece is basically parallel to the adhesive surface.
4 Devices
4.1 Tensile Test Device
The device shall have an appropriate range of load; the chuck shall be able to separate
and impose tensile force at a constant rate. This device shall be equipped with a
measurement system and indicating/recording system of force. The error of indicated
force value shall not exceed 2%. The response time of the whole device shall be
sufficiently short, so that the accuracy of measurement is not affected. In other words,
when the adhesive test specimens are destroyed, the imposed force can be measured.
The breaking load of test specimens shall be between 10% ~ 80% of full load.
4.2 Chuck
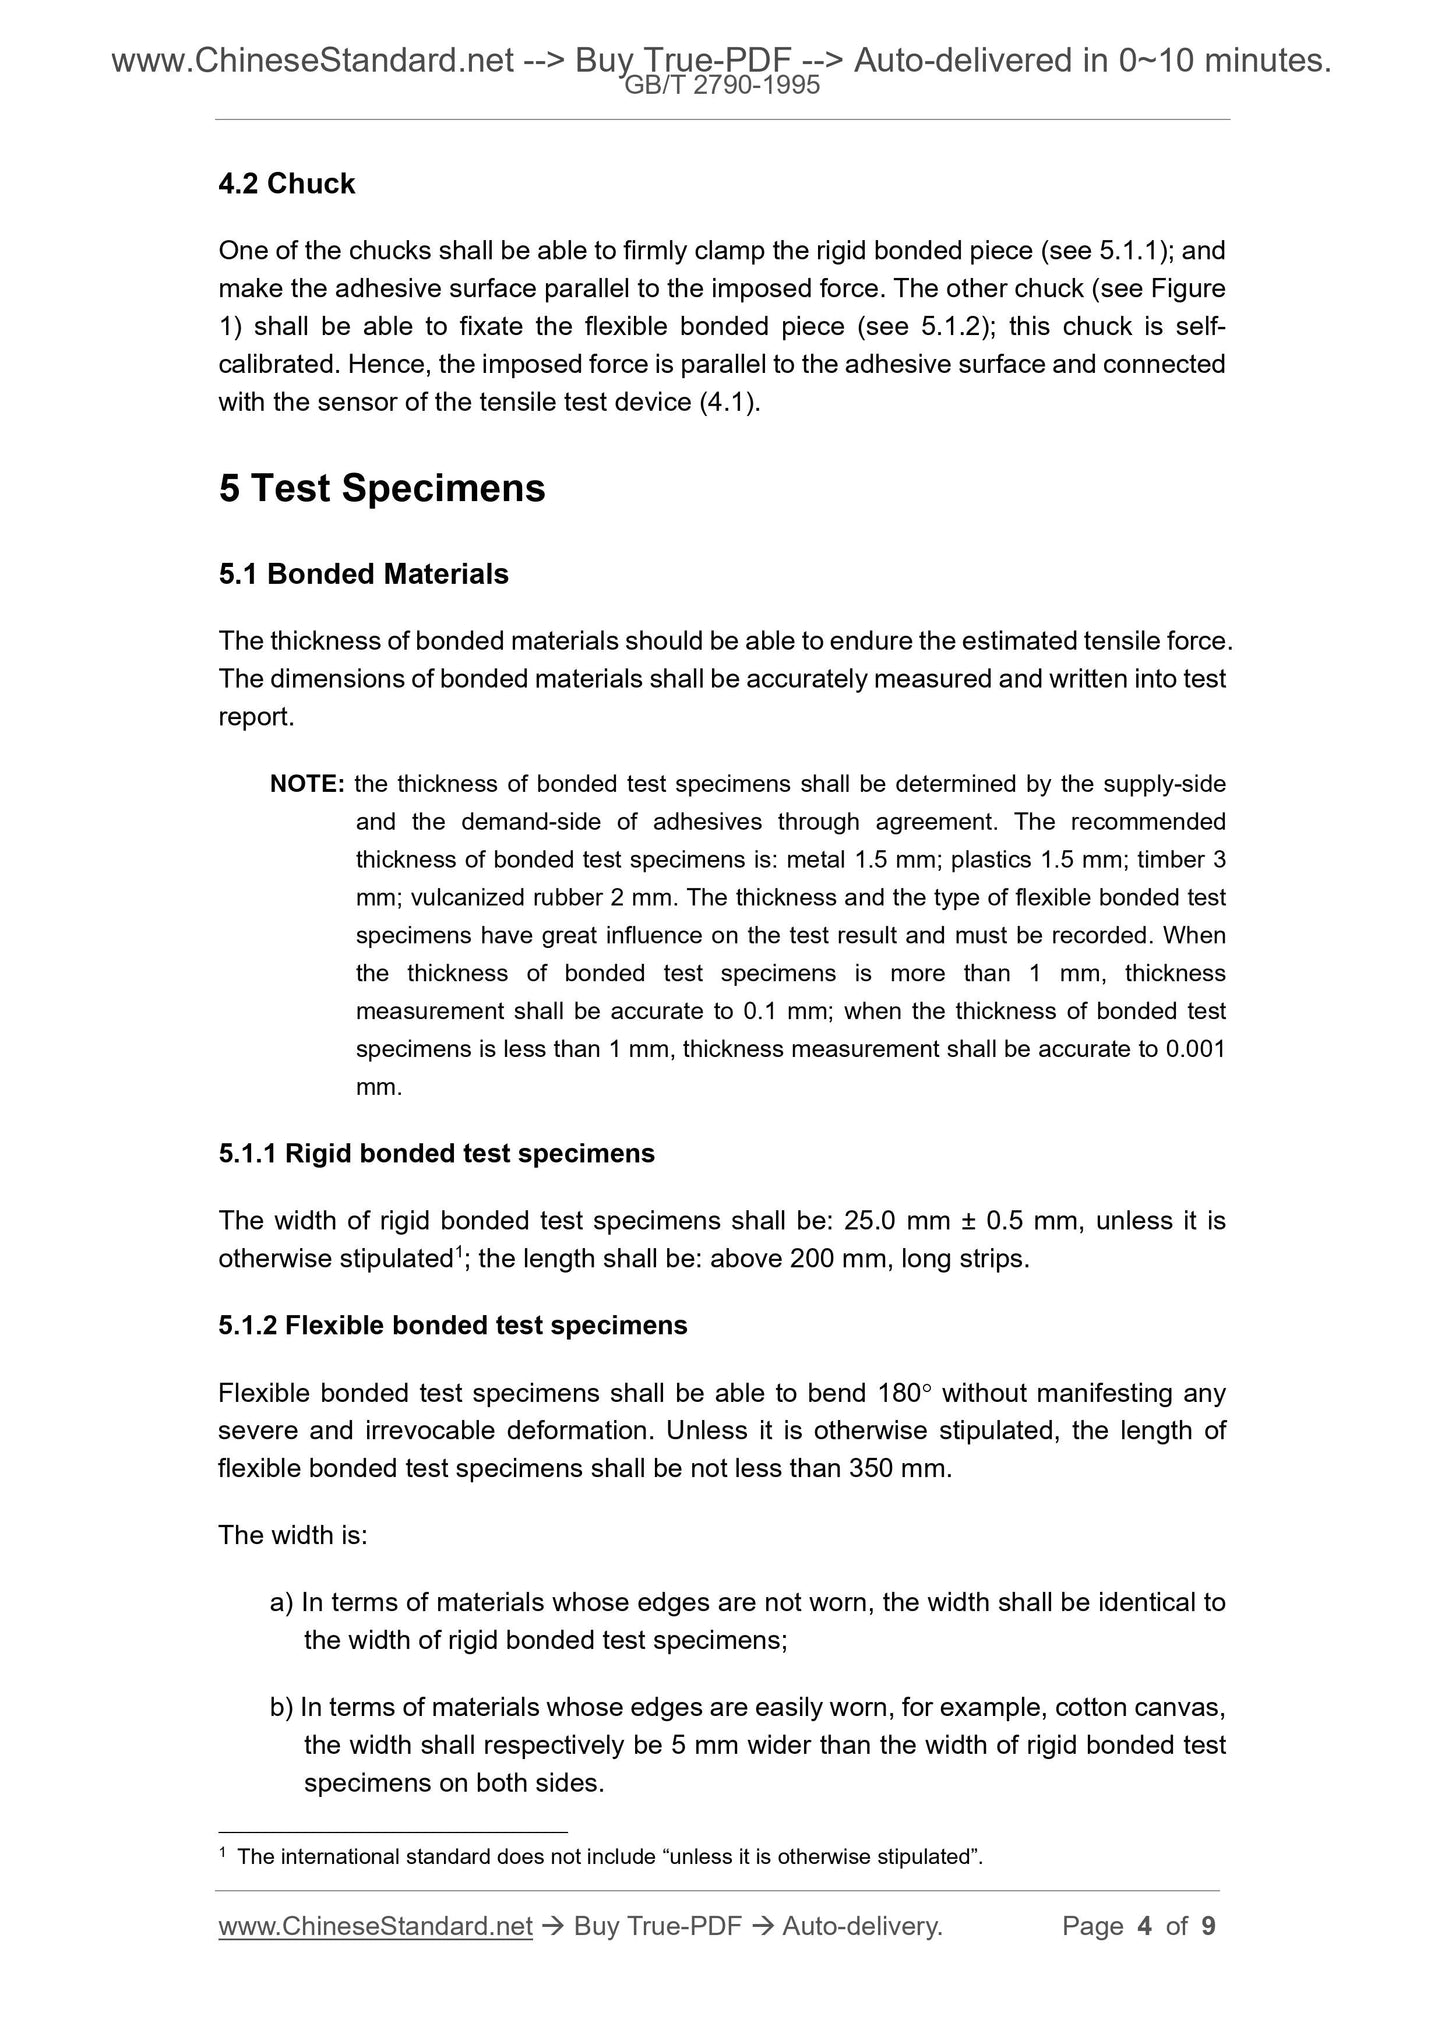
One of the chucks shall be able to firmly clamp the rigid bonded piece (see 5.1.1); and
make the adhesive surface parallel to the imposed force. The other chuck (see Figure
1) shall be able to fixate the flexible bonded piece (see 5.1.2); this chuck is self-
calibrated. Hence, the imposed force is parallel to the adhesive surface and connected
with the sensor of the tensile test device (4.1).
5 Test Specimens
5.1 Bonded Materials
The thickness of bonded materials should be able to endure the estimated tensile force.
The dimensions of bonded materials shall be accurately measured and written into test
report.
NOTE: the thickness of bonded test specimens shall be determined by the supply-side
and the demand-side of adhesives through agreement. The recommended
thickness of bonded test specimens is: metal 1.5 mm; plastics 1.5 mm; timber 3
mm; vulcanized rubber 2 mm. The thickness and the type of flexible bonded test
specimens have great influence on the test result and must be recorded. When
the thickness of bonded test specimens is more than 1 mm, thickness
measurement shall be accurate to 0.1 mm; when the thickness of bonded test
specimens is less than 1 mm, thickness measurement shall be accurate to 0.001
mm.
5.1.1 Rigid bonded test specimens
The width of rigid bonded test specimens shall be: 25.0 mm ± 0.5 mm, unless it is
otherwise stipulated1; the length shall be: above 200 mm, long strips.
5.1.2 Flexible bonded test specimens
Flexible bonded test specimens shall be able to bend 180 without manifesting any
severe and irrevocable deformation. Unless it is otherwise stipulated, the length of
flexible bonded test specimens shall be not less than 350 mm.
The width is:
a) In terms of materials whose edges are not worn, the width shall be identical to
the width of rigid bonded test specimens;
b) In terms of materials whose edges are easily worn, for example, cotton canvas,
the width shall respectively be 5 mm wider than the width of rigid bonded test
specimens on both sides.
1 The international standard does not include “unless it is otherwise stipulated”.
Figure 1 -- Sketch Map of 180 Peel Test of Adhesive Test Specimens Bonded
by Flexible and Rigid Materials
In accordance with the method recommended by adhesive manufacturer, bond the
bonded test specimen; solidify the adhesives.
If pressurization is needed in the preparation of test specimens, impose uniform
pressure onto the whole adhesive surface; the recommended imposed pressure may
reach 1 MPa. It would be better to prepare a timed pressure-withdrawal device. In
order to obtain uniform pressure distribution on the whole adhesive surface, the press
plate shall be parallel. If it is impossible, place an elastic gasket on the press plate.
The thickness of the gasket shall be approximately 10 mm; the hardness (Shore A)
shall be approximately 45 degree. Under this circumstance, it is recommended that
the imposed pressure may reach 0.7 MPa.
Another method of the preparation of test specimens is to bond two plates (with
appropriate dimensions) into an expanded test piece, then, cut off test specimens from
the expanded test piece. During the cutting, try to minimize the influence of cutting heat
and mechanical force on the bonded joint. The outermost strip part (width: 12 mm) that
is parallel to the long side of the test specimen on the expanded test piece must be
eliminated.
Determine the average thickness of test specimen’s adhesive layer.
5.3 Quantity of Test Specimens
The quantity of each batch No. of test specimens shall be not less than 5.
6 Conditioning and Test Environment
Test specimens shall be conditioned and tested under the standard environment
stipulated in GB 2918. The time of conditioning of test specimens shall be not less than
2 h3.
7 Test Procedures
Bend the unbonded side of flexible bonded test specimen by 180; firmly clamp the
rigid bonded test specimen on a fixated chuck; firmly clamp the flexible bonded test
specimen on the other chuck. Please make sure that test specimen between the
chucks is accurately positioned, so as to guarantee that the imposed tensile force can
be uniformly distributed on the width of the test specimen (see Figure 1). Initiate the
machine, so that the upper chuck and the lower chuck can separate at a constant rate.
The separation rate of the chucks shall be: 100 ± 10 mm/min. If other rates are to be
3 The international standard does not directly indicate the time of conditioning.

View full details