Skip to product information
1 of 12

www.ChineseStandard.us -- Field Test Asia Pte. Ltd.

GB/T 2694-2018 English PDF (GB/T2694-2018)

GB/T 2694-2018 English PDF (GB/T2694-2018)

Regular price $495.00
Regular price Sale price $495.00
Sale Sold out
Shipping calculated at checkout.
GB/T 2694-2018: Specification of manufacturing for transmission line tower
Delivery: 9 seconds. Download (& Email) true-PDF + Invoice.
Get Quotation: Click GB/T 2694-2018 (Self-service in 1-minute)
Historical versions (Master-website): GB/T 2694-2018
Preview True-PDF (Reload/Scroll-down if blank)

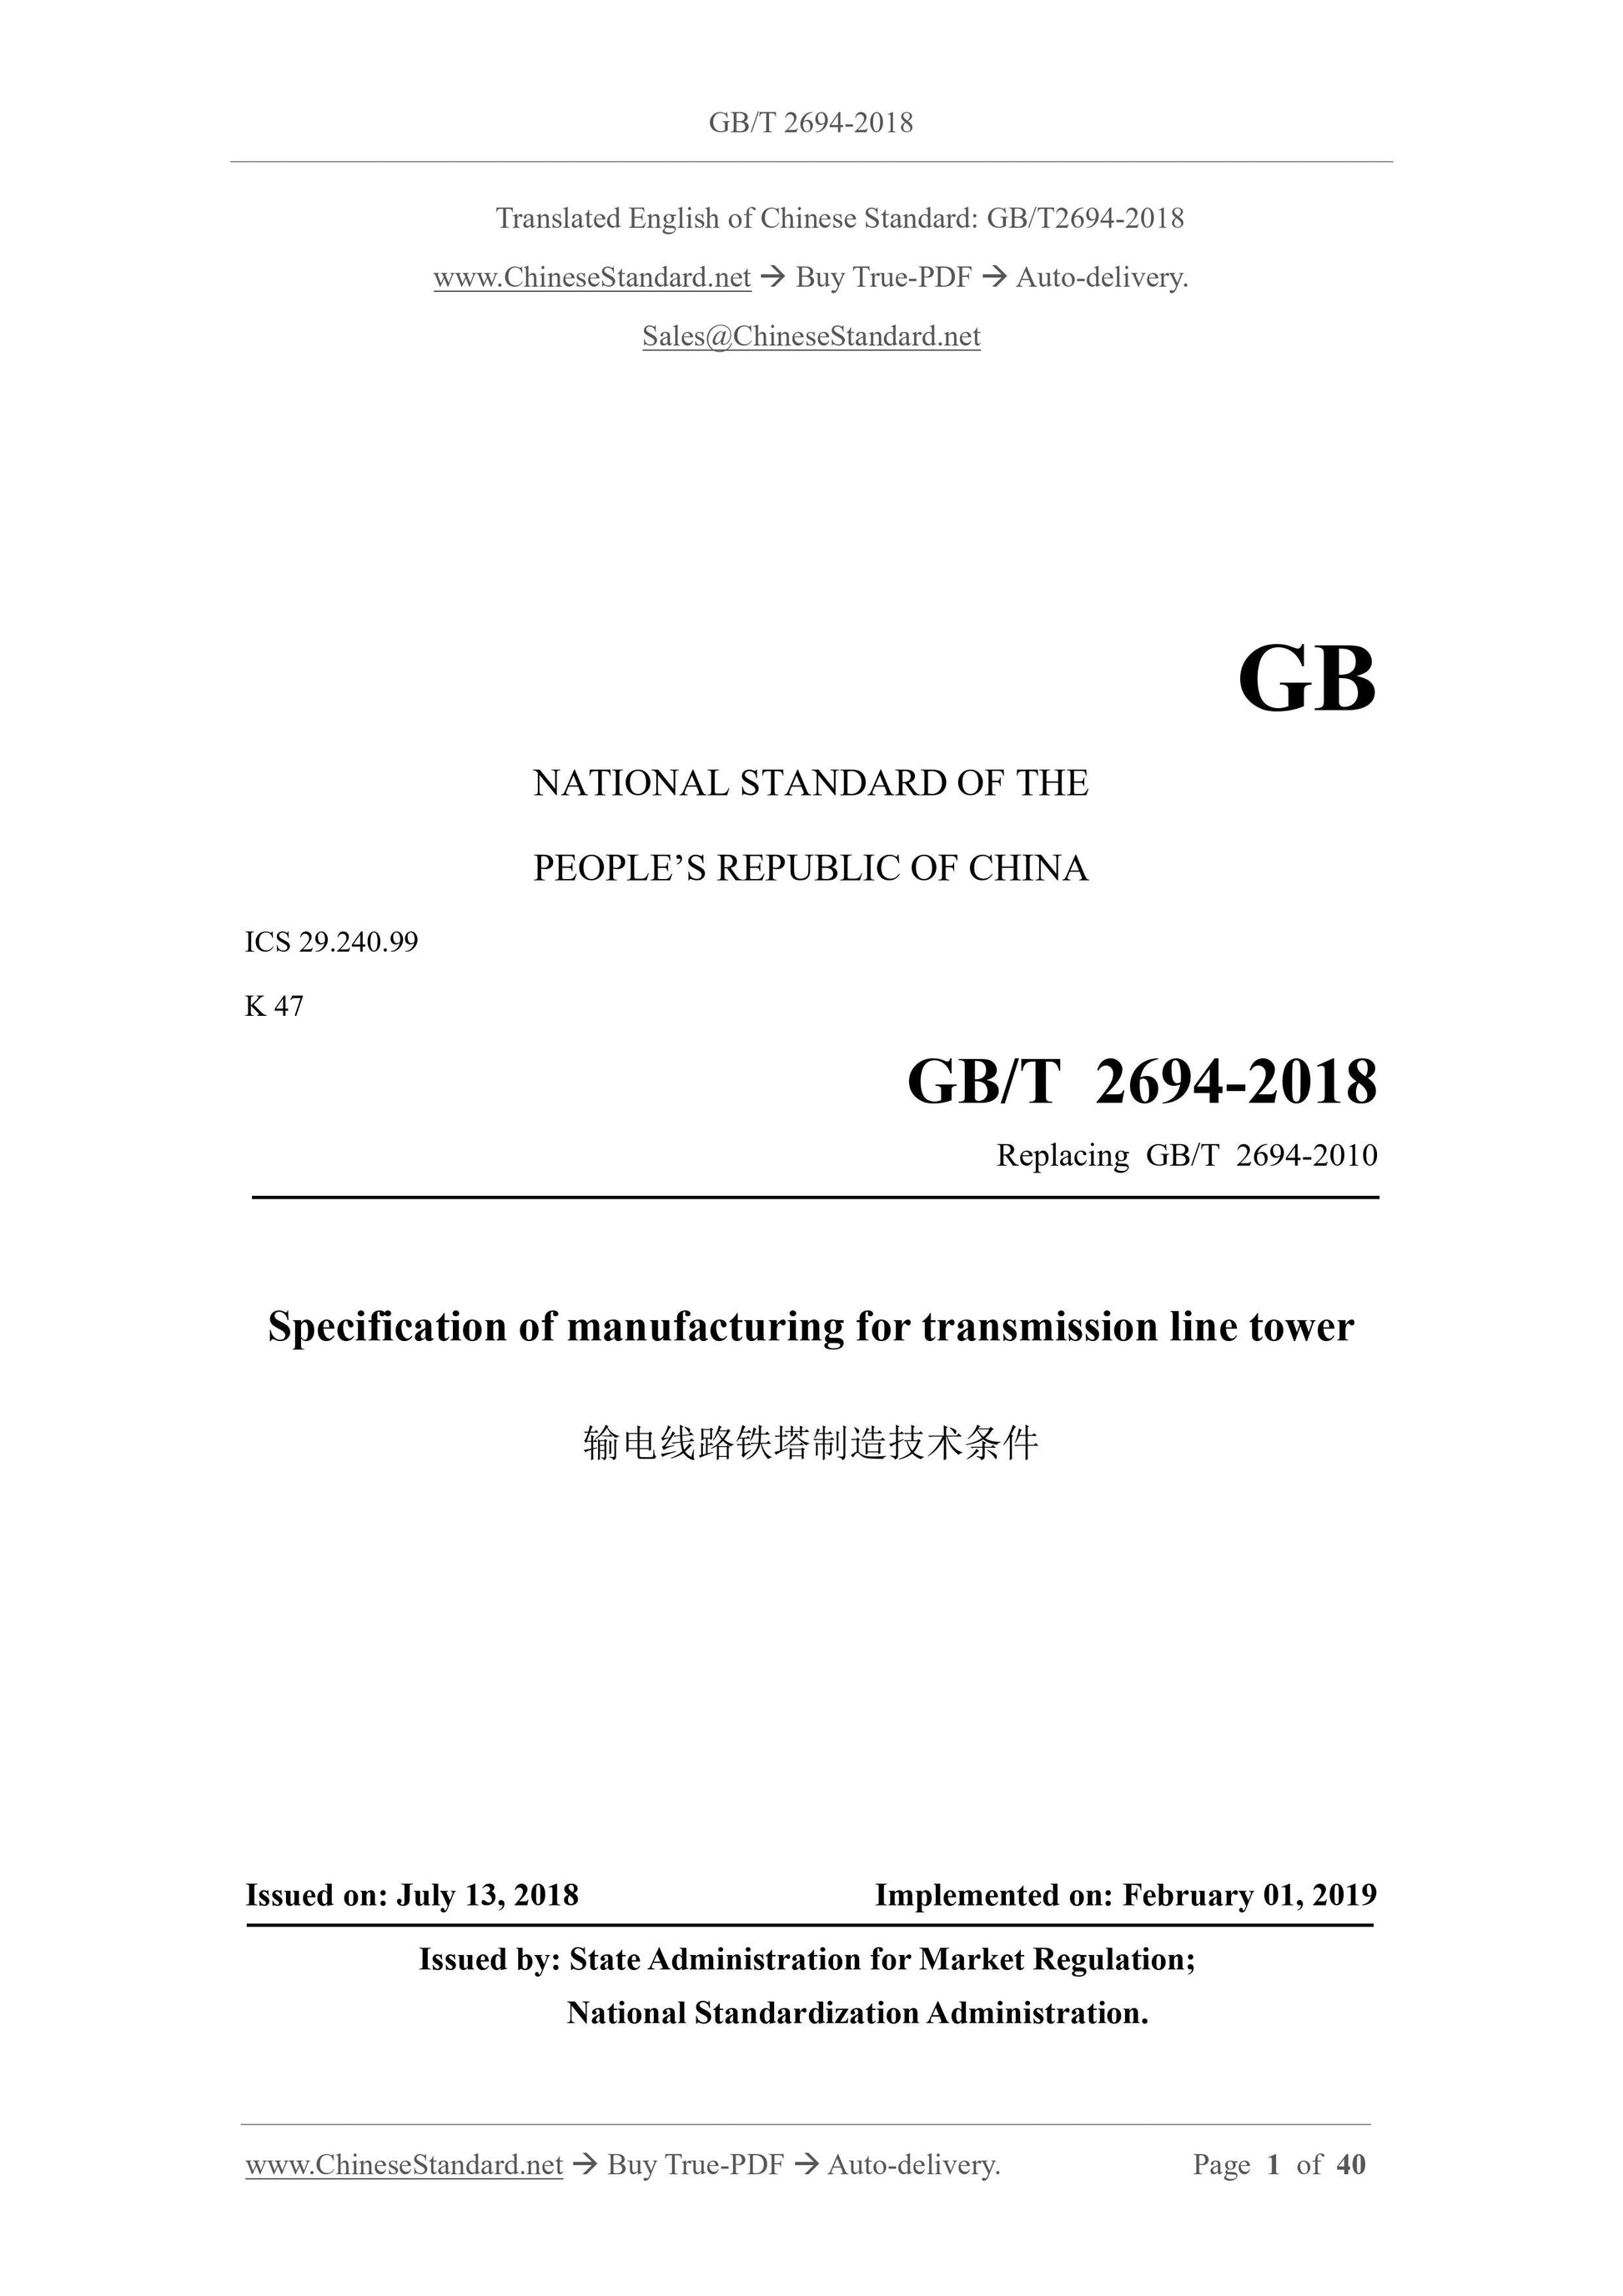
GB/T 2694-2018
GB
NATIONAL STANDARD OF THE
PEOPLE’S REPUBLIC OF CHINA
ICS 29.240.99
K 47
Replacing GB/T 2694-2010
Specification of manufacturing for transmission line tower
ISSUED ON. JULY 13, 2018
IMPLEMENTED ON. FEBRUARY 01, 2019
Issued by. State Administration for Market Regulation;
National Standardization Administration.
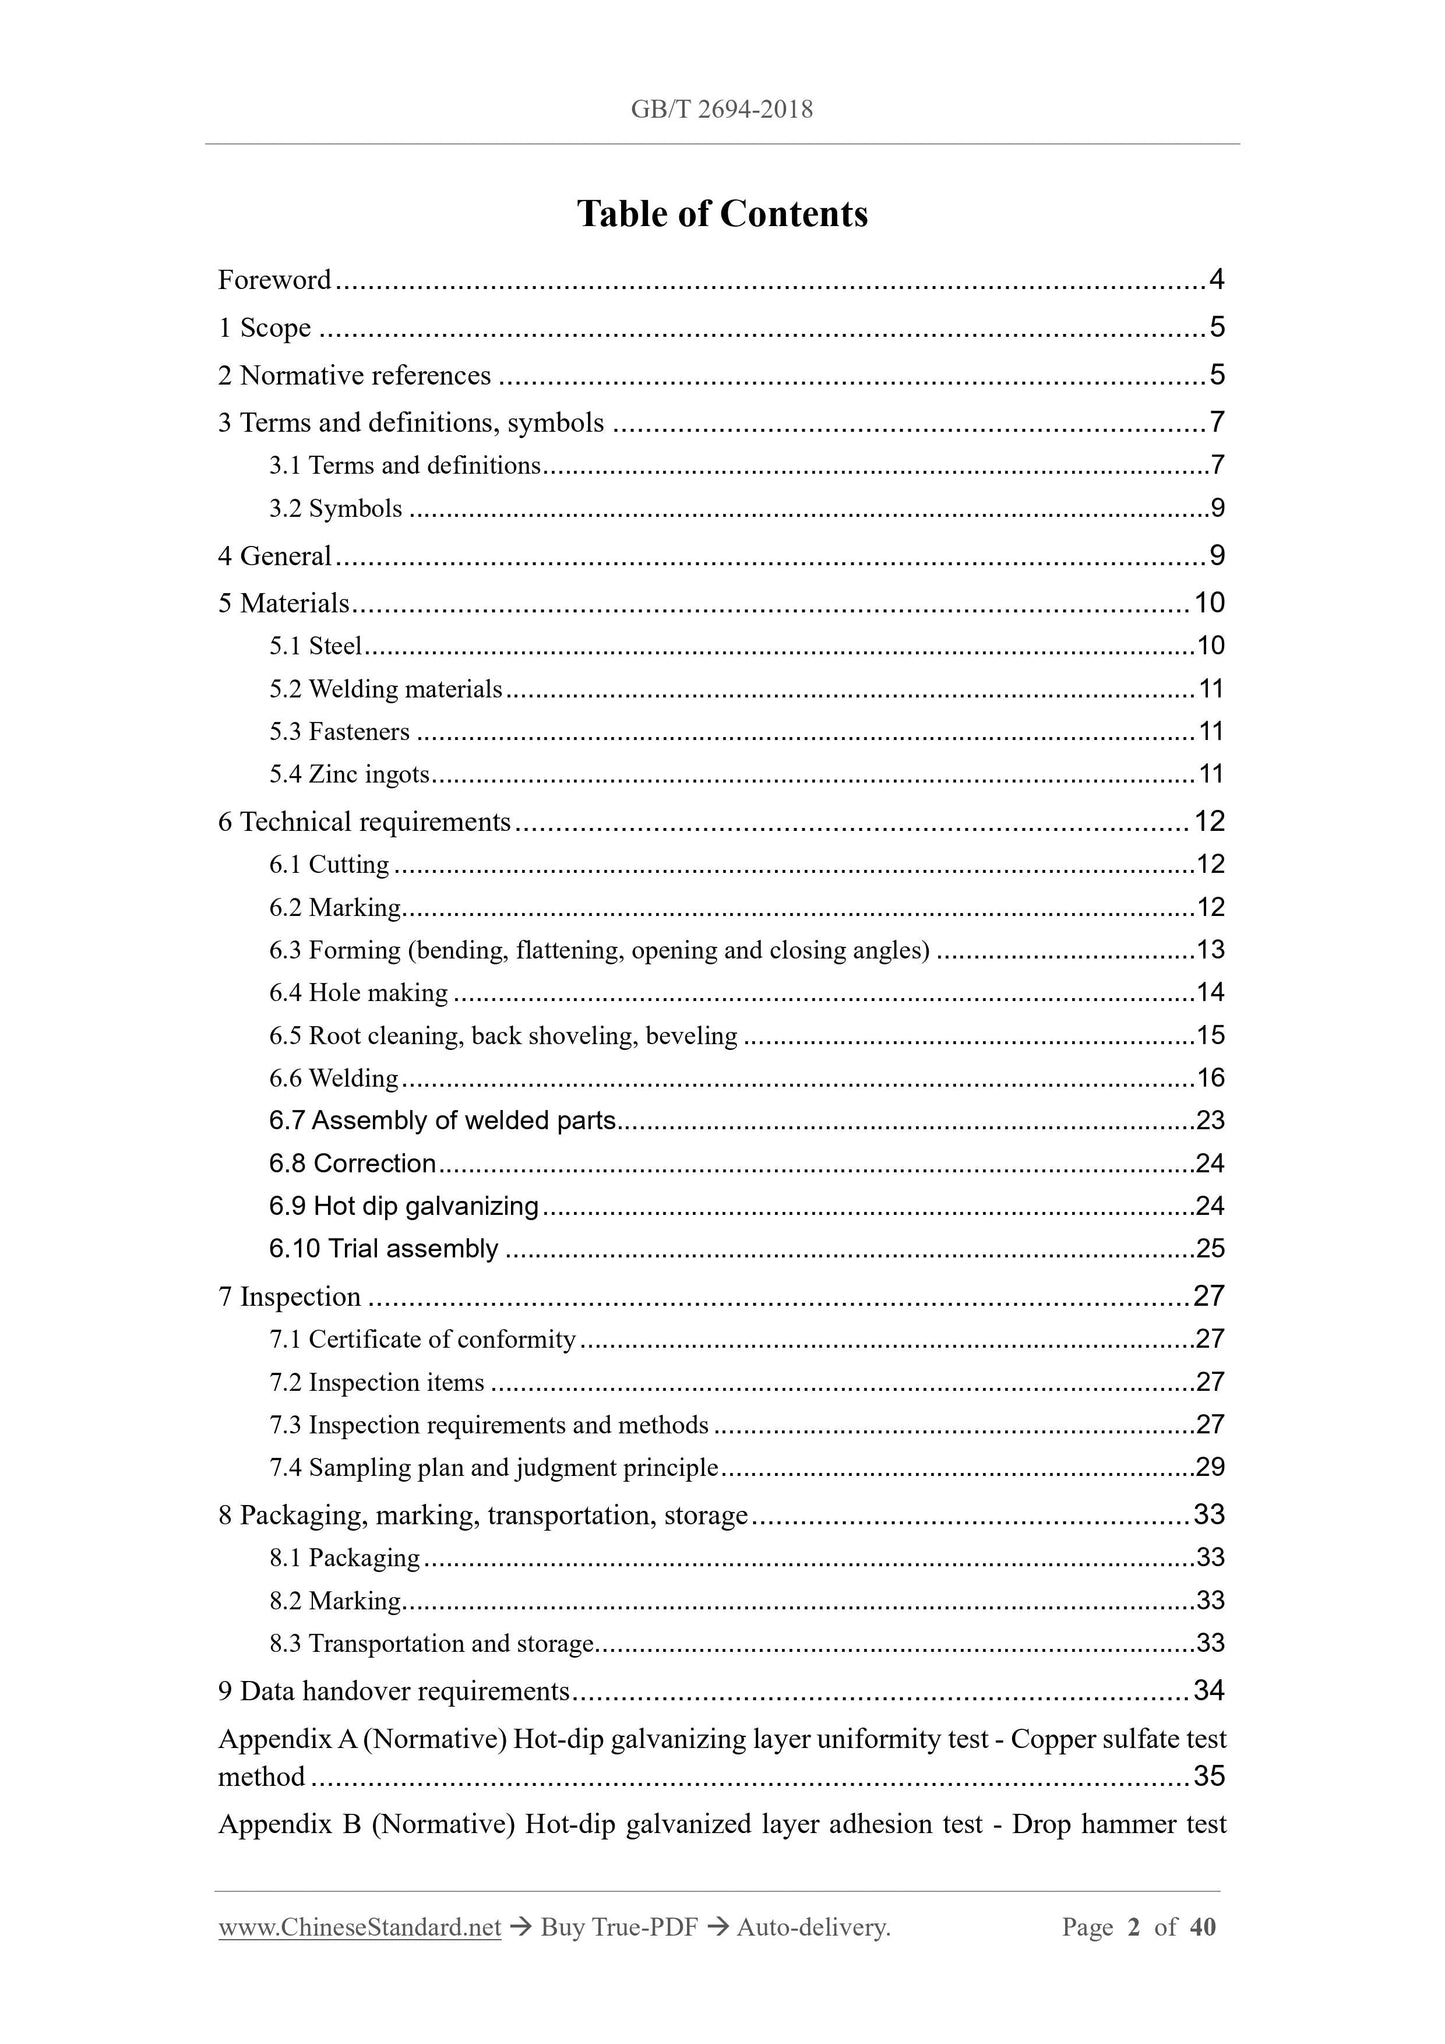
Table of Contents
Foreword... 4
1 Scope... 5
2 Normative references... 5
3 Terms and definitions, symbols... 7
3.1 Terms and definitions... 7
3.2 Symbols... 9
4 General... 9
5 Materials... 10
5.1 Steel... 10
5.2 Welding materials... 11
5.3 Fasteners... 11
5.4 Zinc ingots... 11
6 Technical requirements... 12
6.1 Cutting... 12
6.2 Marking... 12
6.3 Forming (bending, flattening, opening and closing angles)... 13
6.4 Hole making... 14
6.5 Root cleaning, back shoveling, beveling... 15
6.6 Welding... 16
6.7 Assembly of welded parts... 23
6.8 Correction... 24
6.9 Hot dip galvanizing... 24
6.10 Trial assembly... 25
7 Inspection... 27
7.1 Certificate of conformity... 27
7.2 Inspection items... 27
7.3 Inspection requirements and methods... 27
7.4 Sampling plan and judgment principle... 29
8 Packaging, marking, transportation, storage... 33
8.1 Packaging... 33
8.2 Marking... 33
8.3 Transportation and storage... 33
9 Data handover requirements... 34
Appendix A (Normative) Hot-dip galvanizing layer uniformity test - Copper sulfate test
method... 35
Appendix B (Normative) Hot-dip galvanized layer adhesion test - Drop hammer test
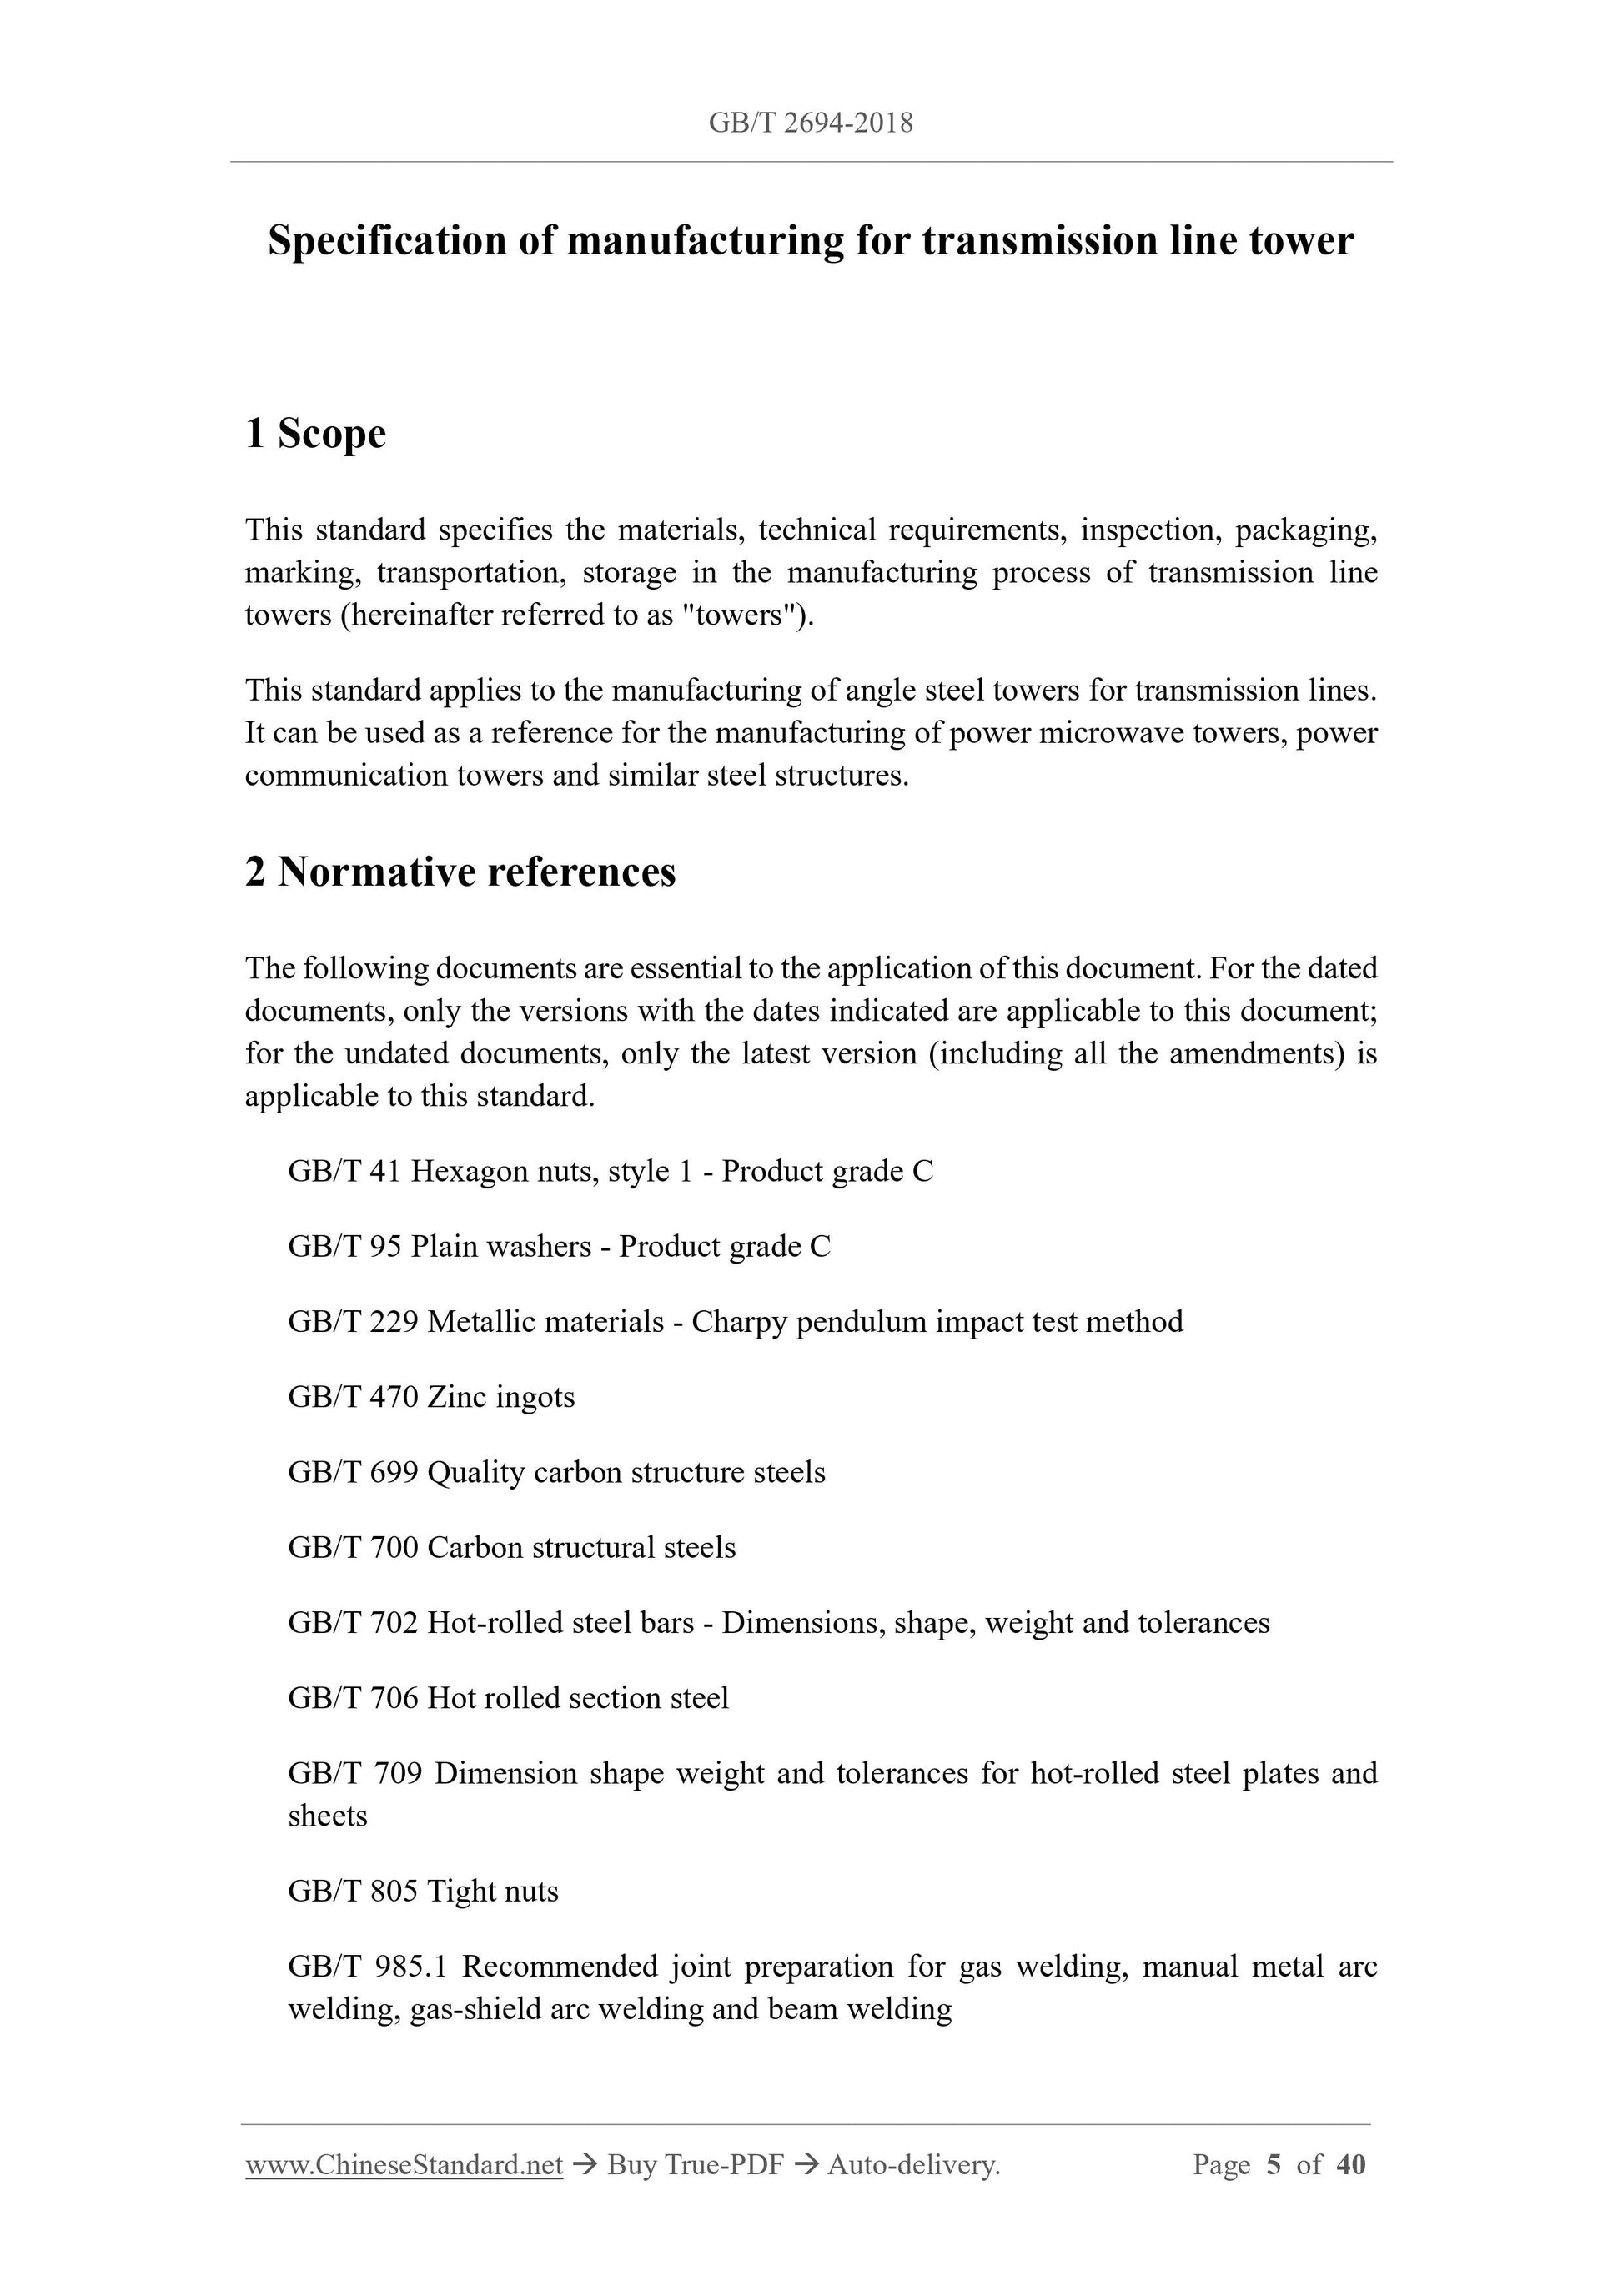
Specification of manufacturing for transmission line tower
1 Scope
This standard specifies the materials, technical requirements, inspection, packaging,
marking, transportation, storage in the manufacturing process of transmission line
towers (hereinafter referred to as "towers").
This standard applies to the manufacturing of angle steel towers for transmission lines.
It can be used as a reference for the manufacturing of power microwave towers, power
communication towers and similar steel structures.
2 Normative references
The following documents are essential to the application of this document. For the dated
documents, only the versions with the dates indicated are applicable to this document;
for the undated documents, only the latest version (including all the amendments) is
applicable to this standard.
GB/T 41 Hexagon nuts, style 1 - Product grade C
GB/T 95 Plain washers - Product grade C
GB/T 229 Metallic materials - Charpy pendulum impact test method
GB/T 470 Zinc ingots
GB/T 699 Quality carbon structure steels
GB/T 700 Carbon structural steels
GB/T 702 Hot-rolled steel bars - Dimensions, shape, weight and tolerances
GB/T 706 Hot rolled section steel
GB/T 709 Dimension shape weight and tolerances for hot-rolled steel plates and
sheets
GB/T 805 Tight nuts
GB/T 985.1 Recommended joint preparation for gas welding, manual metal arc
welding, gas-shield arc welding and beam welding
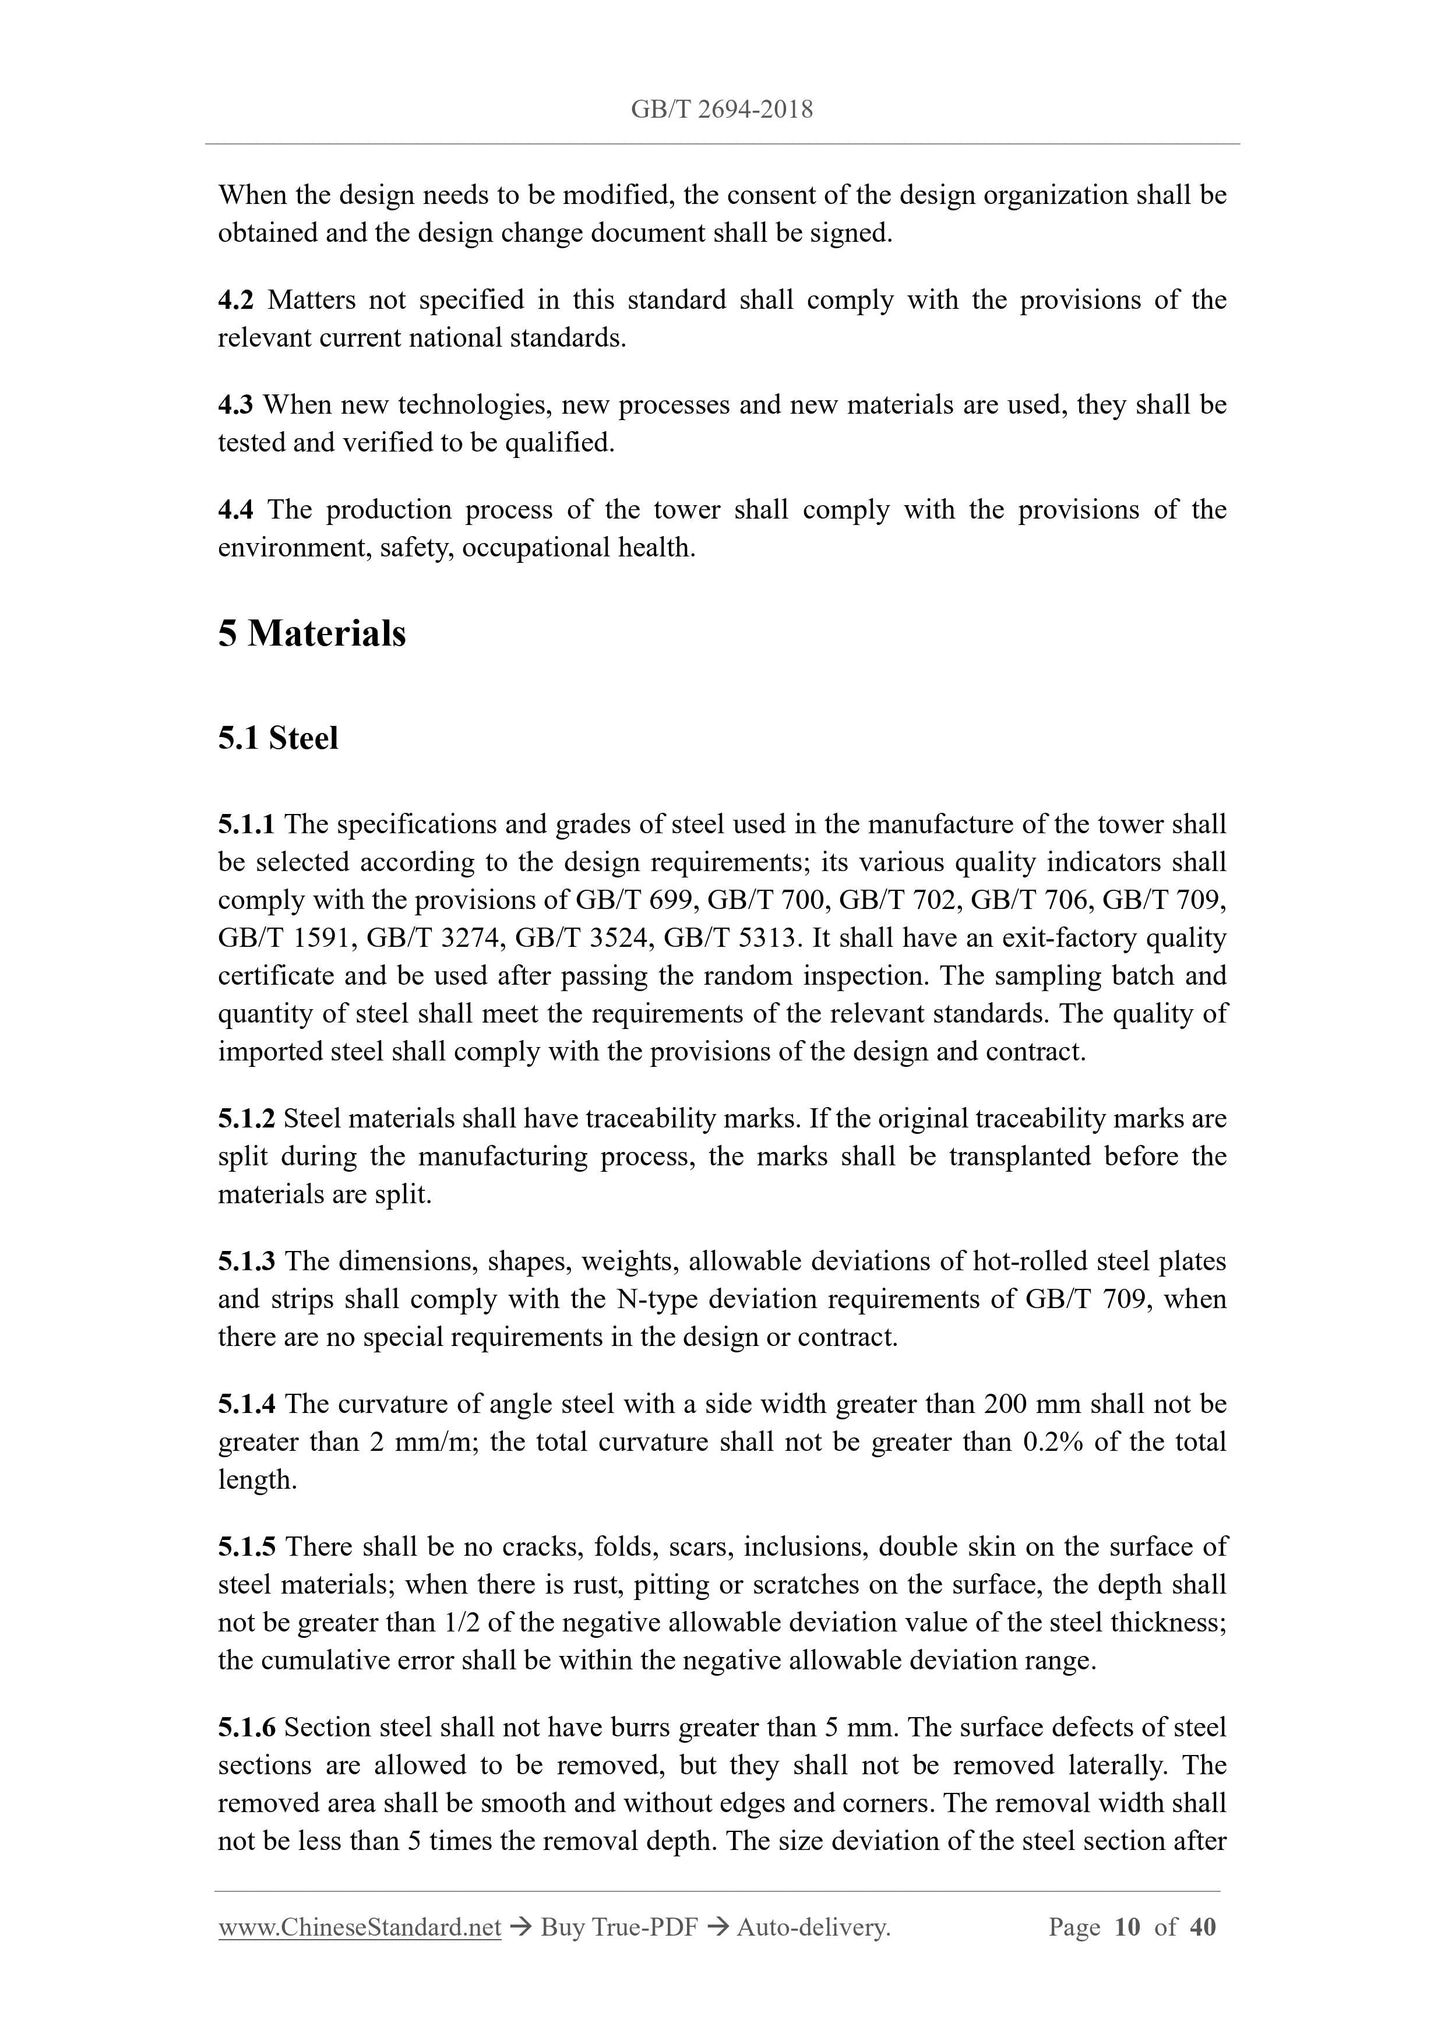
When the design needs to be modified, the consent of the design organization shall be
obtained and the design change document shall be signed.
4.2 Matters not specified in this standard shall comply with the provisions of the
relevant current national standards.
4.3 When new technologies, new processes and new materials are used, they shall be
tested and verified to be qualified.
4.4 The production process of the tower shall comply with the provisions of the
environment, safety, occupational health.
5 Materials
5.1 Steel
5.1.1 The specifications and grades of steel used in the manufacture of the tower shall
be selected according to the design requirements; its various quality indicators shall
comply with the provisions of GB/T 699, GB/T 700, GB/T 702, GB/T 706, GB/T 709,
GB/T 1591, GB/T 3274, GB/T 3524, GB/T 5313.It shall have an exit-factory quality
certificate and be used after passing the random inspection. The sampling batch and
quantity of steel shall meet the requirements of the relevant standards. The quality of
imported steel shall comply with the provisions of the design and contract.
5.1.2 Steel materials shall have traceability marks. If the original traceability marks are
split during the manufacturing process, the marks shall be transplanted before the
materials are split.
5.1.3 The dimensions, shapes, weights, allowable deviations of hot-rolled steel plates
and strips shall comply with the N-type deviation requirements of GB/T 709, when
there are no special requirements in the design or contract.
5.1.4 The curvature of angle steel with a side width greater than 200 mm shall not be
greater than 2 mm/m; the total curvature shall not be greater than 0.2% of the total
length.
5.1.5 There shall be no cracks, folds, scars, inclusions, double skin on the surface of
steel materials; when there is rust, pitting or scratches on the surface, the depth shall
not be greater than 1/2 of the negative allowable deviation value of the steel thickness;
the cumulative error shall be within the negative allowable deviation range.
5.1.6 Section steel shall not have burrs greater than 5 mm. The surface defects of steel
sections are allowed to be removed, but they shall not be removed laterally. The
removed area shall be smooth and without edges and corners. The removal width shall
not be less than 5 times the removal depth. The size deviation of the steel section after
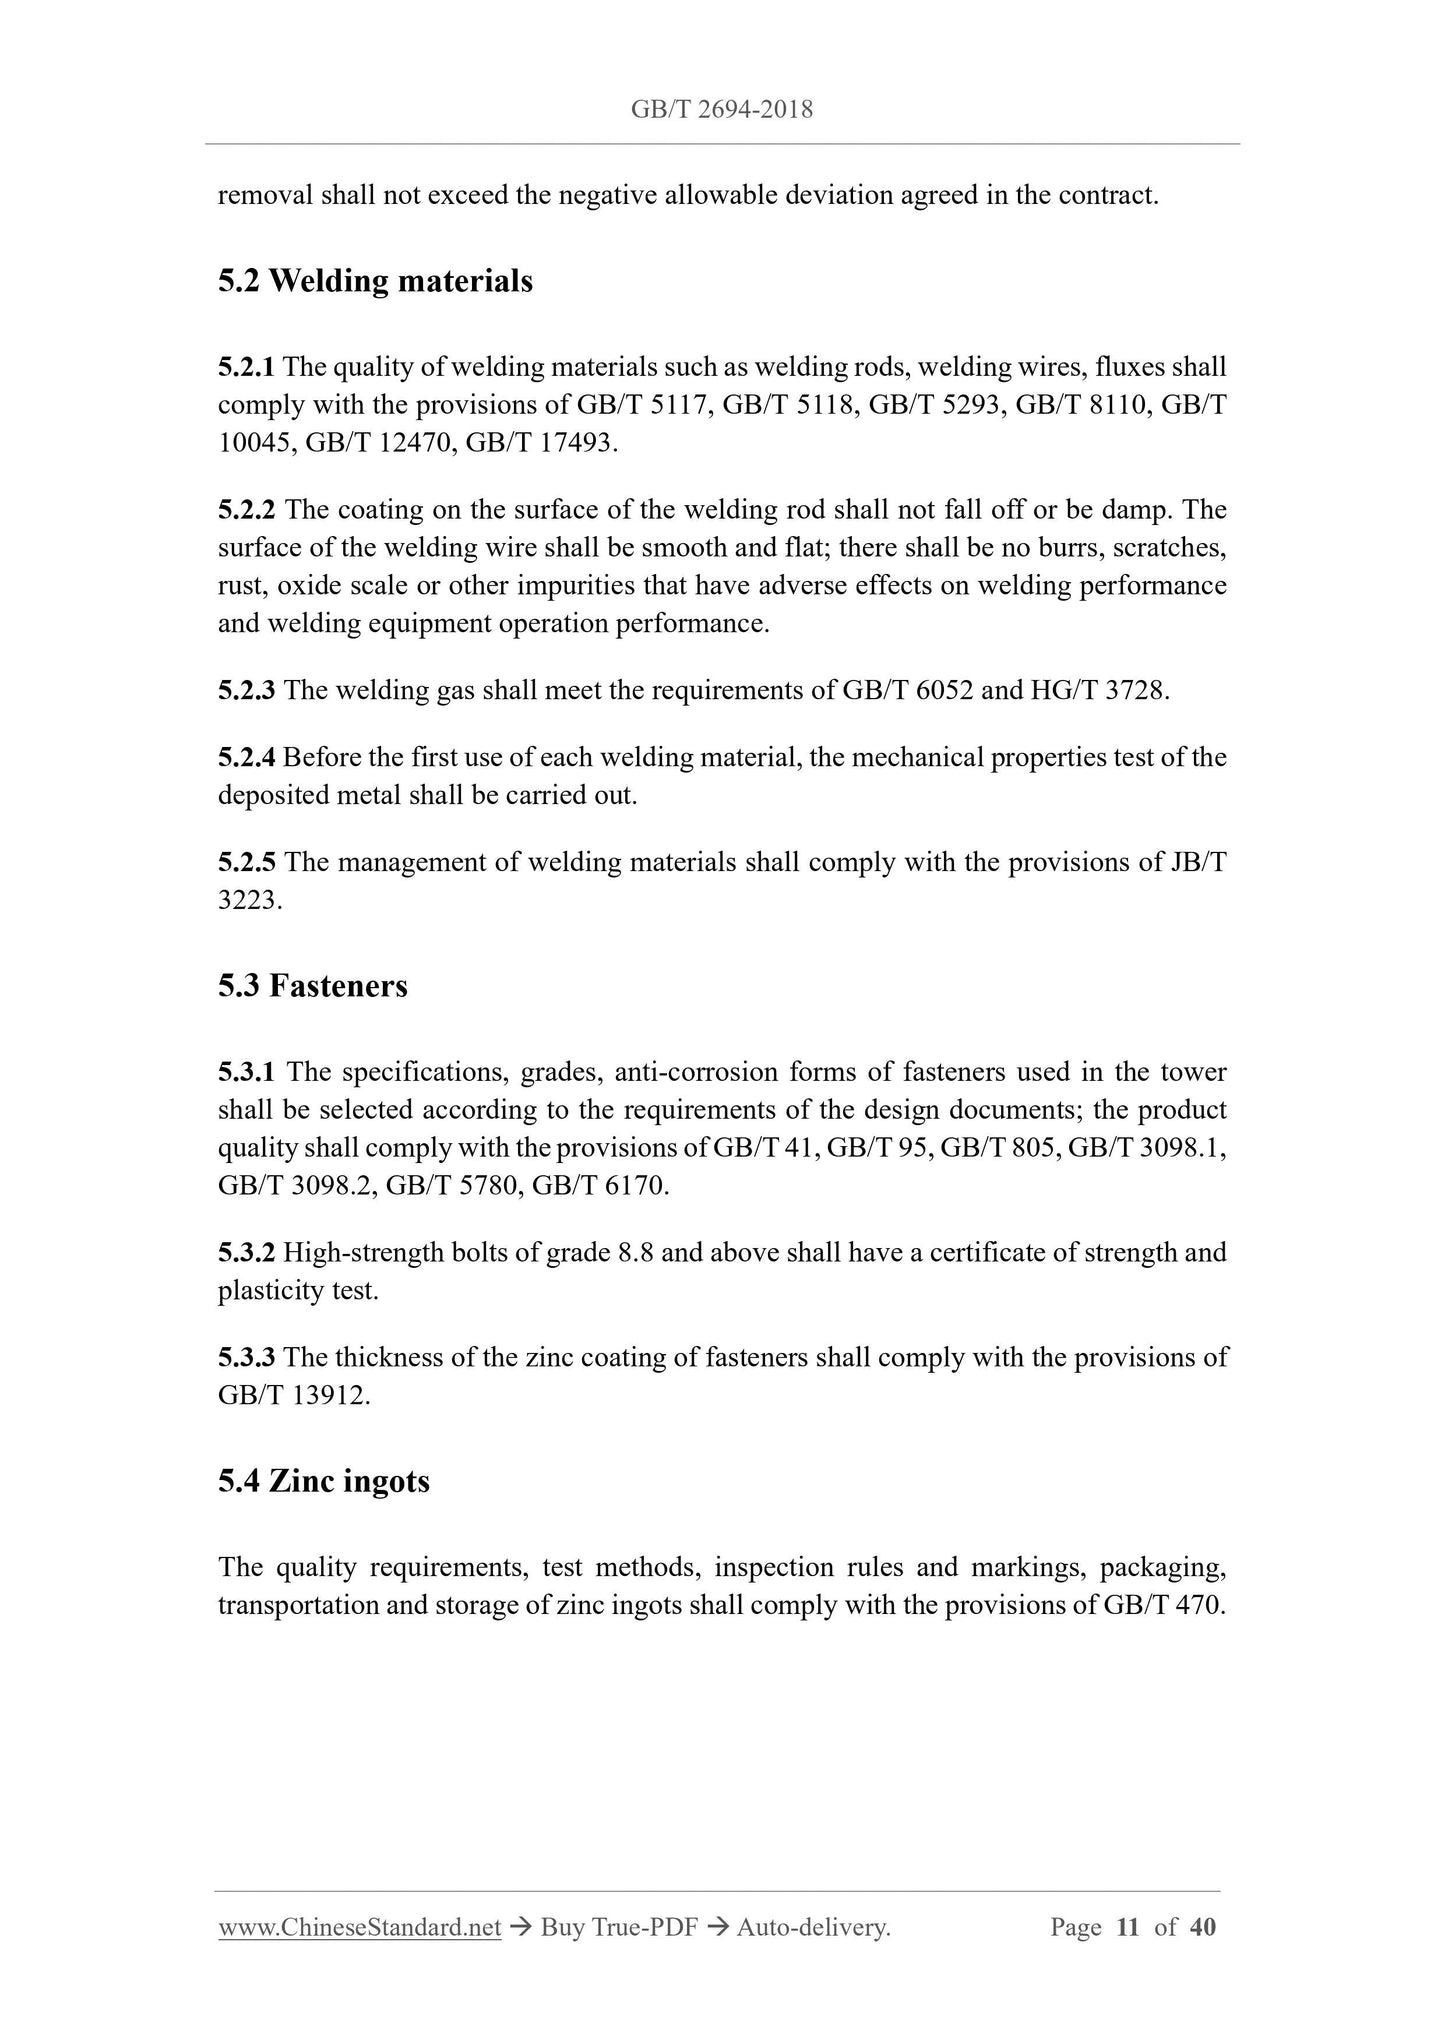
removal shall not exceed the negative allowable deviation agreed in the contract.
5.2 Welding materials
5.2.1 The quality of welding materials such as welding rods, welding wires, fluxes shall
comply with the provisions of GB/T 5117, GB/T 5118, GB/T 5293, GB/T 8110, GB/T
10045, GB/T 12470, GB/T 17493.
5.2.2 The coating on the surface of the welding rod shall not fall off or be damp. The
surface of the welding wire shall be smooth and flat; there shall be no burrs, scratches,
rust, oxide scale or other impurities that have adverse effects on welding performance
and welding equipment operation performance.
5.2.3 The welding gas shall meet the requirements of GB/T 6052 and HG/T 3728.
5.2.4 Before the first use of each welding material, the mechanical properties test of the
deposited metal shall be carried out.
5.2.5 The management of welding materials shall comply with the provisions of JB/T
3223.
5.3 Fasteners
5.3.1 The specifications, grades, anti-corrosion forms of fasteners used in the tower
shall be selected according to the requirements of the design documents; the product
quality shall comply with the provisions of GB/T 41, GB/T 95, GB/T 805, GB/T 3098.1,
GB/T 3098.2, GB/T 5780, GB/T 6170.
5.3.2 High-strength bolts of grade 8.8 and above shall have a certificate of strength and
plasticity test.
5.3.3 The thickness of the zinc coating of fasteners shall comply with the provisions of
GB/T 13912.
5.4 Zinc ingots
The quality requirements, test methods, inspection rules and markings, packaging,
transportation and storage of zinc ingots shall comply with the provisions of GB/T 470.
obvious concave and convex surface defects; there shall be no cracks or gaps on the
edges.
6.2.3 The steel stamp shall not be pressed on the hole making, bending, milling, welding
parts.
6.3 Forming (bending, flattening, opening and closing angles)
6.3.1 For bending and opening and closing angles of parts, cold deformation at room
temperature or uniform hot deformation can be used; hot deformation shall be used for
flattening. Carbon structural steel shall not be cold deformed when the ambient
temperature is below -16 °C; low alloy structural steel shall not be cold deformed when
the ambient temperature is below -12 °C. The minimum radius of curvature for cold
bending of steel plates is 2 times the plate thickness.
6.3.2 After bending the parts, the edges of the bends shall be smoothly transitioned;
there shall be no cracks, obvious wrinkles, concave surfaces and damage on the surface.
The depth of scratches shall not be greater than 0.5 mm.
6.3.3 After bending the parts, the thinnest part of the angle steel edge shall not be less
than 70% of the original nominal thickness.
6.3.4 When bending the notch of the parts, the quality grade of the weld at the notch
shall not be lower than the grade-II weld requirements, meanwhile the welding shall
not affect the installation. When filling the gap with material, the material and thickness
shall be the same as that of the original part.
6.3.5 After the part is flattened, a reasonable gap shall be left at the flattened part to
ensure the quality of galvanizing.
6.3.6 The allowable deviation of bending, flattening, opening and closing angles shall
comply with the provisions of Table 3.
not exceed 8 m/s; for gas shielded arc welding, it should not exceed 2 m/s. If it
exceeds the above range, effective measures shall be taken to ensure that the
welding arc area is not affected.
b) Welding is strictly prohibited when the welding area is in one of the following
conditions.
- Relative humidity is greater than 90%;
- The surface of the weldment is wet or exposed to rain, ice or snow;
- The welding working conditions do not meet the relevant provisions of GB/T
9448.
c) When the welding environment temperature is lower than 0 °C but not lower than
-10 °C, heating or protective measures shall be taken, to ensure that the
temperature of the parent material in the range of not less than 2 times the plate
thickness and not less than 100 mm in all directions of the joint welding; it shall
be not less than 20 °C or the specified minimum preheating temperature,
whichever is higher; it shall not be lower than this temperature during the welding
process.
d) When the welding environment temperature is lower than -10 °C, a process
assessment test shall be carried out under the corresponding welding environment;
welding shall be carried out only after the assessment is qualified. If it does not
meet the above provisions, welding is strictly prohibited.
6.6.3.4 Metal materials shall not be embedded in the weld gap.
6.6.3.5 After the first and second level welds are welded, the welder number shall be
stamped at a conspicuous position 50 mm from the weld toe. If the element is welded
by only one welder, the welder number shall be stamped at a conspicuous position of
the element; it shall be clearly visible after galvanizing.
6.6.3.6 Welds that need to be polished shall ensure the effective penetration of the weld.
6.6.4 Welding groove
6.6.4.1 The form and size of the welding groove shall comply with the relevant
provisions of GB/T 985.1 and GB/T 985.2.The form and size of the groove with special
requirements for the drawings shall be determined, based on the drawings and
combined with the welding procedure qualification.
6.6.4.2 The welding groove shall be processed by mechanical methods first. When
flame cutting is used, the weld groove shall be flat, free of burrs, cracks, gas cutting
nodules, interlayers or other defects.
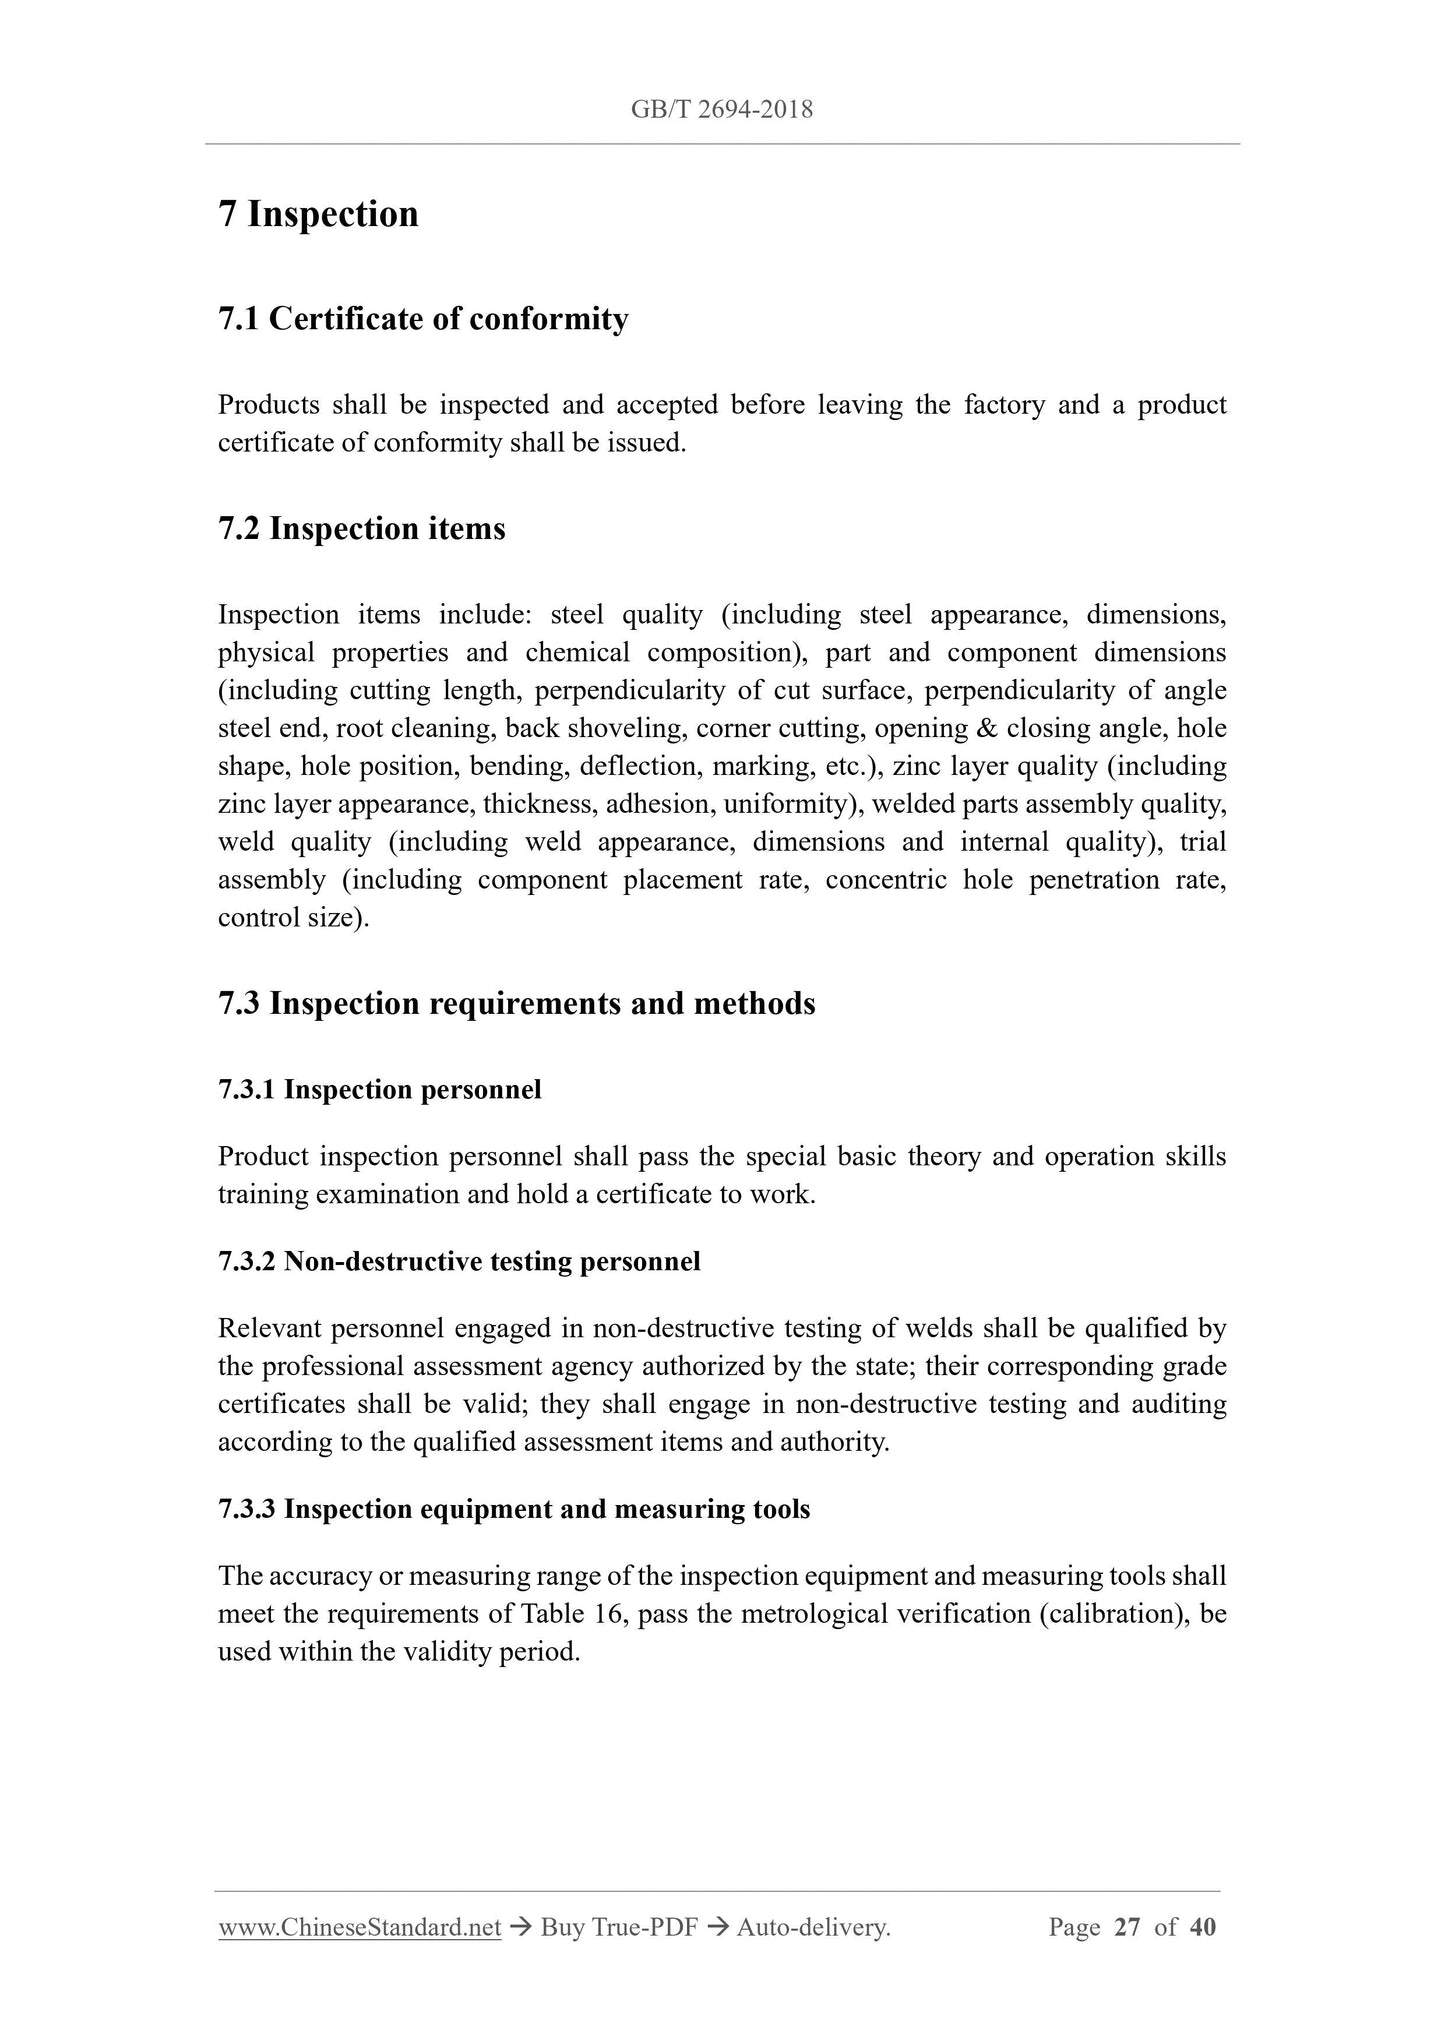
7 Inspection
7.1 Certificate of conformity
Products shall be inspected and accepted before leaving the factory and a product
certificate of conformity shall be issued.
7.2 Inspection items
Inspection items include. steel quality (including steel appearance, dimensions,
physical properties and chemical composition), part and component dimensions
(including cutting length, perpendicularity of cut surface, perpendicularity of angle
steel end, root cleaning, back shoveling, corner cutting, opening and closing angle, hole
shape, hole position, bending, deflection, marking, etc.), zinc layer quality (including
zinc layer appearance, thickness, adhesion, uniformity), welded parts assembly quality,
weld quality (including weld appearance, dimensions and internal quality), trial
assembly (including component placement rate, concentric hole penetration rate,
control size).
7.3 Inspection requirements and methods
7.3.1 Inspection personnel
Product inspection personnel shall pass the special basic theory and operation skills
training examination and hold a certificate to work.
7.3.2 Non-destructive testing personnel
Relevant personnel engaged in non-destructive testing of welds shall be qualified by
the professional assessment agency authorized by the state; their corresponding grade
certificates shall be valid; they shall engage in non-destructive testing and auditing
according to the qualified assessment items and authority.
7.3.3 Inspection equipment and measuring tools
The accuracy or measuring range of the inspection equipment and measuring tools shall
meet the requirements of Table 16, pass the metrological verification (calibration), be
used within the validity period.
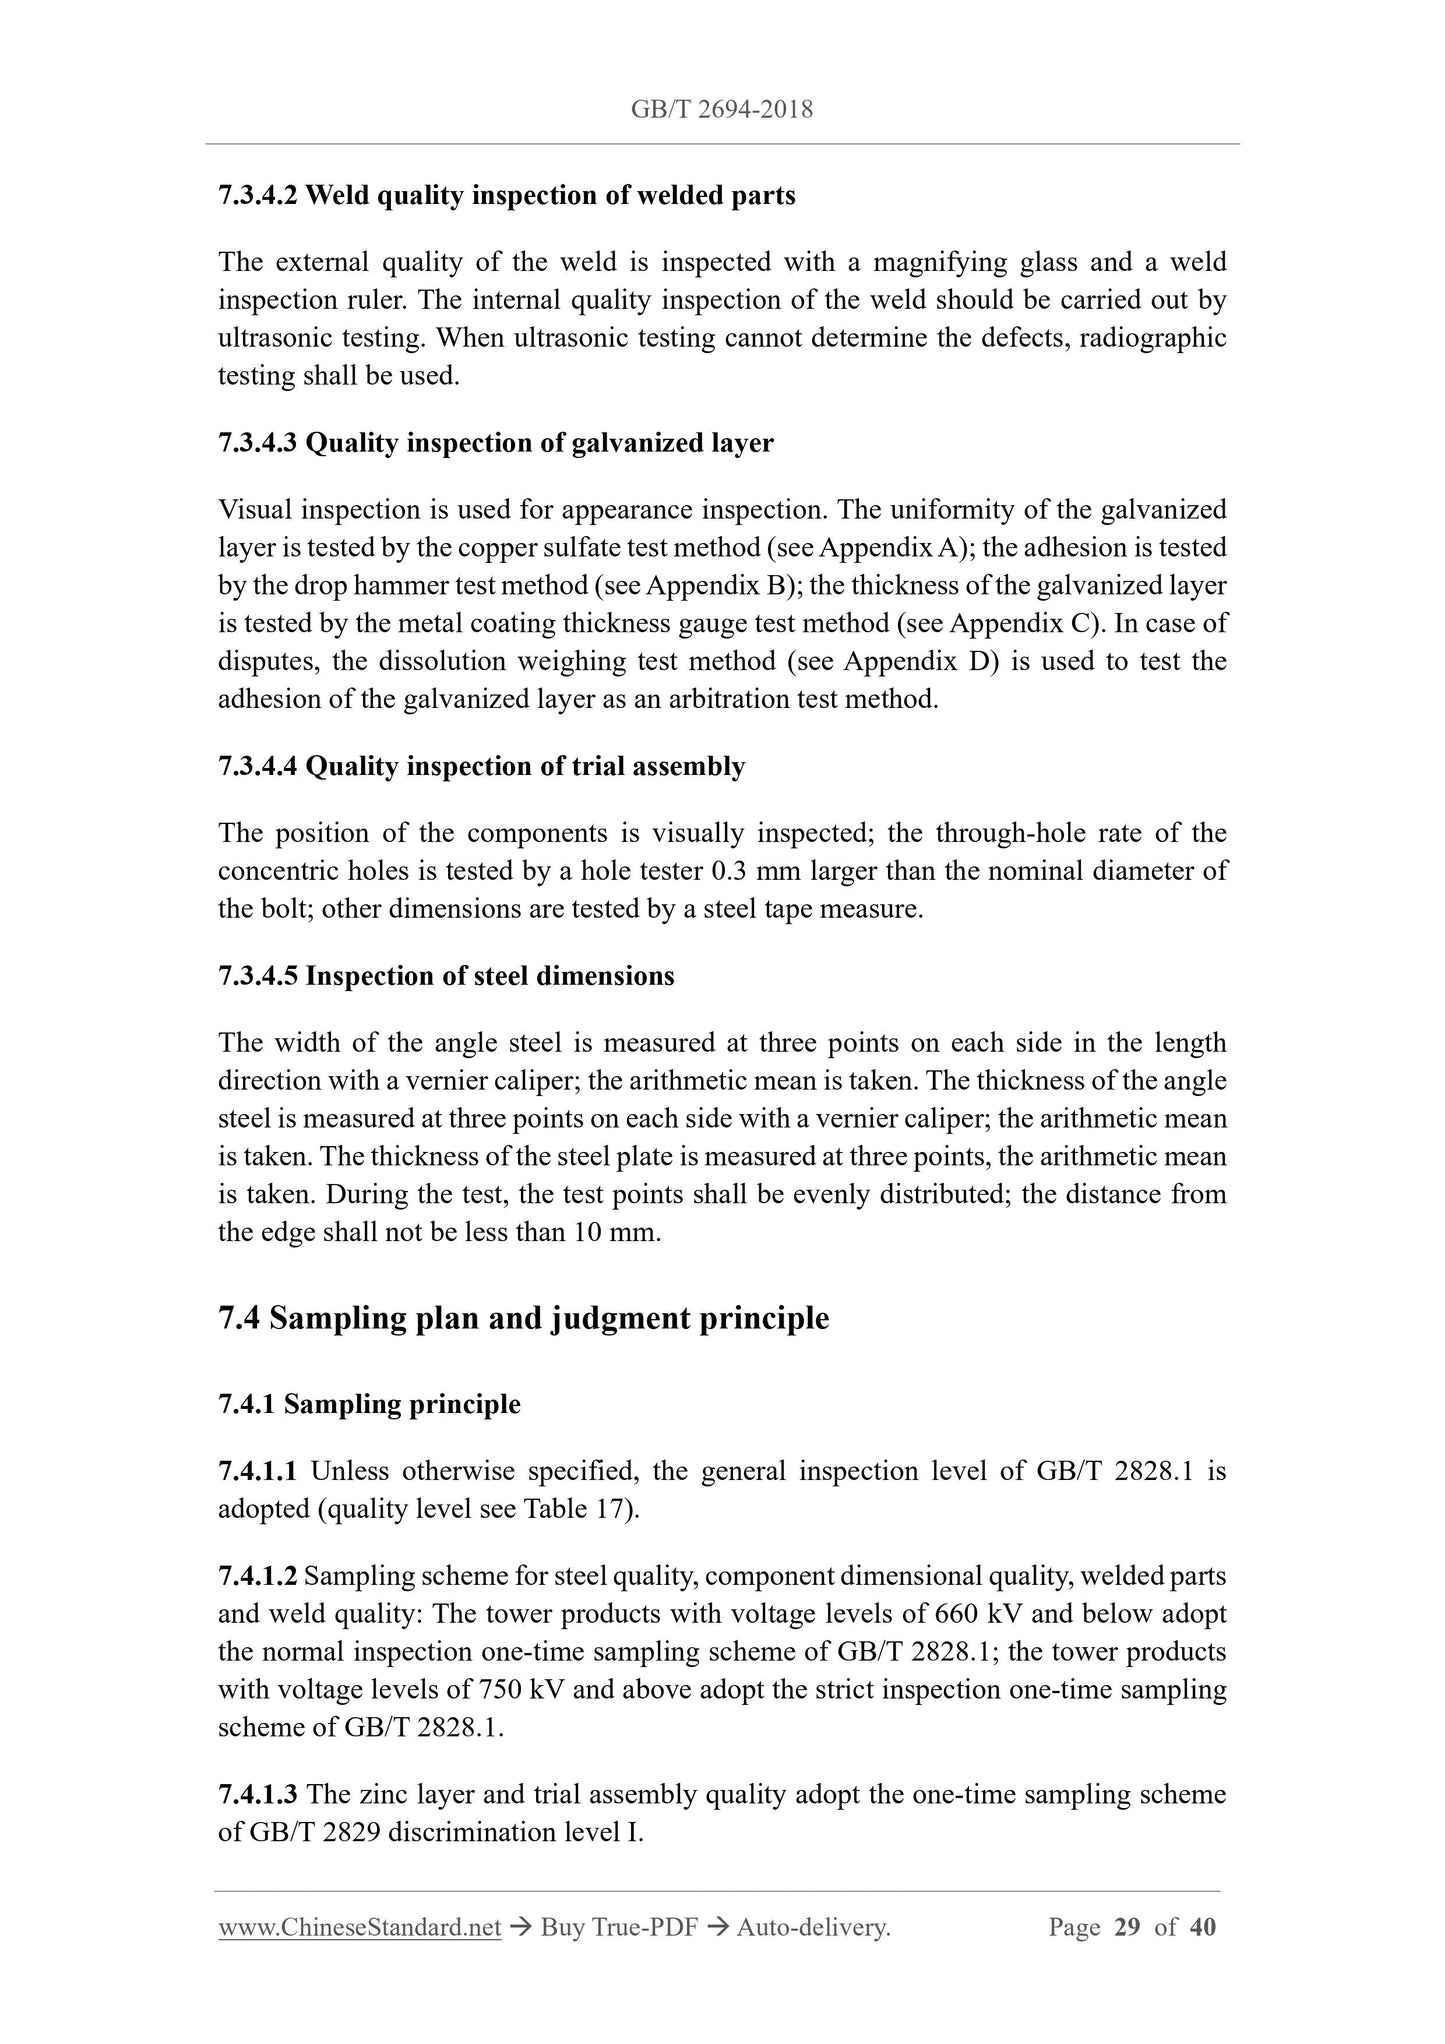
7.3.4.2 Weld quality inspection of welded parts
The external quality of the weld is inspected with a magnifying glass and a weld
inspection ruler. The internal quality inspection of the weld should be carried out by
ultrasonic testing. When ultrasonic testing cannot determine the defects, radiographic
testing shall be used.
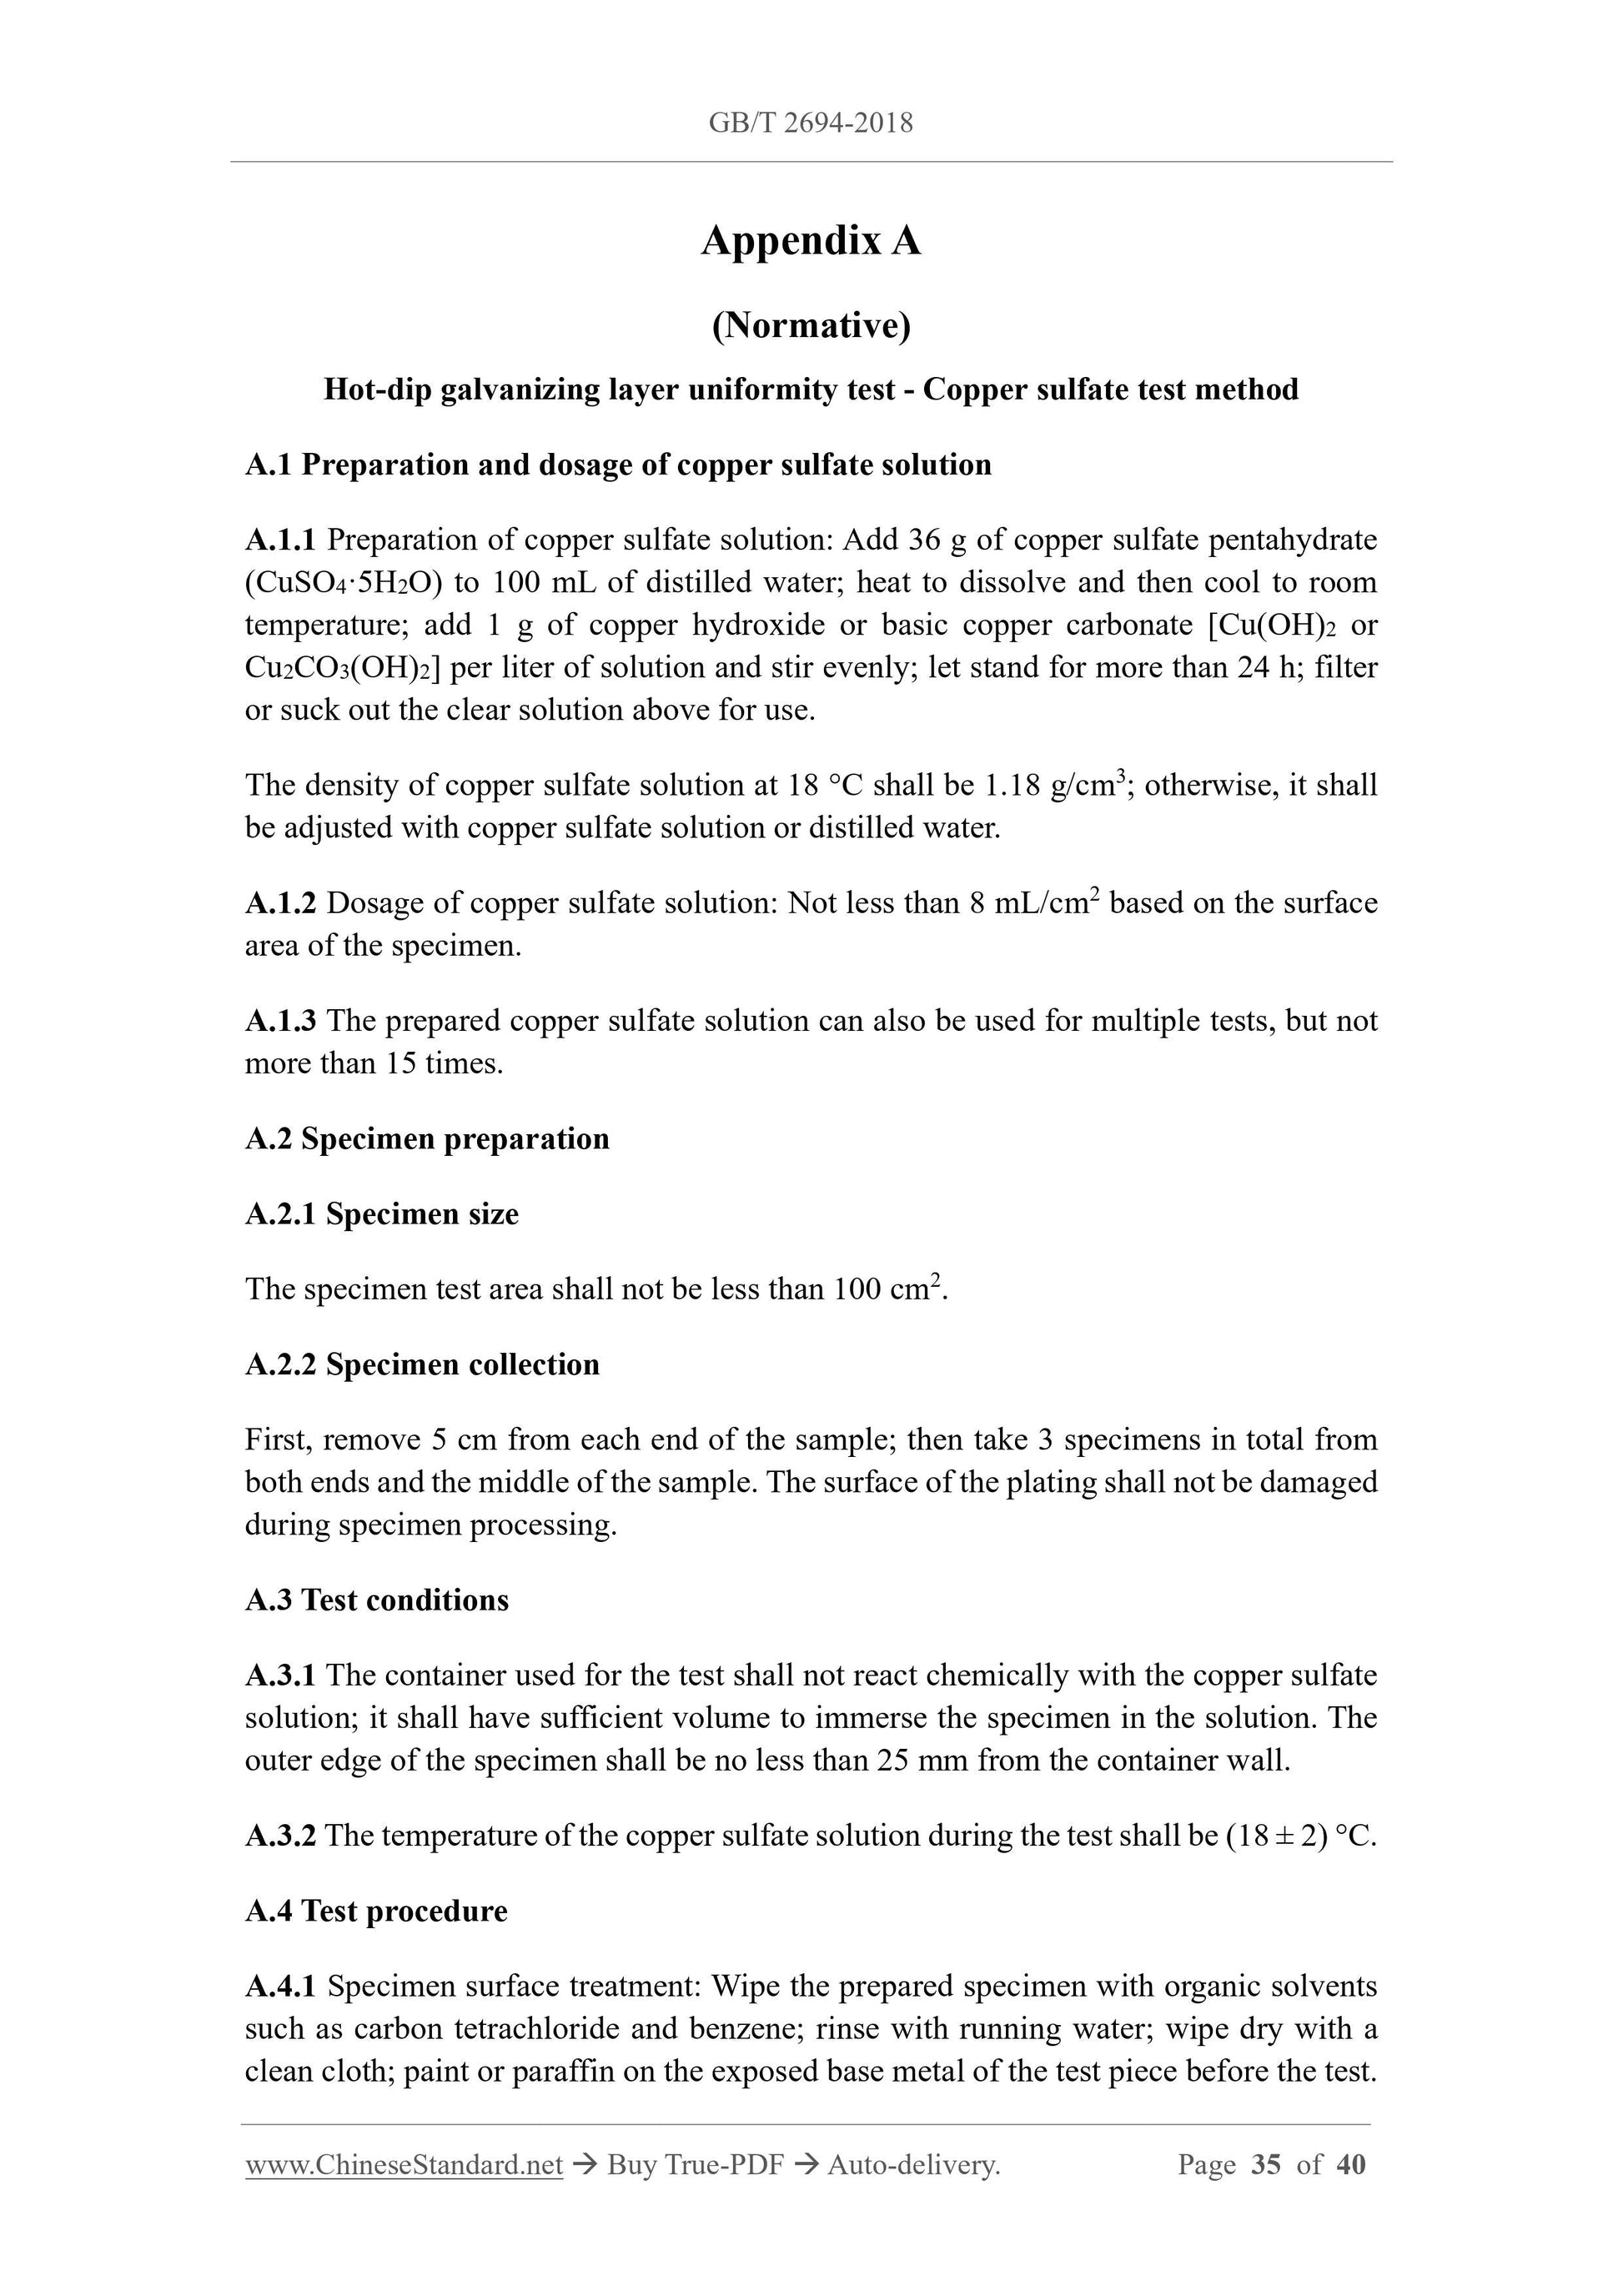
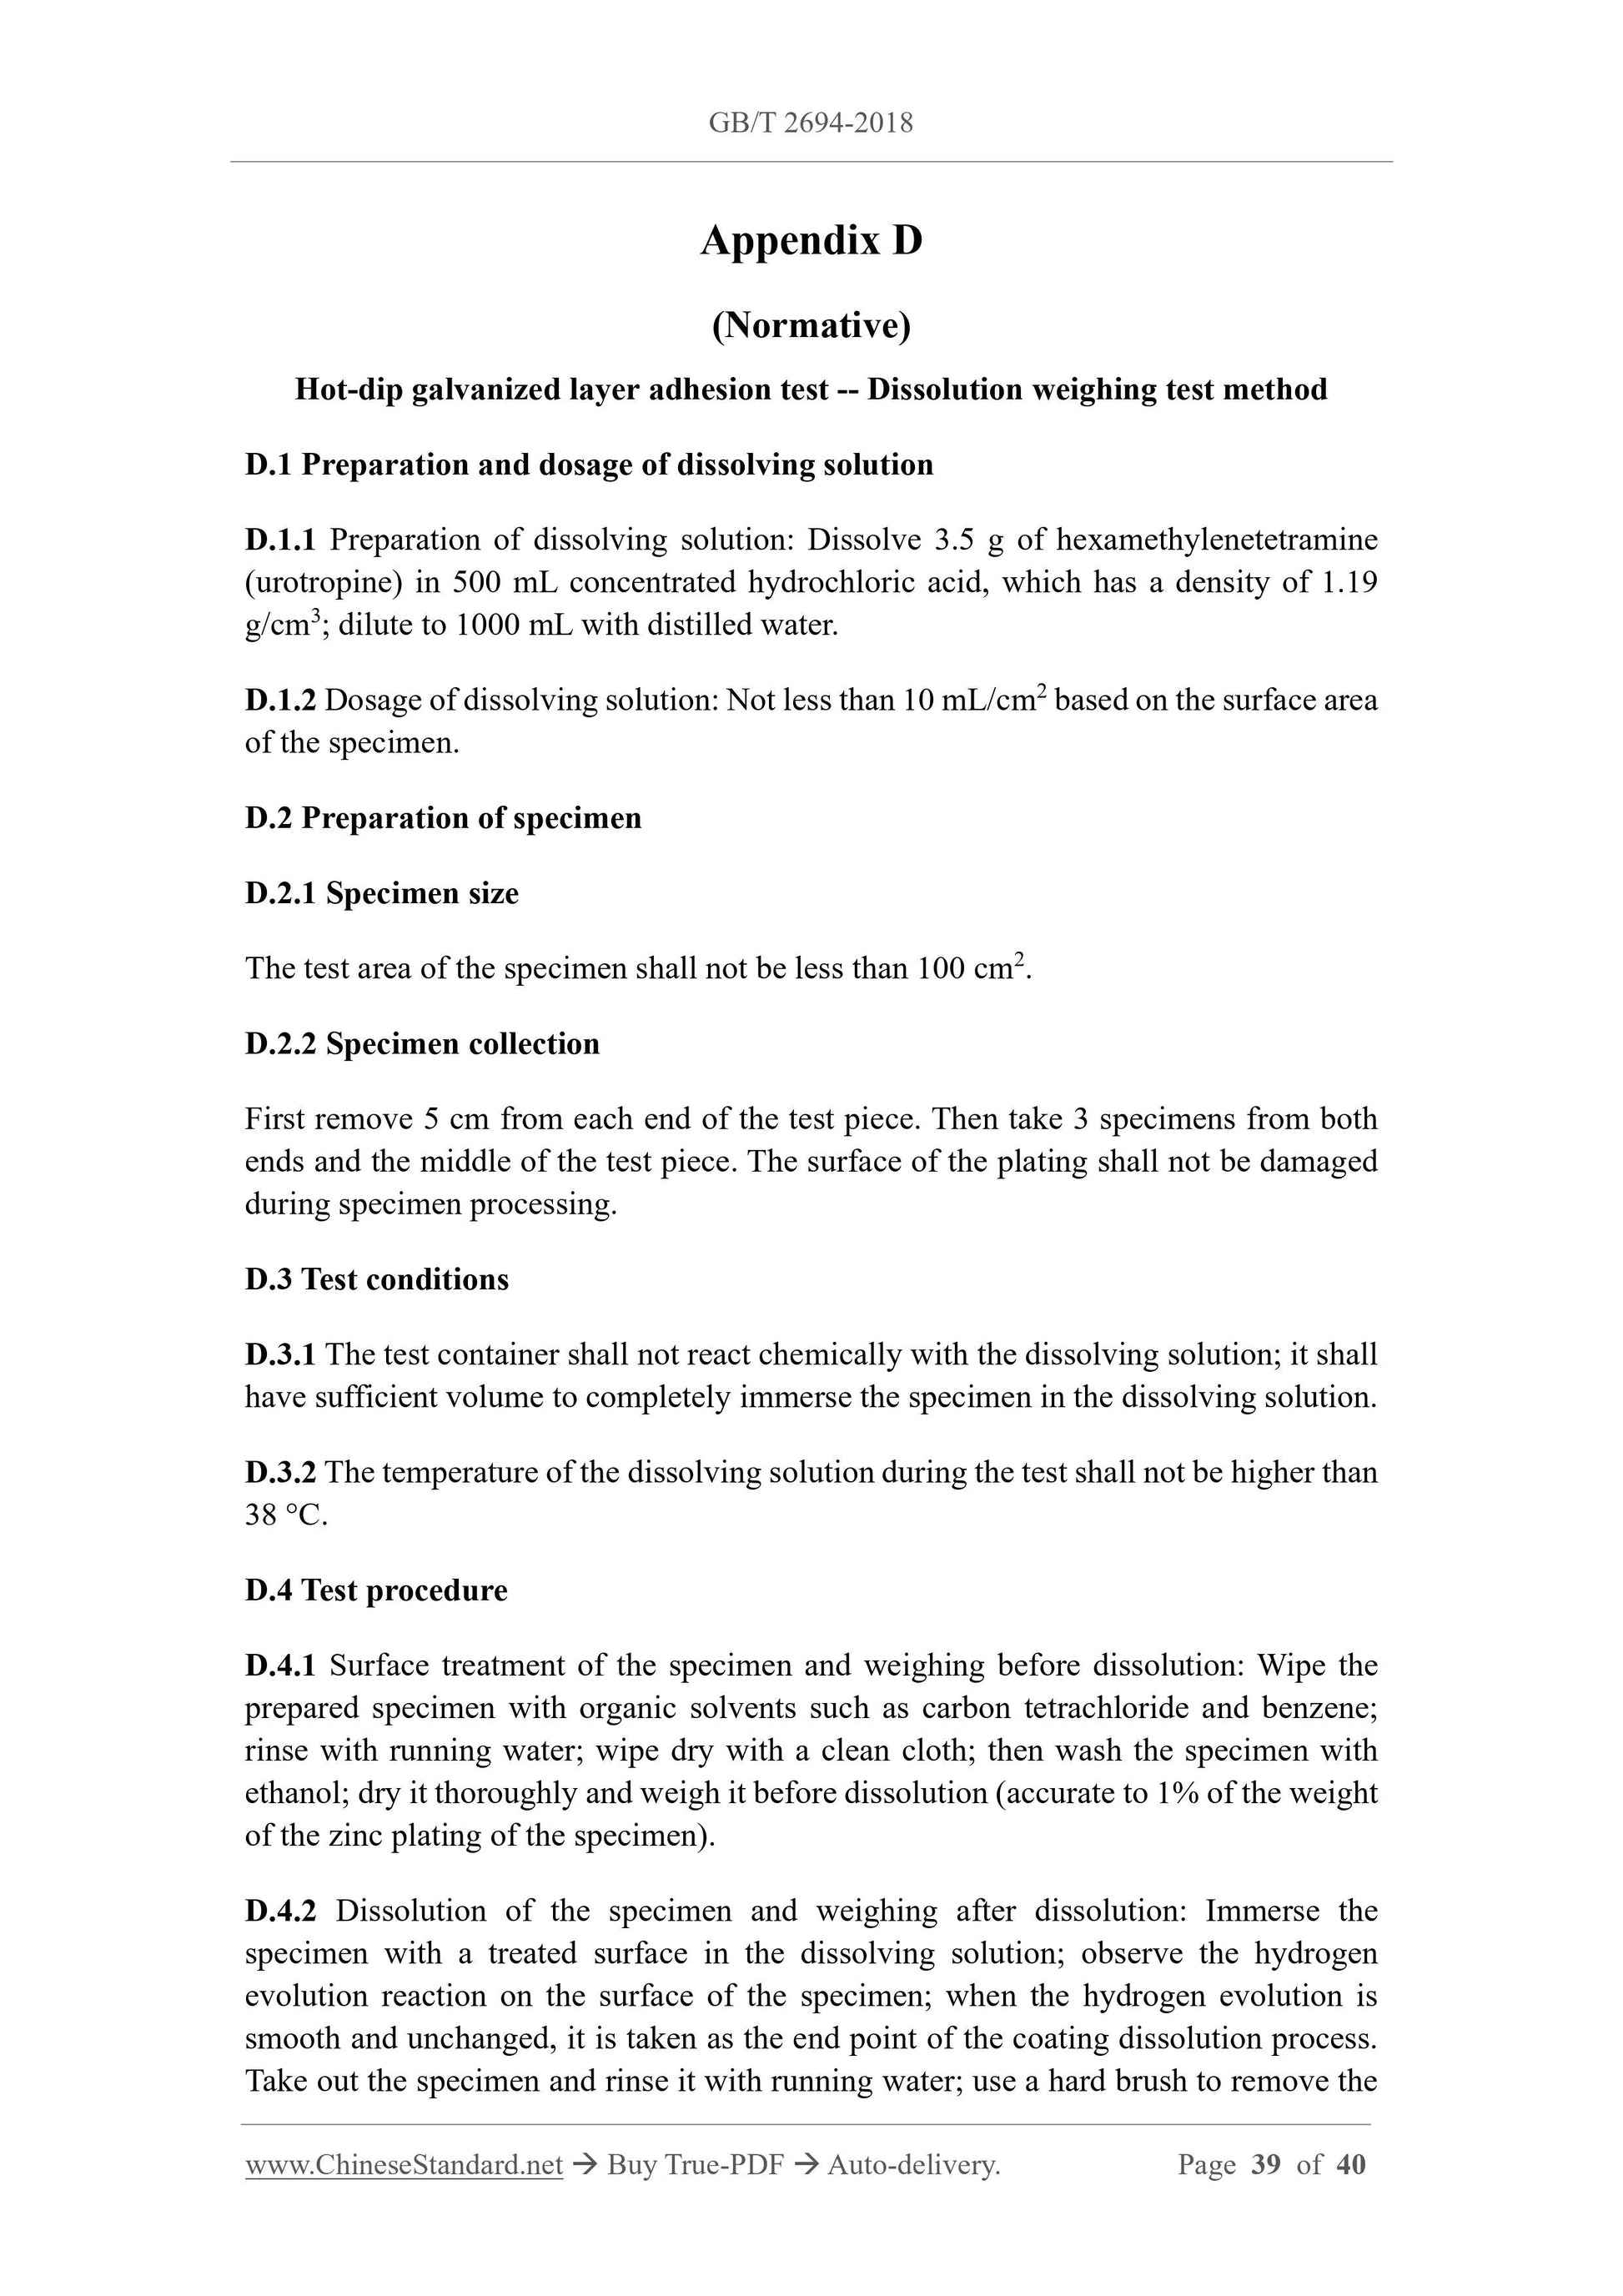
7.3.4.3 Quality inspection of galvanized layer
Visual inspection is used for appearance inspection. The uniformity of the galvanized
layer is tested by the copper sulfate test method (see Appendix A); the adhesion is tested
by the drop hammer test method (see Appendix B); the thickness of the galvanized layer
is tested by the metal coating thickness gauge test method (see Appendix C). In case of
disputes, the dissolution weighing test method (see Appendix D) is used to test the
adhesion of the galvanized layer as an arbitration test method.
7.3.4.4 Quality inspection of trial assembly
The position of the components is visually inspected; the through-hole rate of the
concentric holes is tested by a hole tester 0.3 mm larger than the nominal diameter of
the bolt; other dimensions are tested by a steel tape measure.
7.3.4.5 Inspection of steel dimensions
The width of the angle steel is measured at three points on each side in the length
direction with a vernier caliper; the arithmetic mean is...
View full details