Skip to product information
1 of 5

PayPal, credit cards. Download editable-PDF and invoice in 1 second!

GB/T 2652-2022 English PDF (GB/T2652-2022)

GB/T 2652-2022 English PDF (GB/T2652-2022)

Regular price $125.00 USD
Regular price Sale price $125.00 USD
Sale Sold out
Shipping calculated at checkout.
Delivery: 3 seconds. Download true-PDF + Invoice.
Get Quotation: Click GB/T 2652-2022 (Self-service in 1-minute)
Historical versions (Master-website): GB/T 2652-2022
Preview True-PDF (Reload/Scroll-down if blank)

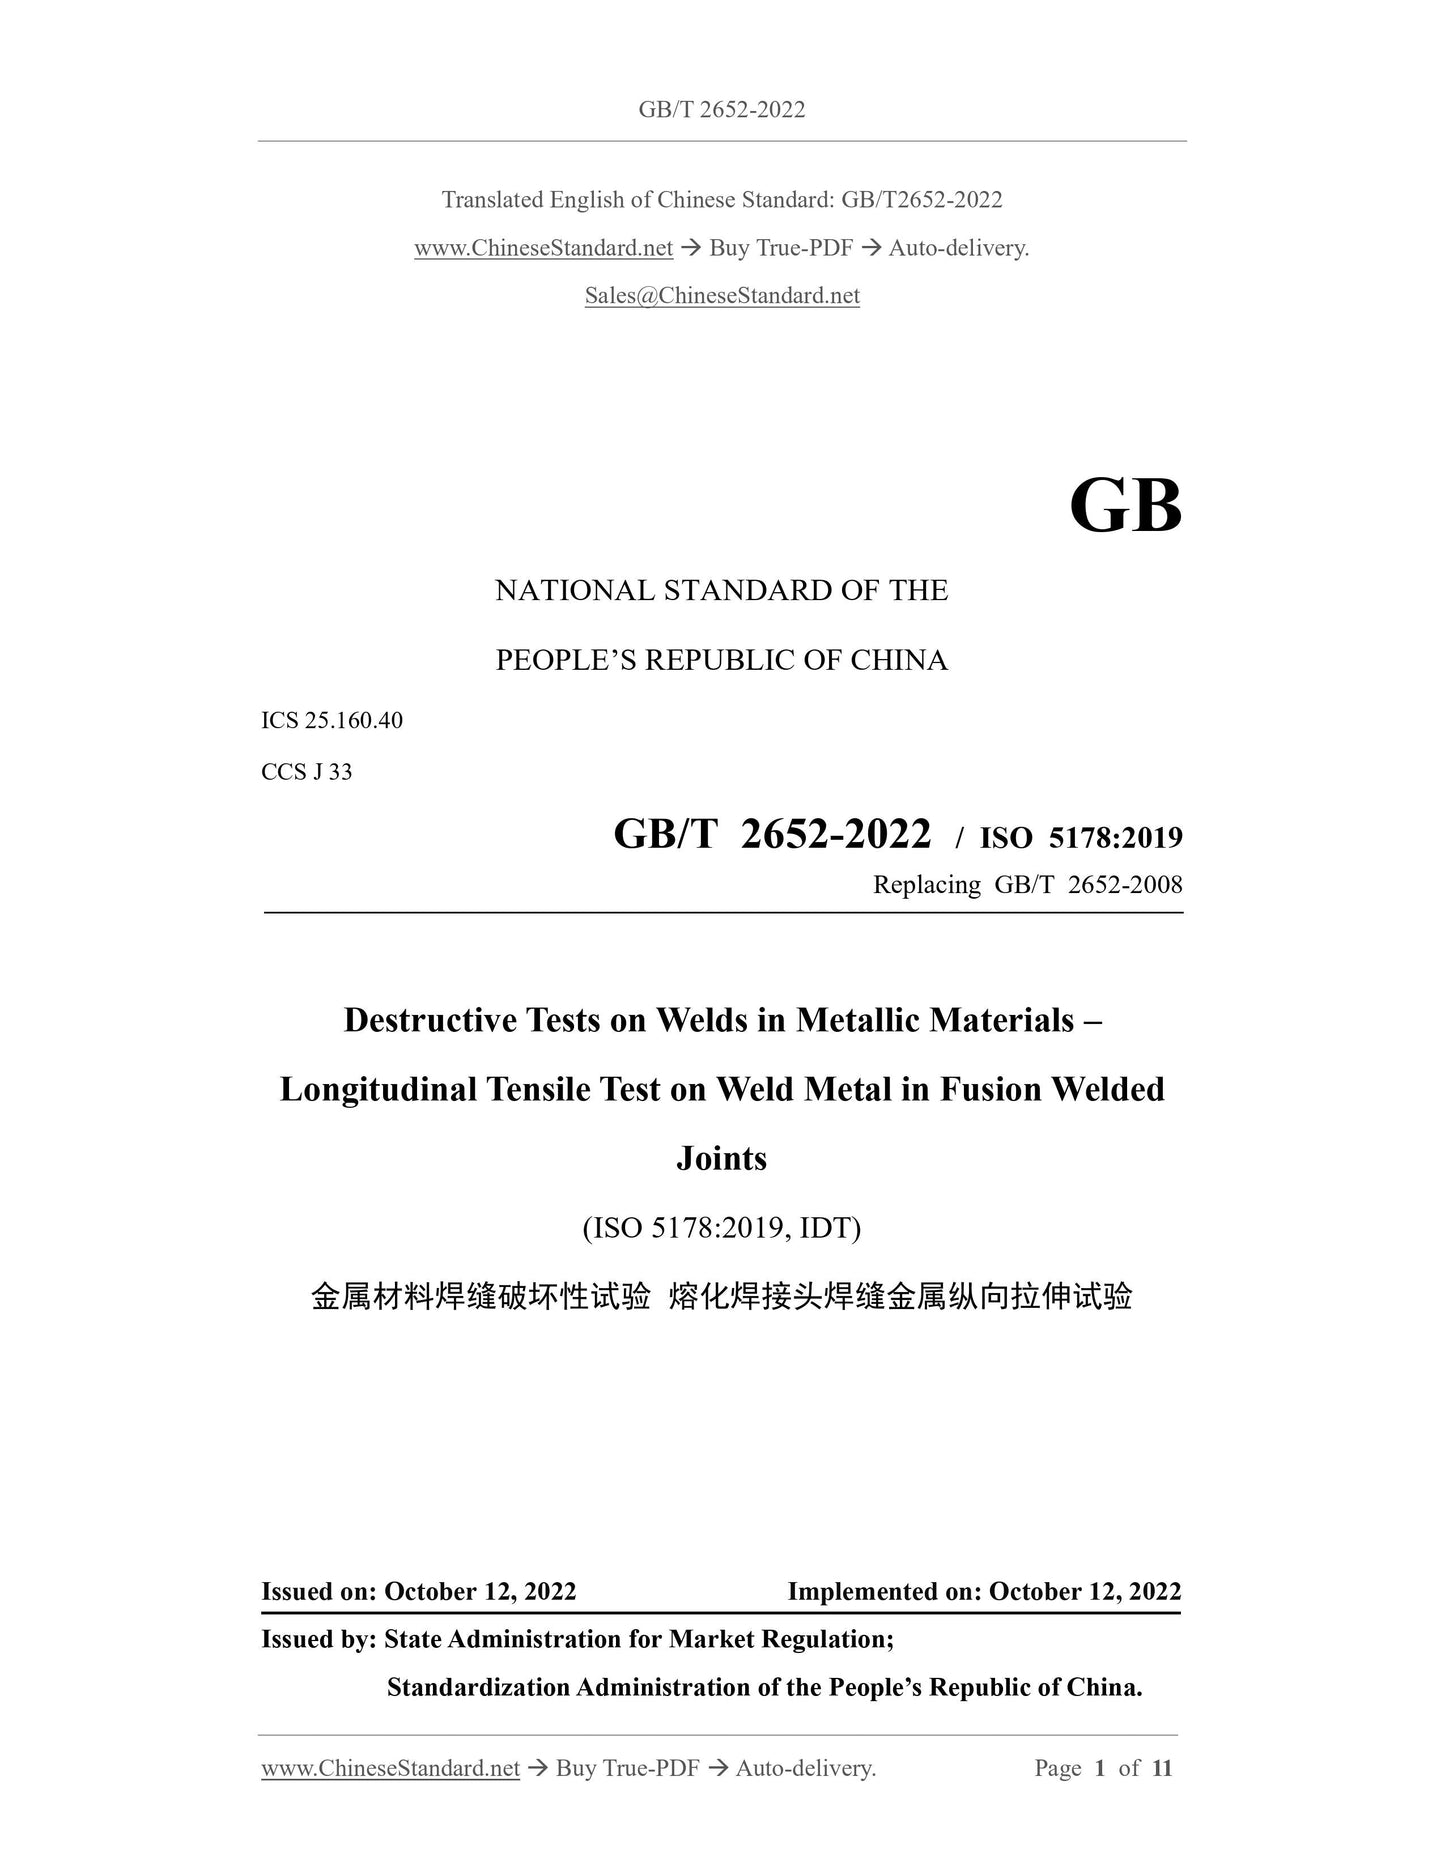
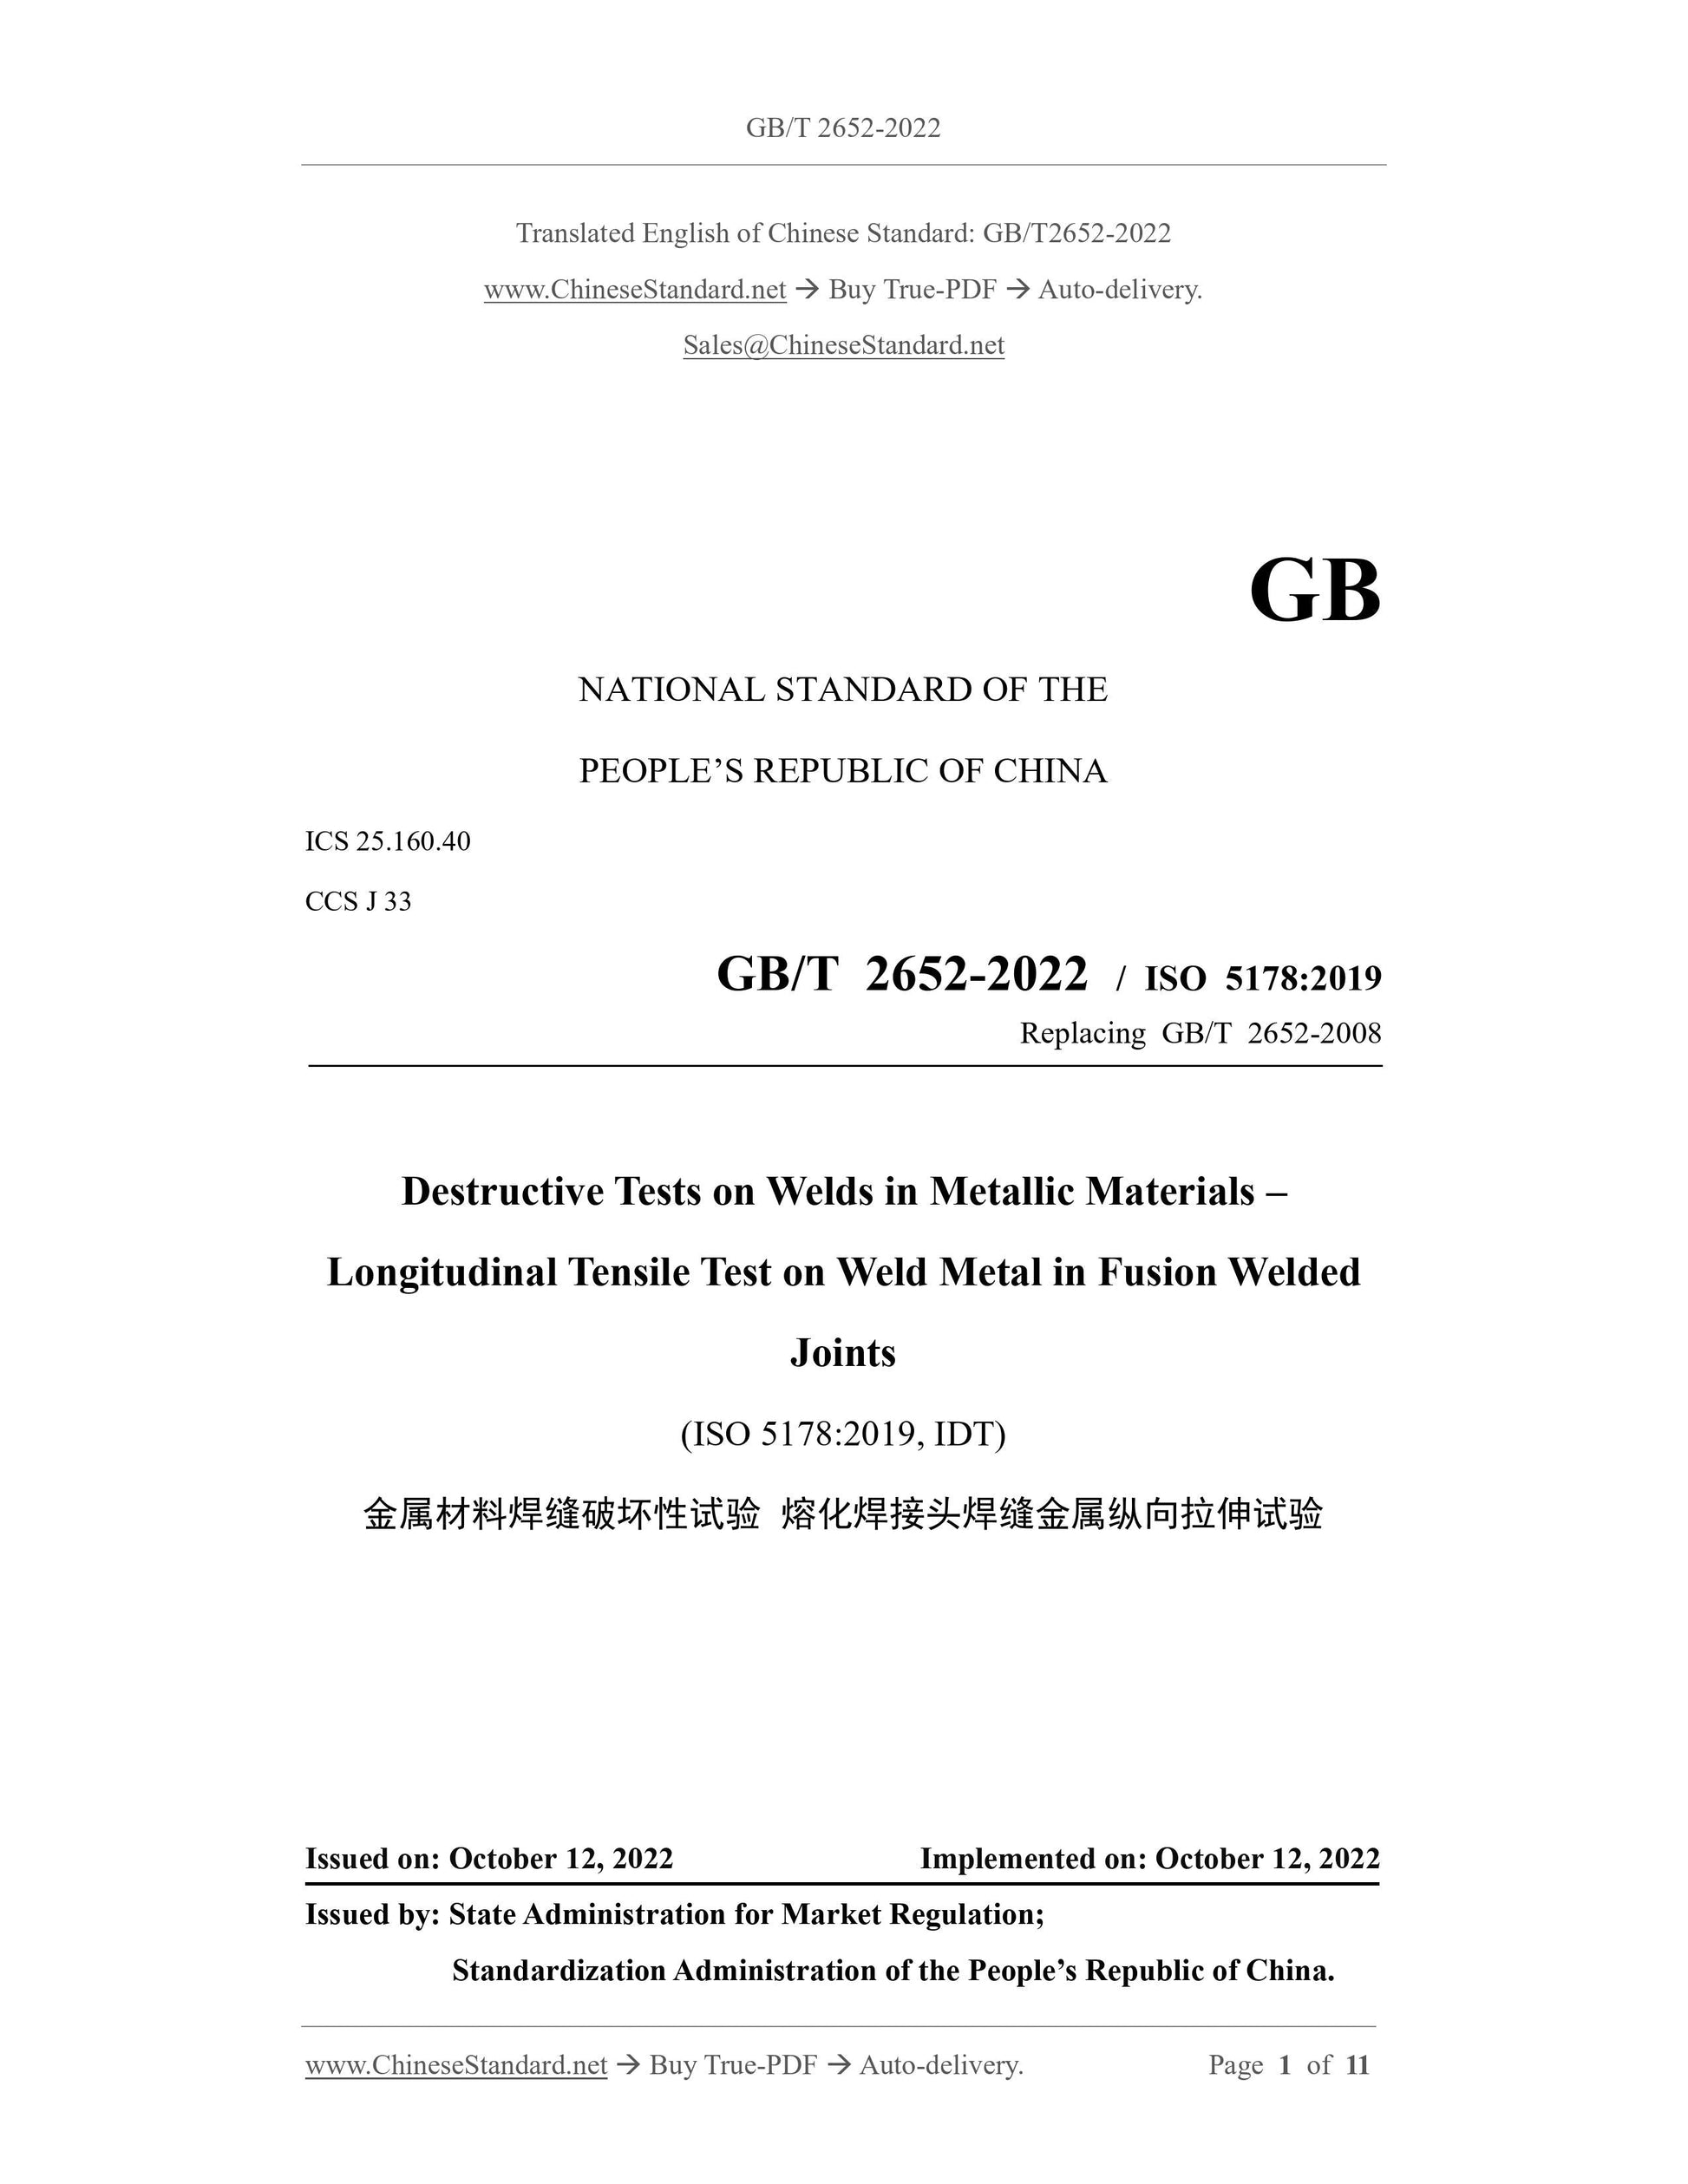
GB/T 2652-2022: Destructive tests on welds in metallic materials - Longitudinal tensile test on weld metal in fusion welded joints
GB/T 2652-2022 English name.Destructive tests on welds in metallic materials - Longitudinal tensile test on weld metal in fusion welded joints
ICS 25.160.40
CCSJ33
National Standards of People's Republic of China
Replacing GB/T 2652-2008
Destructive testing of welded seams of metallic materials
Longitudinal Tensile Test of Fusion Welded Joint Weld Metal
State Administration for Market Regulation
Released by the National Standardization Management Committee
foreword
This document is in accordance with the provisions of GB/T 1.1-2020 "Guidelines for Standardization Work Part 1.Structure and Drafting Rules for Standardization Documents"
drafting.
This document replaces GB/T 2652-2008 "Tension Test Methods for Welds and Deposited Metals". Compared with GB/T 2652-2008, except
In addition to structural adjustments and editorial changes, the main technical changes are as follows.
--- Changed the "scope" requirements (see Chapter 1, Chapter 1 of the.2008 edition);
--- Increased the requirements for continuously increasing the test force (see Chapter 5);
--- Added marking requirements (see 6.2);
---Changed the processing requirements of "other metal materials" (see 6.4.3, 5.4.3 of the.2008 edition);
--- Changed the requirements for the sample tolerance of the surface quality (see 6.7, 5.5.1, 5.7 of the.2008 edition);
--- Changed the test report requirements (see Chapter 9, Chapter 8 of the.2008 edition).
This document is equivalent to ISO 5178.2019 "Destructive Tests for Welds of Metallic Materials Longitudinal Tensile Tests for Weld Metals of Fusion Welding Joints".
Please note that some contents of this document may refer to patents. The issuing agency of this document assumes no responsibility for identifying patents.
This document is proposed by China Machinery Industry Federation.
This document is under the jurisdiction of the National Welding Standardization Technical Committee (SAC/TC55).
This document is drafted by. Shanghai Materials Research Institute, Harbin Welding Research Institute Co., Ltd., Baoji Petroleum Steel Pipe Co., Ltd., Xiamen
Chengcan Industrial Equipment Co., Ltd., Shenzhen Jinbofang Laser Technology Co., Ltd., Shanghai Special Equipment Supervision and Inspection Technology Research Institute, Jiangsu Province
Special Equipment Safety Supervision and Inspection Research Institute, China Machine Intelligent Equipment Innovation Research Institute (Ningbo) Co., Ltd., Taiyuan Heavy Industry Co., Ltd.,
Guangdong Fuweide Welding Co., Ltd.
The main drafters of this document. Zhai Lianna, Chen Mo, Wang Bin, Bi Zongyue, Wang Bo, Yang Zijia, Sun Dan, Yang Haoquan, Qiao Wenyu, Zuo Yantian,
Li Defeng, Zhang Lei, Pi Fengmei, Qin Xiaoming, Ba Fahai, Zhu Shaohua, Su Jinhua, Fan Jinke, Hu Jiaxi, Liu Zhizhong.
This document was first released in 1981, revised for the first time in 1989, revised for the second time in.2008, and this is the third revision.
Destructive testing of welded seams of metallic materials
Longitudinal Tensile Test of Fusion Welded Joint Weld Metal
1 Scope
This document specifies the specimen dimensions and test procedures for the longitudinal tensile test of circular cross-section specimens of fusion welded joint weld metal to determine
its mechanical properties.
This document is applicable to all kinds of metals manufactured by fusion welding and whose joint dimensions can be made into circular cross-section specimens according to ISO 6892-1
material product.
2 Normative references
The contents of the following documents constitute the essential provisions of this document through normative references in the text. Among them, dated references
For documents, only the version corresponding to the date is applicable to this document; for undated reference documents, the latest version (including all amendments) is applicable to
this document.
ISO 6892-1 Tensile testing of metallic materials Part 1.Test method at room temperature (Metalicmaterials-Tensiletesting-
Part 1.Methodoftestatroomtemperature)
Note. GB/T 228.1-2021 Tensile test of metallic materials Part 1.Test method at room temperature (ISO 6892-1.2019, MOD)
3 Terms and Definitions
This document does not have terms and definitions that need to be defined.
4 Symbols and abbreviations
The symbols and abbreviations used in the longitudinal tensile test shall be in accordance with ISO 6892-1.
5 general rules
Continue to increase the test force applied to the longitudinal circular cross-section specimen of the weld metal of the fusion welded joint until the specimen breaks.
Unless otherwise specified, room temperature tests shall be carried out within the range of 10°C to 35°C. For tests with strict temperature requirements, the test temperature should be
23°C±5°C.
Unless otherwise specified in this document, follow the general principles of ISO 6892-1.
6 Sample preparation
6.1 Sampling location
The test specimen shall be taken longitudinally from the finished welded joint or welded test piece. After the processing is completed, the parallel length part of the sample shall be completely covered with weld gold.
Genus composition (see Figure 1 and Figure 2).
To ensure correct positioning of the specimen in the joint, macro-etch the cross-section of the joint at both ends of the specimen.
6.2 Marking
Each test piece shall be marked to identify the exact location from which it was removed from the finished product or joint.
Each sample should also be marked to identify its exact position in the test piece.
Each sample shall be marked when it is removed from the test piece.
6.3 Heat treatment and/or aging
Welded joints or test specimens shall not be subjected to heat treatment, except those specified or permitted by relevant application standards for heat treatment of test welded joints.
The process parameters of heat treatment shall be recorded in detail in the test report. For aluminum alloys that will undergo natural aging, the welding to the start of the test shall be recorded
test interval.
Note. The presence of hydrogen in the steel weld metal will have an adverse effect on the test results, and appropriate dehydrogenation treatment can be taken.
6.4 Sampling
6.4.1 General requirements
The mechanical processing method or thermal processing method used for sampling shall not have any influence on the performance of the sample.
6.4.2 Steel
When the thickness exceeds 8mm, the shearing method should not be used. When using thermal cutting or other cutting methods that may affect the performance of the cut surface from
When cutting samples from welded test plates or test pieces, ensure that all cut surfaces are at least 8 mm from the surface of the final parallel length of the sample. right
Thermal cutting shall not be used for cutting parallel to the original surface of the welded test plate or test piece.
6.4.3 Other metallic materials
Shearing methods and thermal cutting methods should not be used, and mechanical processing methods (such as sawing, turning, etc.) should be used.
6.5 Sample Processing
Unless the applicable standard specifies otherwise for the test joint, the test specimen shall be taken from the center of the weld metal (see Figure 1), and its cross-sectional location is shown in Figure 2.
If the sample cannot be intercepted at the center of the thickness, the distance t1 from the surface shall be recorded, see Figure 2a) and Figure 2b). Welding on thick plates or both sides
In the case of joints, several samples may be taken at different positions along the thickness direction, see Figure 2c), and the distance from each sample to the surface in the cross section of the joint shall be recorded.
Distances t1 and t2.
Fig.1 Sample sampling position example (longitudinal section)
a) Deposited metal samples for classification of welding materials b) Single-sided welded joint samples c) Double-sided welded joint samples
Figure 2 Sample sampling position example (cross section)
6.6 Dimensions
Each specimen shall be machined into a circular cross-section whose diameter d0 within its parallel length shall comply with ISO 6892-1.
The sample diameter d0 shall be 10mm. If it cannot be met, the diameter should be as large as possible and should not be less than 4mm. Actual dimensions should be recorded in the
in the test report.
The gripping end of the specimen shall meet the requirements of the tensile testing machine used.
6.7 Surface Quality
Specimen tolerances shall be in accordance with ISO 6892-1.
Specimens shall be free from strain hardening or overheating.
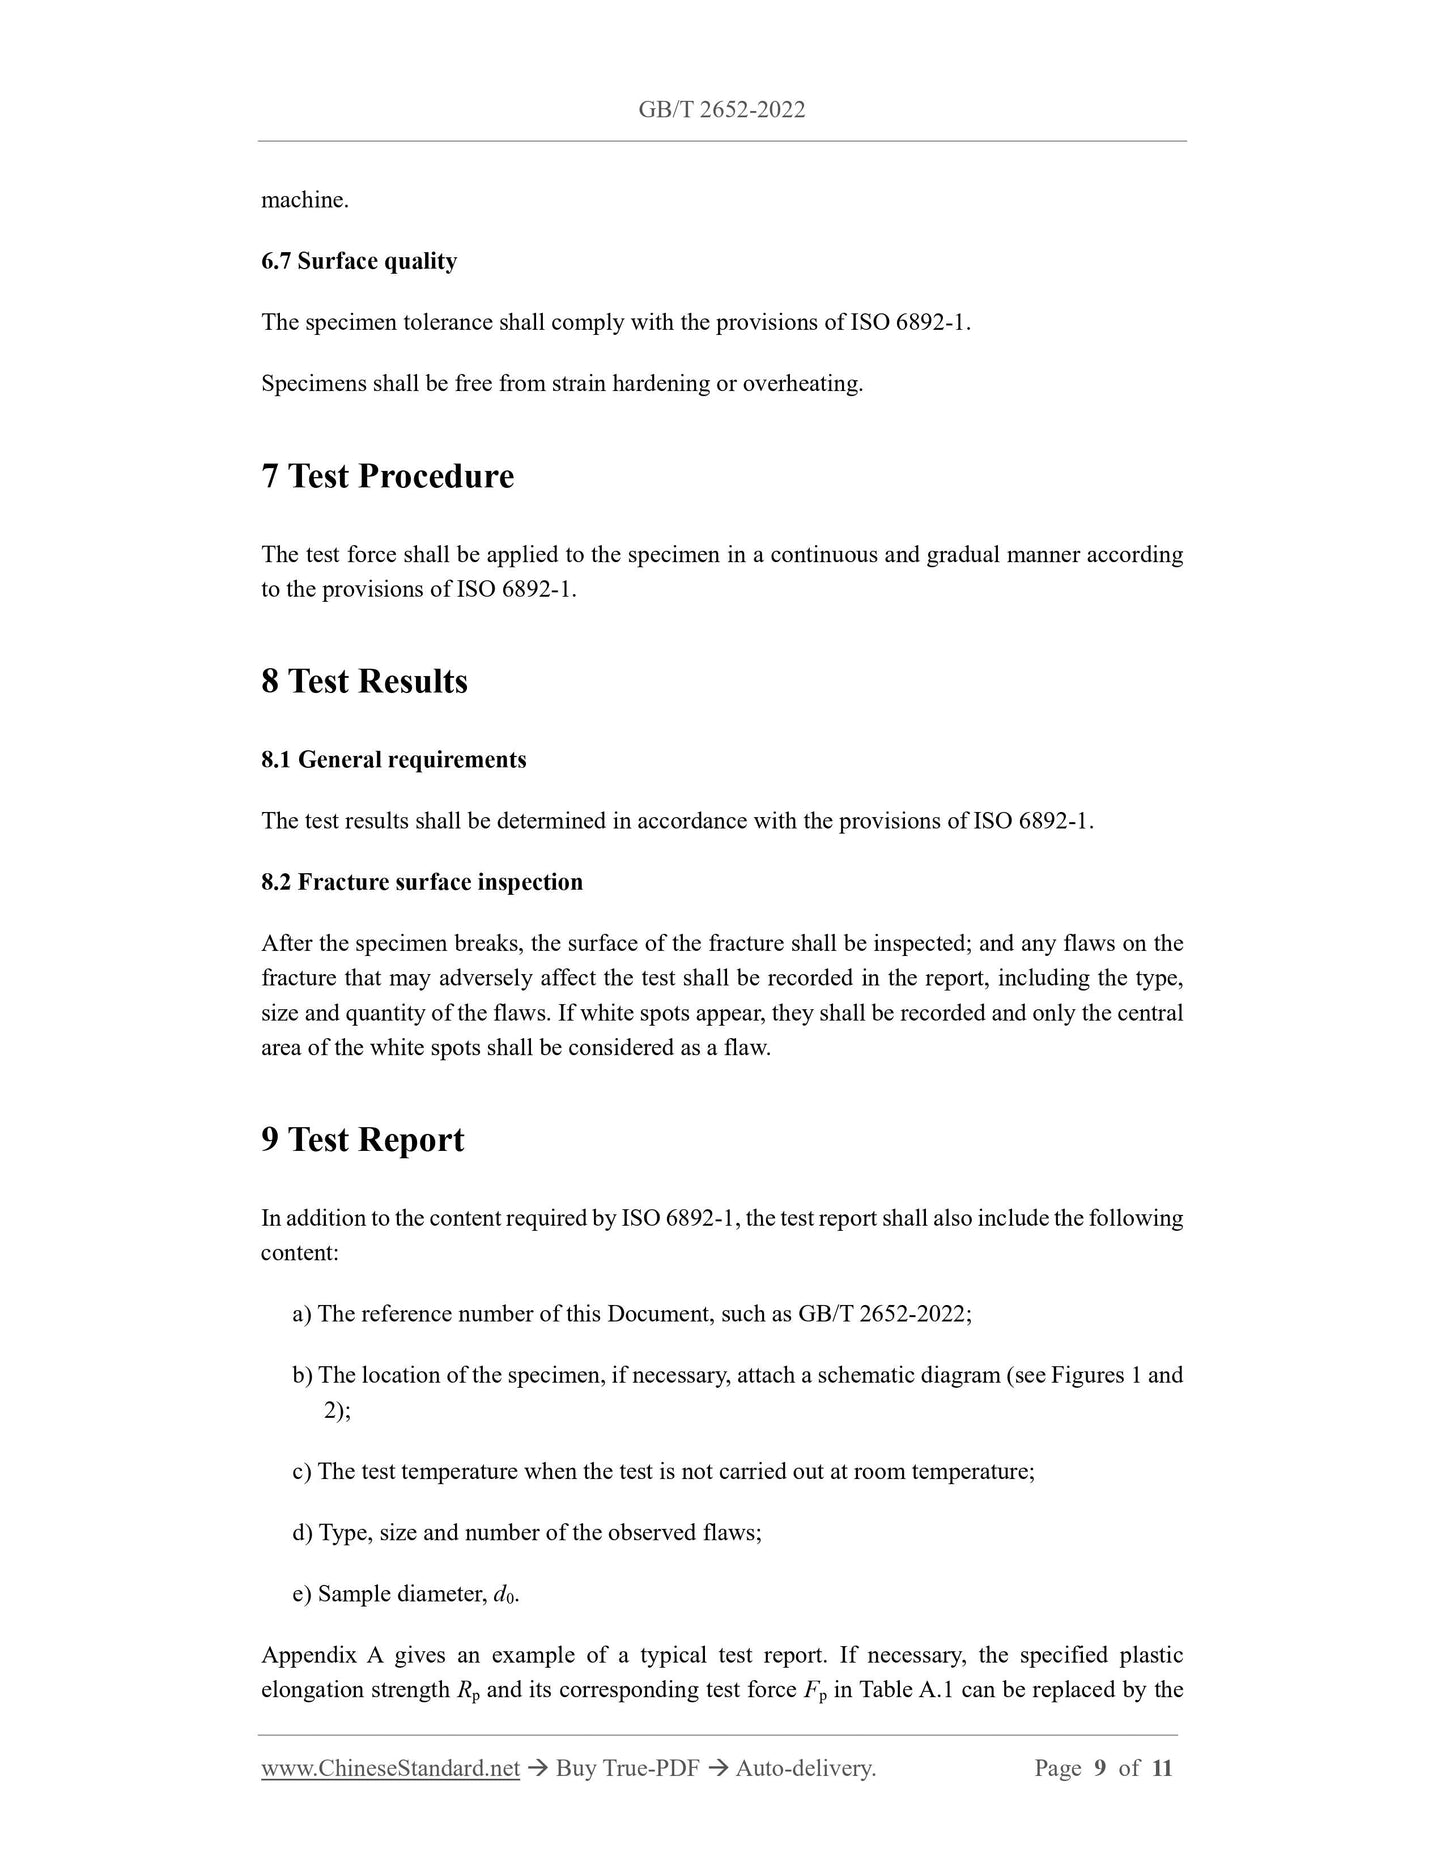
7 Test steps
The test force shall be applied to the specimen in a continuous and progressive manner in accordance with ISO 6892-1.
8 Test results
8.1 General requirements
The test results shall be determined in accordance with ISO 6892-1.
8.2 Fracture Surface Inspection
After the specimen breaks, the surface of the fracture should be inspected, and any imperfection on the fracture that may adversely affect the test should be recorded in the report, recording
The recorded content includes defect type, size and quantity. If white spots are present, they shall be recorded and only the central area of the white spots shall be considered as a defect.
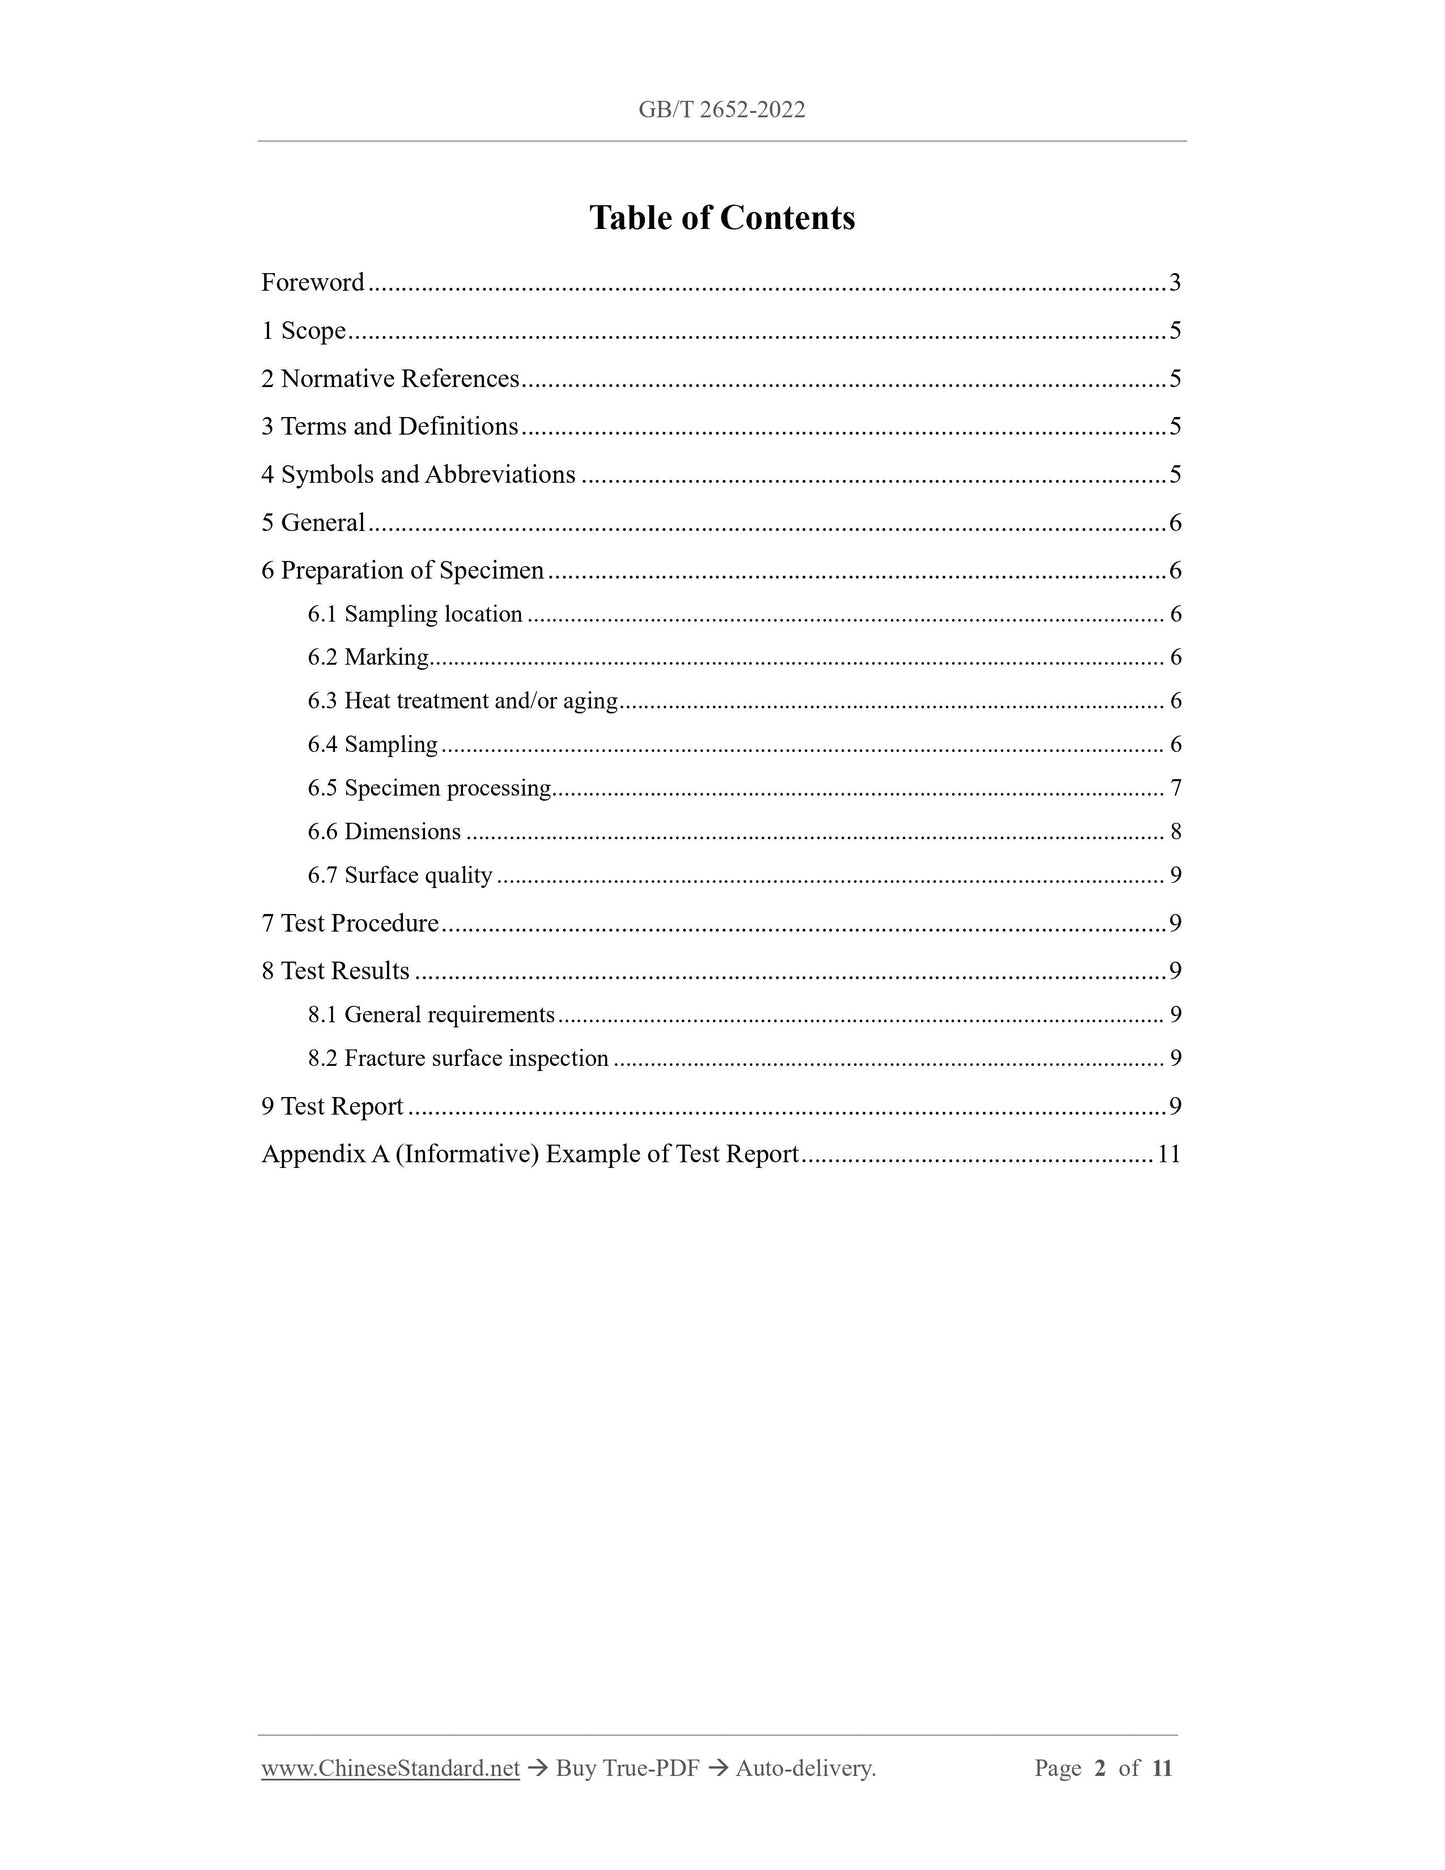
9 Test report
In addition to the content required by ISO 6892-1, the test report should also include the following content.
b) The position of the sample, if necessary, attach a schematic diagram (see Figure 1 and Figure 2);
c) the test temperature when the test is not carried out at room temperature;
d) type, size and number of imperfections observed;
e) Sample diameter, d0.
Appendix A gives an example of a typical test report. If required, the specified plastic extension strength Rp in Table A.1 and its corresponding
The test force Fp can be replaced by the upper yield strength, the lower yield strength, the specified total extension strength and the corresponding test force.

View full details