Skip to product information
1 of 6

www.ChineseStandard.us -- Field Test Asia Pte. Ltd.

GB/T 2651-2023 English PDF (GB/T2651-2023)

GB/T 2651-2023 English PDF (GB/T2651-2023)

Regular price $200.00
Regular price Sale price $200.00
Sale Sold out
Shipping calculated at checkout.
GB/T 2651-2023: Destructive tests on welds in metallic materials - Transverse tensile test
Delivery: 9 seconds. Download (and Email) true-PDF + Invoice.
Get Quotation: Click GB/T 2651-2023 (Self-service in 1-minute)
Historical versions (Master-website): GB/T 2651-2023
Preview True-PDF (Reload/Scroll-down if blank)


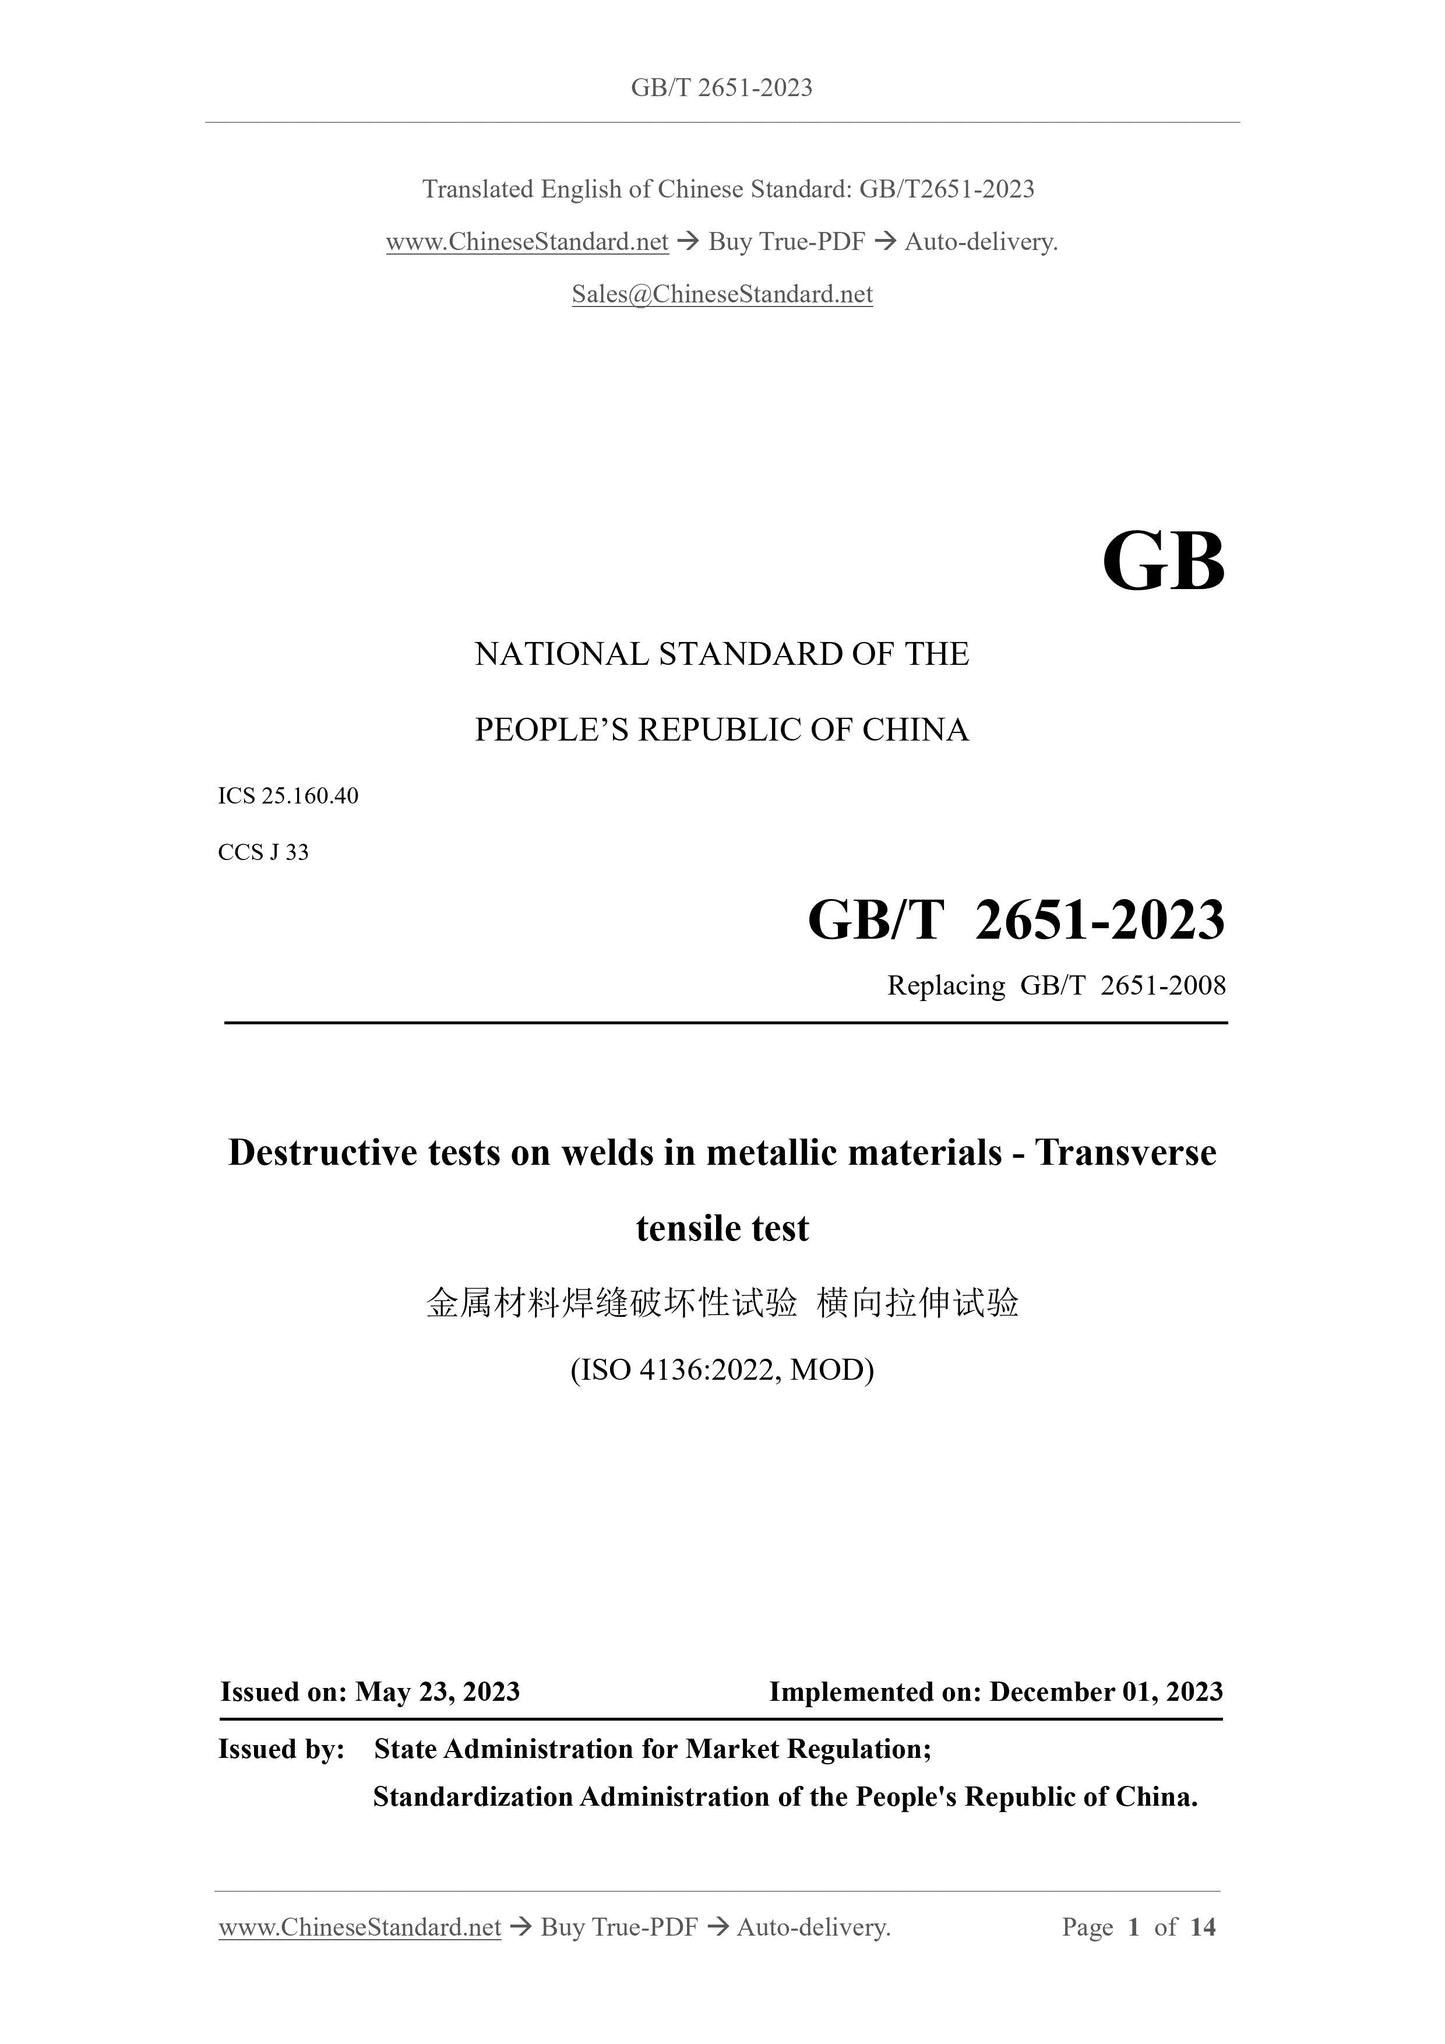
GB/T 2651-2023
GB
NATIONAL STANDARD OF THE
PEOPLE’S REPUBLIC OF CHINA
ICS 25.160.40
CCS J 33
Replacing GB/T 2651-2008
Destructive tests on welds in metallic materials - Transverse
tensile test
(ISO 4136:2022, MOD)
ISSUED ON: MAY 23, 2023
IMPLEMENTED ON: DECEMBER 01, 2023
Issued by: State Administration for Market Regulation;
Standardization Administration of the People's Republic of China.
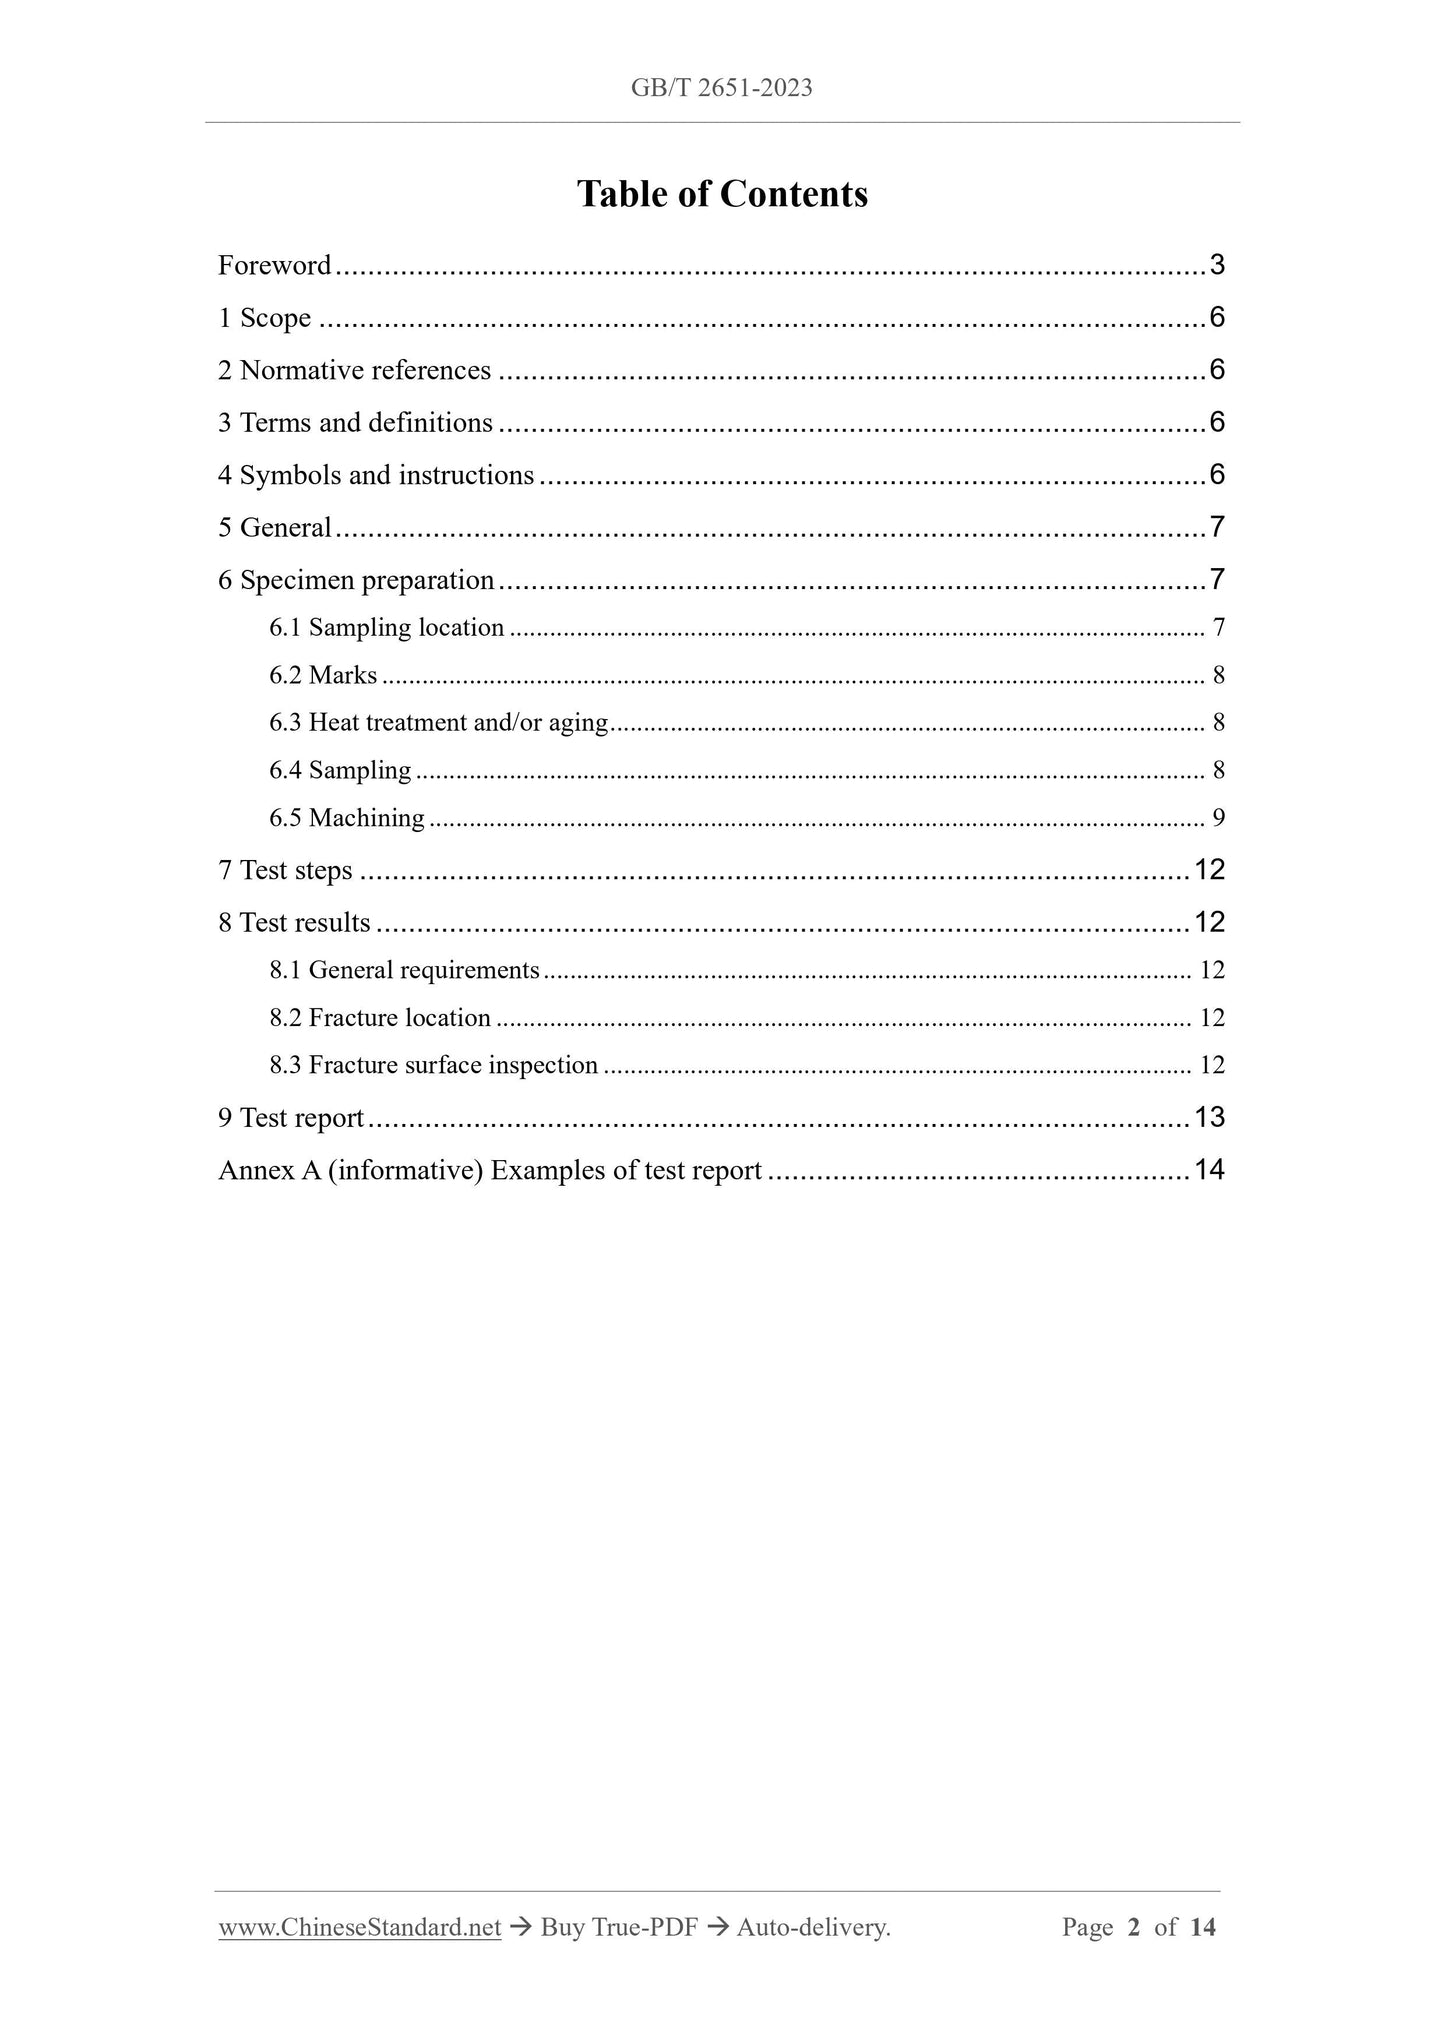
Table of Contents
Foreword ... 3
1 Scope ... 6
2 Normative references ... 6
3 Terms and definitions ... 6
4 Symbols and instructions ... 6
5 General ... 7
6 Specimen preparation ... 7
6.1 Sampling location ... 7
6.2 Marks ... 8
6.3 Heat treatment and/or aging ... 8
6.4 Sampling ... 8
6.5 Machining ... 9
7 Test steps ... 12
8 Test results ... 12
8.1 General requirements ... 12
8.2 Fracture location ... 12
8.3 Fracture surface inspection ... 12
9 Test report ... 13
Annex A (informative) Examples of test report ... 14
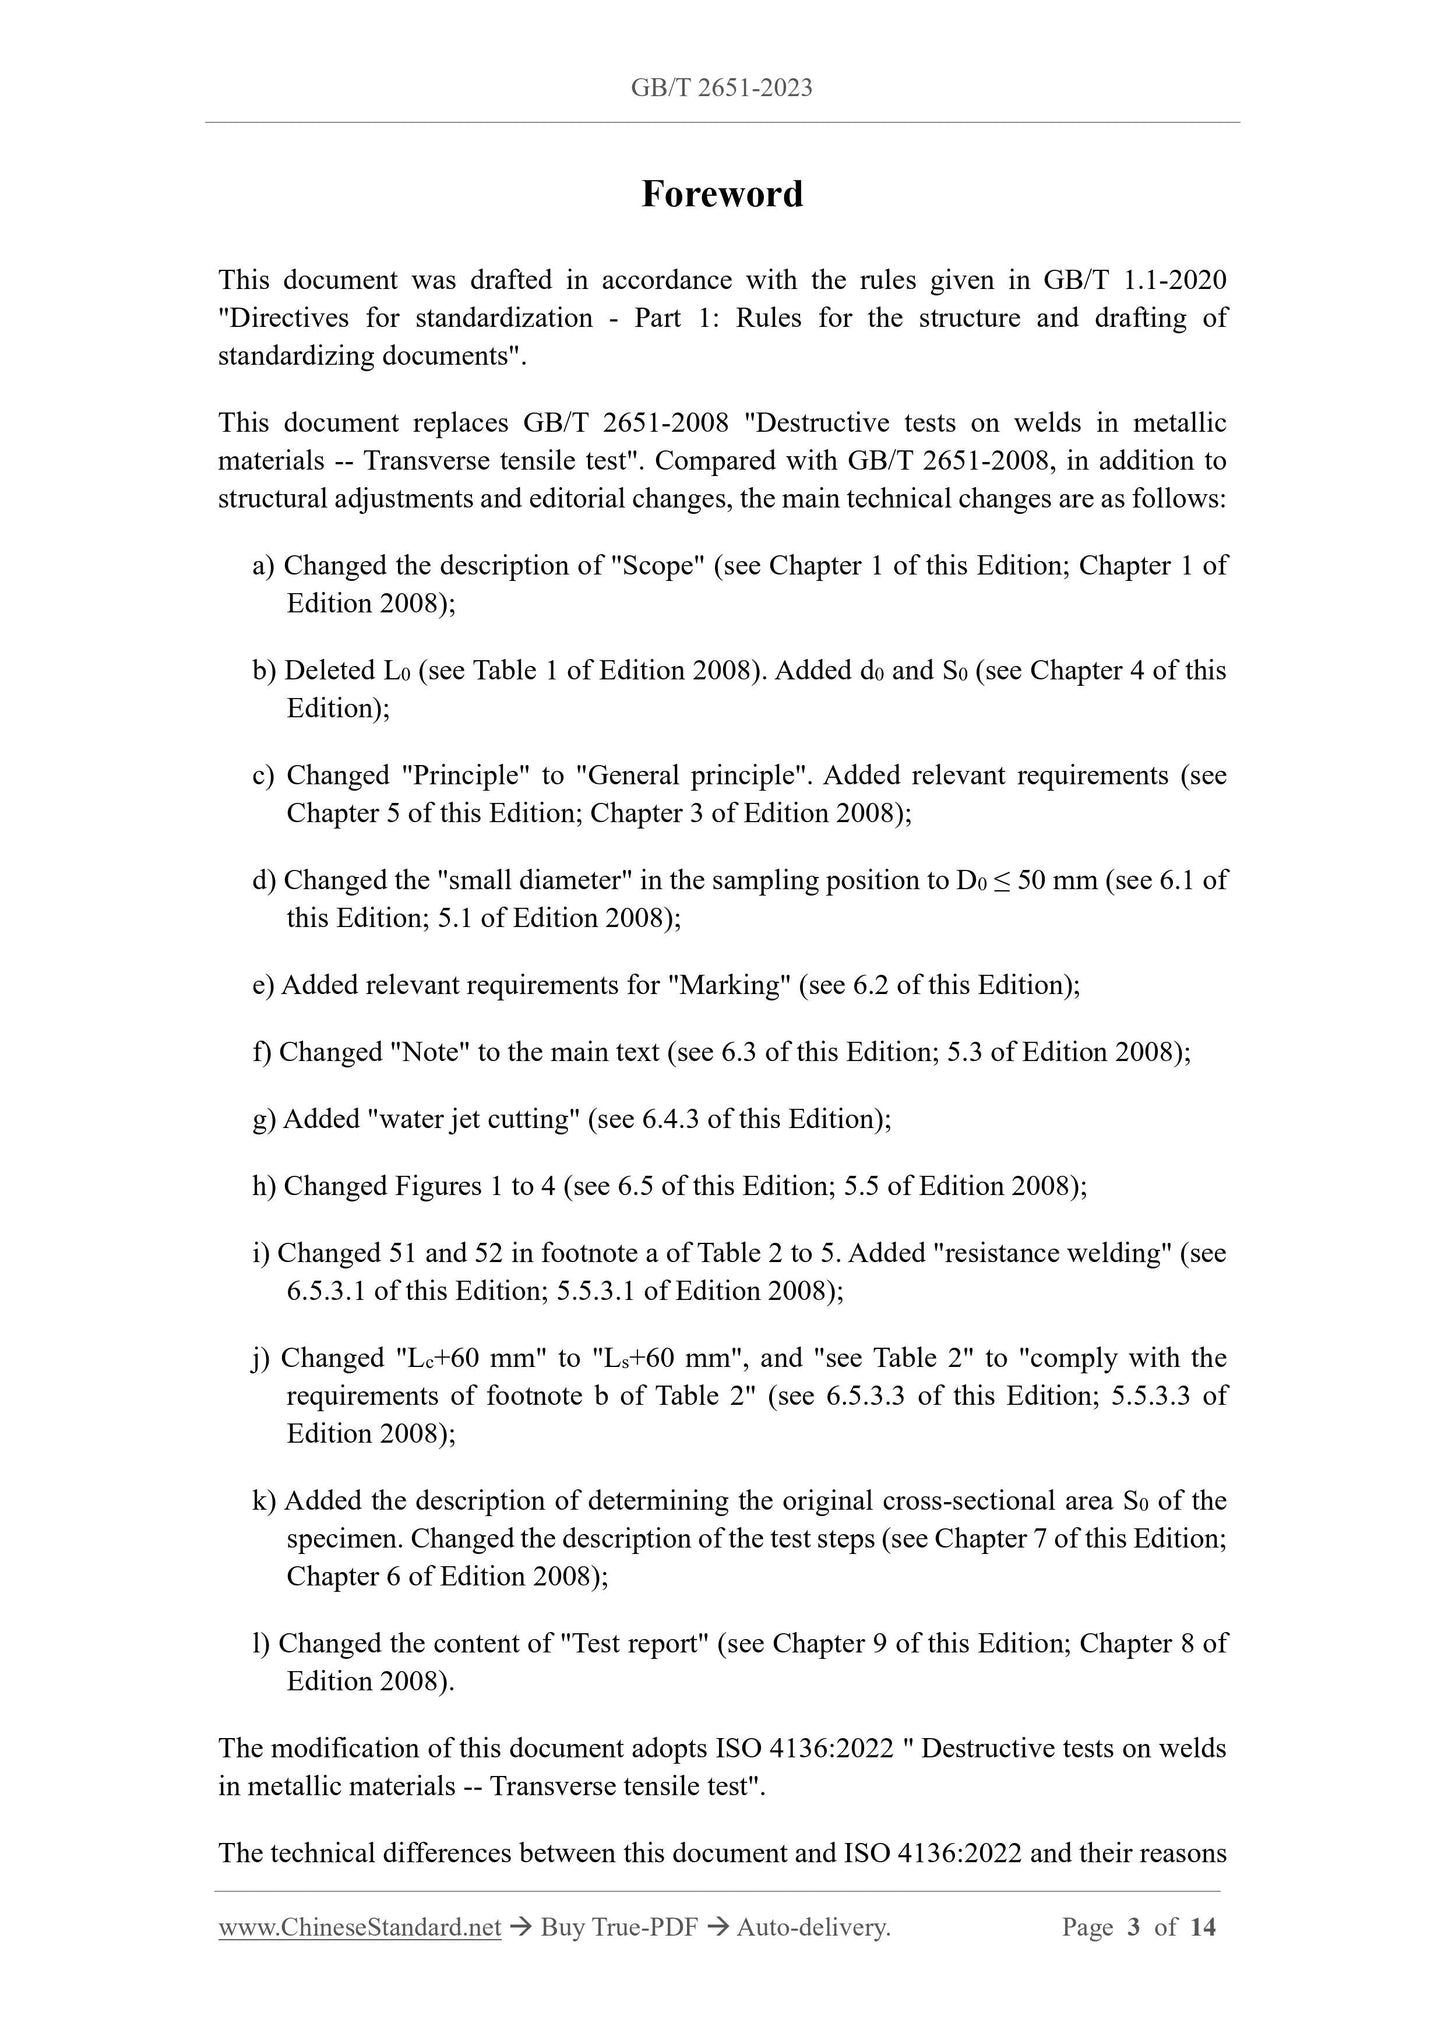
Foreword
This document was drafted in accordance with the rules given in GB/T 1.1-2020
"Directives for standardization - Part 1: Rules for the structure and drafting of
standardizing documents".
This document replaces GB/T 2651-2008 "Destructive tests on welds in metallic
materials -- Transverse tensile test". Compared with GB/T 2651-2008, in addition to
structural adjustments and editorial changes, the main technical changes are as follows:
a) Changed the description of "Scope" (see Chapter 1 of this Edition; Chapter 1 of
Edition 2008);
b) Deleted L0 (see Table 1 of Edition 2008). Added d0 and S0 (see Chapter 4 of this
Edition);
c) Changed "Principle" to "General principle". Added relevant requirements (see
Chapter 5 of this Edition; Chapter 3 of Edition 2008);
d) Changed the "small diameter" in the sampling position to D0 ≤ 50 mm (see 6.1 of
this Edition; 5.1 of Edition 2008);
e) Added relevant requirements for "Marking" (see 6.2 of this Edition);
f) Changed "Note" to the main text (see 6.3 of this Edition; 5.3 of Edition 2008);
g) Added "water jet cutting" (see 6.4.3 of this Edition);
h) Changed Figures 1 to 4 (see 6.5 of this Edition; 5.5 of Edition 2008);
i) Changed 51 and 52 in footnote a of Table 2 to 5. Added "resistance welding" (see
6.5.3.1 of this Edition; 5.5.3.1 of Edition 2008);
j) Changed "Lc+60 mm" to "Ls+60 mm", and "see Table 2" to "comply with the
requirements of footnote b of Table 2" (see 6.5.3.3 of this Edition; 5.5.3.3 of
Edition 2008);
k) Added the description of determining the original cross-sectional area S0 of the
specimen. Changed the description of the test steps (see Chapter 7 of this Edition;
Chapter 6 of Edition 2008);
l) Changed the content of "Test report" (see Chapter 9 of this Edition; Chapter 8 of
Edition 2008).
The modification of this document adopts ISO 4136:2022 " Destructive tests on welds
in metallic materials -- Transverse tensile test".
The technical differences between this document and ISO 4136:2022 and their reasons
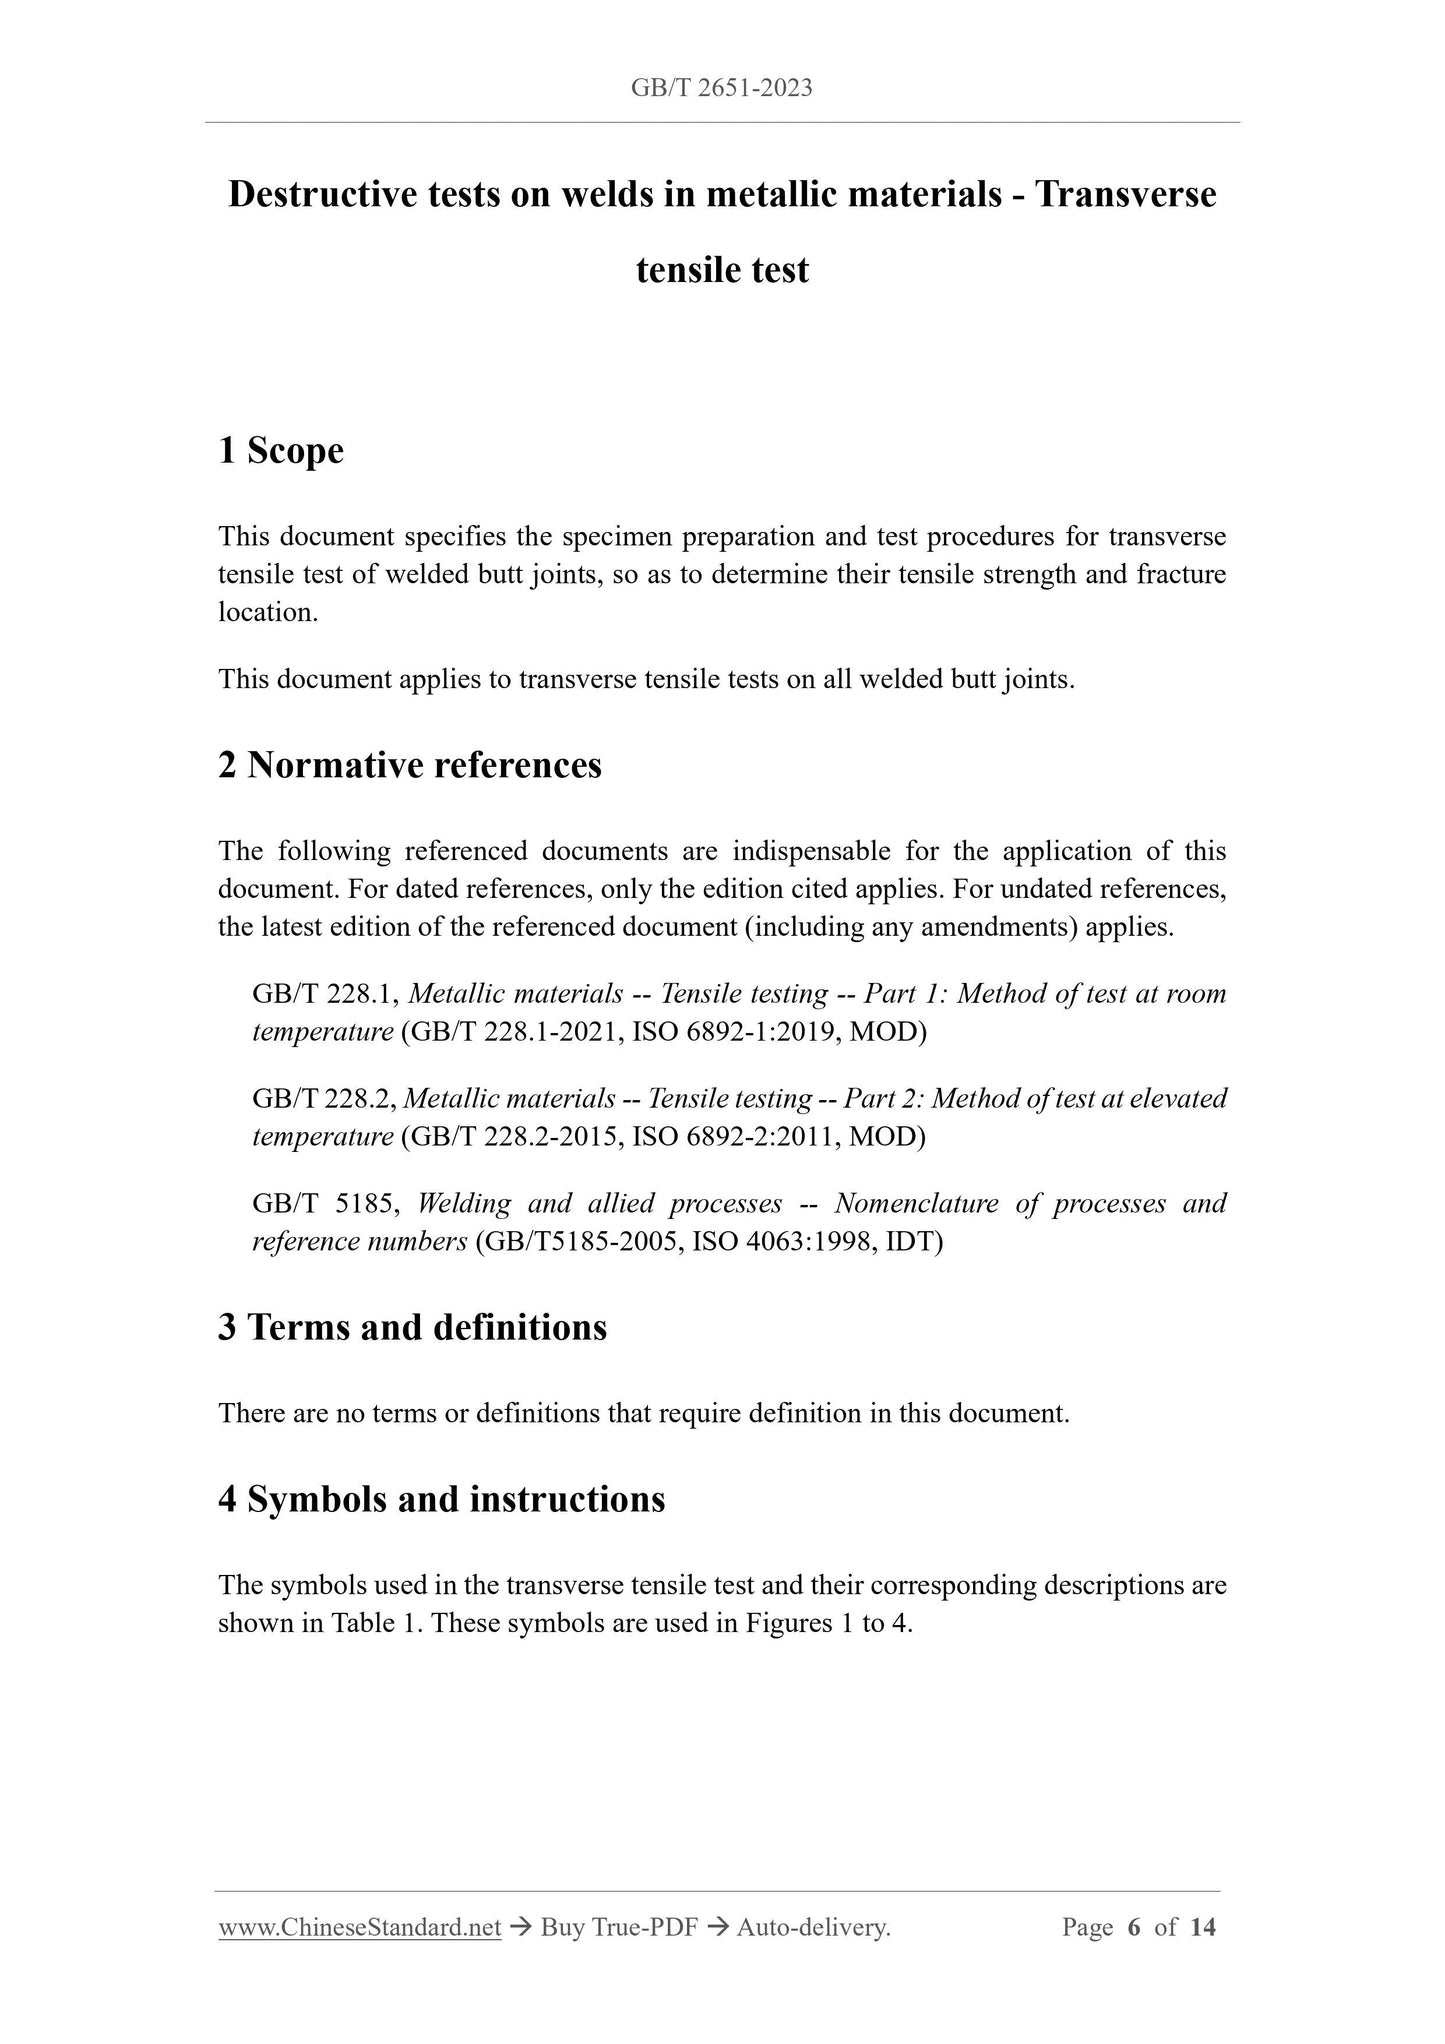
Destructive tests on welds in metallic materials - Transverse
tensile test
1 Scope
This document specifies the specimen preparation and test procedures for transverse
tensile test of welded butt joints, so as to determine their tensile strength and fracture
location.
This document applies to transverse tensile tests on all welded butt joints.
2 Normative references
The following referenced documents are indispensable for the application of this
document. For dated references, only the edition cited applies. For undated references,
the latest edition of the referenced document (including any amendments) applies.
GB/T 228.1, Metallic materials -- Tensile testing -- Part 1: Method of test at room
temperature (GB/T 228.1-2021, ISO 6892-1:2019, MOD)
GB/T 228.2, Metallic materials -- Tensile testing -- Part 2: Method of test at elevated
temperature (GB/T 228.2-2015, ISO 6892-2:2011, MOD)
GB/T 5185, Welding and allied processes -- Nomenclature of processes and
reference numbers (GB/T5185-2005, ISO 4063:1998, IDT)
3 Terms and definitions
There are no terms or definitions that require definition in this document.
4 Symbols and instructions
The symbols used in the transverse tensile test and their corresponding descriptions are
shown in Table 1. These symbols are used in Figures 1 to 4.
specimen is processed, the weld axis is located in the middle of the parallel length of
the specimen.
For small diameter pipes, pipe section specimens may be used (see Figure 3). When no
provisions are made in the relevant application standards or agreements, "small
diameter" means D0 ≤ 50 mm.
6.2 Marks
Each test piece shall be marked so as to identify the exact position from which it is
removed from the finished product or joint.
If required by the relevant application standard, the direction of processing (e.g. rolling
or extrusion) of the parent material shall be marked.
Each specimen shall also be marked so that its exact location within the specimen can
be identified.
Each specimen shall be marked when it is removed from the test piece.
6.3 Heat treatment and/or aging
Welded joints or test specimens shall not be heat treated. However, the relevant
application standards stipulate or allow heat treatment of test welded joints, in which
case the heat treatment process parameters shall be recorded in detail in the test report.
If the aluminum alloy undergoes natural aging, the interval between welding and the
start of the test shall be recorded.
The presence of hydrogen in steel weld metal will have an adverse effect on the test
results. Appropriate methods must be adopted for dehydrogenation treatment.
6.4 Sampling
6.4.1 General requirements
The mechanical or thermal processing method used for sampling shall not have any
effect on the properties of the specimen.
6.4.2 Steel
When the thickness exceeds 8 mm, shearing shall not be used. When cutting specimens
from welded test plates or test pieces by thermal cutting or other cutting methods that
affect the properties of the cut surface, it shall be ensured that all cut surfaces are at
least 8 mm from the surface of the final parallel length of the specimen. For cuts parallel
to the original surface of the welded test plate or test piece, thermal cutting shall not be
used.

View full details