1
/
of
5
PayPal, credit cards. Download editable-PDF & invoice In 1 second!
GB/T 2523-2008 English PDF (GB/T2523-2008)
Regular price
$165.00
Regular price
Sale price
$165.00
Unit price
/
per
Shipping calculated at checkout.
Couldn't load pickup availability
GB/T 2523-2008: Measuring method of surface roughness and peak count for cold-rolled metal sheet (strip)
Delivery: 9 seconds. Download (and Email) true-PDF + Invoice.
Newer version: (Replacing this standard) GB/T 2523-2022
Get Quotation: Click GB/T 2523-2008 (Self-service in 1-minute)
Historical versions (Master-website): GB/T 2523-2022
Preview True-PDF (Reload/Scroll-down if blank)
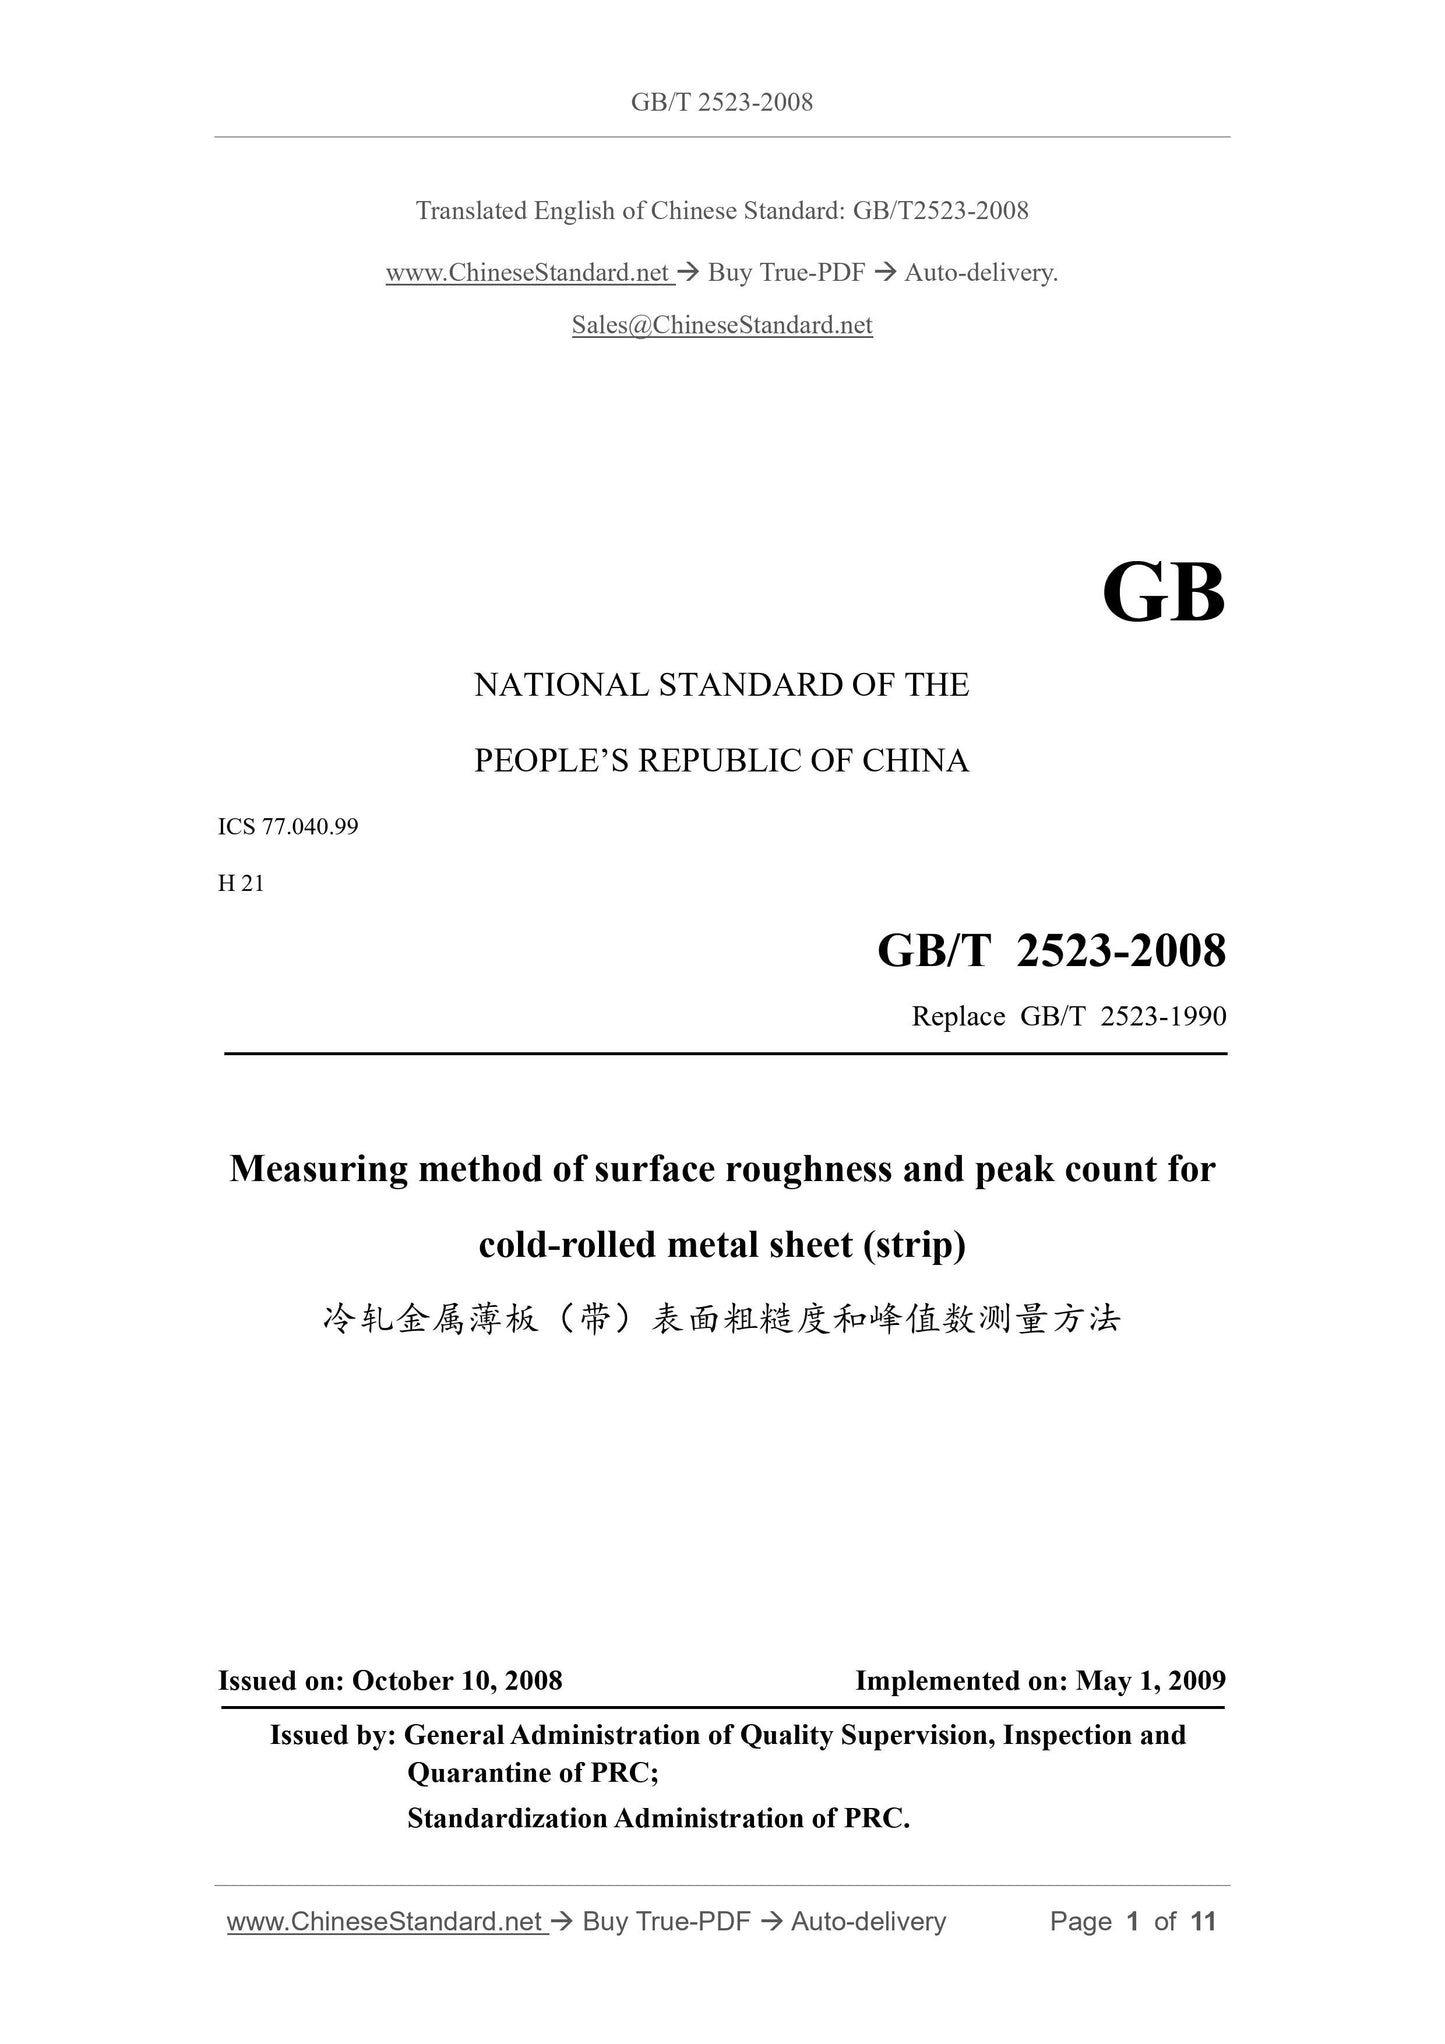
GB/T 2523-2008
NATIONAL STANDARD OF THE
PEOPLE’S REPUBLIC OF CHINA
ICS 77.040.99
H 21
Replace GB/T 2523-1990
Measuring method of surface roughness and peak count for
cold-rolled metal sheet (strip)
ISSUED ON. OCTOBER 10, 2008
IMPLEMENTED ON. MAY 1, 2009
Issued by. General Administration of Quality Supervision, Inspection and
Quarantine of PRC;
Standardization Administration of PRC.
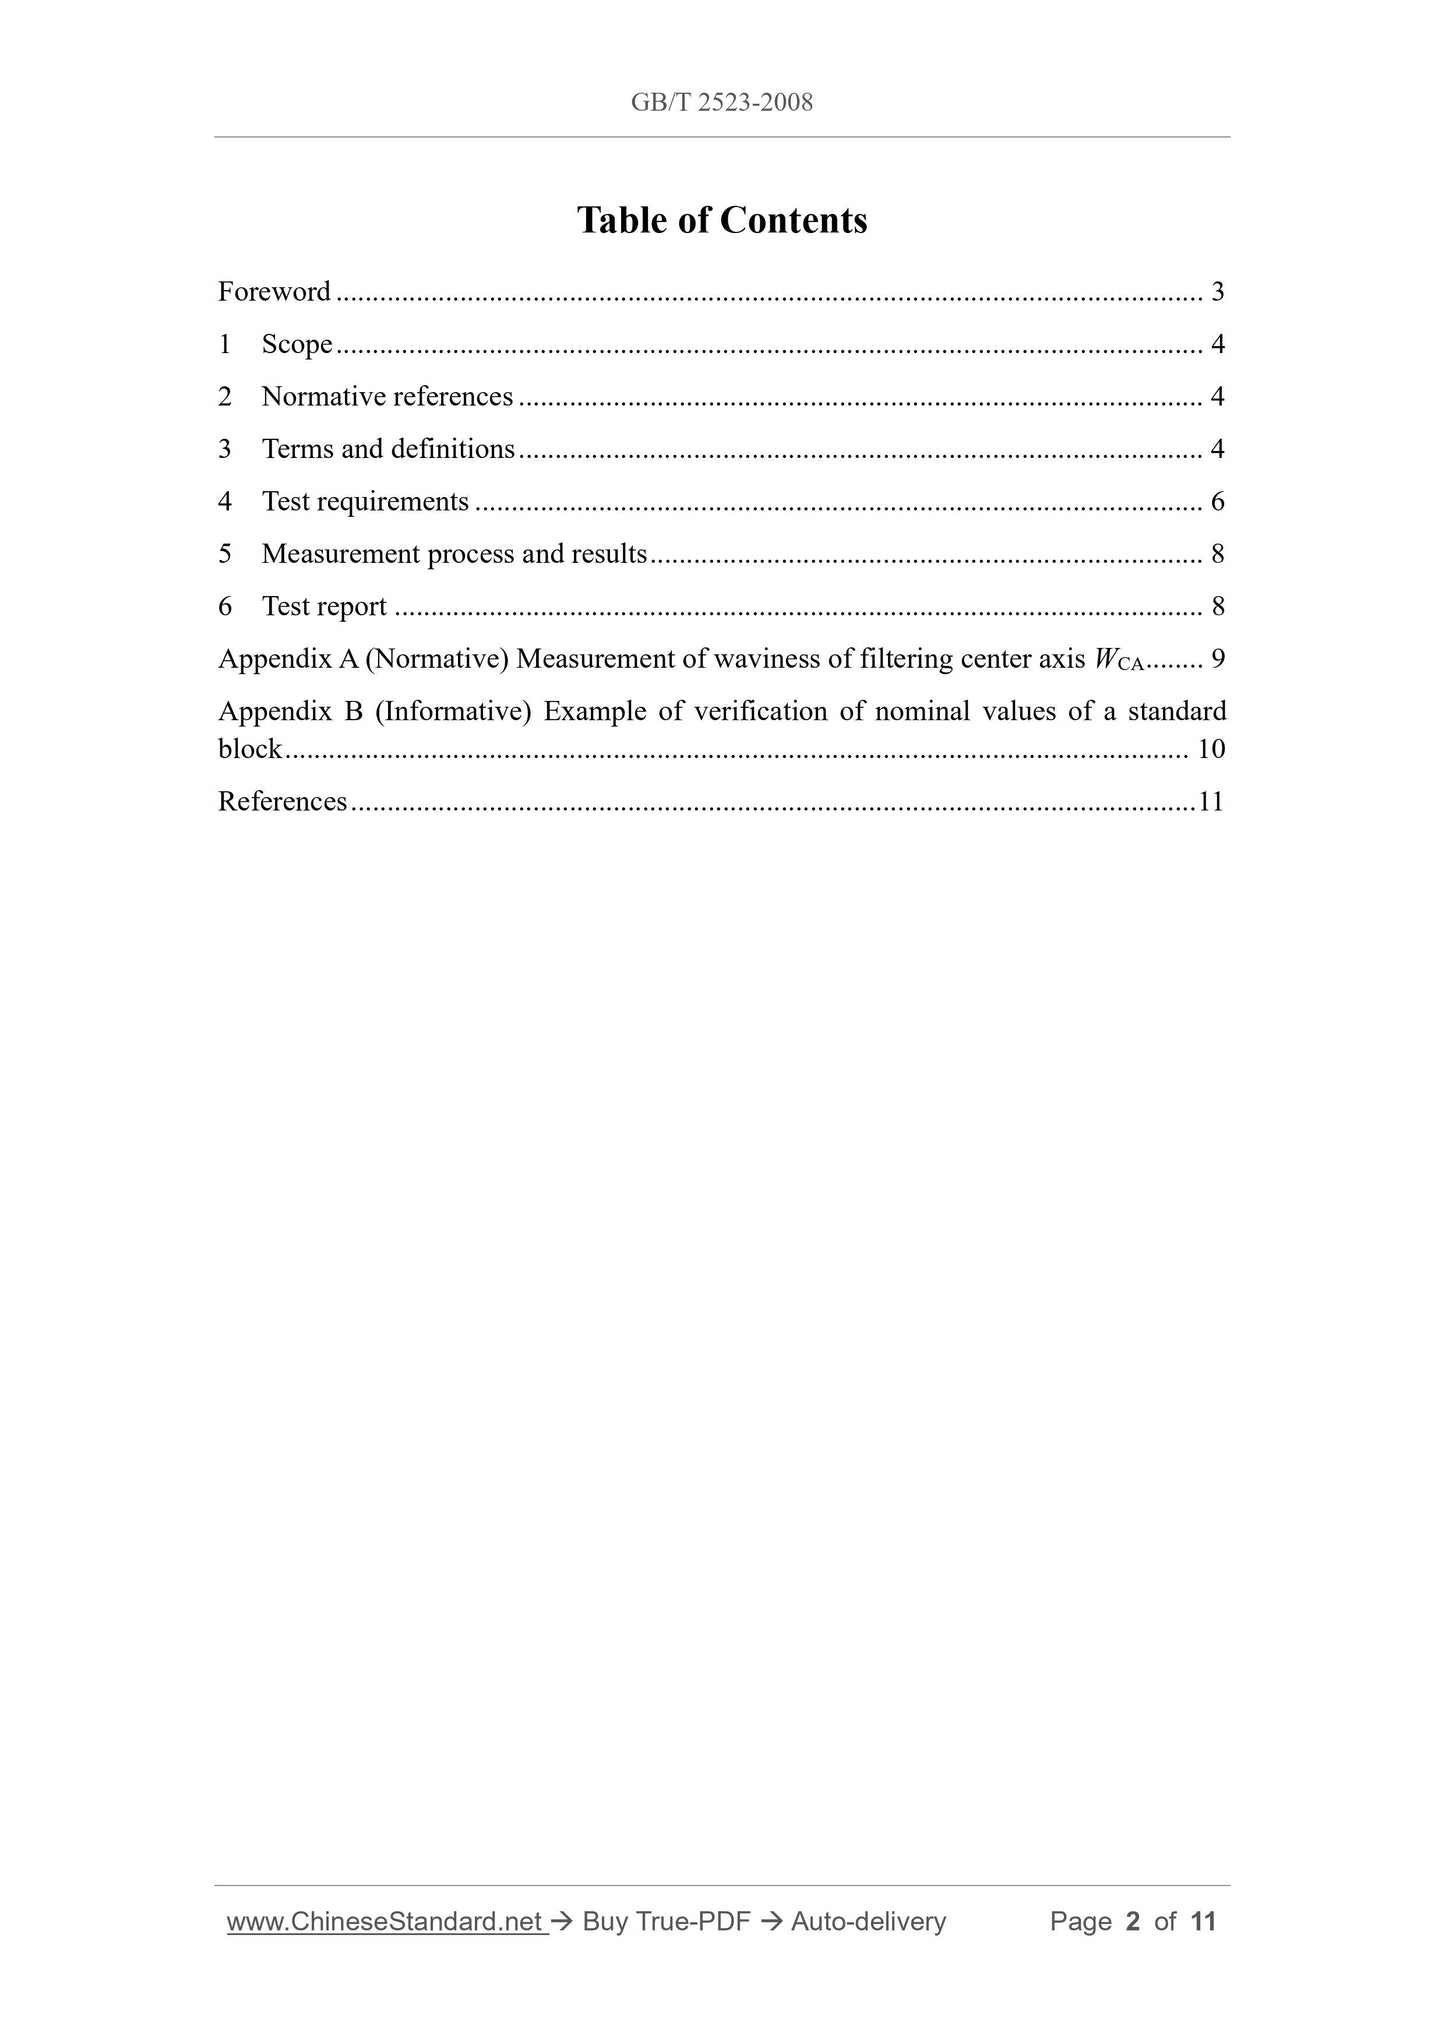
Table of Contents
Foreword... 3
1 Scope... 4
2 Normative references... 4
3 Terms and definitions... 4
4 Test requirements... 6
5 Measurement process and results... 8
6 Test report... 8
Appendix A (Normative) Measurement of waviness of filtering center axis WCA... 9
Appendix B (Informative) Example of verification of nominal values of a standard
block... 10
References... 11
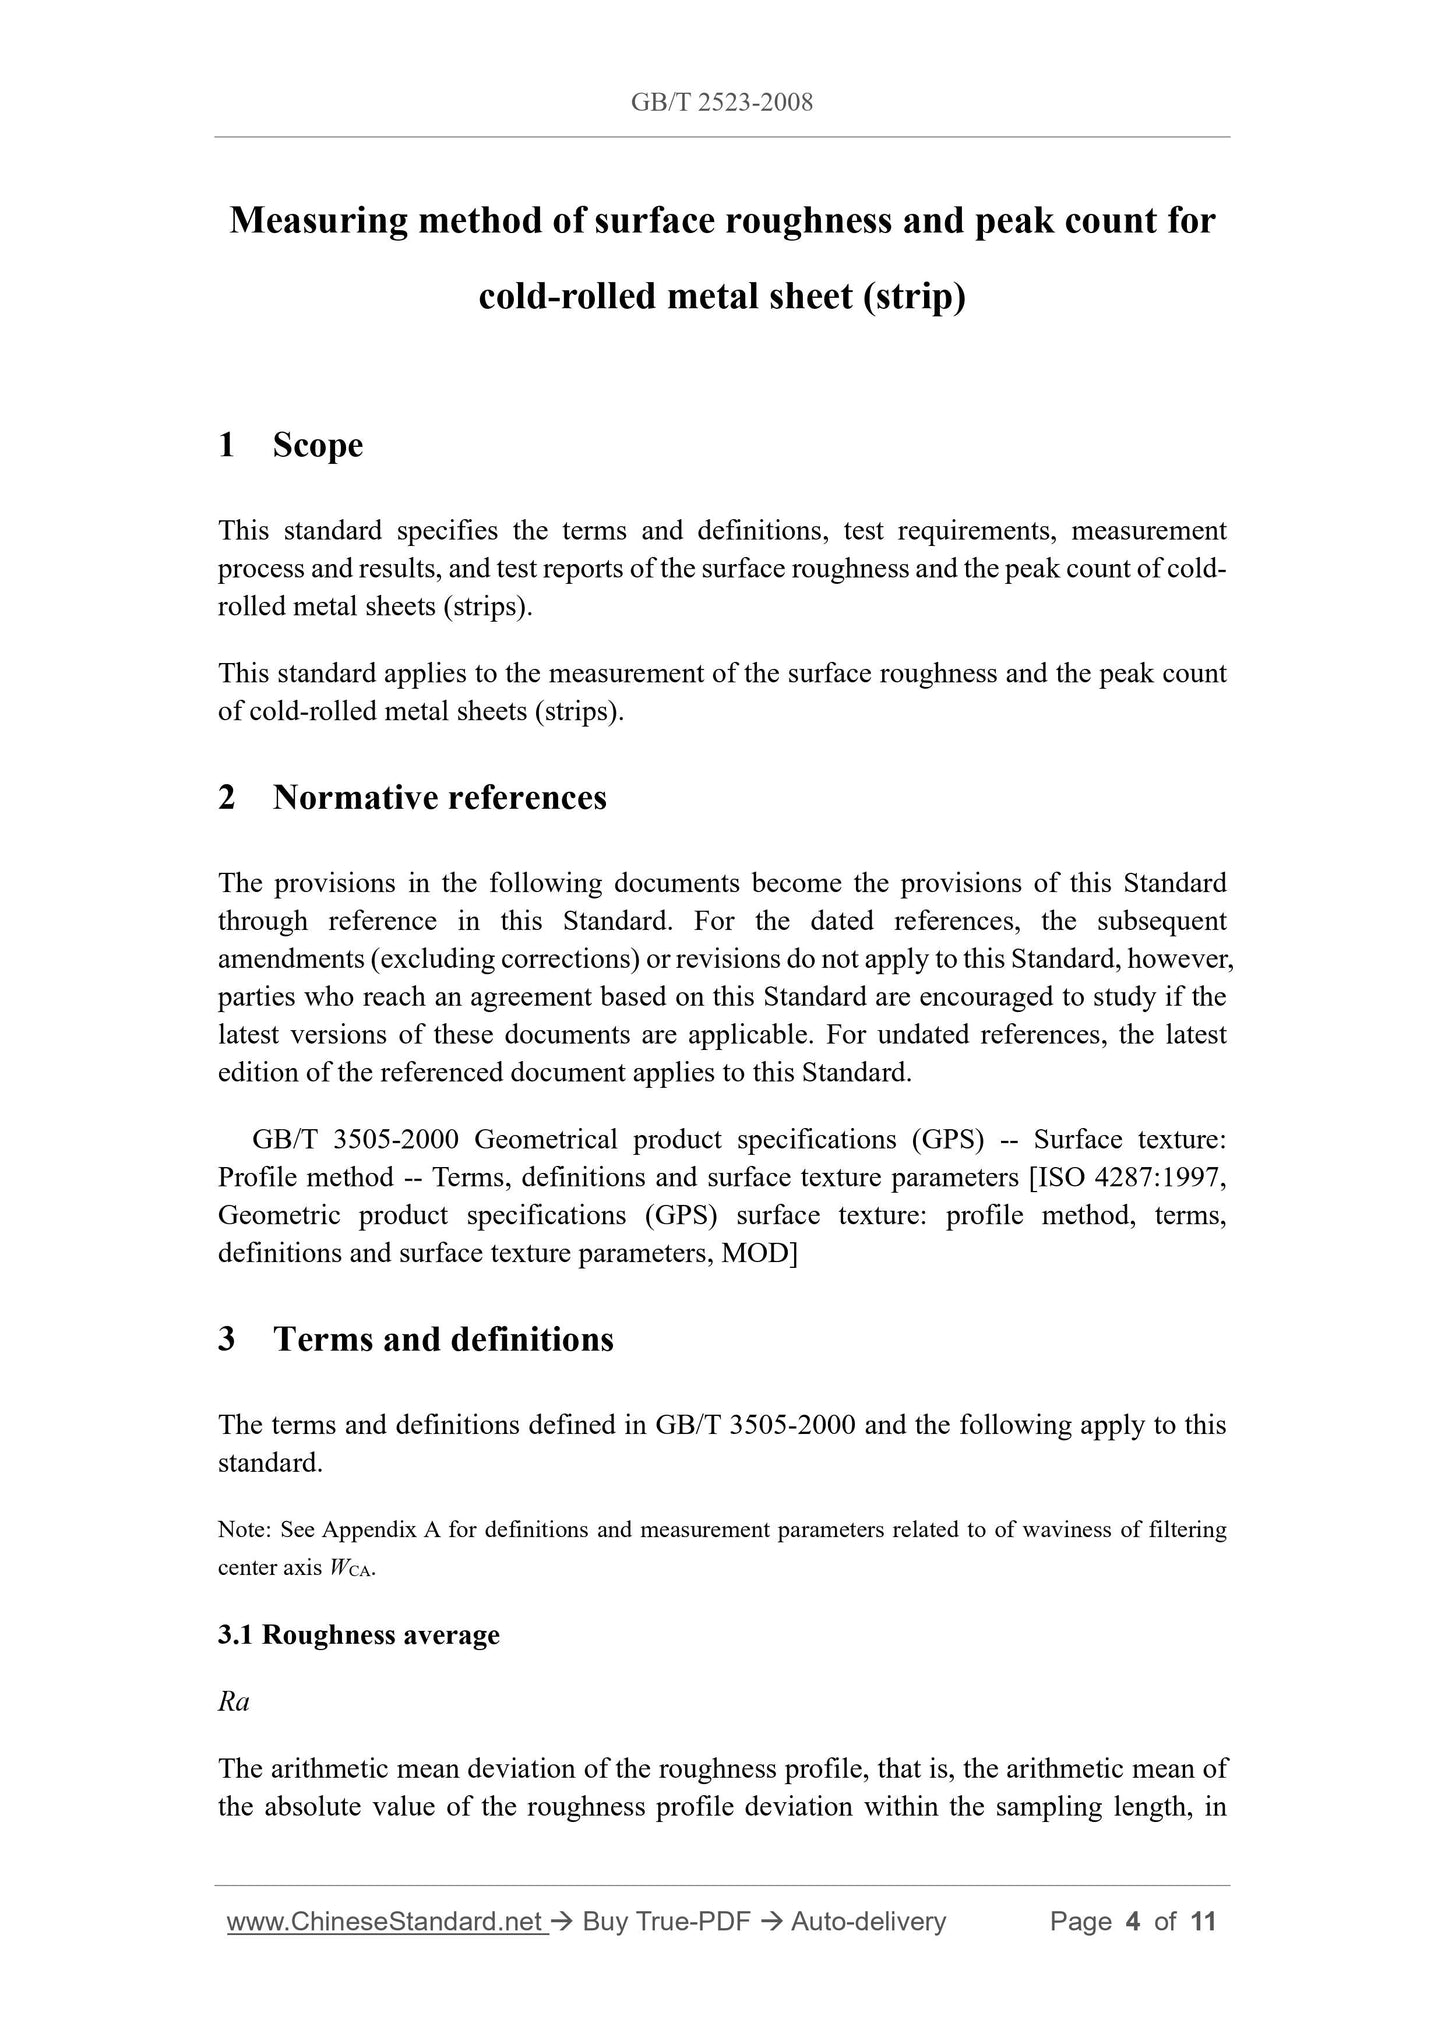
Measuring method of surface roughness and peak count for
cold-rolled metal sheet (strip)
1 Scope
This standard specifies the terms and definitions, test requirements, measurement
process and results, and test reports of the surface roughness and the peak count of cold-
rolled metal sheets (strips).
This standard applies to the measurement of the surface roughness and the peak count
of cold-rolled metal sheets (strips).
2 Normative references
The provisions in the following documents become the provisions of this Standard
through reference in this Standard. For the dated references, the subsequent
amendments (excluding corrections) or revisions do not apply to this Standard, however,
parties who reach an agreement based on this Standard are encouraged to study if the
latest versions of these documents are applicable. For undated references, the latest
edition of the referenced document applies to this Standard.
GB/T 3505-2000 Geometrical product specifications (GPS) -- Surface texture.
Profile method -- Terms, definitions and surface texture parameters [ISO 4287.1997,
Geometric product specifications (GPS) surface texture. profile method, terms,
definitions and surface texture parameters, MOD]
3 Terms and definitions
The terms and definitions defined in GB/T 3505-2000 and the following apply to this
standard.
Note. See Appendix A for definitions and measurement parameters related to of waviness of filtering
center axis WCA.
3.1 Roughness average
Ra
The arithmetic mean deviation of the roughness profile, that is, the arithmetic mean of
the absolute value of the roughness profile deviation within the sampling length, in
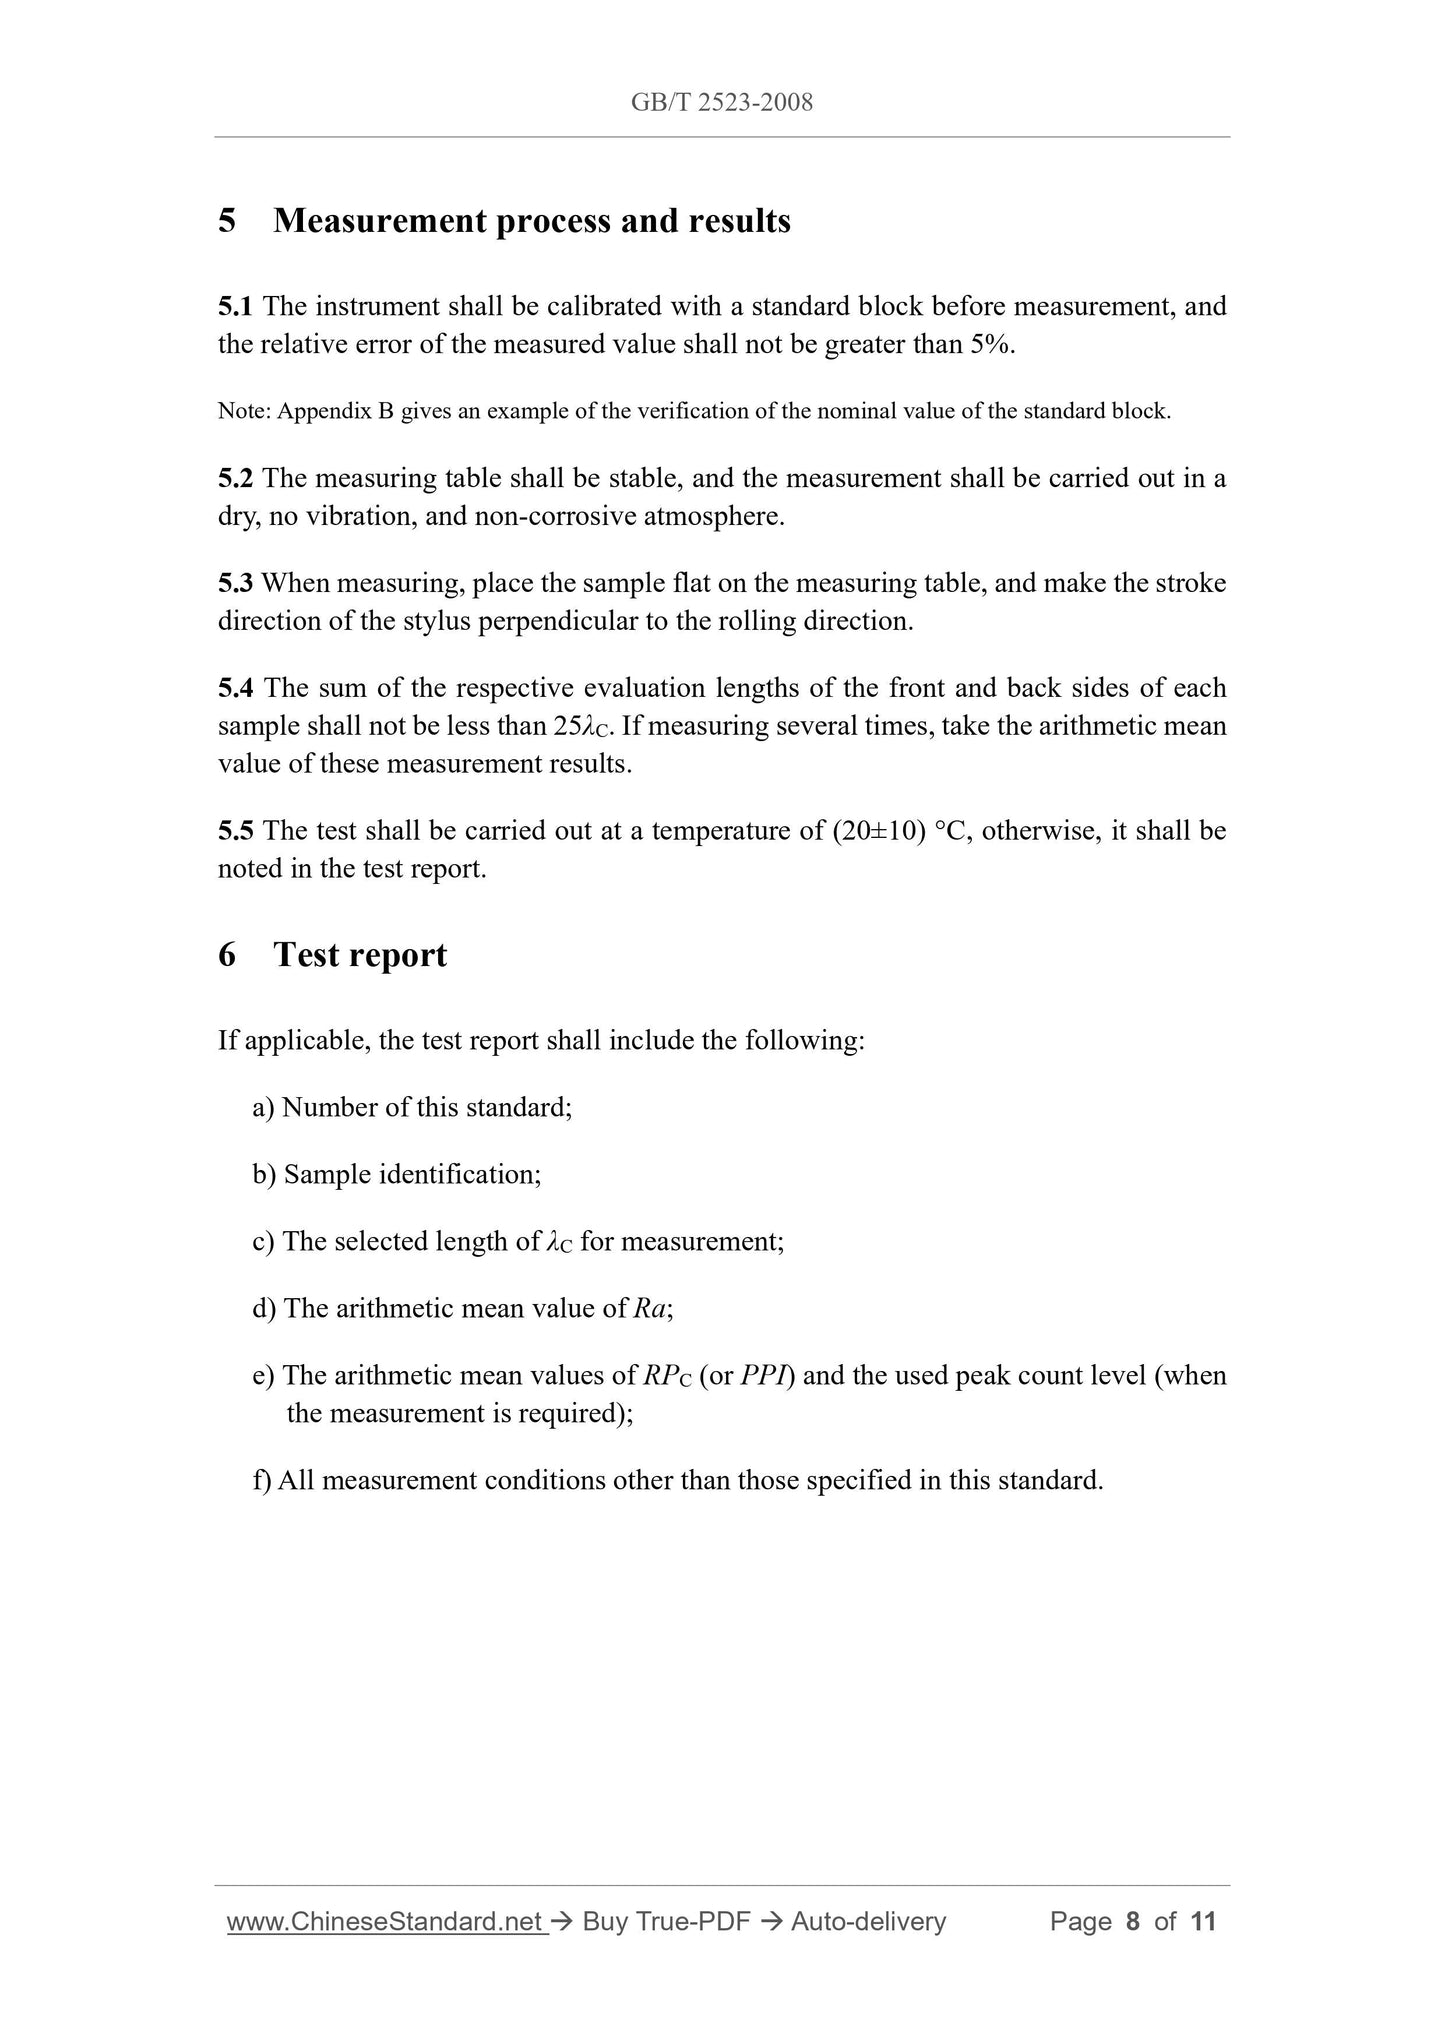
5 Measurement process and results
5.1 The instrument shall be calibrated with a standard block before measurement, and
the relative error of the measured value shall not be greater than 5%.
Note. Appendix B gives an example of the verification of the nominal value of the standard block.
5.2 The measuring table shall be stable, and the measurement shall be carried out in a
dry, no vibration, and non-corrosive atmosphere.
5.3 When measuring, place the sample flat on the measuring table, and make the stroke
direction of the stylus perpendicular to the rolling direction.
5.4 The sum of the respective evaluation lengths of the front and back sides of each
sample shall not be less than 25λC. If measuring several times, take the arithmetic mean
value of these measurement results.
5.5 The test shall be carried out at a temperature of (20±10) °C, otherwise, it shall be
noted in the test report.
6 Test report
If applicable, the test report shall include the following.
a) Number of this standard;
b) Sample identification;
c) The selected length of λC for measurement;
d) The arithmetic mean value of Ra;
e) The arithmetic mean values of RPC (or PPI) and the used peak count level (when
the measurement is required);
f) All measurement conditions other than those specified in this standard.
Appendix A
(Normative)
Measurement of waviness of filtering center axis WCA
This appendix gives the definitions and measurement parameters related to the
waviness of filtering center axis WCA.
Note. Some users of cold-rolled automotive sheets require the measurement of this indicator.
A.1 Terms and definitions
A.1.1 Curve of filtering wave
The curve obtained by suppressing the short-wave part of the original profile.
A.1.2 Waviness curve of filtering center axis
The curve obtained by suppressing the long-wave part of the filtering wave curve.
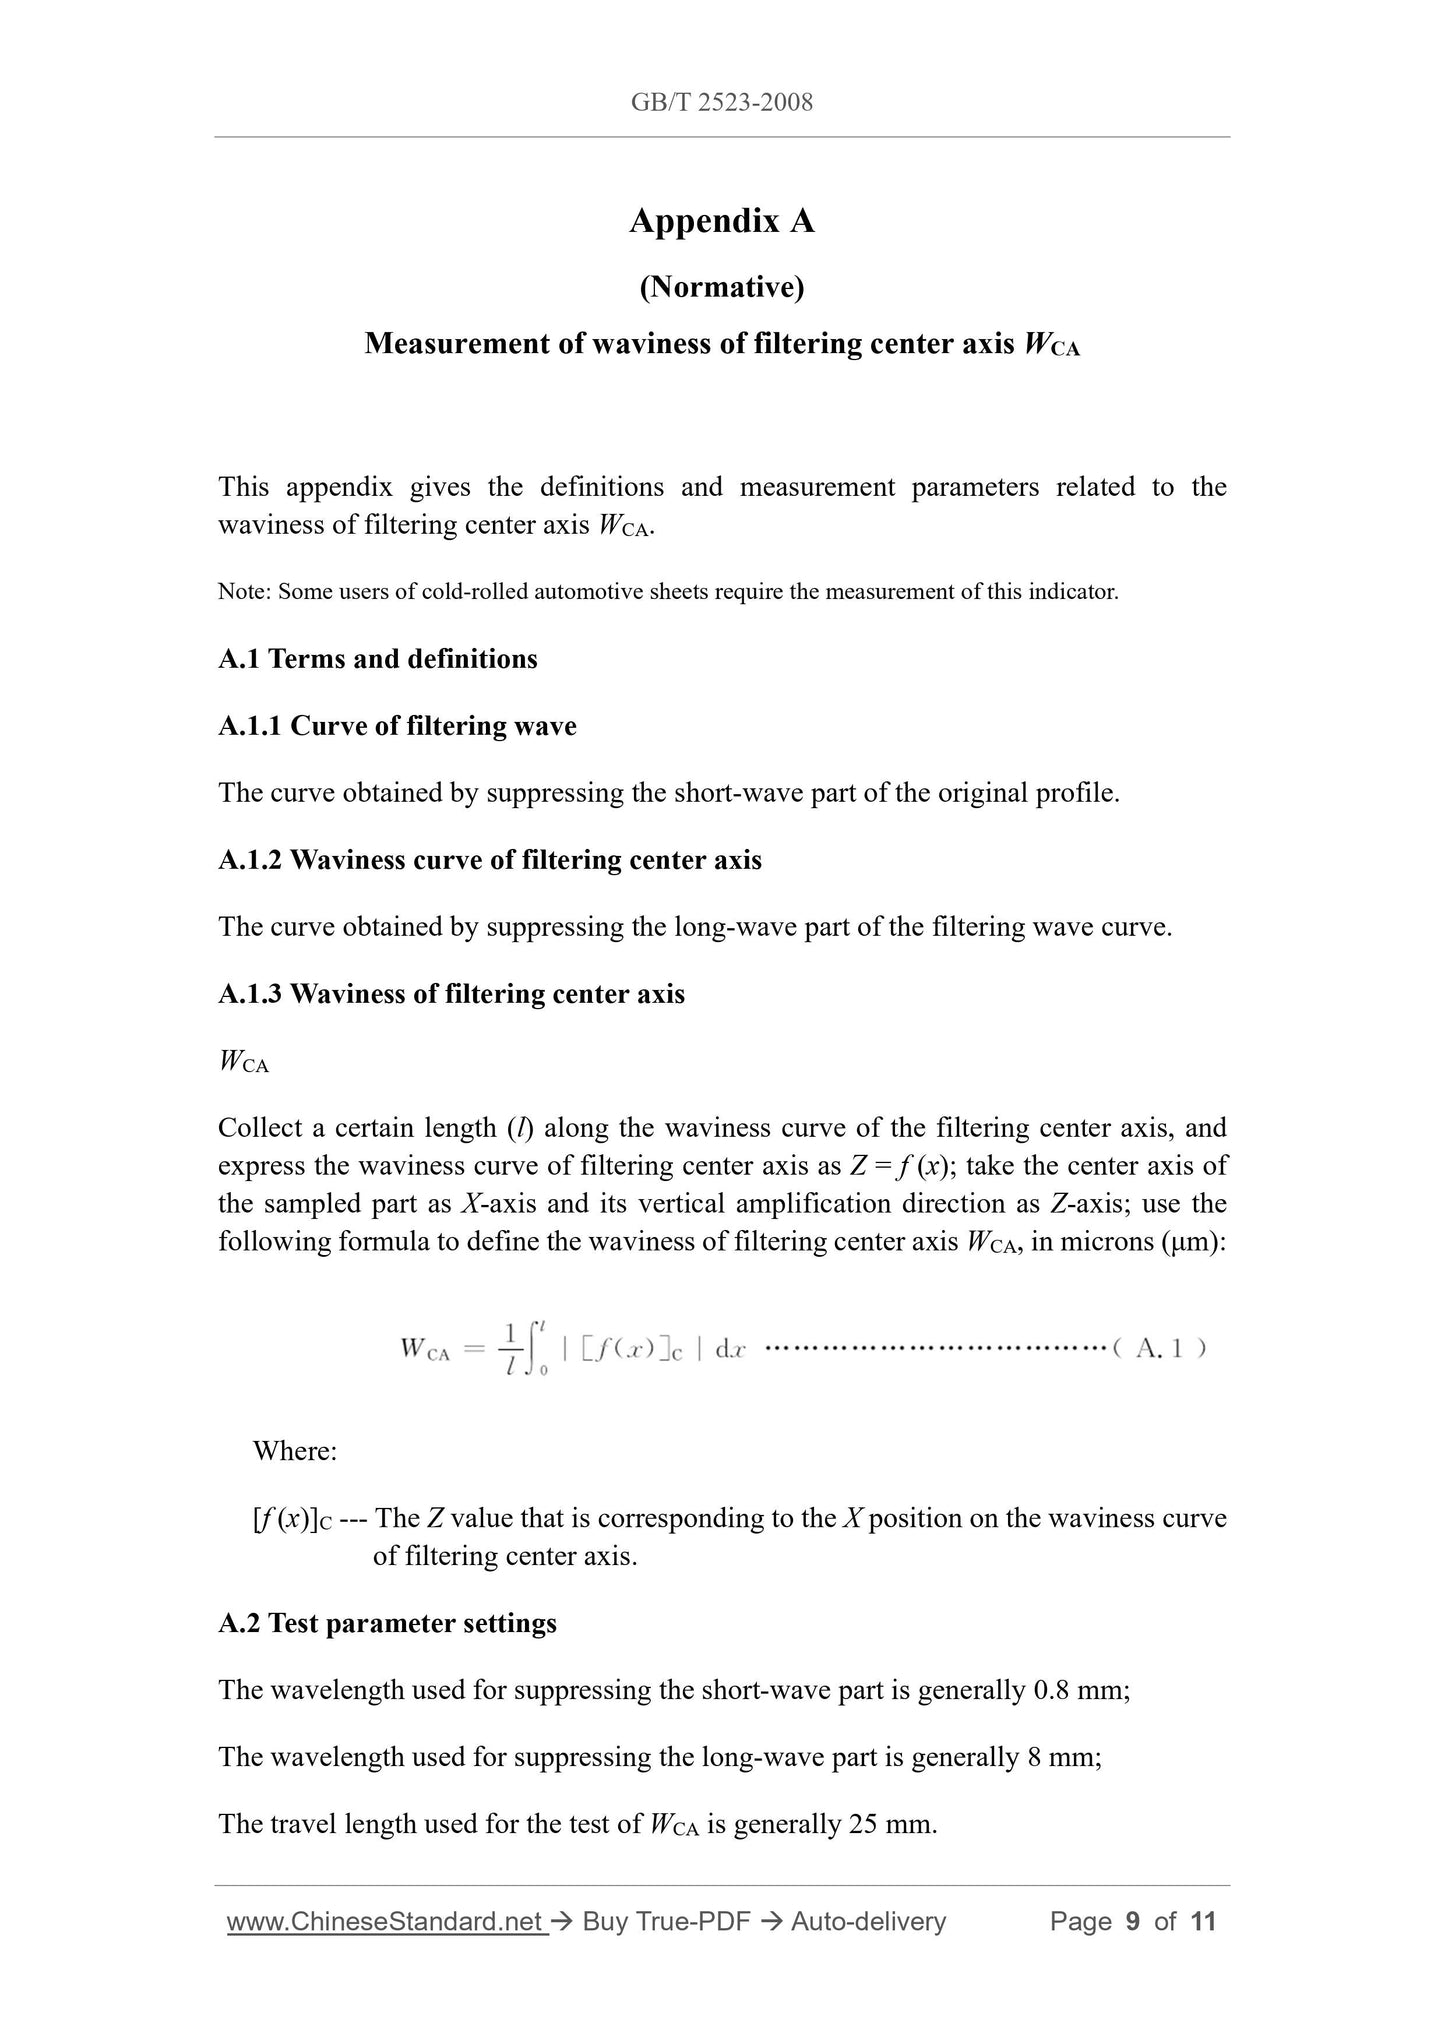
A.1.3 Waviness of filtering center axis
WCA
Collect a certain length (l) along the waviness curve of the filtering center axis, and
express the waviness curve of filtering center axis as Z = f (x); take the center axis of
the sampled part as X-axis and its vertical amplification direction as Z-axis; use the
following formula to define the waviness of filtering center axis WCA, in microns (μm).
Where.
[f (x)]C --- The Z value that is corresponding to the X position on the waviness curve
of filtering center axis.
A.2 Test parameter settings
The wavelength used for suppressing the short-wave part is generally 0.8 mm;
The wavelength used for suppressing the long-wave part is generally 8 mm;
The travel length used for the test of WCA is generally 25 mm.
Share