Skip to product information
1 of 7

www.ChineseStandard.us -- Field Test Asia Pte. Ltd.

GB/T 24608-2023 English PDF (GB/T24608-2023)

GB/T 24608-2023 English PDF (GB/T24608-2023)

Regular price $275.00
Regular price Sale price $275.00
Sale Sold out
Shipping calculated at checkout.
GB/T 24608-2023: Inspection rules for rolling bearings and commercial parts
Delivery: 9 seconds. Download (and Email) true-PDF + Invoice.
Get Quotation: Click GB/T 24608-2023 (Self-service in 1-minute)
Newer / historical versions: GB/T 24608-2023
Preview True-PDF (Reload/Scroll-down if blank)


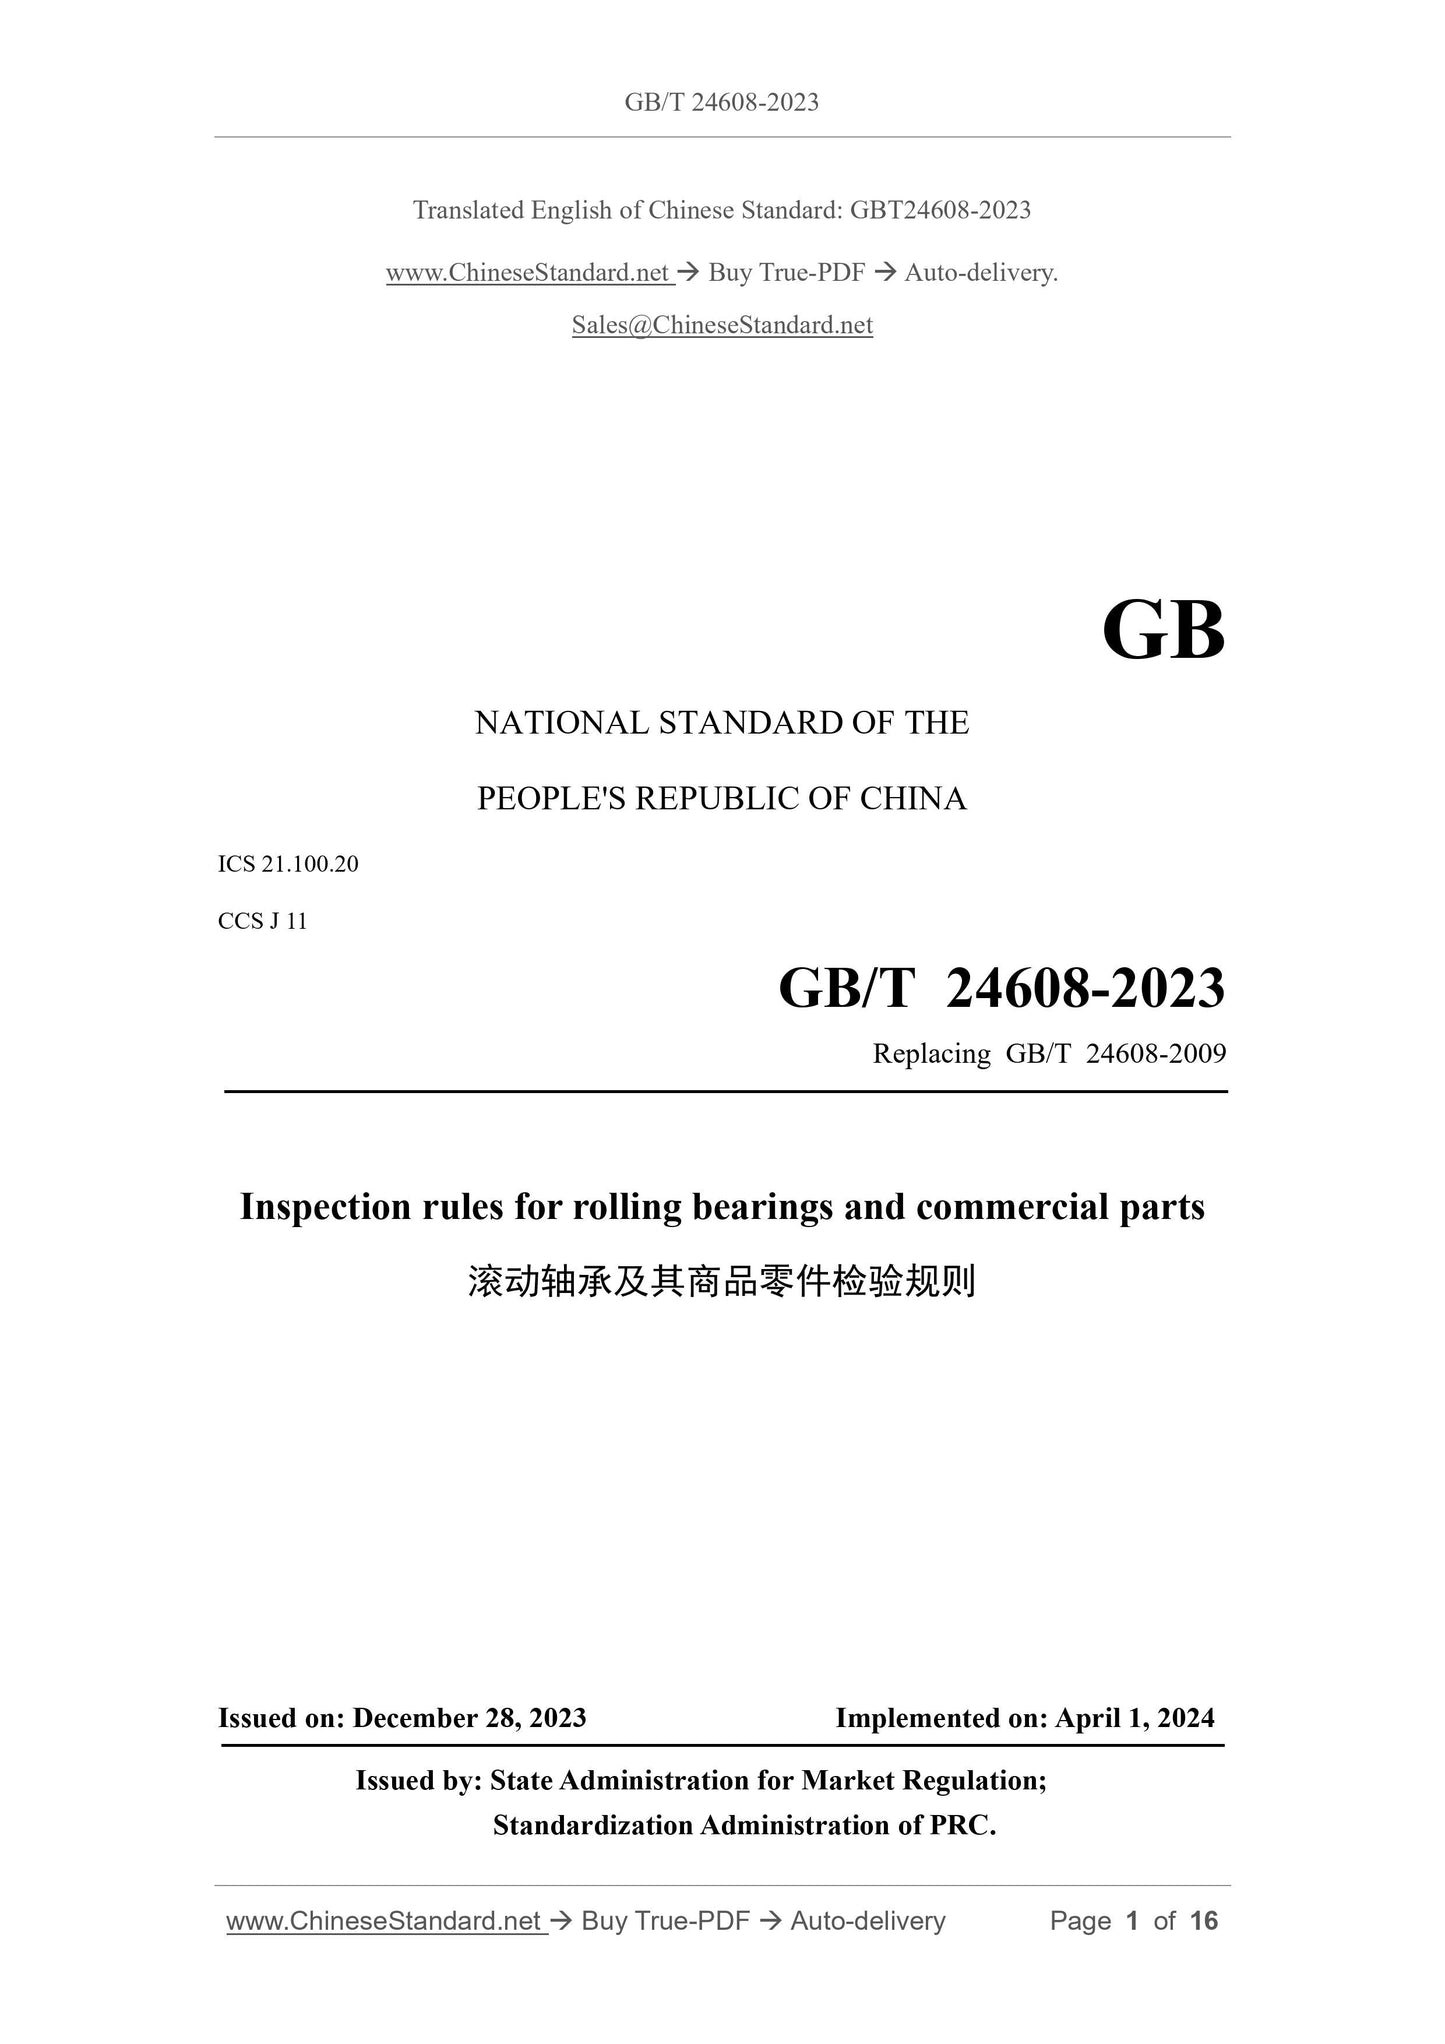
GB/T 24608-2023
GB
NATIONAL STANDARD OF THE
PEOPLE'S REPUBLIC OF CHINA
ICS 21.100.20
CCS J 11
Replacing GB/T 24608-2009
Inspection rules for rolling bearings and commercial parts
ISSUED ON. DECEMBER 28, 2023
IMPLEMENTED ON. APRIL 1, 2024
Issued by. State Administration for Market Regulation;
Standardization Administration of PRC.
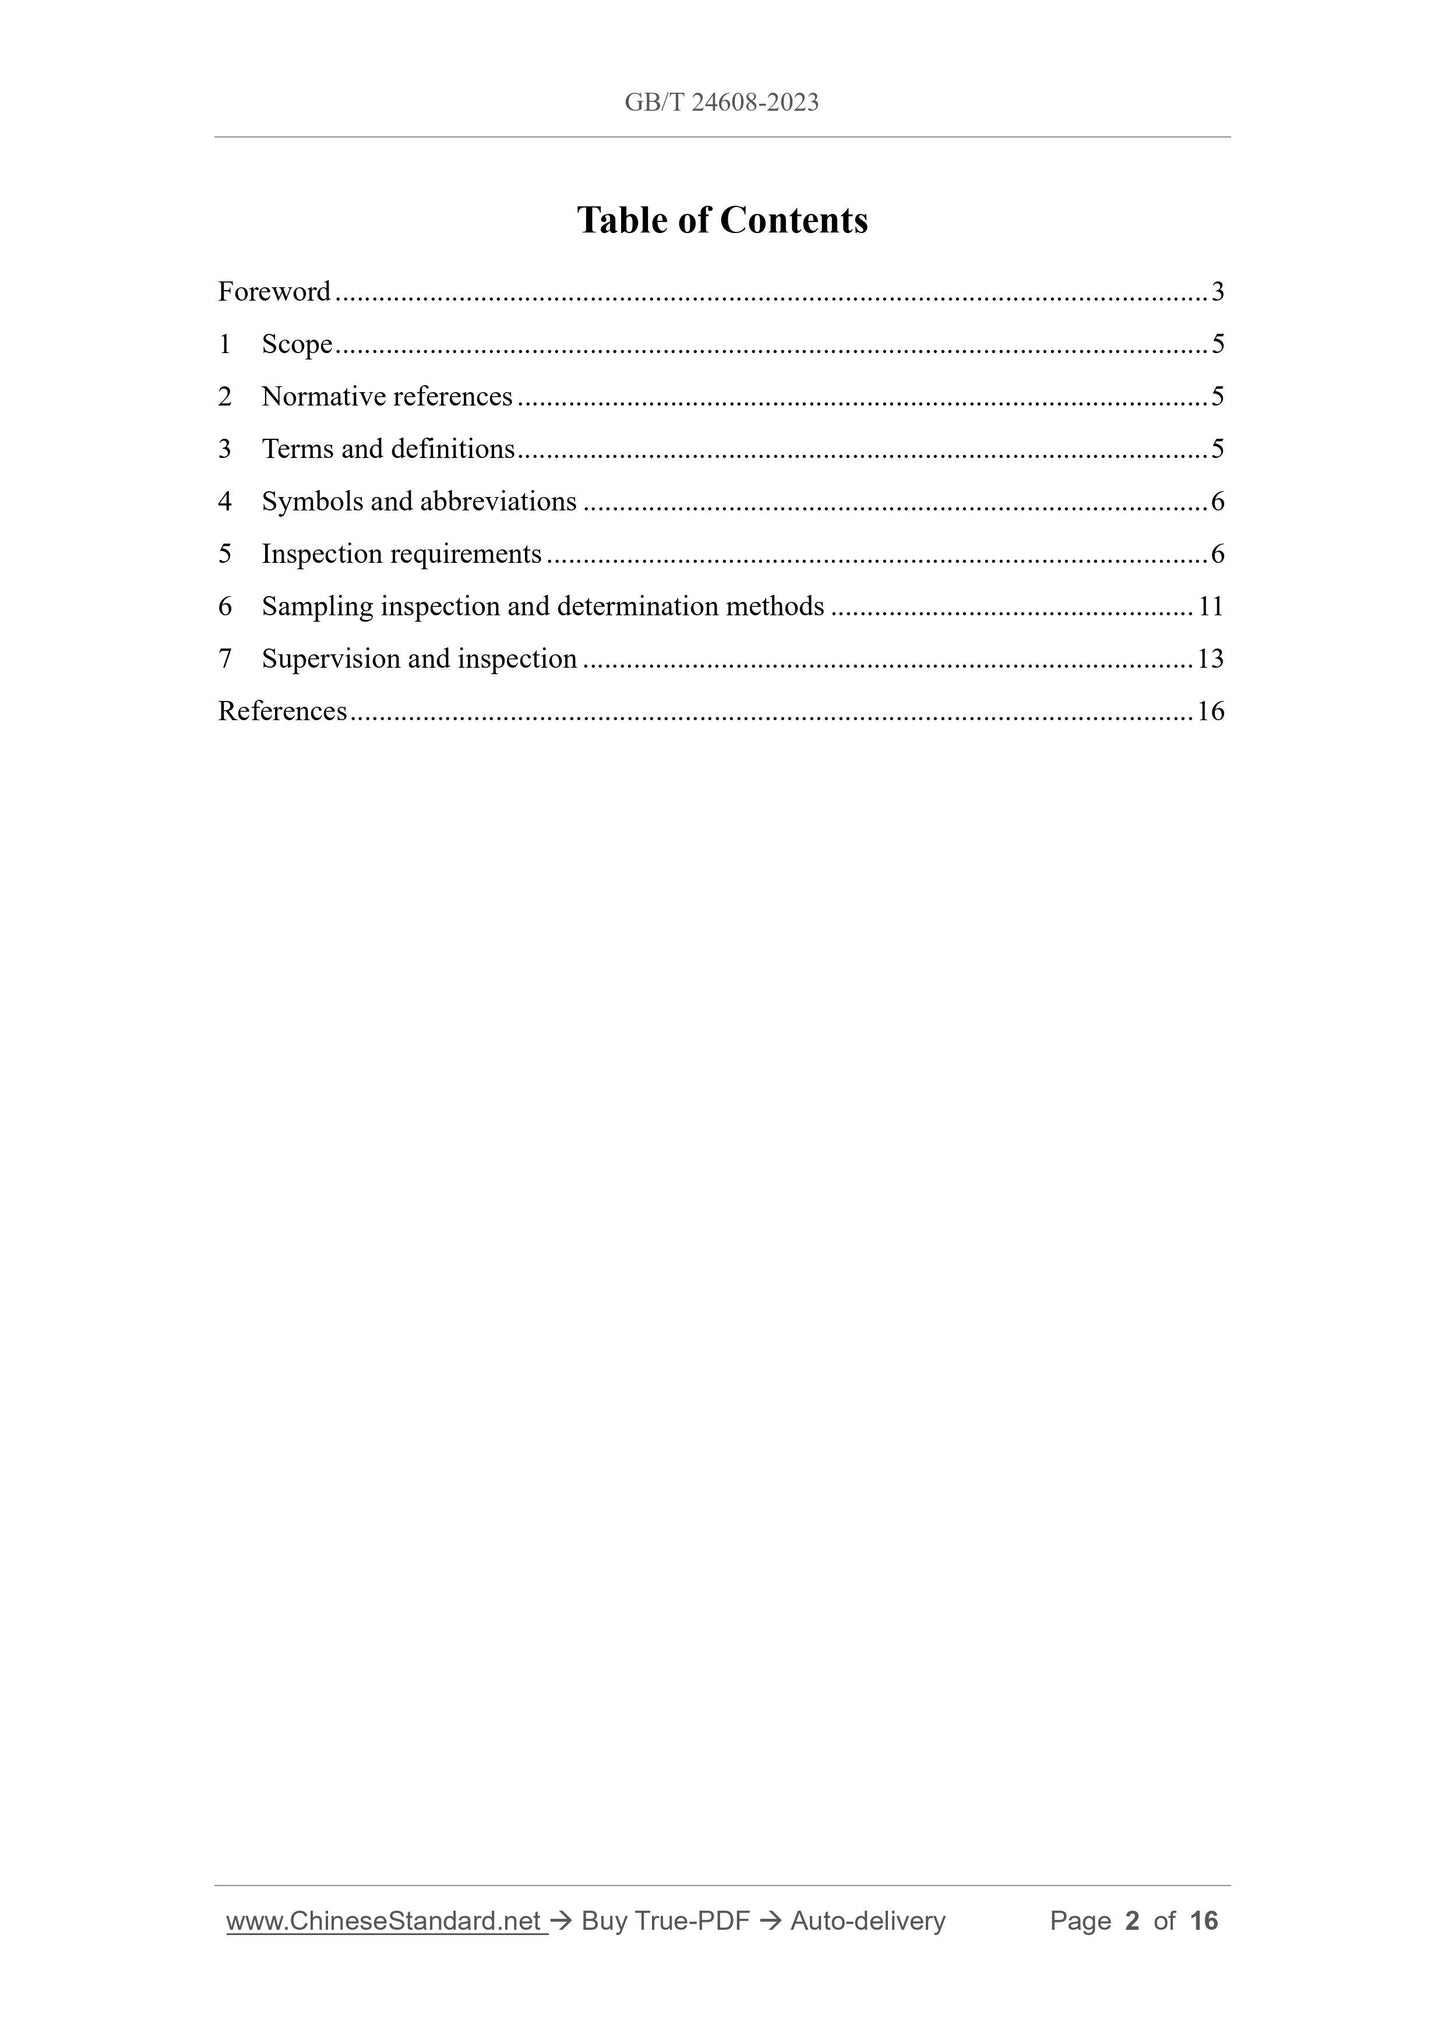
Table of Contents
Foreword... 3
1 Scope... 5
2 Normative references... 5
3 Terms and definitions... 5
4 Symbols and abbreviations... 6
5 Inspection requirements... 6
6 Sampling inspection and determination methods... 11
7 Supervision and inspection... 13
References... 16
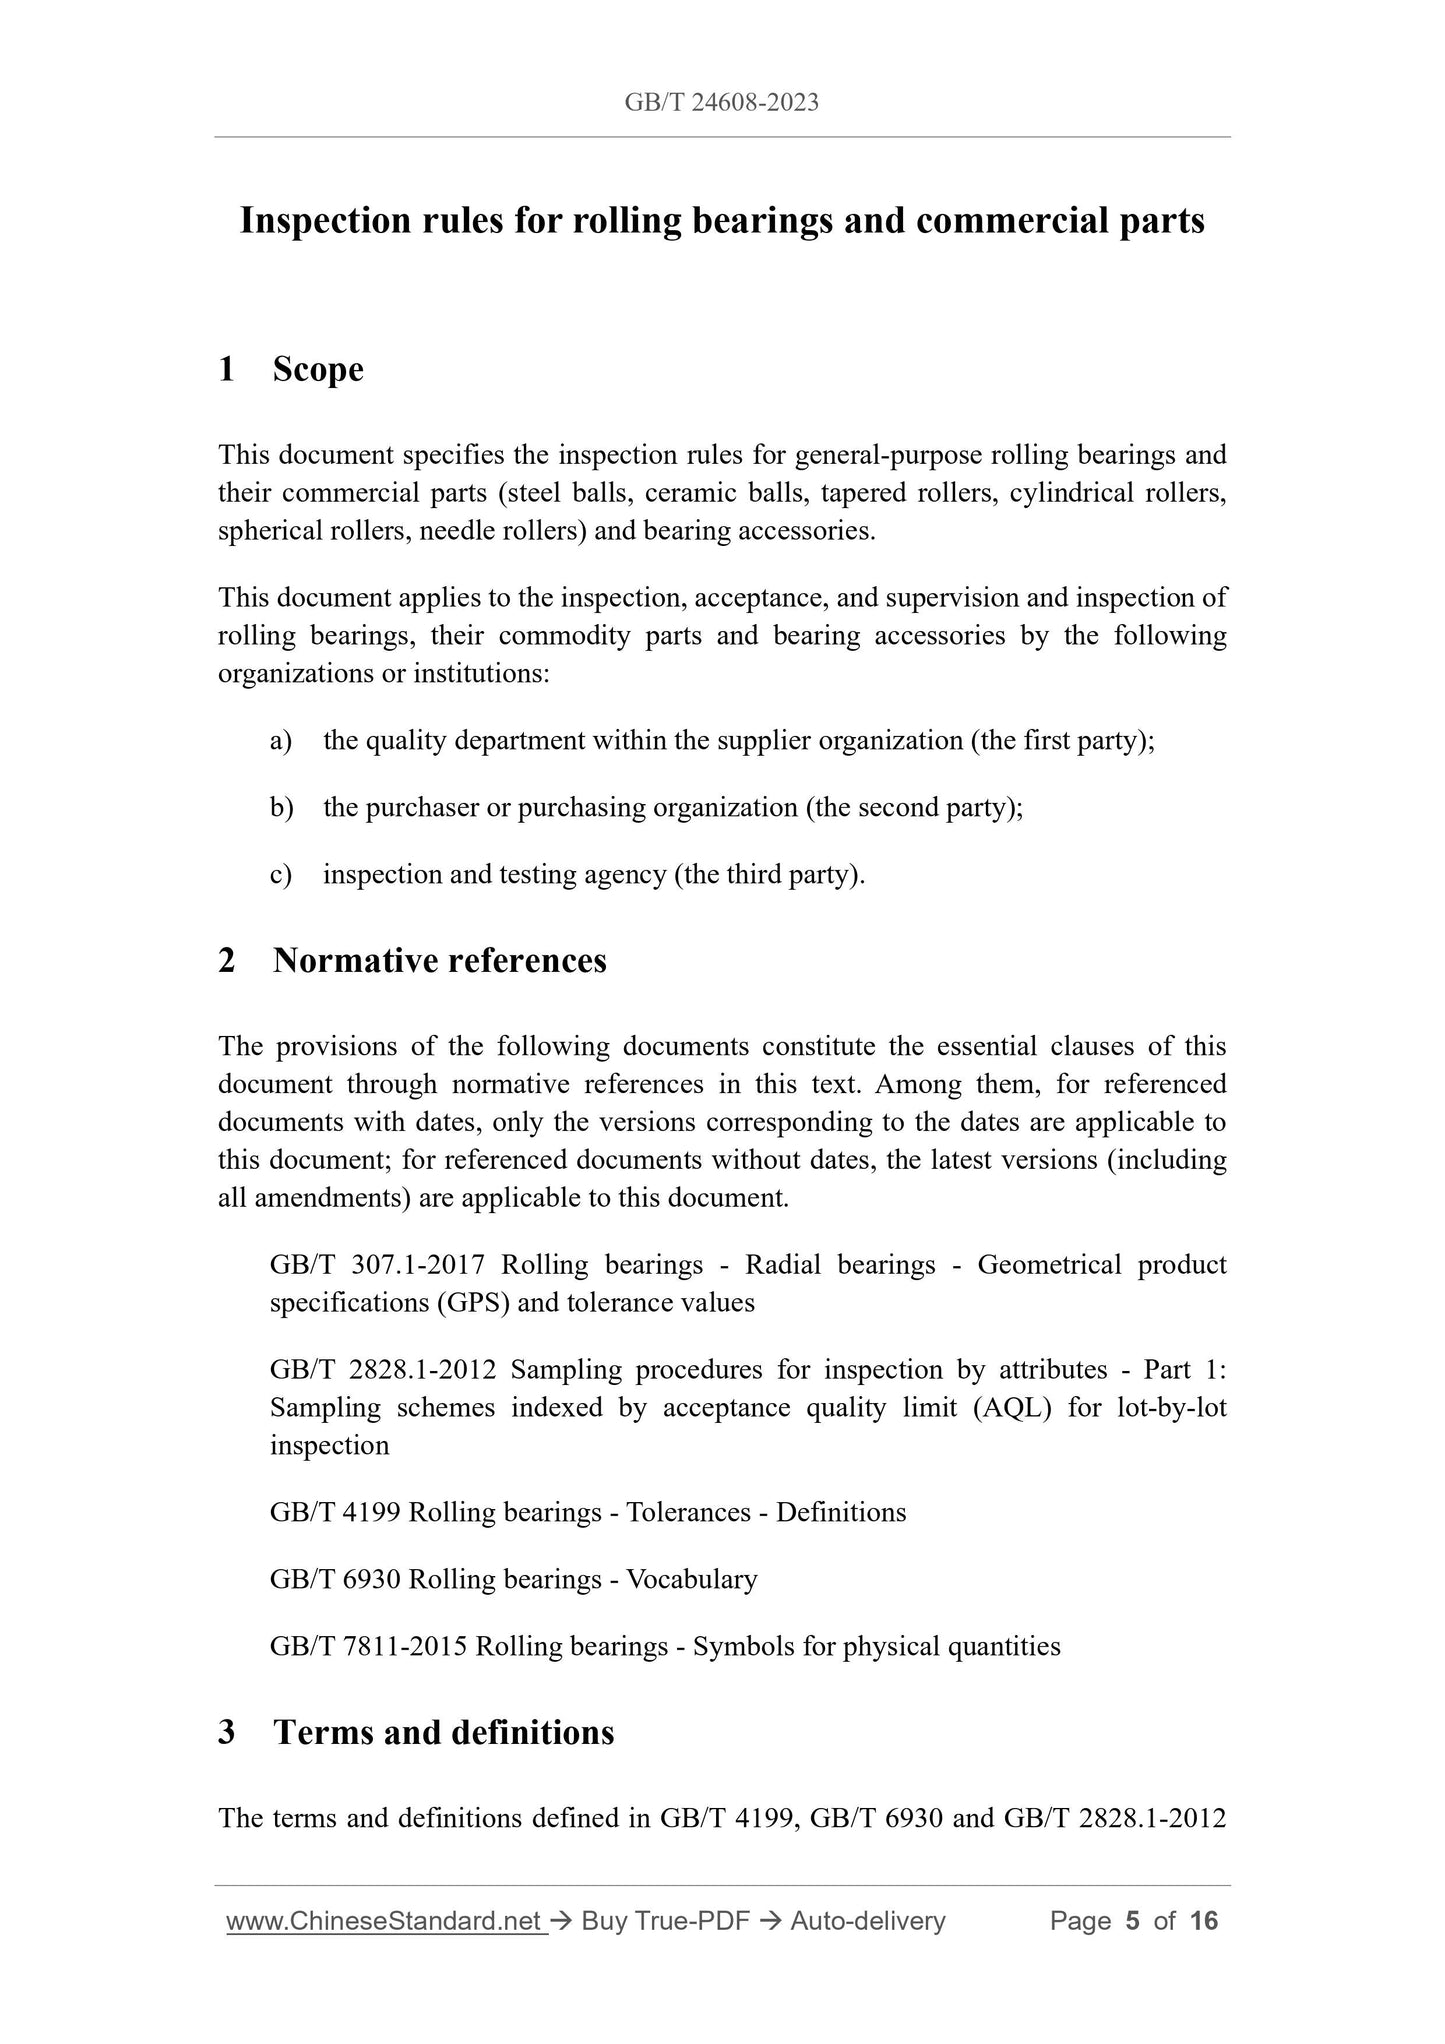
Inspection rules for rolling bearings and commercial parts
1 Scope
This document specifies the inspection rules for general-purpose rolling bearings and
their commercial parts (steel balls, ceramic balls, tapered rollers, cylindrical rollers,
spherical rollers, needle rollers) and bearing accessories.
This document applies to the inspection, acceptance, and supervision and inspection of
rolling bearings, their commodity parts and bearing accessories by the following
organizations or institutions.
a) the quality department within the supplier organization (the first party);
b) the purchaser or purchasing organization (the second party);
c) inspection and testing agency (the third party).
2 Normative references
The provisions of the following documents constitute the essential clauses of this
document through normative references in this text. Among them, for referenced
documents with dates, only the versions corresponding to the dates are applicable to
this document; for referenced documents without dates, the latest versions (including
all amendments) are applicable to this document.
GB/T 307.1-2017 Rolling bearings - Radial bearings - Geometrical product
specifications (GPS) and tolerance values
GB/T 2828.1-2012 Sampling procedures for inspection by attributes - Part 1.
Sampling schemes indexed by acceptance quality limit (AQL) for lot-by-lot
inspection
GB/T 4199 Rolling bearings - Tolerances - Definitions
GB/T 6930 Rolling bearings - Vocabulary
GB/T 7811-2015 Rolling bearings - Symbols for physical quantities
3 Terms and definitions
The terms and definitions defined in GB/T 4199, GB/T 6930 and GB/T 2828.1-2012
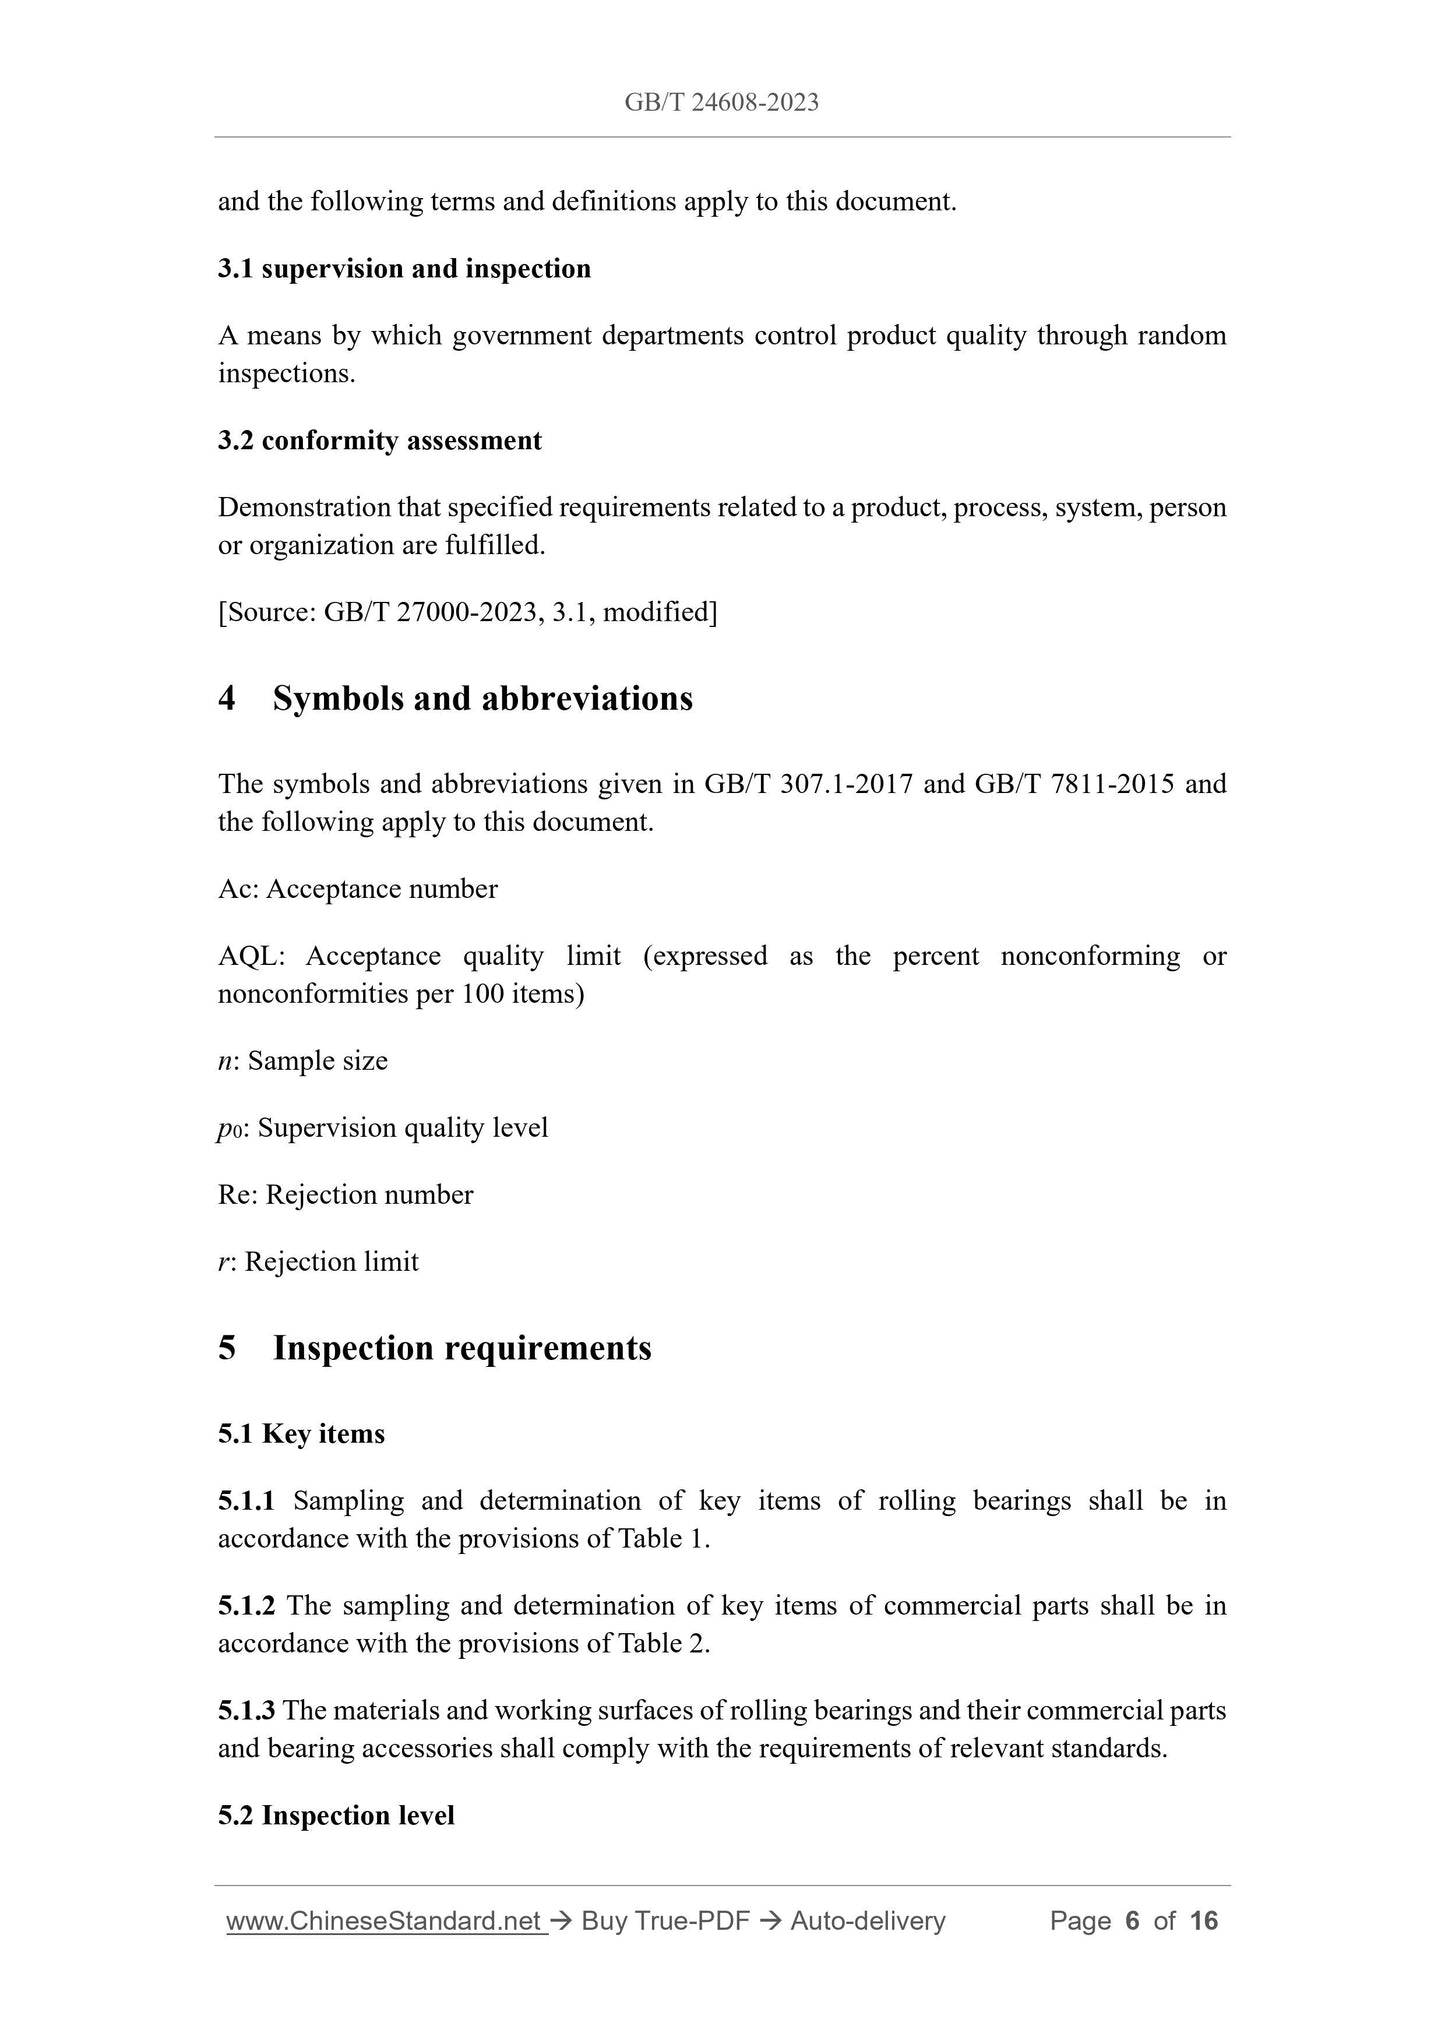
and the following terms and definitions apply to this document.
3.1 supervision and inspection
A means by which government departments control product quality through random
inspections.
3.2 conformity assessment
Demonstration that specified requirements related to a product, process, system, person
or organization are fulfilled.
[Source. GB/T 27000-2023, 3.1, modified]
4 Symbols and abbreviations
The symbols and abbreviations given in GB/T 307.1-2017 and GB/T 7811-2015 and
the following apply to this document.
Ac. Acceptance number
AQL. Acceptance quality limit (expressed as the percent nonconforming or
nonconformities per 100 items)
n. Sample size
p0.Supervision quality level
Re. Rejection number
r. Rejection limit
5 Inspection requirements
5.1 Key items
5.1.1 Sampling and determination of key items of rolling bearings shall be in
accordance with the provisions of Table 1.
5.1.2 The sampling and determination of key items of commercial parts shall be in
accordance with the provisions of Table 2.
5.1.3 The materials and working surfaces of rolling bearings and their commercial parts
and bearing accessories shall comply with the requirements of relevant standards.
5.2 Inspection level
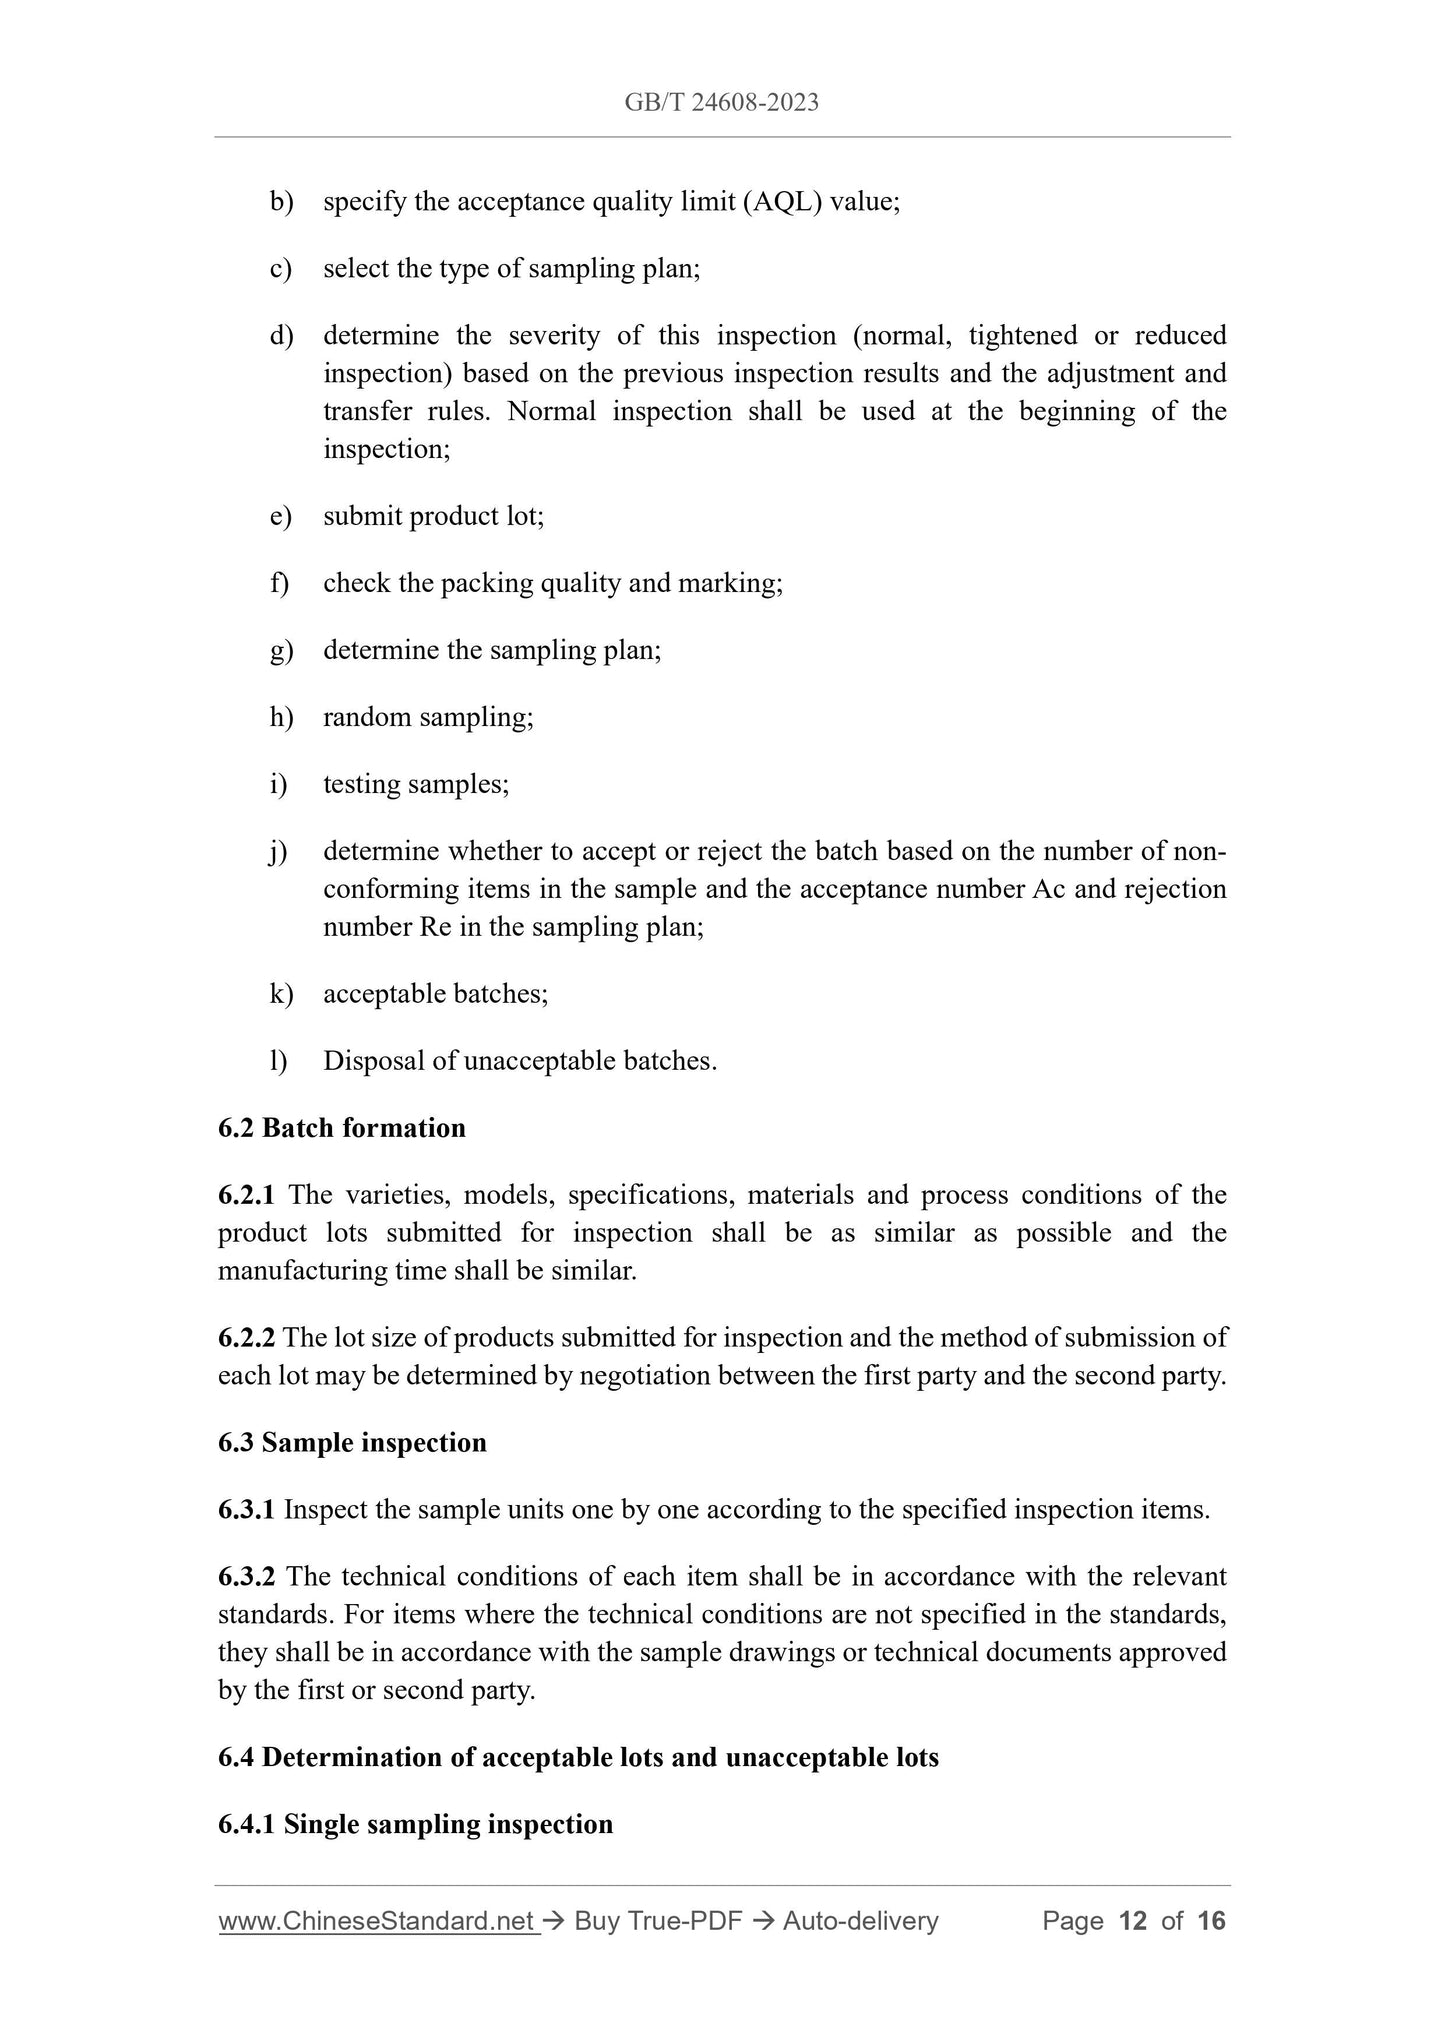
b) specify the acceptance quality limit (AQL) value;
c) select the type of sampling plan;
d) determine the severity of this inspection (normal, tightened or reduced
inspection) based on the previous inspection results and the adjustment and
transfer rules. Normal inspection shall be used at the beginning of the
inspection;
e) submit product lot;
f) check the packing quality and marking;
g) determine the sampling plan;
h) random sampling;
i) testing samples;
j) determine whether to accept or reject the batch based on the number of non-
conforming items in the sample and the acceptance number Ac and rejection
number Re in the sampling plan;
k) acceptable batches;
l) Disposal of unacceptable batches.
6.2 Batch formation
6.2.1 The varieties, models, specifications, materials and process conditions of the
product lots submitted for inspection shall be as similar as possible and the
manufacturing time shall be similar.
6.2.2 The lot size of products submitted for inspection and the method of submission of
each lot may be determined by negotiation between the first party and the second party.
6.3 Sample inspection
6.3.1 Inspect the sample units one by one according to the specified inspection items.
6.3.2 The technical conditions of each item shall be in accordance with the relevant
standards. For items where the technical conditions are not specified in the standards,
they shall be in accordance with the sample drawings or technical documents approved
by the first or second party.
6.4 Determination of acceptable lots and unacceptable lots
6.4.1 Single sampling inspection
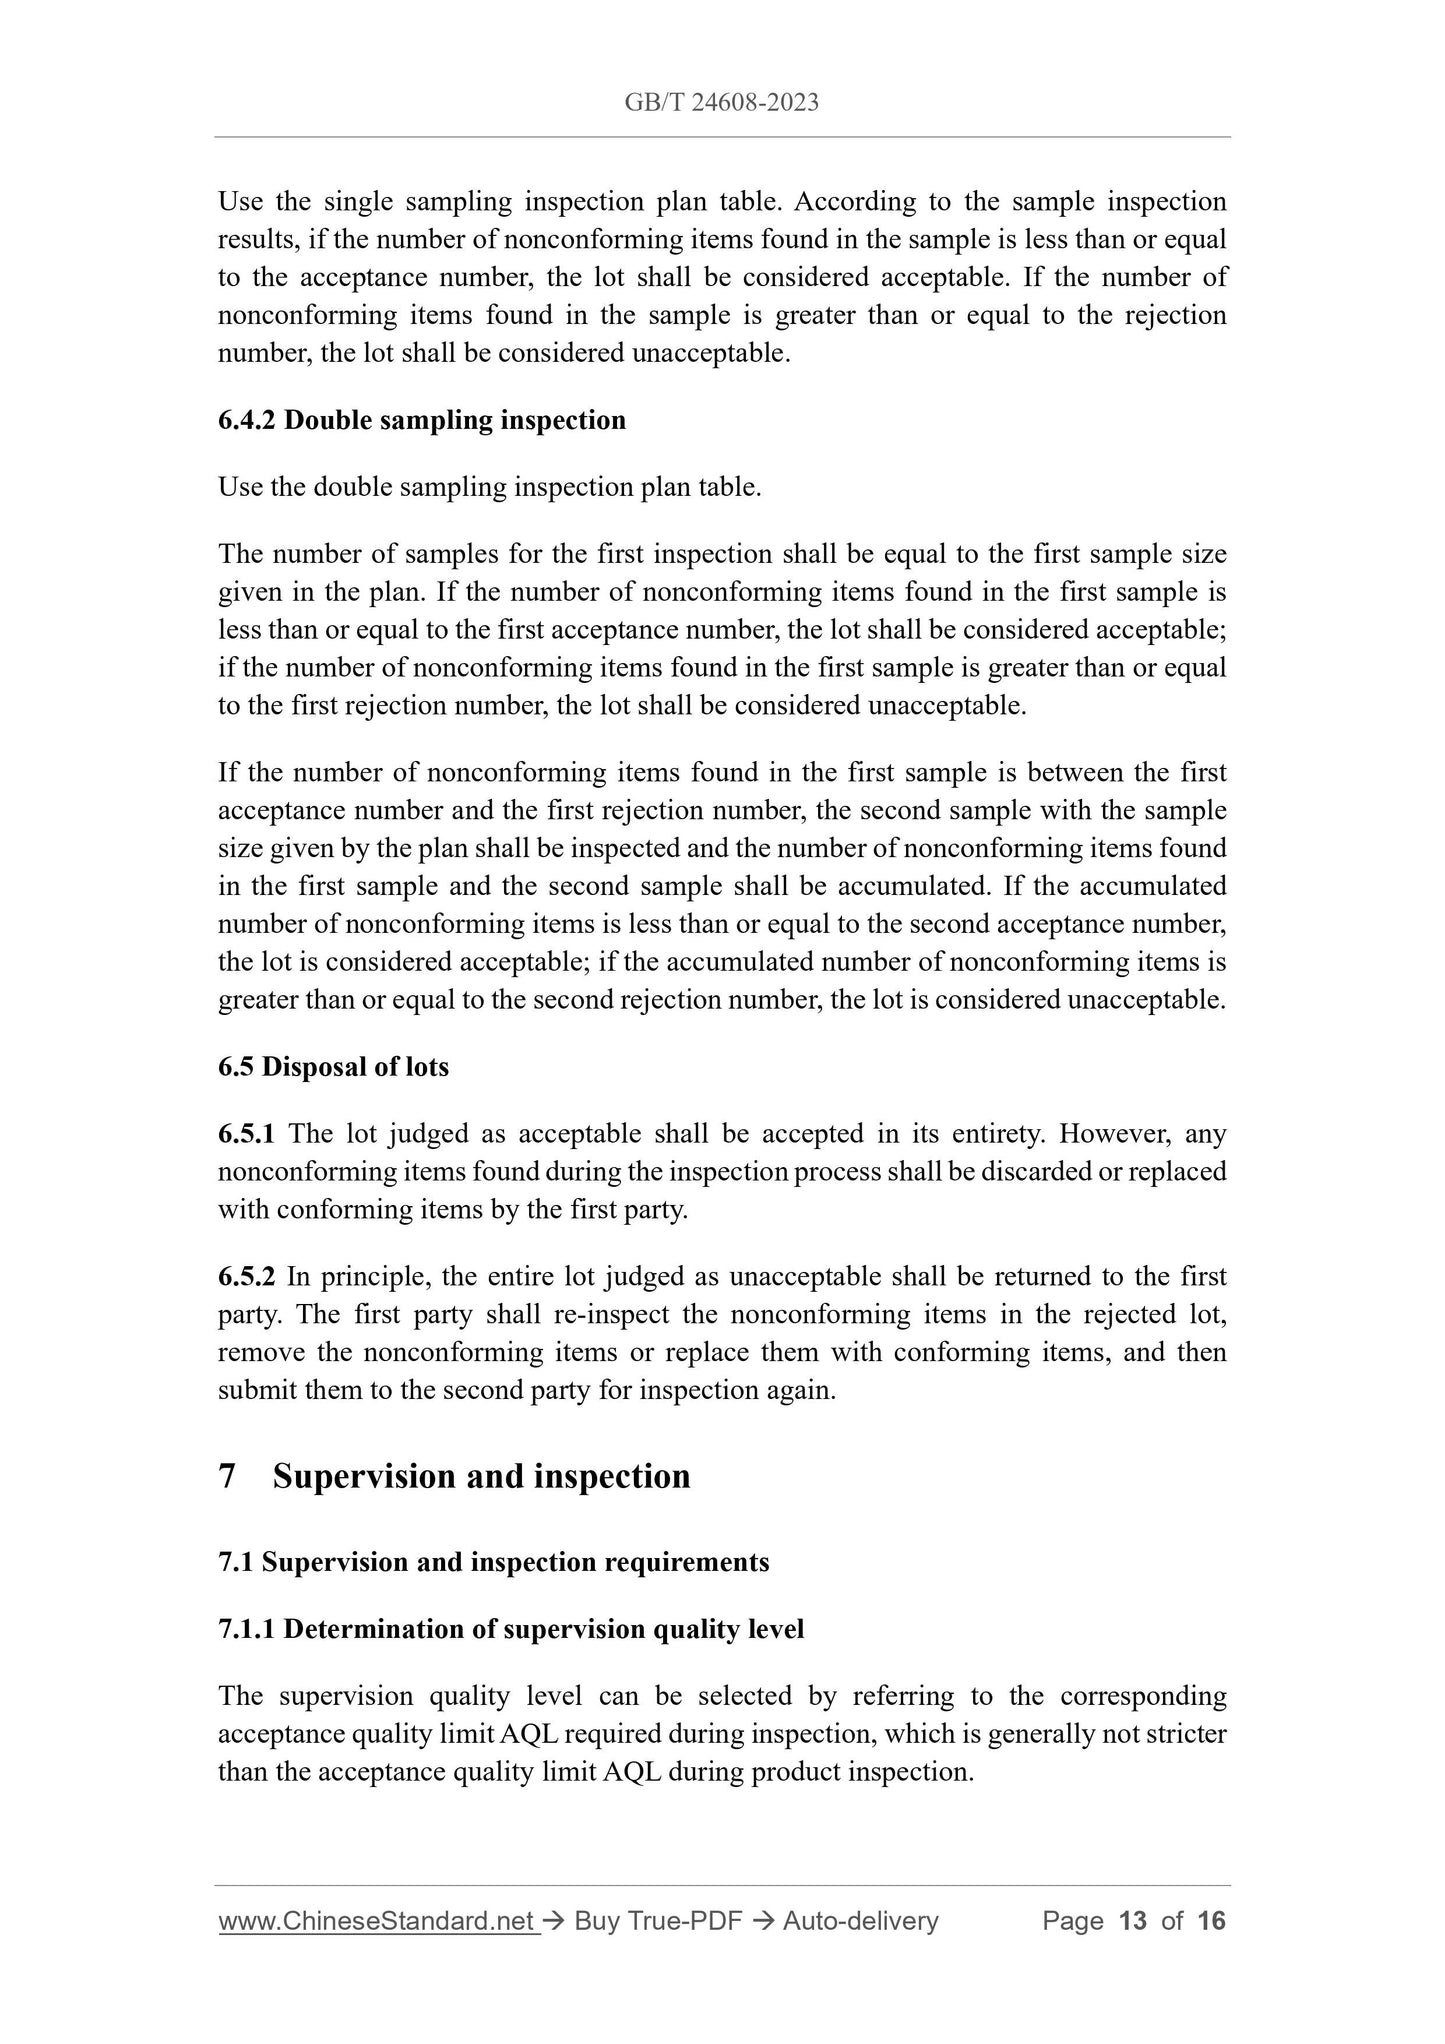
Use the single sampling inspection plan table. According to the sample inspection
results, if the number of nonconforming items found in the sample is less than or equal
to the acceptance number, the lot shall be considered acceptable. If the number of
nonconforming items found in the sample is greater than or equal to the rejection
number, the lot shall be considered unacceptable.
6.4.2 Double sampling inspection
Use the double sampling inspection plan table.
The number of samples for the first inspection shall be equal to the first sample size
given in the plan. If the number of nonconforming items found in the first sample is
less than or equal to the first acceptance number, the lot shall be considered acceptable;
if the number of nonconforming items found in the first sample is greater than or equal
to the first rejection number, the lot shall be considered unacceptable.
If the number of nonconforming items found in the first sample is between the first
acceptance number and the first rejection number, the second sample with the sample
size given by the plan shall be inspected and the number of nonconforming items found
in the first sample and the second sample shall be accumulated. If the accumulated
number of nonconforming items is less than or equal to the second acceptance number,
the lot is considered acceptable; if the accumulated number of nonconforming items is
greater than or equal to the second rejection number, the lot is considered unacceptable.
6.5 Disposal of lots
6.5.1 The lot judged as acceptable shall be accepted in its entirety. However, any
nonconforming items found during the inspection process shall be discarded or replaced
with conforming items by the first party.
6.5.2 In principle, the entire lot judged as unacceptable shall be returned to the first
party. The first party shall re-inspect the nonconforming items in the rejected lot,
remove the nonconforming items or replace them with conforming items, and then
submit them to the second party for inspection again.
7 Supervision and inspection
7.1 Supervision and inspection requirements
7.1.1 Determination of supervision quality level
The supervision quality level can be selected by referring to the corresponding
acceptance quality limit AQL required during inspection, which is generally not stricter
than the acceptance quality limit AQL during product inspection.
GB/T 24608-2023
GB
NATIONAL STANDARD OF THE
PEOPLE'S REPUBLIC OF CHINA
ICS 21.100.20
CCS J 11
Replacing GB/T 24608-2009
Inspection rules for rolling bearings and commercial parts
ISSUED ON. DECEMBER 28, 2023
IMPLEMENTED ON. APRIL 1, 2024
Issued by. State Administration for Market Regulation;
Standardization Administration of PRC.
Table of Contents
Foreword... 3
1 Scope... 5
2 Normative references... 5
3 Terms and definitions... 5
4 Symbols and abbreviations... 6
5 Inspection requirements... 6
6 Sampling inspection and determination methods... 11
7 Supervision and inspection... 13
References... 16
Inspection rules for rolling bearings and commercial parts
1 Scope
This document specifies the inspection rules for general-purpose rolling bearings and
their commercial parts (steel balls, ceramic balls, tapered rollers, cylindrical rollers,
spherical rollers, needle rollers) and bearing accessories.
This document applies to the inspection, acceptance, and supervision and inspection of
rolling bearings, their commodity parts and bearing accessories by the following
organizations or institutions.
a) the quality department within the supplier organization (the first party);
b) the purchaser or purchasing organization (the second party);
c) inspection and testing agency (the third party).
2 Normative references
The provisions of the following documents constitute the essential clauses of this
document through normative references in this text. Among them, for referenced
documents with dates, only the versions corresponding to the dates are applicable to
this document; for referenced documents without dates, the latest versions (including
all amendments) are applicable to this document.
GB/T 307.1-2017 Rolling bearings - Radial bearings - Geometrical product
specifications (GPS) and tolerance values
GB/T 2828.1-2012 Sampling procedures for inspection by attributes - Part 1.
Sampling schemes indexed by acceptance quality limit (AQL) for lot-by-lot
inspection
GB/T 4199 Rolling bearings - Tolerances - Definitions
GB/T 6930 Rolling bearings - Vocabulary
GB/T 7811-2015 Rolling bearings - Symbols for physical quantities
3 Terms and definitions
The terms and definitions defined in GB/T 4199, GB/T 6930 and GB/T 2828.1-2012
and the following terms and definitions apply to this document.
3.1 supervision and inspection
A means by which government departments control product quality through random
inspections.
3.2 conformity assessment
Demonstration that specified requirements related to a product, process, system, person
or organization are fulfilled.
[Source. GB/T 27000-2023, 3.1, modified]
4 Symbols and abbreviations
The symbols and abbreviations given in GB/T 307.1-2017 and GB/T 7811-2015 and
the following apply to this document.
Ac. Acceptance number
AQL. Acceptance quality limit (expressed as the percent nonconforming or
nonconformities per 100 items)
n. Sample size
p0.Supervision quality level
Re. Rejection number
r. Rejection limit
5 Inspection requirements
5.1 Key items
5.1.1 Sampling and determination of key items of rolling bearings shall be in
accordance with the provisions of Table 1.
5.1.2 The sampling and determination of key items of commercial parts shall be in
accordance with the provisions of Table 2.
5.1.3 The materials and working surfaces of rolling bearings and their commercial parts
and bearing accessories shall comply with the requirements of relevant standards.
5.2 Inspection level
b) specify the acceptance quality limit (AQL) value;
c) select the type of sampling plan;
d) determine the severity of this inspection (normal, tightened or reduced
inspection) based on the previous inspection results and the adjustment and
transfer rules. Normal inspection shall be used at the beginning of the
inspection;
e) submit product lot;
f) check the packing quality and marking;
g) determine the sampling plan;
h) random sampling;
i) testing samples;
j) determine whether to accept or reject the batch based on the number of non-
conforming items in the sample and the acceptance number Ac and rejection
number Re in the sampling plan;
k) acceptable batches;
l) Disposal of unacceptable batches.
6.2 Batch formation
6.2.1 The varieties, models, specifications, materials and process conditions of the
product lots submitted for inspection shall be as similar as possible and the
manufacturing time shall be similar.
6.2.2 The lot size of products submitted for inspection and the method of submission of
each lot may be determined by negotiation between the first party and the second party.
6.3 Sample inspection
6.3.1 Inspect the sample units one by one according to the specified inspection items.
6.3.2 The technical conditions of each item shall be in accordance with the relevant
standards. For items where the technical conditions are not specified in the standards,
they shall be in accordance with the sample drawings or technical documents approved
by the first or second party.
6.4 Determination of acceptable lots and unacceptable lots
6.4.1 Single sampling inspection
Use the single sampling inspection plan table. According to the sample inspection
results, if the number of nonconforming items found in the sample is less than or equal
to the acceptance number, the lot shall be considered acceptable. If the number of
nonconforming items found in the sample is greater than or equal to the rejection
number, the lot shall be considered unacceptable.
6.4.2 Double sampling inspection
Use the double sampling inspection plan table.
The number of samples for the first inspection shall be equal to the first sample size
given in the plan. If the number of nonconforming items found in the first sample is
less than or equal to the first acceptance number, the lot shall be considered acceptable;
if the number of nonconforming items found in the first sample is greater than or equal
to the first rejection number, the lot shall be considered unacceptable.
If the number of nonconforming items found in the first sample is between the first
acceptance number and the first rejection number, the second sample with the sample
size given by the plan shall be inspected and the number of nonconforming items found
in the first sample and the second sample shall be accumulated. If the accumulated
number...
View full details