1
/
of
6
www.ChineseStandard.us -- Field Test Asia Pte. Ltd.
GB/T 2411-2008 English PDF (GB/T2411-2008)
Regular price
$70.00
Regular price
Sale price
$70.00
Unit price
/
per
Shipping calculated at checkout.
Couldn't load pickup availability
GB/T 2411-2008: Plastics and ebonite -- Determination of indentation hardness by means of a durometer (shore hardness)
Delivery: 9 seconds. Download (& Email) true-PDF + Invoice.
Get Quotation: Click GB/T 2411-2008 (Self-service in 1-minute)
Historical versions (Master-website): GB/T 2411-2008
Preview True-PDF (Reload/Scroll-down if blank)
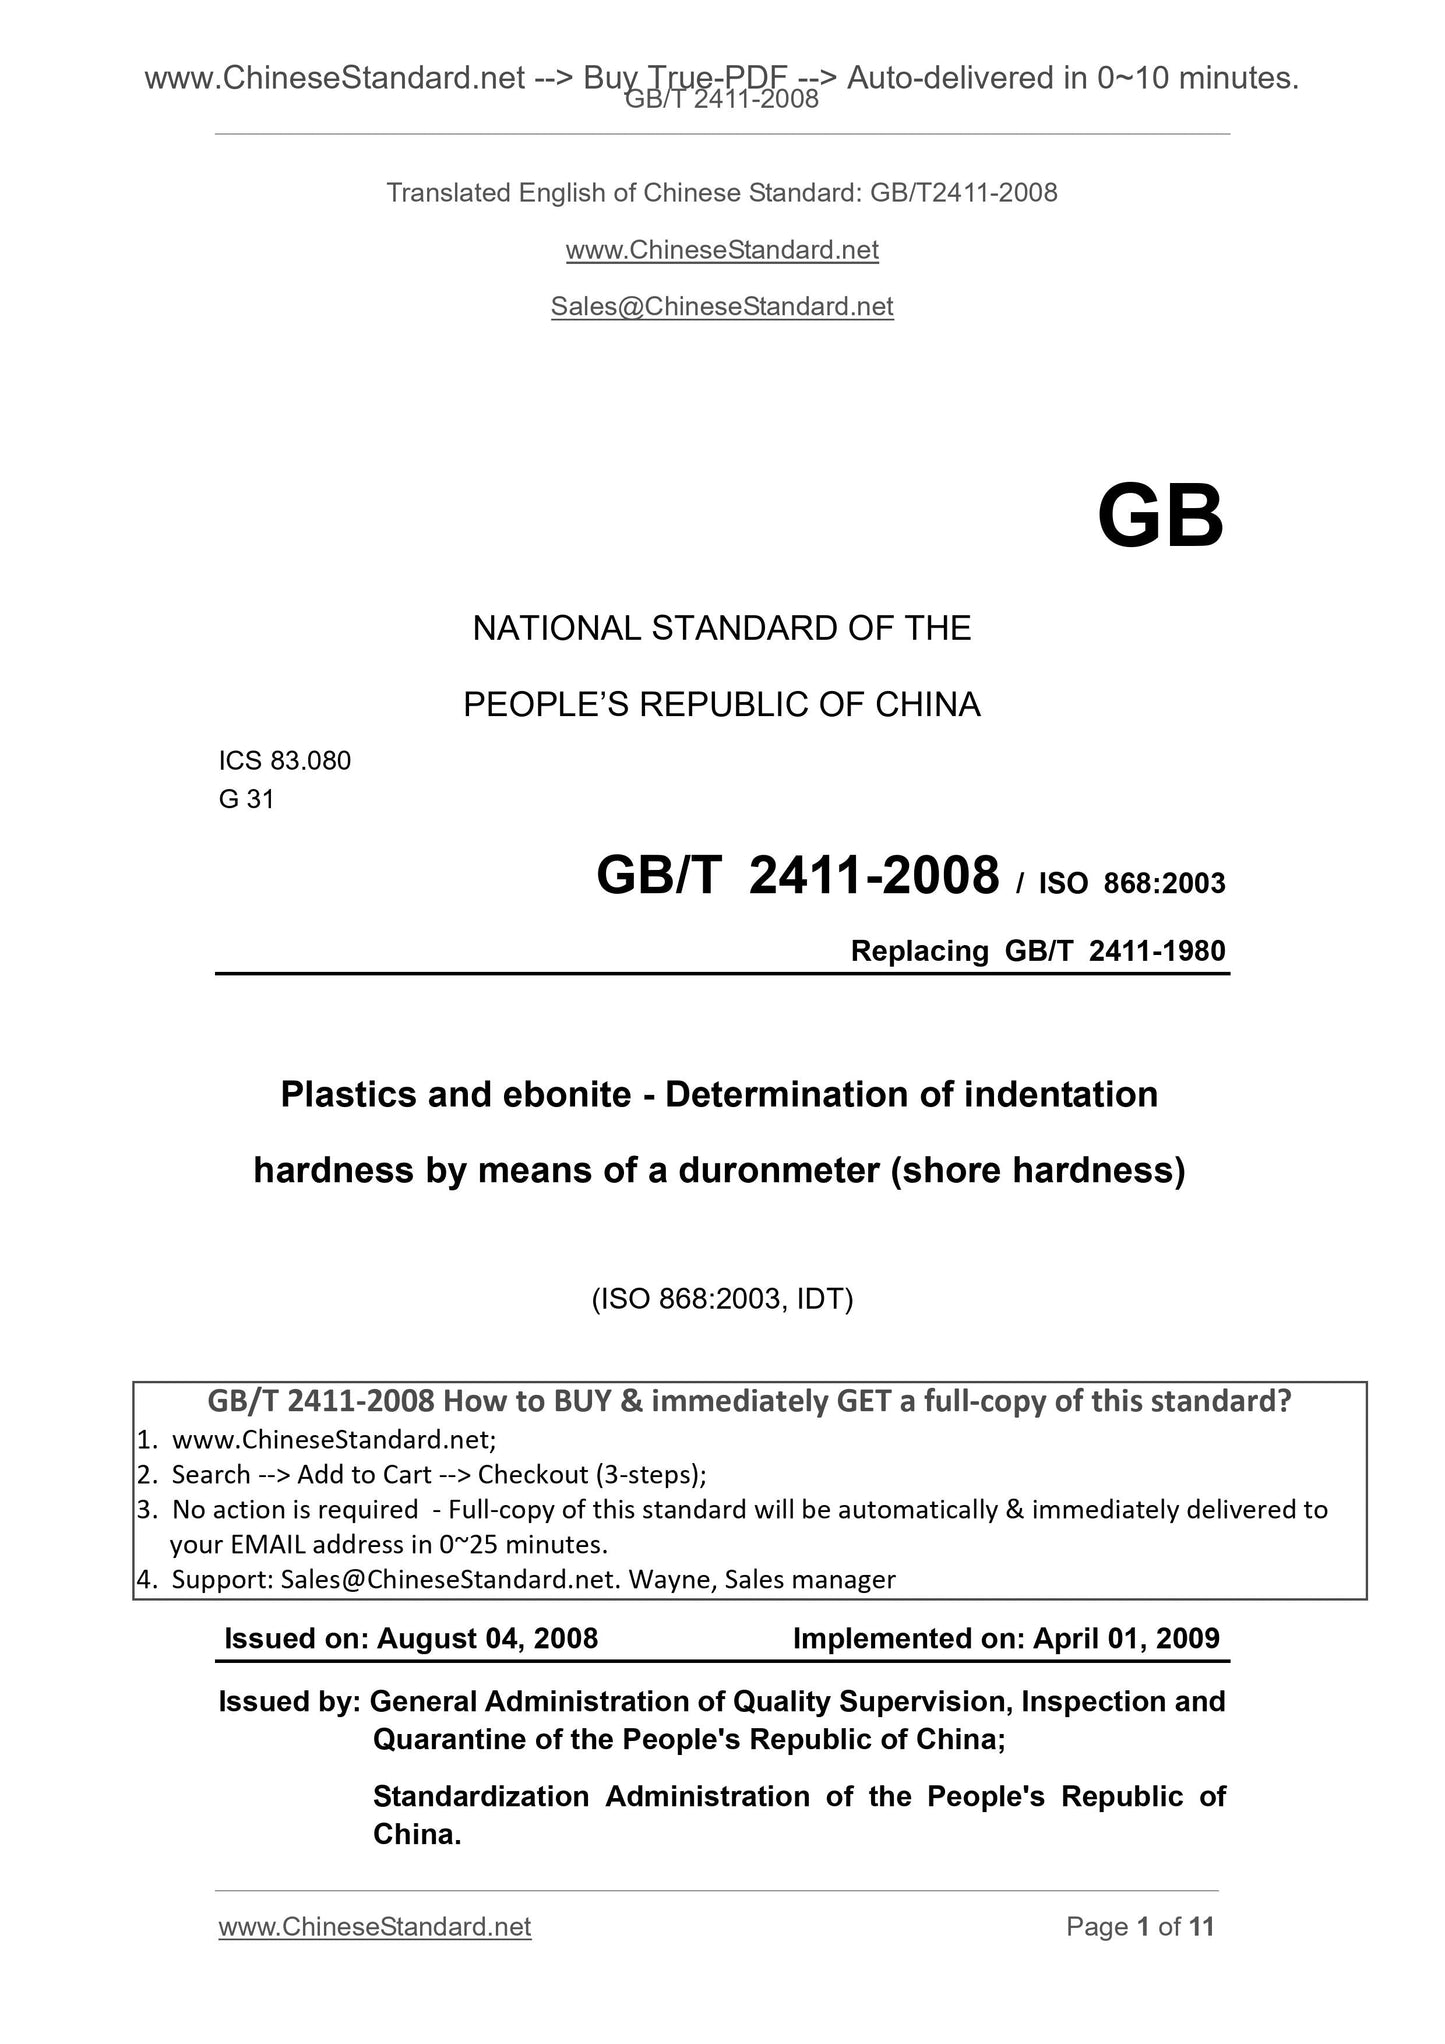
GB/T 2411-2008
GB
NATIONAL STANDARD OF THE
PEOPLE’S REPUBLIC OF CHINA
ICS 83.080
G 31
GB/T 2411-2008 / ISO 868.2003
Replacing GB/T 2411-1980
Plastics and ebonite - Determination of indentation
hardness by means of a duronmeter (shore hardness)
(ISO 868.2003, IDT)
ISSUED ON. AUGUST 04, 2008
IMPLEMENTED ON. APRIL 01, 2009
Issued by. General Administration of Quality Supervision, Inspection and
Quarantine of the People's Republic of China;
Standardization Administration of the People's Republic of
China.
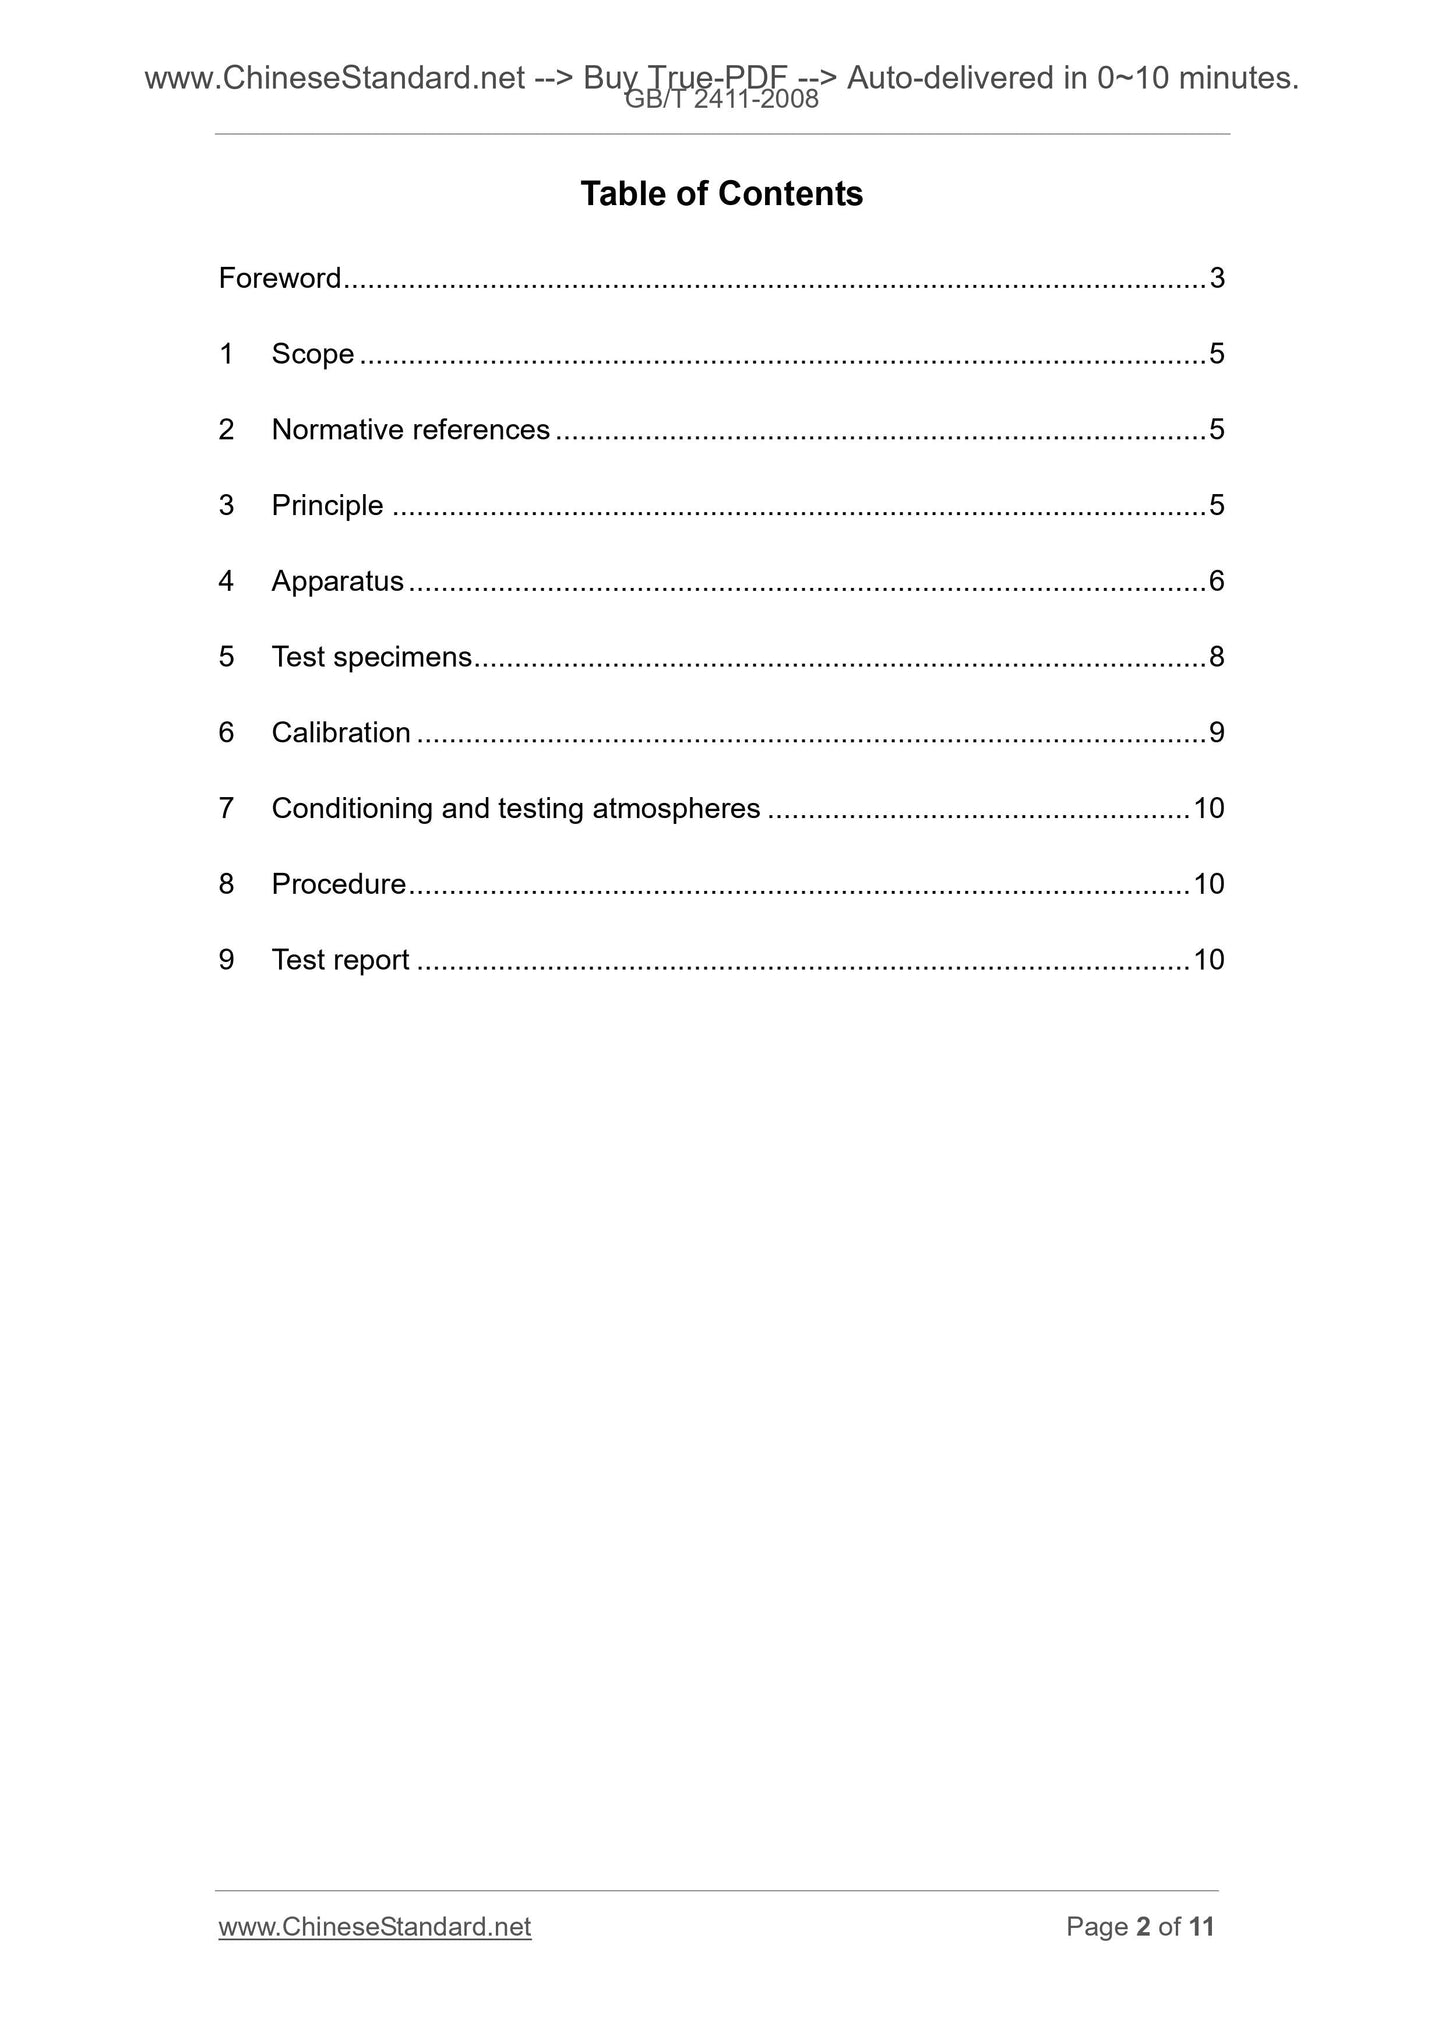
Table of Contents
Foreword ... 3
1 Scope ... 5
2 Normative references ... 5
3 Principle ... 5
4 Apparatus ... 6
5 Test specimens ... 8
6 Calibration ... 9
7 Conditioning and testing atmospheres ... 10
8 Procedure ... 10
9 Test report ... 10
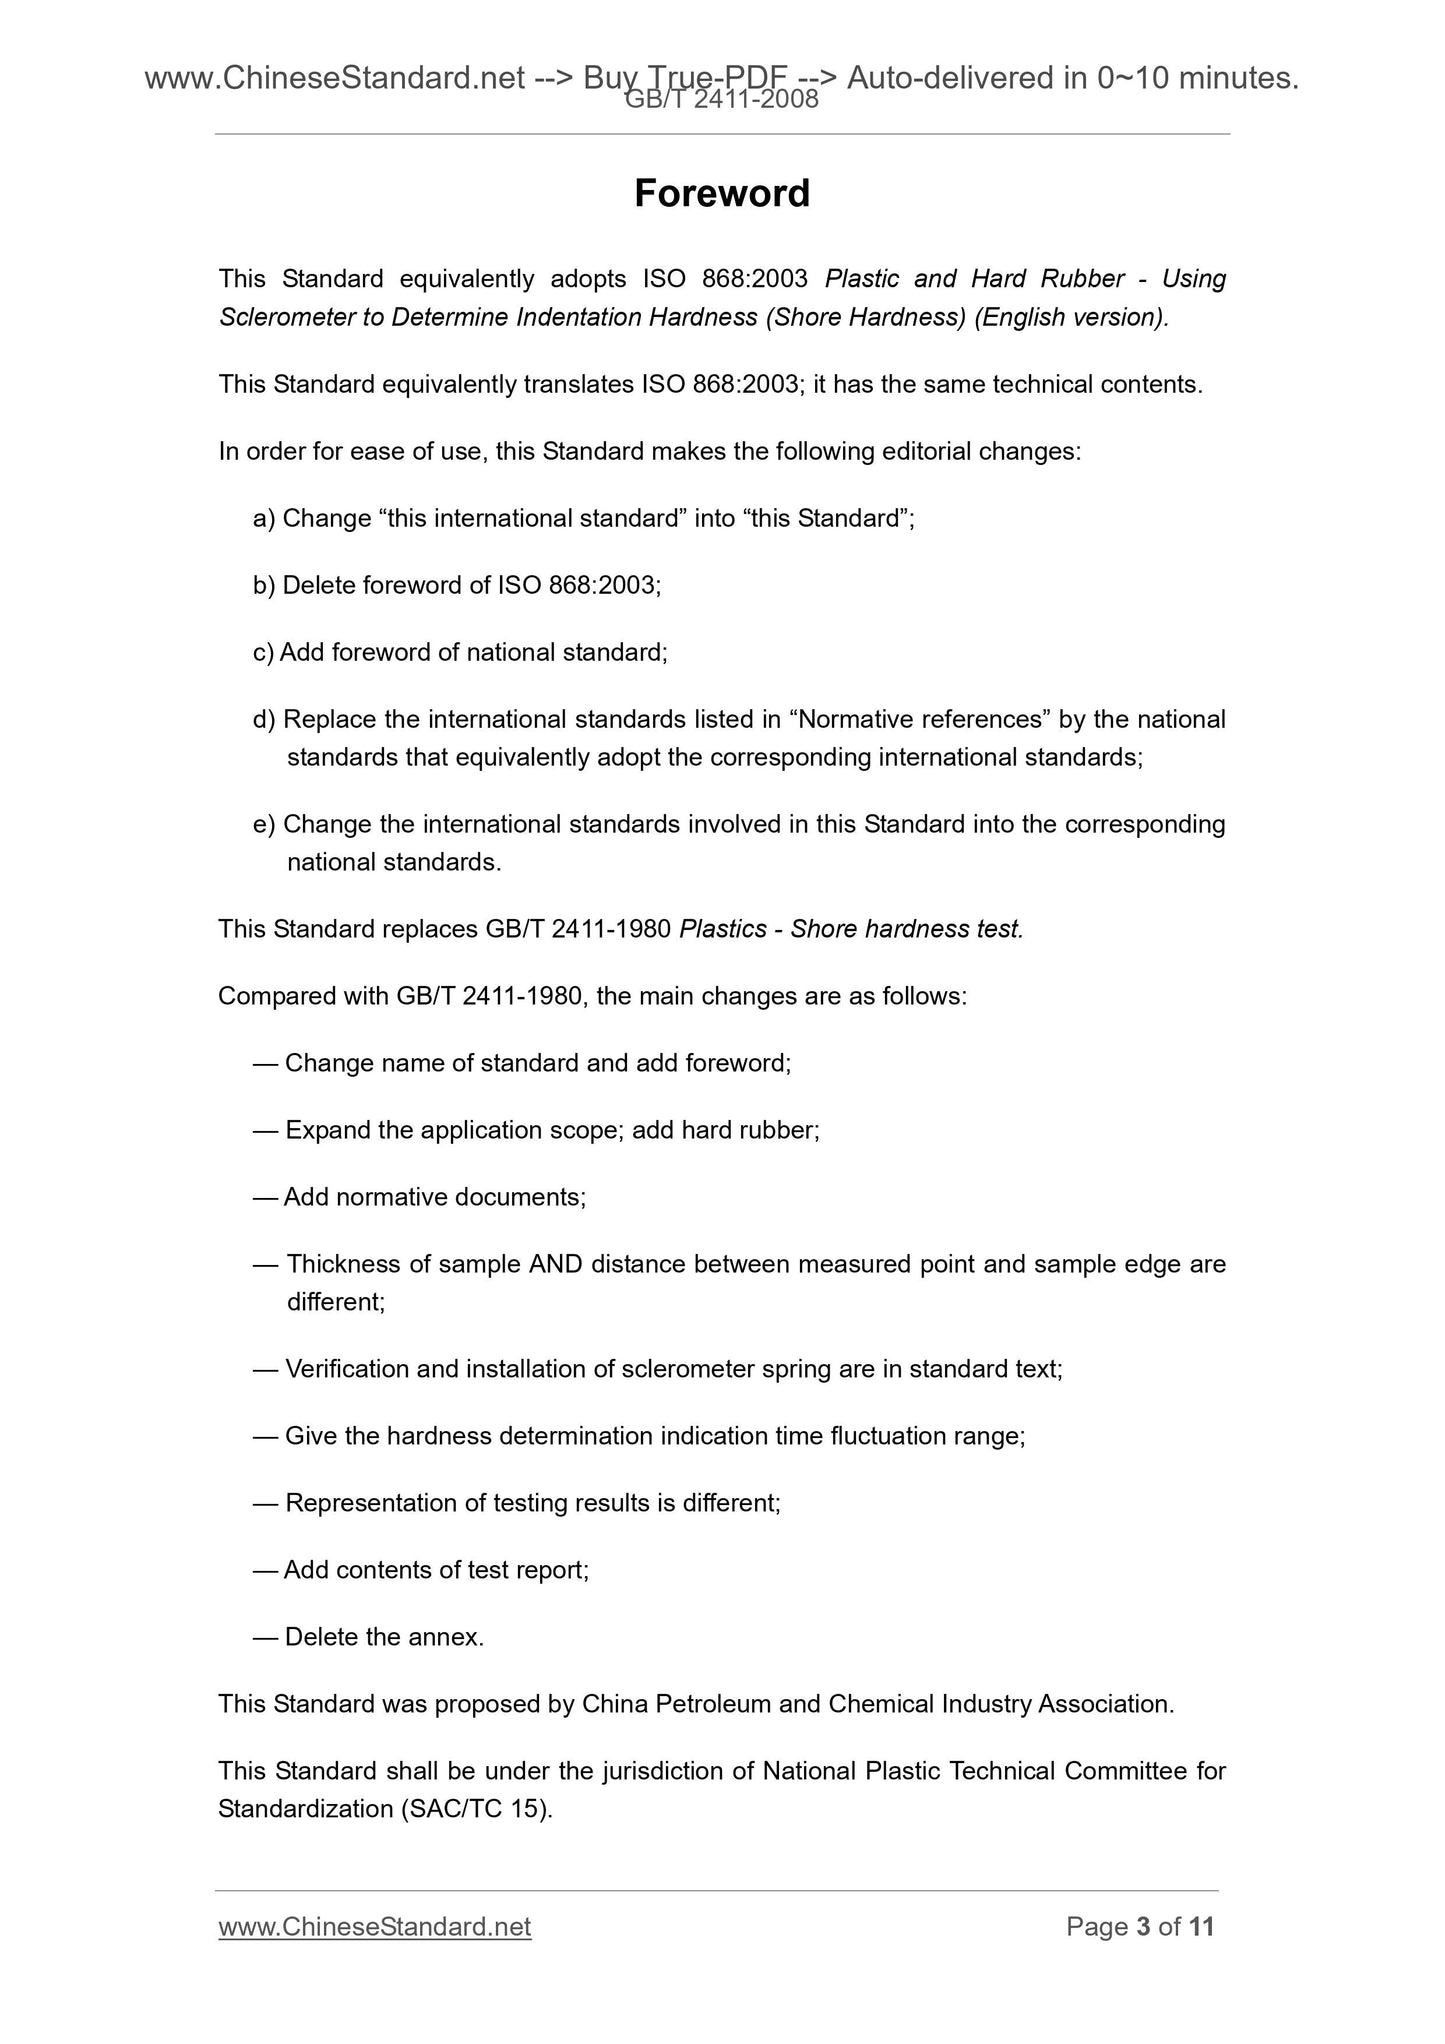
Foreword
This Standard equivalently adopts ISO 868.2003 Plastic and Hard Rubber - Using
Sclerometer to Determine Indentation Hardness (Shore Hardness) (English version).
This Standard equivalently translates ISO 868.2003; it has the same technical contents.
In order for ease of use, this Standard makes the following editorial changes.
a) Change “this international standard” into “this Standard”;
b) Delete foreword of ISO 868.2003;
c) Add foreword of national standard;
d) Replace the international standards listed in “Normative references” by the national
standards that equivalently adopt the corresponding international standards;
e) Change the international standards involved in this Standard into the corresponding
national standards.
This Standard replaces GB/T 2411-1980 Plastics - Shore hardness test.
Compared with GB/T 2411-1980, the main changes are as follows.
— Change name of standard and add foreword;
— Expand the application scope; add hard rubber;
— Add normative documents;
— Thickness of sample AND distance between measured point and sample edge are
different;
— Verification and installation of sclerometer spring are in standard text;
— Give the hardness determination indication time fluctuation range;
— Representation of testing results is different;
— Add contents of test report;
— Delete the annex.
This Standard was proposed by China Petroleum and Chemical Industry Association.
This Standard shall be under the jurisdiction of National Plastic Technical Committee for
Standardization (SAC/TC 15).
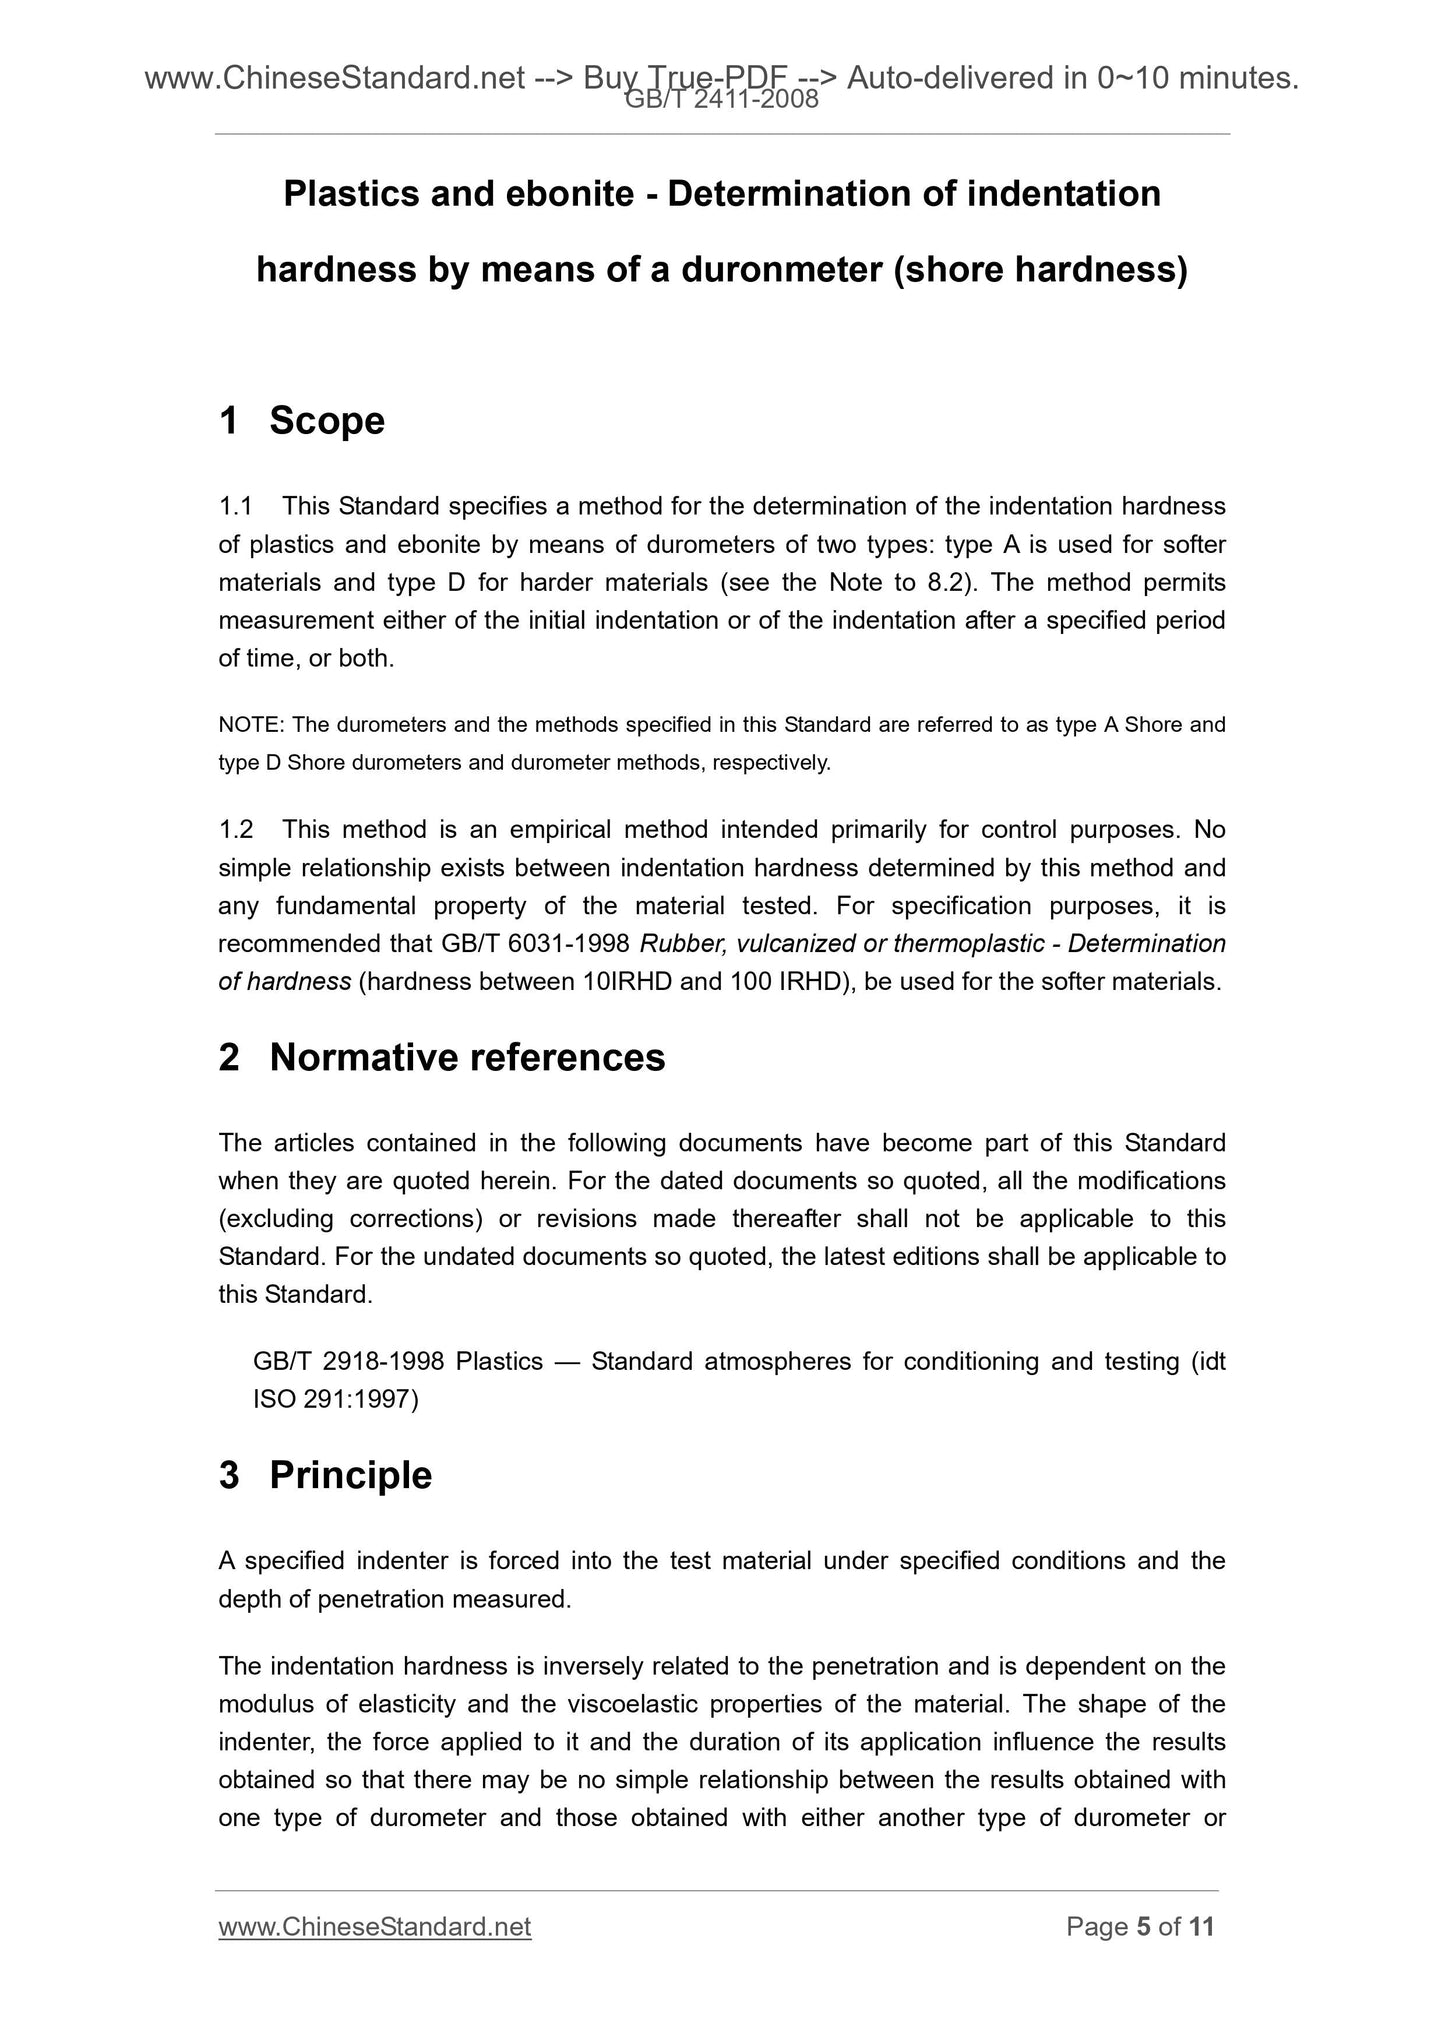
Plastics and ebonite - Determination of indentation
hardness by means of a duronmeter (shore hardness)
1 Scope
1.1 This Standard specifies a method for the determination of the indentation hardness
of plastics and ebonite by means of durometers of two types. type A is used for softer
materials and type D for harder materials (see the Note to 8.2). The method permits
measurement either of the initial indentation or of the indentation after a specified period
of time, or both.
NOTE. The durometers and the methods specified in this Standard are referred to as type A Shore and
type D Shore durometers and durometer methods, respectively.
1.2 This method is an empirical method intended primarily for control purposes. No
simple relationship exists between indentation hardness determined by this method and
any fundamental property of the material tested. For specification purposes, it is
recommended that GB/T 6031-1998 Rubber, vulcanized or thermoplastic - Determination
of hardness (hardness between 10IRHD and 100 IRHD), be used for the softer materials.
2 Normative references
The articles contained in the following documents have become part of this Standard
when they are quoted herein. For the dated documents so quoted, all the modifications
(excluding corrections) or revisions made thereafter shall not be applicable to this
Standard. For the undated documents so quoted, the latest editions shall be applicable to
this Standard.
GB/T 2918-1998 Plastics — Standard atmospheres for conditioning and testing (idt
ISO 291.1997)
3 Principle
A specified indenter is forced into the test material under specified conditions and the
depth of penetration measured.
The indentation hardness is inversely related to the penetration and is dependent on the
modulus of elasticity and the viscoelastic properties of the material. The shape of the
indenter, the force applied to it and the duration of its application influence the results
obtained so that there may be no simple relationship between the results obtained with
one type of durometer and those obtained with either another type of durometer or
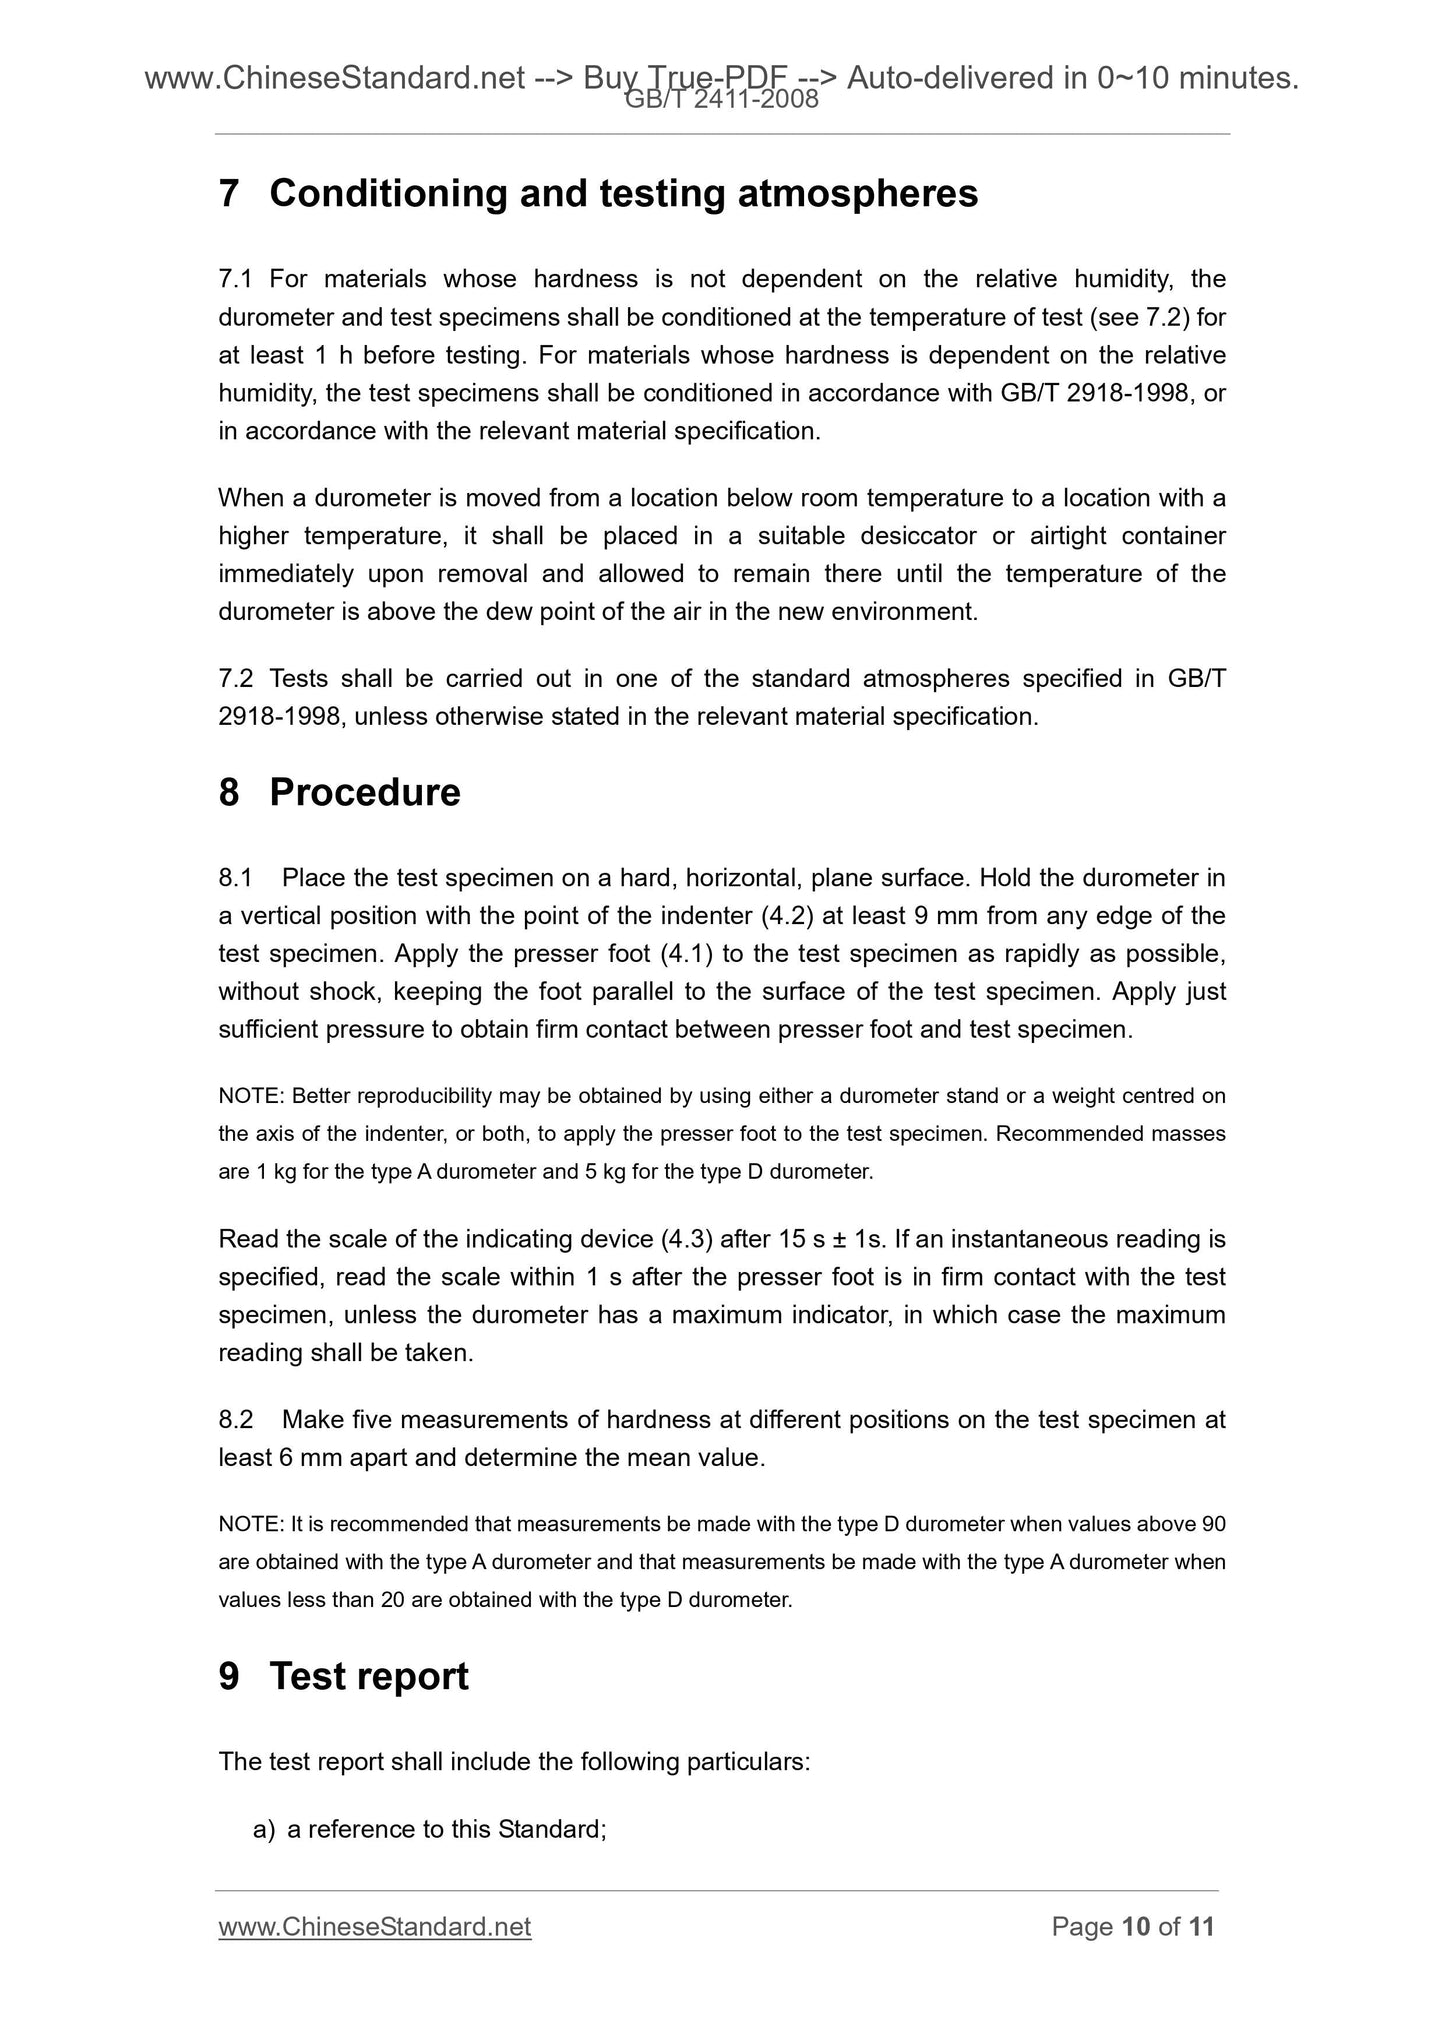
7 Conditioning and testing atmospheres
7.1 For materials whose hardness is not dependent on the relative humidity, the
durometer and test specimens shall be conditioned at the temperature of test (see 7.2) for
at least 1 h before testing. For materials whose hardness is dependent on the relative
humidity, the test specimens shall be conditioned in accordance with GB/T 2918-1998, or
in accordance with the relevant material specification.
When a durometer is moved from a location below room temperature to a location with a
higher temperature, it shall be placed in a suitable desiccator or airtight container
immediately upon removal and allowed to remain there until the temperature of the
durometer is above the dew point of the air in the new environment.
7.2 Tests shall be carried out in one of the standard atmospheres specified in GB/T
2918-1998, unless otherwise stated in the relevant material specification.
8 Procedure
8.1 Place the test specimen on a hard, horizontal, plane surface. Hold the durometer in
a vertical position with the point of the indenter (4.2) at least 9 mm from any edge of the
test specimen. Apply the presser foot (4.1) to the test specimen as rapidly as possible,
without shock, keeping the foot parallel to the surface of the test specimen. Apply just
sufficient pressure to obtain firm contact between presser foot and test specimen.
NOTE. Better reproducibility may be obtained by using either a durometer stand or a weight centred on
the axis of the indenter, or both, to apply the presser foot to the test specimen. Recommended masses
are 1 kg for the type A durometer and 5 kg for the type D durometer.
Read the scale of the indicating device (4.3) after 15 s ± 1s. If an instantaneous reading is
specified, read the scale within 1 s after the presser foot is in firm contact with the test
specimen, unless the durometer has a maximum indicator, in which case the maximum
reading shall be taken.
8.2 Make five measurements of hardness at different positions on the test specimen at
least 6 mm apart and determine the mean value.
NOTE. It is recommended that measurements be made with the type D durometer when values above 90
are obtained with the type A durometer and that measurements be made with the type A durometer when
values less than 20 are obtained with the type D durometer.
9 Test report
The test report shall include the following particulars.
a) a reference to this Standard;
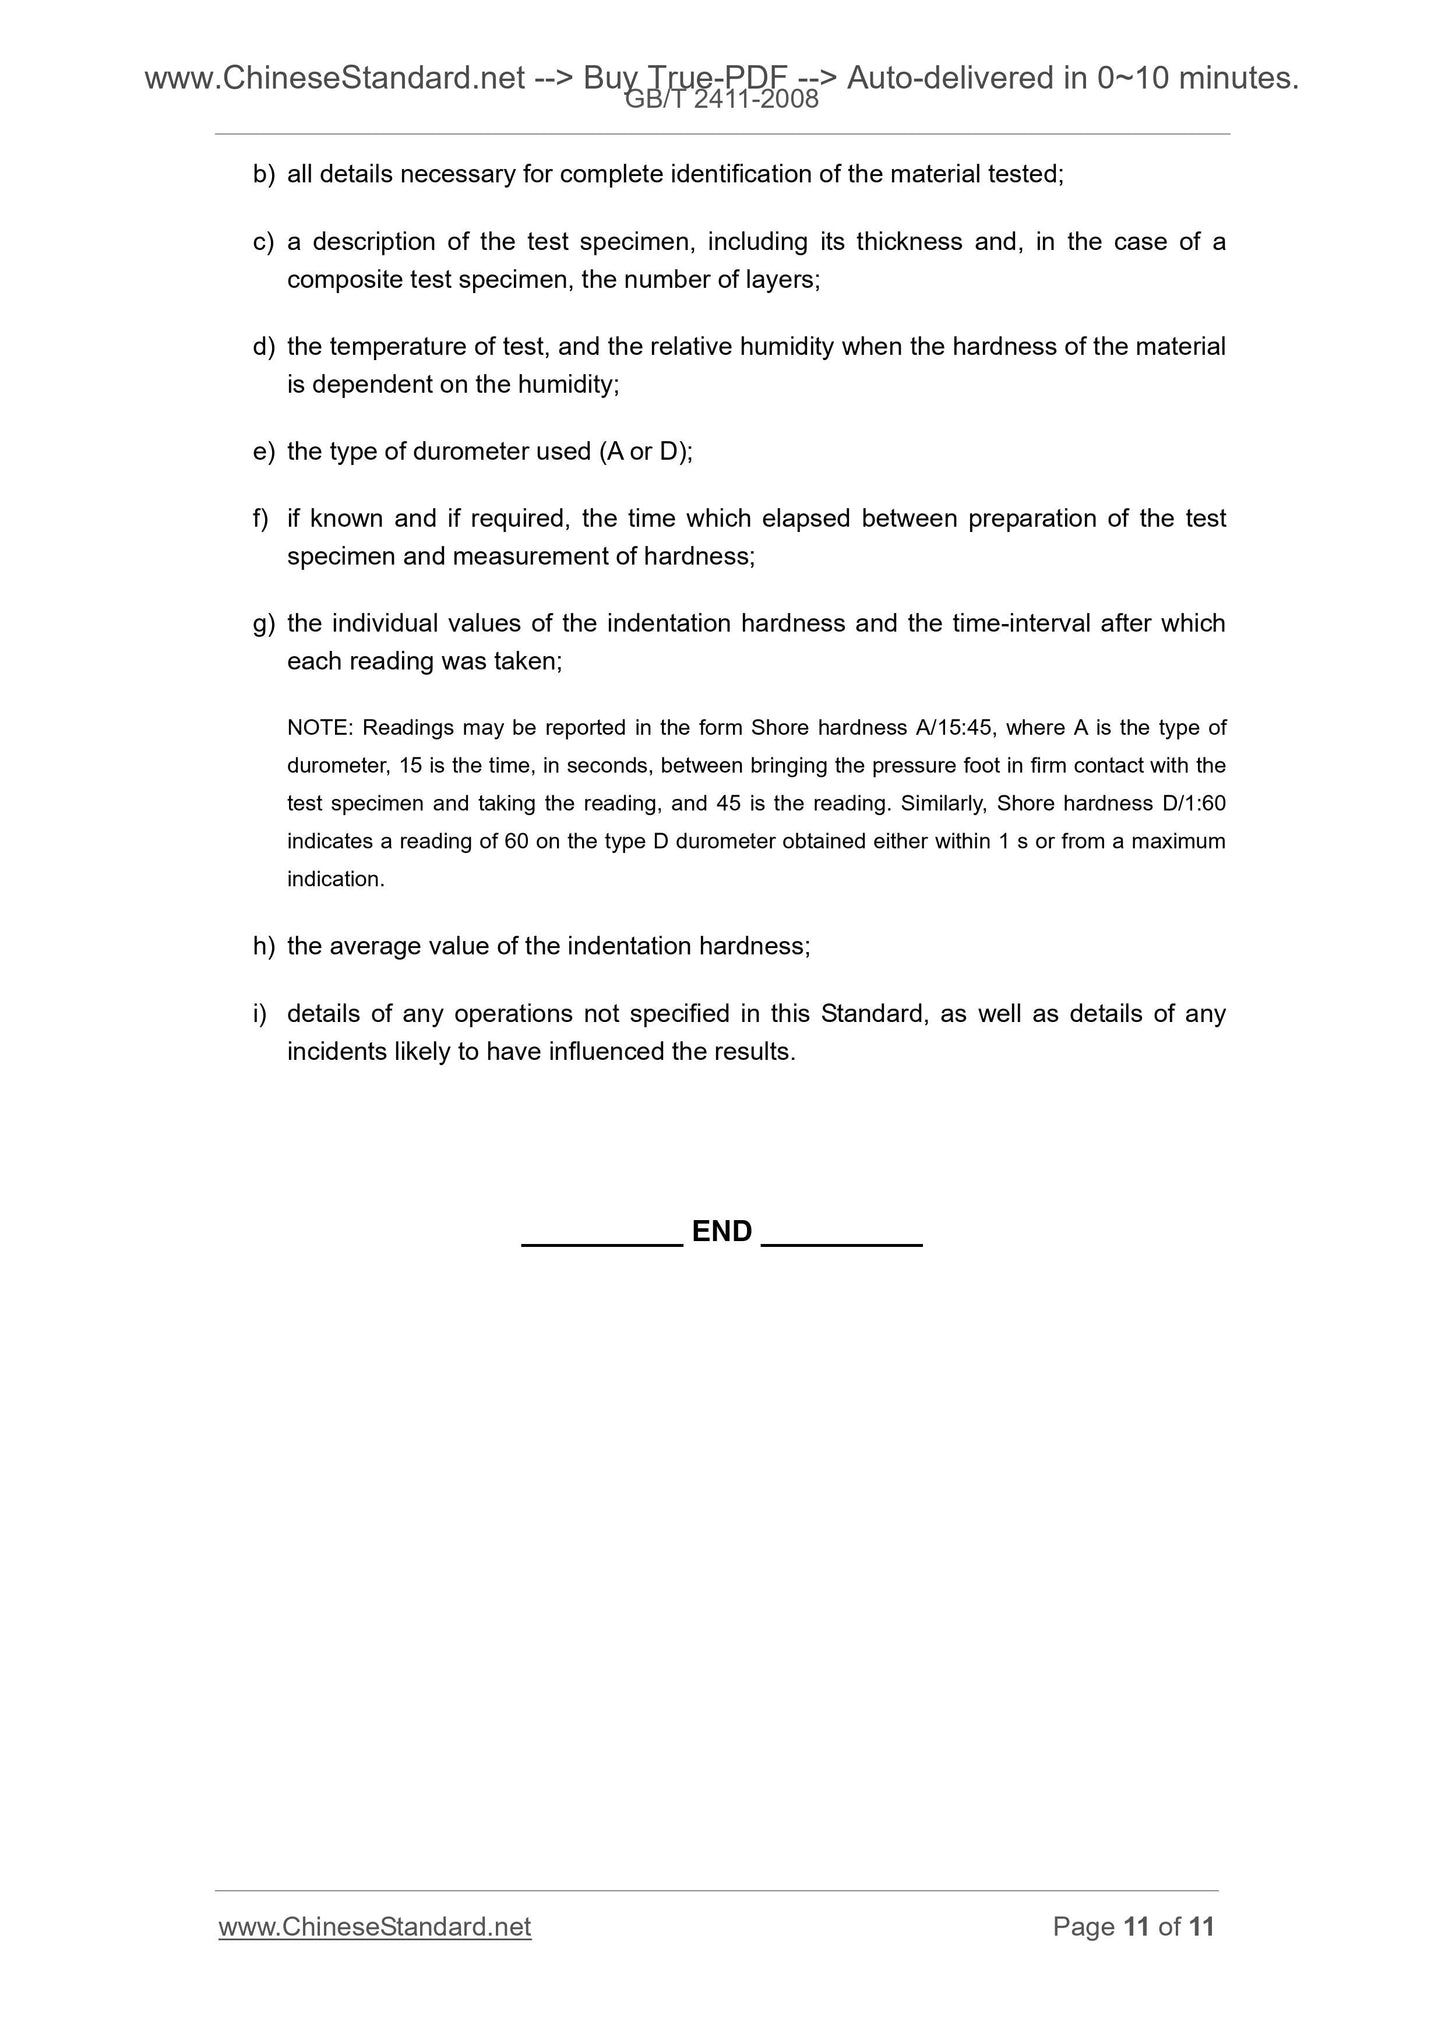
b) all details necessary for complete identification of the material tested;
c) a description of the test specimen, including its thickness and, in the case of a
composite test specimen, the number of layers;
d) the temperature of test, and the relative humidity when the hardness of the material
is dependent on the humidity;
e) the type of durometer used (A or D);
f) if known and if required, the time which elapsed between preparation of the test
specimen and measurement of hardness;
g) the individual values of the indentation hardness and the time-interval after which
each reading was taken;
NOTE. Readings may be reported in the form Shore hardness A/15.45, where A is the type of
durometer, 15 is the time, in seconds, between bringing the pressure foot in firm contact with the
test specimen and taking the reading, and 45 is the reading. Similarly, Shore hardness D/1.60
indicates a reading of 60 on the type D durometer obtained either within 1 s or from a maximum
indication.
h) the average value of the indentation hardness;
i) details of any operations not specified in this Standard, as well as details of any
incidents likely to have influenced the results.
GB/T 2411-2008
GB
NATIONAL STANDARD OF THE
PEOPLE’S REPUBLIC OF CHINA
ICS 83.080
G 31
GB/T 2411-2008 / ISO 868.2003
Replacing GB/T 2411-1980
Plastics and ebonite - Determination of indentation
hardness by means of a duronmeter (shore hardness)
(ISO 868.2003, IDT)
ISSUED ON. AUGUST 04, 2008
IMPLEMENTED ON. APRIL 01, 2009
Issued by. General Administration of Quality Supervision, Inspection and
Quarantine of the People's Republic of China;
Standardization Administration of the People's Republic of
China.
Table of Contents
Foreword ... 3
1 Scope ... 5
2 Normative references ... 5
3 Principle ... 5
4 Apparatus ... 6
5 Test specimens ... 8
6 Calibration ... 9
7 Conditioning and testing atmospheres ... 10
8 Procedure ... 10
9 Test report ... 10
Foreword
This Standard equivalently adopts ISO 868.2003 Plastic and Hard Rubber - Using
Sclerometer to Determine Indentation Hardness (Shore Hardness) (English version).
This Standard equivalently translates ISO 868.2003; it has the same technical contents.
In order for ease of use, this Standard makes the following editorial changes.
a) Change “this international standard” into “this Standard”;
b) Delete foreword of ISO 868.2003;
c) Add foreword of national standard;
d) Replace the international standards listed in “Normative references” by the national
standards that equivalently adopt the corresponding international standards;
e) Change the international standards involved in this Standard into the corresponding
national standards.
This Standard replaces GB/T 2411-1980 Plastics - Shore hardness test.
Compared with GB/T 2411-1980, the main changes are as follows.
— Change name of standard and add foreword;
— Expand the application scope; add hard rubber;
— Add normative documents;
— Thickness of sample AND distance between measured point and sample edge are
different;
— Verification and installation of sclerometer spring are in standard text;
— Give the hardness determination indication time fluctuation range;
— Representation of testing results is different;
— Add contents of test report;
— Delete the annex.
This Standard was proposed by China Petroleum and Chemical Industry Association.
This Standard shall be under the jurisdiction of National Plastic Technical Committee for
Standardization (SAC/TC 15).
Plastics and ebonite - Determination of indentation
hardness by means of a duronmeter (shore hardness)
1 Scope
1.1 This Standard specifies a method for the determination of the indentation hardness
of plastics and ebonite by means of durometers of two types. type A is used for softer
materials and type D for harder materials (see the Note to 8.2). The method permits
measurement either of the initial indentation or of the indentation after a specified period
of time, or both.
NOTE. The durometers and the methods specified in this Standard are referred to as type A Shore and
type D Shore durometers and durometer methods, respectively.
1.2 This method is an empirical method intended primarily for control purposes. No
simple relationship exists between indentation hardness determined by this method and
any fundamental property of the material tested. For specification purposes, it is
recommended that GB/T 6031-1998 Rubber, vulcanized or thermoplastic - Determination
of hardness (hardness between 10IRHD and 100 IRHD), be used for the softer materials.
2 Normative references
The articles contained in the following documents have become part of this Standard
when they are quoted herein. For the dated documents so quoted, all the modifications
(excluding corrections) or revisions made thereafter shall not be applicable to this
Standard. For the undated documents so quoted, the latest editions shall be applicable to
this Standard.
GB/T 2918-1998 Plastics — Standard atmospheres for conditioning and testing (idt
ISO 291.1997)
3 Principle
A specified indenter is forced into the test material under specified conditions and the
depth of penetration measured.
The indentation hardness is inversely related to the penetration and is dependent on the
modulus of elasticity and the viscoelastic properties of the material. The shape of the
indenter, the force applied to it and the duration of its application influence the results
obtained so that there may be no simple relationship between the results obtained with
one type of durometer and those obtained with either another type of durometer or
7 Conditioning and testing atmospheres
7.1 For materials whose hardness is not dependent on the relative humidity, the
durometer and test specimens shall be conditioned at the temperature of test (see 7.2) for
at least 1 h before testing. For materials whose hardness is dependent on the relative
humidity, the test specimens shall be conditioned in accordance with GB/T 2918-1998, or
in accordance with the relevant material specification.
When a durometer is moved from a location below room temperature to a location with a
higher temperature, it shall be placed in a suitable desiccator or airtight container
immediately upon removal and allowed to remain there until the temperature of the
durometer is above the dew point of the air in the new environment.
7.2 Tests shall be carried out in one of the standard atmospheres specified in GB/T
2918-1998, unless otherwise stated in the relevant material specification.
8 Procedure
8.1 Place the test specimen on a hard, horizontal, plane surface. Hold the durometer in
a vertical position with the point of the indenter (4.2) at least 9 mm from any edge of the
test specimen. Apply the presser foot (4.1) to the test specimen as rapidly as possible,
without shock, keeping the foot parallel to the surface of the test specimen. Apply just
sufficient pressure to obtain firm contact between presser foot and test sp...
Share