Skip to product information
1 of 5

PayPal, credit cards. Download editable-PDF and invoice in 1 second!

GB/T 23541-2017 English PDF (GB/T23541-2017)

GB/T 23541-2017 English PDF (GB/T23541-2017)

Regular price $150.00 USD
Regular price Sale price $150.00 USD
Sale Sold out
Shipping calculated at checkout.
Delivery: 3 seconds. Download true-PDF + Invoice.
Get Quotation: Click GB/T 23541-2017 (Self-service in 1-minute)
Historical versions (Master-website): GB/T 23541-2017
Preview True-PDF (Reload/Scroll-down if blank)

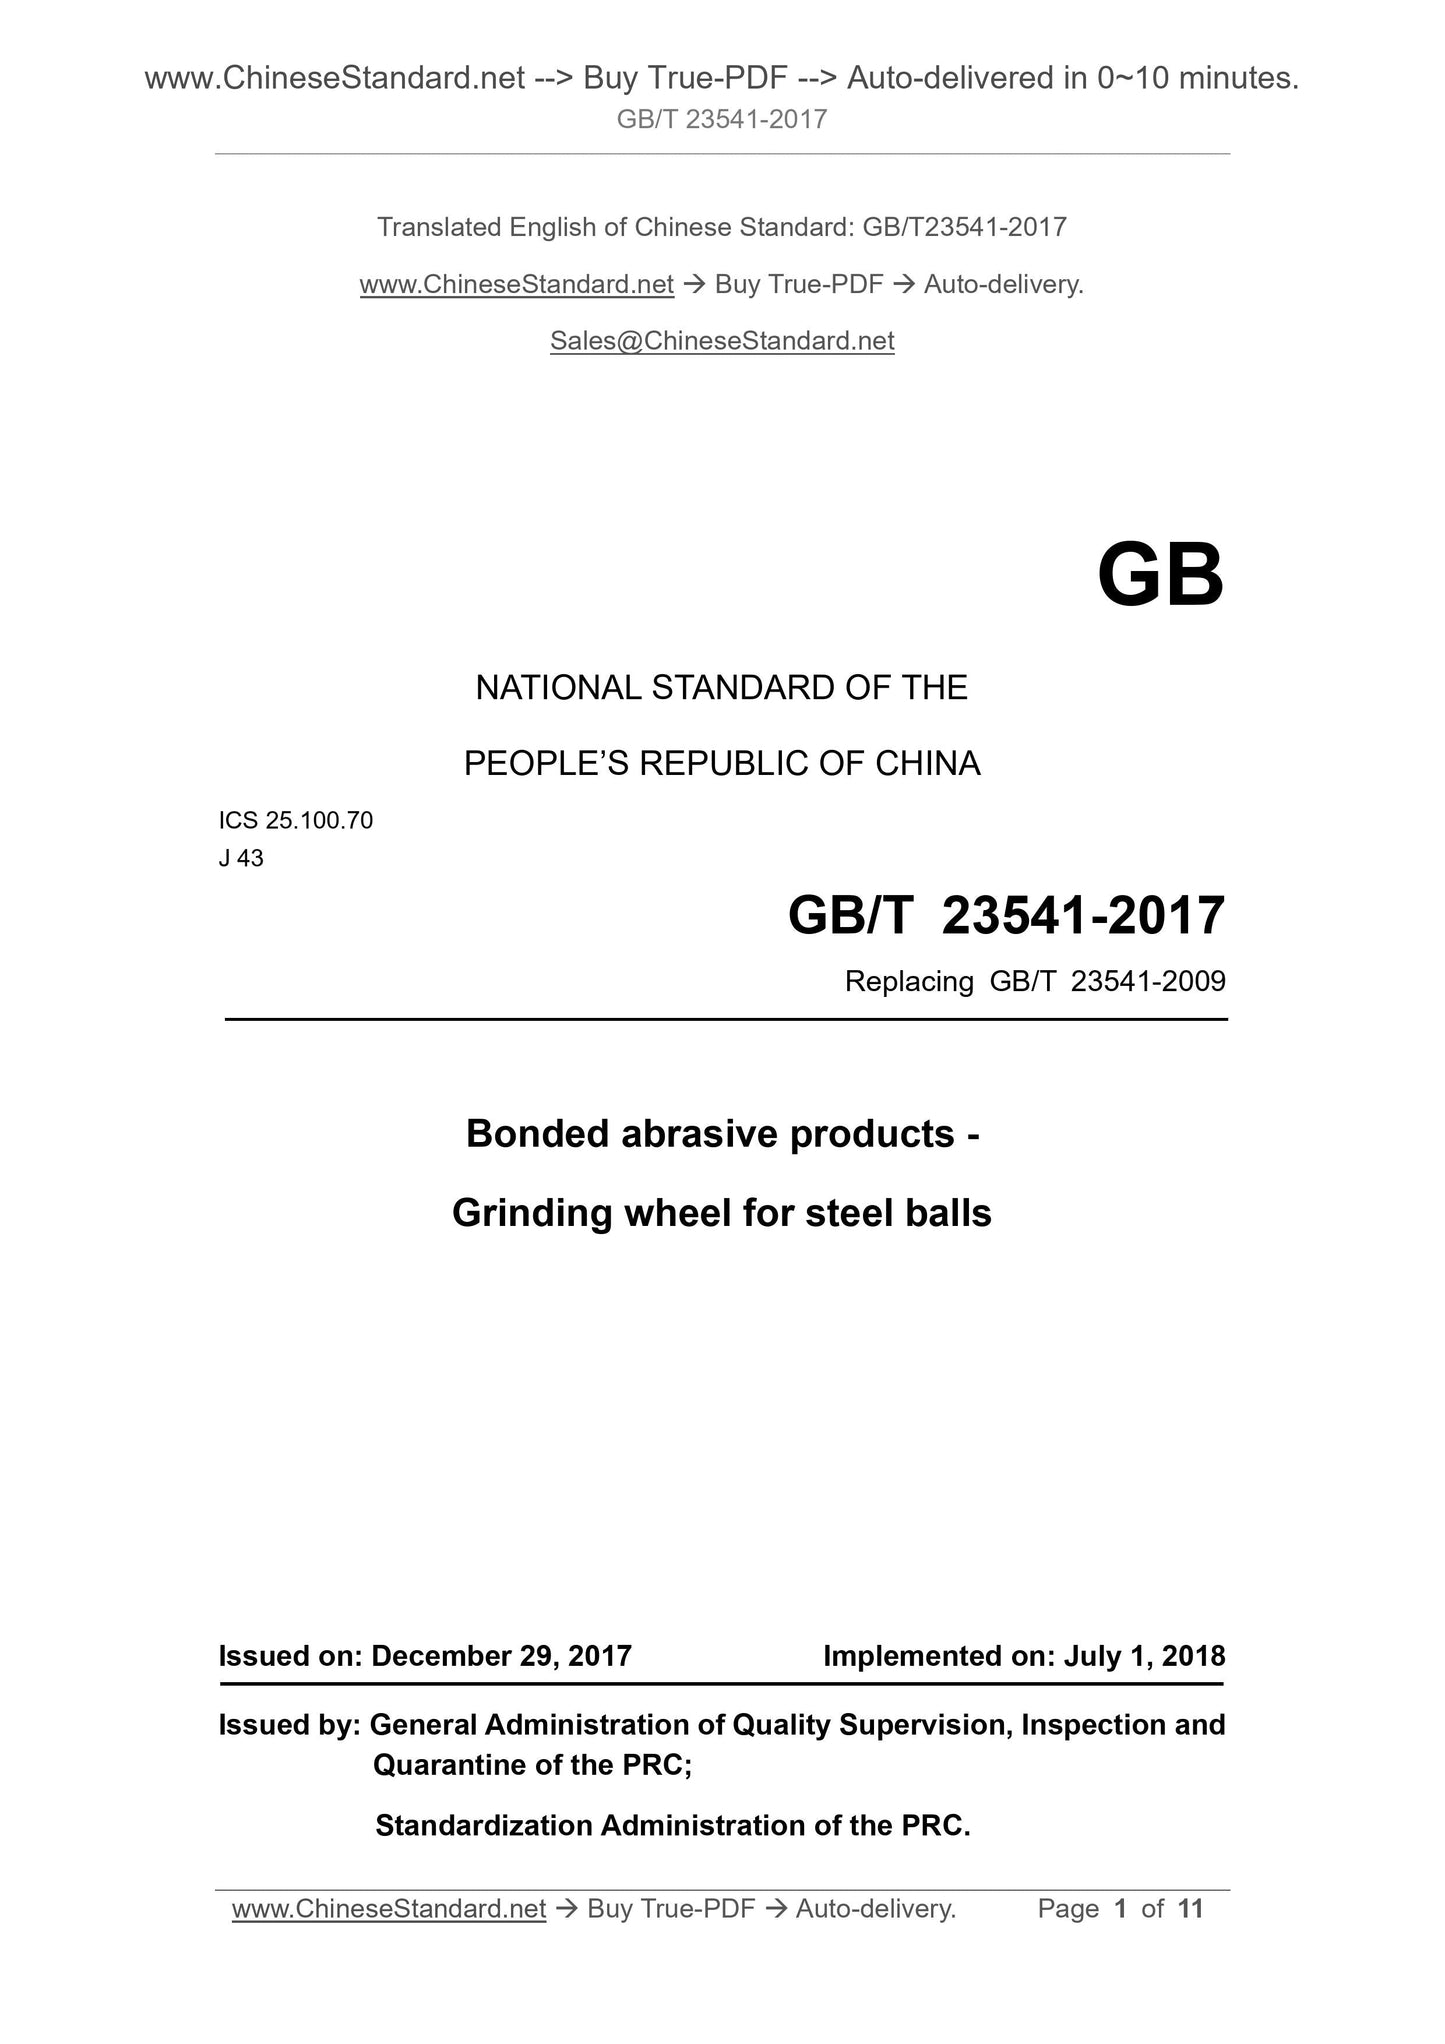
GB/T 23541-2017: Bonded abrasive products - Grinding wheel for steel balls
GB/T 23541-2017
Bonded abrasive products--Grinding wheel for steel balls
ICS 25.100.70
J43
National Standards of People's Republic of China
Replace GB/T 23541-2009
Fixed abrasive grinding steel ball grinding wheel
Released on.2017-12-29
2018-07-01 implementation
General Administration of Quality Supervision, Inspection and Quarantine of the People's Republic of China
China National Standardization Administration issued
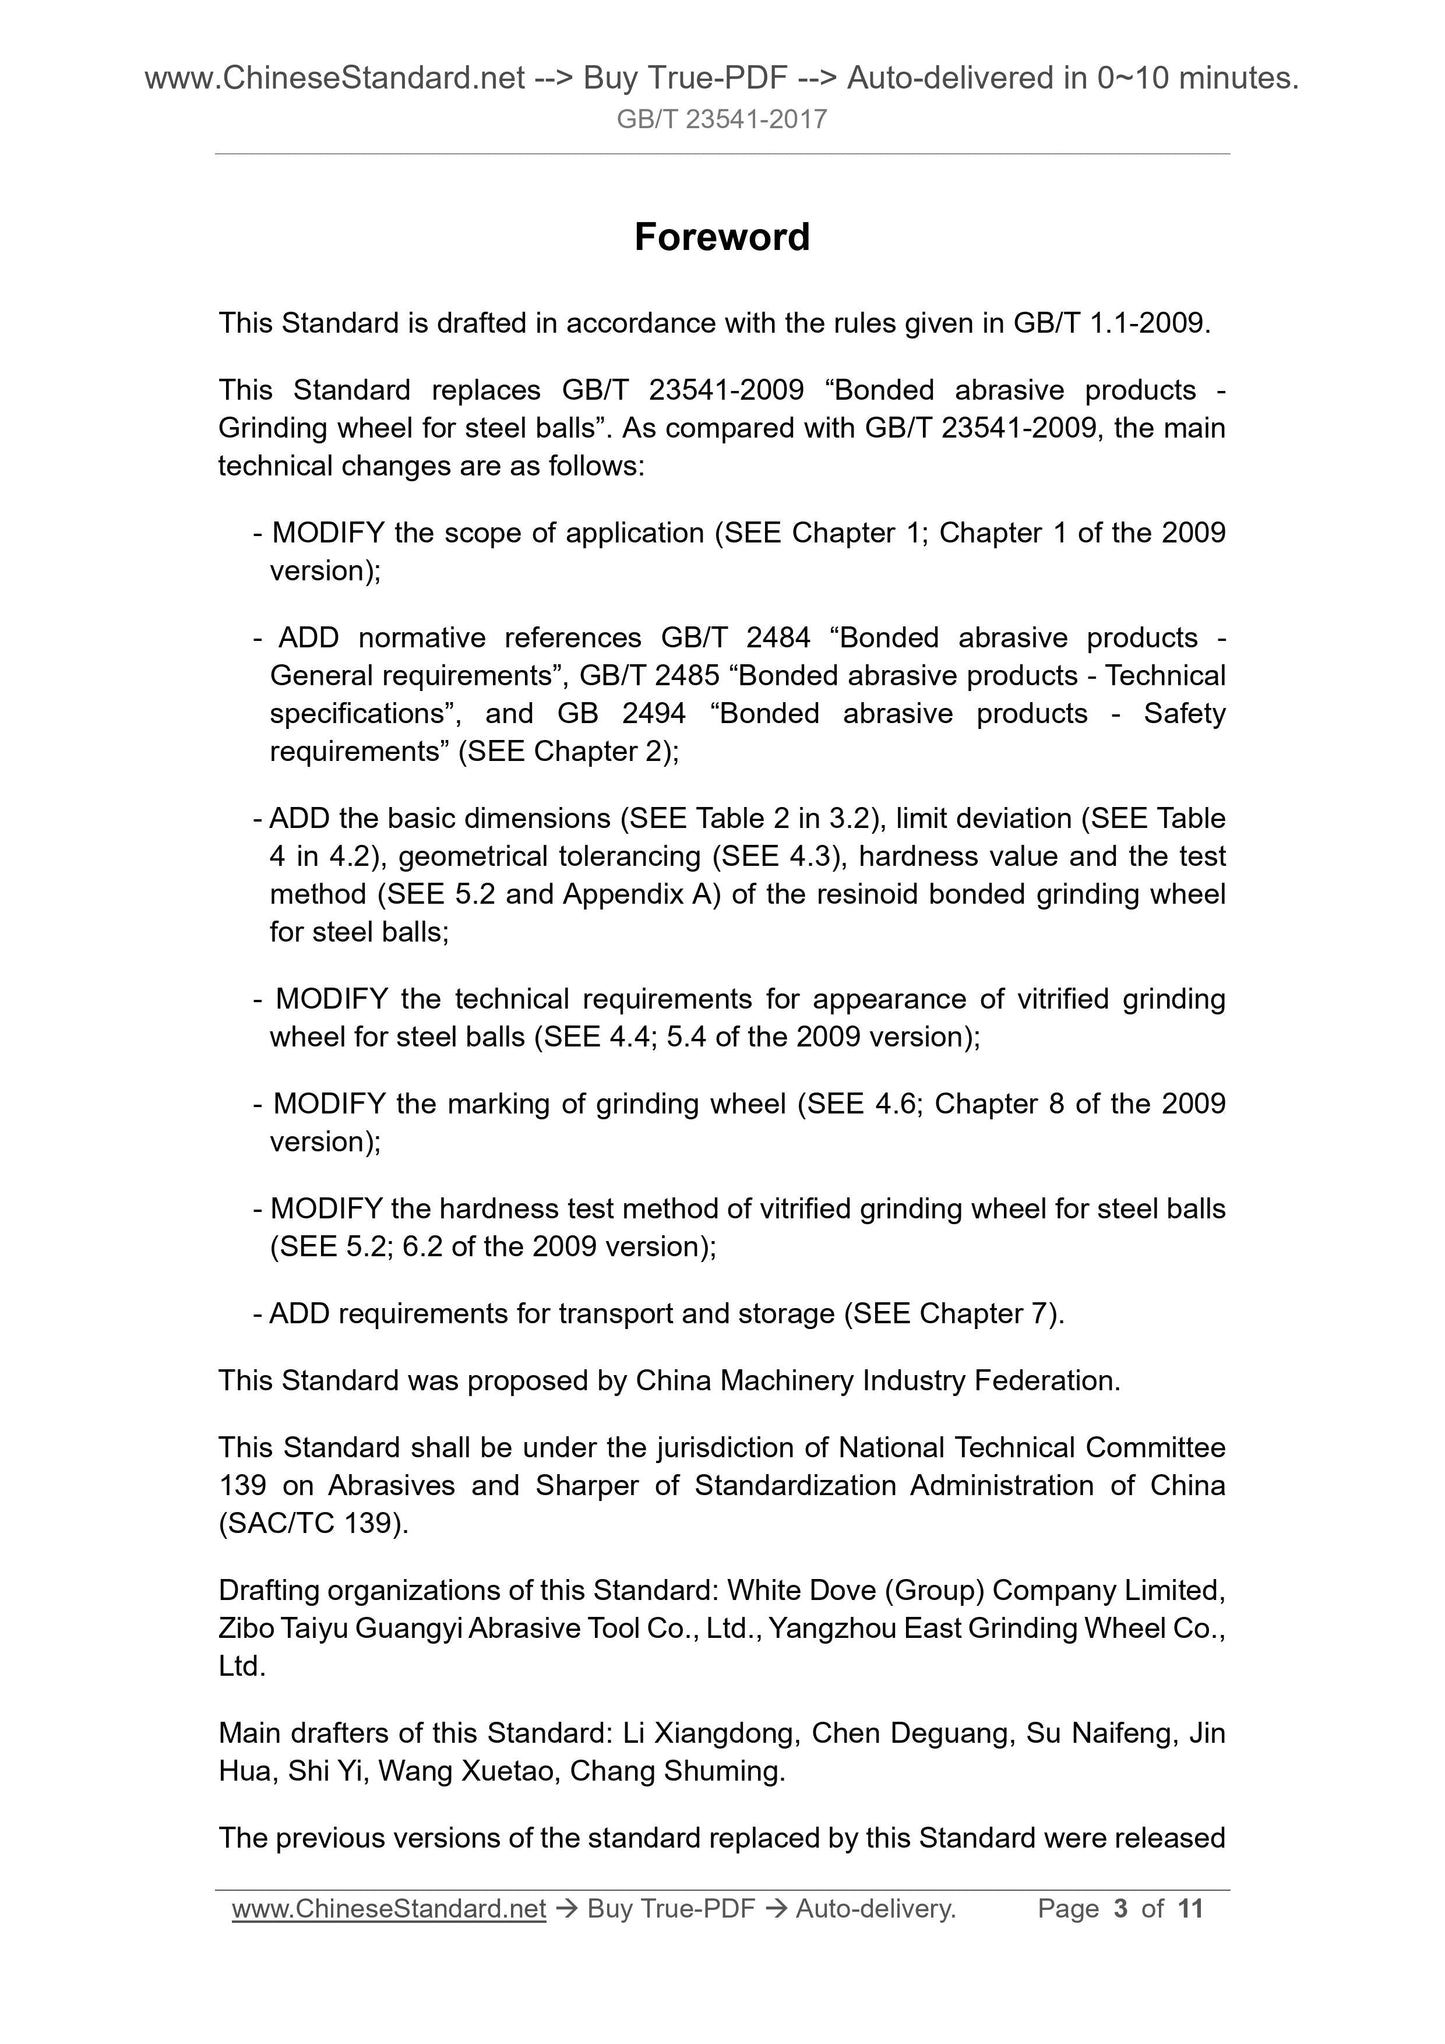
Foreword
This standard was drafted in accordance with the rules given in GB/T 1.1-2009.
This standard replaces GB/T 23541-2009 "Consolidated Abrasives Grinding Steel Ball Grinding Wheel". Main technology compared with GB/T 23541-2009
The changes are as follows.
--- Revised the scope of application (see Chapter 1, Chapter 1 of the.2009 edition);
--- Added normative reference documents GB/T 2484 "Consolidation Abrasives General Requirements", GB/T 2485 "Consolidated Abrasives Technical Articles"
And GB 2494 "Consolidation Abrasive Safety Requirements" (see Chapter 2);
--- Increased the basic dimensions of the resin bonded grinding ball grinding wheel (see Table 2 in Table 3.2) and the limit deviation (see Table 4 in Table 4), the geometrical tolerance (see
4.3), hardness values and test methods (see 5.2 and Appendix A);
--- Revised the technical requirements for the appearance of ceramic grinding ball grinding wheels (see 4.4, 5.4 of.2009 edition);
--- Modified the logo of the grinding wheel (see 4.6, Chapter 8 of the.2009 edition);
--- Revised the hardness test method of ceramic grinding ball grinding wheel (see 5.2, 6.2 of.2009 edition);
--- Increased transportation and storage requirements (see Chapter 7).
This standard was proposed by the China Machinery Industry Federation.
This standard is under the jurisdiction of the National Abrasives Standardization Technical Committee (SAC/TC139).
This standard was drafted. Baige Abrasives Co., Ltd., Zibo Taiyu Guangyu Abrasives Co., Ltd., Yangzhou Oriental Grinding Wheel Co., Ltd.
The main drafters of this standard. Li Xiangdong, Chen Deguang, Su Naifeng, Jinhua, Shi Yi, Wang Xuetao, Chang Shuming.
The previous versions of the standards replaced by this standard are.
---GB/T 23541-2009.
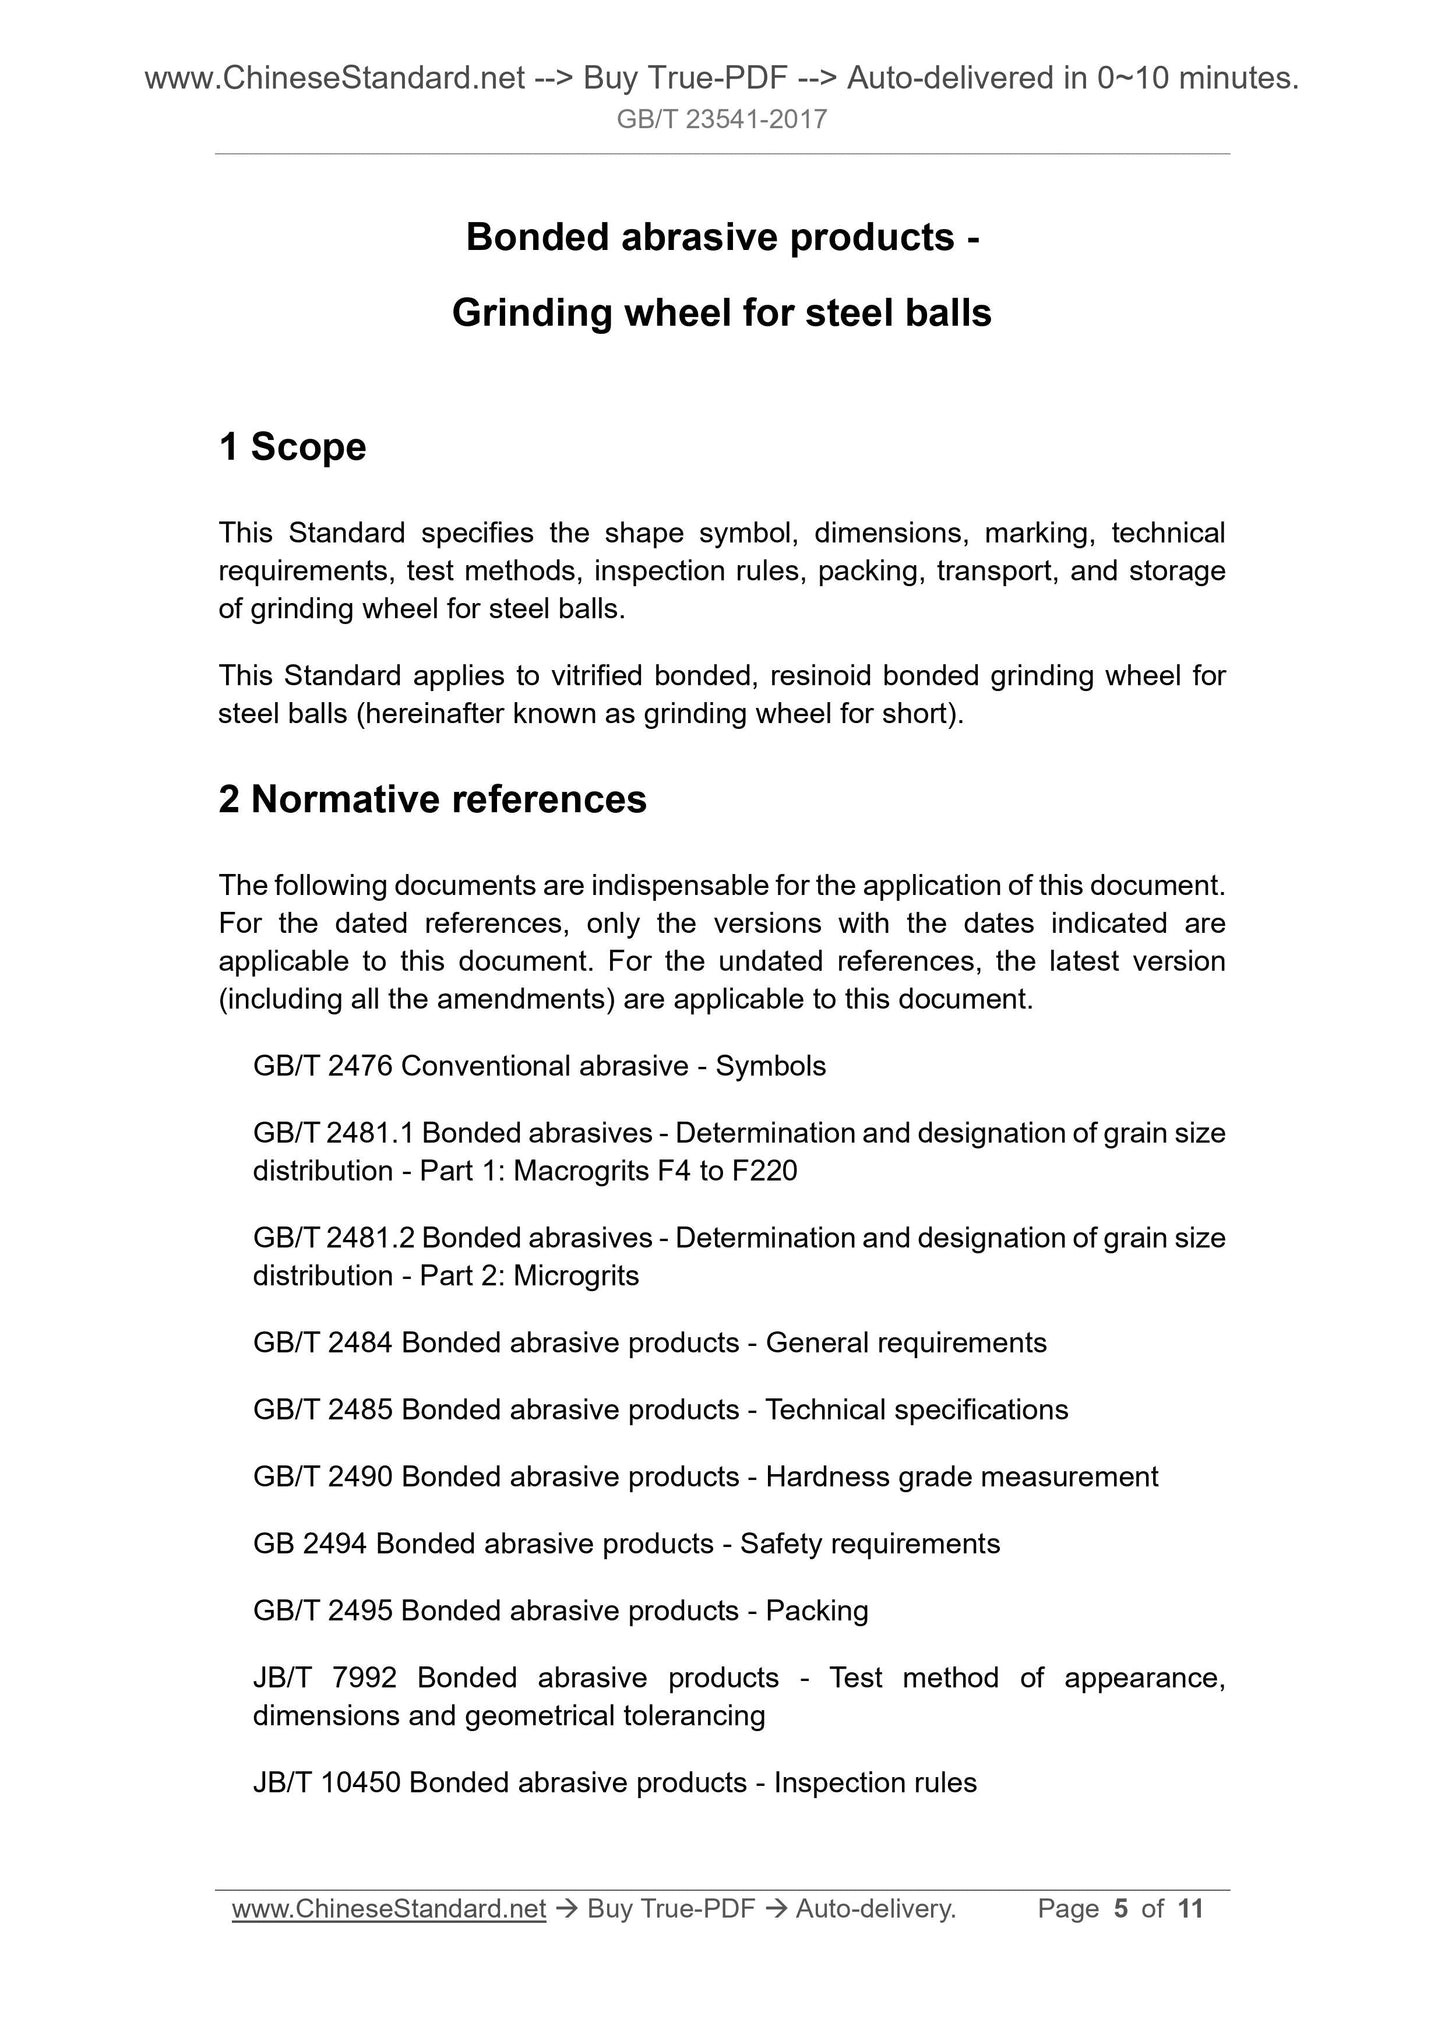
Fixed abrasive grinding steel ball grinding wheel
1 Scope
This standard specifies the shape code, size, marking, technical requirements, test methods, inspection rules, packaging, transportation and grinding of grinding balls.
Storage.
This standard applies to ceramic bond, resin bond grinding steel ball grinding wheel (hereinafter referred to as grinding wheel).
2 Normative references
The following documents are indispensable for the application of this document. For dated references, only dated versions apply to this article.
Pieces. For undated references, the latest edition (including all amendments) applies to this document.
GB/T 2476 ordinary abrasive code
GB/T 2481.1 Determination and marking of abrasive grain size of bonded abrasives - Part 1 . coarse abrasives F4~F220
GB/T 2481.2 Fixed abrasives - Determination and marking of abrasive grain size - Part 2
GB/T 2484 fixed abrasives general requirements
GB/T 2485 fixed abrasive technical conditions
GB/T 2490 bonded abrasive hardness test
GB 2494 bonded abrasive safety requirements
GB/T 2495 bonded abrasive packaging
JB/T 7992 Fixed Abrasives Appearance, Dimensions and Shape Tolerance Detection Methods
JB/T 10450 bonded abrasive inspection rules
3 shape code, size and mark
3.1 The shape of the grinding wheel is 35, see GB/T 2484.
3.2 The basic dimensions of the grinding wheel are shown in Tables 1 and 2.
Table 1 Ceramic bond grinding ball grinding wheel basic size unit is mm
Outer diameter D thickness T aperture H
560,600,650,700 100 290
720 80,100 290
800 100 290,360,420,450
Table 1 (continued) Unit is mm
Outer diameter D thickness T aperture H
820 110,140 305
900 100,140 400
Table 2 Resin bond grinding steel ball grinding wheel basic size unit is mm
Outer diameter D thickness T aperture H
400 30,40,100,140 150
400 30,40,100,140 175
400 30,40,100,140 220
660 30,40,100,140 175
660 30,40,100,140 220
660 30,40,100,140 290
700,720 40,50,100,140 290
720 40,50,100,140 360
800 30,40,50,60,70,80,100,140 290,360,420,440,450,480
900 40,50,60,70,80,100,140 360,420,440,480
3.3 The wheel mark is in accordance with GB/T 2484.
4 Technical requirements
4.1 Abrasives
Abrasive code and particle size should meet the requirements of GB/T 2476 and GB/T 2481.1, GB/T 2481.2.
4.2 Basic size limit deviation
The limit deviation of the basic dimensions of the grinding wheel is shown in Table 3 and Table 4.
Table 3 The limit deviation unit of the basic size of the ceramic bond grinding wheel is mm
Size Outer Diameter D Thickness T Aperture H
Limit deviation ±6 ±4 6-4
Table 4 The ultimate deviation of the basic dimensions of the resin bonded grinding ball grinding wheel is mm
Dimensional size range limit deviation
Outer diameter D
400~750 ±2
>750~900 ±3
Thickness T
30~50 2.0-1.0
>50~80 3.0-1.0
>80~140 ±3.0
Aperture H All ±2.0
4.3 Geometric Tolerance
The shape tolerance of the grinding wheel is shown in Table 5.
Table 5 The geometric tolerance of the grinding ball grinding wheel is in millimeters
Category parallelism flatness
Ceramic bond grinding steel ball grinding wheel 1.0
Resin bond grinding steel ball grinding wheel 0.6
0.5
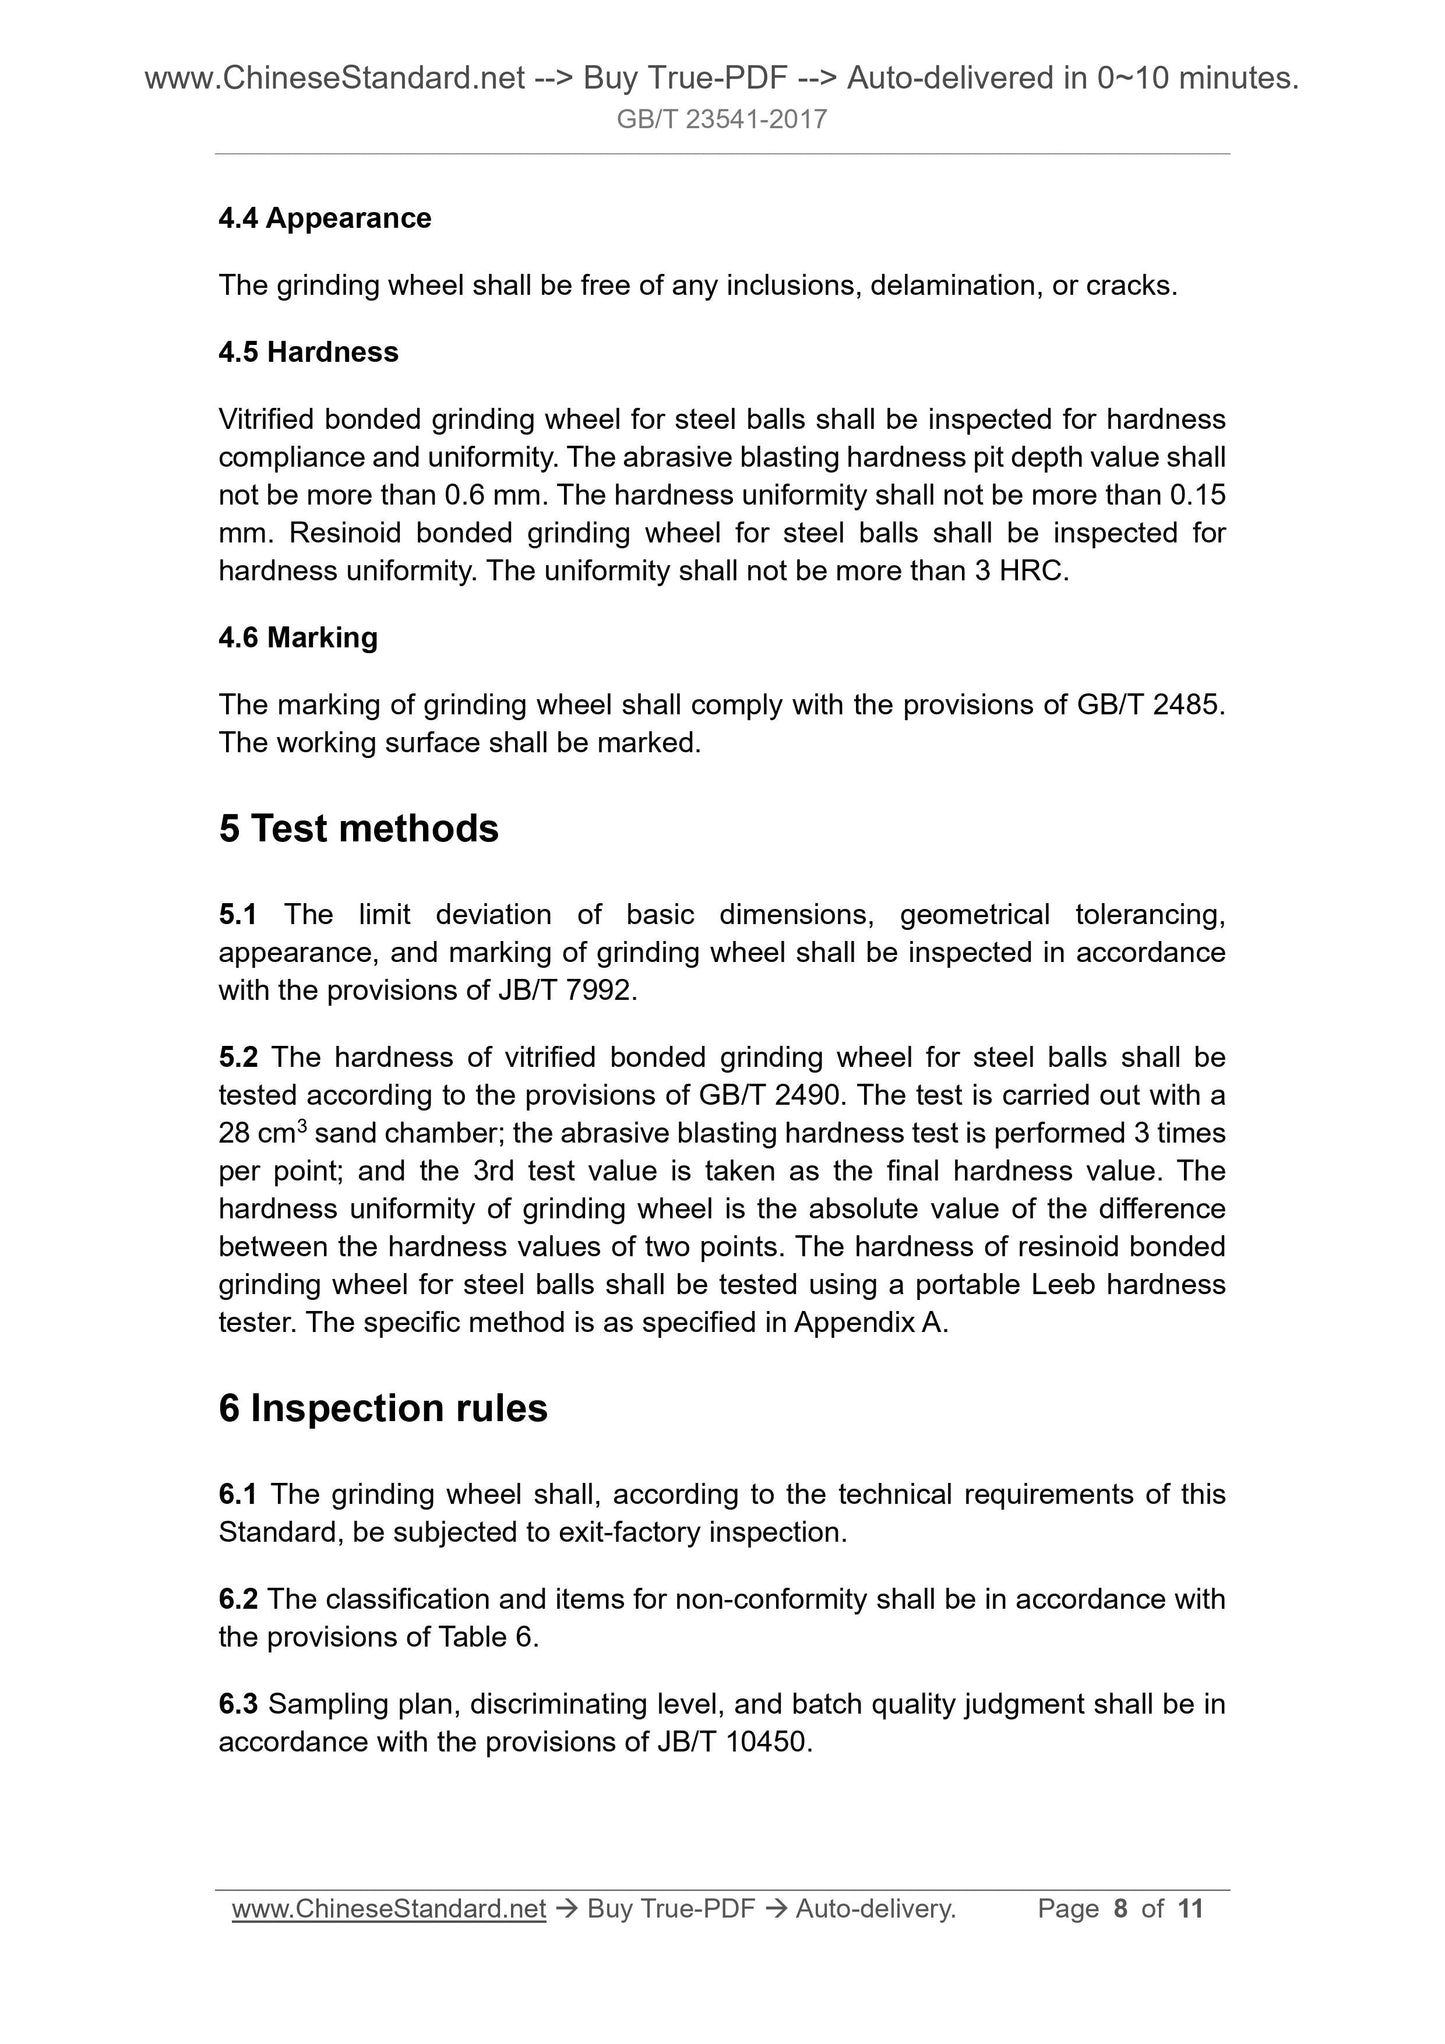
4.4 Appearance
The grinding wheel must not have any inclusions, layers or cracks.
4.5 Hardness
The ceramic bond grinding wheel should be tested for hardness compliance and uniformity. The depth of the blasting hardness pit is not more than 0.6mm.
The uniformity is not more than 0.15 mm. The resin bond grinding steel ball grinding wheel should be tested for uniformity of hardness, and the uniformity is not more than 3HRC.
4.6 mark
The marking of the grinding wheel shall comply with the provisions of GB/T 2485 and the working surface shall be marked.
5 Test methods
5.1 The limit deviation, shape tolerance, appearance and marking of the basic dimensions of the grinding wheel shall be inspected in accordance with JB/T 7992.
5.2 Ceramic bond grinding steel ball grinding wheel hardness according to GB/T 2490 regulations, with 28cm3 sand chamber for inspection, 3 times per point sandblasting hard
Degree detection, the third detection value is the final hardness value. The hardness uniformity of the grinding wheel is the absolute value of the difference between the two hardness values. Resin bond grinding
The hardness of the steel ball grinding wheel is tested by a portable Leeb hardness tester. The specific method is as specified in Appendix A.
6 Inspection rules
6.1 The grinding wheel shall be factory tested according to the technical requirements of this standard.
6.2 Unqualified classification and items are as specified in Table 6.
6.3 Sampling plan, discriminating level and batch quality judgment shall be in accordance with JB/T 10450.
Table 6 Unqualified classification and project
Unqualified classification project
Class B unqualified inclusions, delamination, cracks, parallelism, flatness, hardness, marking
Class C unqualified outer diameter, thickness, and diameter
7 Packaging, transportation and storage
7.1 The packaging and transportation of the grinding wheel shall comply with the provisions of GB/T 2495.
7.2 The storage of the grinding wheel shall comply with the provisions of GB 2494.
Appendix A
(normative appendix)
Resin bond grinding steel ball grinding wheel hardness test method
A.1 Inspection equipment
Portable Leeb hardness tester.
A.2 Instrument calibration requirements
The portable Leeb hardness tester shall be calibrated before the test using the corresponding standard hardness block. The indication error and repeatability are not greater than Table A.1.
Provisions.
Table A.1 Error and repeatability of the Leeb hardness tester
Impact device type Leeb hardness value indication error repeatability
D type 490~830HLD ±12HLD 12HLD
DC type 490~830HLDC ±12HLDC 12HLDC
G type 460~630HLG ±12HLG 12HLG
Type C 550~890HLC ±12HLC 12HLC
A.3 Inspection procedures
A.3.1 Open the portable Leeb hardness tester and insert the impact device wire into the impact device socket.
A.3.2 Adjust the hardness display according to the measurement needs (for example, HRC. Rockwell C hardness), adjust the impact direction “↓” (vertical downward), adjust
The material code shows "1" (steel and cast iron).
A.3.3 Push the impact sleeve of the impact device down or otherwise lock the impact body.
A.3.4 Press the impact device support ring against the surface of the specimen, and the direction of impact should be perpendicular to the test surface.
A.3.5 Press the impact device release button smoothly.
A.3.6 Read the hardness indication.
A.4 Inspection requirements
A.4.1 Resin bond grinding steel ball grinding surface test surface needs to be processed, requiring smooth and smooth.
A.4.2 The grinding wheel is placed flat and the supporting surface is fixed firmly and must not be shaken.
A.4.3 When measuring, measure 4 times perpendicular to each other at 1/2 of the width of the grinding wheel ring, and read the indication value as the hardness value.
A.4.4 The hardness uniformity of the grinding wheel is the difference between the maximum and minimum values of the four hardness values.

View full details