Skip to product information
1 of 9

PayPal, credit cards. Download editable-PDF and invoice in 1 second!

GB/T 224-2019 English PDF (GBT224-2019)

GB/T 224-2019 English PDF (GBT224-2019)

Regular price $145.00 USD
Regular price Sale price $145.00 USD
Sale Sold out
Shipping calculated at checkout.
Delivery: 3 seconds. Download true-PDF + Invoice.
Get Quotation: Click GB/T 224-2019 (Self-service in 1-minute)
Historical versions (Master-website): GB/T 224-2019
Preview True-PDF (Reload/Scroll-down if blank)

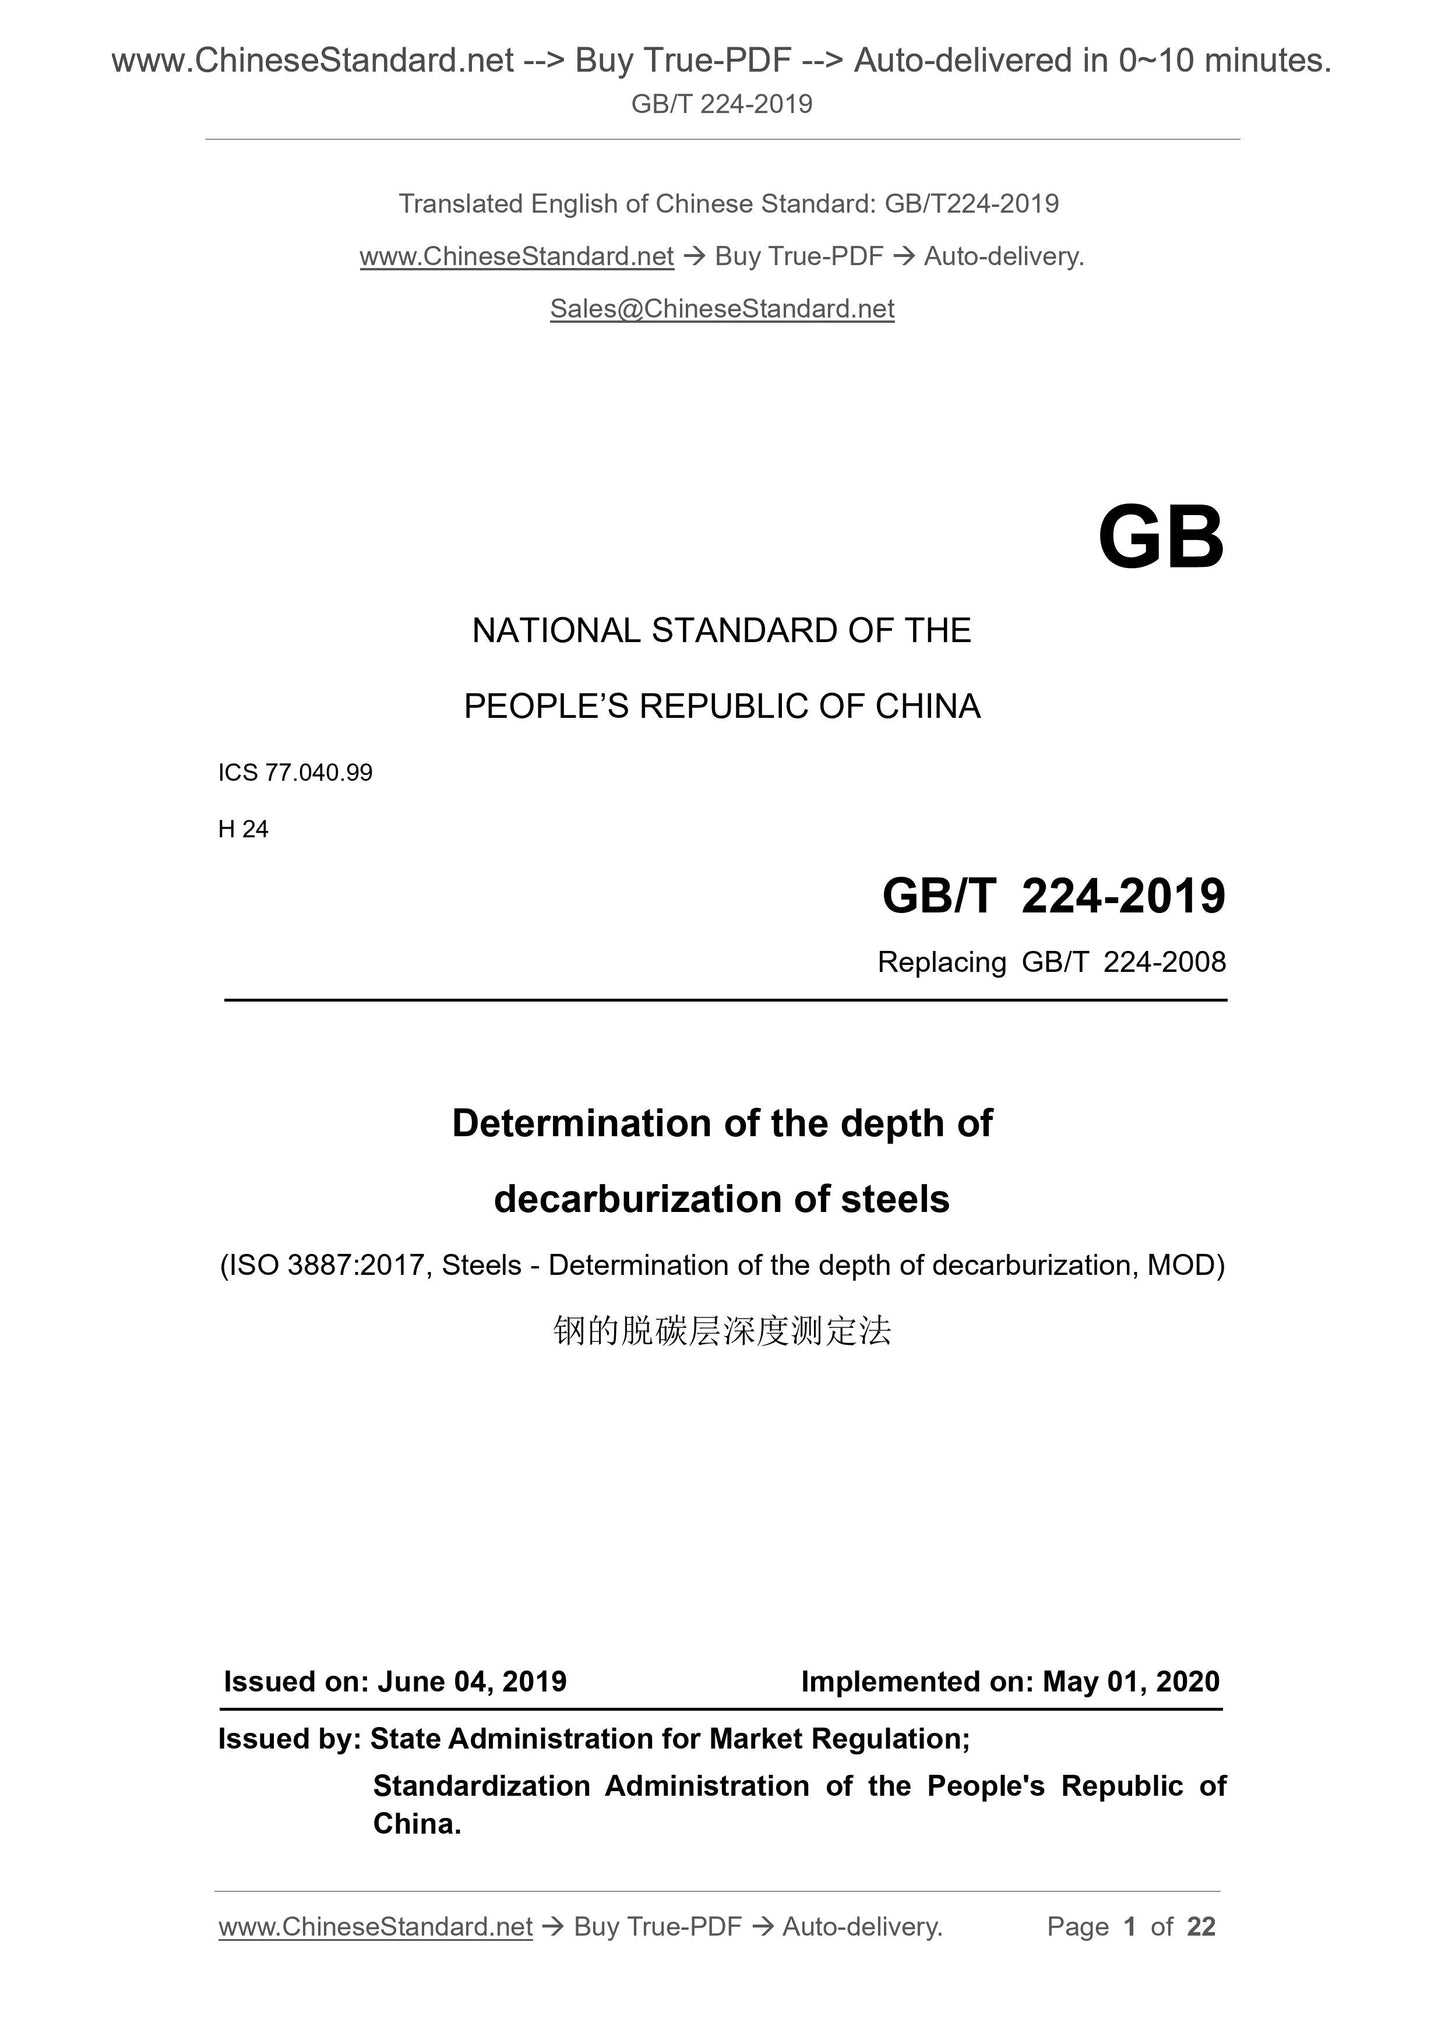
GB/T 224-2019: Determination of the depth of decarburization of steels
GB/T 224-2019
(Steel decarburization depth measurement)
ICS 77.040.99
H24
National Standards of People's Republic of China
Replace GB/T 224-2008
Steel decarburization depth measurement
(ISO 3887.2017, Steels-Determinationofthe
Depthofdecarburization, MOD)
Published on.2019-06-04
2020-05-01 implementation
State market supervision and administration
China National Standardization Administration issued
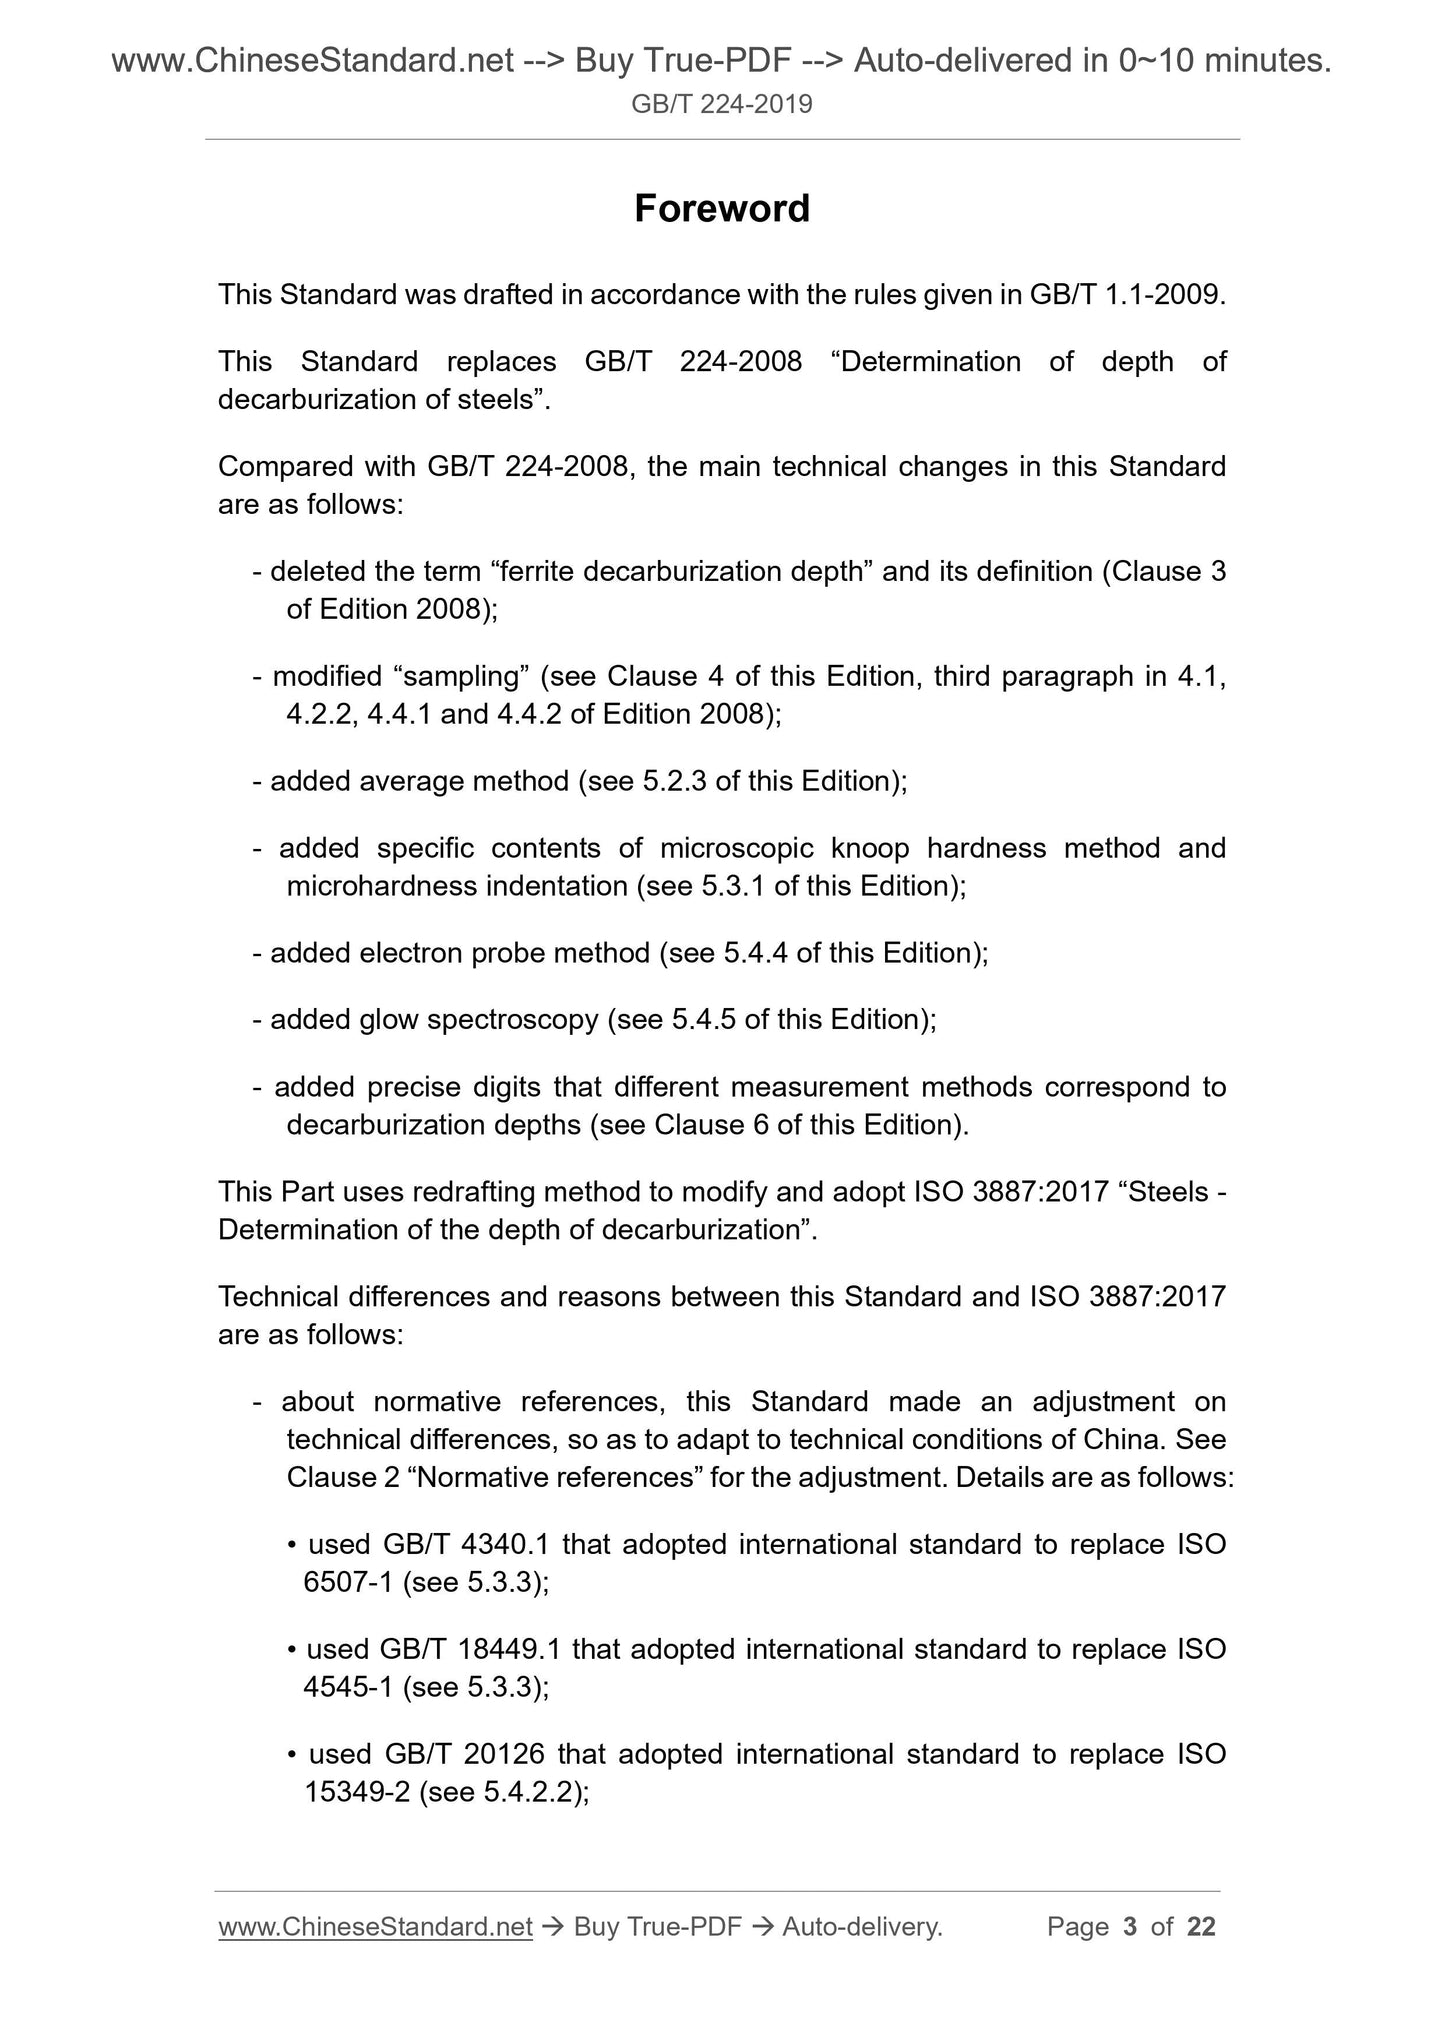
Foreword
This standard was drafted in accordance with the rules given in GB/T 1.1-2009.
This standard replaces GB/T 224-2008 "Decarburization Depth Determination Method for Steel".
Compared with GB/T 224-2008, the main technical contents of this standard are as follows.
--- Removed the term "ferrite decarburization depth" and its definition (Chapter 3 of the.2008 edition);
--- Modified "sampling" (see Chapter 4, paragraphs 4.1, 4.2.2, 4.4.1 and 4.4.2 of the.2008 edition);
--- Increased the averaging method (see 5.2.3);
--- Increased the specific method of microscopic Knoop hardness method and microhardness indentation (see 5.3.1);
--- Added electron probe method (see 5.4.4);
--- Added glow spectroscopy (see 5.4.5);
--- Increased the exact number of bits for the decarburization depth of different measurement methods (see Chapter 6).
This standard uses the redrafting method to modify the ISO 3887.2017 "Determination of Decarburization Depth of Steel".
The technical differences between this standard and ISO 3887.2017 and their reasons are as follows.
---About the normative reference documents, this standard has made technical adjustments to adapt to China's technical conditions, adjustments
The situation is reflected in Chapter 2, “Regulatory Citations”, and the specific adjustments are as follows.
● Replace ISO 6507-1 with GB/T 4340.1 modified to international standards (see 5.3.3);
● Replace ISO 4545-1 with GB/T 18449.1 for modified international standards (see 5.3.3);
● Replace ISO 15349-2 with GB/T 20126, which is equivalent to the international standard (see 5.4.2.2);
● Replace ISO 14707 with GB/T 19502 equivalent to the international standard (see 5.4.5.1);
● Added references to GB/T 30067 (see Chapter 3), GB/T 13298 (see 5.2.2), GB/T 15247 (see 5.4.2.3),
GB/T 4336 (see 5.4.3.2), GB/T 22368 (see 5.4.5.1);
--- Added the requirements for the state of the sample in Chapter 4 "Sampling" (see 4.1). The state of the sample has a great influence on the depth of the decarburization layer.
Status requirements to avoid quality disputes;
--- Added the requirements and sampling diagram of the large sample "total detection circumference of not less than 35mm" in Chapter 4 "Sampling" (see 4.3 and
Figure 2~4), GB/T 224-2008 version has this part, which improves the operability of sampling;
--- Increased the total depth of the total decarburization layer in the deepest part of the measurement of bearing steel, tool steel and spring steel (see 5.2.3.1), GB/T 224-2008
The version has this part, which is applicable to China's national conditions;
--- Removed ISO 3887. 5.4.4 of.2017, the contents of which are listed in 5.4.2.3 and 5.4.3.3 respectively;
--- Revised 5.2.2 chemical analysis method and 5.4.3 direct reading spectral analysis method in the test results (see 5.4.2.3), to maintain
The GB/T 224-2008 version is consistent and applicable to China's national conditions.
This standard has made the following editorial changes.
--- To be consistent with the existing standard series, change the standard name to "Decarburization Depth Determination of Steel";
--- Increased the metallographic structure of the surface decarburization of GCr15 (see Figure A.3).
This standard was proposed by the China Iron and Steel Association.
This standard is under the jurisdiction of the National Steel Standardization Technical Committee (SAC/TC183).
This standard was drafted. Iron and Steel Research Institute, Shougang Group Co., Ltd., Jiangyin Xingcheng Special Steel Co., Ltd., Jiangsu Yonggang Group
Limited Company, Tianjin Iron and Steel Group Co., Ltd., Metallurgical Industry Information Standards Institute, Heye Technology Co., Ltd.
The main drafters of this standard. Li Jikang, Yan Xinhua, Yan Yan, Wang Chunfang, Yan Chunlian, Gu Linfeng, Hou Xinghui, Liu Ying, Xu Qian, Zhang Beibei.
The previous versions of the standards replaced by this standard are.
---GB 224-1963, GB 224-1978, GB/T 224-1987, GB/T 224-2008.
Steel decarburization depth measurement
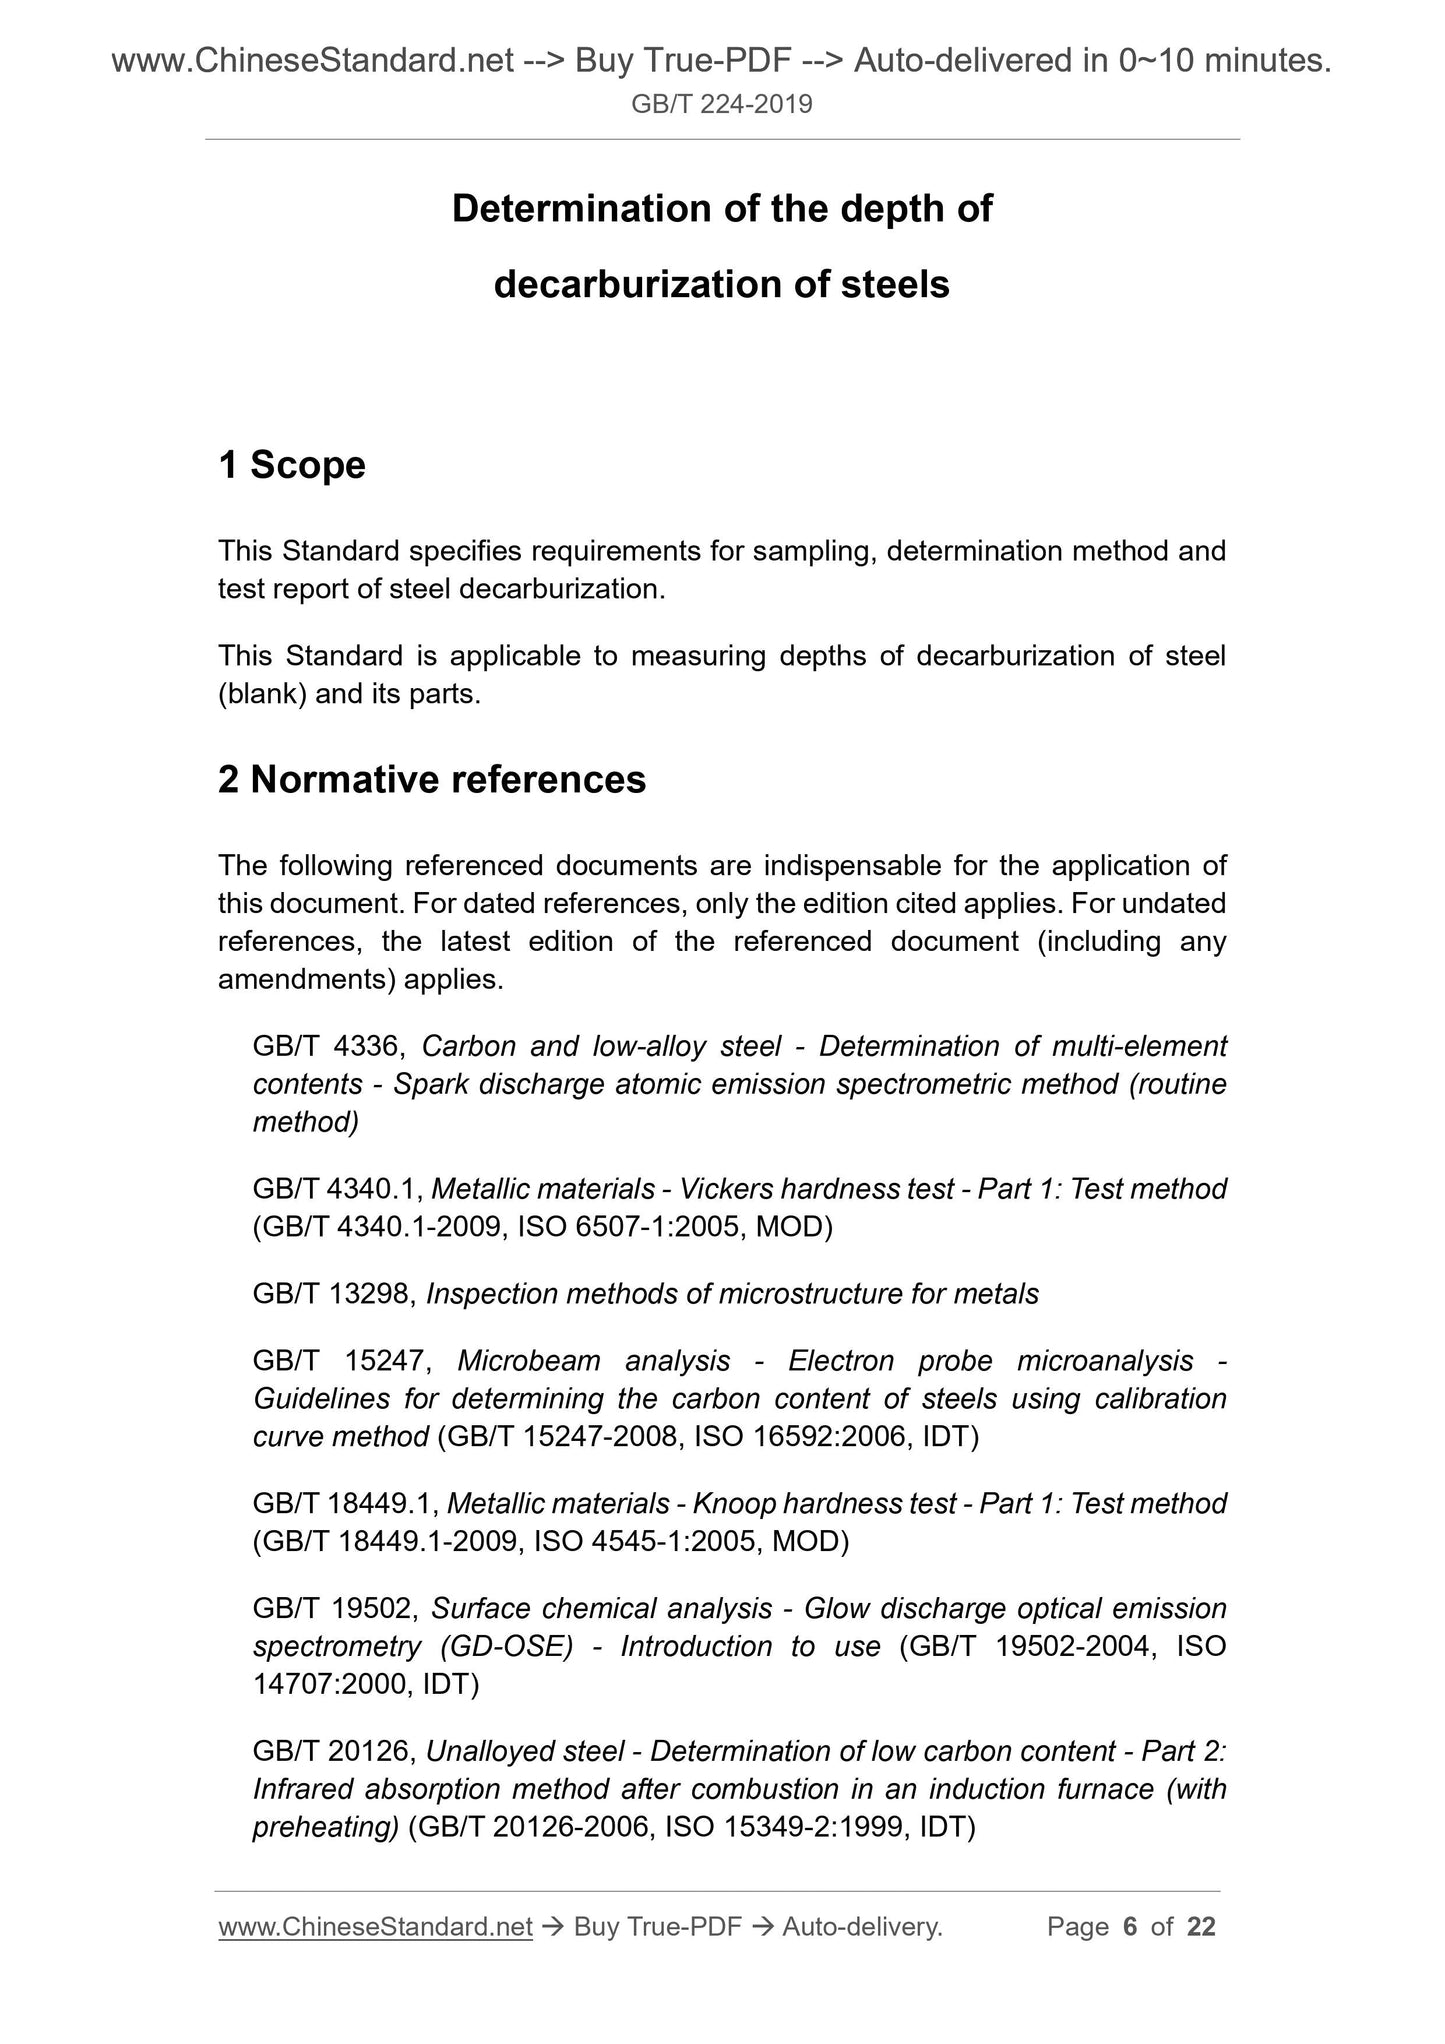
1 Scope
This standard specifies the sampling, determination methods and test report requirements for the decarburization layer of steel.
This standard applies to the determination of the decarburization depth of steel (blank) and its parts.
2 Normative references
The following documents are indispensable for the application of this document. For dated references, only dated versions apply to this article.
Pieces. For undated references, the latest edition (including all amendments) applies to this document.
GB/T 4336 Determination of multi-element content of carbon steel and medium-low alloy steels by spark discharge atomic emission spectrometry (conventional method)
GB/T 4340.1 Metallic materials - Vickers hardness test - Part 1. Test method (GB/T 4340.1-2009,
ISO 6507-1.2005, MOD)
GB/T 13298 metal microstructure inspection method
GB/T 15247 Microbeam analysis electron probe microanalysis for the determination of carbon content in steel calibration curve method (GB/T 15247-
2008, ISO 16592.2006, IDT)
GB/T 18449.1 Metallic materials - Knoop hardness test - Part 1. Test methods (GB/T 18449.1-2009,
ISO 4545-1.2005, MOD)
GB/T 19502 General rules for surface chemical analysis of glow discharge emission spectroscopy (GB/T 19502-2004, ISO 14707.
2000, IDT)
GB/T 20126 Determination of low carbon content of non-alloy steels - Part 2. Infrared absorption method after combustion in induction furnaces (preheated)
(GB/T 20126-2006, ISO 15349-2.1999, IDT)
GB/T 22368 Determination of multi-element content of low-alloy steels by glow discharge atomic emission spectrometry (conventional method)
GB/T 30067 Metallographic terminology
ISO 9556 Determination of total carbon content of steels - Infrared absorption method after induction furnace combustion (Steelandiron-Determinationof
totalcarboncontent-Infraredabsorptionmethodaftercombustioninaninductionfurnace)
ISO 14594 Microbeam Analysis Electron Probe Microanalysis Guidelines for Setting Experimental Parameters of Wavelength Discrete Spectrometers (Microbeam
analysis-Electronprobemicroanalysis-Guidelinesforthedeterminationofexperimentalparameters
Forwavelengthdispersivespectroscopy)
3 Terms and definitions
The following terms and definitions defined in GB/T 30067 apply to this document.
3.1
Decarburization decarburization
Loss of carbon on the steel surface. This loss of carbon includes.
a) Partial decarburization partialdecarburization, the carbon content on the surface of the steel sample is reduced below the carbon content of the substrate, and greater than room temperature
The carbon solid solution limit in ferrite;
b) Complete decarburization completedecarburization, also called ferrite decarburization layer, sample surface carbon content level is lower than carbon in ferrite
The maximum solid solubility in the body, only ferrite exists.
Note. The complete decarburization layer described in b) has only ferrite structure and is determined by metallographic method.
3.2
Effective depth of decarburization depth offunctional decarburization
The distance from the surface of the sample to the point of the specified carbon content or hardness level, the specified carbon content or hardness level should not be affected by decarburization
The performance is subject to the performance (for example, the minimum carbon content specified in the product standard).
3.3
Total depth of decarburization depth oftotaldecarburization
The distance from the surface of the sample to the point where the carbon content is equal to the carbon content of the substrate is equal to the sum of partial decarburization and complete decarburization.
Different decarburization zones are shown in Figure 1.
Note. If the product is carburized, the definition of “matrix” is agreed upon by the parties concerned. The depth of the allowed decarburization layer will be included in the product technical standard, or
The parties concerned agreed.
Description.
D1---the depth of the complete decarburization layer in millimeters (mm);
D2---effective decarburization depth, in millimeters (mm);
D3--- Partial decarburization depth, in millimeters (mm);
D4---the total decarburization depth, in millimeters (mm);
a --- the minimum carbon content specified in the product standard;
b --- Matrix carbon content.
Note. The demarcation line for different decarburization types is shown as a shaded band, and the shaded band width represents the actual difference due to uncertainty during the measurement.
Figure 1 Schematic diagram of typical decarburization
4 sampling
4.1 Specimens shall be inspected under delivery and no further heat treatment is required. If it is agreed by the parties concerned that additional heat treatment is required,
Pay attention to prevent changes in carbon distribution and mass fraction, for example. using small samples, short austenitizing time, neutral protective gas
Atmosphere.
4.2 The sample shall be representative. The number and location of samples should be determined based on material characteristics and agreement between the supplier and the buyer.
4.3 The test surface of the sample shall be perpendicular to the longitudinal axis of the product. If the product has no longitudinal axis, the selection of the test surface of the sample shall be agreed upon by the parties concerned. For small feet
Inch samples (such as round steel with a nominal diameter of not more than 25 mm or square steel with a side length of not more than 20 mm) shall be tested for the entire perimeter. For large size
Products (such as round steel with a nominal diameter of more than 25mm or square steel with a side length greater than 20mm), in order to ensure the representativeness of the sampling, the same sample can be intercepted
One or several parts of the section, and the total detection circumference is not less than 35mm (see Figure 2 ~ Figure 4). But do not choose polygon products
The edge of the corner or the point of decarburization is extremely deep.
Figure 2 Typical sampling method for round bars of different specifications
Figure 3 Typical sampling method for different specifications of square steel
Description.
L --- length;
W---width;
A---The area of the inspection surface of the steel plate or rectangular specimen.
Figure 4 Typical sampling method for steel plates and rectangular steel
4.4 Chemical analysis Specimens shall be of sufficient length to ensure that the chemical analysis continuously increases the amount of scraps, or that there should be sufficient area to meet
The area of the spectral analysis.
5 Determination method
5.1 General
5.1.1 The choice of measurement method and its accuracy depend on the degree of decarburization, microstructure, carbon content and shape of the part. finally
Products typically measure the decarburization depth using the following methods.
a) metallographic method (see 5.2);
b) Microhardness method (see 5.3), which can be Vickers hardness or Knoop hardness;
c) carbon content determination method, which can be analyzed by chemical analysis (see 5.4.2), direct reading spectroscopy (see 5.4.3), electron probe method (see 5.4.4) or
Glow spectroscopy (see 5.4.5).
5.1.2 The measurement methods in 5.1.1 have their application range, and the method used is determined by the product standard or by mutual agreement. Not clear
The metallographic method is used when prescribed.
5.2 Metallographic method
5.2.1 Overview
The method is to observe the change of the tissue from the surface to the substrate as a function of the carbon content under an optical microscope, and is suitable for use in the method.
Steel grades with annealed or normalized (ferritic-pearlite) structures may also be conditionally used in those hardened, tempered, rolled or forged states.
product.
5.2.2 Preparation of samples
The sample shall be ground and polished according to GB/T 13298, but the edge of the sample shall not be allowed to be rounded or curled. For this purpose, the sample may be inlaid or solid.
Set in the holder. If necessary, the surface of the test specimen can be plated with a layer of metal to protect it. Automatic or semi-automatic sample preparation is recommended
technology. It is usually etched with 1.5% to 4% nitric acid solution or 2% to 5% picric acid ethanol solution to show the steel structure.
5.2.3 Determination
5.2.3.1 Determination of total decarburization layer
In general, the observed tissue differences are distinguished by the relative amount of ferrite and other tissue constituents in the hypoeutectoid steel.
In hypereutectoid steel, the carbide content is differentiated from the reduction of the matrix. For hardened or quenched tempered structures, when carbon is contained
When the amount of change causes a significant change in the tissue, the method can also be used for measurement. For example. if the sample is subjected to spheroidizing annealing, according to the partial decarburization zone
The change in carbide content is used to determine the depth of the total decarburization layer; for heat treated specimens, the presence of non-martensitic structures in the partially decarburized zone is used to determine total desorption
Carbon layer depth; can also be determined according to the reduction of hypereutectoid carbides and pearlite or the amount of carbides on the ferrite matrix;
The decarburization depth of the high alloy spheroidized annealed tool steel can be determined by the change in corrosion color.
Observing and quantitatively measuring from the surface to its tissue and matrix by means of a microscopic eyepiece or by means of a metallographic image analysis system
The distance of that point.
The choice of magnification depends on the depth of the decarburization layer. If the buyer does not have special provisions, the tester chooses. Recommended to be observed
The maximum mul...
View full details