Skip to product information
1 of 7

www.ChineseStandard.us -- Field Test Asia Pte. Ltd.

GB/T 1954-2008 English PDF (GB/T1954-2008)

GB/T 1954-2008 English PDF (GB/T1954-2008)

Regular price $145.00
Regular price Sale price $145.00
Sale Sold out
Shipping calculated at checkout.
GB/T 1954-2008: Methods of measurement for ferrite content in austenitic Cr-Ni stainless steel weld metals
Delivery: 9 seconds. Download (& Email) true-PDF + Invoice.
Get Quotation: Click GB/T 1954-2008 (Self-service in 1-minute)
Historical versions (Master-website): GB/T 1954-2008
Preview True-PDF (Reload/Scroll-down if blank)

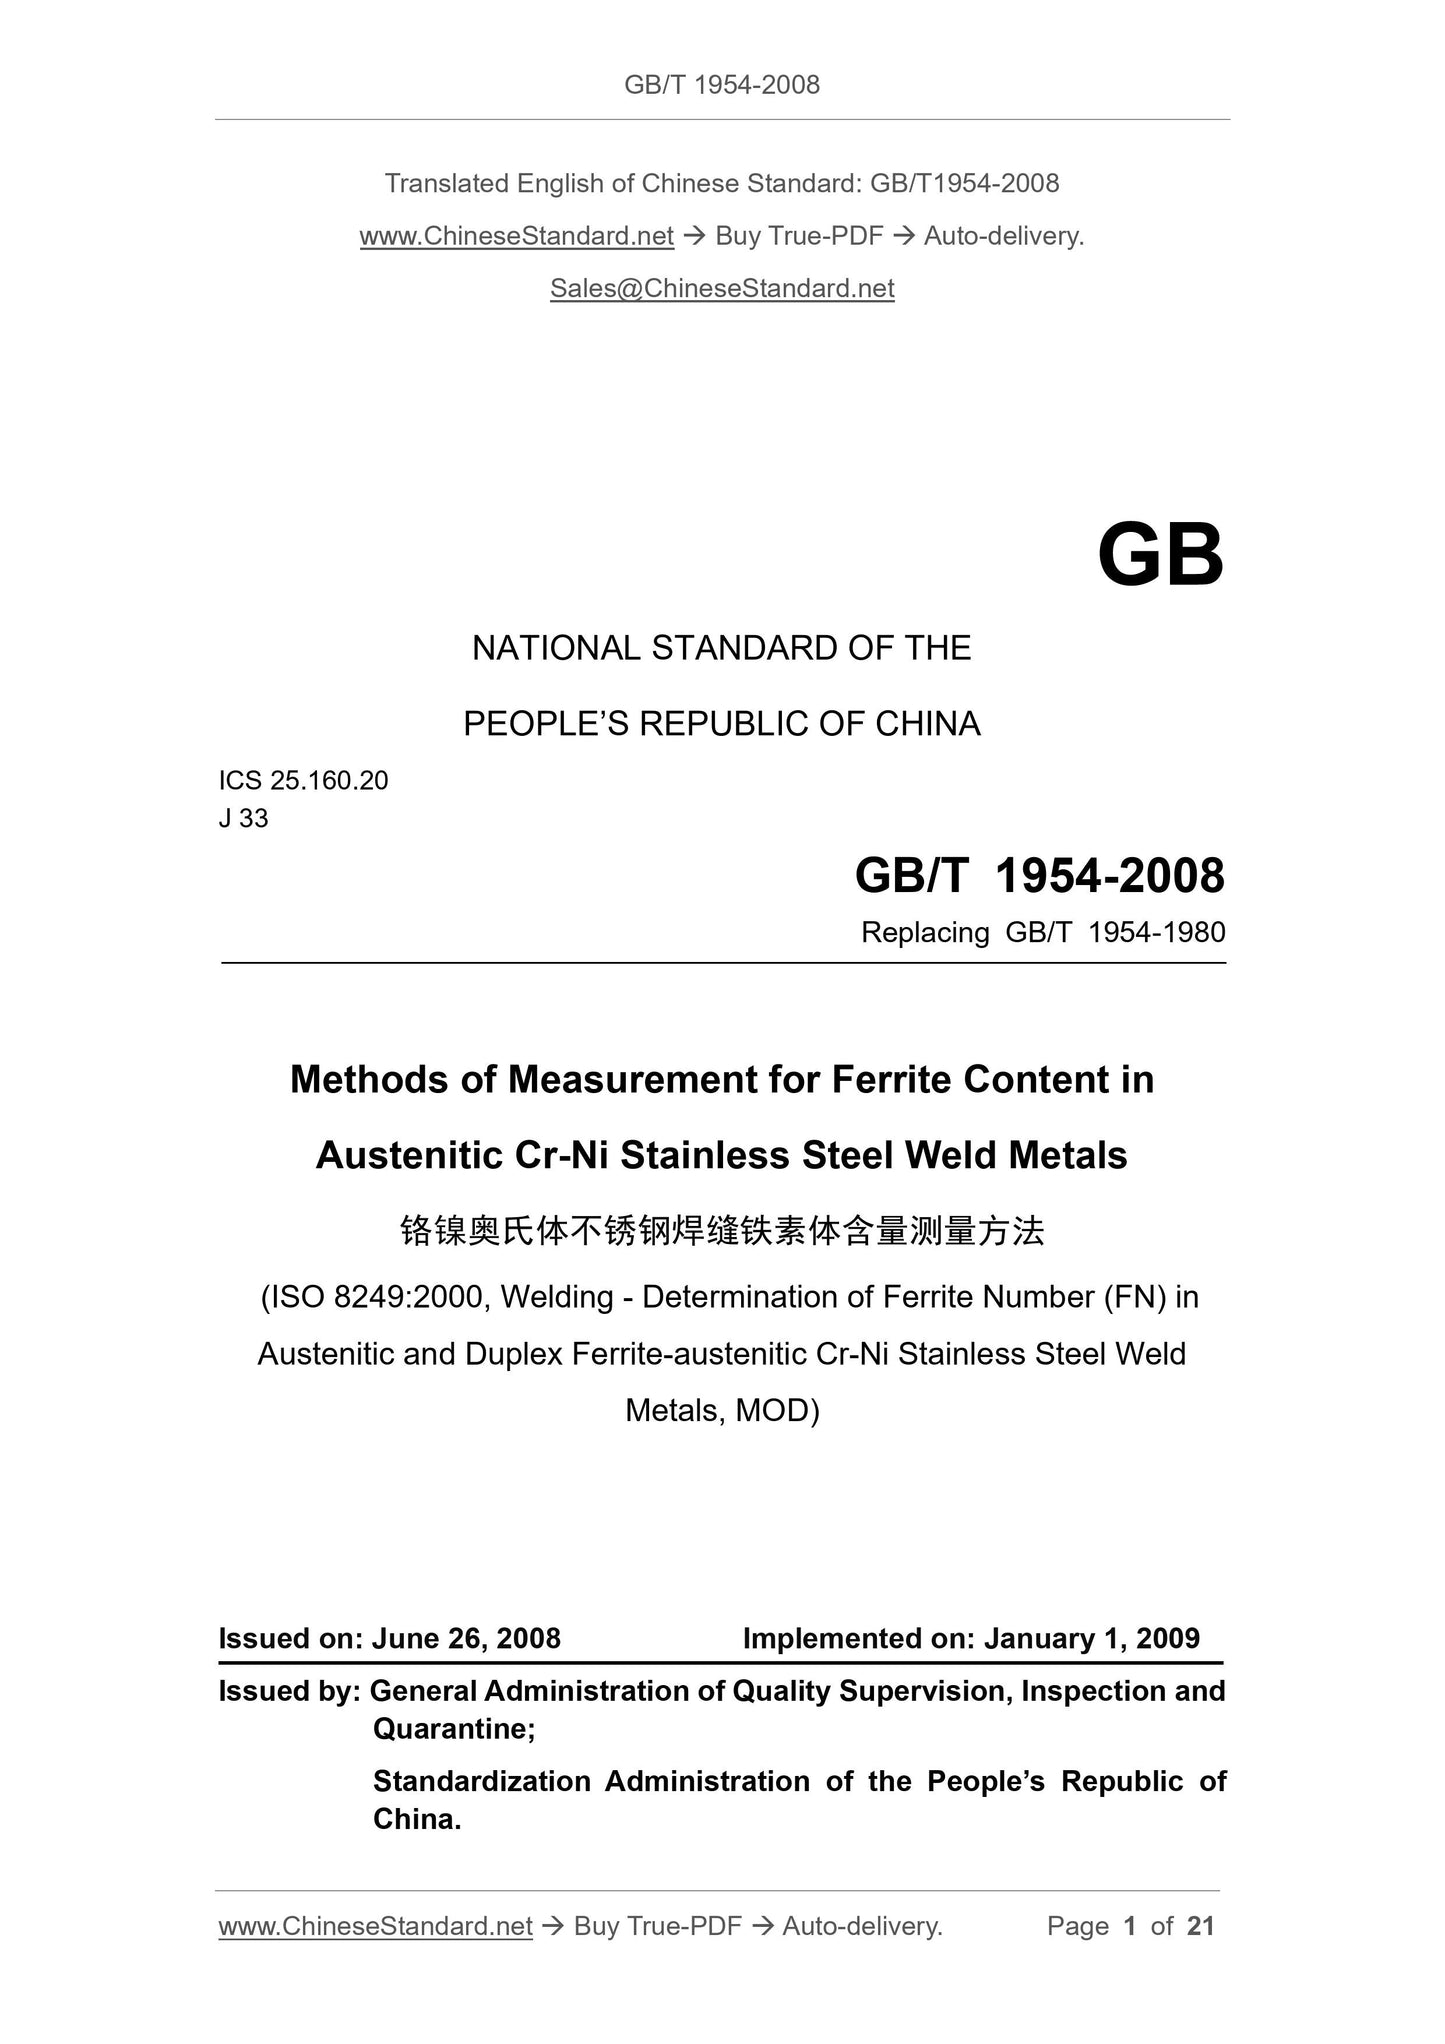
GB/T 1954-2008
NATIONAL STANDARD OF THE
PEOPLE’S REPUBLIC OF CHINA
ICS 25.160.20
J 33
Replacing GB/T 1954-1980
Methods of Measurement for Ferrite Content in
Austenitic Cr-Ni Stainless Steel Weld Metals
(ISO 8249:2000, Welding - Determination of Ferrite Number (FN) in
Austenitic and Duplex Ferrite-austenitic Cr-Ni Stainless Steel Weld
Metals, MOD)
ISSUED ON: JUNE 26, 2008
IMPLEMENTED ON: JANUARY 1, 2009
Issued by: General Administration of Quality Supervision, Inspection and
Quarantine;
Standardization Administration of the People’s Republic of
China.
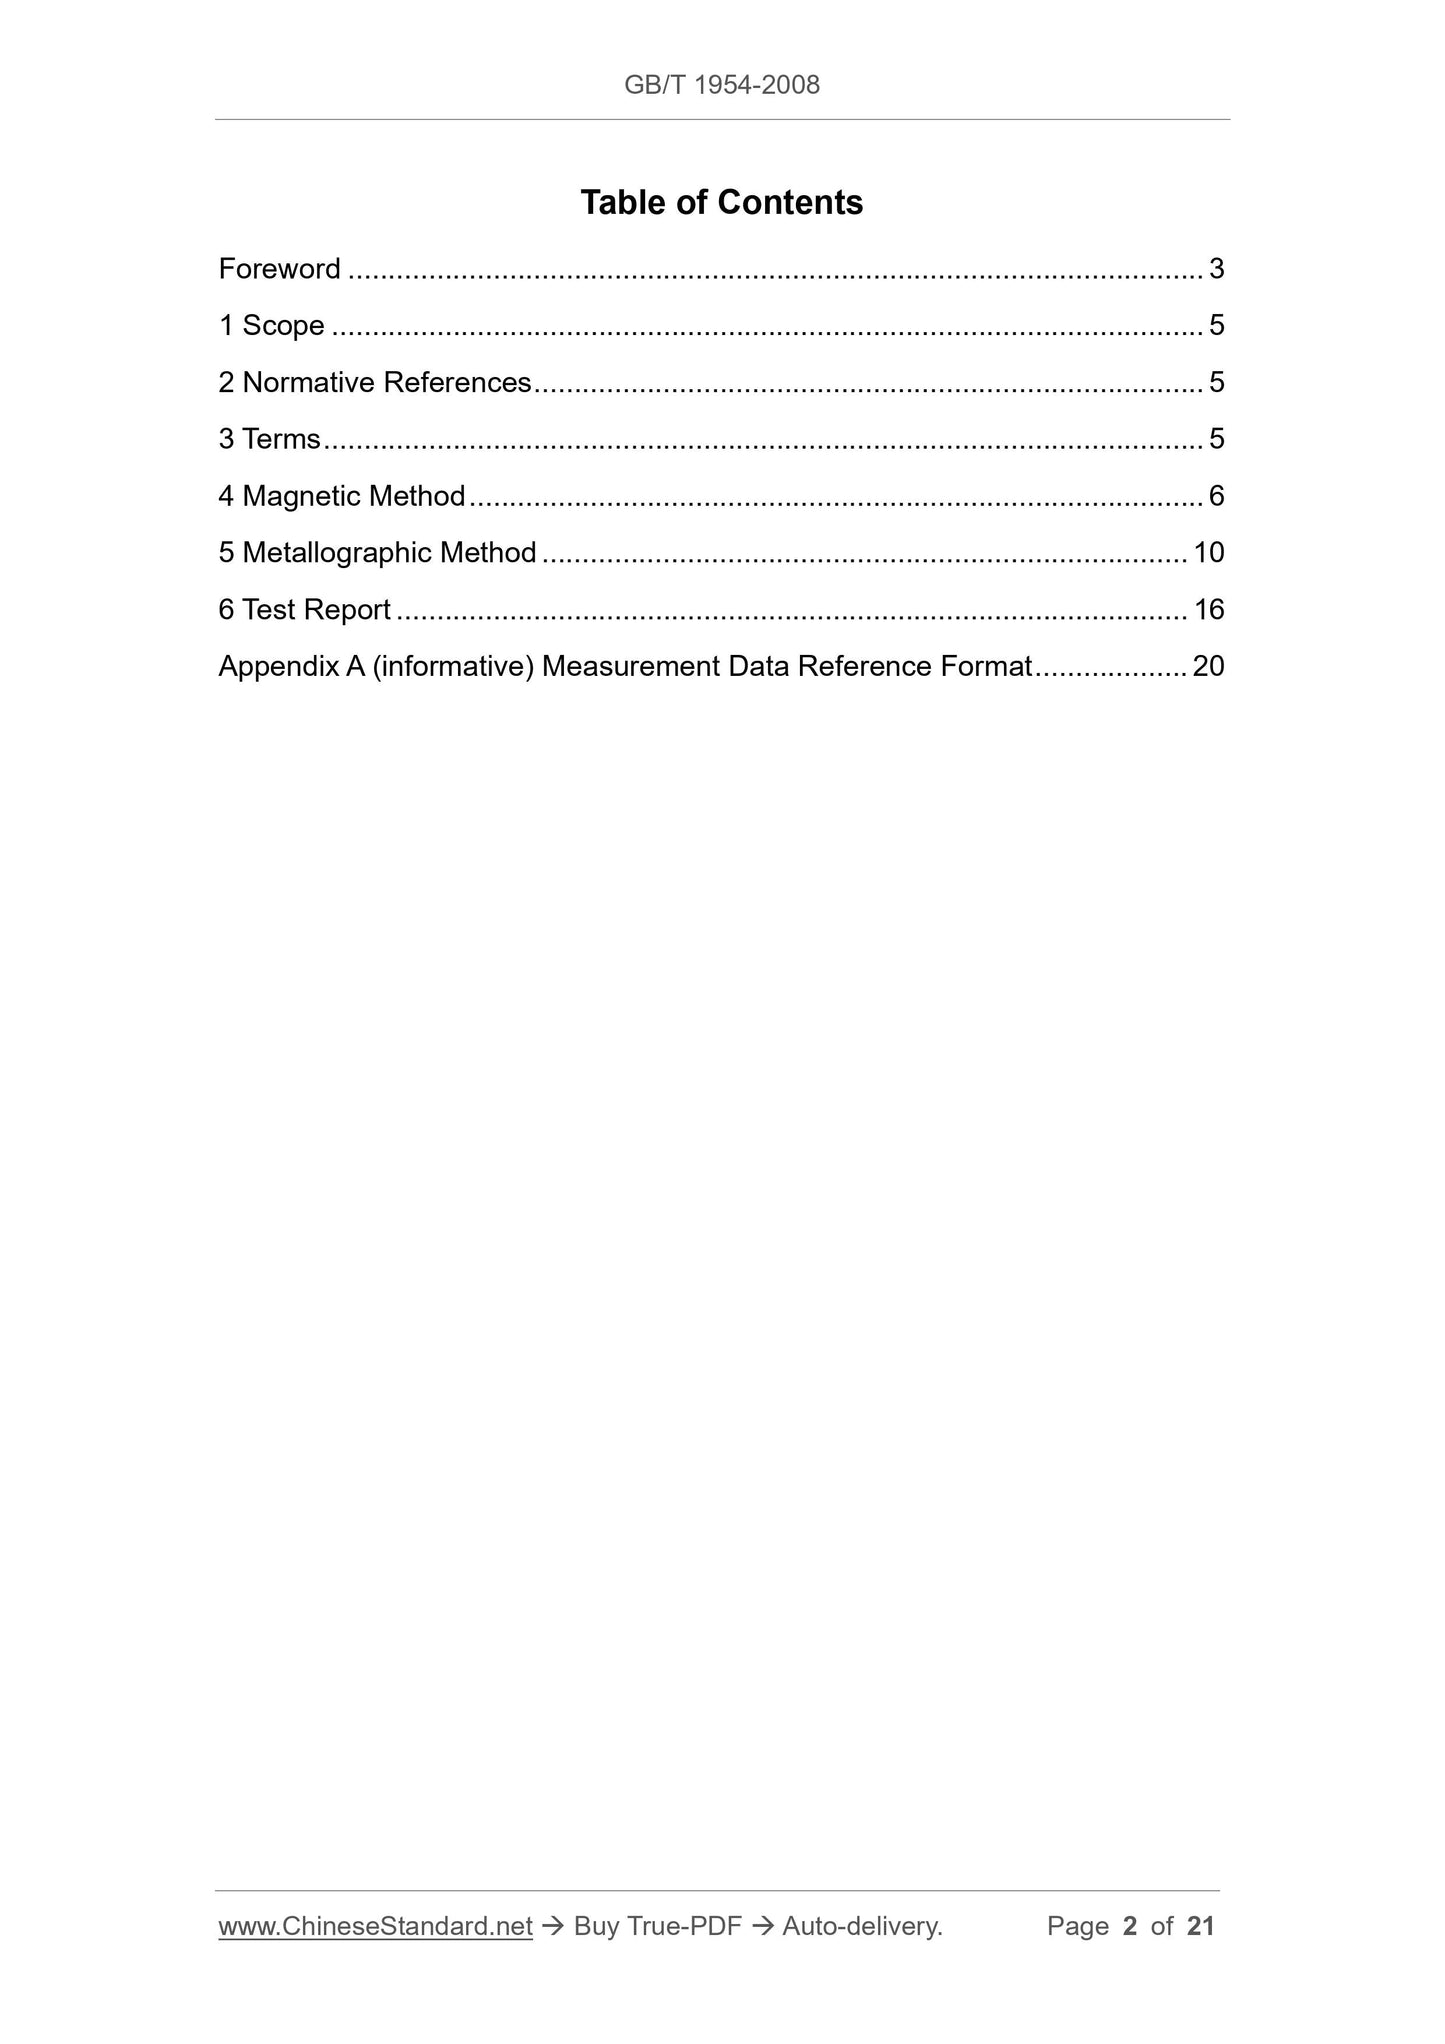
Table of Contents
Foreword ... 3 
1 Scope ... 5 
2 Normative References ... 5 
3 Terms ... 5 
4 Magnetic Method ... 6 
5 Metallographic Method ... 10 
6 Test Report ... 16 
Appendix A (informative) Measurement Data Reference Format ... 20 
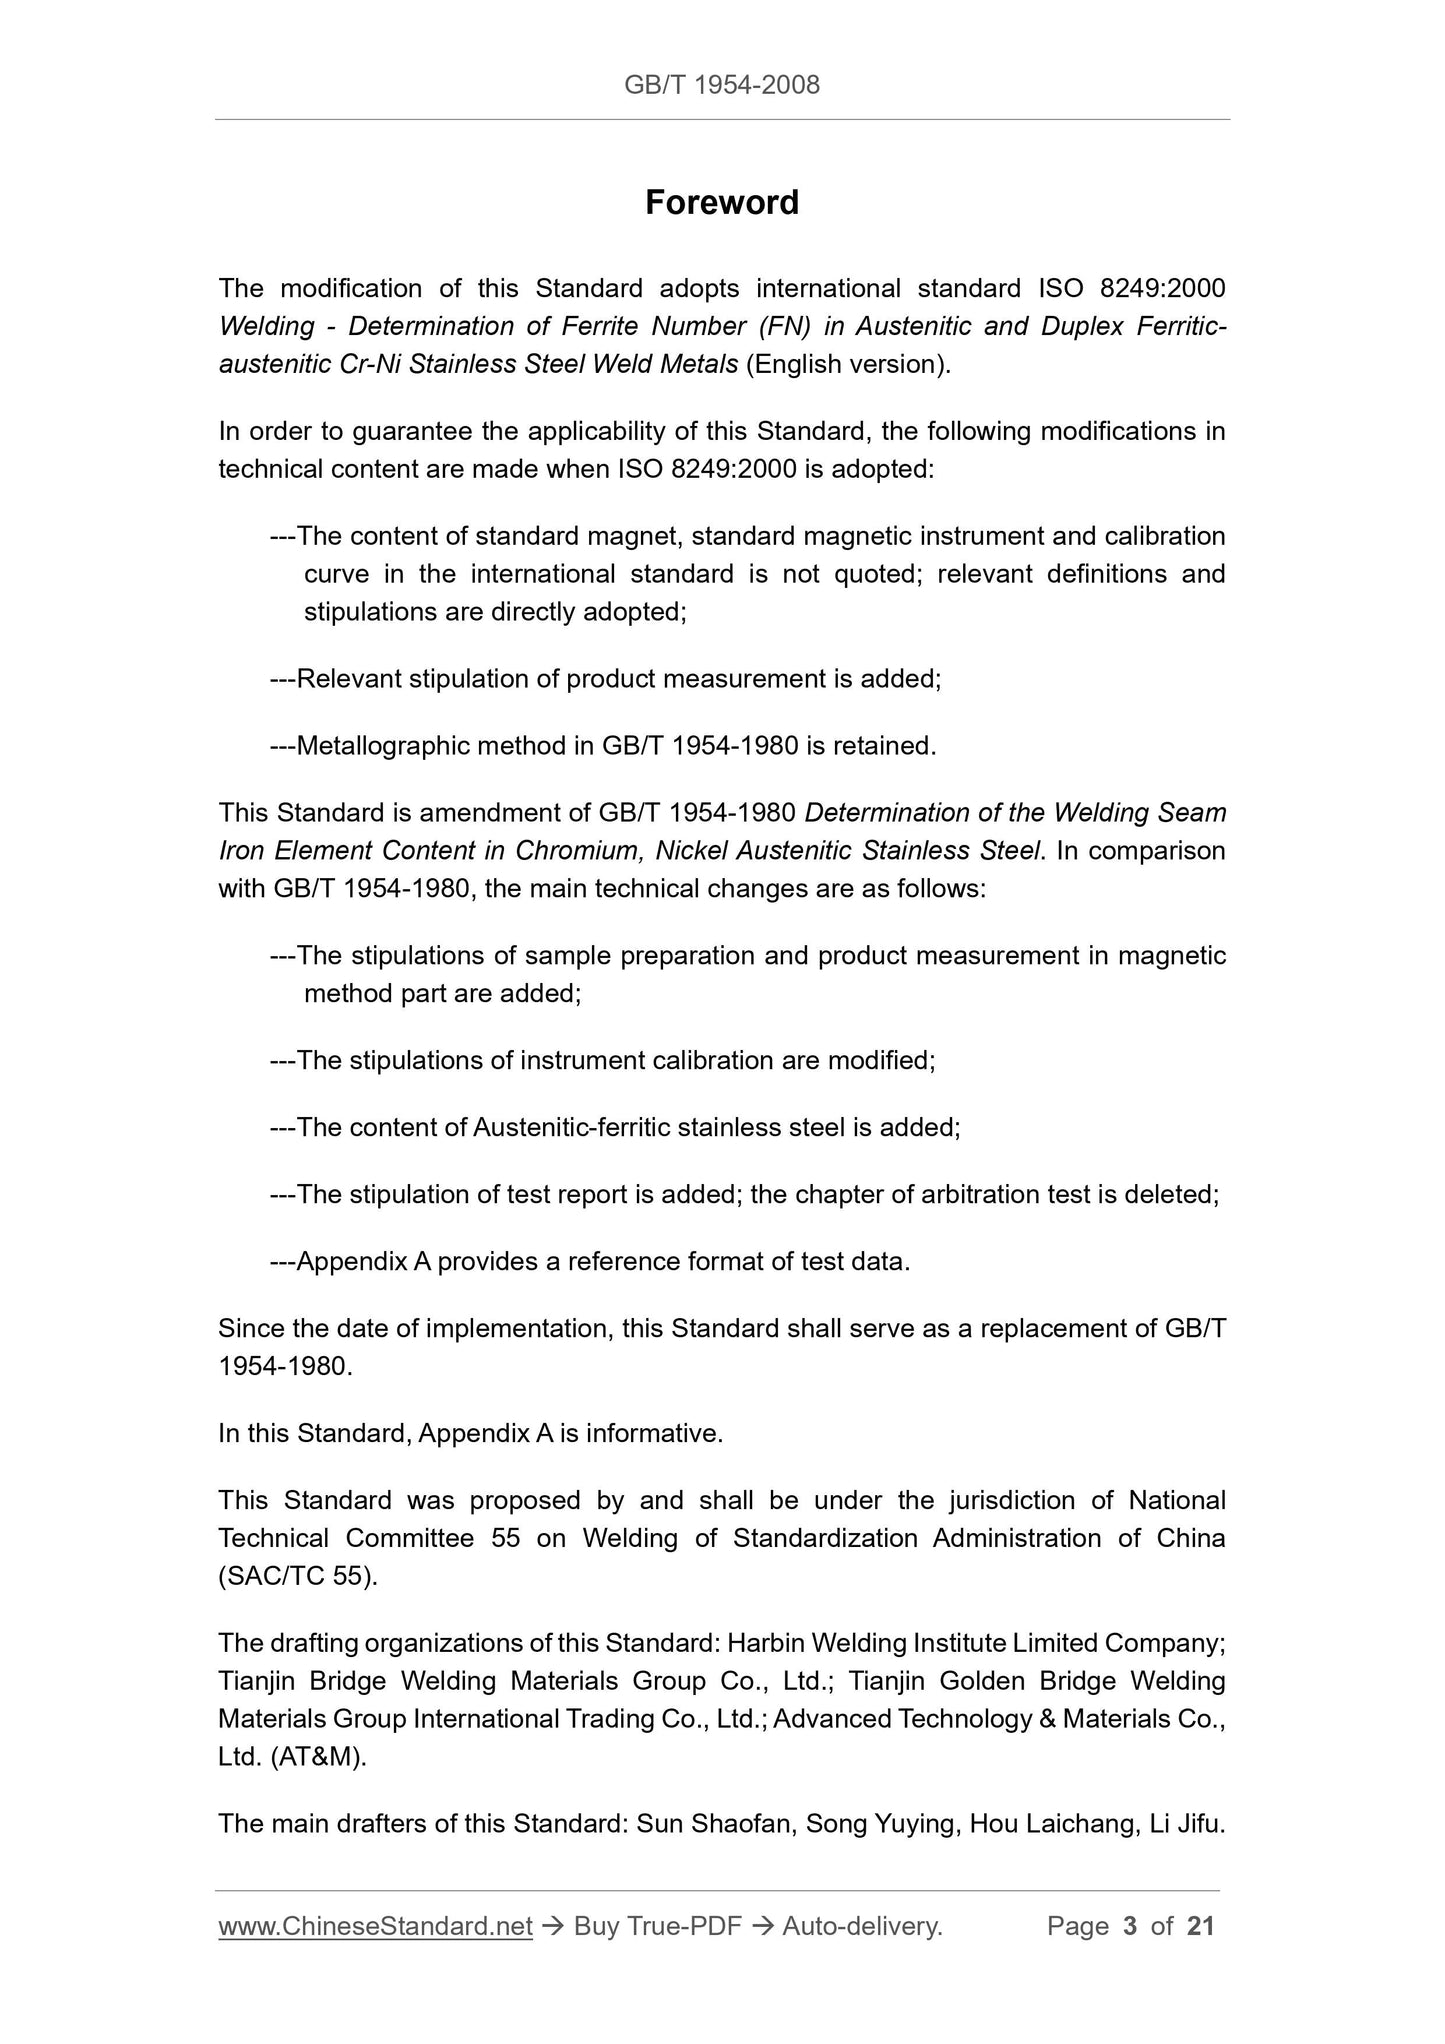
Foreword
The modification of this Standard adopts international standard ISO 8249:2000
Welding - Determination of Ferrite Number (FN) in Austenitic and Duplex Ferritic-
austenitic Cr-Ni Stainless Steel Weld Metals (English version).
In order to guarantee the applicability of this Standard, the following modifications in
technical content are made when ISO 8249:2000 is adopted:
---The content of standard magnet, standard magnetic instrument and calibration
curve in the international standard is not quoted; relevant definitions and
stipulations are directly adopted;
---Relevant stipulation of product measurement is added;
---Metallographic method in GB/T 1954-1980 is retained.
This Standard is amendment of GB/T 1954-1980 Determination of the Welding Seam
Iron Element Content in Chromium, Nickel Austenitic Stainless Steel. In comparison
with GB/T 1954-1980, the main technical changes are as follows:
---The stipulations of sample preparation and product measurement in magnetic
method part are added;
---The stipulations of instrument calibration are modified;
---The content of Austenitic-ferritic stainless steel is added;
---The stipulation of test report is added; the chapter of arbitration test is deleted;
---Appendix A provides a reference format of test data.
Since the date of implementation, this Standard shall serve as a replacement of GB/T
1954-1980.
In this Standard, Appendix A is informative.
This Standard was proposed by and shall be under the jurisdiction of National
Technical Committee 55 on Welding of Standardization Administration of China
(SAC/TC 55).
The drafting organizations of this Standard: Harbin Welding Institute Limited Company;
Tianjin Bridge Welding Materials Group Co., Ltd.; Tianjin Golden Bridge Welding
Materials Group International Trading Co., Ltd.; Advanced Technology and Materials Co.,
Ltd. (AT and M).
The main drafters of this Standard: Sun Shaofan, Song Yuying, Hou Laichang, Li Jifu.
Methods of Measurement for Ferrite Content in
Austenitic Cr-Ni Stainless Steel Weld Metals
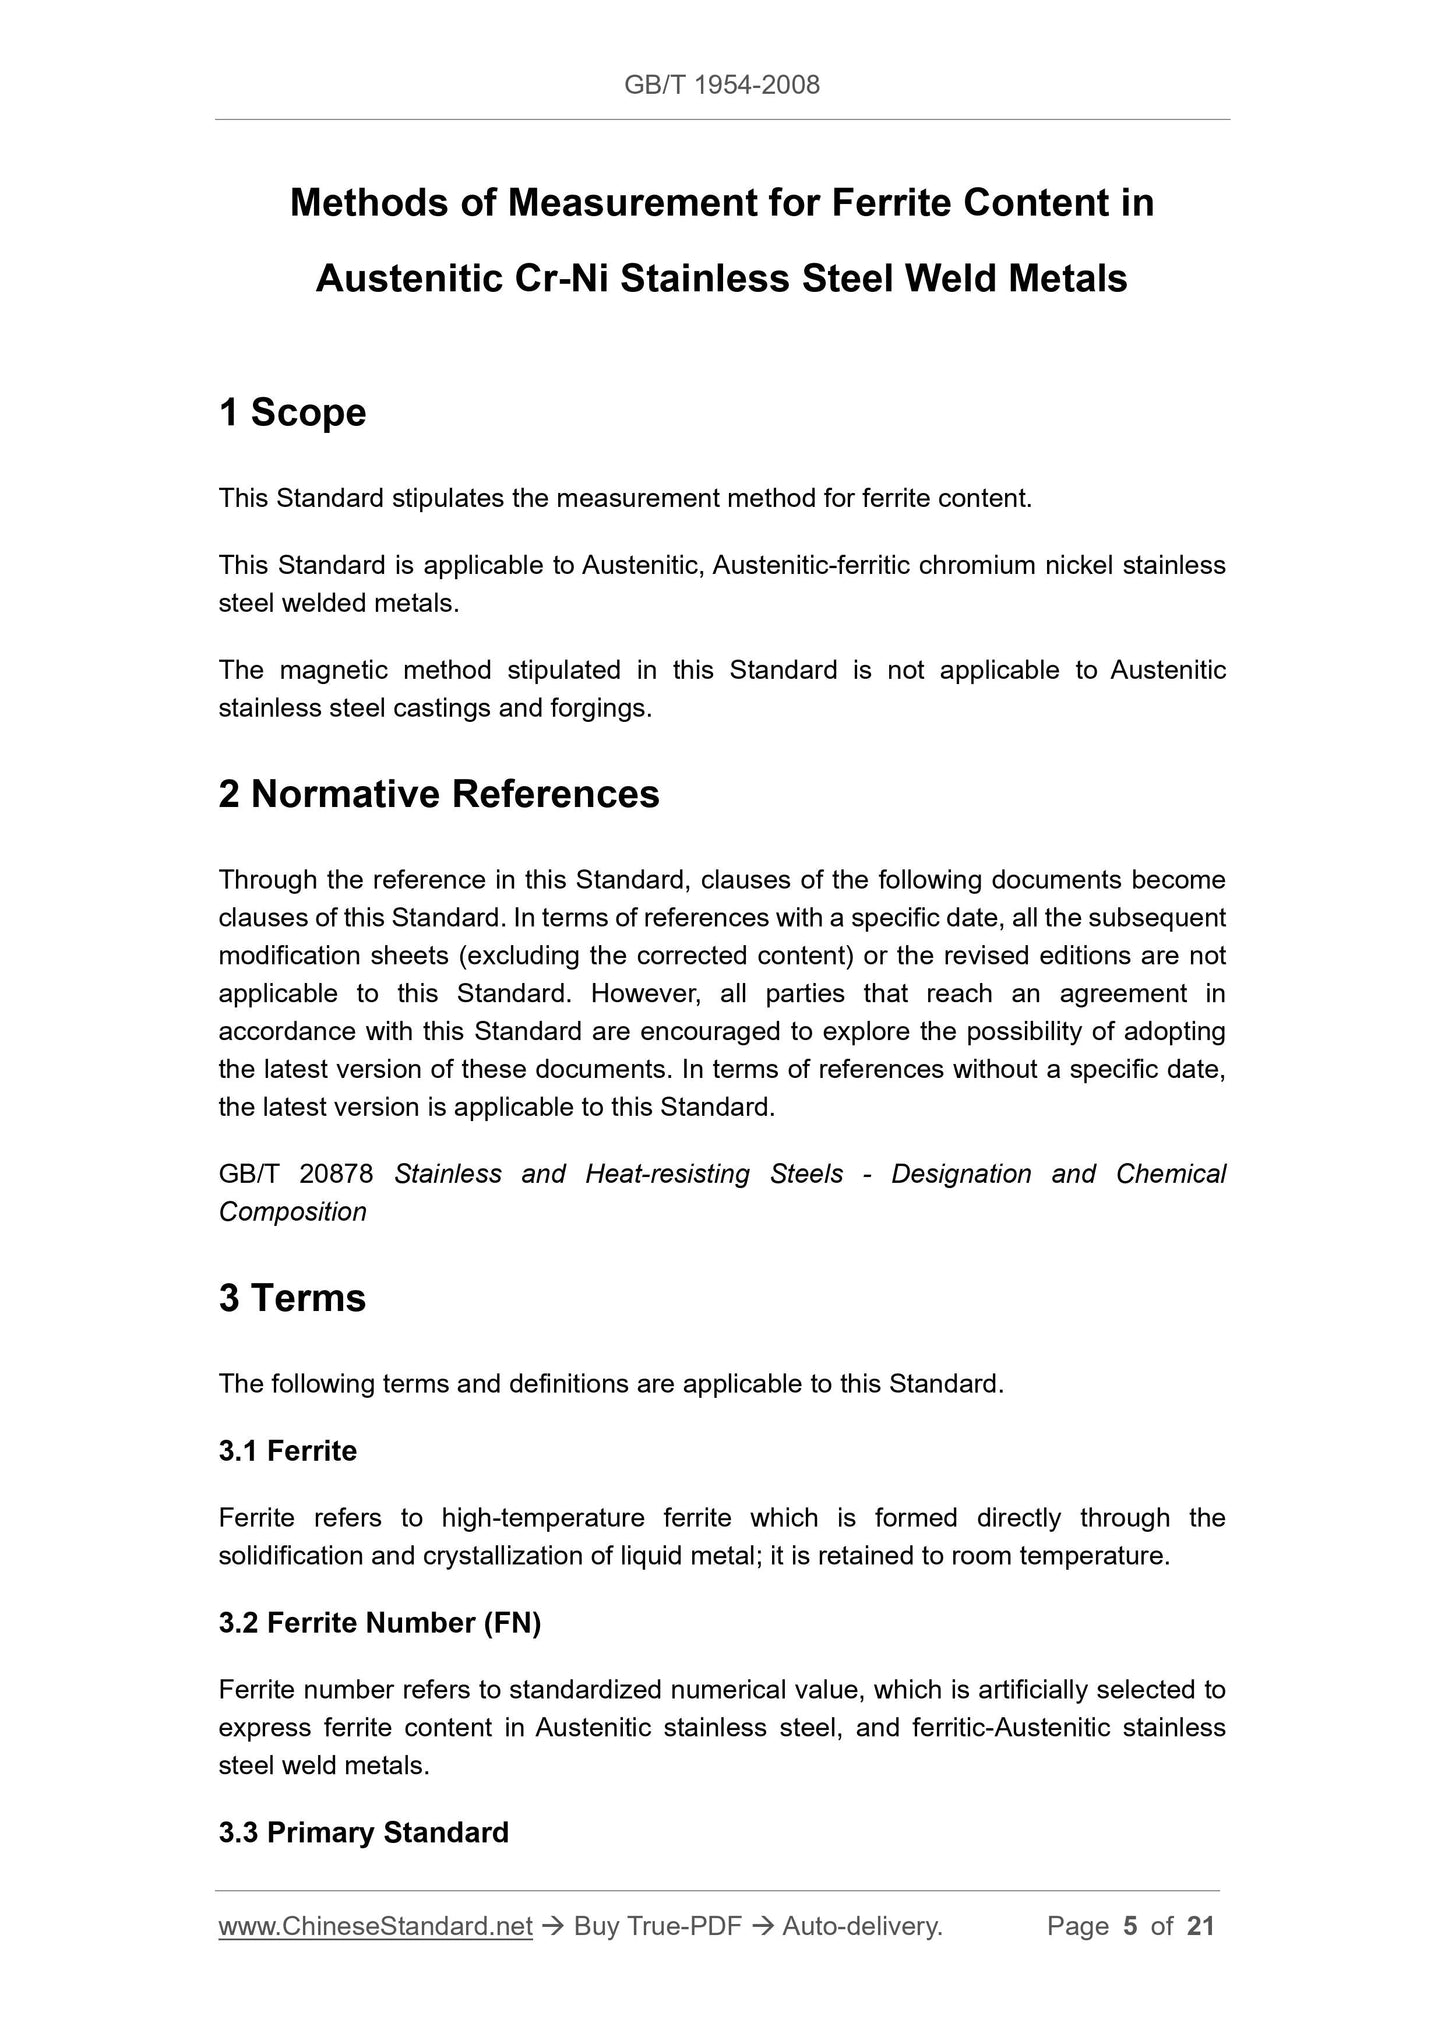
1 Scope
This Standard stipulates the measurement method for ferrite content.
This Standard is applicable to Austenitic, Austenitic-ferritic chromium nickel stainless
steel welded metals.
The magnetic method stipulated in this Standard is not applicable to Austenitic
stainless steel castings and forgings.
2 Normative References
Through the reference in this Standard, clauses of the following documents become
clauses of this Standard. In terms of references with a specific date, all the subsequent
modification sheets (excluding the corrected content) or the revised editions are not
applicable to this Standard. However, all parties that reach an agreement in
accordance with this Standard are encouraged to explore the possibility of adopting
the latest version of these documents. In terms of references without a specific date,
the latest version is applicable to this Standard.
GB/T 20878 Stainless and Heat-resisting Steels - Designation and Chemical
Composition
3 Terms
The following terms and definitions are applicable to this Standard.
3.1 Ferrite
Ferrite refers to high-temperature ferrite which is formed directly through the
solidification and crystallization of liquid metal; it is retained to room temperature.
3.2 Ferrite Number (FN)
Ferrite number refers to standardized numerical value, which is artificially selected to
express ferrite content in Austenitic stainless steel, and ferritic-Austenitic stainless
steel weld metals.
3.3 Primary Standard
Primary standard refers to a layer of accurate non-magnetic coating standard sample
that is produced on carbon steel matrix with the carbon content of less than 0.18%.
The non-magnetic coating is made of copper; plated with hard chromium, and polished.
Each standard sample marks FN value of a certain equivalent magnetic weld metal
that is internationally universal. It is applicable to the calibration of measurement
instrument under standard magnetic attraction principle, for example, Mange-Gage.
3.4 Secondary Standard
Secondary standard refers to weld surfacing metal sample or sample with similar
surfacing metal structure that is produced in accordance with standard procedures.
Use Mange-Gage, which is calibrated through primary standard, to determine FN value
of each sample. It is applied to periodic calibration of ferrite measurement instrument
under magnetic method.
4 Magnetic Method
4.1 General Principles
Ferrite measurement instrument, which takes magnetic attraction or magnetic
permeability as the principle, shall be adopted for measurement. The measured ferrite
number (FN) shall be used to express ferrite content in Austenitic stainless steel,
Austenitic-ferritic stainless steel weld metals.
4.2 Measurement of Surfacing metal of Welding Rod Electric Arc Welding
4.2.1 Sample preparation
a) In accordance with the shape and dimensions shown in Figure 1, use test
welding rods to overlay a sample on the substrate. During the overlaying, two
copper plates may be parallelly placed on the substrate.
b) The overlaying layer’s minimum height H is 13 mm (see NOTE b in Figure 1).
When the diameter of welding rod is ≥ 4.0 mm, each overlaying layer shall be
constituted of single weld bead. When the diameter of welding rod is < 4.0 mm,
the width of weld bead shall be not more than 3 times of the diameter of welding
core; each overlaying layer shall be constituted of two or more weld beads.
During the welding, electric arc is not allowed to contact the copper plates.
c) Welding current shall comply with the stipulations in Table 1; arc initiation and
arc extinction shall be on the head end and the tail end of the welding layer.
After the welding of a weld bead is completed, alter the welding direction.
d) 20 s after the welding of each weld bead is completed, use water-cooling; the
temperature between the beads shall be not more than 100 °C. Before water-
cooling, the top weld bead shall firstly be air-cooled to below 425 °C.
welding samples shall be as close to the stipulations in 4.2 as possible.
4.4 Measurement of Product Weld
4.4.1 In the measurement of product weld and weld metals, samples may be taken, or,
measurement may be directly conducted from the welding test piece provided for
product inspection. Or, measurement may be directly conducted on product weld or
overlaying layer. Measurement instrument shall comply with the stipulations in 4.5.
Measurement process shall comply with the stipulations in 4.2.
4.4.2 In the measurement of product weld and weld metals, the measuring parts shall
comply with the stipulations of product technical conditions, or, be determined by both
parties through negotiation. Generally speaking, the surface being measured shall be
polished. If the machining of the weld surface may trigger changes of anti-corrosion
property or other specific properties, and further affect product quality, then, in the
measurement of this type of welds (including overlaying metal), whether the surface
shall be polished shall be determined by both parties through negotiation. In the select
measurement location, in every 5 mm ~ 10 mm, take 1 measurement point. The
measurement shall comply with the stipulations in 4.2.2.
4.4.3 In terms of long weld and large-area of overlaying, conduct spot measurement
in accordance with a certain proportion. The proportion and part of spot measurement
shall be determined by both parties through negotiation. The part of spot measurement
shall be representative. Measurement points shall be uniformly distributed within the
range of the measurement part. When welding operators are replaced, welding
parameters are changed, plate thickness or cooling conditions are changed, re-
measurement shall be conducted in time.
4.4.4 When the transition layer is measured in accordance with the requirements of
technical conditions, the overlapped area of the two outermost weld beads shall be
considered as the measurement part.
4.4.5 During the measurement process, if ferrite distribution is found to be extremely
asymmetrical, the average value, the highest value, the lowest value and its part shall
be respectively provided in the measurement result.
4.4.6 During the measurement, it shall be guaranteed that the influence of strong
magnetic substance (for example, low carbon steel or cast iron, etc.) near the
instrument on the measurement result is eliminated. In terms of standard magnetic
instrument, during the measurement, the distance from surrounding ferromagnetic
substance to the measuring head shall be beyond 18 mm. Other types of probe-type
instruments shall be operated in accordance with the requested minimum distance
from ferromagnetic substance.
Please be cautious in the measurement of the stainless steel weld of composite board
and relatively thin stainless steel overlaying layer (layer thickness < 5 mm). The
5.2.3 In terms of surfacing metal, the central cross section of the outermost layer shall
be considered as the measurement part (as it is shown in Figure 5).
Figure 5 -- Surfacing Metal Measurement Part
When large-area overlaying has transition layer, the transition layer’s ferrite content is
measured in accordance with the technical conditions, then, the junction of the two
outermost weld beads shall be considered as the measurement part.
If necessary, through the negotiation between both parties, measurement may be
conducted on a certain layer, a certain part, or layer-by-layer.
5.2.4 Under general circumstances, take 3 metallographic samples. In terms of each
sample, measure above 10 representative fields of view; take the average value as
the measurement result of the sample. Then, take the average value of the
measurement result of 3 samples as the final result.
5.2.5 In terms of double-sided weld, take the average value of two large surfaces as
the measurement result. If there are special demands, the average content of each
large surface may be listed.
5.2.6 When it is determined through an agreement between both parties that
measurement shall be conducted on a certain layer, a certain part or layer-by-layer,
the average value of above 10 representative fields of view shall be taken as the
measurement result.
5.2.7 If it is found during the measurement process that ferrite distribution is extremely
asymmetrical, then, the measurement result shall provide the average content, the
highest content and the lowest content, and add certain explanation.
5.3 Metallographic Standard Map
5.3.1 Metallographic standard map belongs to approximate or semi-quantitative
metallographic method, which can only provide a rough range of ferrite content. This
Standard attaches two groups of metallographic standard maps (respectively 500
times and 1,000 times of welding rod electric arc weld) for the purposes of comparative
screening test, intermediate approximate measurement and other semi-quantitative
tests (see Figure 6 and Figure 7).
Measurement Part
GB/T 1954-2008
NATIONAL STANDARD OF THE
PEOPLE’S REPUBLIC OF CHINA
ICS 25.160.20
J 33
Replacing GB/T 1954-1980
Methods of Measurement for Ferrite Content in
Austenitic Cr-Ni Stainless Steel Weld Metals
(ISO 8249:2000, Welding - Determination of Ferrite Number (FN) in
Austenitic and Duplex Ferrite-austenitic Cr-Ni Stainless Steel Weld
Metals, MOD)
ISSUED ON: JUNE 26, 2008
IMPLEMENTED ON: JANUARY 1, 2009
Issued by: General Administration of Quality Supervision, Inspection and
Quarantine;
Standardization Administration of the People’s Republic of
China.
Table of Contents
Foreword ... 3 
1 Scope ... 5 
2 Normative References ... 5 
3 Terms ... 5 
4 Magnetic Method ... 6 
5 Metallographic Method ... 10 
6 Test Report ... 16 
Appendix A (informative) Measurement Data Reference Format ... 20 
Foreword
The modification of this Standard adopts international standard ISO 8249:2000
Welding - Determination of Ferrite Number (FN) in Austenitic and Duplex Ferritic-
austenitic Cr-Ni Stainless Steel Weld Metals (English version).
In order to guarantee the applicability of this Standard, the following modifications in
technical content are made when ISO 8249:2000 is adopted:
---The content of standard magnet, standard magnetic instrument and calibration
curve in the international standard is not quoted; relevant definitions and
stipulations are directly adopted;
---Relevant stipulation of product measurement is added;
---Metallographic method in GB/T 1954-1980 is retained.
This Standard is amendment of GB/T 1954-1980 Determination of the Welding Seam
Iron Element Content in Chromium, Nickel Austenitic Stainless Steel. In comparison
with GB/T 1954-1980, the main technical changes are as follows:
---The stipulations of sample preparation and product measurement in magnetic
method part are added;
---The stipulations of instrument calibration are modified;
---The content of Austenitic-ferritic stainless steel is added;
---The stipulation of test report is added; the chapter of arbitration test is deleted;
---Appendix A provides a reference format of test data.
Since the date of implementation, this Sta...
View full details