Skip to product information
1 of 5

www.ChineseStandard.us -- Field Test Asia Pte. Ltd.

GB/T 18590-2001 English PDF (GB/T18590-2001)

GB/T 18590-2001 English PDF (GB/T18590-2001)

Regular price $105.00
Regular price Sale price $105.00
Sale Sold out
Shipping calculated at checkout.
GB/T 18590-2001: Corrosion of metals and alloys -- Evaluation of pitting corrosion
Delivery: 9 seconds. Download (& Email) true-PDF + Invoice.
Get Quotation: Click GB/T 18590-2001 (Self-service in 1-minute)
Historical versions (Master-website): GB/T 18590-2001
Preview True-PDF (Reload/Scroll-down if blank)

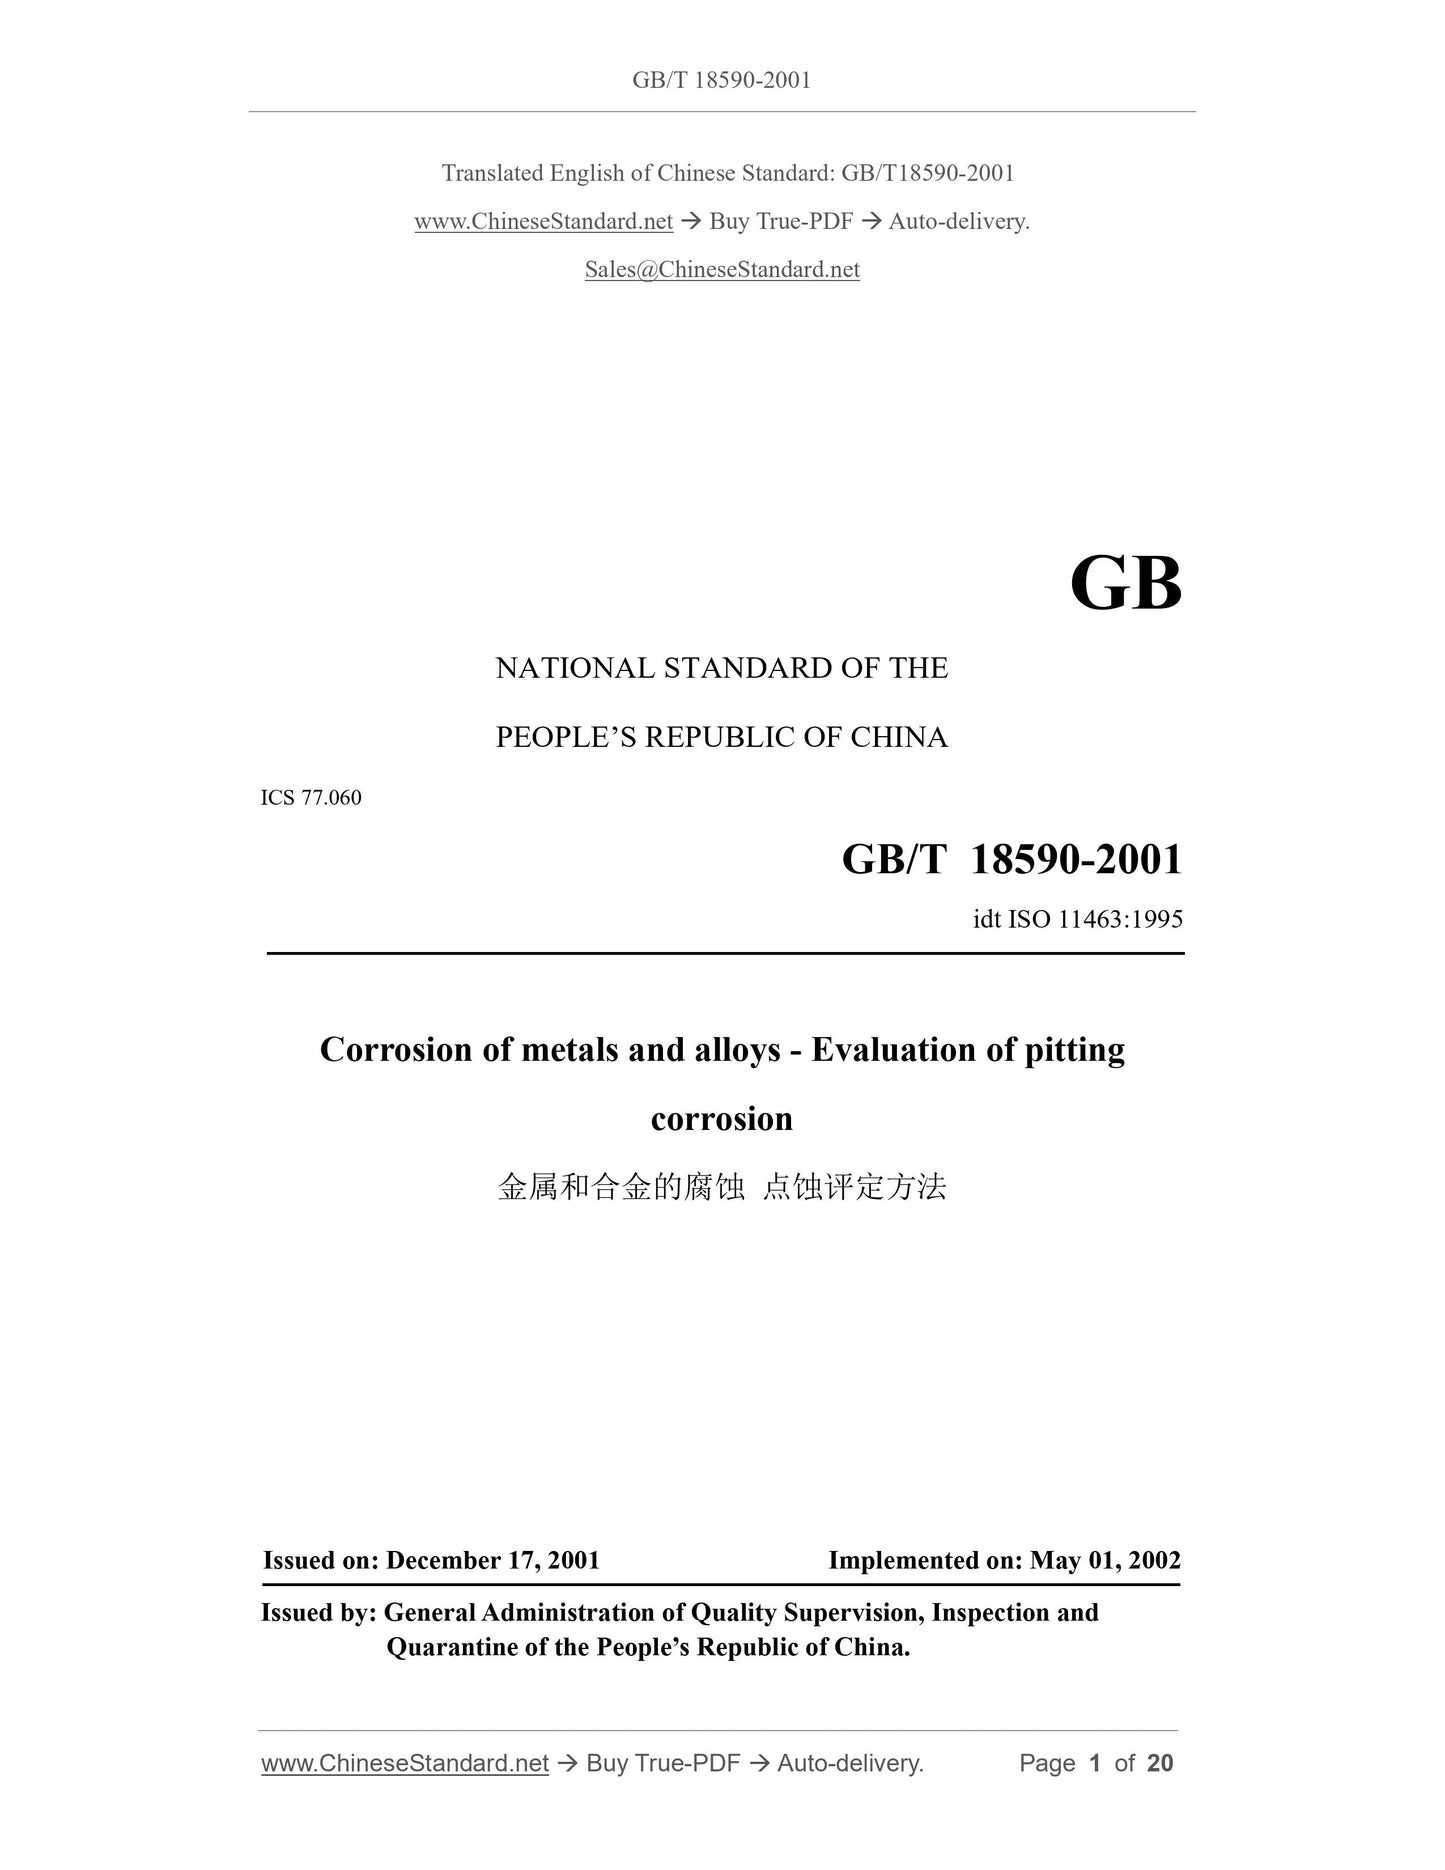
GB/T 18590-2001
GB
NATIONAL STANDARD OF THE
PEOPLE’S REPUBLIC OF CHINA
ICS 77.060
idt ISO 11463:1995
Corrosion of metals and alloys - Evaluation of pitting
corrosion
ISSUED ON: DECEMBER 17, 2001
IMPLEMENTED ON: MAY 01, 2002
Issued by: General Administration of Quality Supervision, Inspection and
Quarantine of the People’s Republic of China.
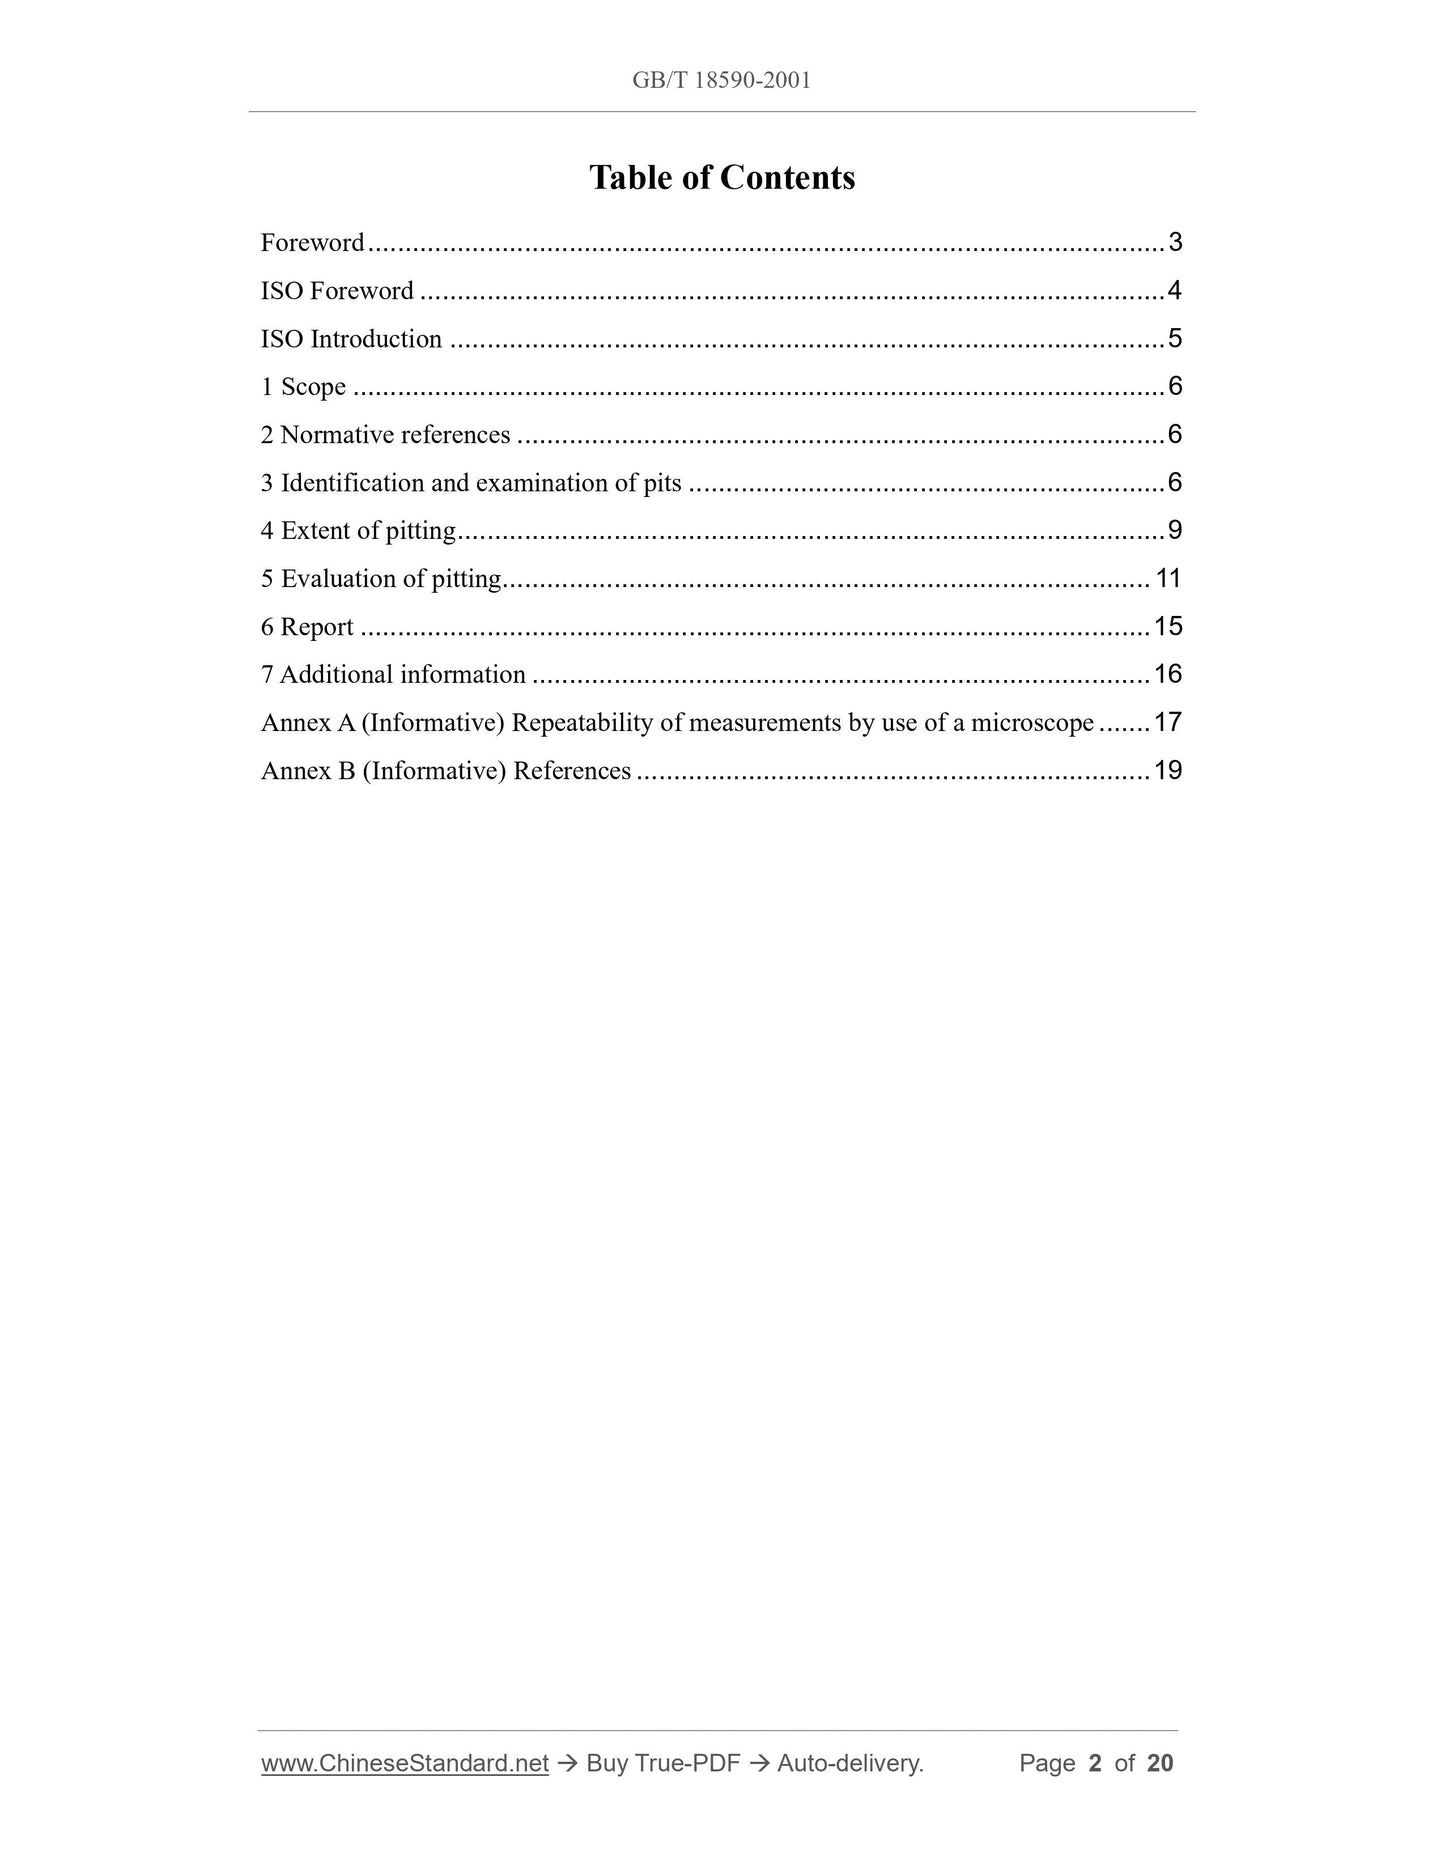
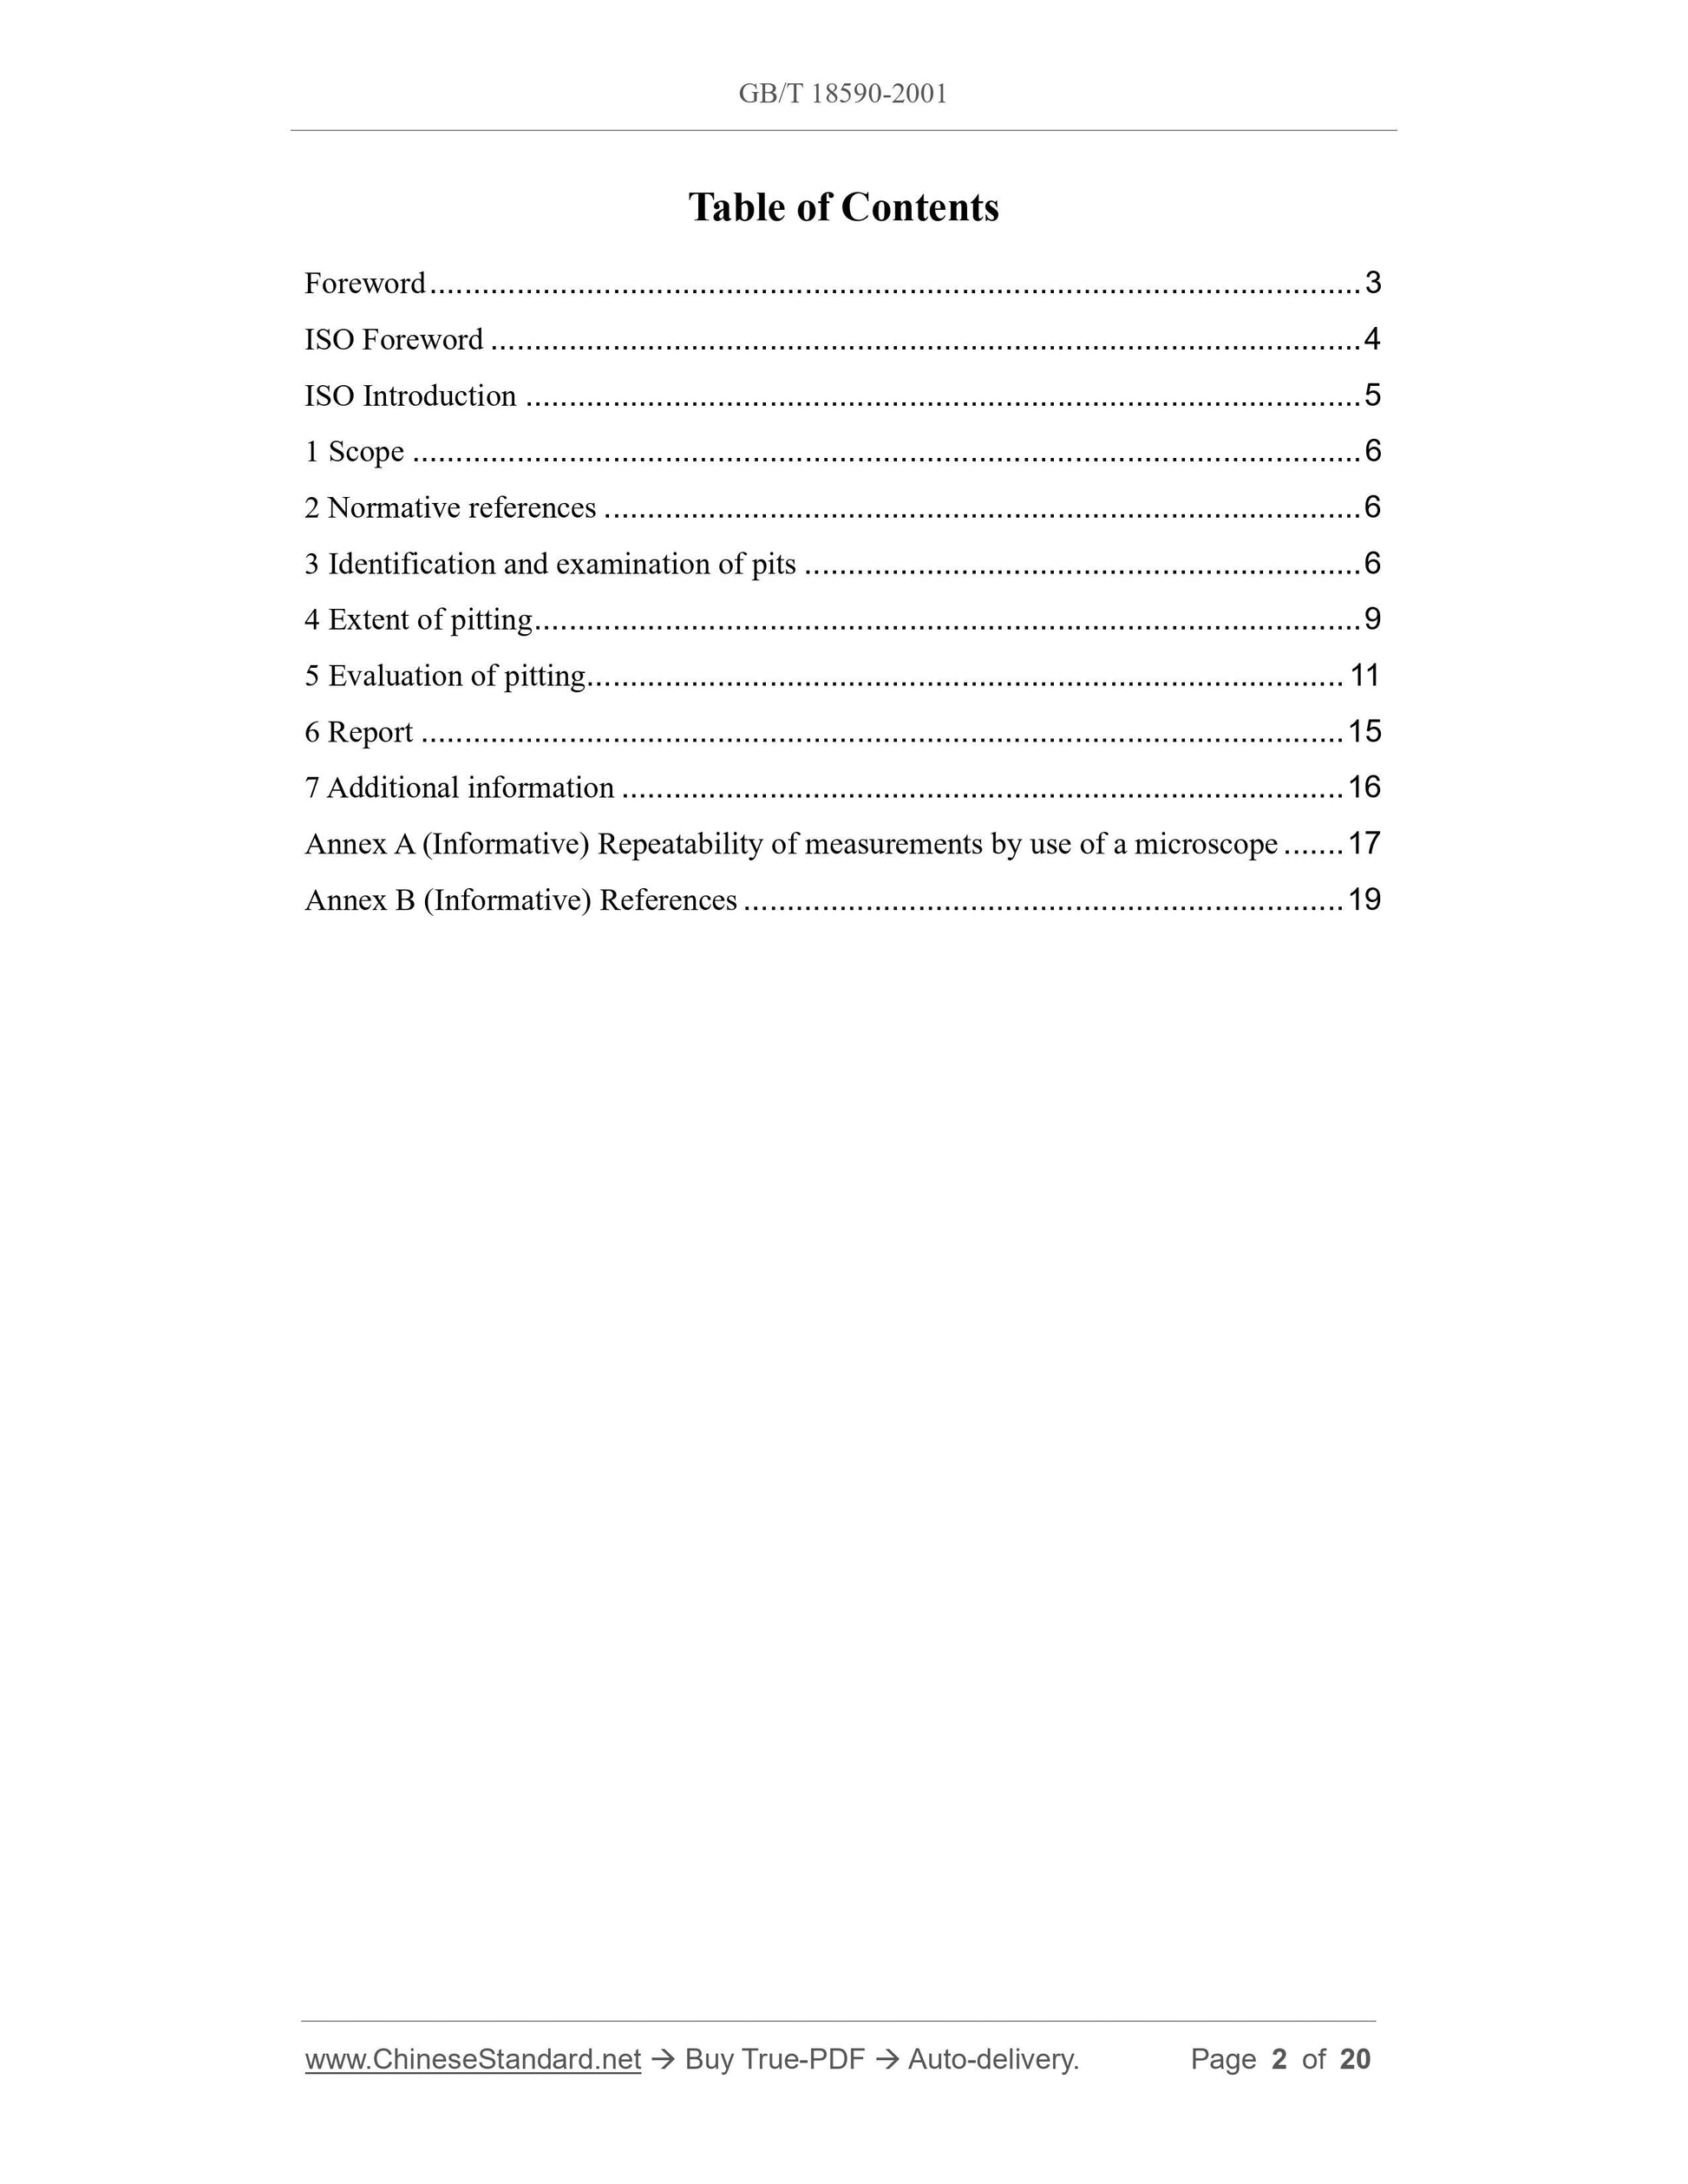
Table of Contents
Foreword ... 3
ISO Foreword ... 4
ISO Introduction ... 5
1 Scope ... 6
2 Normative references ... 6
3 Identification and examination of pits ... 6
4 Extent of pitting ... 9
5 Evaluation of pitting ... 11
6 Report ... 15
7 Additional information ... 16
Annex A (Informative) Repeatability of measurements by use of a microscope ... 17
Annex B (Informative) References ... 19
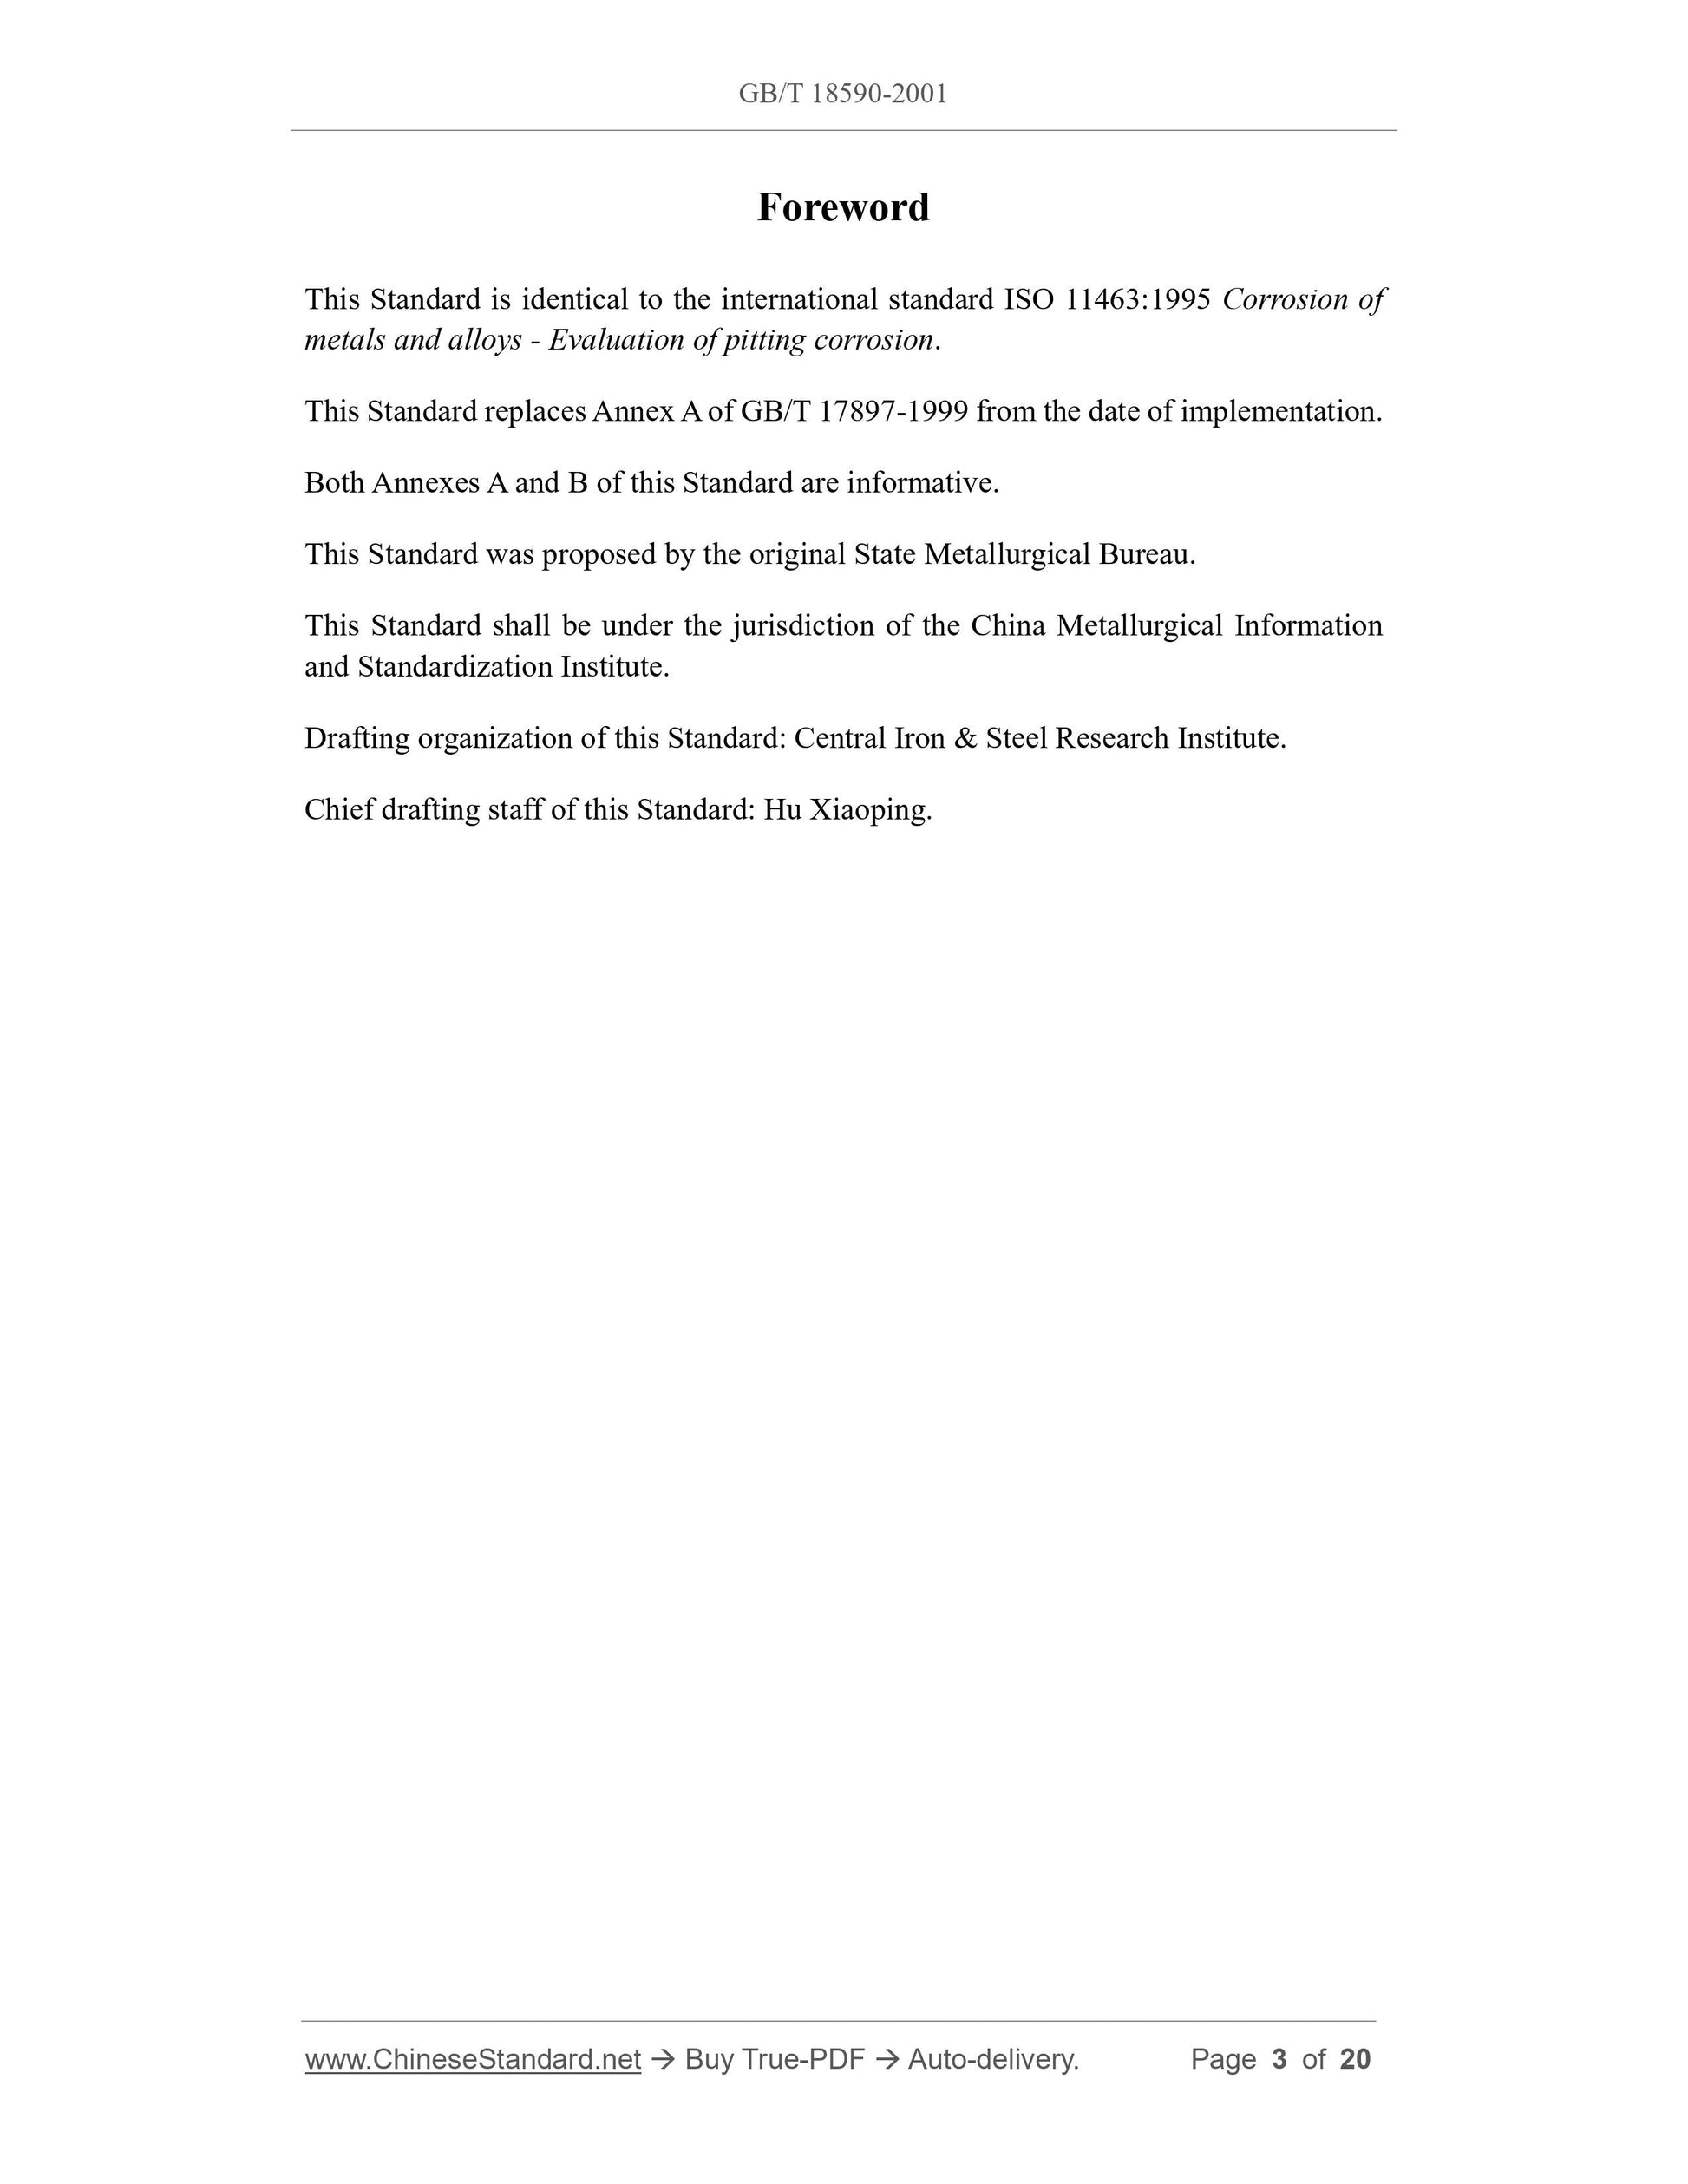
Foreword
This Standard is identical to the international standard ISO 11463:1995 Corrosion of
metals and alloys - Evaluation of pitting corrosion.
This Standard replaces Annex A of GB/T 17897-1999 from the date of implementation.
Both Annexes A and B of this Standard are informative.
This Standard was proposed by the original State Metallurgical Bureau.
This Standard shall be under the jurisdiction of the China Metallurgical Information
and Standardization Institute.
Drafting organization of this Standard: Central Iron and Steel Research Institute.
Chief drafting staff of this Standard: Hu Xiaoping.
Corrosion of metals and alloys - Evaluation of pitting
corrosion
1 Scope
This Standard gives guidance on the selection of procedures that can be used in the
identification and examination of pits and in the evaluation of pitting corrosion.
2 Normative references
The following standards contain provisions which, through reference in this text,
constitute provisions of this Standard. At the time of publication, the edition indicated
was valid. All standards are subject to revision, and parties to agreements based on this
Standard are encouraged to investigate the possibility of applying the most recent
edition of the standard indicated below.
GB/T 16545-1996, Corrosion of metals and alloys - Removal of corrosion products
from corrosion test specimens (idt ISO 8407:1991)
3 Identification and examination of pits
3.1 Visual inspection
A visual examination of the corroded metal surface with or without the use of a low-
power magnifying glass may be used to determine the extent of corrosion and the
apparent location of pits. It is often advisable to photograph the corroded surface so that
it can be compared with the clean surface after the removal of corrosion products.
3.1.1 If the metal specimen has been exposed to an unknown environment, the
composition of the corrosion products may be of value in determining the cause of
corrosion. Recommended procedures in the removal of particulate corrosion products
should be followed and reserved for future identification.
3.1.2 To expose the pits (as shown in a, b, c of Figure 1) fully, it is recommended that
cleaning procedures should be used to remove the corrosion products and avoid
solutions that attack the base metal excessively (see GB/T 16545). It may be advisable
during cleaning to probe the pits with a pointed tool to determine the extent of
undercutting or subsurface corrosion (see Figure 1). However, scrubbing with a stiff-
bristle brush will often enlarge the pit openings sufficiently by removal of corrosion
products or undercut metal to make the pits easier to evaluate.
or alternative way is to section slightly away from the pit and slowly grind until the pit
is in the cross-section. Sectioning through a pit can be difficult and one may miss the
deepest portion. The depth of the pit is measured on the flat, polished surface by the use
of a microscope with a calibrated eyepiece. The method is very accurate, but it requires
good operator skill and good judgment in the selection of the pit and good technique in
cutting through the pit. Its limitations are that it is time-consuming, the deepest pit may
not have been selected and the pit may not have been sectioned at the deepest point of
penetration. The method, however, is the only suitable for the evaluation of the pit shape
as in Figure 1.
4.2.2 Machining
See [2] and [3] in Annex B.
4.2.2.1 This method requires a sample that is fairly regular in shape, and it usually
involves the destruction of the specimen. Measure the thickness of the specimen
between two areas that have not been affected by general corrosion. Select a portion of
the surface on one side of the specimen that is relatively unaffected; then machine the
opposite surface where the pits are located on a precision lathe, grinder or mill until all
signs of corrosion have disappeared. Some difficulty from galling and smearing may
be encountered with soft metals and pits may be obliterated. Conversely, inclusions may
be removed from the metal thus confusing examination. Measure the thickness of the
specimen between the unaffected surface and subtract from the original thickness to
give the maximum depth of pitting. Repeat this procedure on the unmachined surface
unless the thickness has been reduced by 50% or more during the machining of the first
side.
4.2.2.2 This method is equally suitable for determining the number of pits with specific
depths. Count the visible pits then machine away the surface of the metal in measured
stages and count the number of visible pits remaining at each stage. Subtract the number
of pits at each stage from the count at the previous stage to obtain the number of pits at
each depth of cut. Count at the previous stage to obtain the number of pits at each depth
of cut.
4.2.3 Micrometer or depth gauge
4.2.3.1 This method is based on the use of a pointed needle attached to a micrometer or
calibrated depth gauge to penetrate the pit cavity. Remove surrounding corrosion
products or debris thoroughly then zero the instrument on an unaffected area at the lip
of the pit. Insert the needle in the pit until it reaches the base. The distance travelled by
the needle is the depth of the pit. It is best to use constant-tension instruments to
minimize metal penetration at the base of the pit. It may be advantageous to use a
stereomicroscope in conjunction with this technique so that the pit can be magnified to
ensure that the needle point is at the bottom of the pit. The method is limited to pits that
have a sufficiently large opening to accommodate the needle without obstruction. This
eliminates those pits which have undercutting or strong directional orientation.

View full details