GB/T 18459-2001 English PDF (GBT18459-2001)
Regular price
$310.00 USD
Regular price
Sale price
$310.00 USD
Unit price
/
per
Delivery: 3 seconds. Download true-PDF + Invoice.
Get QUOTATION in 1-minute: Click GB/T 18459-2001
Historical versions: GB/T 18459-2001
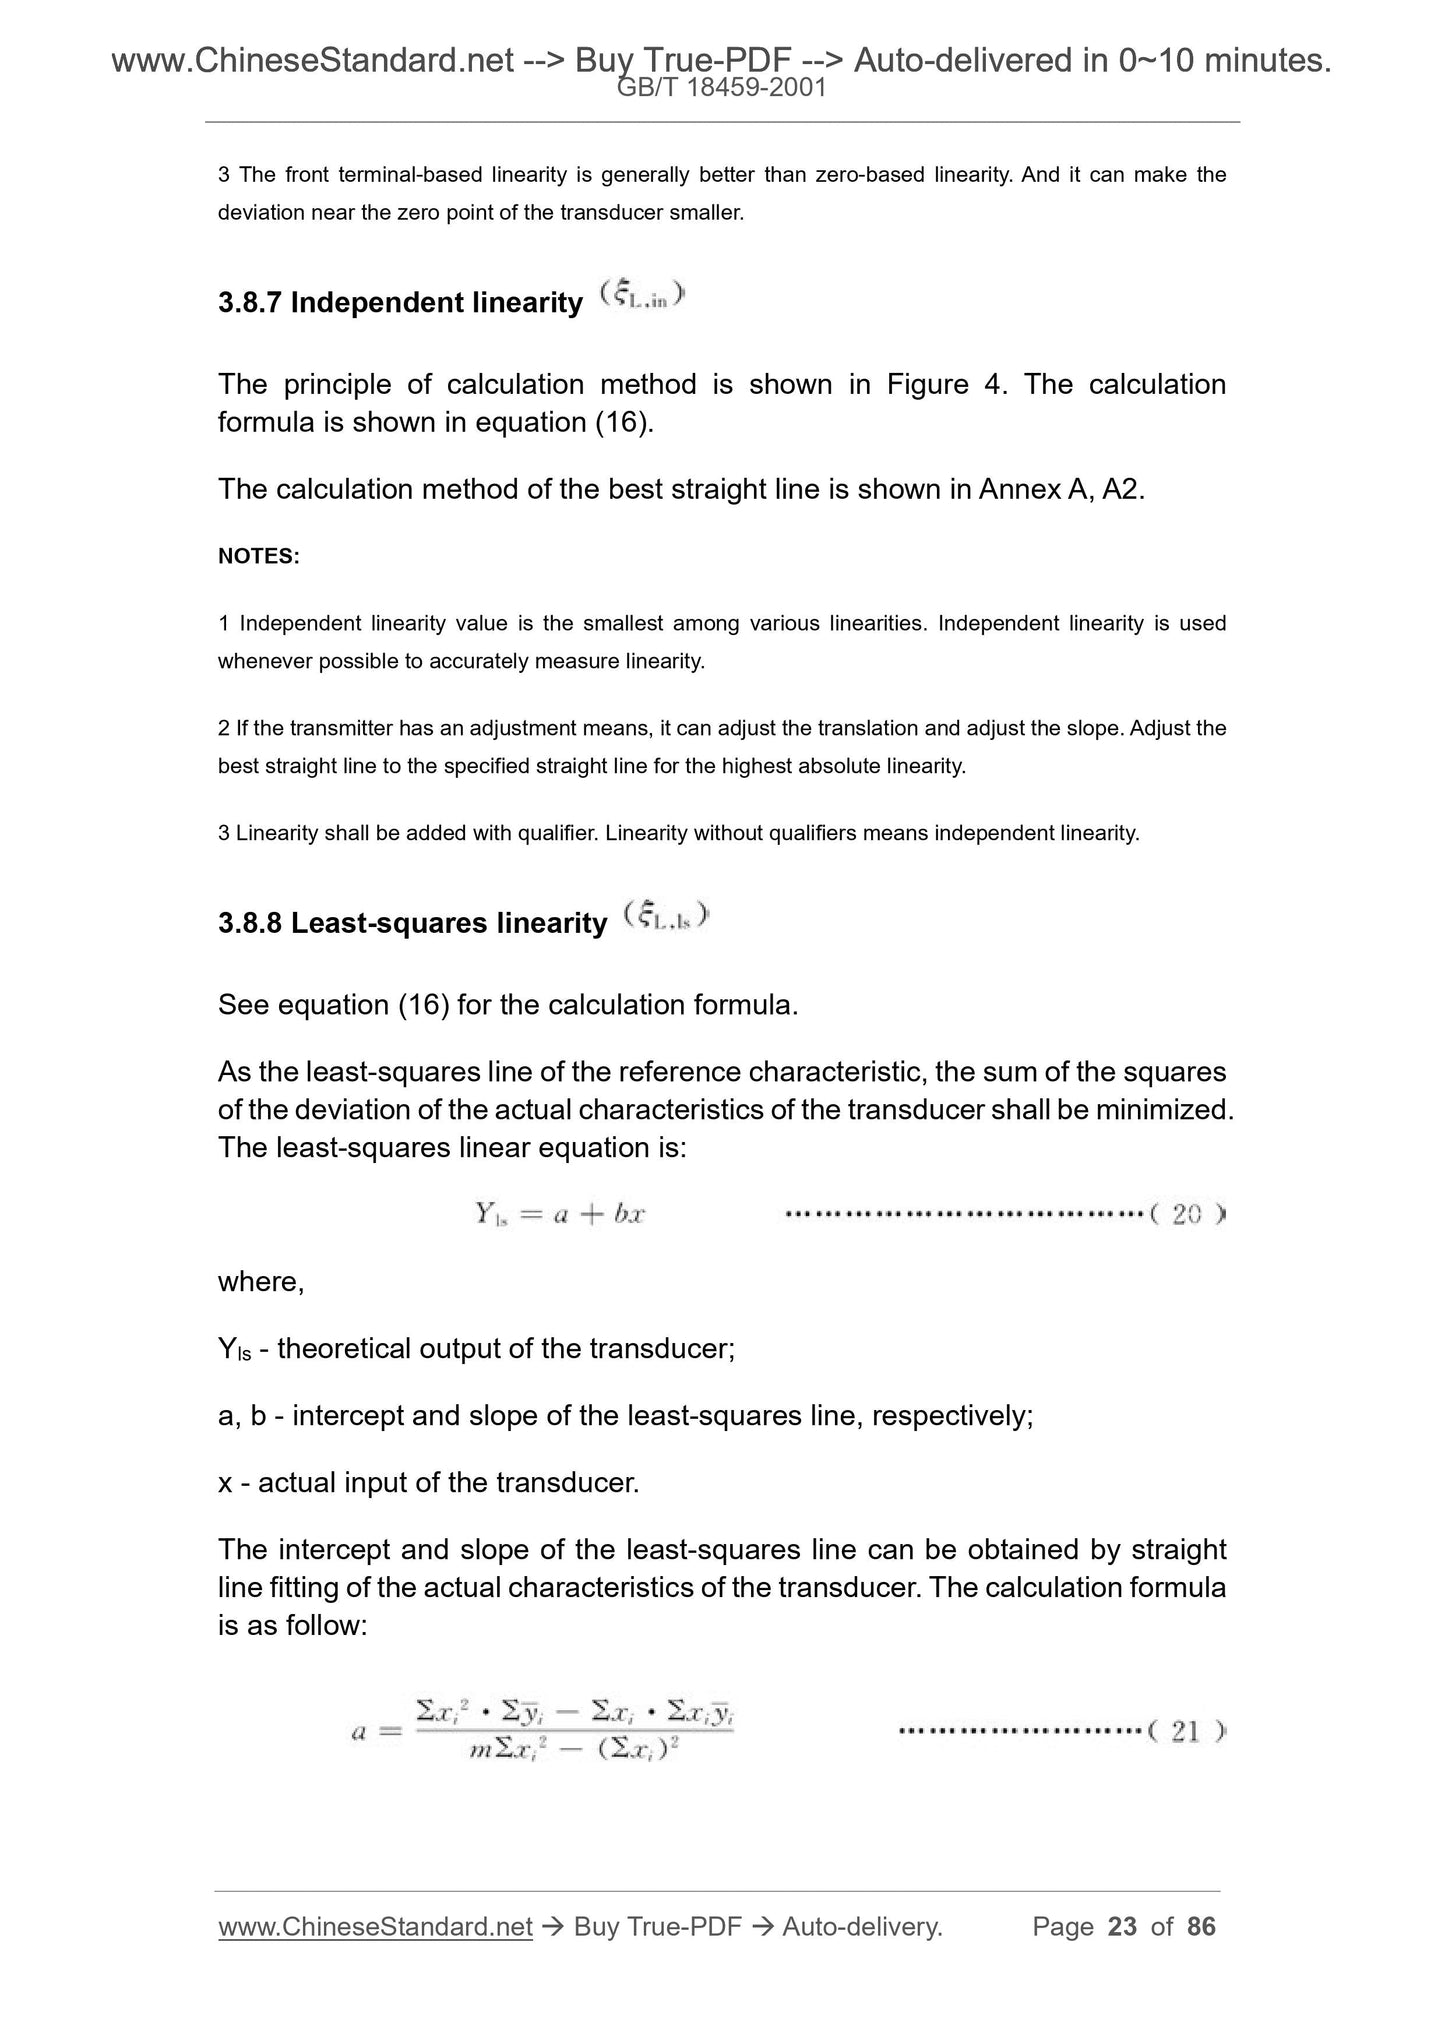
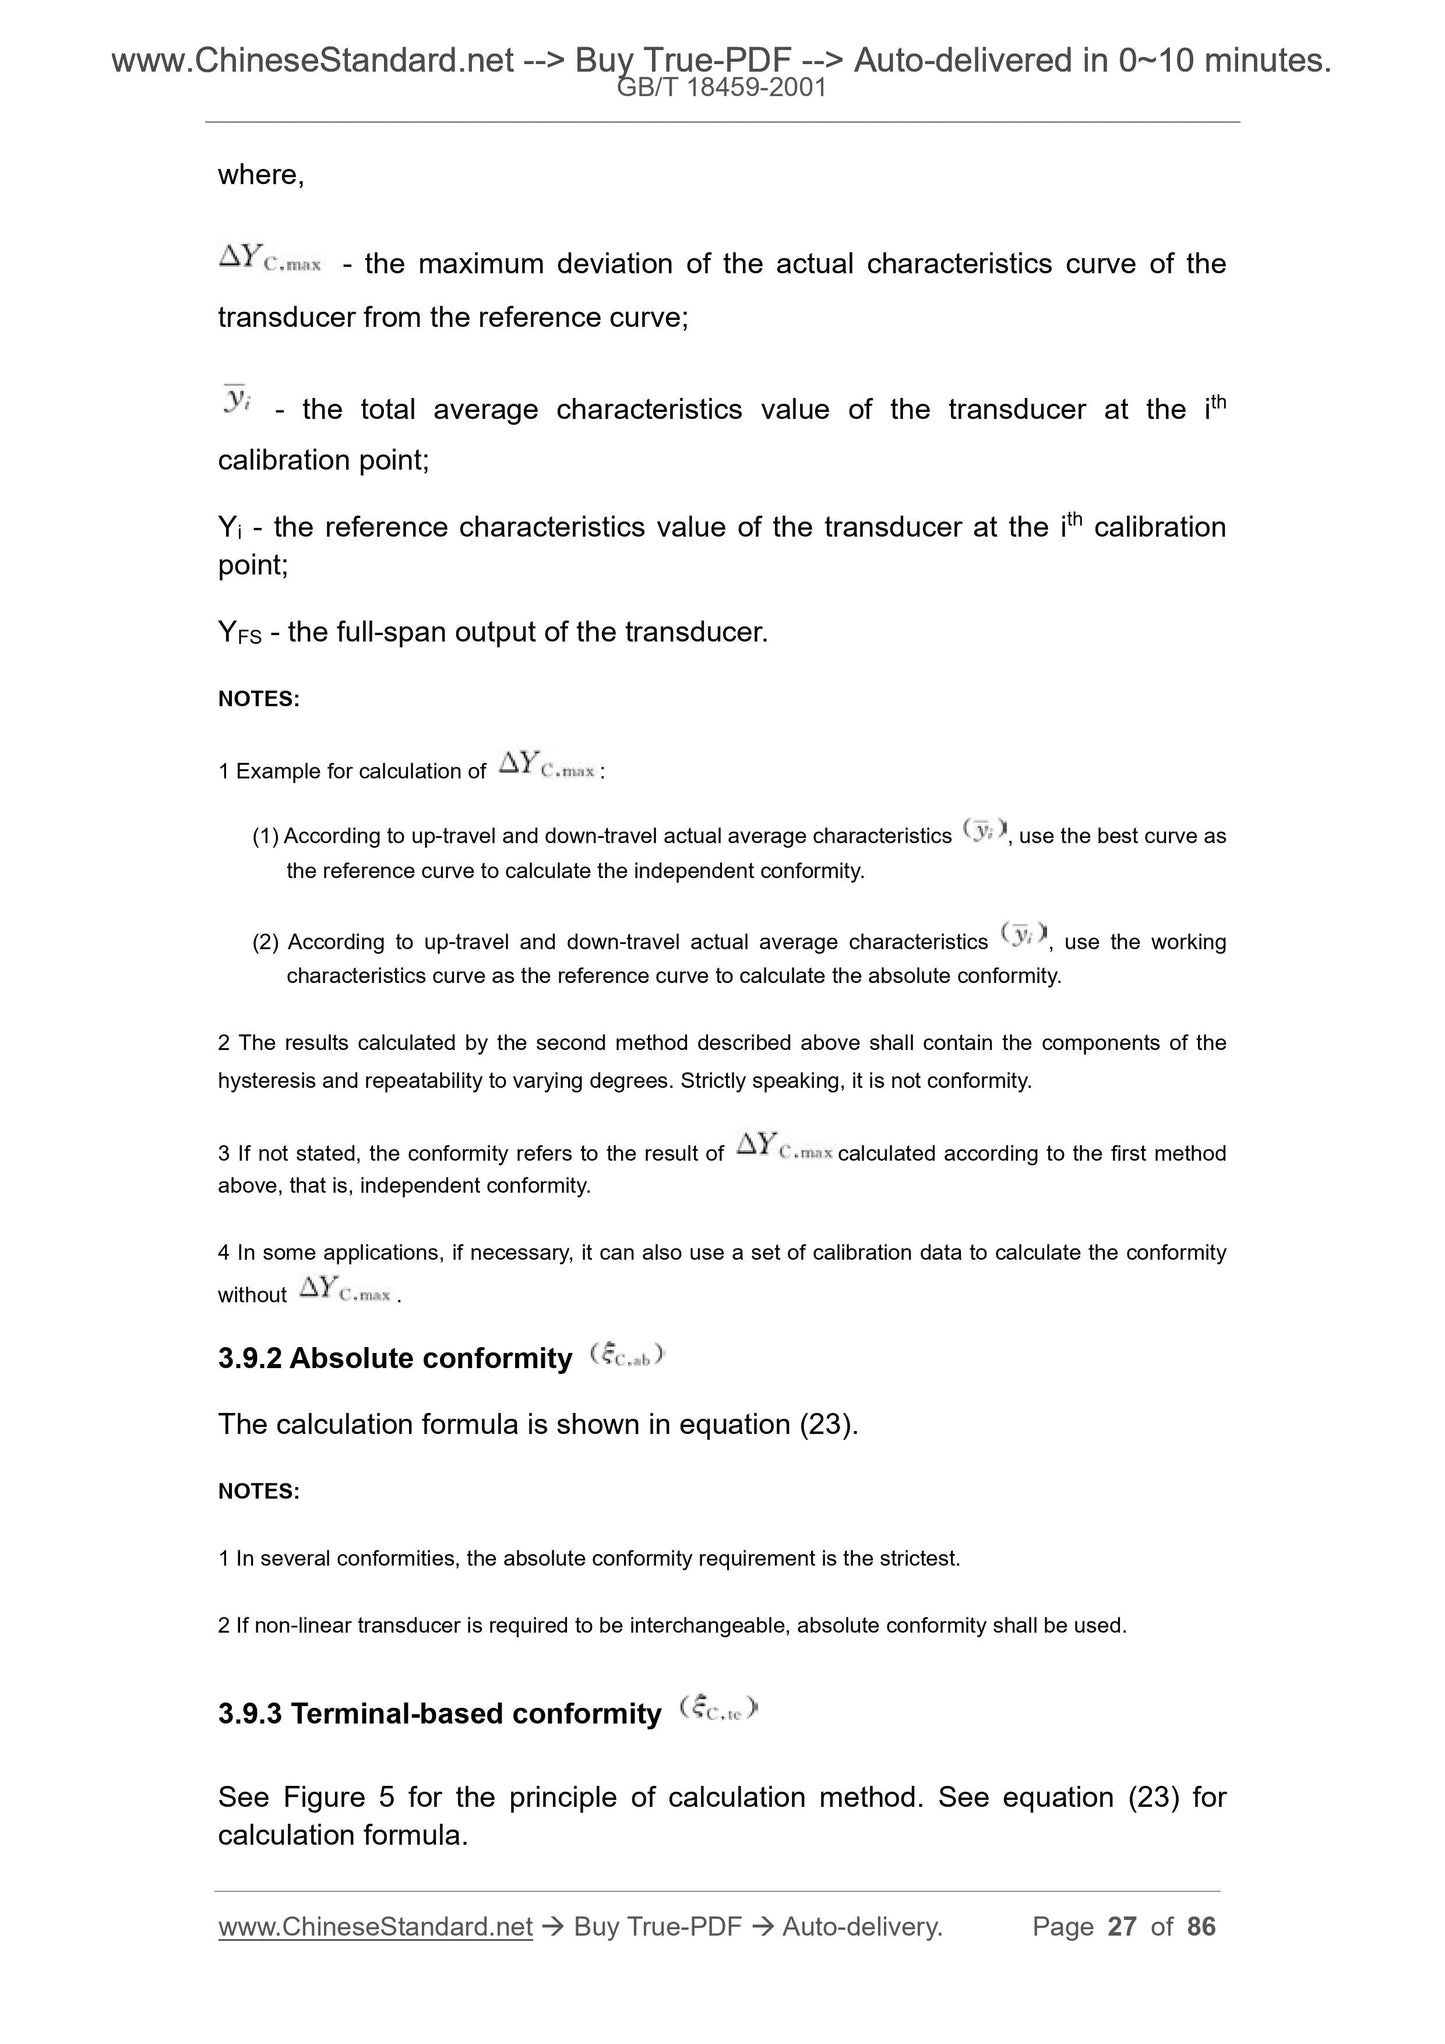
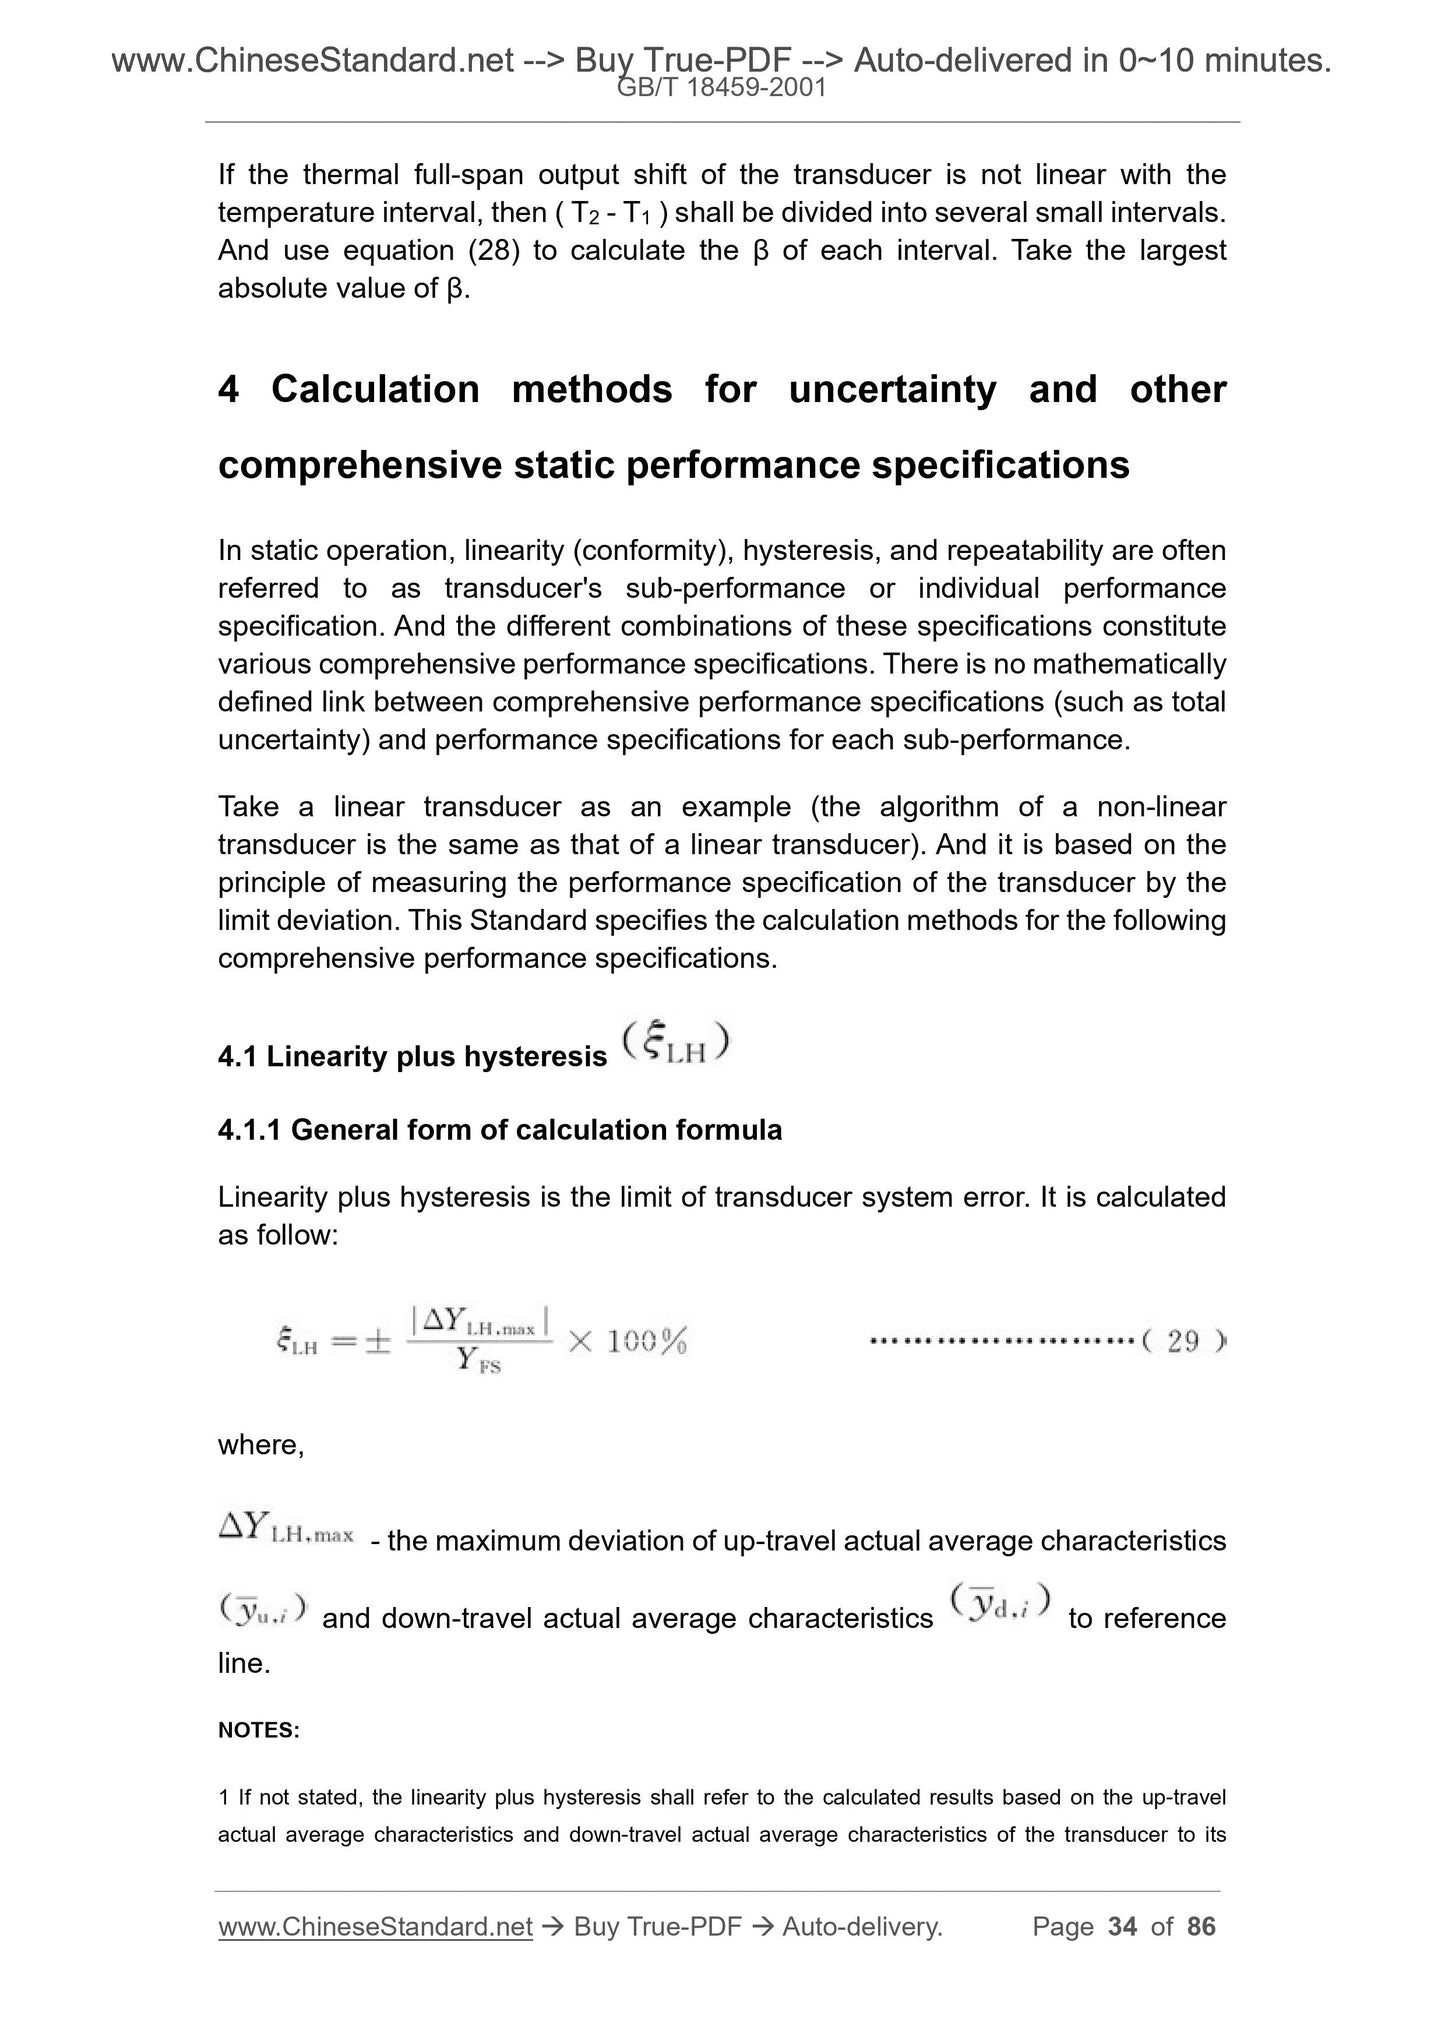
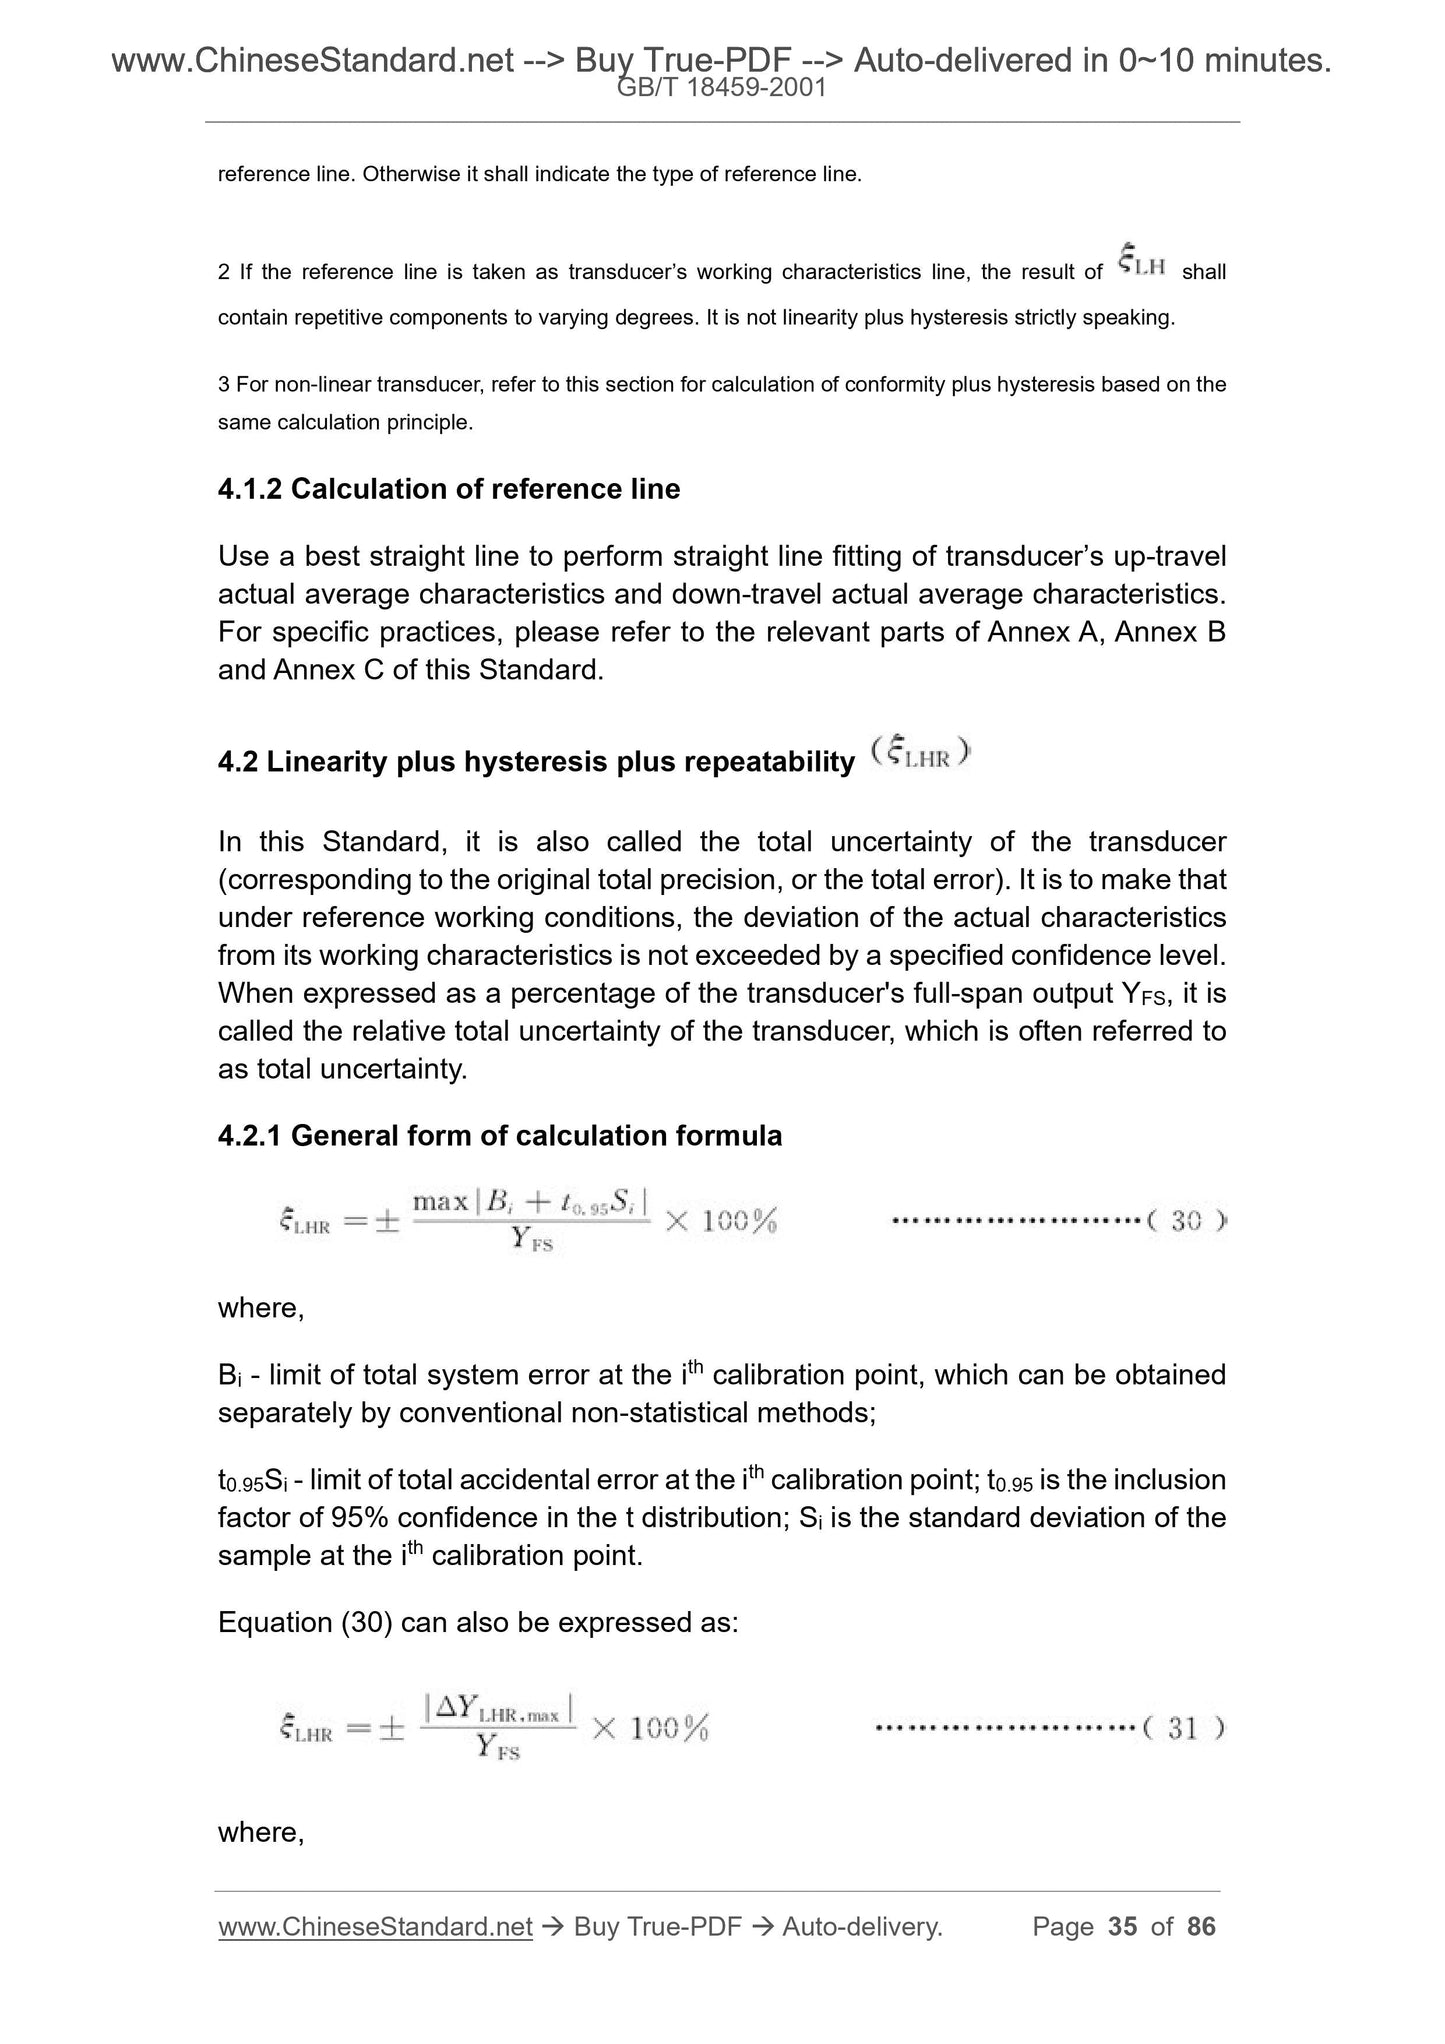
Preview True-PDF (Reload/Scroll if blank)
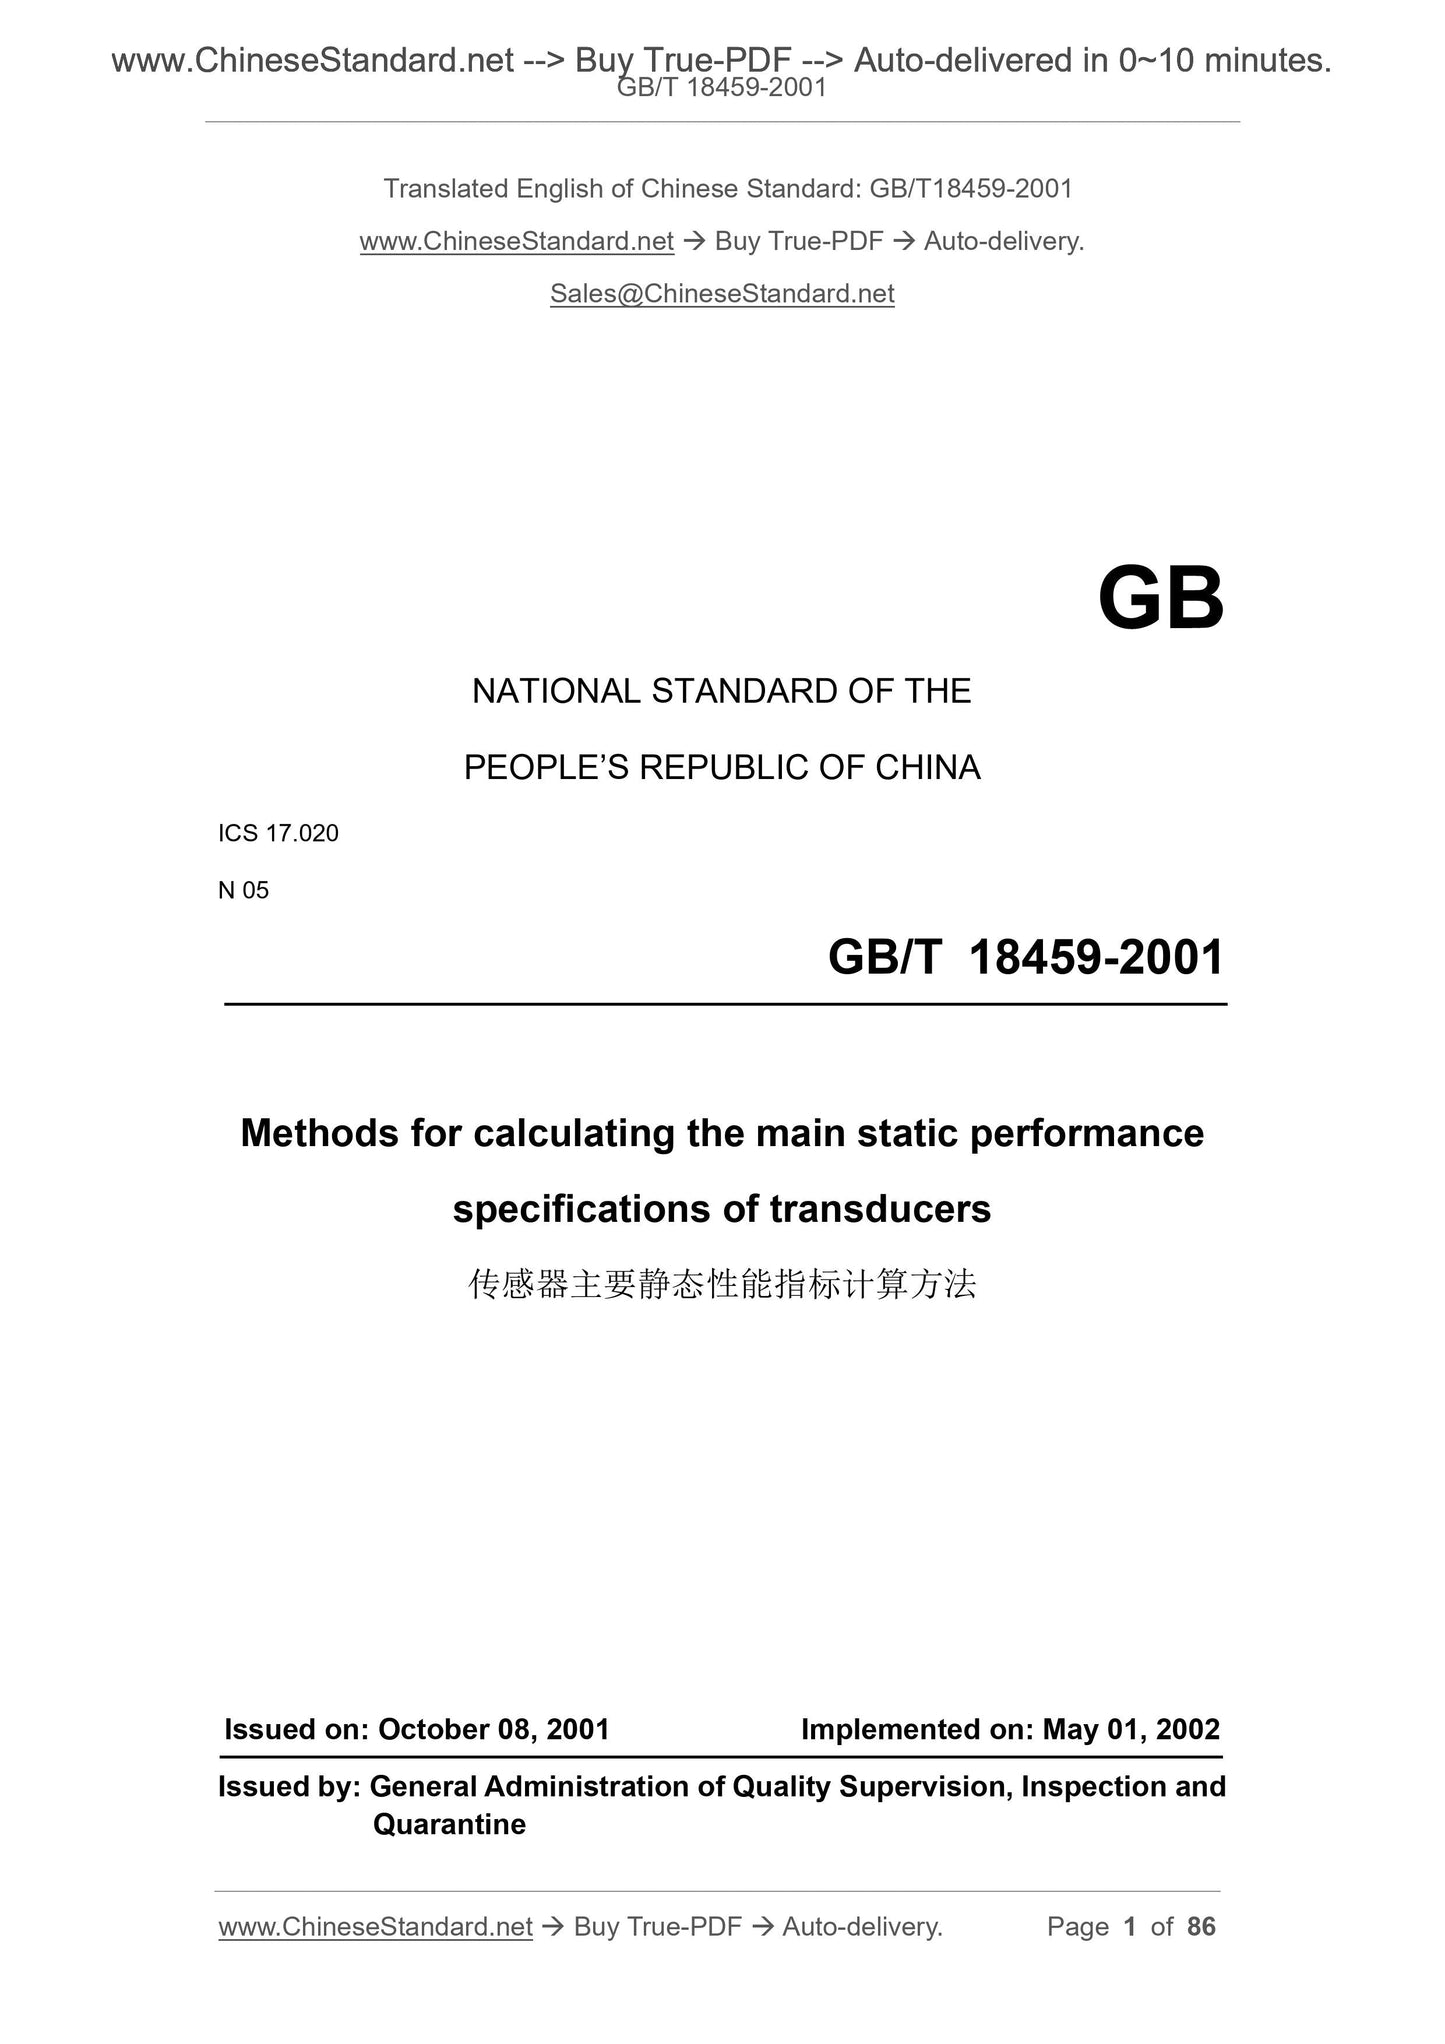
GB/T 18459-2001: Methods for calculating the main static performance specifications of transducers
GB/T 18459-2001
NATIONAL STANDARD OF THE
PEOPLE’S REPUBLIC OF CHINA
ICS 17.020
N 05
Methods for calculating the main static performance
specifications of transducers
ISSUED ON: OCTOBER 08, 2001
IMPLEMENTED ON: MAY 01, 2002
Issued by: General Administration of Quality Supervision, Inspection and
Quarantine
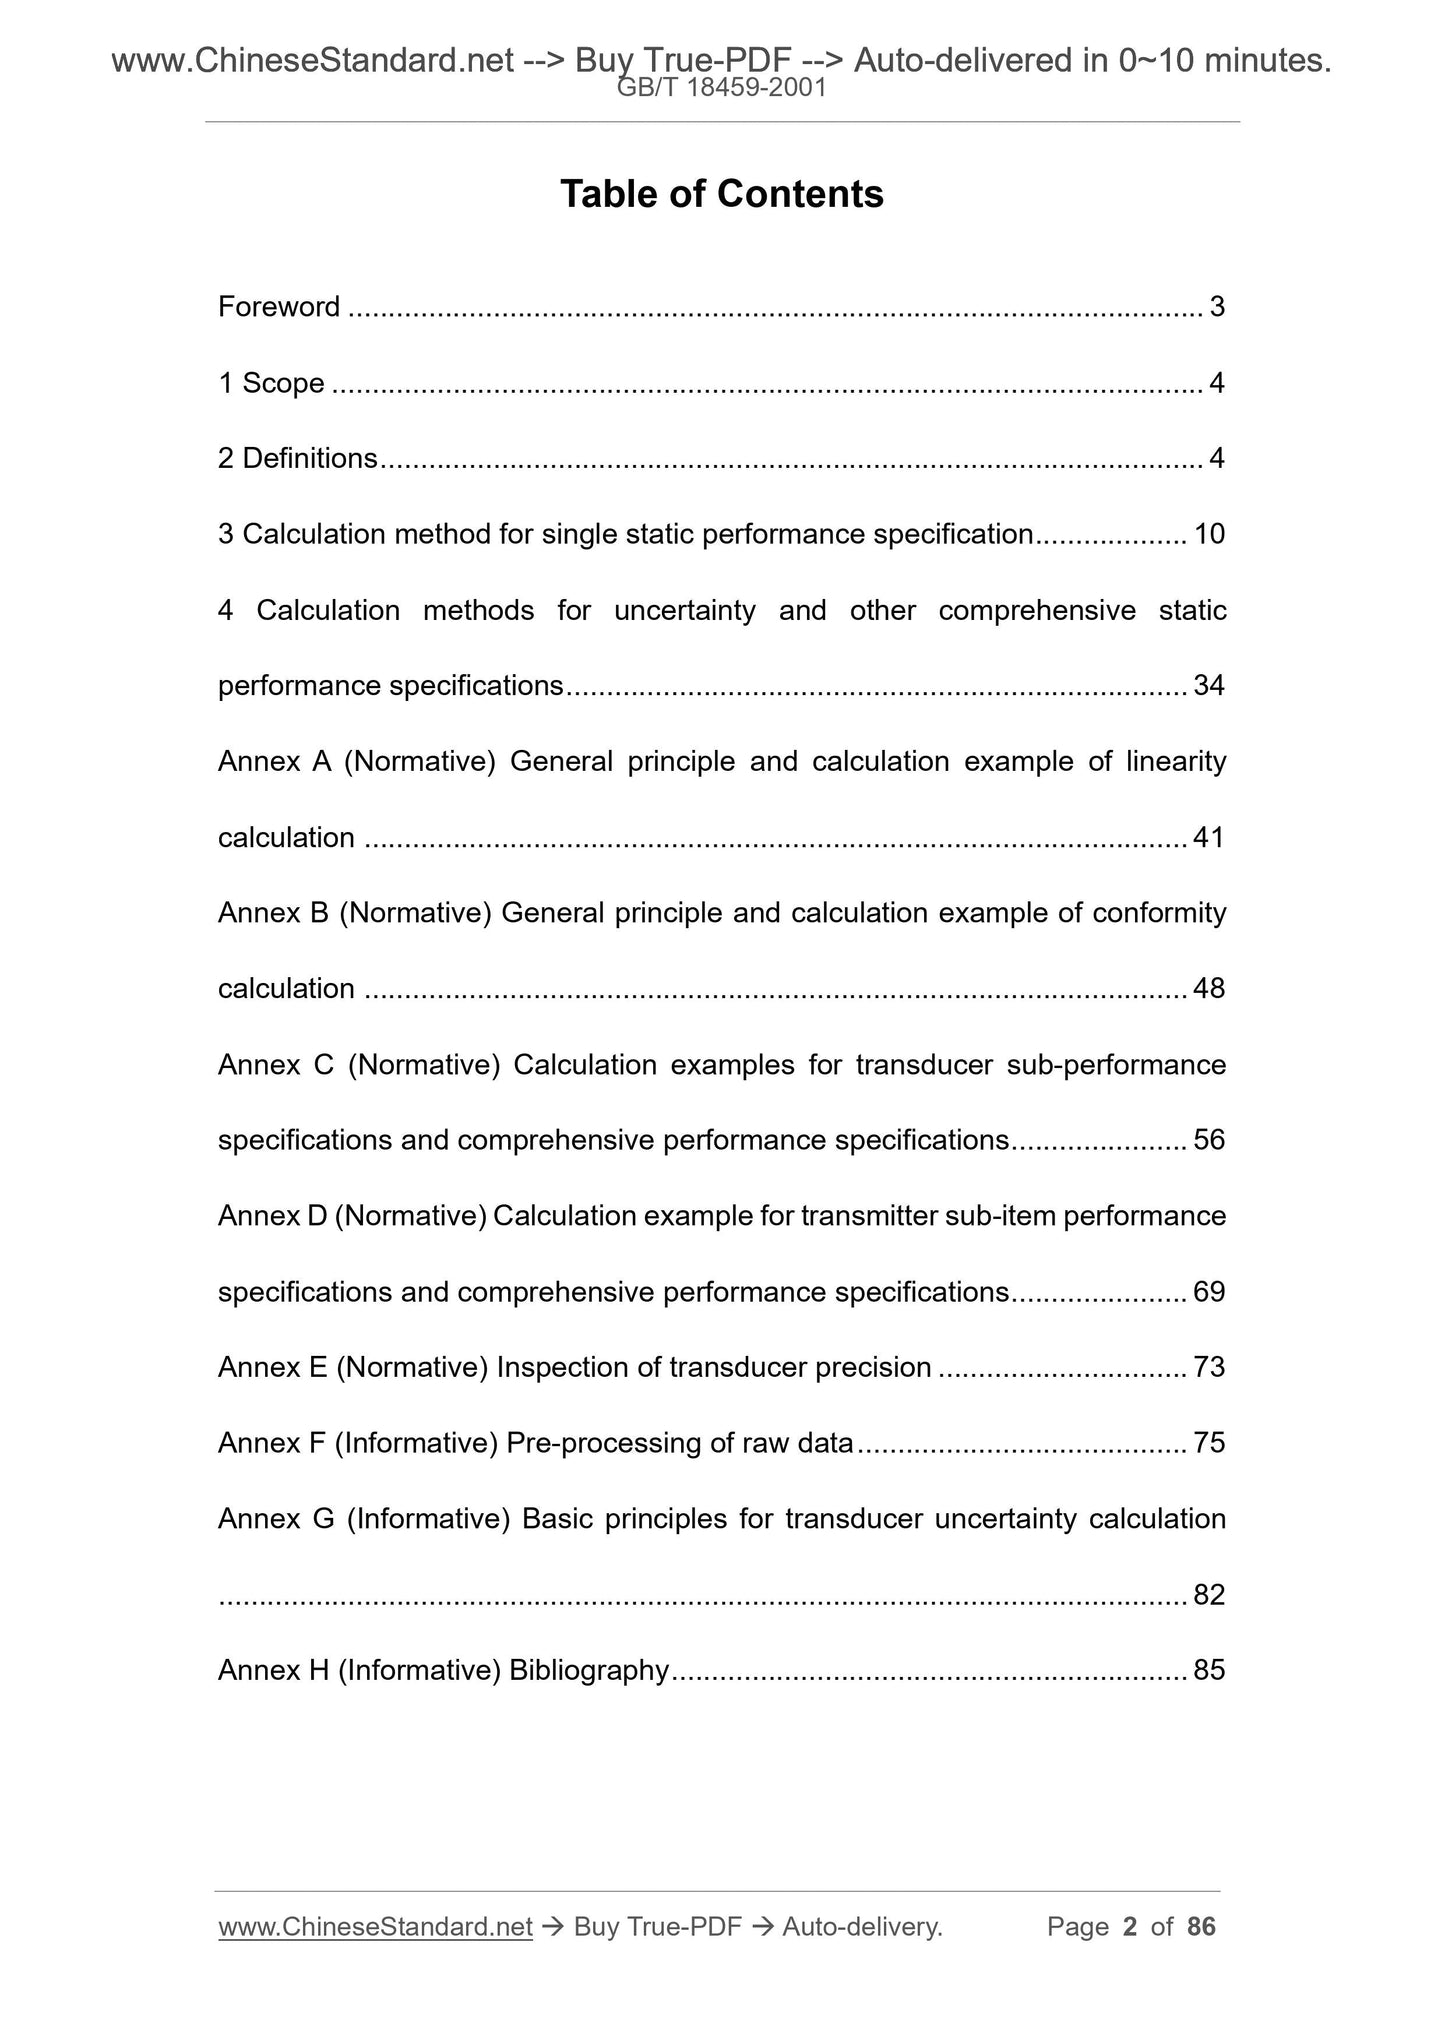
Table of Contents
Foreword ... 3
1 Scope ... 4
2 Definitions ... 4
3 Calculation method for single static performance specification ... 10
4 Calculation methods for uncertainty and other comprehensive static
performance specifications ... 34
Annex A (Normative) General principle and calculation example of linearity
calculation ... 41
Annex B (Normative) General principle and calculation example of conformity
calculation ... 48
Annex C (Normative) Calculation examples for transducer sub-performance
specifications and comprehensive performance specifications ... 56
Annex D (Normative) Calculation example for transmitter sub-item performance
specifications and comprehensive performance specifications ... 69
Annex E (Normative) Inspection of transducer precision ... 73
Annex F (Informative) Pre-processing of raw data ... 75
Annex G (Informative) Basic principles for transducer uncertainty calculation
... 82
Annex H (Informative) Bibliography ... 85
Methods for calculating the main static performance
specifications of transducers
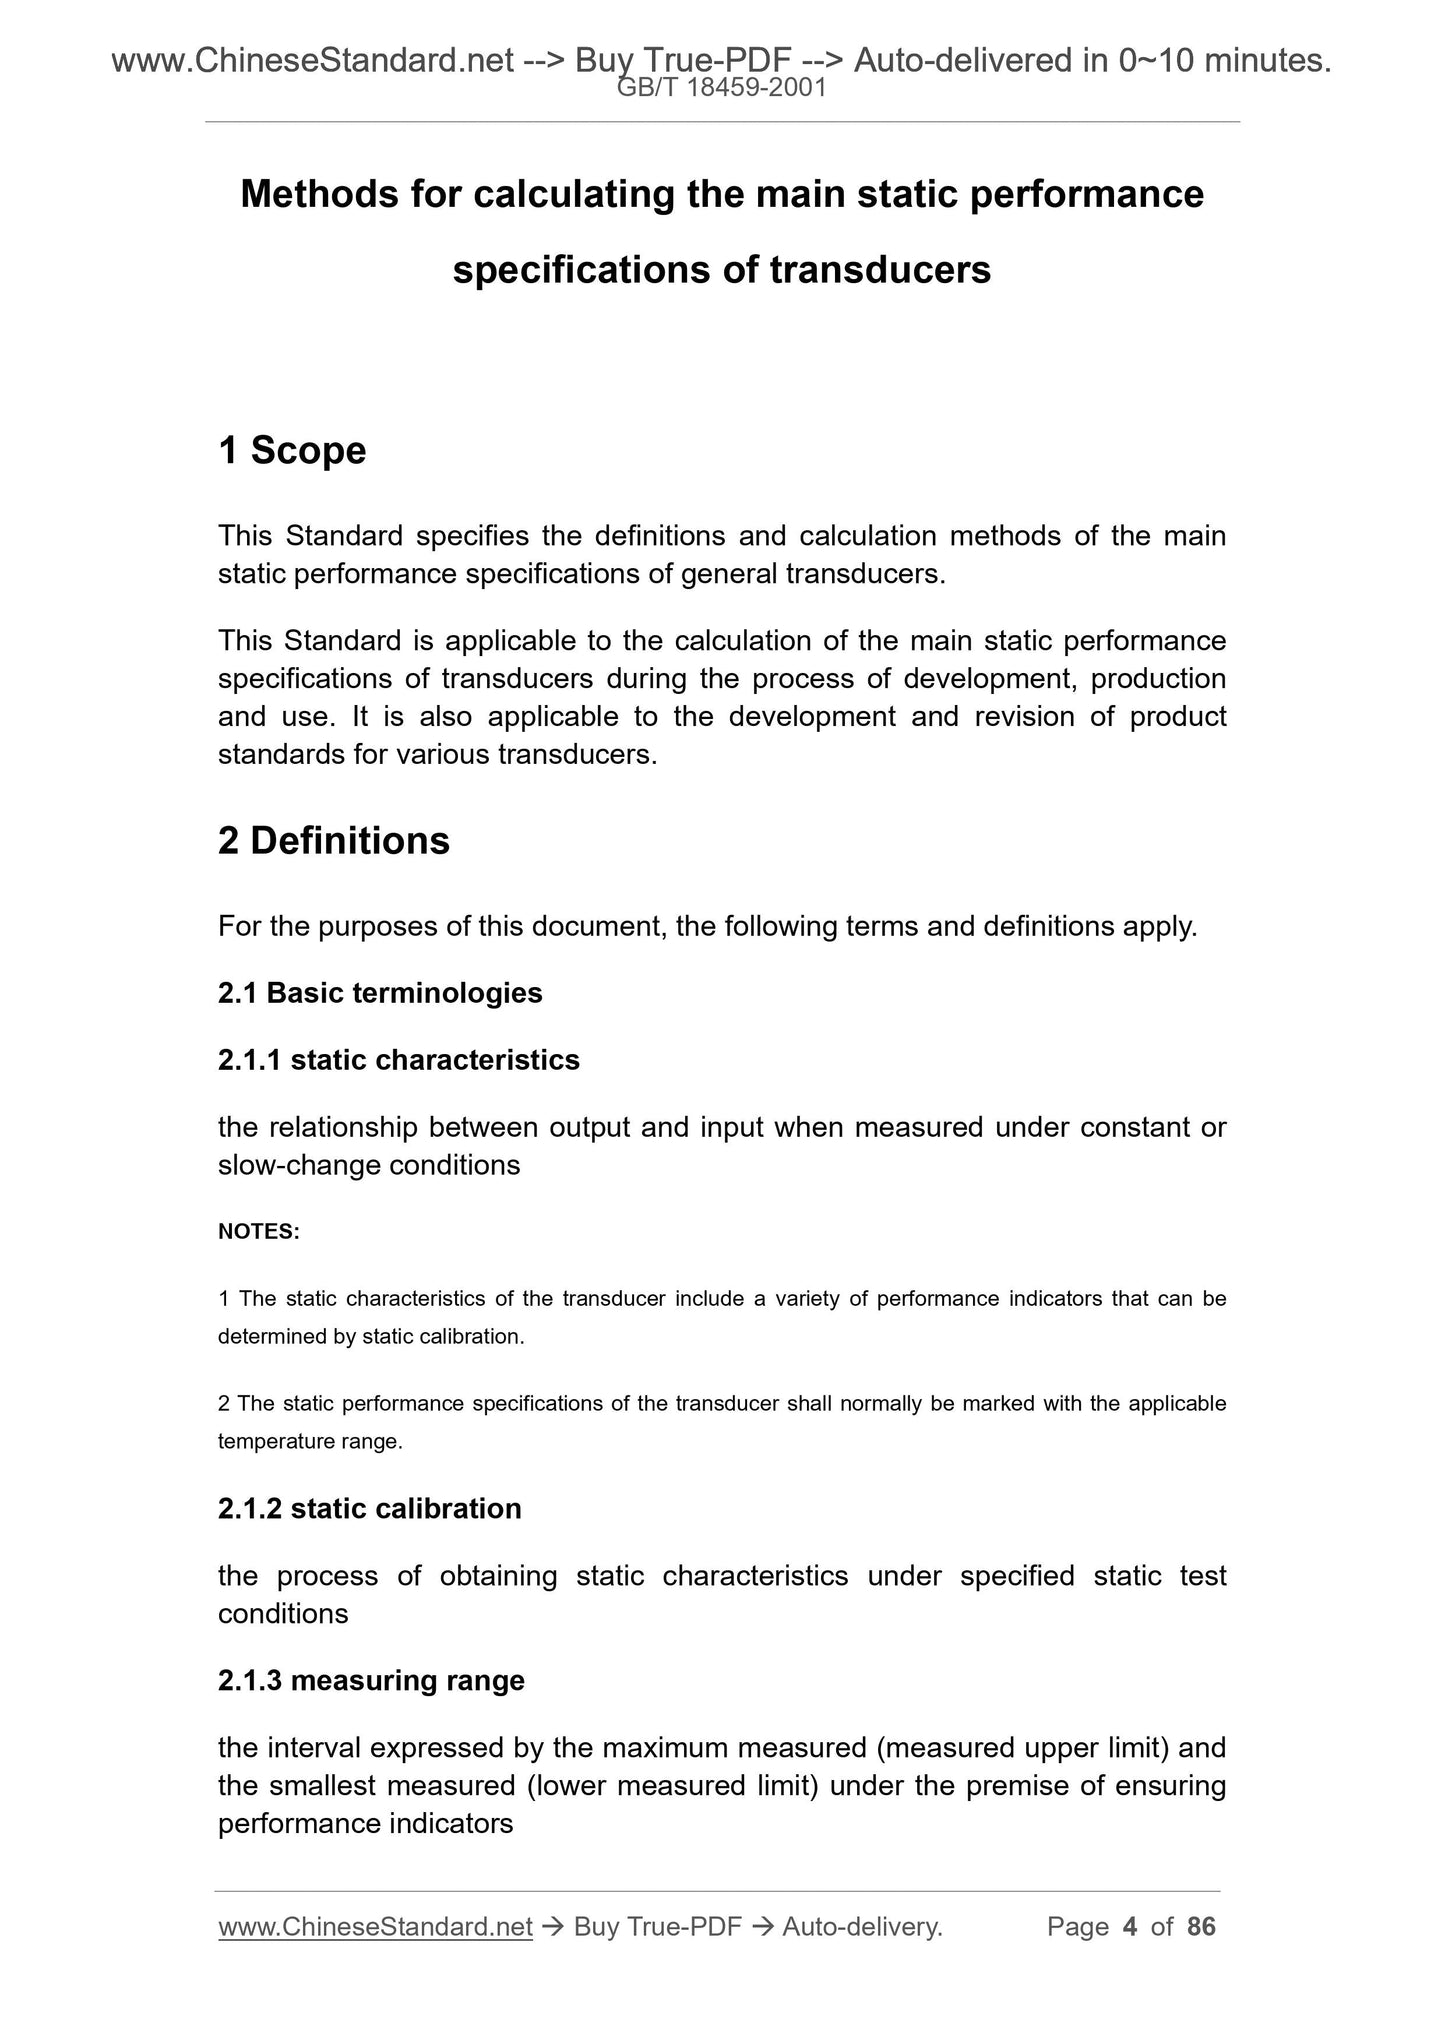
1 Scope
This Standard specifies the definitions and calculation methods of the main
static performance specifications of general transducers.
This Standard is applicable to the calculation of the main static performance
specifications of transducers during the process of development, production
and use. It is also applicable to the development and revision of product
standards for various transducers.
2 Definitions
For the purposes of this document, the following terms and definitions apply.
2.1 Basic terminologies
2.1.1 static characteristics
the relationship between output and input when measured under constant or
slow-change conditions
NOTES:
1 The static characteristics of the transducer include a variety of performance indicators that can be
determined by static calibration.
2 The static performance specifications of the transducer shall normally be marked with the applicable
temperature range.
2.1.2 static calibration
the process of obtaining static characteristics under specified static test
conditions
2.1.3 measuring range
the interval expressed by the maximum measured (measured upper limit) and
the smallest measured (lower measured limit) under the premise of ensuring
performance indicators
the transducer that working characteristics are represented by curve equation
2.2 Static calibration characteristics
2.2.1 up-travel actual average characteristics
the connection curve of the arithmetic mean point of a set of measured values
at each calibration point of the up-travel
2.2.2 down-travel actual average characteristics
the connection curve of the arithmetic mean point of a set of measured values
at each calibration point of the reverse stroke
2.2.3 up-travel and down-travel actual average characteristics
the connecting curve of the average point of the arithmetic mean of the positive
and down-travel strokes of each calibration point, also called the actual
characteristics (curve)
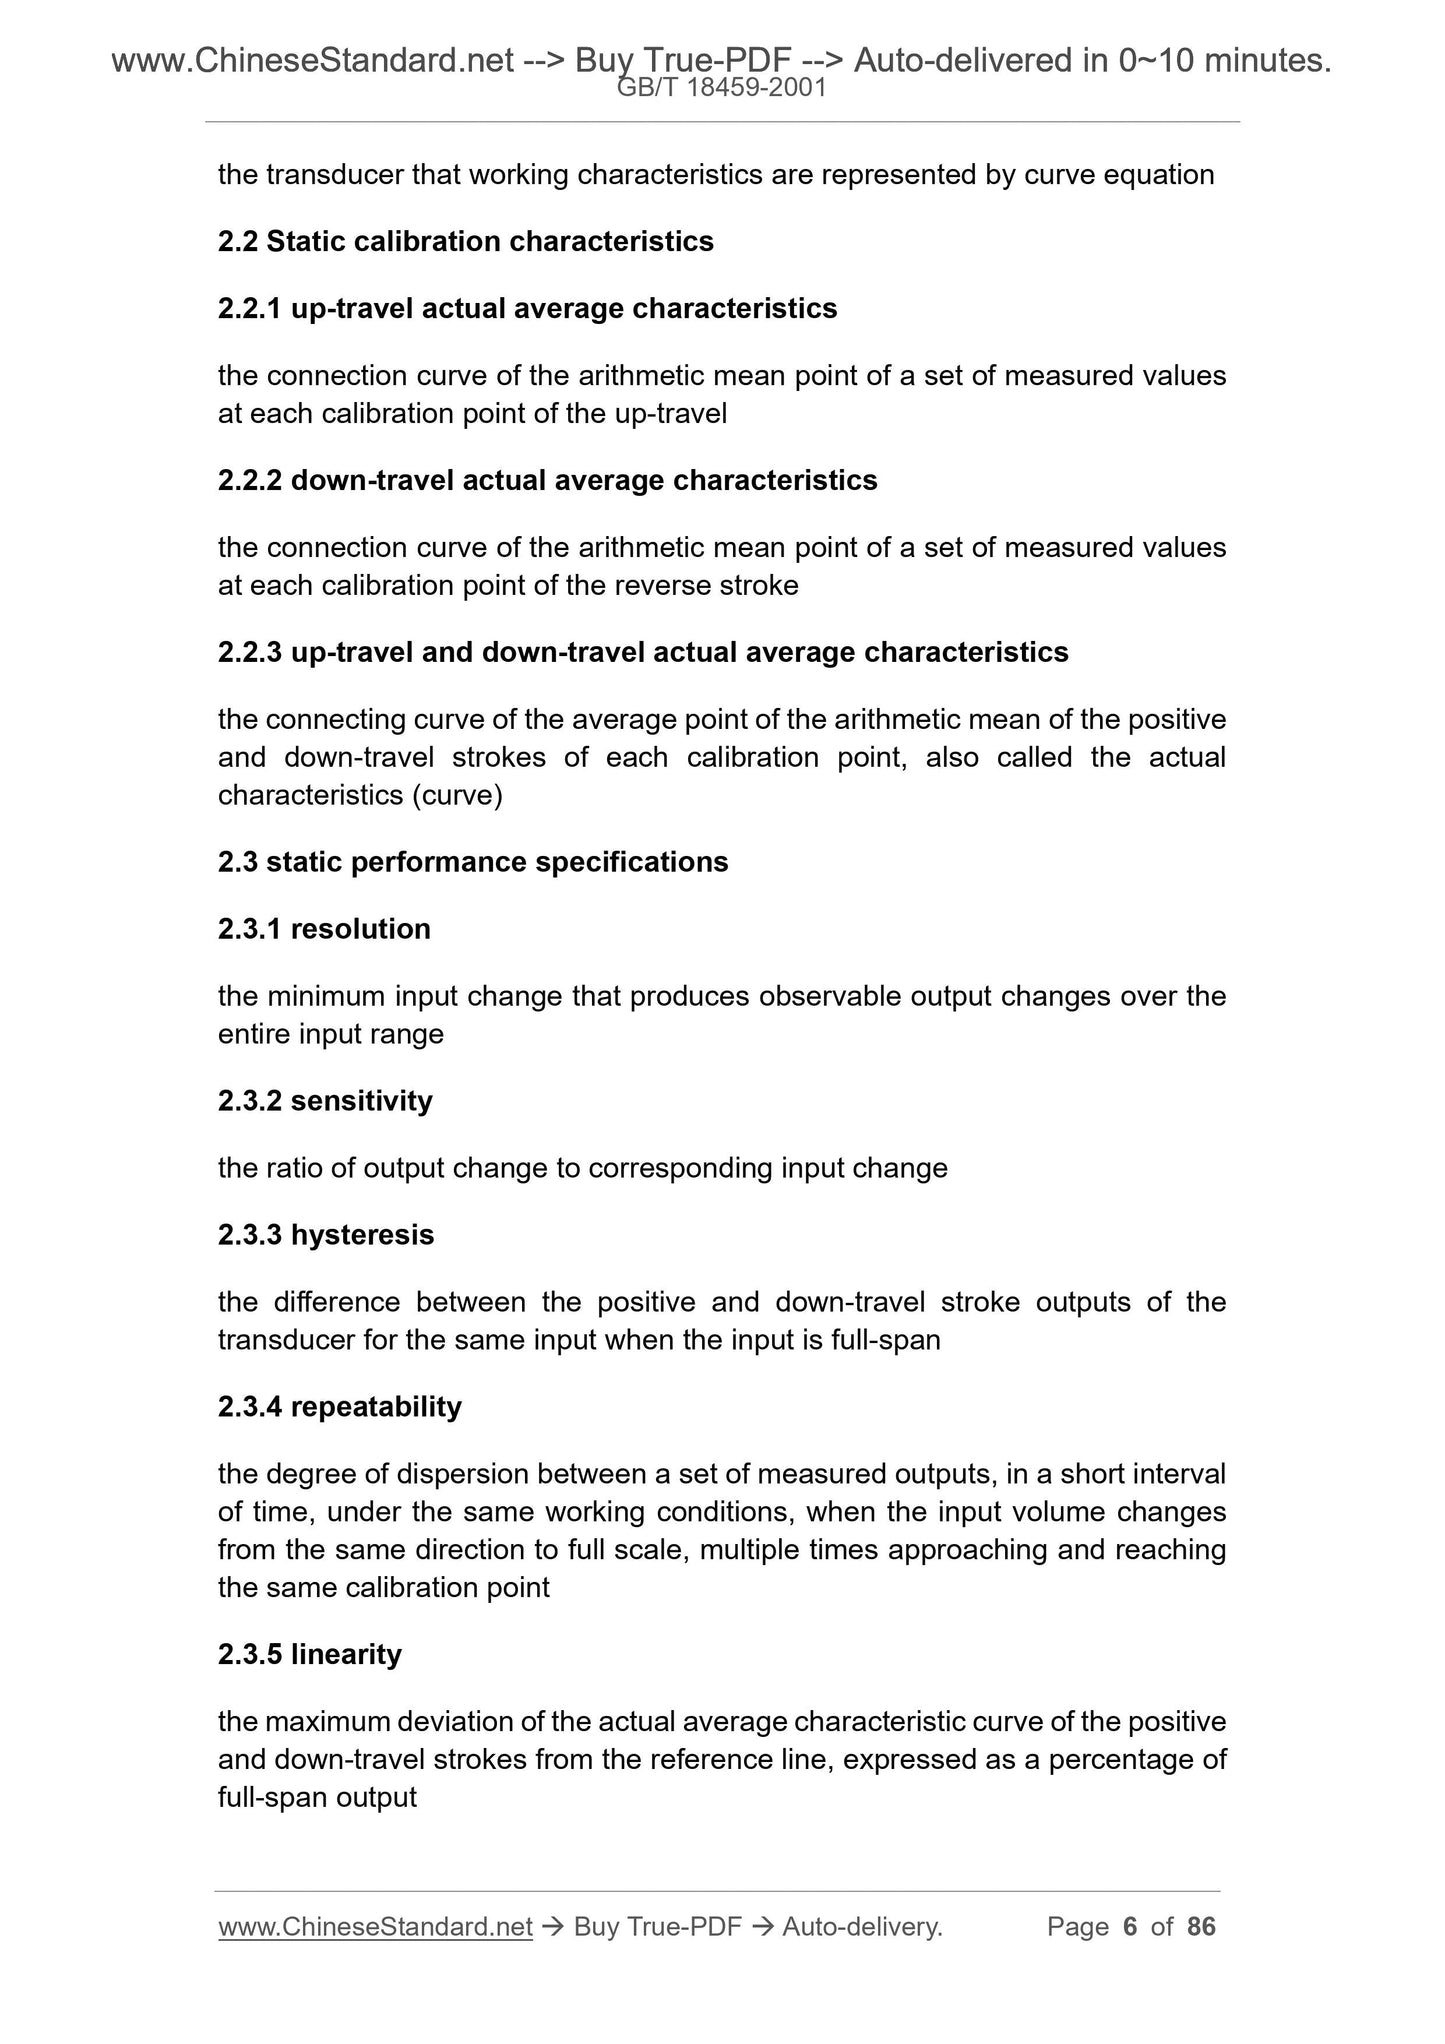
2.3 static performance specifications
2.3.1 resolution
the minimum input change that produces observable output changes over the
entire input range
2.3.2 sensitivity
the ratio of output change to corresponding input change
2.3.3 hysteresis
the difference between the positive and down-travel stroke outputs of the
transducer for the same input when the input is full-span
2.3.4 repeatability
the degree of dispersion between a set of measured outputs, in a short interval
of time, under the same working conditions, when the input volume changes
from the same direction to full scale, multiple times approaching and reaching
the same calibration point
2.3.5 linearity
the maximum deviation of the actual average characteristic curve of the positive
and down-travel strokes from the reference line, expressed as a percentage of
full-span output
the linearity that the reference line is the front terminal-based line
NOTES:
1 The front terminal-based line passes through the front terminal point of the actual characteristics of the
transducer. However, the maximum deviation of the transducer's actual characteristics shall be minimized
by changing the slope.
2 The front terminal-based line is called the zero-base line in some foreign standards and literature.
2.3.5.6 Independent linearity
the linearity that the reference line is the best straight line
NOTES:
1 The best straight line is the median line of two parallel lines that are closest to each other and can
accommodate the up-travel and down-travel actual average characteristics of the transducer.
2 The best straight line guarantees that the actual deviation of the transducer’s actual characteristics is
minimal.
2.3.5.7 least-squares linearity
the linearity that the reference line is the least square line
NOTE: The least-squares line shall ensure that the sum of the squares of the actual characteristics of the
transducer is minimal.
2.3.6 conformity
the maximum deviation of the curve of the up-travel and down-travel actual
average characteristics to the reference curve, expressed as a percentage of
full-span output
NOTES:
1 There are multiple compliances that vary with the reference curve.
2 Conformity shall be limited. Conformity without qualifiers means independent conformity.
2.3.6.1 absolute conformity
the conformity that the reference curve is the specified curve, also known as
theoretical conformity
NOTES:
1 The reference curve for absolute conformity is pre-defined. It reflects the conformity precision and is
absolutely different from the properties of several other degrees of conformity.
2.3.8 uncertainty
an evaluation result that characterizes the measured true value in a certain
range; it is a parameter that reasonably gives the dispersion of the measured
value, and it is also a parameter associated with the measurement result
NOTE: Uncertainty can more reasonably represent the nature of measurement results from both
qualitative and quantitative aspects.
2.3.9 total uncertainty
also known as basic uncertainty, an uncertainty obtained by static calibration
under specified conditions and according to the specified calculation method
NOTE: In this Standard, the total uncertainty is combined linearity, hysteresis and repeatability. It reflects
their joint role. It is not simply adding.
2.3.10 zero drift
zero output only changes with time within the specified time, usually expressed
as a percentage of full-span output
2.3.11 drift of output span
full-span output changes only over time within the specified time, usually
expressed as a percentage of full-span output
NOTE: If the prescribed assessment time is long, such as months to years, this indicator is often referred
to as long term stability.
2.3.12 thermal zero shift
zero output change caused by changes in ambient temperature, usually
expressed as a percentage of the full-span output of the unit temperature
2.3.13 thermal shift of output span
full-span output change that is due to changes in ambient temperature, usually
expressed as a perc...