1
/
of
9
www.ChineseStandard.us -- Field Test Asia Pte. Ltd.
GB/T 1843-2008 English PDF (GB/T1843-2008)
Regular price
$115.00
Regular price
Sale price
$115.00
Unit price
/
per
Shipping calculated at checkout.
Couldn't load pickup availability
GB/T 1843-2008: Plastics - Determination of izod impact strength
Delivery: 9 seconds. Download (& Email) true-PDF + Invoice.
Get Quotation: Click GB/T 1843-2008 (Self-service in 1-minute)
Historical versions (Master-website): GB/T 1843-2008
Preview True-PDF (Reload/Scroll-down if blank)
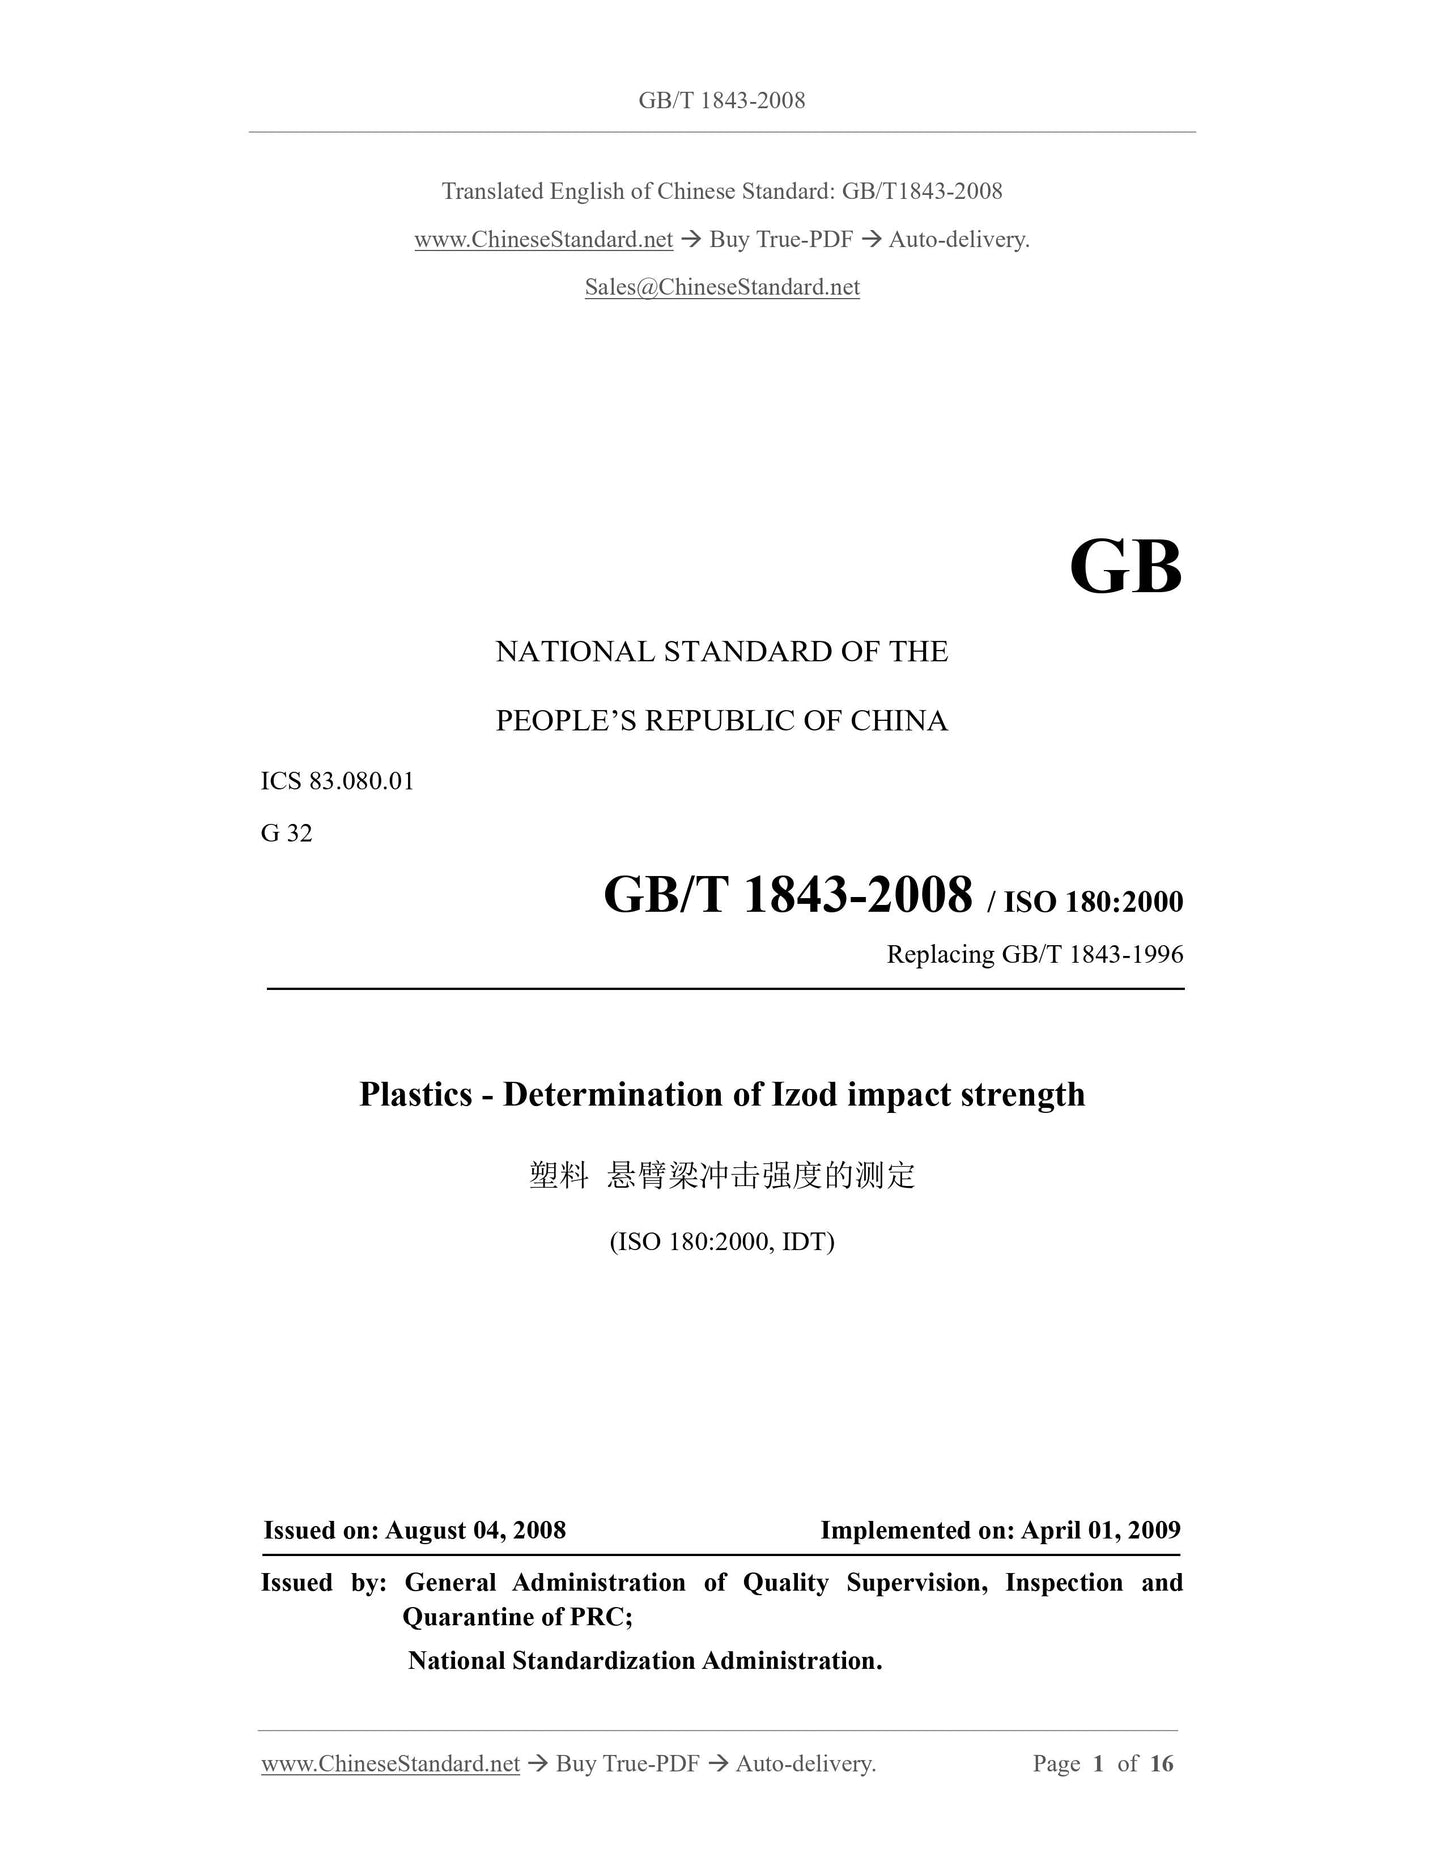
GB/T 1843-2008
GB
NATIONAL STANDARD OF THE
PEOPLE’S REPUBLIC OF CHINA
ICS 83.080.01
G 32
GB/T 1843-2008 / ISO 180:2000
Replacing GB/T 1843-1996
Plastics - Determination of Izod impact strength
(ISO 180:2000, IDT)
ISSUED ON: AUGUST 04, 2008
IMPLEMENTED ON: APRIL 01, 2009
Issued by: General Administration of Quality Supervision, Inspection and
Quarantine of PRC;
National Standardization Administration.
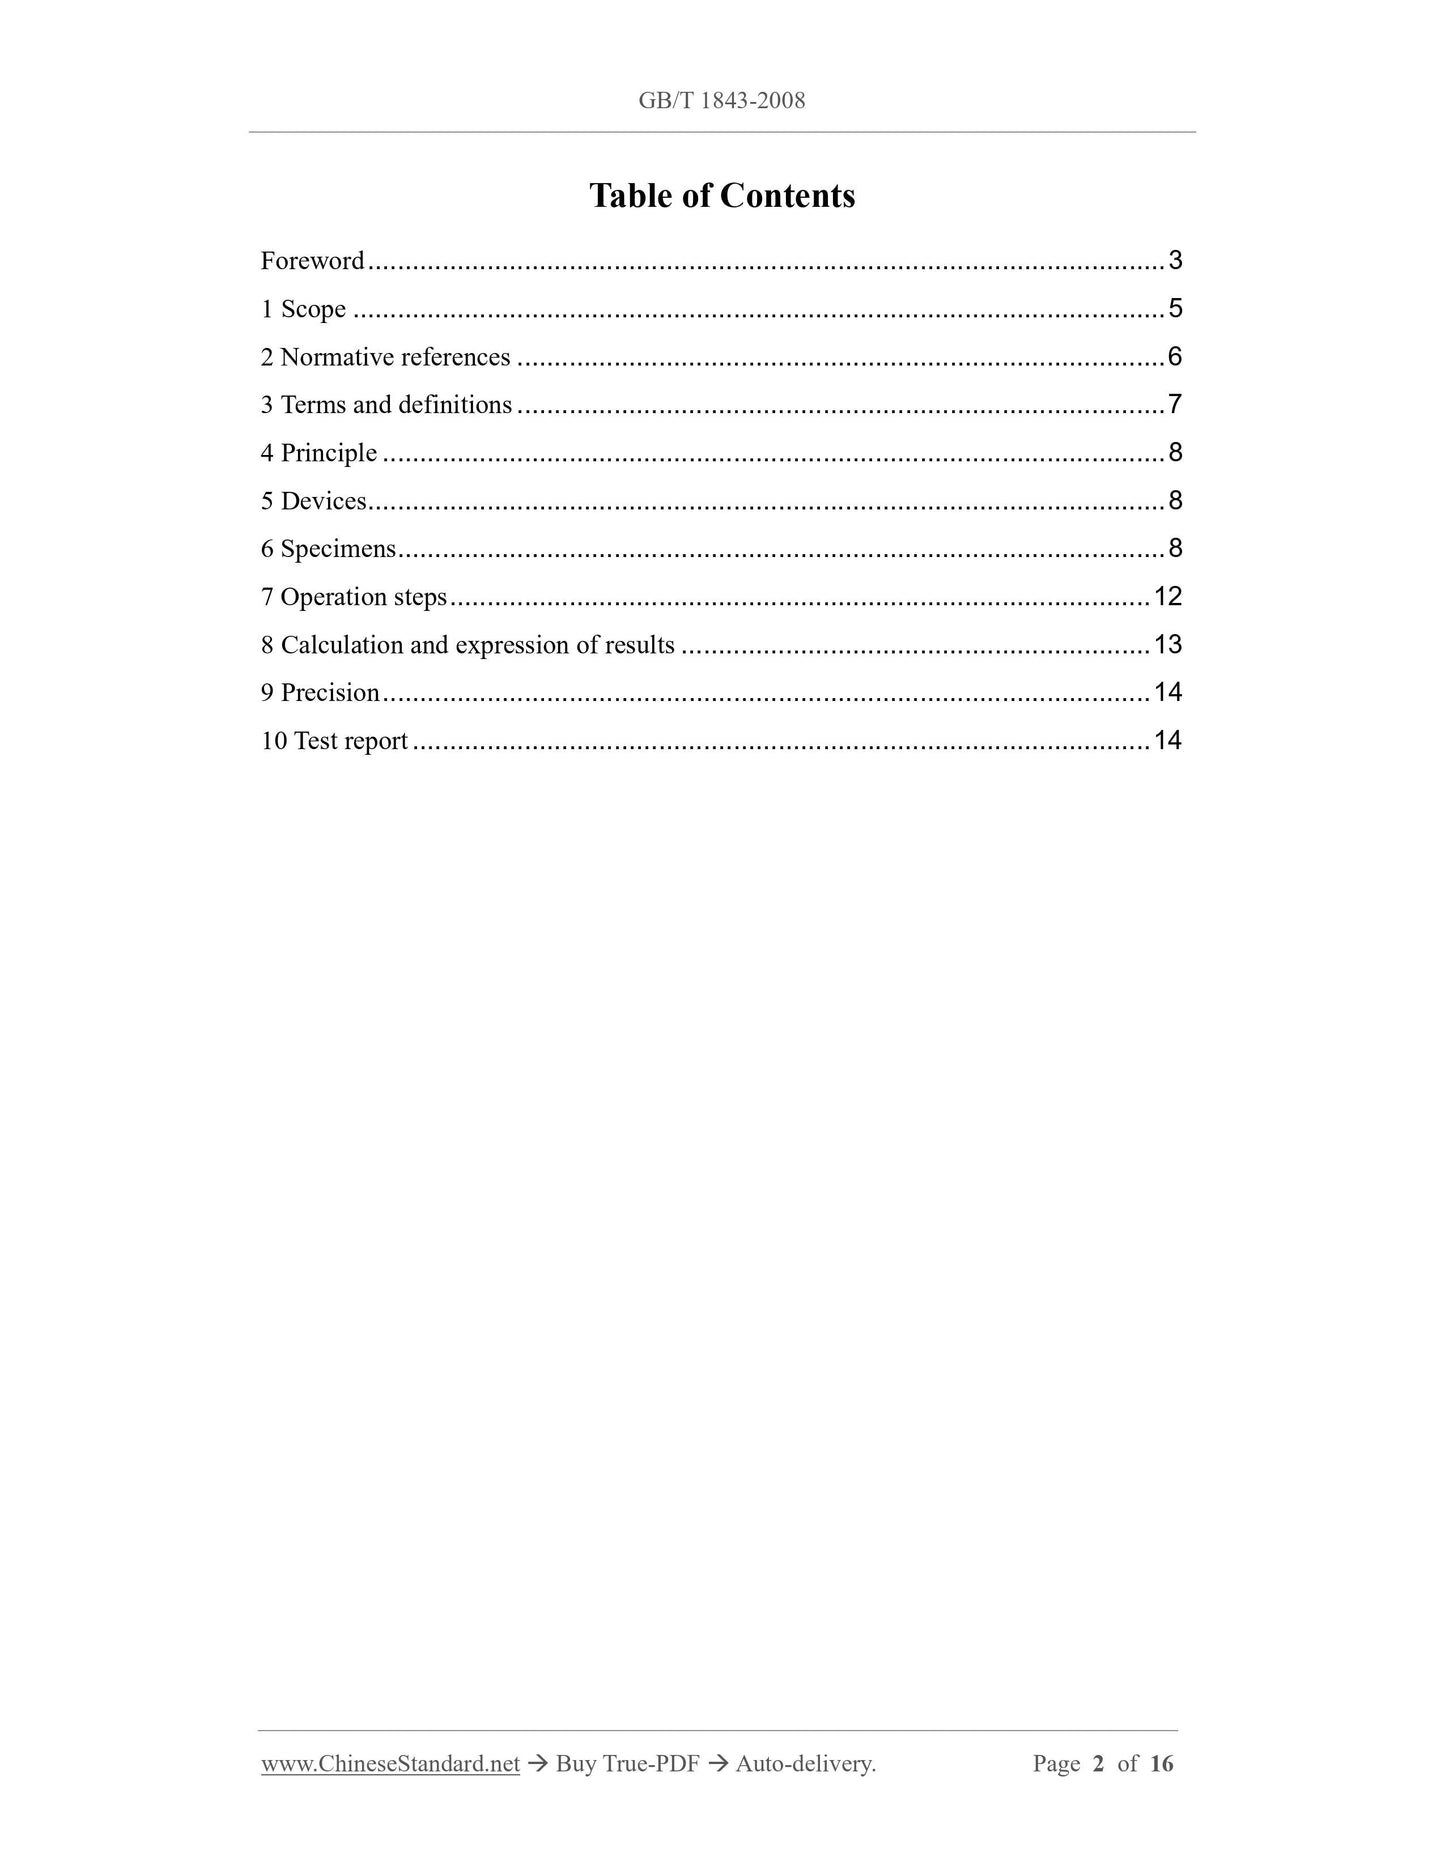
Table of Contents
Foreword ... 3
1 Scope ... 5
2 Normative references ... 6
3 Terms and definitions ... 7
4 Principle ... 8
5 Devices ... 8
6 Specimens ... 8
7 Operation steps ... 12
8 Calculation and expression of results ... 13
9 Precision ... 14
10 Test report ... 14
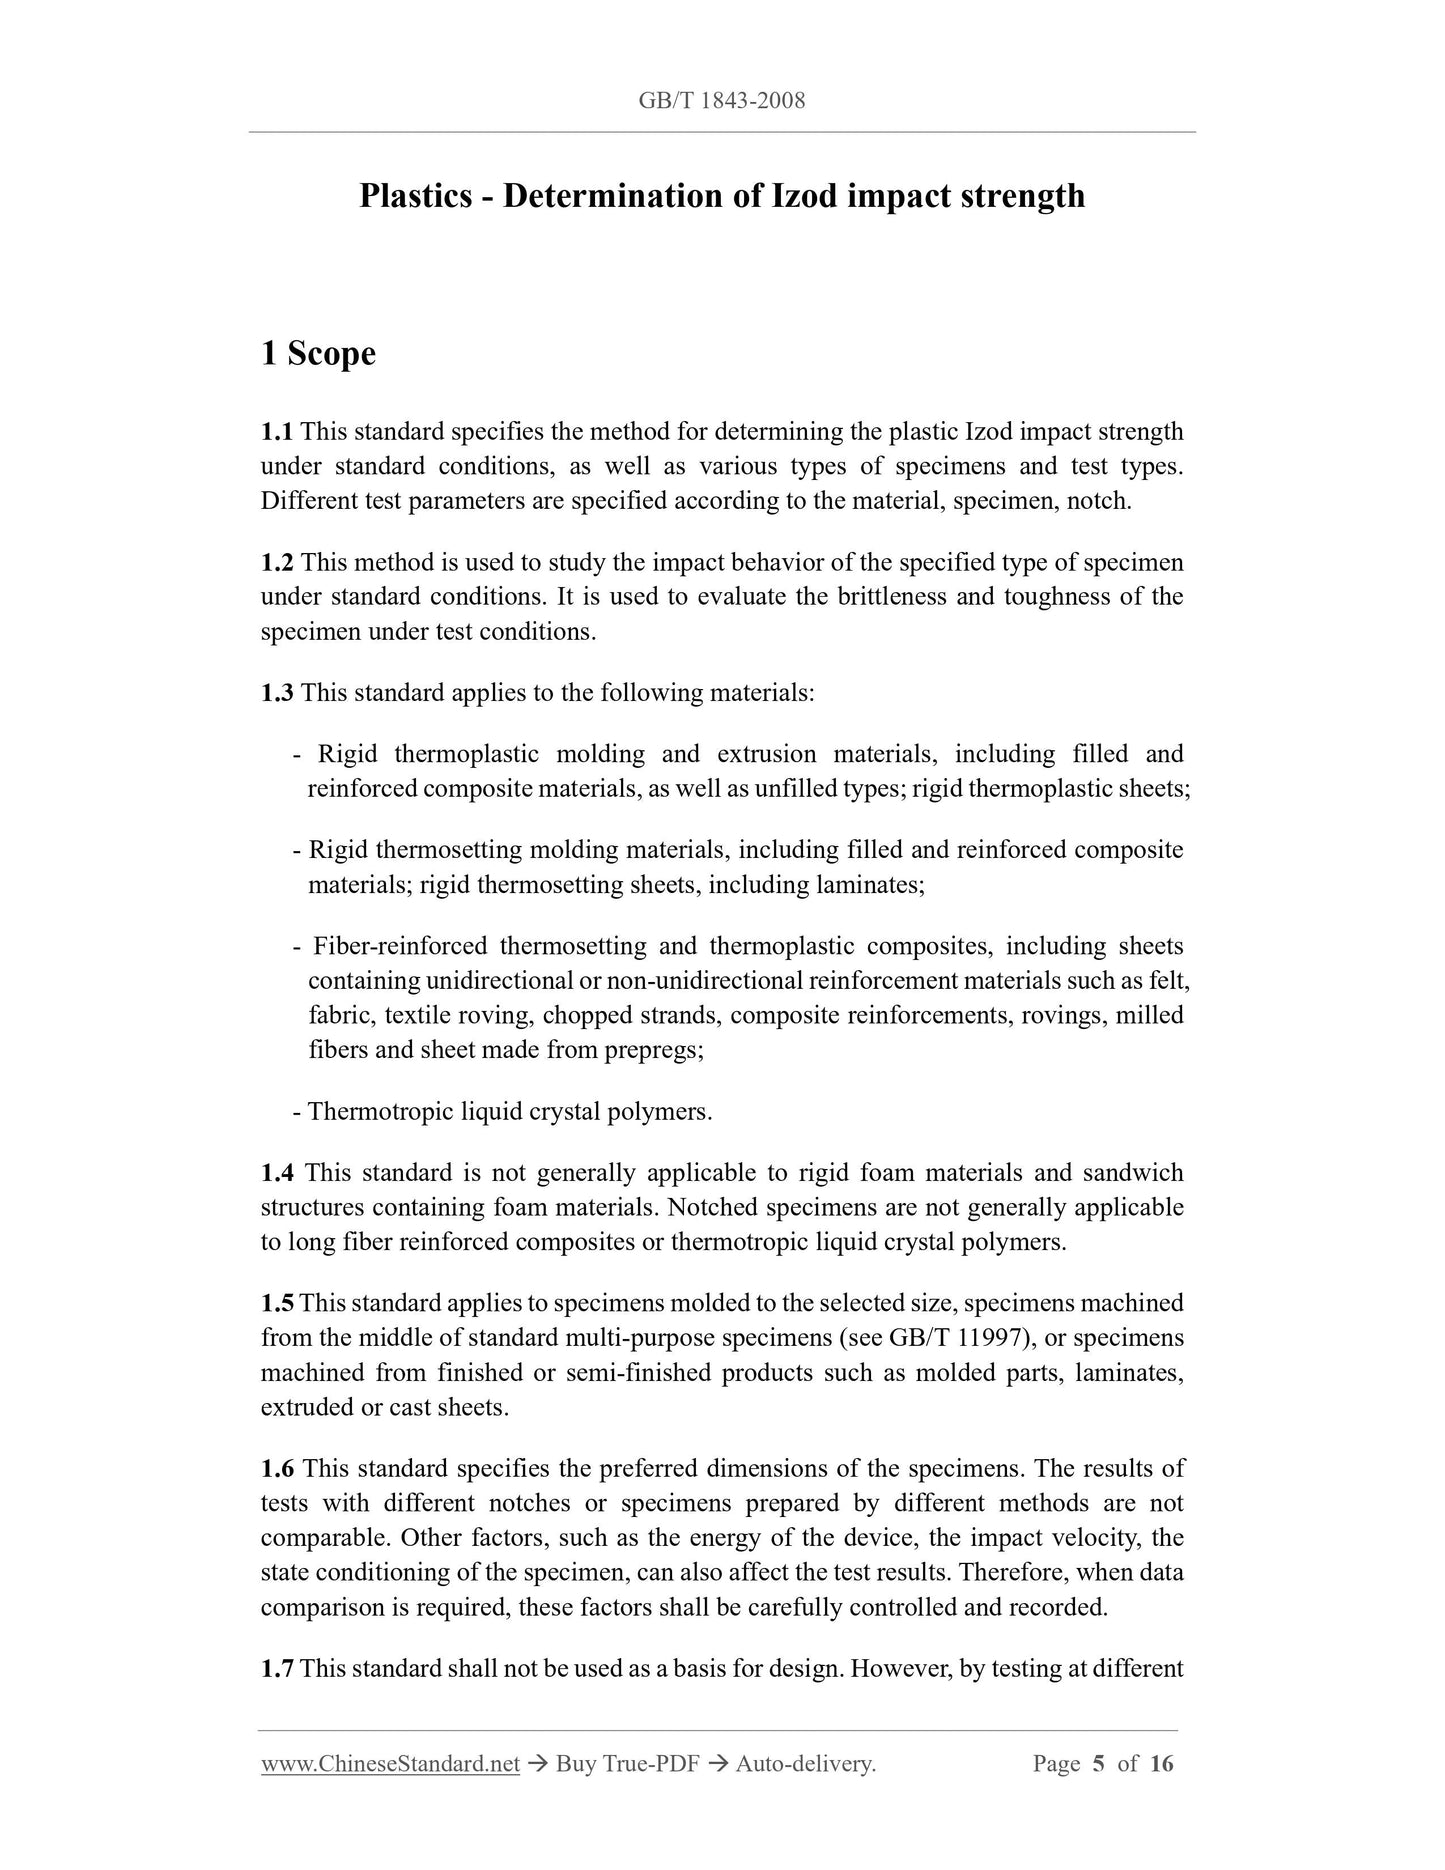
Plastics - Determination of Izod impact strength
1 Scope
1.1 This standard specifies the method for determining the plastic Izod impact strength
under standard conditions, as well as various types of specimens and test types.
Different test parameters are specified according to the material, specimen, notch.
1.2 This method is used to study the impact behavior of the specified type of specimen
under standard conditions. It is used to evaluate the brittleness and toughness of the
specimen under test conditions.
1.3 This standard applies to the following materials:
- Rigid thermoplastic molding and extrusion materials, including filled and
reinforced composite materials, as well as unfilled types; rigid thermoplastic sheets;
- Rigid thermosetting molding materials, including filled and reinforced composite
materials; rigid thermosetting sheets, including laminates;
- Fiber-reinforced thermosetting and thermoplastic composites, including sheets
containing unidirectional or non-unidirectional reinforcement materials such as felt,
fabric, textile roving, chopped strands, composite reinforcements, rovings, milled
fibers and sheet made from prepregs;
- Thermotropic liquid crystal polymers.
1.4 This standard is not generally applicable to rigid foam materials and sandwich
structures containing foam materials. Notched specimens are not generally applicable
to long fiber reinforced composites or thermotropic liquid crystal polymers.
1.5 This standard applies to specimens molded to the selected size, specimens machined
from the middle of standard multi-purpose specimens (see GB/T 11997), or specimens
machined from finished or semi-finished products such as molded parts, laminates,
extruded or cast sheets.
1.6 This standard specifies the preferred dimensions of the specimens. The results of
tests with different notches or specimens prepared by different methods are not
comparable. Other factors, such as the energy of the device, the impact velocity, the
state conditioning of the specimen, can also affect the test results. Therefore, when data
comparison is required, these factors shall be carefully controlled and recorded.
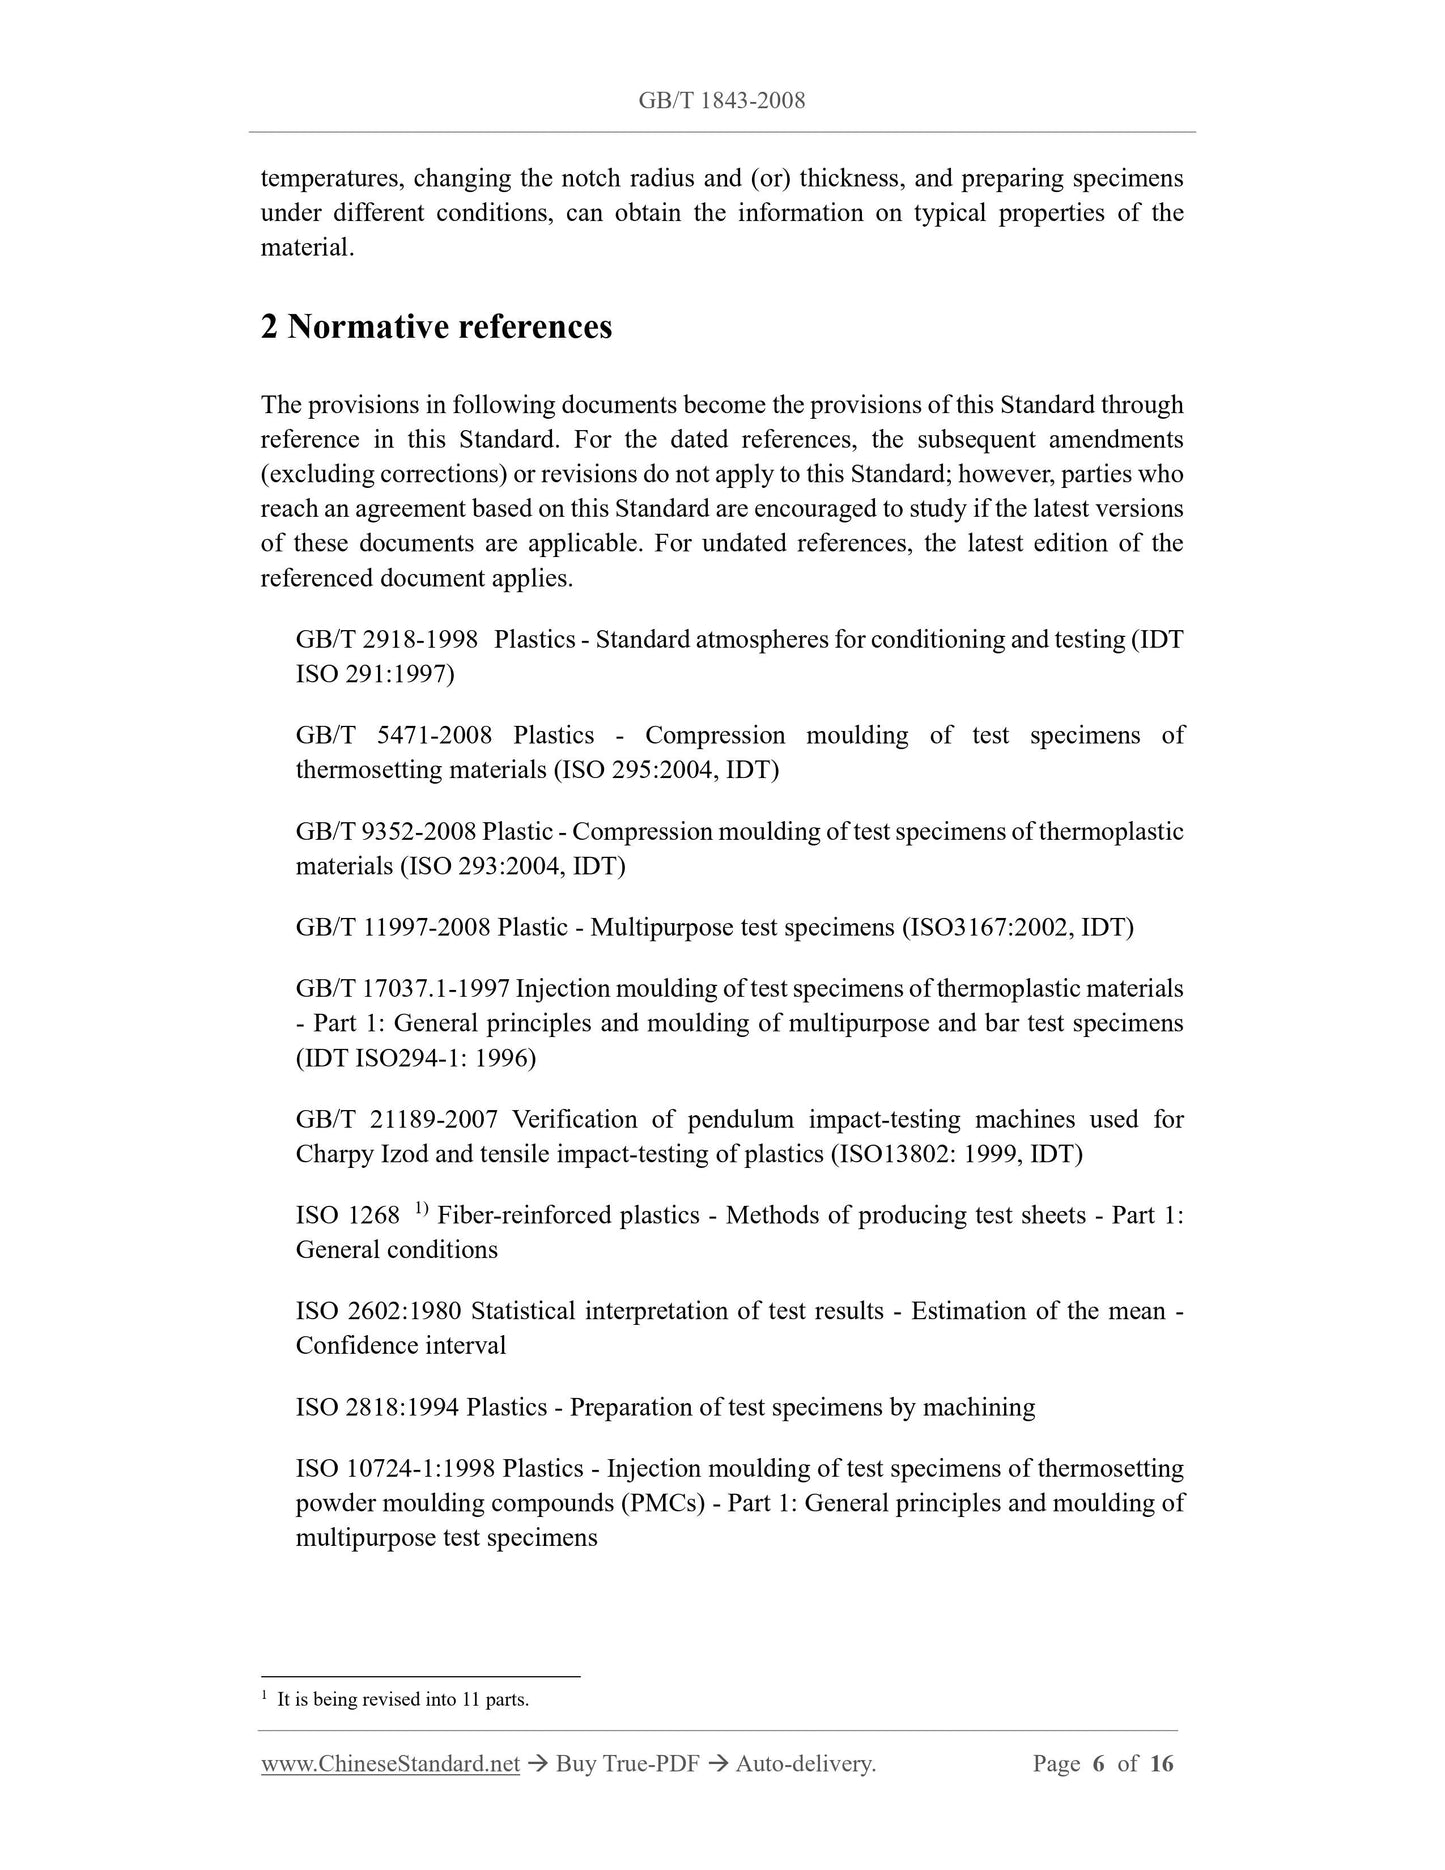
1.7 This standard shall not be used as a basis for design. However, by testing at different
temperatures, changing the notch radius and (or) thickness, and preparing specimens
under different conditions, can obtain the information on typical properties of the
material.
2 Normative references
The provisions in following documents become the provisions of this Standard through
reference in this Standard. For the dated references, the subsequent amendments
(excluding corrections) or revisions do not apply to this Standard; however, parties who
reach an agreement based on this Standard are encouraged to study if the latest versions
of these documents are applicable. For undated references, the latest edition of the
referenced document applies.
GB/T 2918-1998 Plastics - Standard atmospheres for conditioning and testing (IDT
ISO 291:1997)
GB/T 5471-2008 Plastics - Compression moulding of test specimens of
thermosetting materials (ISO 295:2004, IDT)
GB/T 9352-2008 Plastic - Compression moulding of test specimens of thermoplastic
materials (ISO 293:2004, IDT)
GB/T 11997-2008 Plastic - Multipurpose test specimens (ISO3167:2002, IDT)
GB/T 17037.1-1997 Injection moulding of test specimens of thermoplastic materials
- Part 1: General principles and moulding of multipurpose and bar test specimens
(IDT ISO294-1: 1996)
GB/T 21189-2007 Verification of pendulum impact-testing machines used for
Charpy Izod and tensile impact-testing of plastics (ISO13802: 1999, IDT)
ISO 1268 1) Fiber-reinforced plastics - Methods of producing test sheets - Part 1:
General conditions
ISO 2602:1980 Statistical interpretation of test results - Estimation of the mean -
Confidence interval
ISO 2818:1994 Plastics - Preparation of test specimens by machining
ISO 10724-1:1998 Plastics - Injection moulding of test specimens of thermosetting
powder moulding compounds (PMCs) - Part 1: General principles and moulding of
multipurpose test specimens
1 It is being revised into 11 parts.
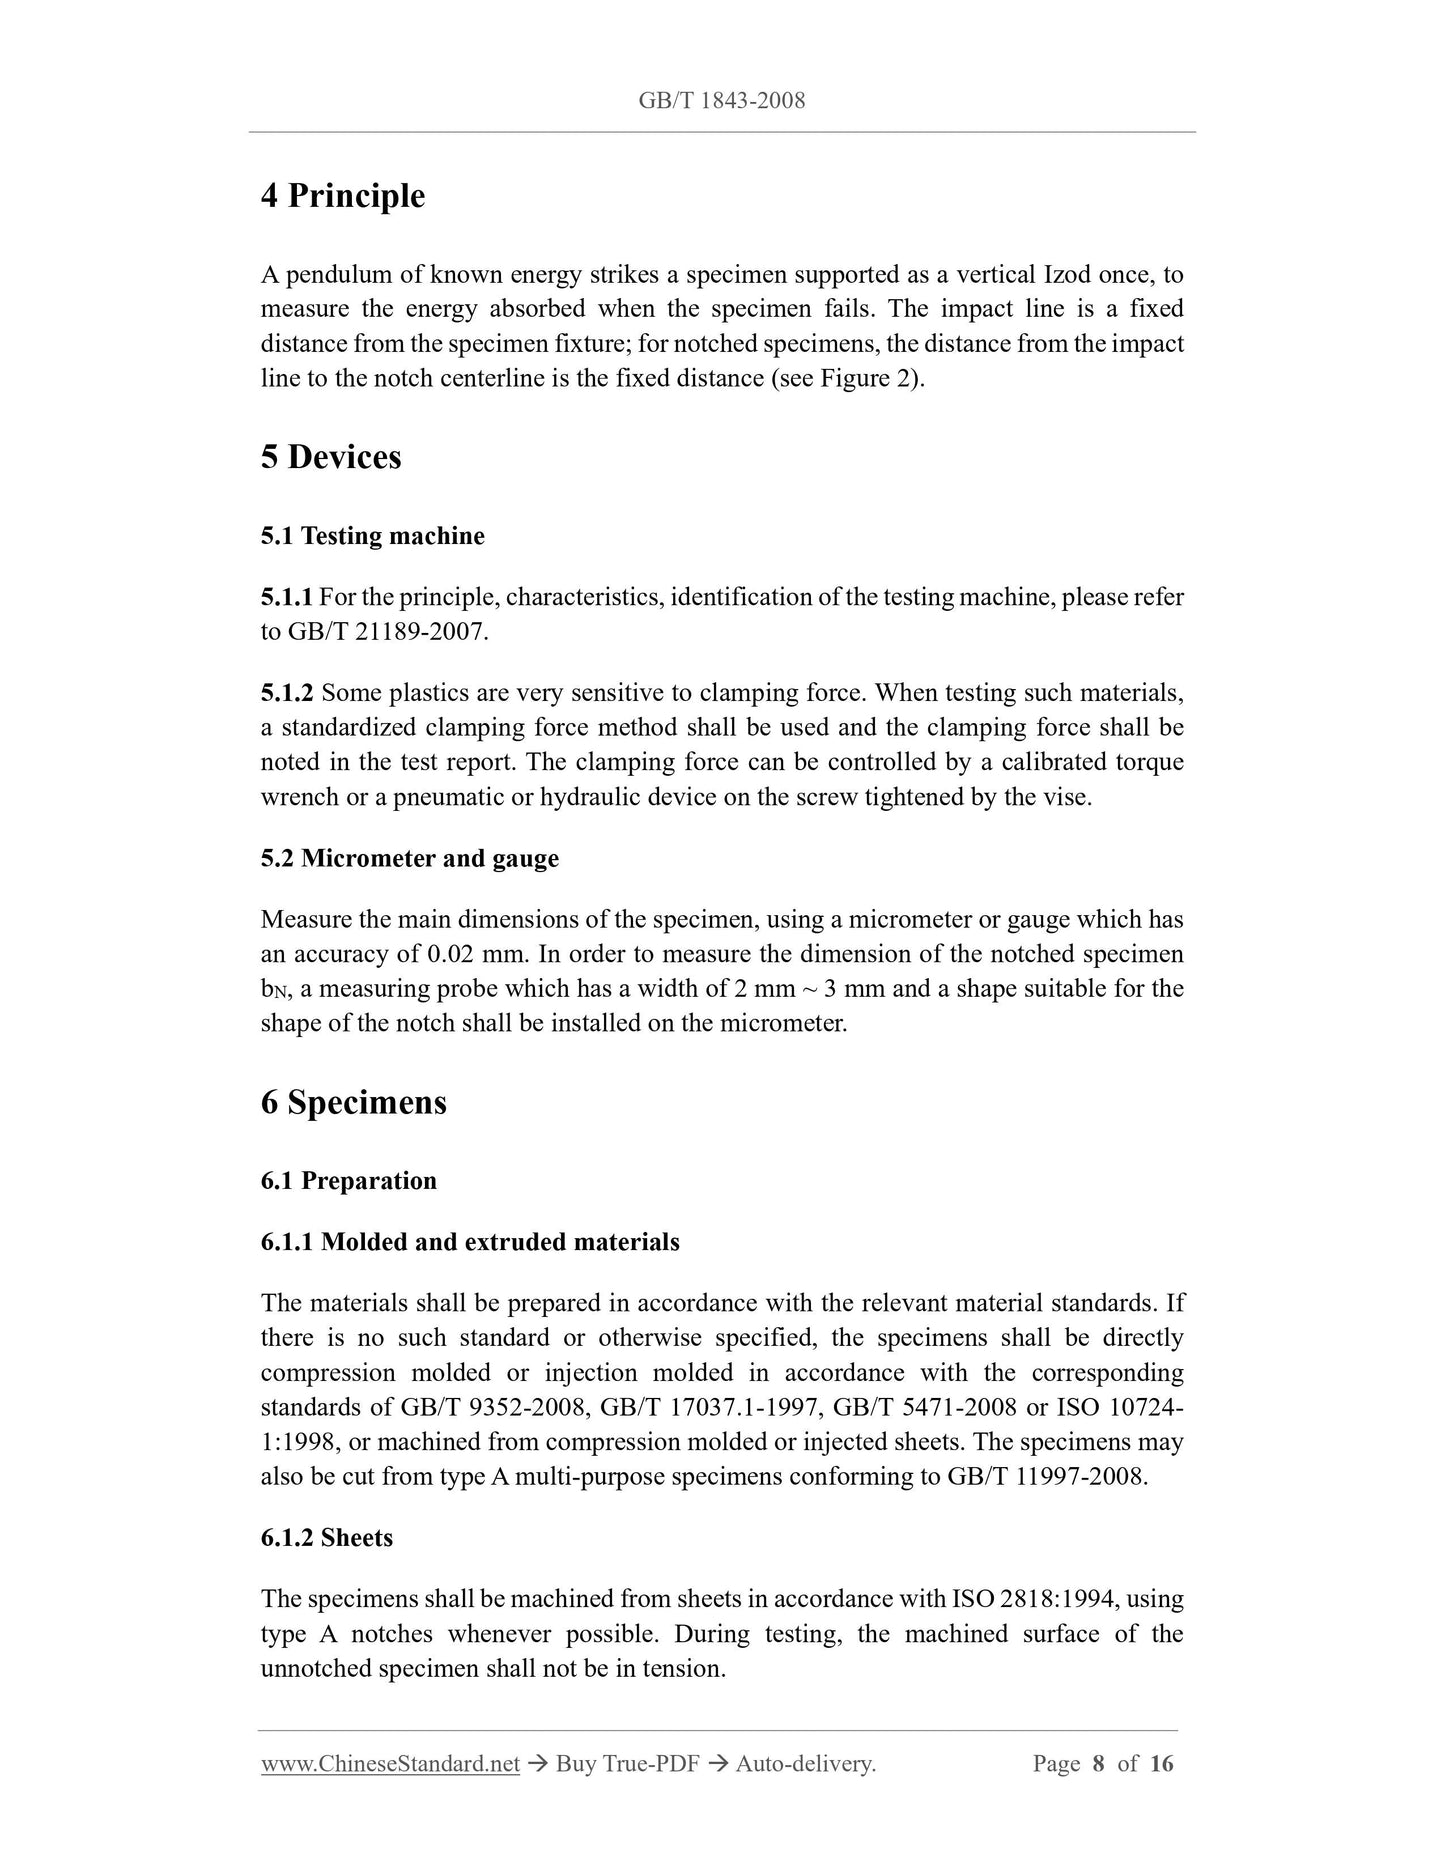
4 Principle
A pendulum of known energy strikes a specimen supported as a vertical Izod once, to
measure the energy absorbed when the specimen fails. The impact line is a fixed
distance from the specimen fixture; for notched specimens, the distance from the impact
line to the notch centerline is the fixed distance (see Figure 2).
5 Devices
5.1 Testing machine
5.1.1 For the principle, characteristics, identification of the testing machine, please refer
to GB/T 21189-2007.
5.1.2 Some plastics are very sensitive to clamping force. When testing such materials,
a standardized clamping force method shall be used and the clamping force shall be
noted in the test report. The clamping force can be controlled by a calibrated torque
wrench or a pneumatic or hydraulic device on the screw tightened by the vise.
5.2 Micrometer and gauge
Measure the main dimensions of the specimen, using a micrometer or gauge which has
an accuracy of 0.02 mm. In order to measure the dimension of the notched specimen
bN, a measuring probe which has a width of 2 mm ~ 3 mm and a shape suitable for the
shape of the notch shall be installed on the micrometer.
6 Specimens
6.1 Preparation
6.1.1 Molded and extruded materials
The materials shall be prepared in accordance with the relevant material standards. If
there is no such standard or otherwise specified, the specimens shall be directly
compression molded or injection molded in accordance with the corresponding
standards of GB/T 9352-2008, GB/T 17037.1-1997, GB/T 5471-2008 or ISO 10724-
1:1998, or machined from compression molded or injected sheets. The specimens may
also be cut from type A multi-purpose specimens conforming to GB/T 11997-2008.
6.1.2 Sheets
The specimens shall be machined from sheets in accordance with ISO 2818:1994, using
type A notches whenever possible. During testing, the machined surface of the
unnotched specimen shall not be in tension.
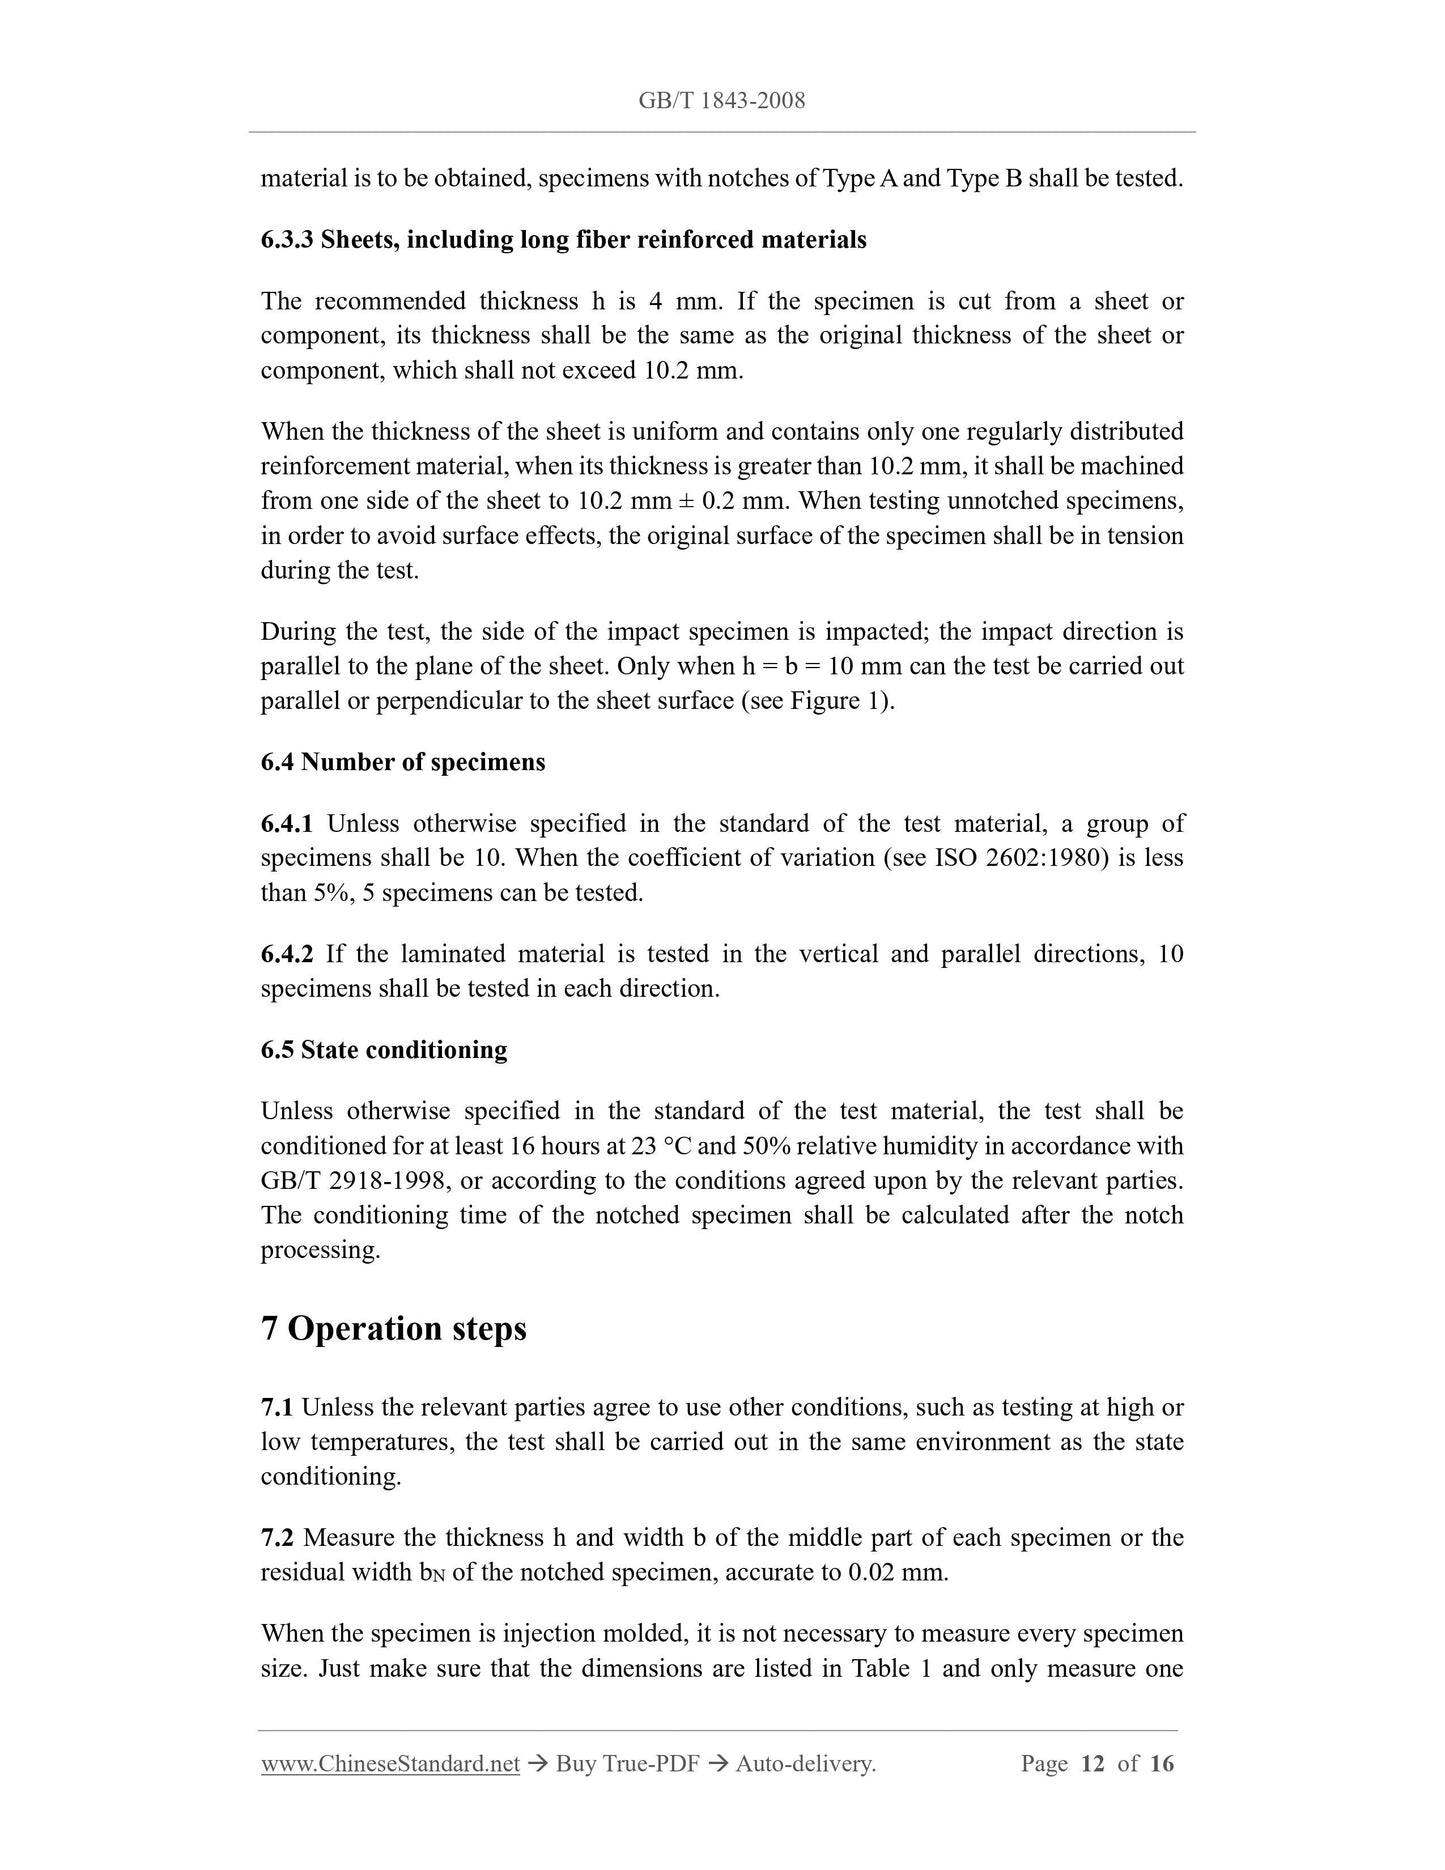
material is to be obtained, specimens with notches of Type A and Type B shall be tested.
6.3.3 Sheets, including long fiber reinforced materials
The recommended thickness h is 4 mm. If the specimen is cut from a sheet or
component, its thickness shall be the same as the original thickness of the sheet or
component, which shall not exceed 10.2 mm.
When the thickness of the sheet is uniform and contains only one regularly distributed
reinforcement material, when its thickness is greater than 10.2 mm, it shall be machined
from one side of the sheet to 10.2 mm ± 0.2 mm. When testing unnotched specimens,
in order to avoid surface effects, the original surface of the specimen shall be in tension
during the test.
During the test, the side of the impact specimen is impacted; the impact direction is
parallel to the plane of the sheet. Only when h = b = 10 mm can the test be carried out
parallel or perpendicular to the sheet surface (see Figure 1).
6.4 Number of specimens
6.4.1 Unless otherwise specified in the standard of the test material, a group of
specimens shall be 10. When the coefficient of variation (see ISO 2602:1980) is less
than 5%, 5 specimens can be tested.
6.4.2 If the laminated material is tested in the vertical and parallel directions, 10
specimens shall be tested in each direction.
6.5 State conditioning
Unless otherwise specified in the standard of the test material, the test shall be
conditioned for at least 16 hours at 23 °C and 50% relative humidity in accordance with
GB/T 2918-1998, or according to the conditions agreed upon by the relevant parties.
The conditioning time of the notched specimen shall be calculated after the notch
processing.
7 Operation steps
7.1 Unless the relevant parties agree to use other conditions, such as testing at high or
low temperatures, the test shall be carried out in the same environment as the state
conditioning.
7.2 Measure the thickness h and width b of the middle part of each specimen or the
residual width bN of the notched specimen, accurate to 0.02 mm.
When the specimen is injection molded, it is not necessary to measure every specimen
size. Just make sure that the dimensions are listed in Table 1 and only measure one
specimen in a group. When using a multi-cavity mold, ensure that the dimensions of
the specimens in each cavity are the same.
7.3 Determine whether the testing machine has a specified impact velocity and an
appropriate energy range. The energy absorbed by the punched specimen shall be within
10% ~ 80% of the nominal energy of the pendulum. If more than one pendulum meets
these requirements, the pendulum with the largest energy shall be selected.
7.4 Determine the friction loss and corrected absorbed energy according to GB/T
21189-2007.
7.5 Lift and lock the pendulum. Install the specimen as shown in Figure 1 and meet the
requirements of 5.1.2. When measuring the notched specimen, the notch shall be on the
side of the pendulum impact edge.
7.6 Release the pendulum. Record the impact energy absorbed by the specimen. Make
necessary corrections for its friction loss (see 7.4).
7.7 The following characters are used to name the four types of impact:
C - Complete failure: The specimen is broken into two or more sections.
H - Hinge failure: An incomplete failure in which the specimen is not connected by
a very thin rigid surface.
P - Partial failure: Incomplete failure except hinge failure.
N - No failure: No failure, only bending deformation; stress whitening may occur.
8 Calculation and expression of results
8.1 Unnotched specimen
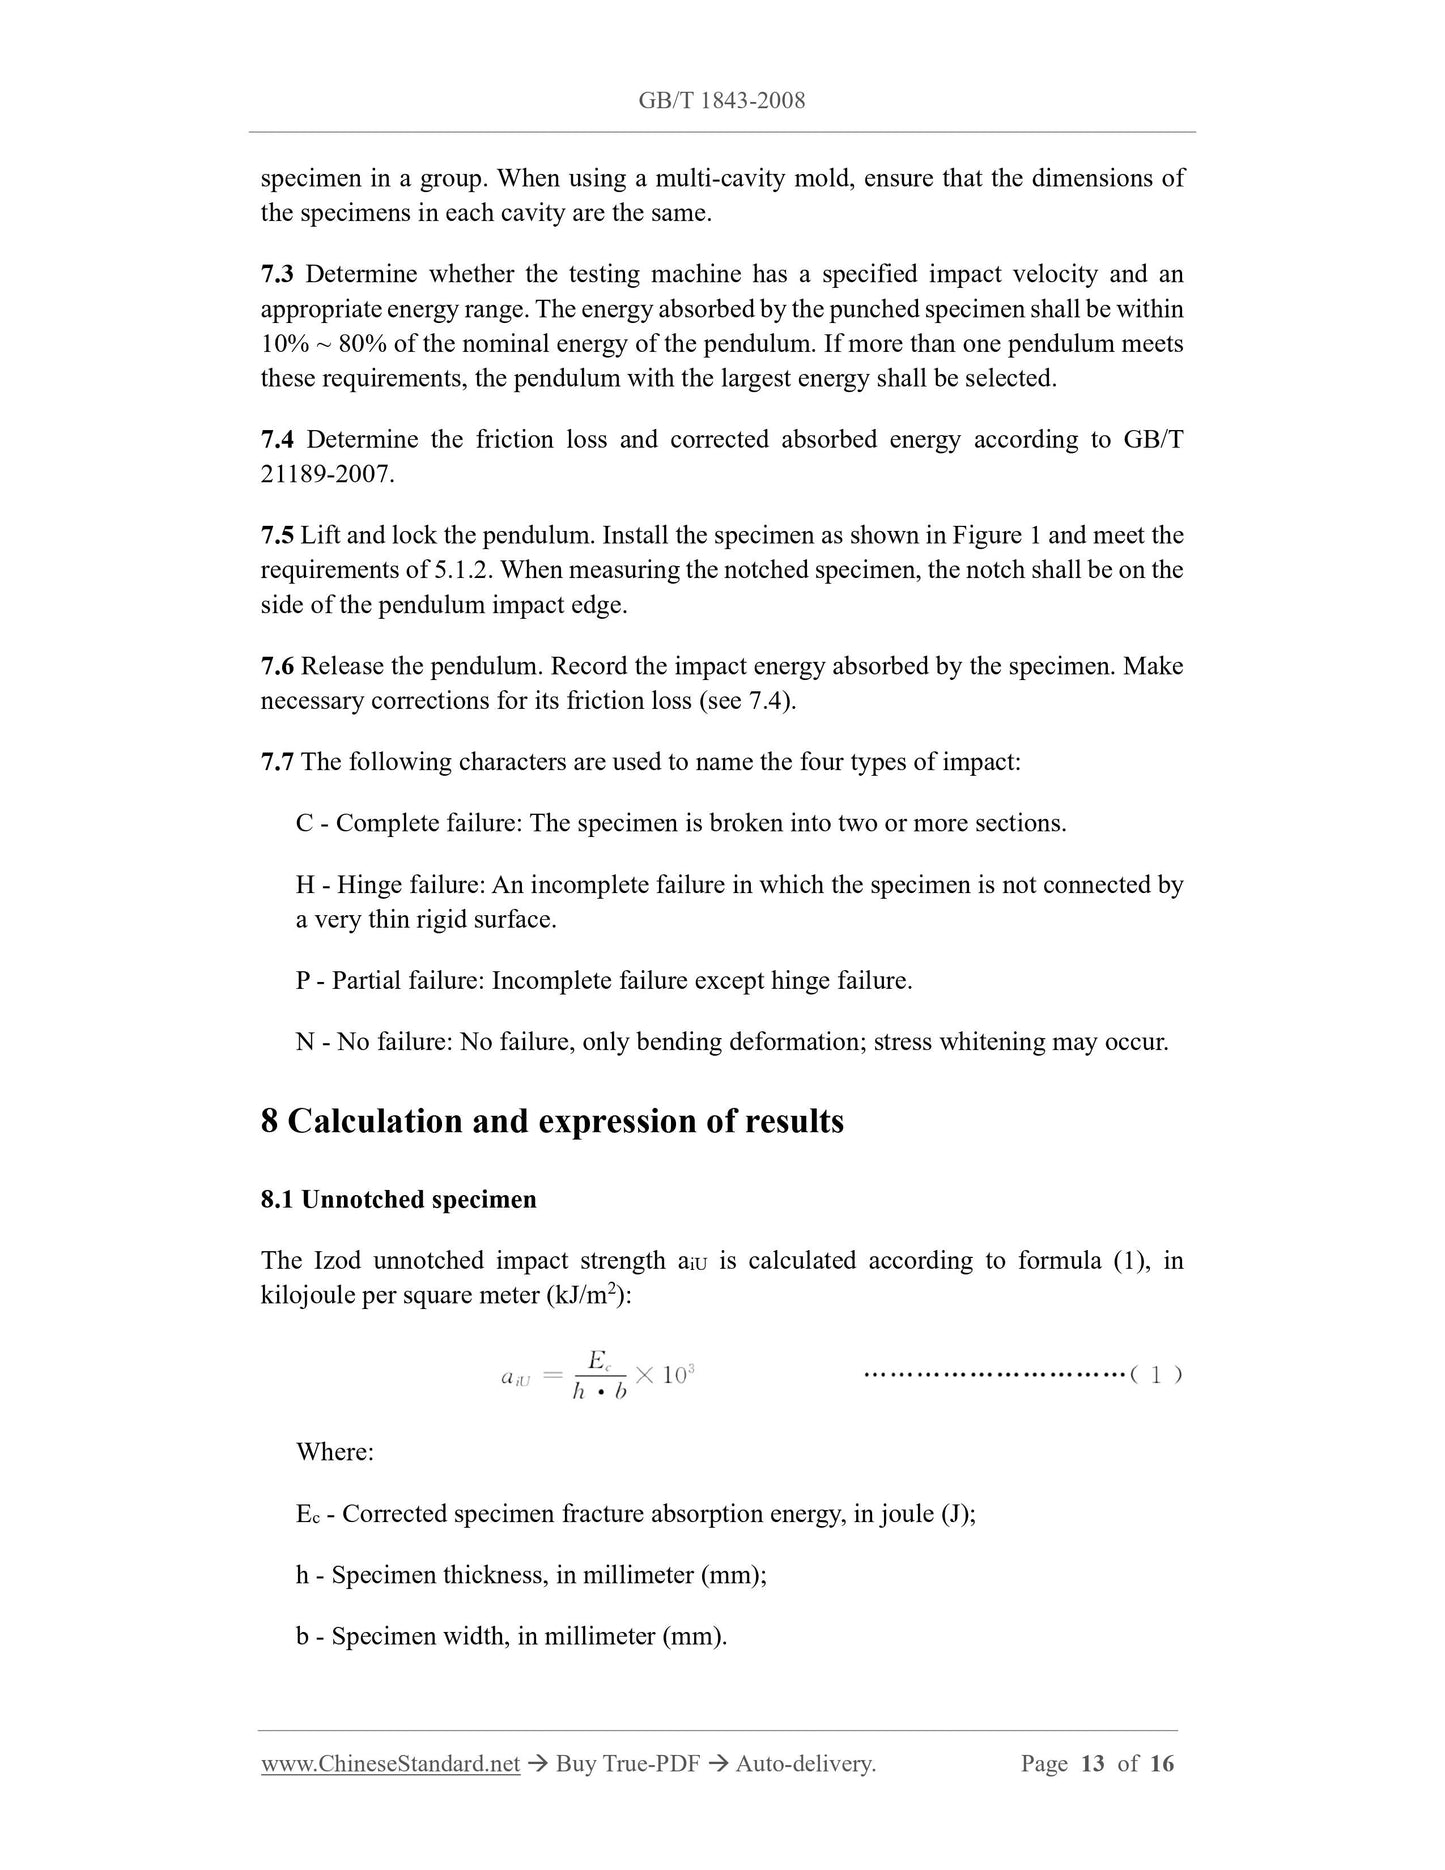
The Izod unnotched impact strength aiU is calculated according to formula (1), in
kilojoule per square meter (kJ/m2):
Where:
Ec - Corrected specimen fracture absorption energy, in joule (J);
h - Specimen thickness, in millimeter (mm);
b - Specimen width, in millimeter (mm).
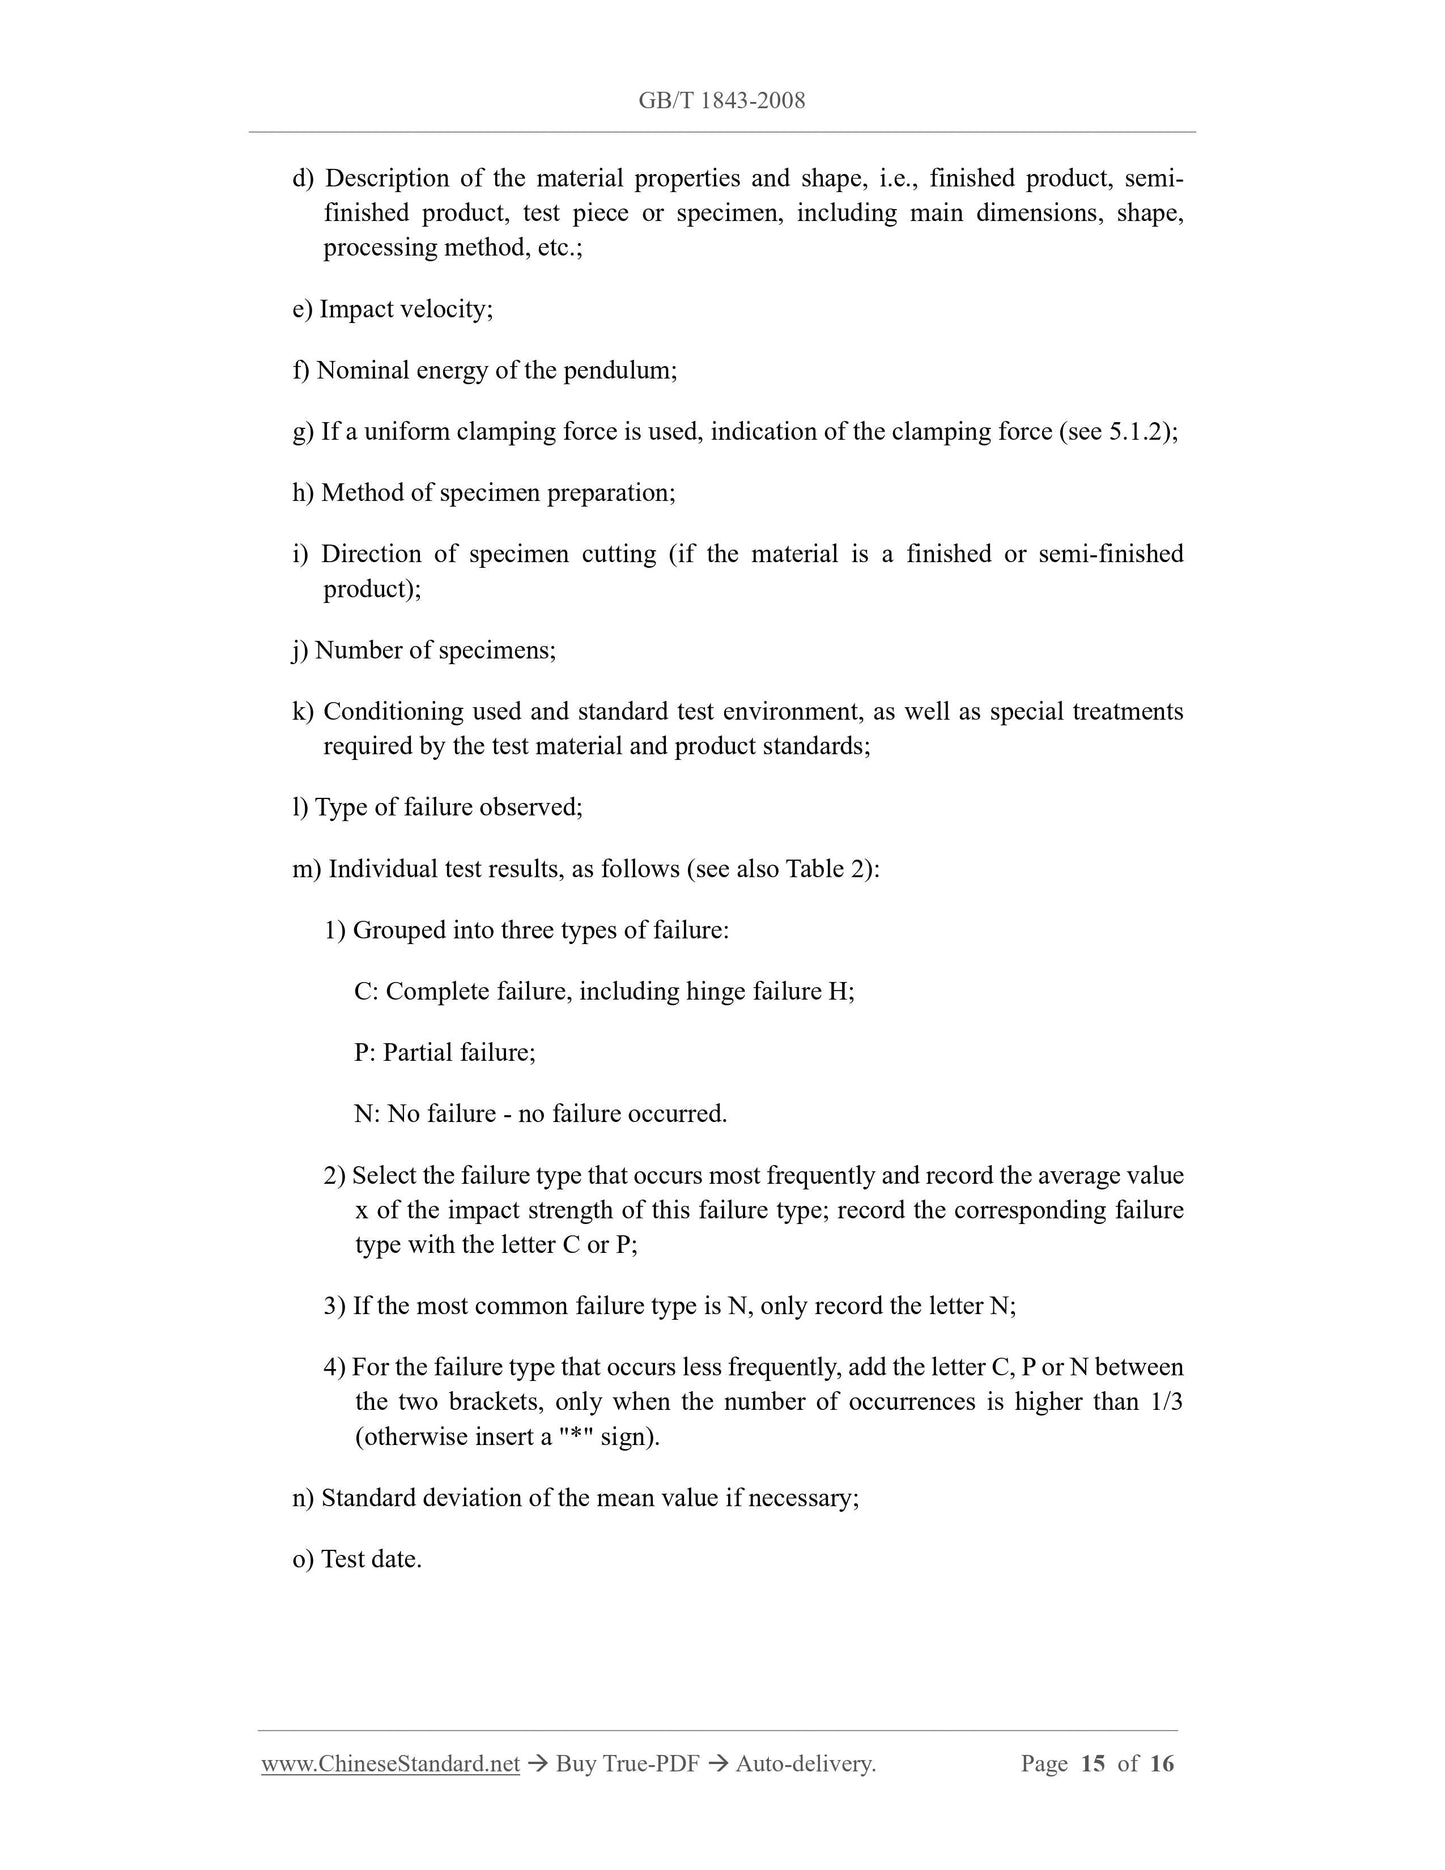
d) Description of the material properties and shape, i.e., finished product, semi-
finished product, test piece or specimen, including main dimensions, shape,
processing method, etc.;
e) Impact velocity;
f) Nominal energy of the pendulum;
g) If a uniform clamping force is used, indication of the clamping force (see 5.1.2);
h) Method of specimen preparation;
i) Direction of specimen cutting (if the material is a finished or semi-finished
product);
j) Number of specimens;
k) Conditioning used and standard test environment, as well as special treatments
required by the test material and product standards;
l) Type of failure observed;
m) Individual test results, as follows (see also Table 2):
1) Grouped into three types of failure:
C: Complete failure, including hinge failure H;
P: Partial failure;
N: No failure - no failure occurred.
2) Select the failure type that occurs most frequently and record the average value
x of the impact strength of this failure type; record the corresponding failure
type with the letter C or P;
3) If the most common failure type is N, only record the letter N;
4) For the failure type that occurs less frequently, add the letter C, P or N between
the two brackets, only when the number of occurrences is higher than 1/3
(otherwise insert a "*" sign).
n) Standard deviation of the mean value if necessary;
o) Test date.
GB/T 1843-2008
GB
NATIONAL STANDARD OF THE
PEOPLE’S REPUBLIC OF CHINA
ICS 83.080.01
G 32
GB/T 1843-2008 / ISO 180:2000
Replacing GB/T 1843-1996
Plastics - Determination of Izod impact strength
(ISO 180:2000, IDT)
ISSUED ON: AUGUST 04, 2008
IMPLEMENTED ON: APRIL 01, 2009
Issued by: General Administration of Quality Supervision, Inspection and
Quarantine of PRC;
National Standardization Administration.
Table of Contents
Foreword ... 3
1 Scope ... 5
2 Normative references ... 6
3 Terms and definitions ... 7
4 Principle ... 8
5 Devices ... 8
6 Specimens ... 8
7 Operation steps ... 12
8 Calculation and expression of results ... 13
9 Precision ... 14
10 Test report ... 14
Plastics - Determination of Izod impact strength
1 Scope
1.1 This standard specifies the method for determining the plastic Izod impact strength
under standard conditions, as well as various types of specimens and test types.
Different test parameters are specified according to the material, specimen, notch.
1.2 This method is used to study the impact behavior of the specified type of specimen
under standard conditions. It is used to evaluate the brittleness and toughness of the
specimen under test conditions.
1.3 This standard applies to the following materials:
- Rigid thermoplastic molding and extrusion materials, including filled and
reinforced composite materials, as well as unfilled types; rigid thermoplastic sheets;
- Rigid thermosetting molding materials, including filled and reinforced composite
materials; rigid thermosetting sheets, including laminates;
- Fiber-reinforced thermosetting and thermoplastic composites, including sheets
containing unidirectional or non-unidirectional reinforcement materials such as felt,
fabric, textile roving, chopped strands, composite reinforcements, rovings, milled
fibers and sheet made from prepregs;
- Thermotropic li...
Share