1
/
of
5
www.ChineseStandard.us -- Field Test Asia Pte. Ltd.
GB/T 18329.1-2023 English PDF (GB/T18329.1-2023)
Regular price
$290.00
Regular price
Sale price
$290.00
Unit price
/
per
Shipping calculated at checkout.
Couldn't load pickup availability
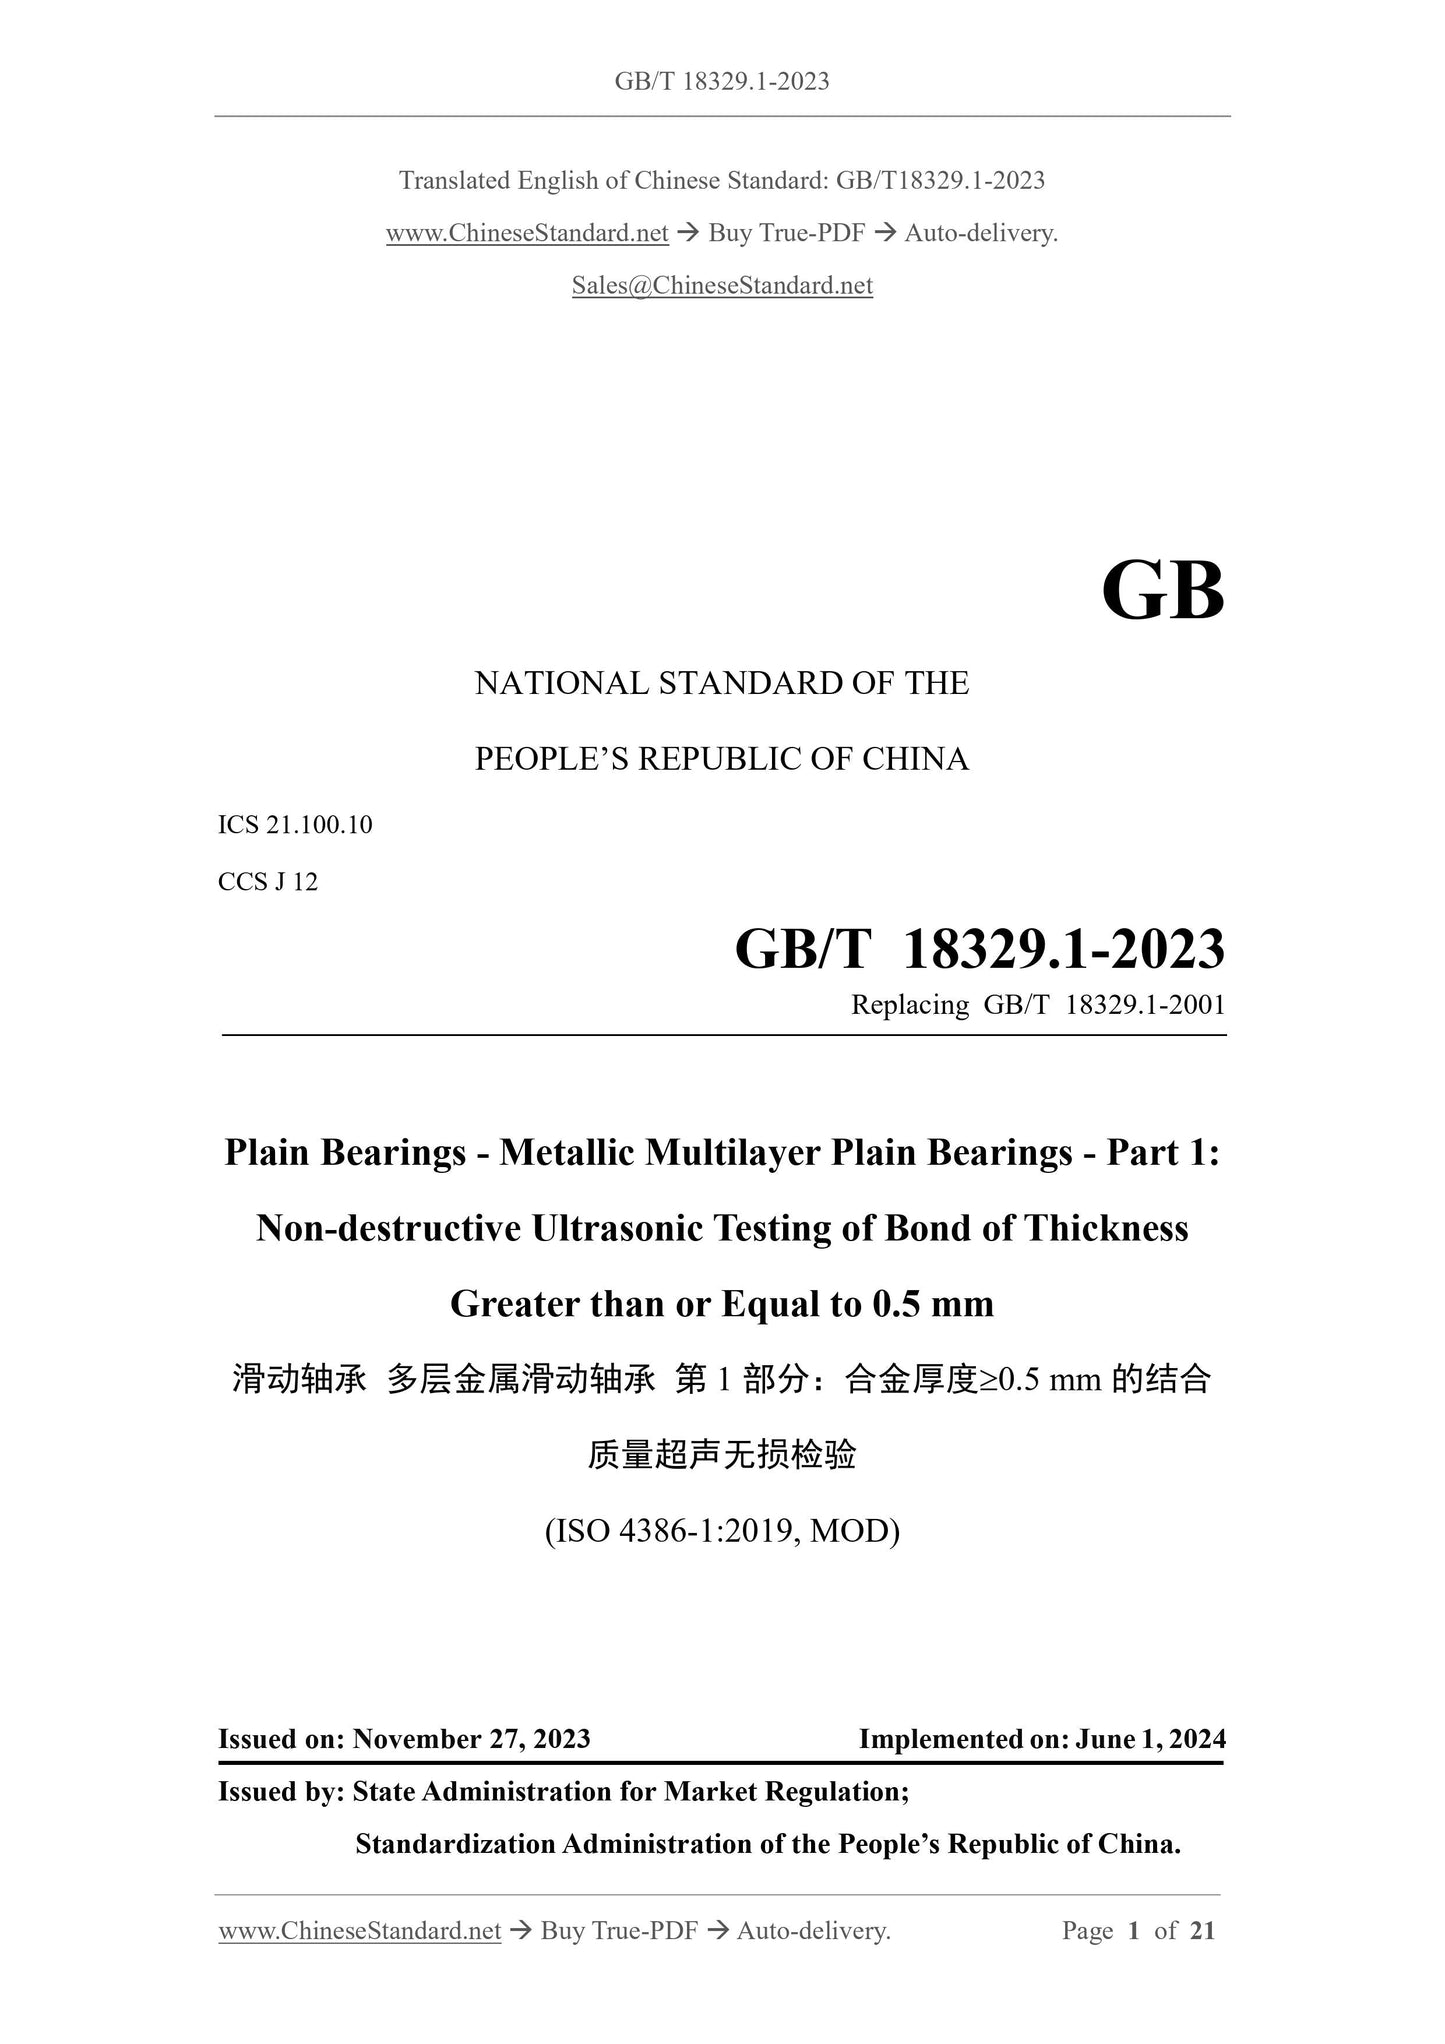
GB/T 18329.1-2023: Plain bearings - Metallic multilayer plain bearings - Part 1: Non-destructive ultrasonic testing of bond of thickness greater than or equal to 0.5 mm
Delivery: 9 seconds. Download (and Email) true-PDF + Invoice.
Get Quotation: Click GB/T 18329.1-2023 (Self-service in 1-minute)
Historical versions (Master-website): GB/T 18329.1-2023
Preview True-PDF (Reload/Scroll-down if blank)
GB/T 18329.1-2023
GB
NATIONAL STANDARD OF THE
PEOPLE’S REPUBLIC OF CHINA
ICS 21.100.10
CCS J 12
Replacing GB/T 18329.1-2001
Plain Bearings - Metallic Multilayer Plain Bearings - Part 1:
Non-destructive Ultrasonic Testing of Bond of Thickness
Greater than or Equal to 0.5 mm
(ISO 4386-1:2019, MOD)
ISSUED ON: NOVEMBER 27, 2023
IMPLEMENTED ON: JUNE 1, 2024
Issued by: State Administration for Market Regulation;
Standardization Administration of the People’s Republic of China.
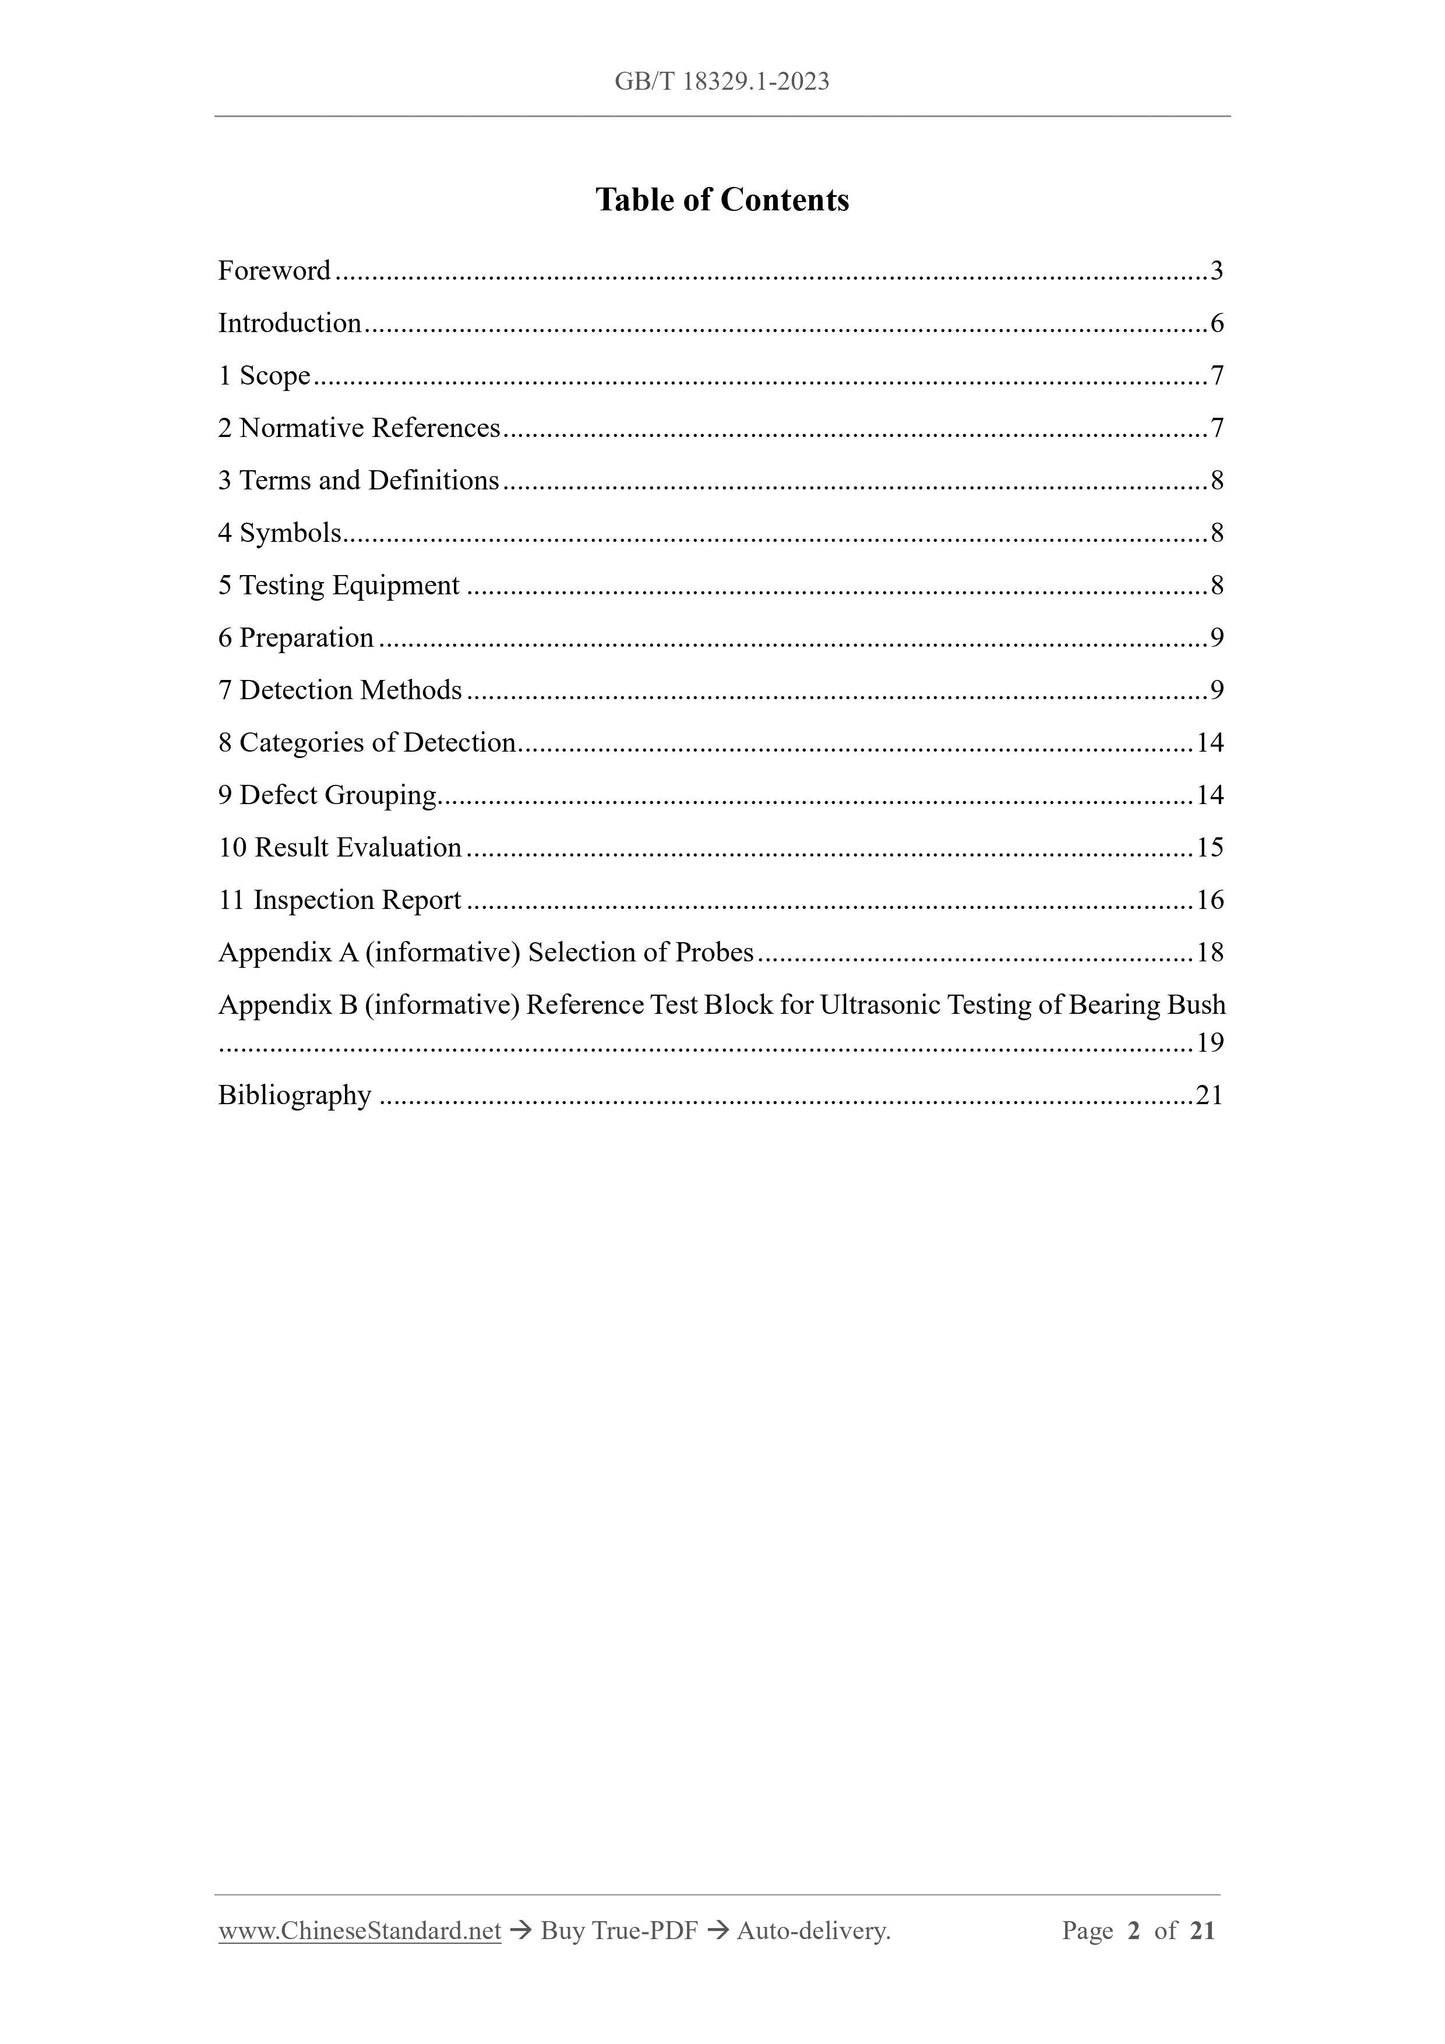
Table of Contents
Foreword ... 3
Introduction ... 6
1 Scope ... 7
2 Normative References ... 7
3 Terms and Definitions ... 8
4 Symbols ... 8
5 Testing Equipment ... 8
6 Preparation ... 9
7 Detection Methods ... 9
8 Categories of Detection ... 14
9 Defect Grouping ... 14
10 Result Evaluation ... 15
11 Inspection Report ... 16
Appendix A (informative) Selection of Probes ... 18
Appendix B (informative) Reference Test Block for Ultrasonic Testing of Bearing Bush
... 19
Bibliography ... 21
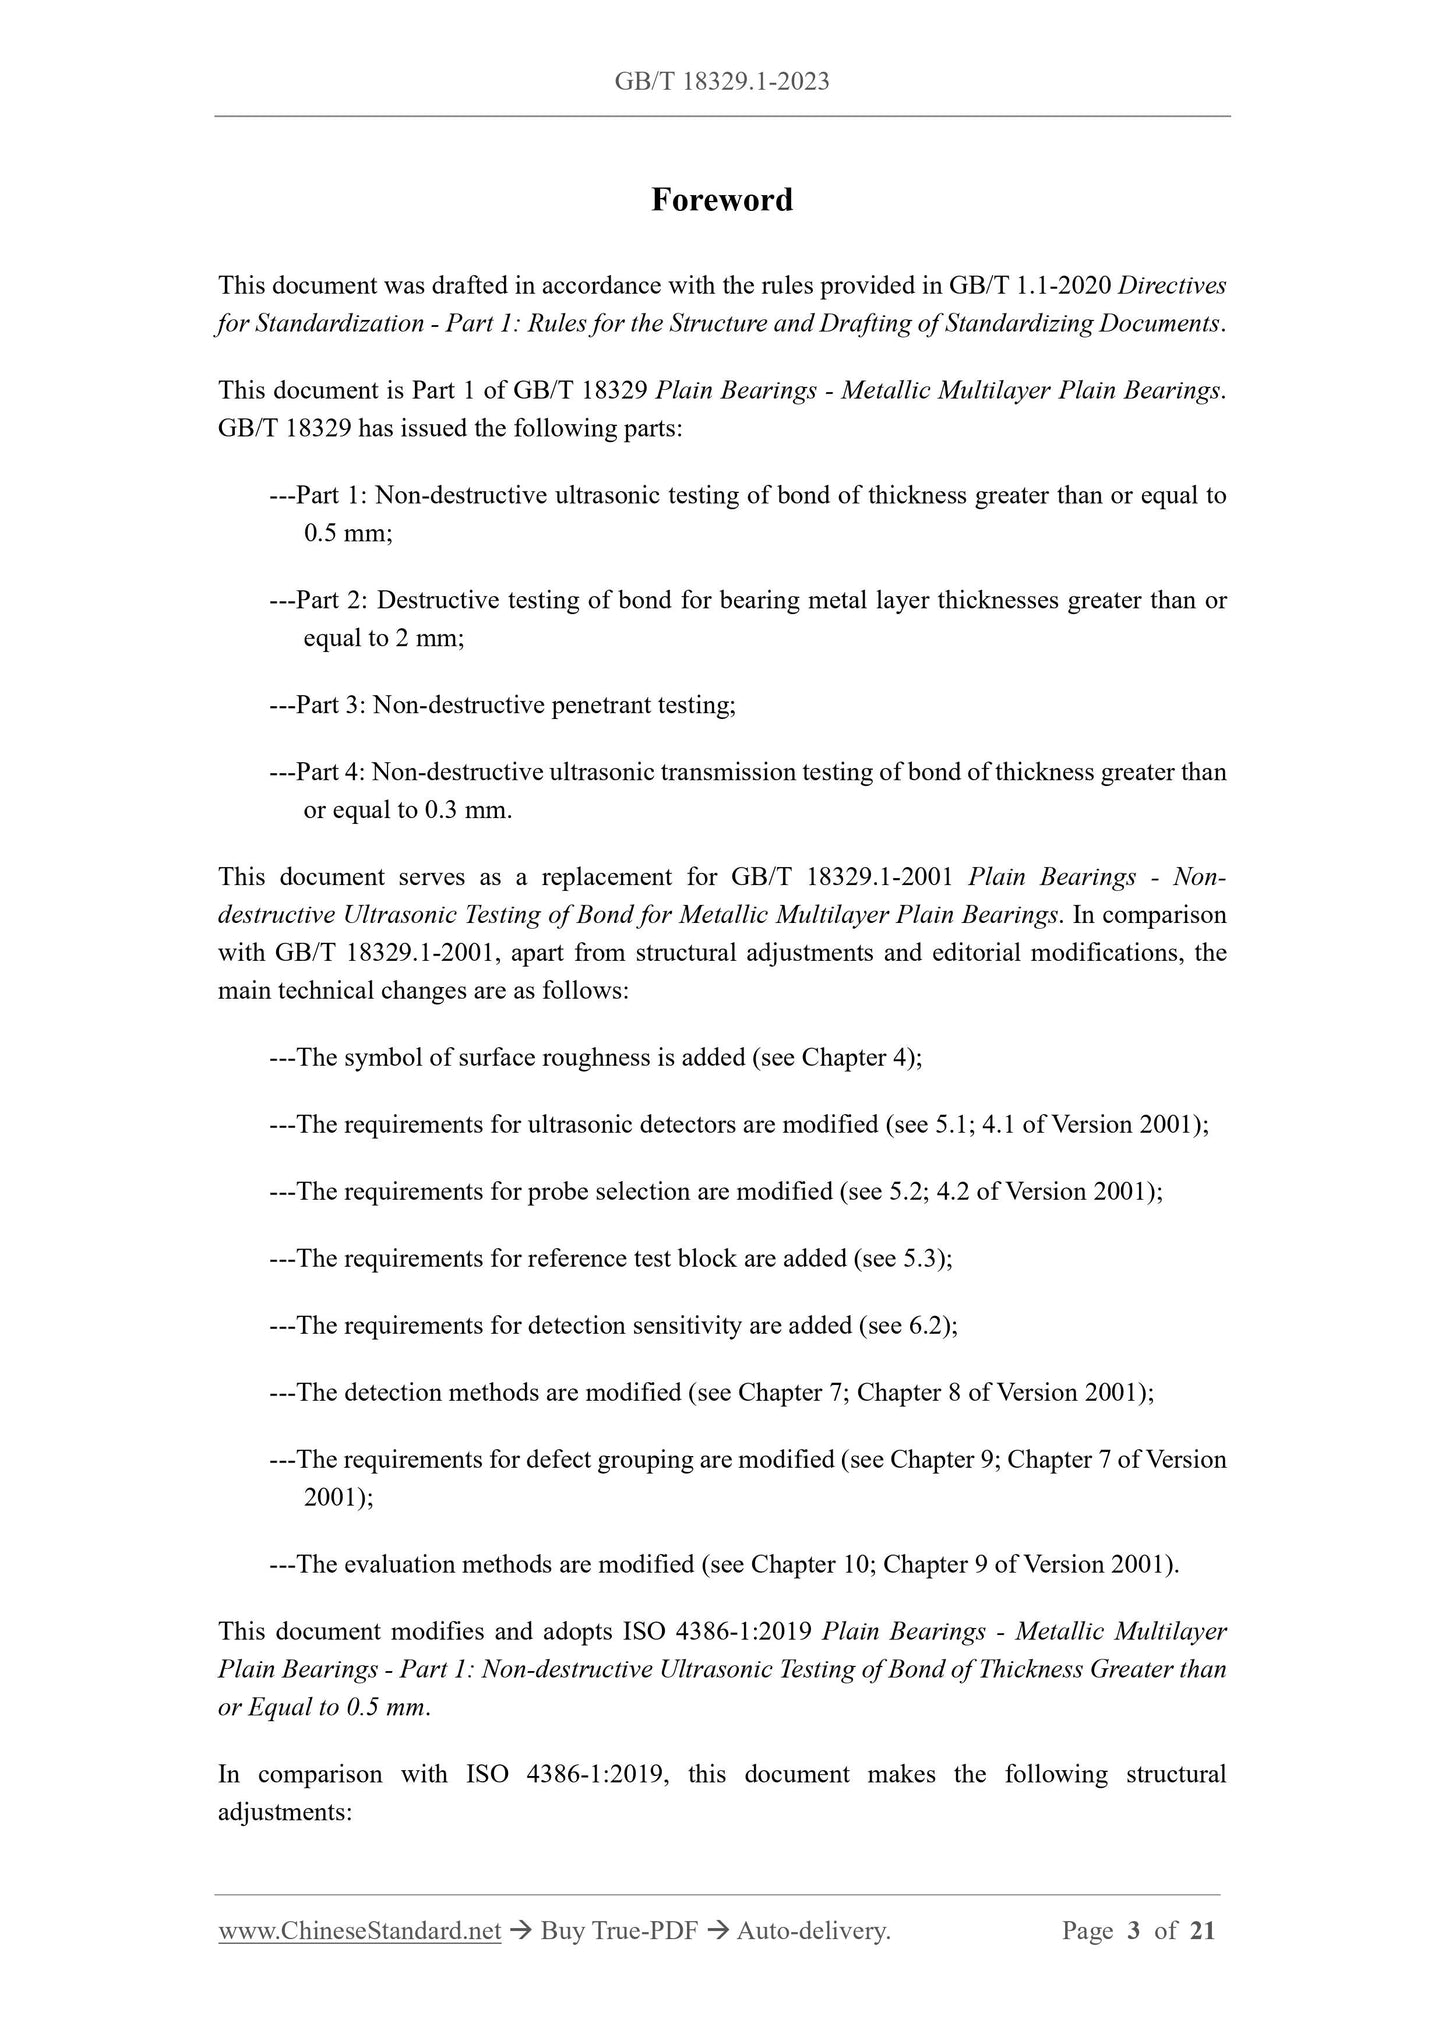
Foreword
This document was drafted in accordance with the rules provided in GB/T 1.1-2020 Directives
for Standardization - Part 1: Rules for the Structure and Drafting of Standardizing Documents.
This document is Part 1 of GB/T 18329 Plain Bearings - Metallic Multilayer Plain Bearings.
GB/T 18329 has issued the following parts:
---Part 1: Non-destructive ultrasonic testing of bond of thickness greater than or equal to
0.5 mm;
---Part 2: Destructive testing of bond for bearing metal layer thicknesses greater than or
equal to 2 mm;
---Part 3: Non-destructive penetrant testing;
---Part 4: Non-destructive ultrasonic transmission testing of bond of thickness greater than
or equal to 0.3 mm.
This document serves as a replacement for GB/T 18329.1-2001 Plain Bearings - Non-
destructive Ultrasonic Testing of Bond for Metallic Multilayer Plain Bearings. In comparison
with GB/T 18329.1-2001, apart from structural adjustments and editorial modifications, the
main technical changes are as follows:
---The symbol of surface roughness is added (see Chapter 4);
---The requirements for ultrasonic detectors are modified (see 5.1; 4.1 of Version 2001);
---The requirements for probe selection are modified (see 5.2; 4.2 of Version 2001);
---The requirements for reference test block are added (see 5.3);
---The requirements for detection sensitivity are added (see 6.2);
---The detection methods are modified (see Chapter 7; Chapter 8 of Version 2001);
---The requirements for defect grouping are modified (see Chapter 9; Chapter 7 of Version
2001);
---The evaluation methods are modified (see Chapter 10; Chapter 9 of Version 2001).
This document modifies and adopts ISO 4386-1:2019 Plain Bearings - Metallic Multilayer
Plain Bearings - Part 1: Non-destructive Ultrasonic Testing of Bond of Thickness Greater than
or Equal to 0.5 mm.
In comparison with ISO 4386-1:2019, this document makes the following structural
adjustments:
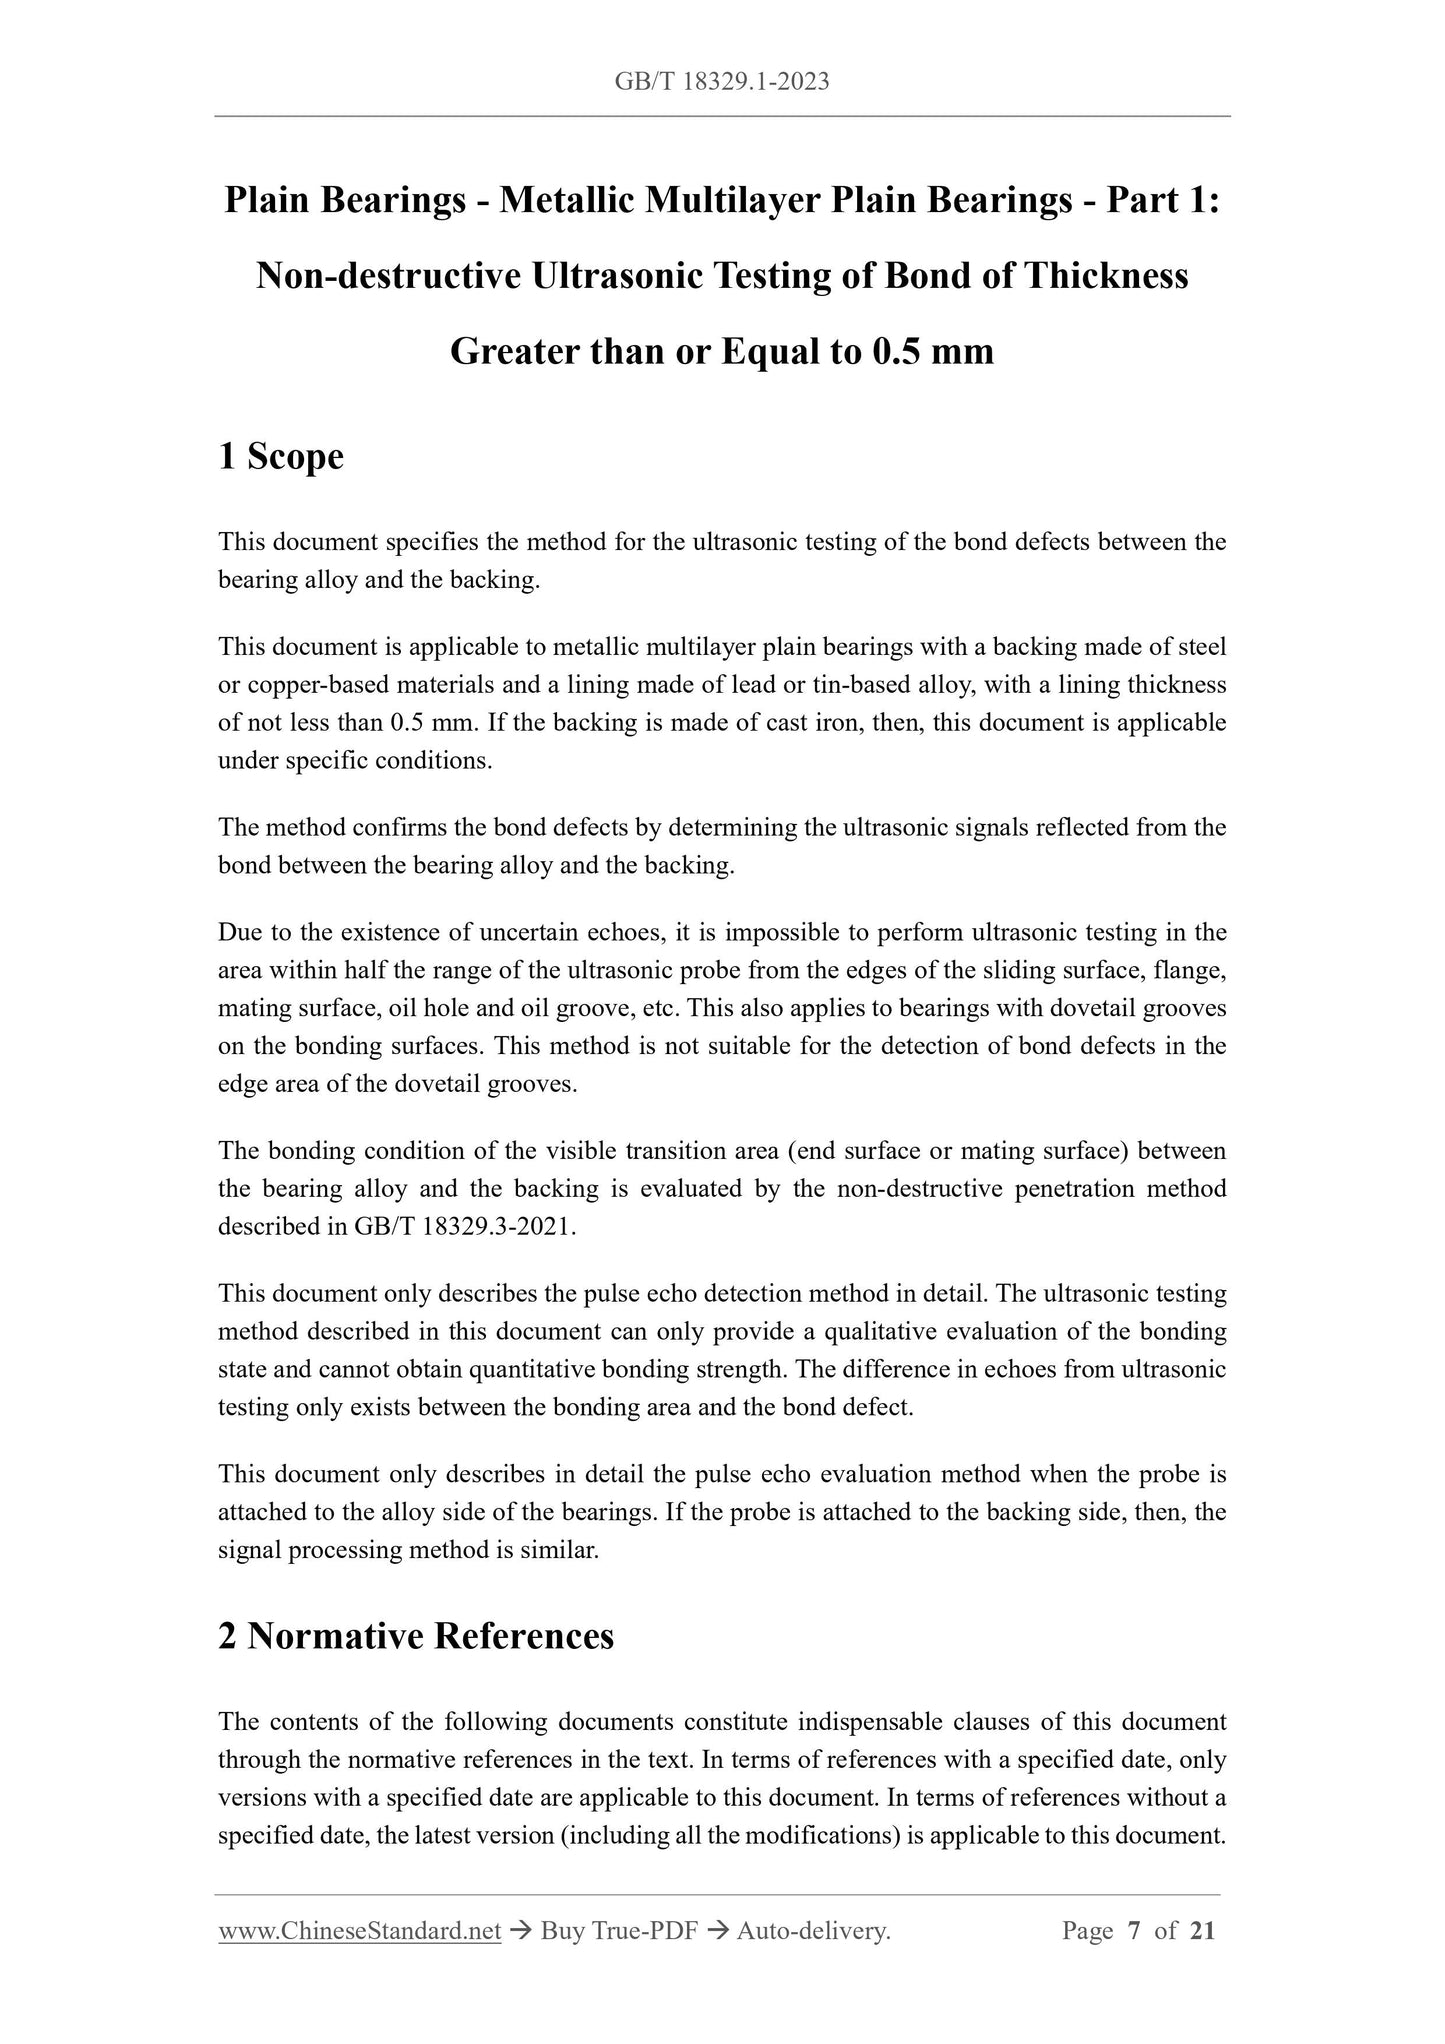
Plain Bearings - Metallic Multilayer Plain Bearings - Part 1:
Non-destructive Ultrasonic Testing of Bond of Thickness
Greater than or Equal to 0.5 mm
1 Scope
This document specifies the method for the ultrasonic testing of the bond defects between the
bearing alloy and the backing.
This document is applicable to metallic multilayer plain bearings with a backing made of steel
or copper-based materials and a lining made of lead or tin-based alloy, with a lining thickness
of not less than 0.5 mm. If the backing is made of cast iron, then, this document is applicable
under specific conditions.
The method confirms the bond defects by determining the ultrasonic signals reflected from the
bond between the bearing alloy and the backing.
Due to the existence of uncertain echoes, it is impossible to perform ultrasonic testing in the
area within half the range of the ultrasonic probe from the edges of the sliding surface, flange,
mating surface, oil hole and oil groove, etc. This also applies to bearings with dovetail grooves
on the bonding surfaces. This method is not suitable for the detection of bond defects in the
edge area of the dovetail grooves.
The bonding condition of the visible transition area (end surface or mating surface) between
the bearing alloy and the backing is evaluated by the non-destructive penetration method
described in GB/T 18329.3-2021.
This document only describes the pulse echo detection method in detail. The ultrasonic testing
method described in this document can only provide a qualitative evaluation of the bonding
state and cannot obtain quantitative bonding strength. The difference in echoes from ultrasonic
testing only exists between the bonding area and the bond defect.
This document only describes in detail the pulse echo evaluation method when the probe is
attached to the alloy side of the bearings. If the probe is attached to the backing side, then, the
signal processing method is similar.
2 Normative References
The contents of the following documents constitute indispensable clauses of this document
through the normative references in the text. In terms of references with a specified date, only
versions with a specified date are applicable to this document. In terms of references without a
specified date, the latest version (including all the modifications) is applicable to this document.
Share