1
/
of
5
www.ChineseStandard.us -- Field Test Asia Pte. Ltd.
GB/T 18271.2-2017 English PDF (GB/T18271.2-2017)
Regular price
$310.00
Regular price
Sale price
$310.00
Unit price
/
per
Shipping calculated at checkout.
Couldn't load pickup availability
GB/T 18271.2-2017: Process measurement and control devices -- General methods and procedures for evaluating performance -- Part 2: Tests under reference conditions
Delivery: 9 seconds. Download (& Email) true-PDF + Invoice.
Get Quotation: Click GB/T 18271.2-2017 (Self-service in 1-minute)
Historical versions (Master-website): GB/T 18271.2-2017
Preview True-PDF (Reload/Scroll-down if blank)
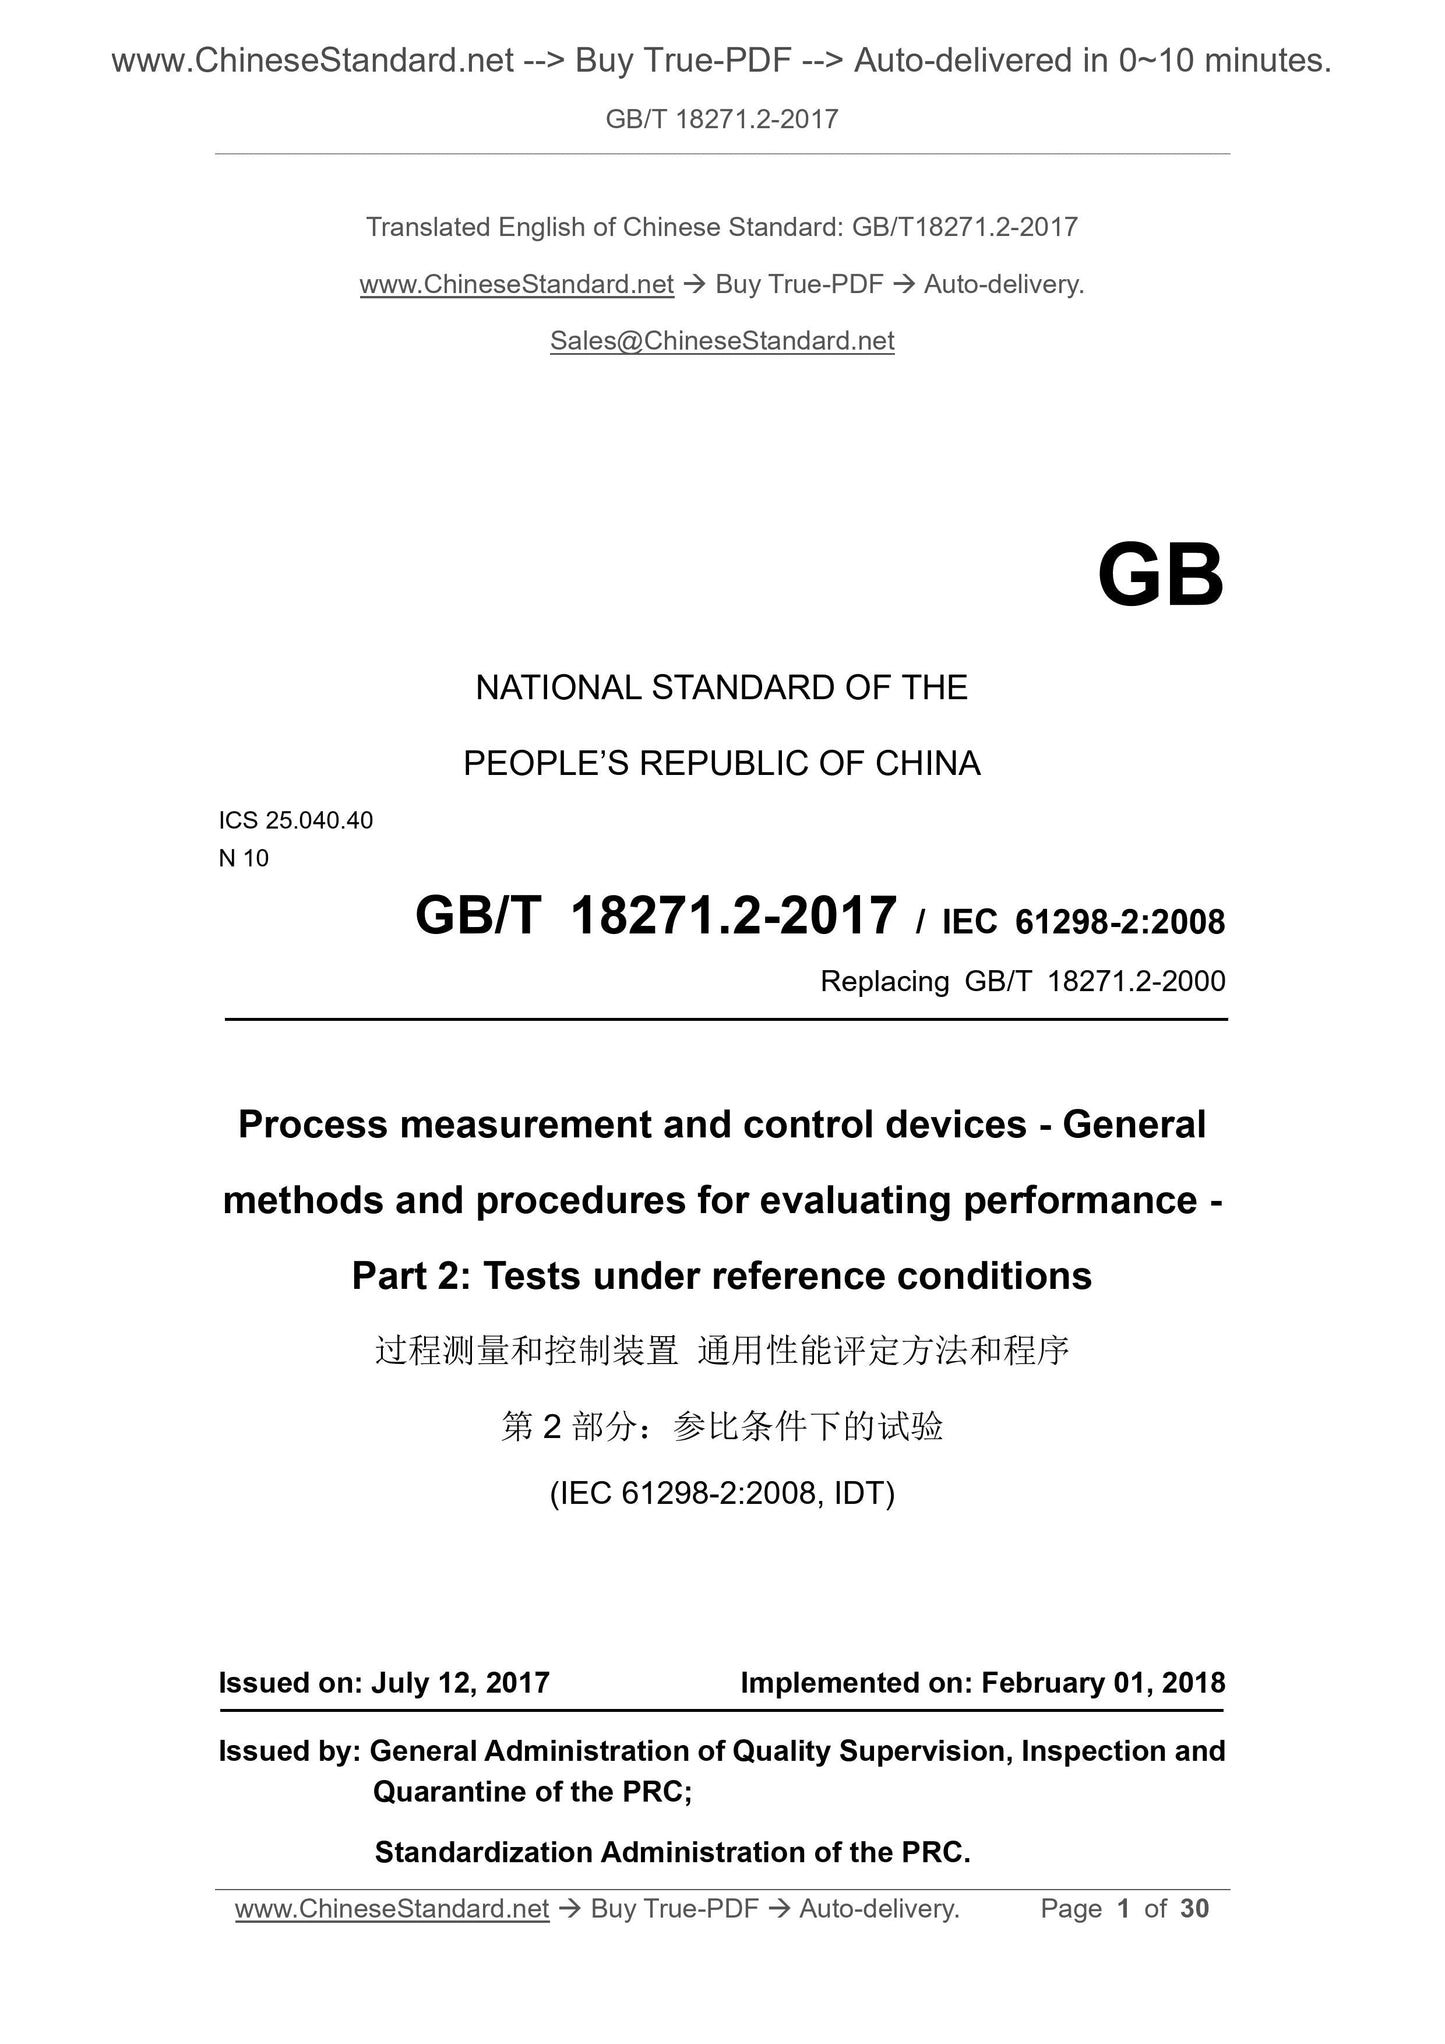
GB/T 18271.2-2017
Process measurement and control devices--General methods and procedures for evaluating performance--Part 2. Tests under reference conditions
ICS 25.040.40
N10
National Standards of People's Republic of China
Replace GB/T 18271.2-2000
Process measurement and control devices
General performance assessment methods and procedures
Part 2. Test under reference conditions
(IEC 61298-2..2008, IDT)
2017-07-12 Release.2018-02-01 Implementation
General Administration of Quality Supervision, Inspection and Quarantine of the People's Republic of China
Issued by China National Standardization Administration
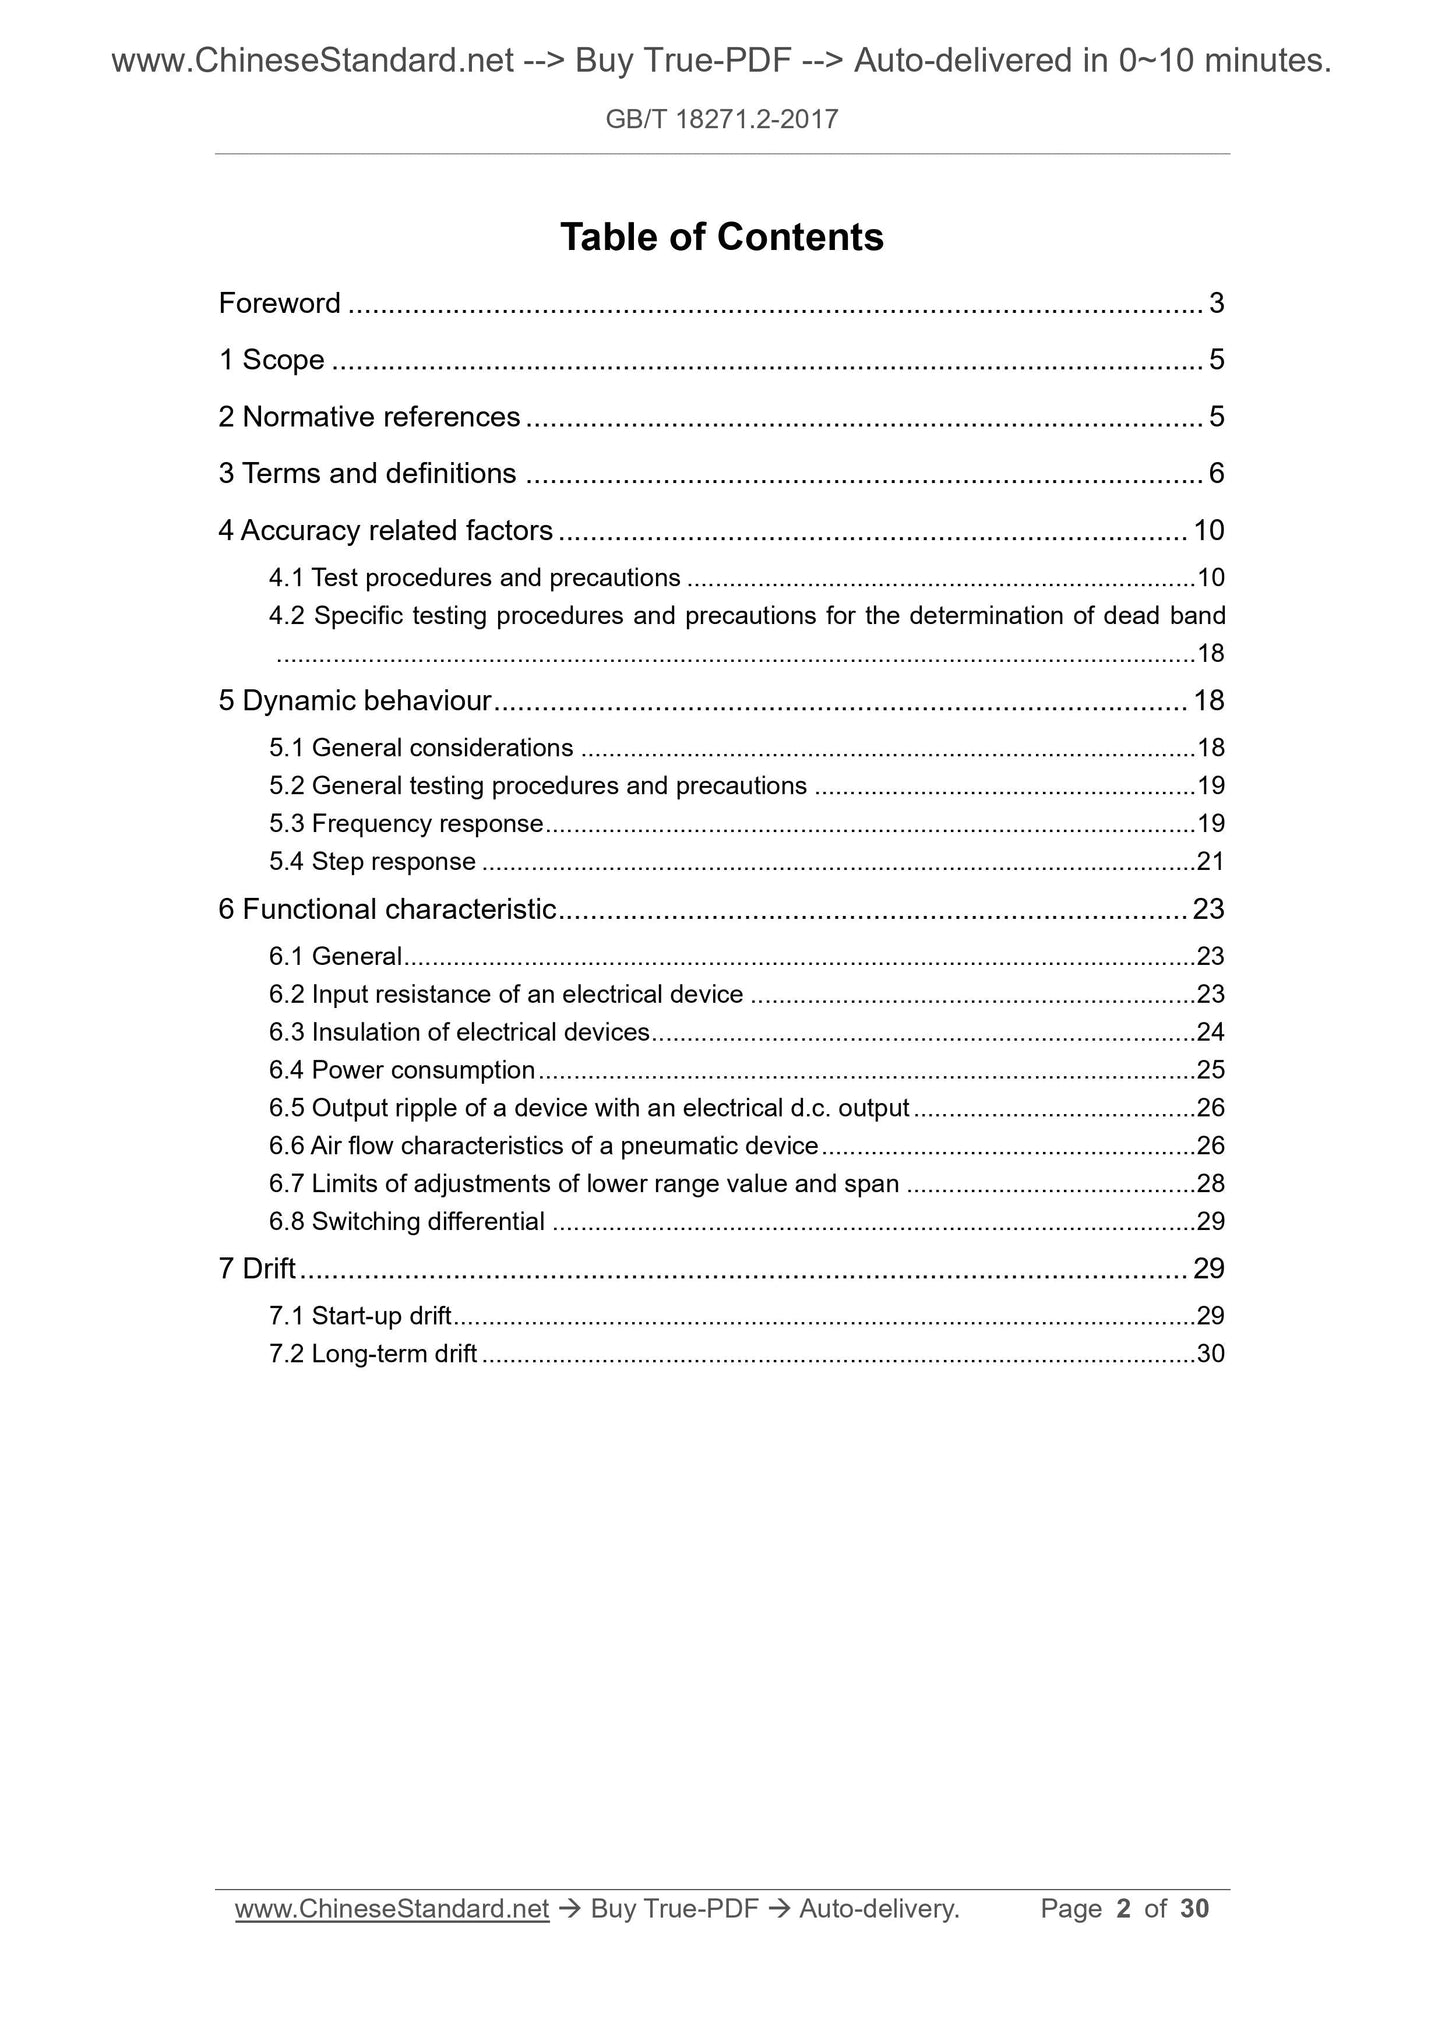
Contents
Foreword Ⅲ
1 Scope 1
2 Normative references 1
3 Terms and definitions 1
4 Factors related to accuracy 3
4.1 Test procedures and related matters 3
4.2 Specific test procedures and related matters to determine the dead zone 8
5 Dynamic characteristics 8
5.1 General 8
5.2 General test procedures and related matters 9
5.3 Frequency response 9
5.4 Step response 10
6 Features 12
6.1 General 12
6.2 Input resistance of electric devices 12
6.3 Insulation of electric devices 12
6.4 Power consumption 13
6.5 Output ripple of DC output device 13
6.6 Air flow characteristics of pneumatic devices 13
6.7 Range lower limit and range adjustment limit 15
6.8 Switching difference 15
7 Drift 16
7.1 Starting drift 16
7.2 Long-term drift 16
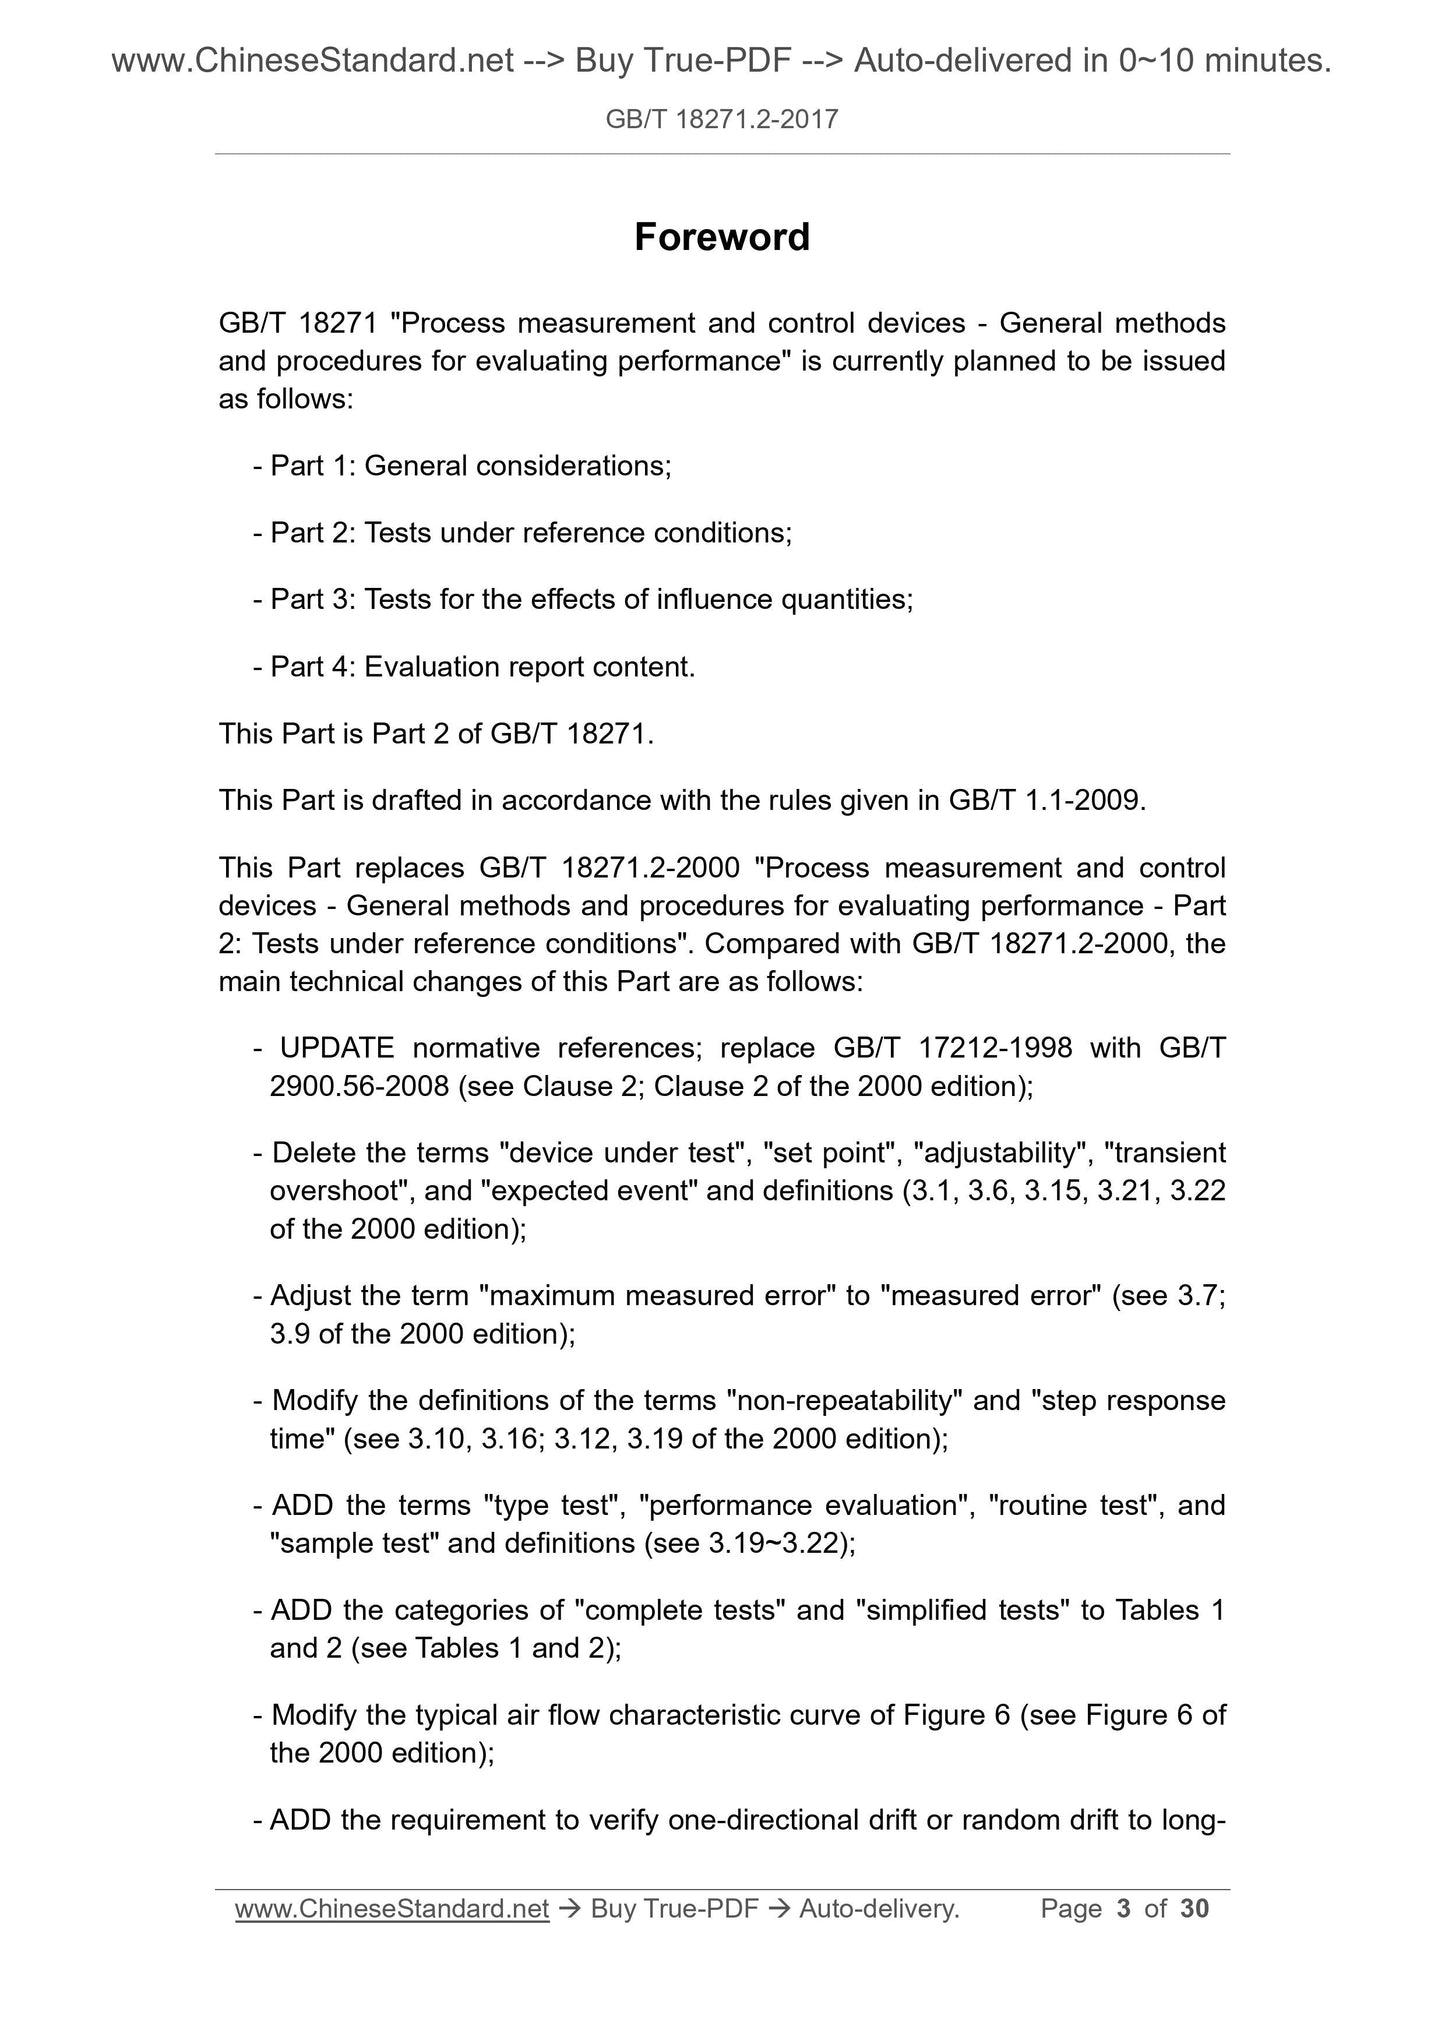
Foreword
GB/T 18271 "Universal Performance Evaluation Methods and Procedures for Process Measurement and Control Devices" currently plans to release the following parts.
--- Part 1. General Provisions;
--- Part 2. Test under reference conditions;
--- Part 3. Experiments on the influence of the quantity;
--- Part 4. The content of the assessment report.
This part is Part 2 of GB/T 18271.
This section was drafted in accordance with the rules given in GB/T 1.1-2009.
This part replaces GB/T 18271.2-2000 "General performance evaluation methods and procedures for process measurement and control devices. Part 2.
Compared with the test under reference conditions, compared with GB/T 18271.2-2000, the main technical changes are as follows.
--- Updated normative references, replacing GB/T 17212-1998 with GB/T 2900.56-2008 (see Chapter 2,.2000)
Chapter 2 of the edition);
--- Deleted the terms "tested device", "set point", "adjustability", "instantaneous overshoot", "unexpected event" and definition (2000 version 3.1,
3.6, 3.15, 3.21, 3.22);
--- The term "maximum measurement error" is adjusted to "measurement error" (see 3.7; 3.9 in the.2000 edition);
--- Modified the definition of the terms "non-repeatability" and "step response time" (see 3.10, 3.16; 3.12, 3.19 of the.2000 edition);
--- Added the terms "type test" "performance evaluation" "routine test" and "sampling test" and definition (see 3.19 ~ 3.22);
--- Table 1, Table 2 added "full performance test" and "simplified test" classification (see Table 1, Table 2);
--- Modified the typical air flow characteristic curve of Figure 6 (see Figure 6 of the.2000 edition);
--- The requirement for verifying unidirectional drift or random drift has been added to long-term drift (see 7.2).
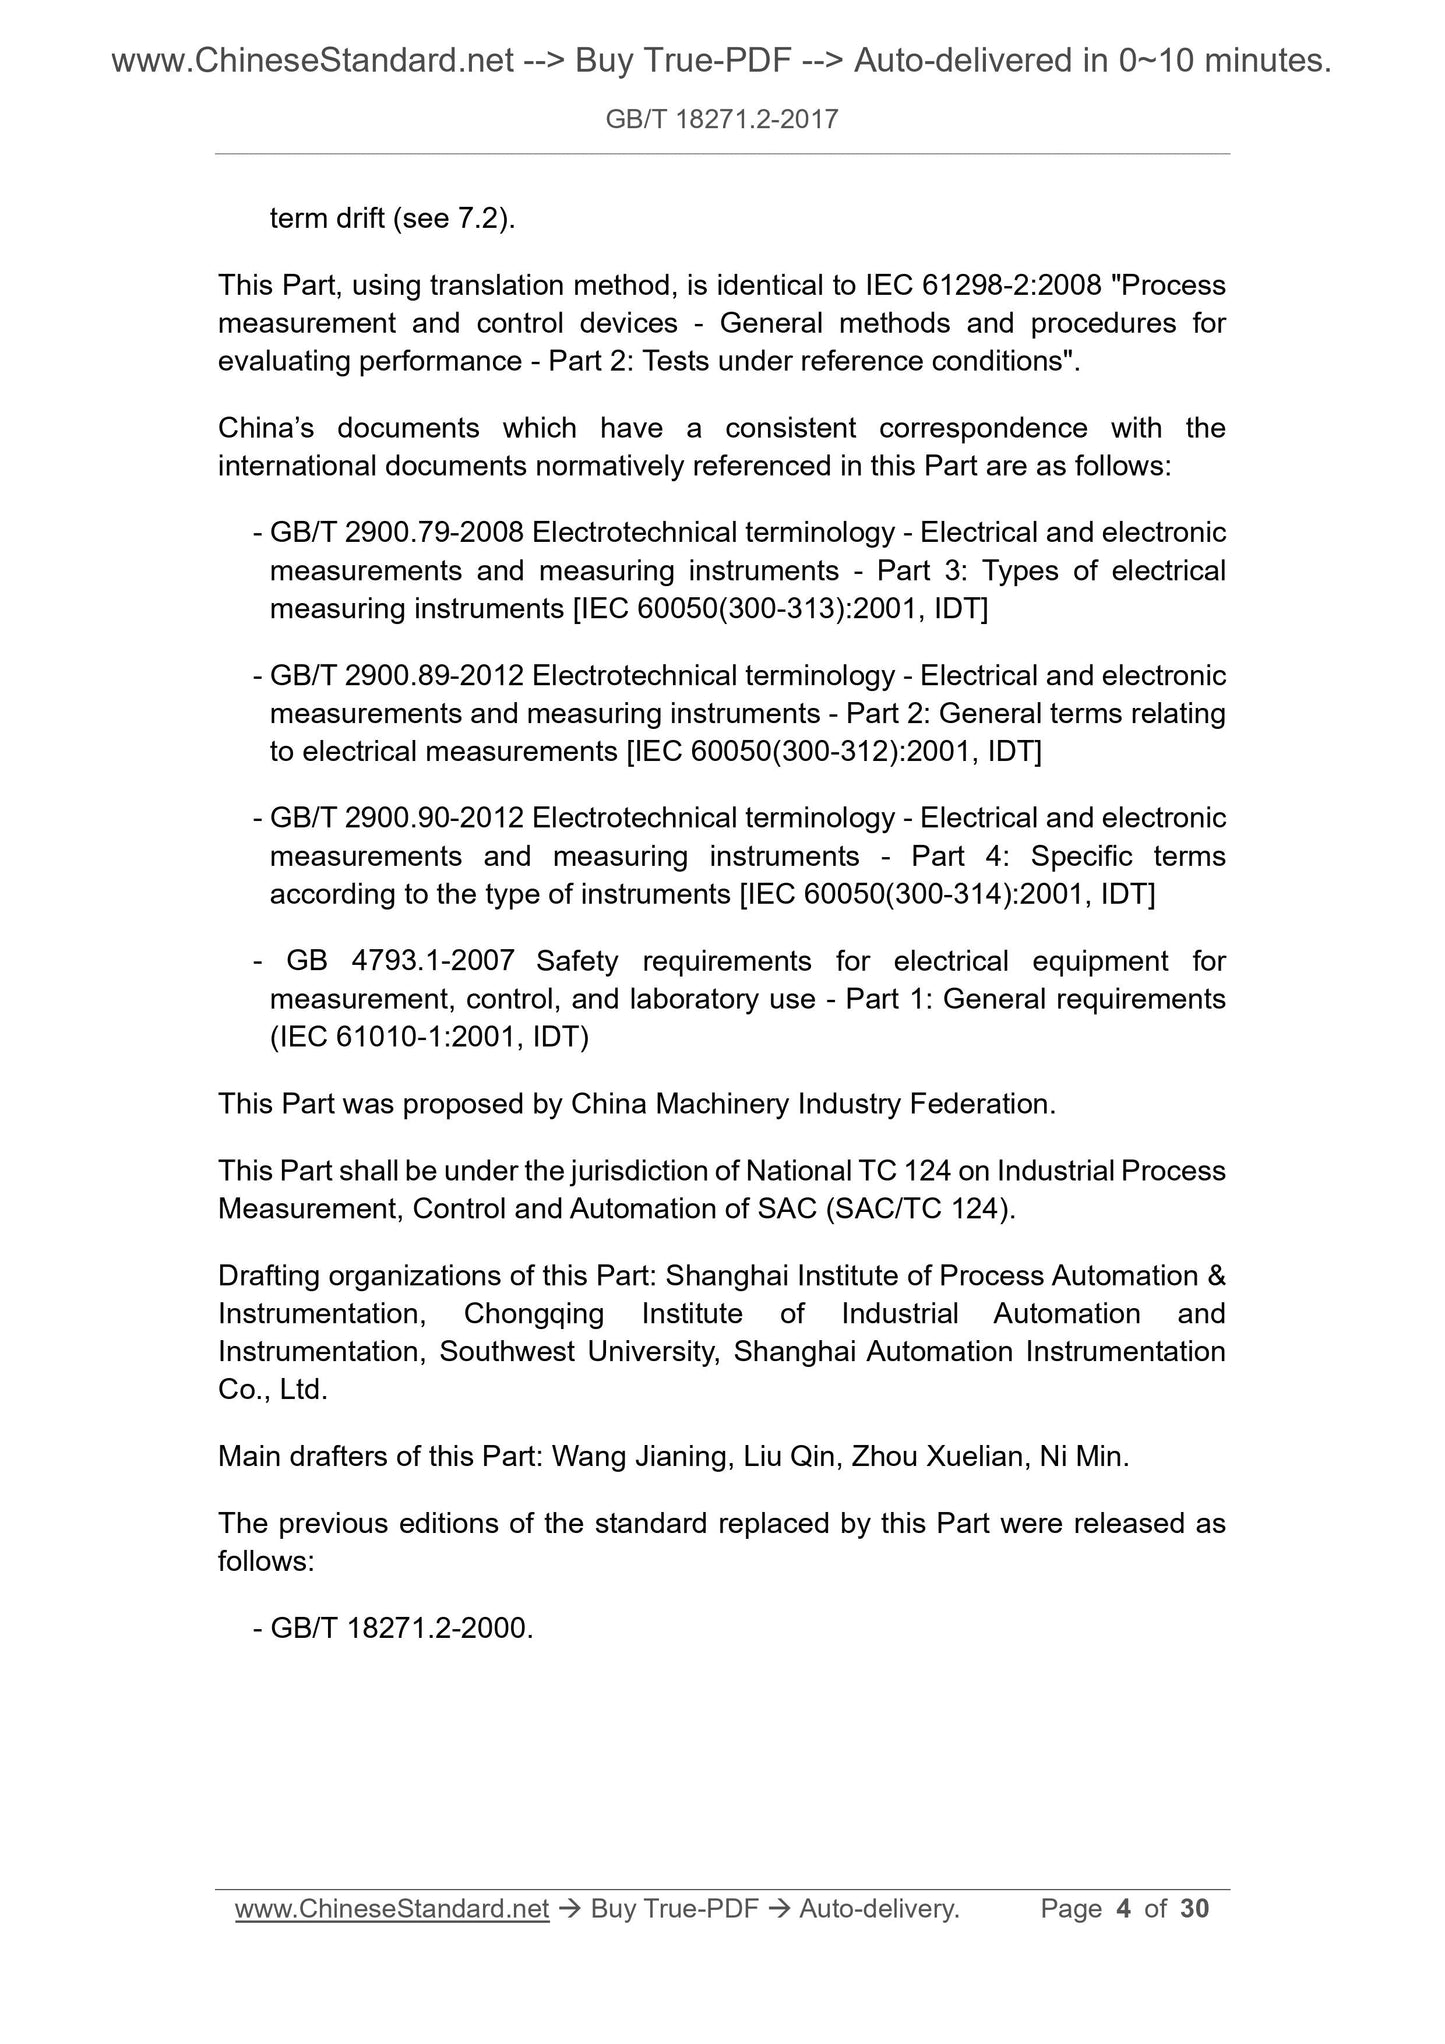
The translation method used in this section is equivalent to the use of IEC 61298-2..2008 "General performance evaluation methods and procedures for process measurement and control devices
Part 2. Test under reference conditions ".
The Chinese documents that have a consistent correspondence with the normatively cited international documents in this section are as follows.
--- GB/T 2900.79-2008 Electrotechnical terminology Electrical and electronic measurement and instrumentation Part 3. Electrical measurement instrumentation
Type [IEC 60050 (300-313)..2001, IDT]
--- GB/T 2900.89-2012 Electrotechnical terminology Electrical and electronic measurement and instrumentation Part 2. General terminology for electrical measurement
[IEC 60050 (300-312)..2001, IDT]
--- GB/T 2900.90-2012 Electrotechnical terminology Electrical and electronic measurement and instrumentation Part 4. Special techniques for various types of instruments
Language [IEC 60050 (300-314)..2001, IDT]
--- GB 4793.1-2007 Safety requirements for electrical equipment for measurement, control and laboratory use Part 1. General requirements
(IEC 61010-1..2001, IDT)
This part is proposed by China Machinery Industry Federation.
This part is under the jurisdiction of the National Industrial Process Measurement Control and Automation Standardization Technical Committee (SAC/TC124).
This section was drafted. Shanghai Industrial Automation Instrumentation Institute, Chongqing Industrial Automation Instrumentation Institute, Southwest University, Shanghai Automation
Instrument Co., Ltd.
The main drafters of this section. Wang Jianing, Liu Qin, Zhou Xuelian, Ni Min.
The previous versions of the standard replaced by this part are as follows.
--- GB/T 18271.2-2000.
Process measurement and control devices
General performance assessment methods and procedures
Part 2. Test under reference conditions
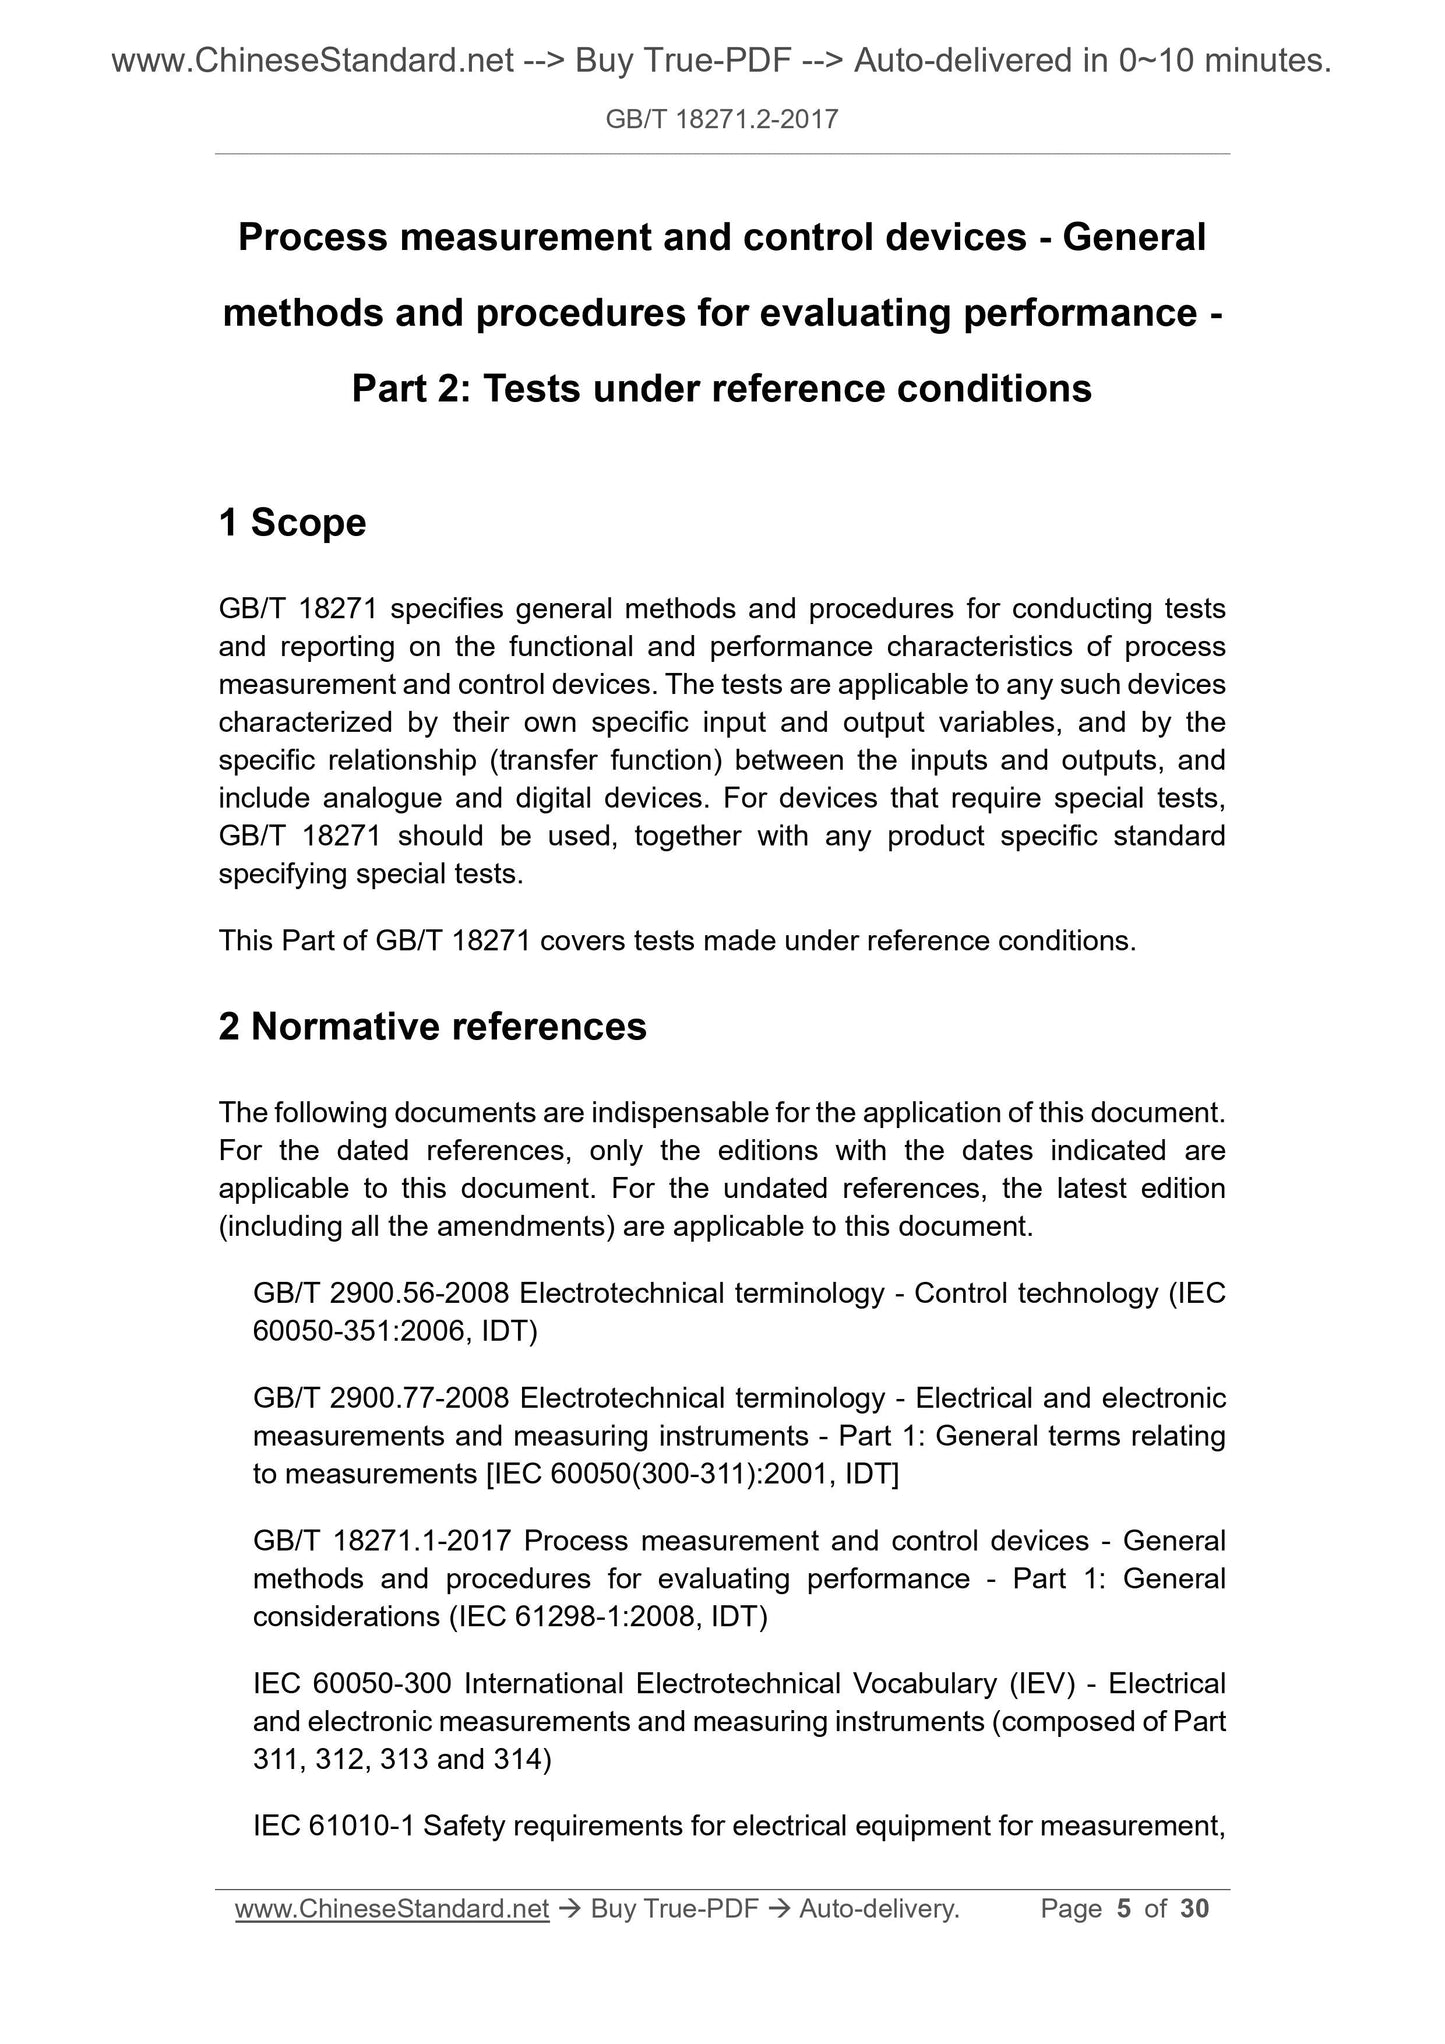
1 Scope
GB/T 18271 stipulates a general method for performing functional and performance characteristics tests of process measurement and control devices and preparing test reports
Laws and procedures. These experiments are applicable to any specific input and output variables, and there is a specific relationship between input and output variables (transfer function
Several) process measurement and control devices, including analog devices and digital devices. For devices that require special test items, the
GB/T 18271 is combined with product standards that have special regulations for such special test items.
This part of GB/T 18271 discusses tests conducted under reference conditions.
2 Normative references
The following documents are essential for the application of this document. For dated references, only the dated version applies to this article
Pieces. For the cited documents without date, the latest version (including all amendments) applies to this document.
GB/T 2900.56-2008 Electrical engineering terminology control technology (IEC 60050-351..2006, IDT)
GB/T 2900.77-2008 Electrotechnical terminology Electrical and electronic measurement and instrumentation Part 1. General terminology for measurement
[IEC 60050 (300-311)..2001, IDT]
GB/T 18271.1-2017 Process measurement and control devices General performance assessment methods and procedures Part 1. General
(IEC 61298-1..2008, IDT)
IEC 60050-300 International Electrotechnical Terminology (IEV) Electrical and electronic measuring and measuring instruments (grouped by parts 311, 312, 313 and 314
Cheng) (InternationalElectrotechnicalVocabulary (IEV) -Electricalandelectronicmeasurementsand
measuringinstruments (composedofPart 311,312,313and314)]
IEC 61010-1 Safety Requirements for Electrical Equipment for Measurement, Control, and Laboratory Part 1. General Requirements (Safetyrequire-
mentsforelectricalequipmentformeasurement, control, andlaboratoryuse-Part 1. Generalrequire-
ments)
3 Terms and definitions
GB/T 2900.56-2008, GB/T 2900.77-2008 and IEC 60050 (300) and the following terms and definitions apply
In this document.
3.1
Variable
The quantity or state whose value is variable and usually measurable (eg temperature, flow, speed, signal, etc.).
Note. Rewrite GB/T 2900.56-2008, definition 351-21-01.
3.2
Signal
Use one or more parameters to represent one or more physical variables of variable information.
Note. Rewrite GB/T 2900.56-2008, definition 351-21-51.
3.3
Range
The numerical range defined by the upper and lower limits of the quantity studied.
Note. Rewrite GB/T 2900.56-2008, definition 351-27-11.
3.4
Span
The algebraic difference between the upper and lower limits of the measurement range.
[GB/T 2900.77-2008, definition 311-03-13]
3.5
Inaccuracy
Under the specified conditions, the maximum positive deviation and negative deviation from the specified characteristic curve observed when testing a device according to the specified procedure
deviation.
Note 1. For the definition of accuracy, see GB/T 2900.77-2008, definition 311-06-08.
Note 2. The term inaccuracy sometimes also refers to the measured accuracy, this term should not be used.
3.6
Error
The algebraic difference between the displayed value of the measured variable and the comparison value.
Note 1. Rewrite GB/T 2900.56-2008, definition 351-27-04.
Note 2. When the indicated value is greater than the comparison value, the error is positive. The error is generally expressed as a percentage of the corresponding ideal range.
3.7
Measured error
The maximum positive or negative error of the average value of the upstroke or downstroke at each measurement point.
3.8
Non-conformity
The closeness of the calibration curve to the specified characteristic curve (may be a straight line, logarithmic curve, parabola, etc.).
Note. Inconsistency does not include hysteresis.
3.9
Non-linearity
Linearity deviation.
Note 1. For the definition of linearity, see GB/T 2900.77-2008, definition 311-06-05.
Note 2. Non-linearity does not include hysteresis.
3.10
Non-repeatablility
Repeatability deviation.
Note. For definition of repeatability, see GB/T 2900.77-2008, definition 311-06-06.
3.11
Hysteresis
The device or meter gives the characteristics of different output values corresponding to its input value according to the order in which the input value is applied.
Note. Rewrite GB/T 2900.56-2008, definition 351-24-15.
3.12
Deadband
Changes in the input variables do not cause any perceptible changes in the output variables in a limited range of values.
Note. Rewrite GB/T 2900.56-2008, definition 351-24-14.
3.13
Deadtime
The time interval from the moment when the input variable changes to the moment when the output variable starts to change (see GB/T 2900.56-
2008, Figure 5).
[GB/T 2900.56-2008, definition 351-28-41]
3.14
Rise time
In the step response, from the moment when the output signal starting from zero reaches a small percentage (for example, 10%) specified by the final steady state value, to
The time interval (see GB/T 2900.56-) for the moment when the specified large percentage (for example, 90%) of the final steady state value is first reached
2008, Figure 3).
3.15
Set up time
From the step change of the input signal to the instantaneous change of the output signal resulting from its final steady state value does not exceed the specified tolerance
Time interval between (see GB/T 2900.56-2008, Figure 3). The tolerance adopted in this standard is 1%.
[GB/T 2900.56-2008, definition 351-24-29]
3.16
Step response time
From the moment when the input variable undergoes a step change, to the time when the output variable first reaches the difference between the final steady state value and the initial steady state value
The percentage of the instantaneous time interval (see IEC 60050-351, Figure 3). The prescribed percentage adopted in this standard is 90%.
[GB/T 2900.56-2008, definition 351-24-28]
3.17
Time constant
The time required for the output of the first-order linear system caused by the step change of the input variable to complete 63.2% of the total change.
[GB/T 2900.56-2008, definition 351-24-24]
3.18
Test procedure testprocedure
Prior to the start of the assessment, the manufacturer, the testing agency and the buyer/user agree on the tests to be carried out and the conditions of each test
instruction of.
3.19
Type test
In order to prove that the design meets the requirements of a certain specification, tests are carried out on one or several devices manufactured according to a certain design.
Note. In principle, the type test is only applicable to the prototype. It is usually not necessary to repeat the test on all units produced in batches.
3.20
Performance evaluation
Determine the performance of the device under various possible operating conditions in order to communicate with the device performance specifications or user
A comparative full performance test is required.
3.21
Routine test
A simplified test for each device during or after manufacturing to check whether the device meets certain standards.
3.22
Sample test
A simplified test used to check the specified characteristics of the device.
4 Factors related to accuracy
4.1 Test procedures and related matters
4.1.1 Selection of test range
For test devices with switching ranges or dial settings (for example, gain), the test should be repeated on each range and setting. Such as
If the device under test is calibrated, no adjustments should be made during the first set of tests.
4.1.1.1 Guidelines
The device should work with the minimum number of calibration settings during measurement. This is to determine the device to work in various regulations according to the requirements of the test outline
Required for performance at the set value (see Chapter 5 of GB/T 18271.1-2017).
When testing a device with actually adjustable range and lower limit of the range, the test amount may be too large to carry out. In this case, should
First conduct preliminary tests to determine the impact of changing the range and the lower limit of the range on the measured characteristics. Able to reliably from a small number of tests
In the case of deducing the characteristics of the device, it is possible to delete some tests specified in the test program. For example, as long as the range remains the same, select the range
The upper and lower limits will not have a significant impact on the return difference, so it can often be determined from multiple measurements of a single range setting value with the same range different
Range difference.
However, the test report should indicate the relevant value of each measured parameter of the adjustment setting, so that it can be determined with reference to the same adjustment value of the device.
Various values such as accuracy and return difference.
4.1.1.2 Setting of range and range lower limit adjustment
Unless otherwise specified in the test program, when testing factors related to accuracy, the adjus...
Share