Skip to product information
1 of 8

PayPal, credit cards. Download editable-PDF & invoice In 1 second!

GB/T 18177-2008 English PDF (GB/T18177-2008)

GB/T 18177-2008 English PDF (GB/T18177-2008)

Regular price $250.00
Regular price Sale price $250.00
Sale Sold out
Shipping calculated at checkout.
GB/T 18177-2008: Gas nitriding of steel parts
Delivery: 9 seconds. Download (& Email) true-PDF + Invoice.
Get Quotation: Click GB/T 18177-2008 (Self-service in 1-minute)
Historical versions (Master-website): GB/T 18177-2008
Preview True-PDF (Reload/Scroll-down if blank)

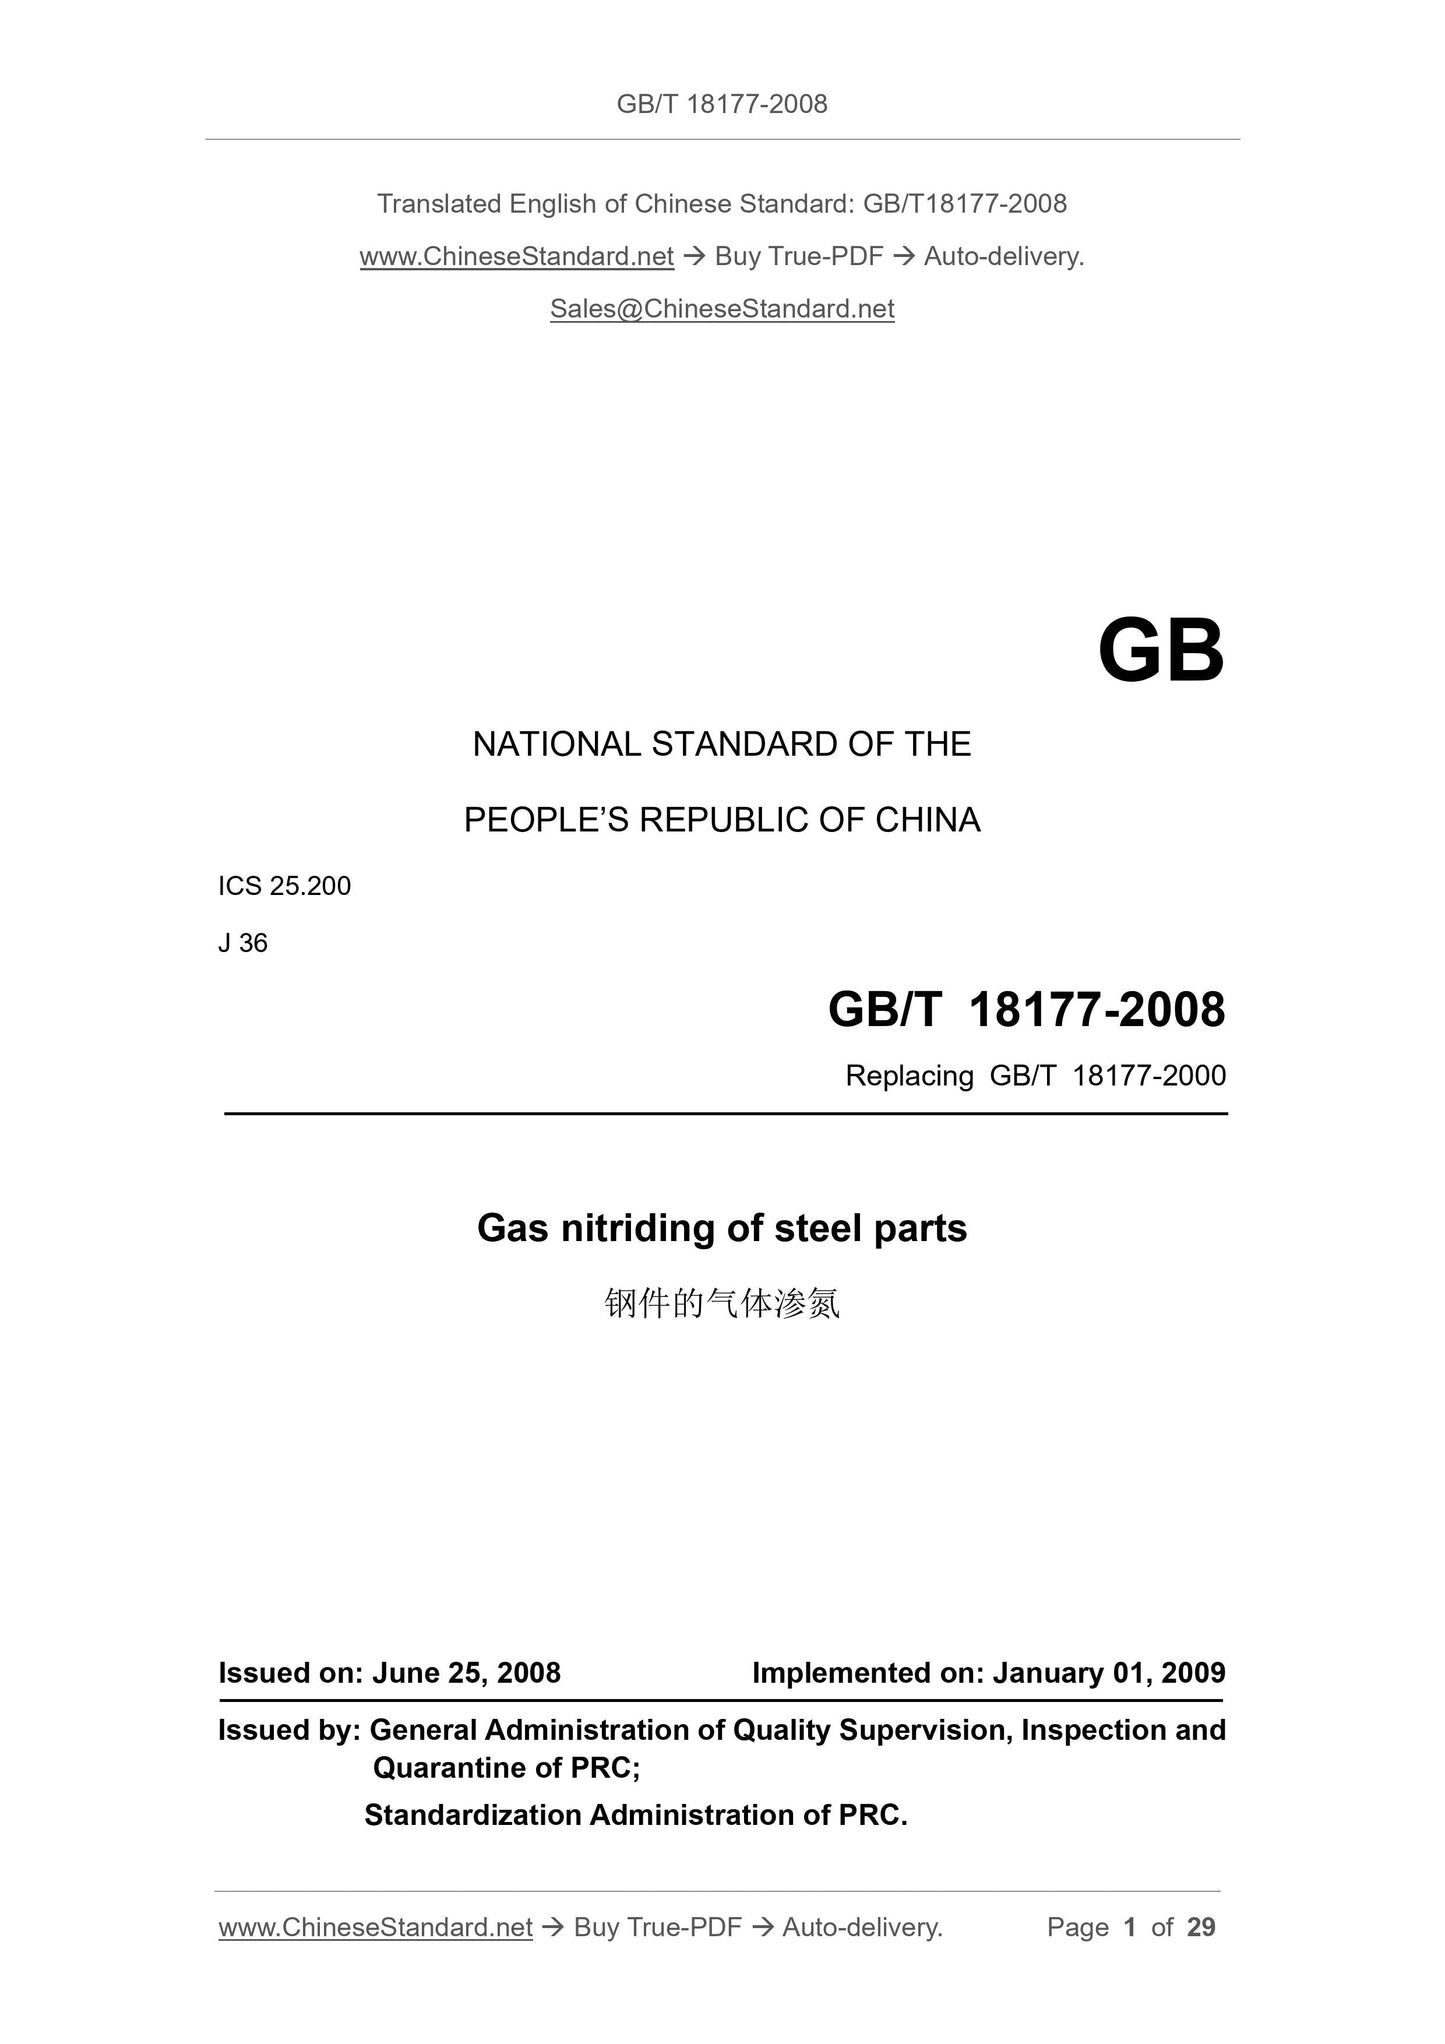
GB/T 18177-2008
GB
NATIONAL STANDARD OF THE
PEOPLE’S REPUBLIC OF CHINA
ICS 25.200
J 36
Replacing GB/T 18177-2000
Gas nitriding of steel parts
ISSUED ON: JUNE 25, 2008
IMPLEMENTED ON: JANUARY 01, 2009
Issued by: General Administration of Quality Supervision, Inspection and
Quarantine of PRC;
Standardization Administration of PRC.
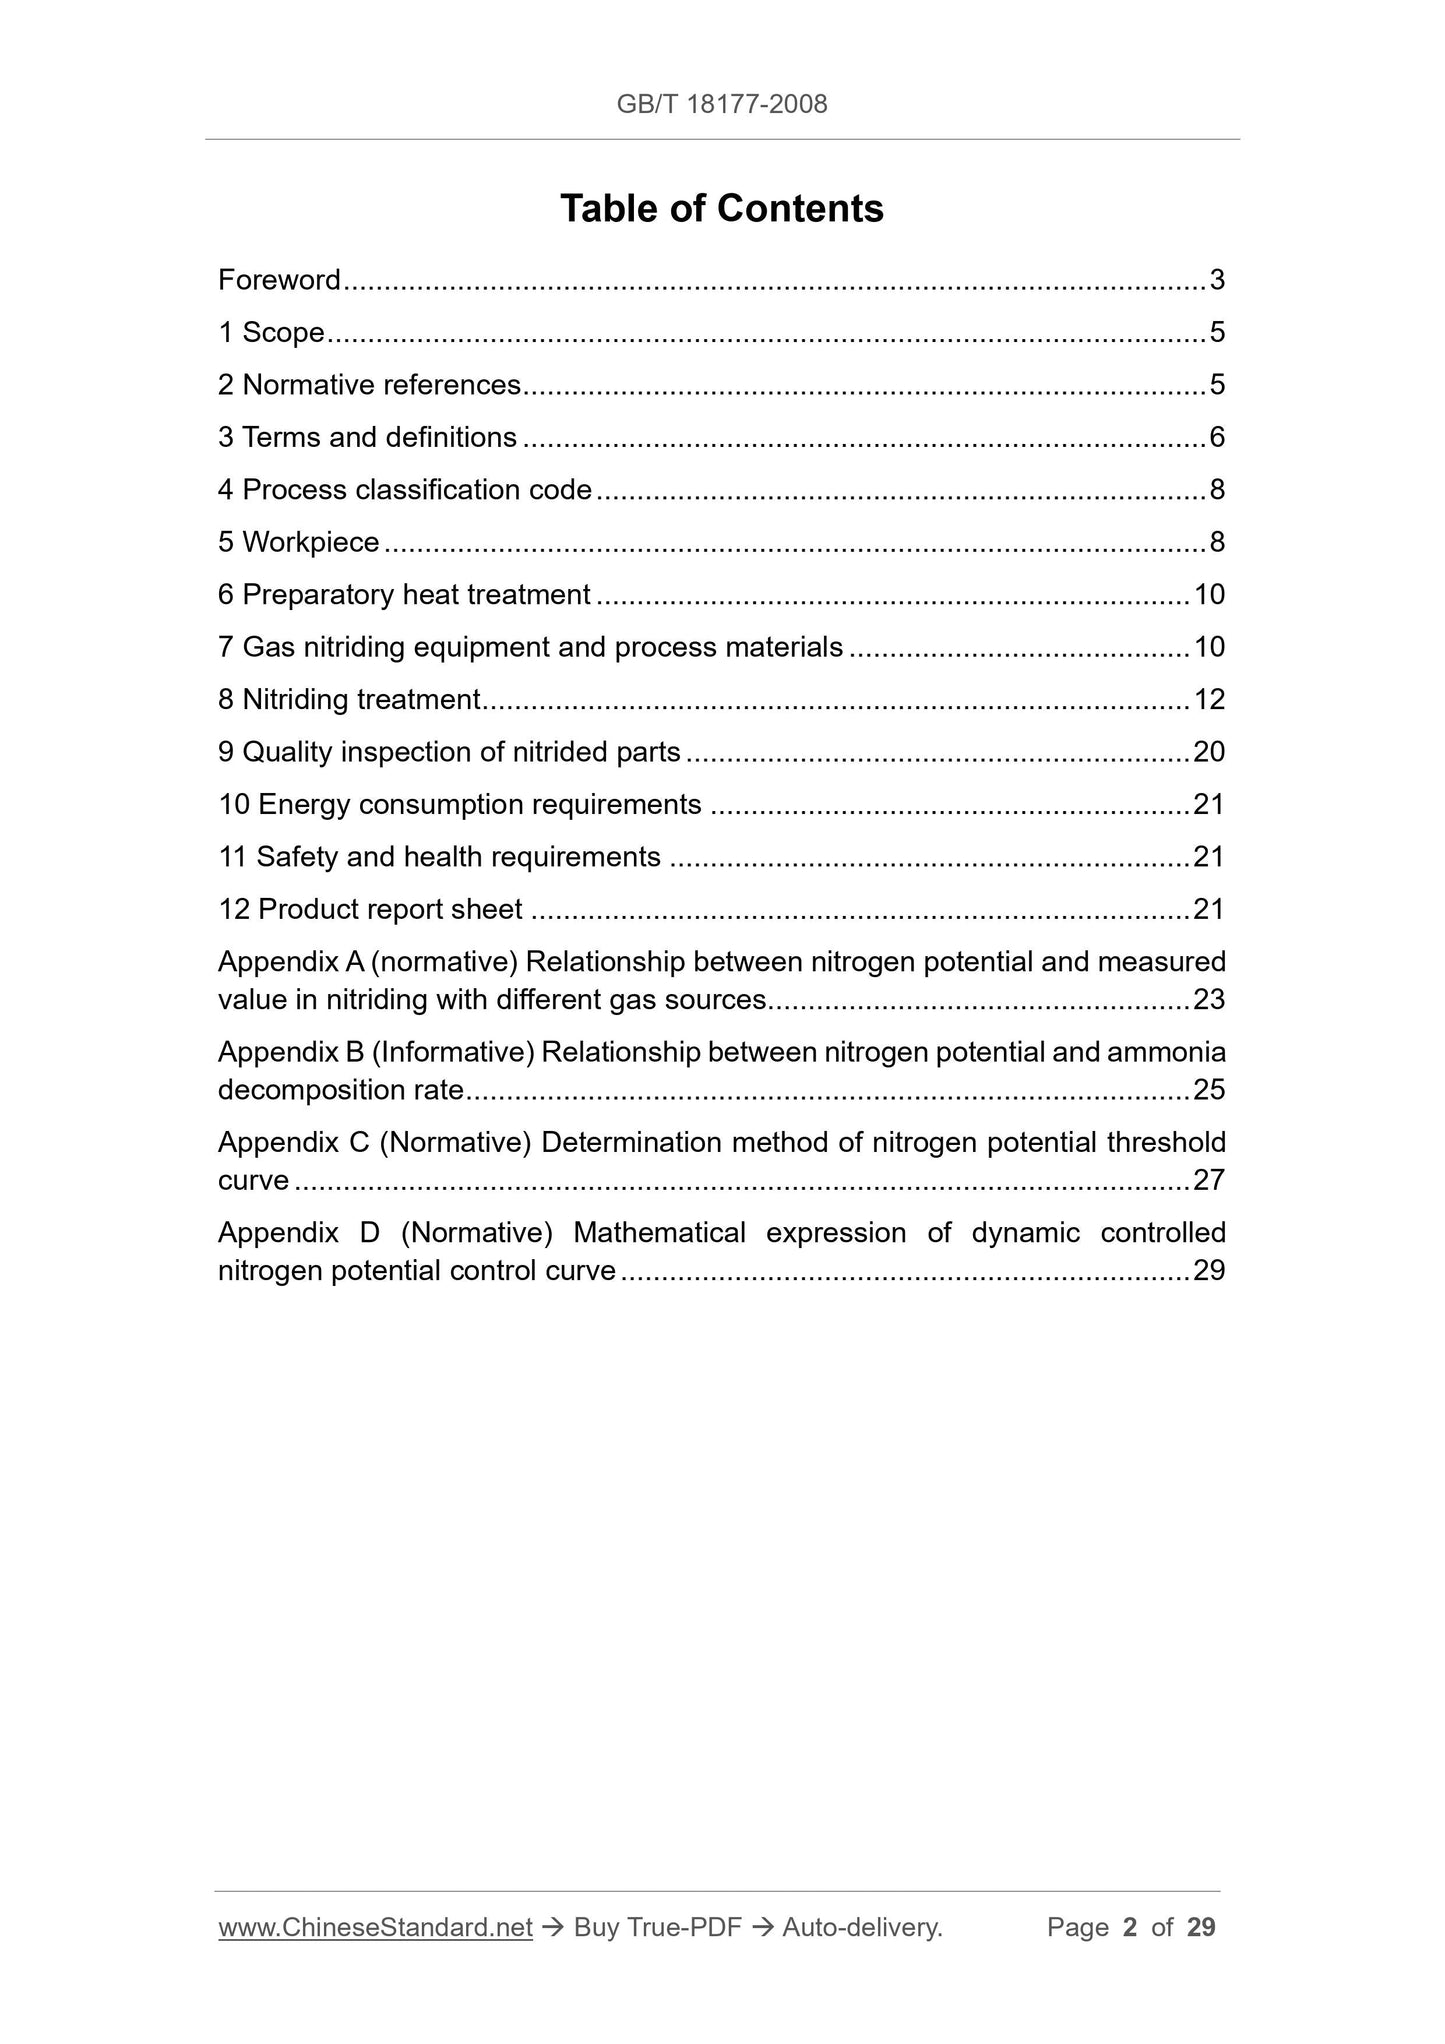
Table of Contents
Foreword ... 3 
1 Scope ... 5 
2 Normative references ... 5 
3 Terms and definitions ... 6 
4 Process classification code ... 8 
5 Workpiece ... 8 
6 Preparatory heat treatment ... 10 
7 Gas nitriding equipment and process materials ... 10 
8 Nitriding treatment ... 12 
9 Quality inspection of nitrided parts ... 20 
10 Energy consumption requirements ... 21 
11 Safety and health requirements ... 21 
12 Product report sheet ... 21 
Appendix A (normative) Relationship between nitrogen potential and measured
value in nitriding with different gas sources... 23 
Appendix B (Informative) Relationship between nitrogen potential and ammonia
decomposition rate ... 25 
Appendix C (Normative) Determination method of nitrogen potential threshold
curve ... 27 
Appendix D (Normative) Mathematical expression of dynamic controlled
nitrogen potential control curve ... 29 
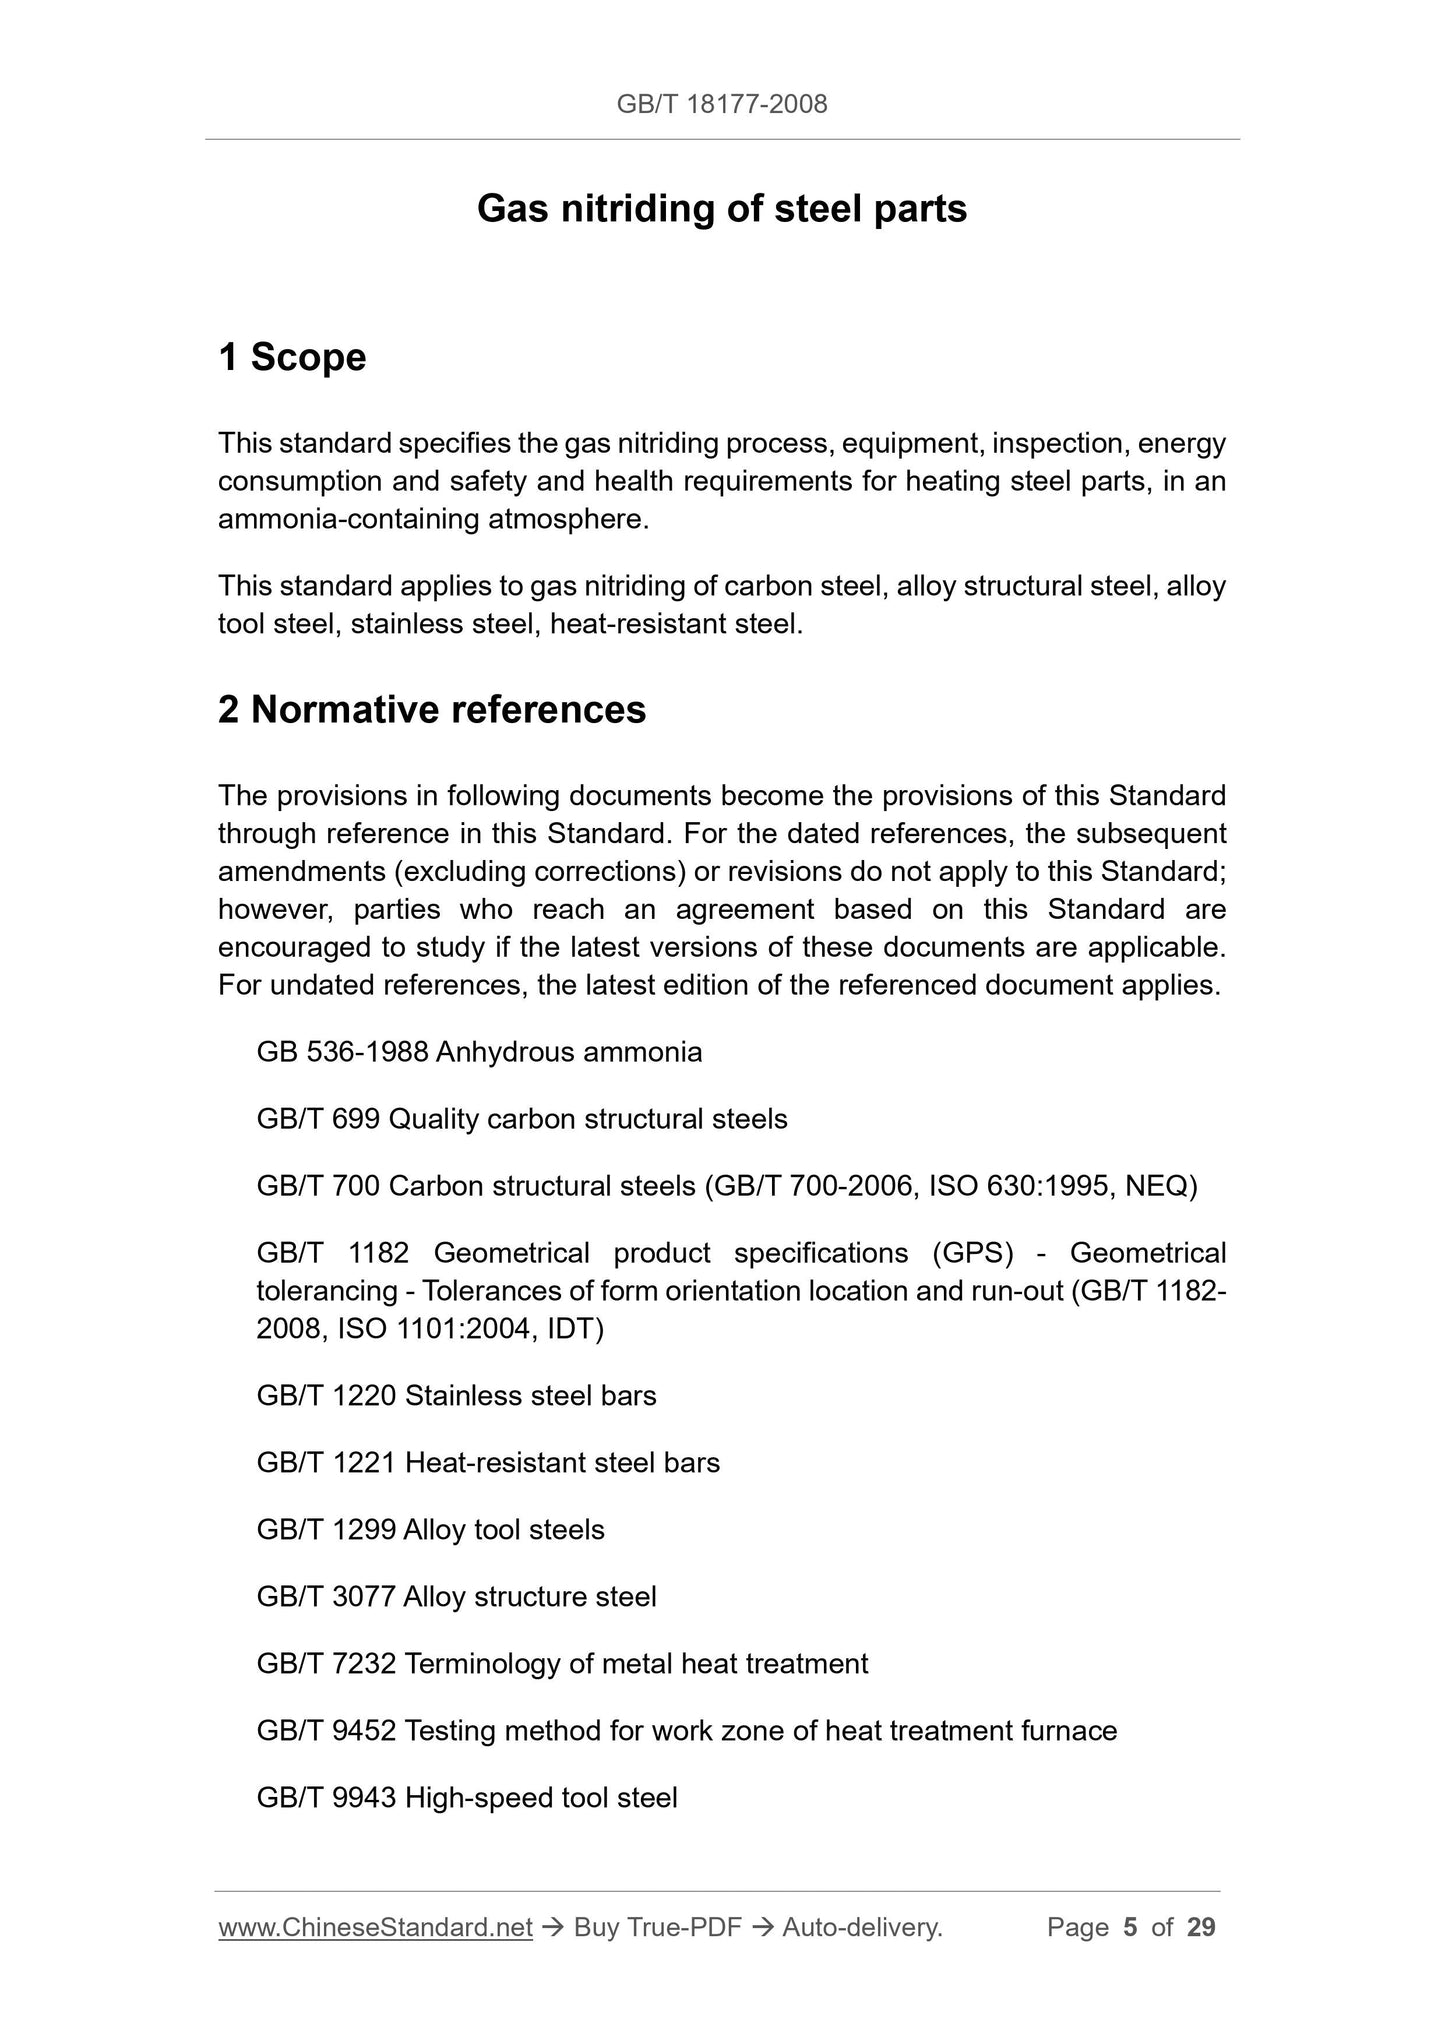
Gas nitriding of steel parts
1 Scope
This standard specifies the gas nitriding process, equipment, inspection, energy
consumption and safety and health requirements for heating steel parts, in an
ammonia-containing atmosphere.
This standard applies to gas nitriding of carbon steel, alloy structural steel, alloy
tool steel, stainless steel, heat-resistant steel.
2 Normative references
The provisions in following documents become the provisions of this Standard
through reference in this Standard. For the dated references, the subsequent
amendments (excluding corrections) or revisions do not apply to this Standard;
however, parties who reach an agreement based on this Standard are
encouraged to study if the latest versions of these documents are applicable.
For undated references, the latest edition of the referenced document applies.
GB 536-1988 Anhydrous ammonia
GB/T 699 Quality carbon structural steels
GB/T 700 Carbon structural steels (GB/T 700-2006, ISO 630:1995, NEQ)
GB/T 1182 Geometrical product specifications (GPS) - Geometrical
tolerancing - Tolerances of form orientation location and run-out (GB/T 1182-
2008, ISO 1101:2004, IDT)
GB/T 1220 Stainless steel bars
GB/T 1221 Heat-resistant steel bars
GB/T 1299 Alloy tool steels
GB/T 3077 Alloy structure steel
GB/T 7232 Terminology of metal heat treatment
GB/T 9452 Testing method for work zone of heat treatment furnace
GB/T 9943 High-speed tool steel
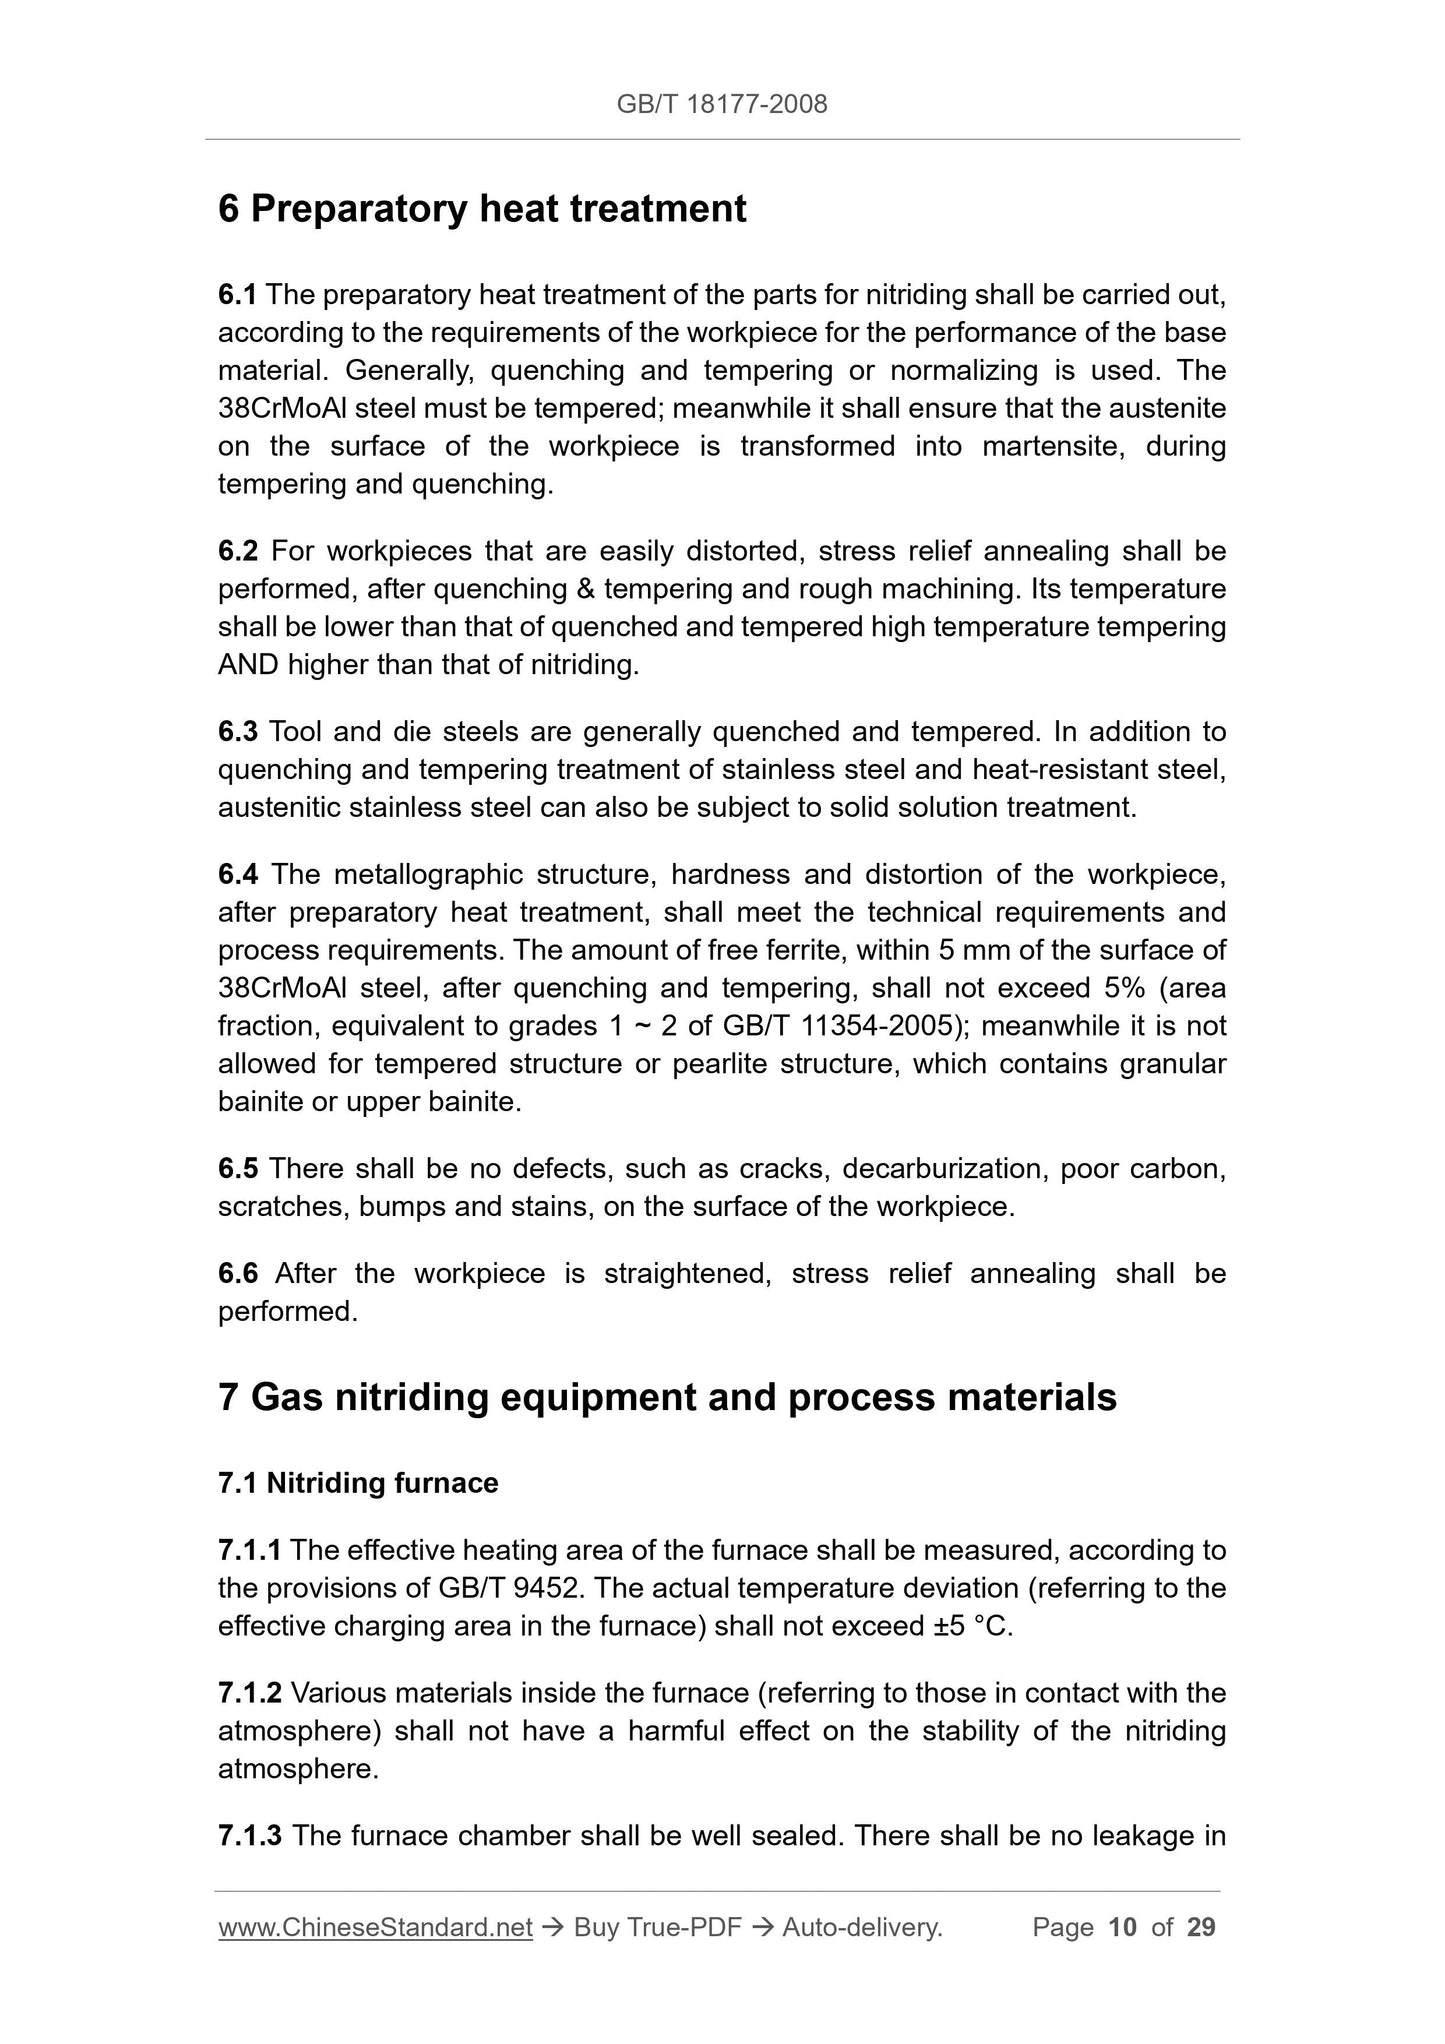
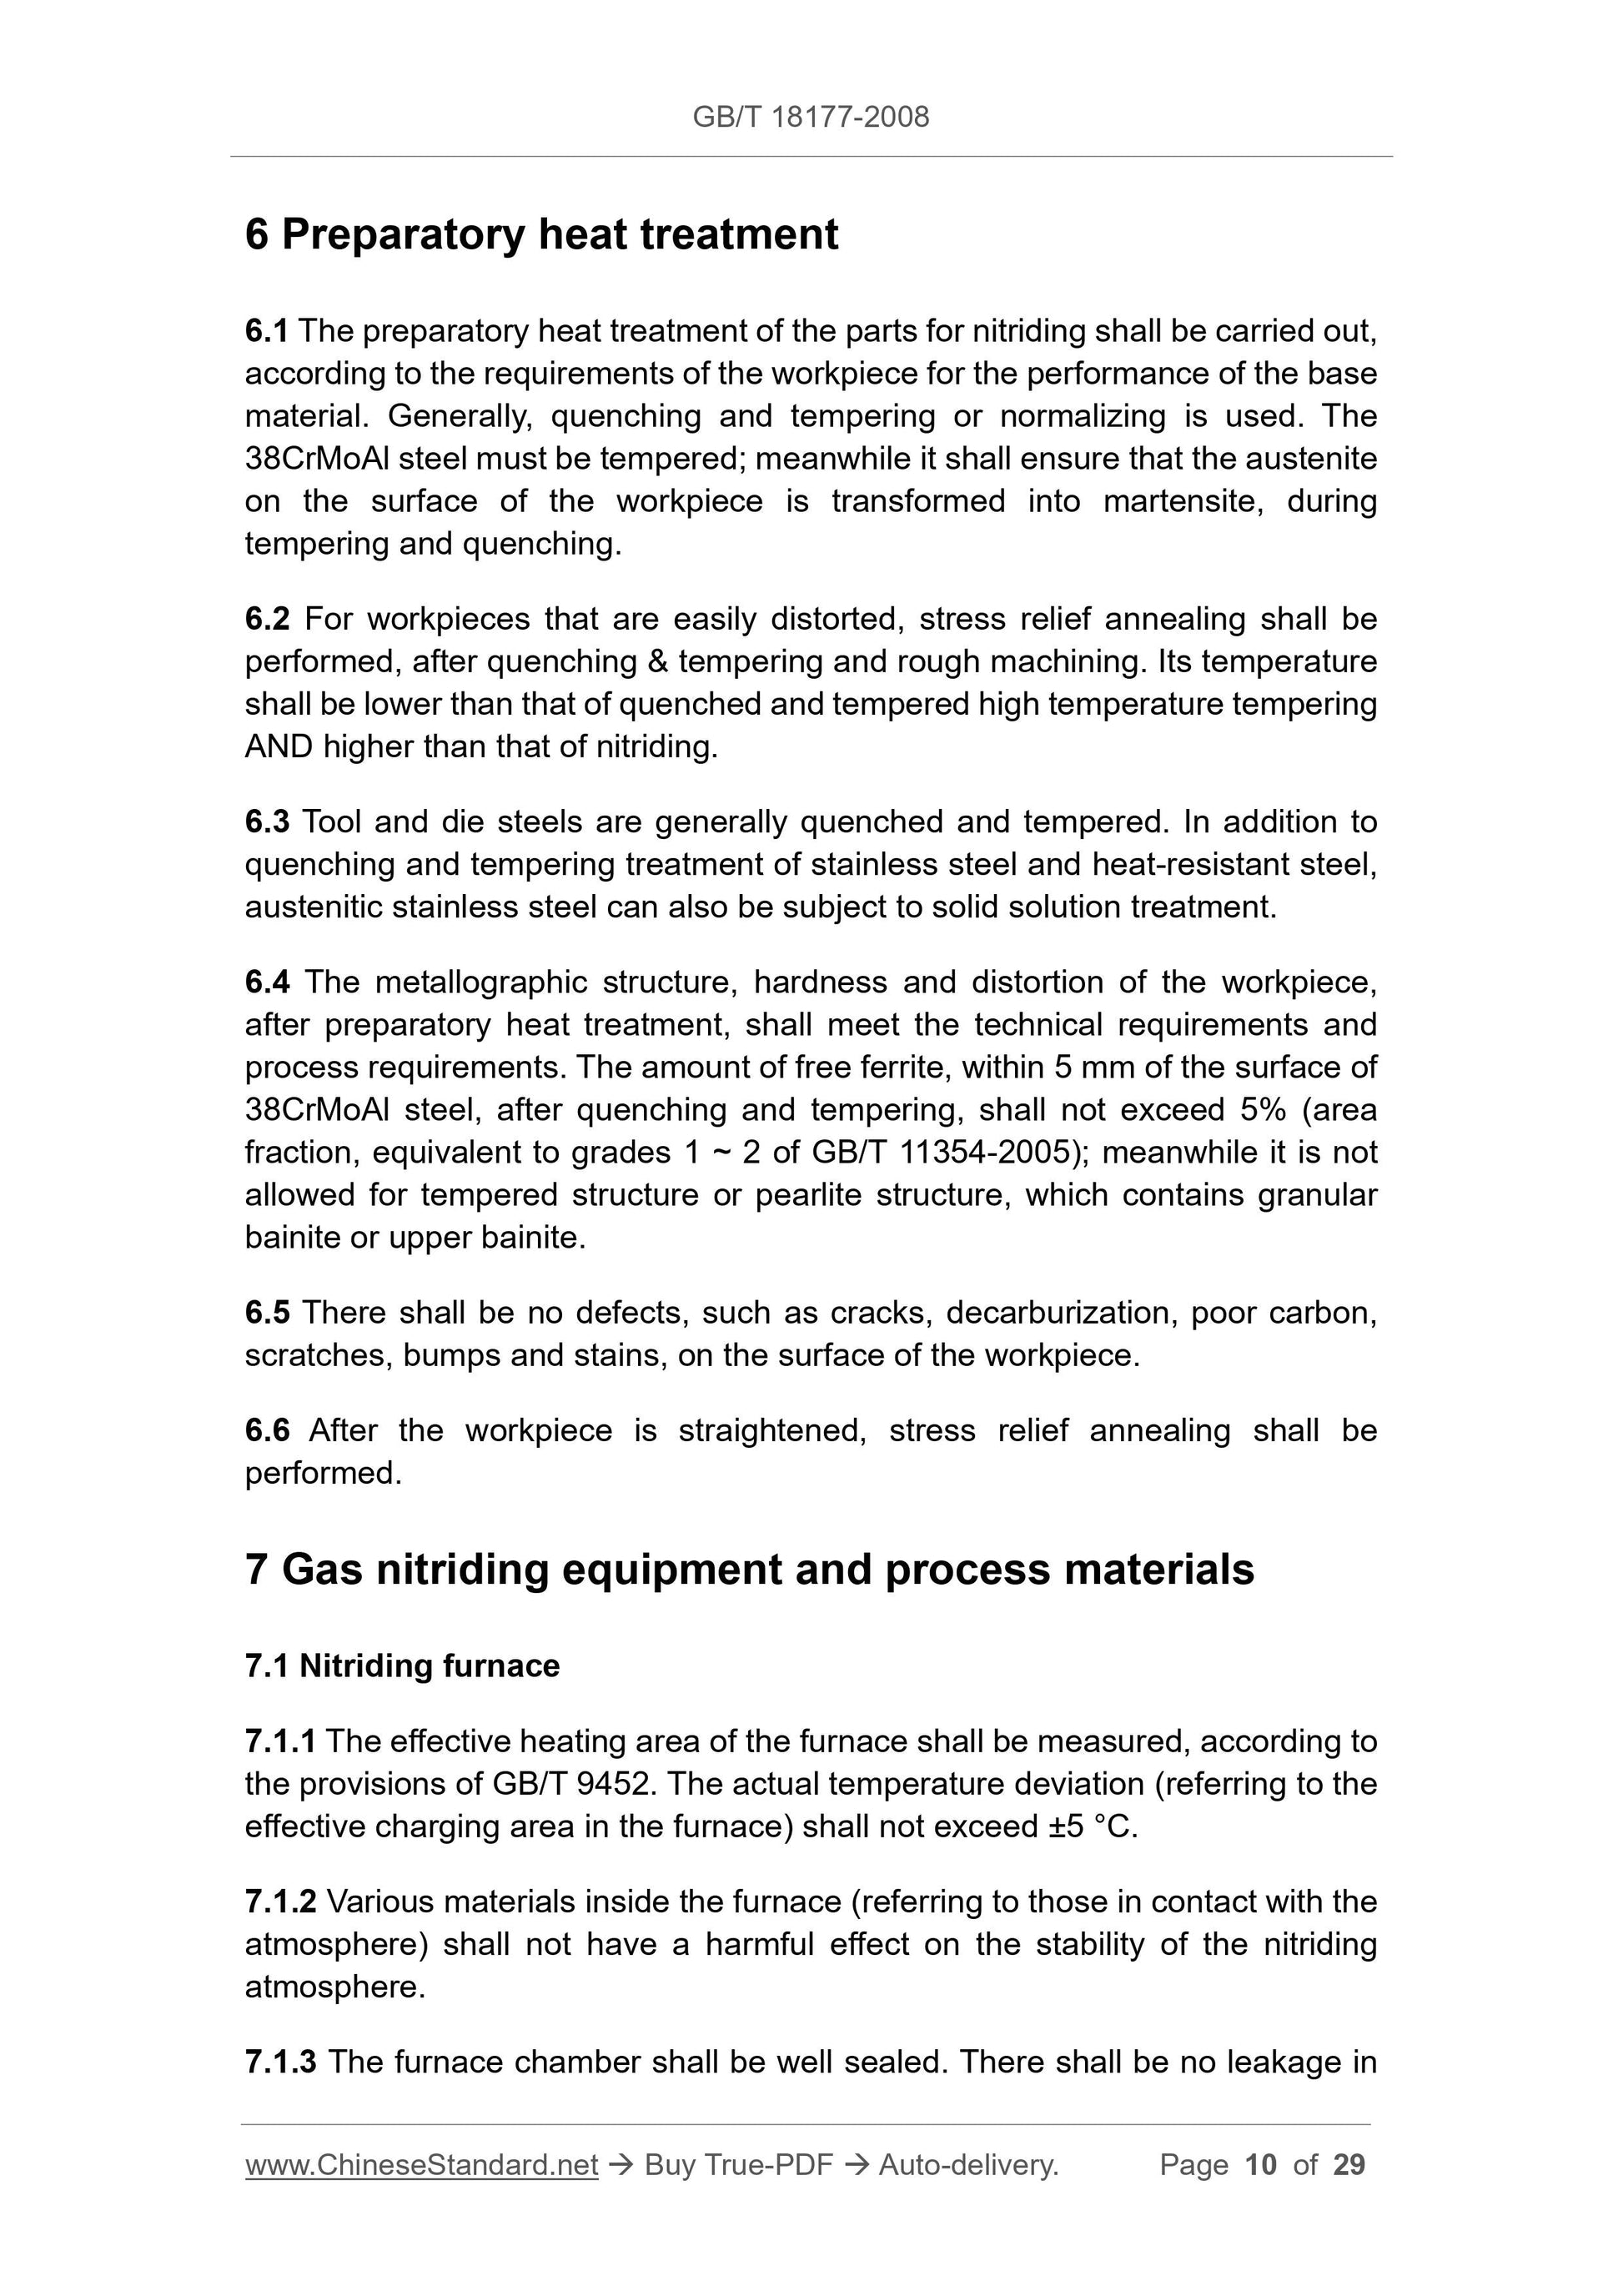
6 Preparatory heat treatment
6.1 The preparatory heat treatment of the parts for nitriding shall be carried out,
according to the requirements of the workpiece for the performance of the base
material. Generally, quenching and tempering or normalizing is used. The
38CrMoAl steel must be tempered; meanwhile it shall ensure that the austenite
on the surface of the workpiece is transformed into martensite, during
tempering and quenching.
6.2 For workpieces that are easily distorted, stress relief annealing shall be
performed, after quenching and tempering and rough machining. Its temperature
shall be lower than that of quenched and tempered high temperature tempering
AND higher than that of nitriding.
6.3 Tool and die steels are generally quenched and tempered. In addition to
quenching and tempering treatment of stainless steel and heat-resistant steel,
austenitic stainless steel can also be subject to solid solution treatment.
6.4 The metallographic structure, hardness and distortion of the workpiece,
after preparatory heat treatment, shall meet the technical requirements and
process requirements. The amount of free ferrite, within 5 mm of the surface of
38CrMoAl steel, after quenching and tempering, shall not exceed 5% (area
fraction, equivalent to grades 1 ~ 2 of GB/T 11354-2005); meanwhile it is not
allowed for tempered structure or pearlite structure, which contains granular
bainite or upper bainite.
6.5 There shall be no defects, such as cracks, decarburization, poor carbon,
scratches, bumps and stains, on the surface of the workpiece.
6.6 After the workpiece is straightened, stress relief annealing shall be
performed.
7 Gas nitriding equipment and process materials
7.1 Nitriding furnace
7.1.1 The effective heating area of the furnace shall be measured, according to
the provisions of GB/T 9452. The actual temperature deviation (referring to the
effective charging area in the furnace) shall not exceed ±5 °C.
7.1.2 Various materials inside the furnace (referring to those in contact with the
atmosphere) shall not have a harmful effect on the stability of the nitriding
atmosphere.
7.1.3 The furnace chamber shall be well sealed. There shall be no leakage in
the furnace atmosphere; the furnace gas shall flow smoothly through the
nitriding parts.
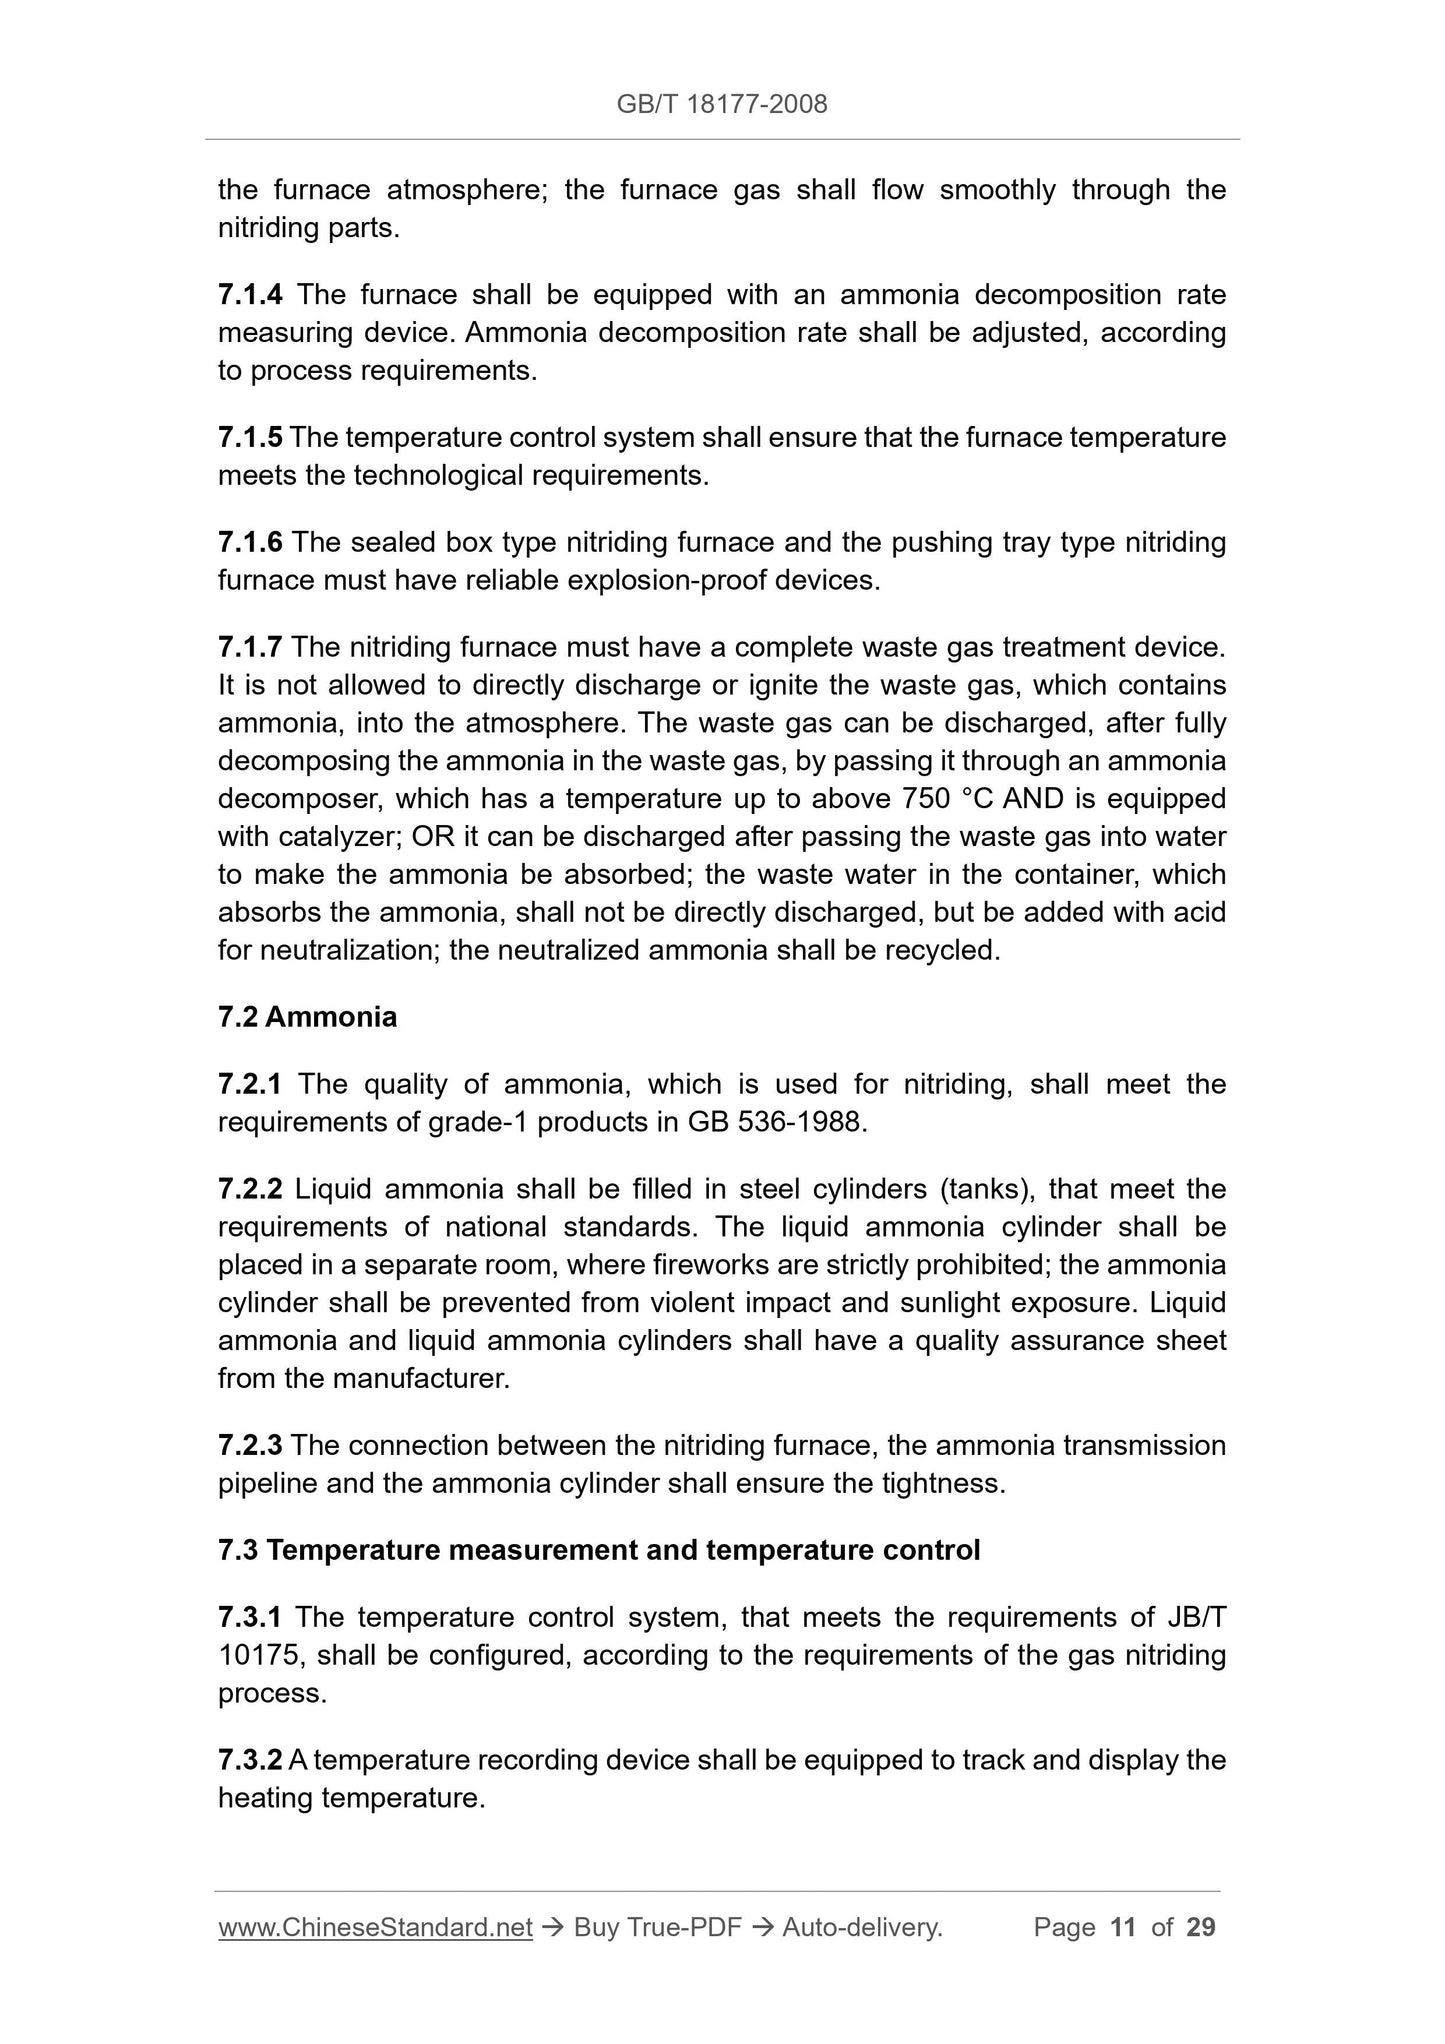
7.1.4 The furnace shall be equipped with an ammonia decomposition rate
measuring device. Ammonia decomposition rate shall be adjusted, according
to process requirements.
7.1.5 The temperature control system shall ensure that the furnace temperature
meets the technological requirements.
7.1.6 The sealed box type nitriding furnace and the pushing tray type nitriding
furnace must have reliable explosion-proof devices.
7.1.7 The nitriding furnace must have a complete waste gas treatment device.
It is not allowed to directly discharge or ignite the waste gas, which contains
ammonia, into the atmosphere. The waste gas can be discharged, after fully
decomposing the ammonia in the waste gas, by passing it through an ammonia
decomposer, which has a temperature up to above 750 °C AND is equipped
with catalyzer; OR it can be discharged after passing the waste gas into water
to make the ammonia be absorbed; the waste water in the container, which
absorbs the ammonia, shall not be directly discharged, but be added with acid
for neutralization; the neutralized ammonia shall be recycled.
7.2 Ammonia
7.2.1 The quality of ammonia, which is used for nitriding, shall meet the
requirements of grade-1 products in GB 536-1988.
7.2.2 Liquid ammonia shall be filled in steel cylinders (tanks), that meet the
requirements of national standards. The liquid ammonia cylinder shall be
placed in a separate room, where fireworks are strictly prohibited; the ammonia
cylinder shall be prevented from violent impact and sunlight exposure. Liquid
ammonia and liquid ammonia cylinders shall have a quality assurance sheet
from the manufacturer.
7.2.3 The connection between the nitriding furnace, the ammonia transmission
pipeline and the ammonia cylinder shall ensure the tightness.
7.3 Temperature measurement and temperature control
7.3.1 The temperature control system, that meets the requirements of JB/T
10175, shall be configured, according to the requirements of the gas nitriding
process.
7.3.2 A temperature recording device shall be equipped to track and display the
heating temperature.
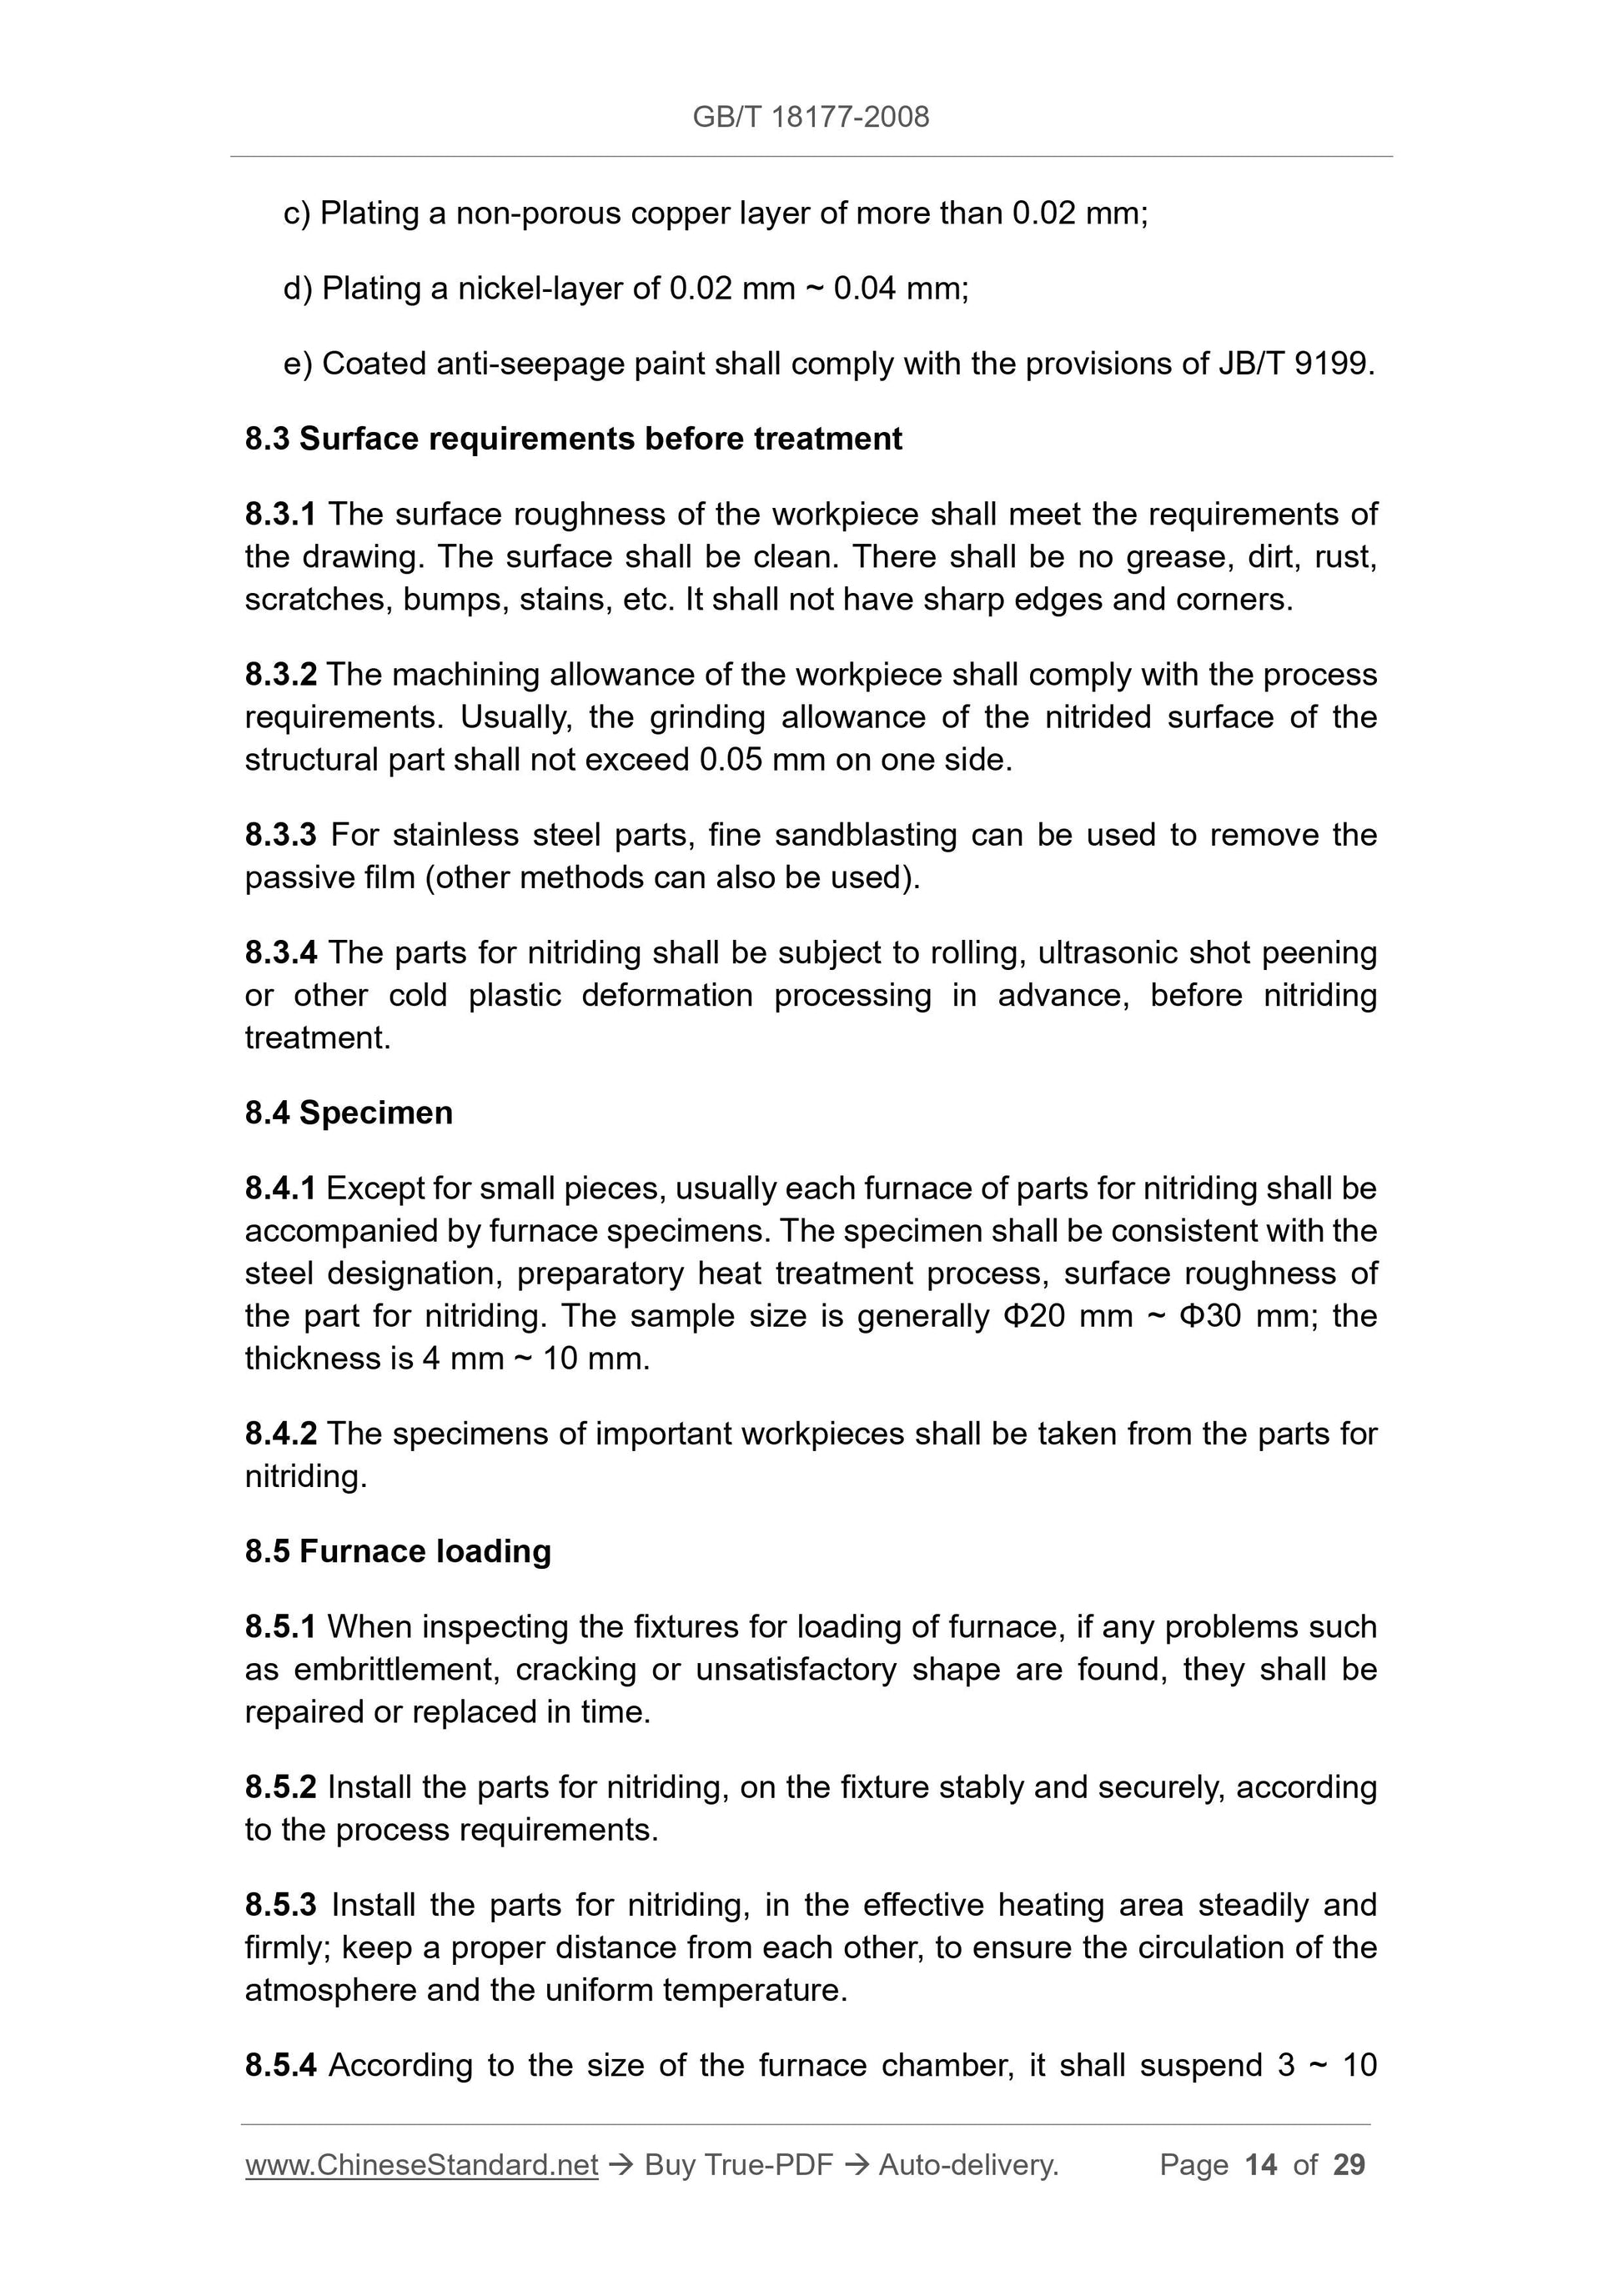
c) Plating a non-porous copper layer of more than 0.02 mm;
d) Plating a nickel-layer of 0.02 mm ~ 0.04 mm;
e) Coated anti-seepage paint shall comply with the provisions of JB/T 9199.
8.3 Surface requirements before treatment
8.3.1 The surface roughness of the workpiece shall meet the requirements of
the drawing. The surface shall be clean. There shall be no grease, dirt, rust,
scratches, bumps, stains, etc. It shall not have sharp edges and corners.
8.3.2 The machining allowance of the workpiece shall comply with the process
requirements. Usually, the grinding allowance of the nitrided surface of the
structural part shall not exceed 0.05 mm on one side.
8.3.3 For stainless steel parts, fine sandblasting can be used to remove the
passive film (other methods can also be used).
8.3.4 The parts for nitriding shall be subject to rolling, ultrasonic shot peening
or other cold plastic deformation processing in advance, before nitriding
treatment.
8.4 Specimen
8.4.1 Except for small pieces, usually each furnace of parts for nitriding shall be
accompanied by furnace specimens. The specimen shall be consistent with the
steel designation, preparatory heat treatment process, surface roughness of
the part for nitriding. The sample size is generally Φ20 mm ~ Φ30 mm; the
thickness is 4 mm ~ 10 mm.
8.4.2 The specimens of important workpieces shall be taken from the parts for
nitriding.
8.5 Furnace loading
8.5.1 When inspecting the fixtures for loading of furnace, if any problems such
as embrittlement, cracking or unsatisfactory shape are found, they shall be
repaired or replaced in time.
8.5.2 Install the parts for nitriding, on the fixture stably and securely, according
to the process requirements.
8.5.3 Install the parts for nitriding, in the effective heating area steadily and
firmly; keep a proper distance from each other, to ensure the circulation of the
atmosphere and the uniform temperature.
8.5.4 According to the size of the furnace chamber, it shall suspend 3 ~ 10
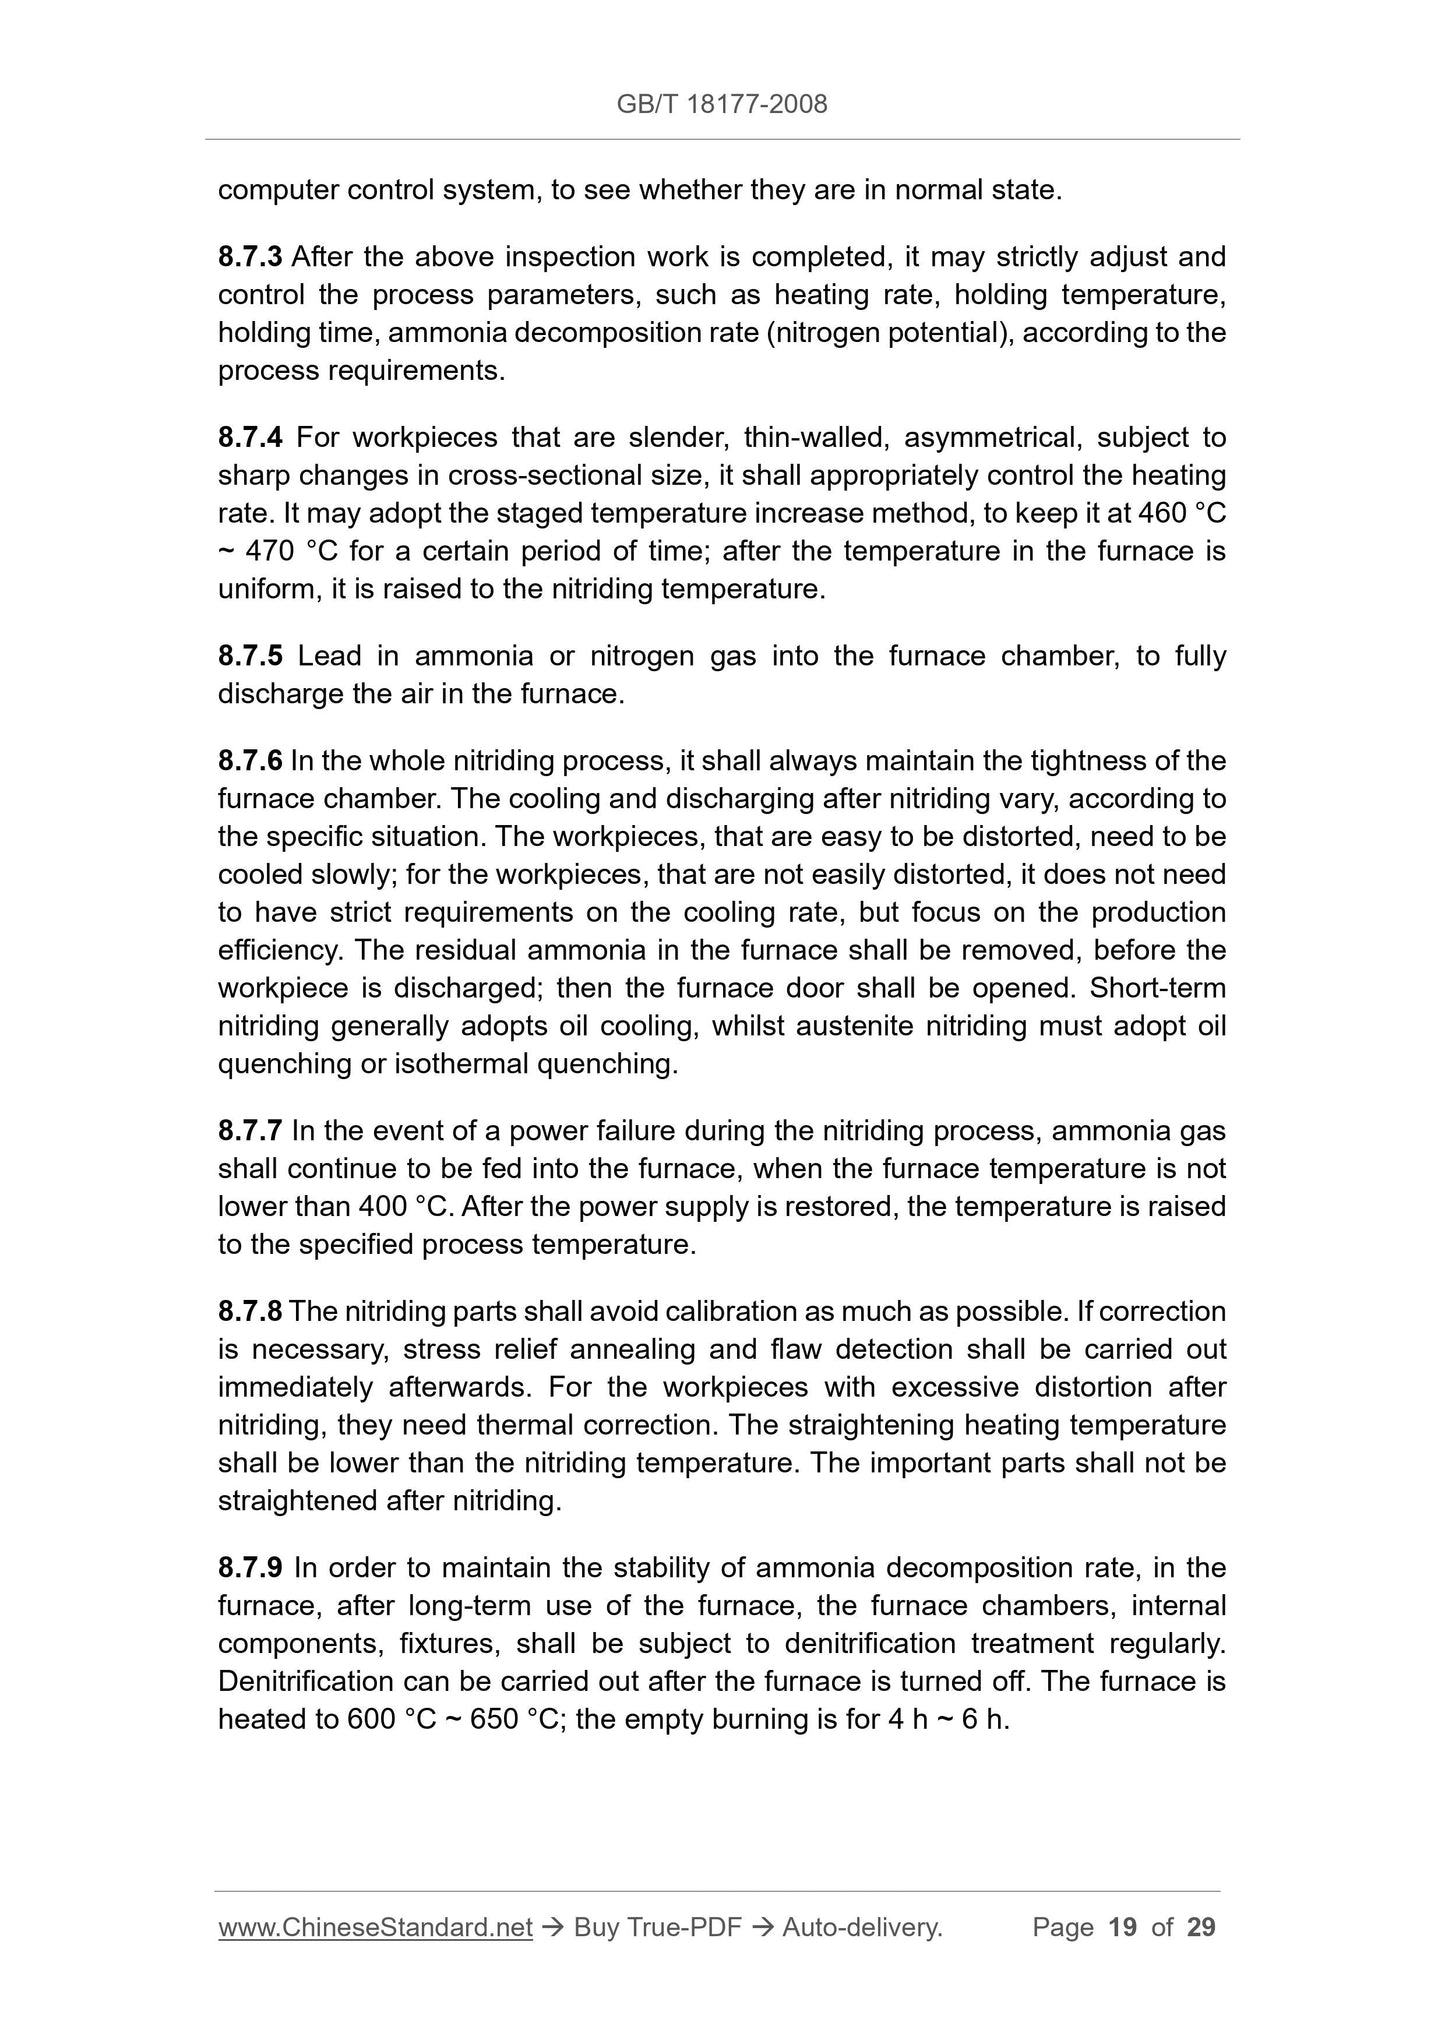
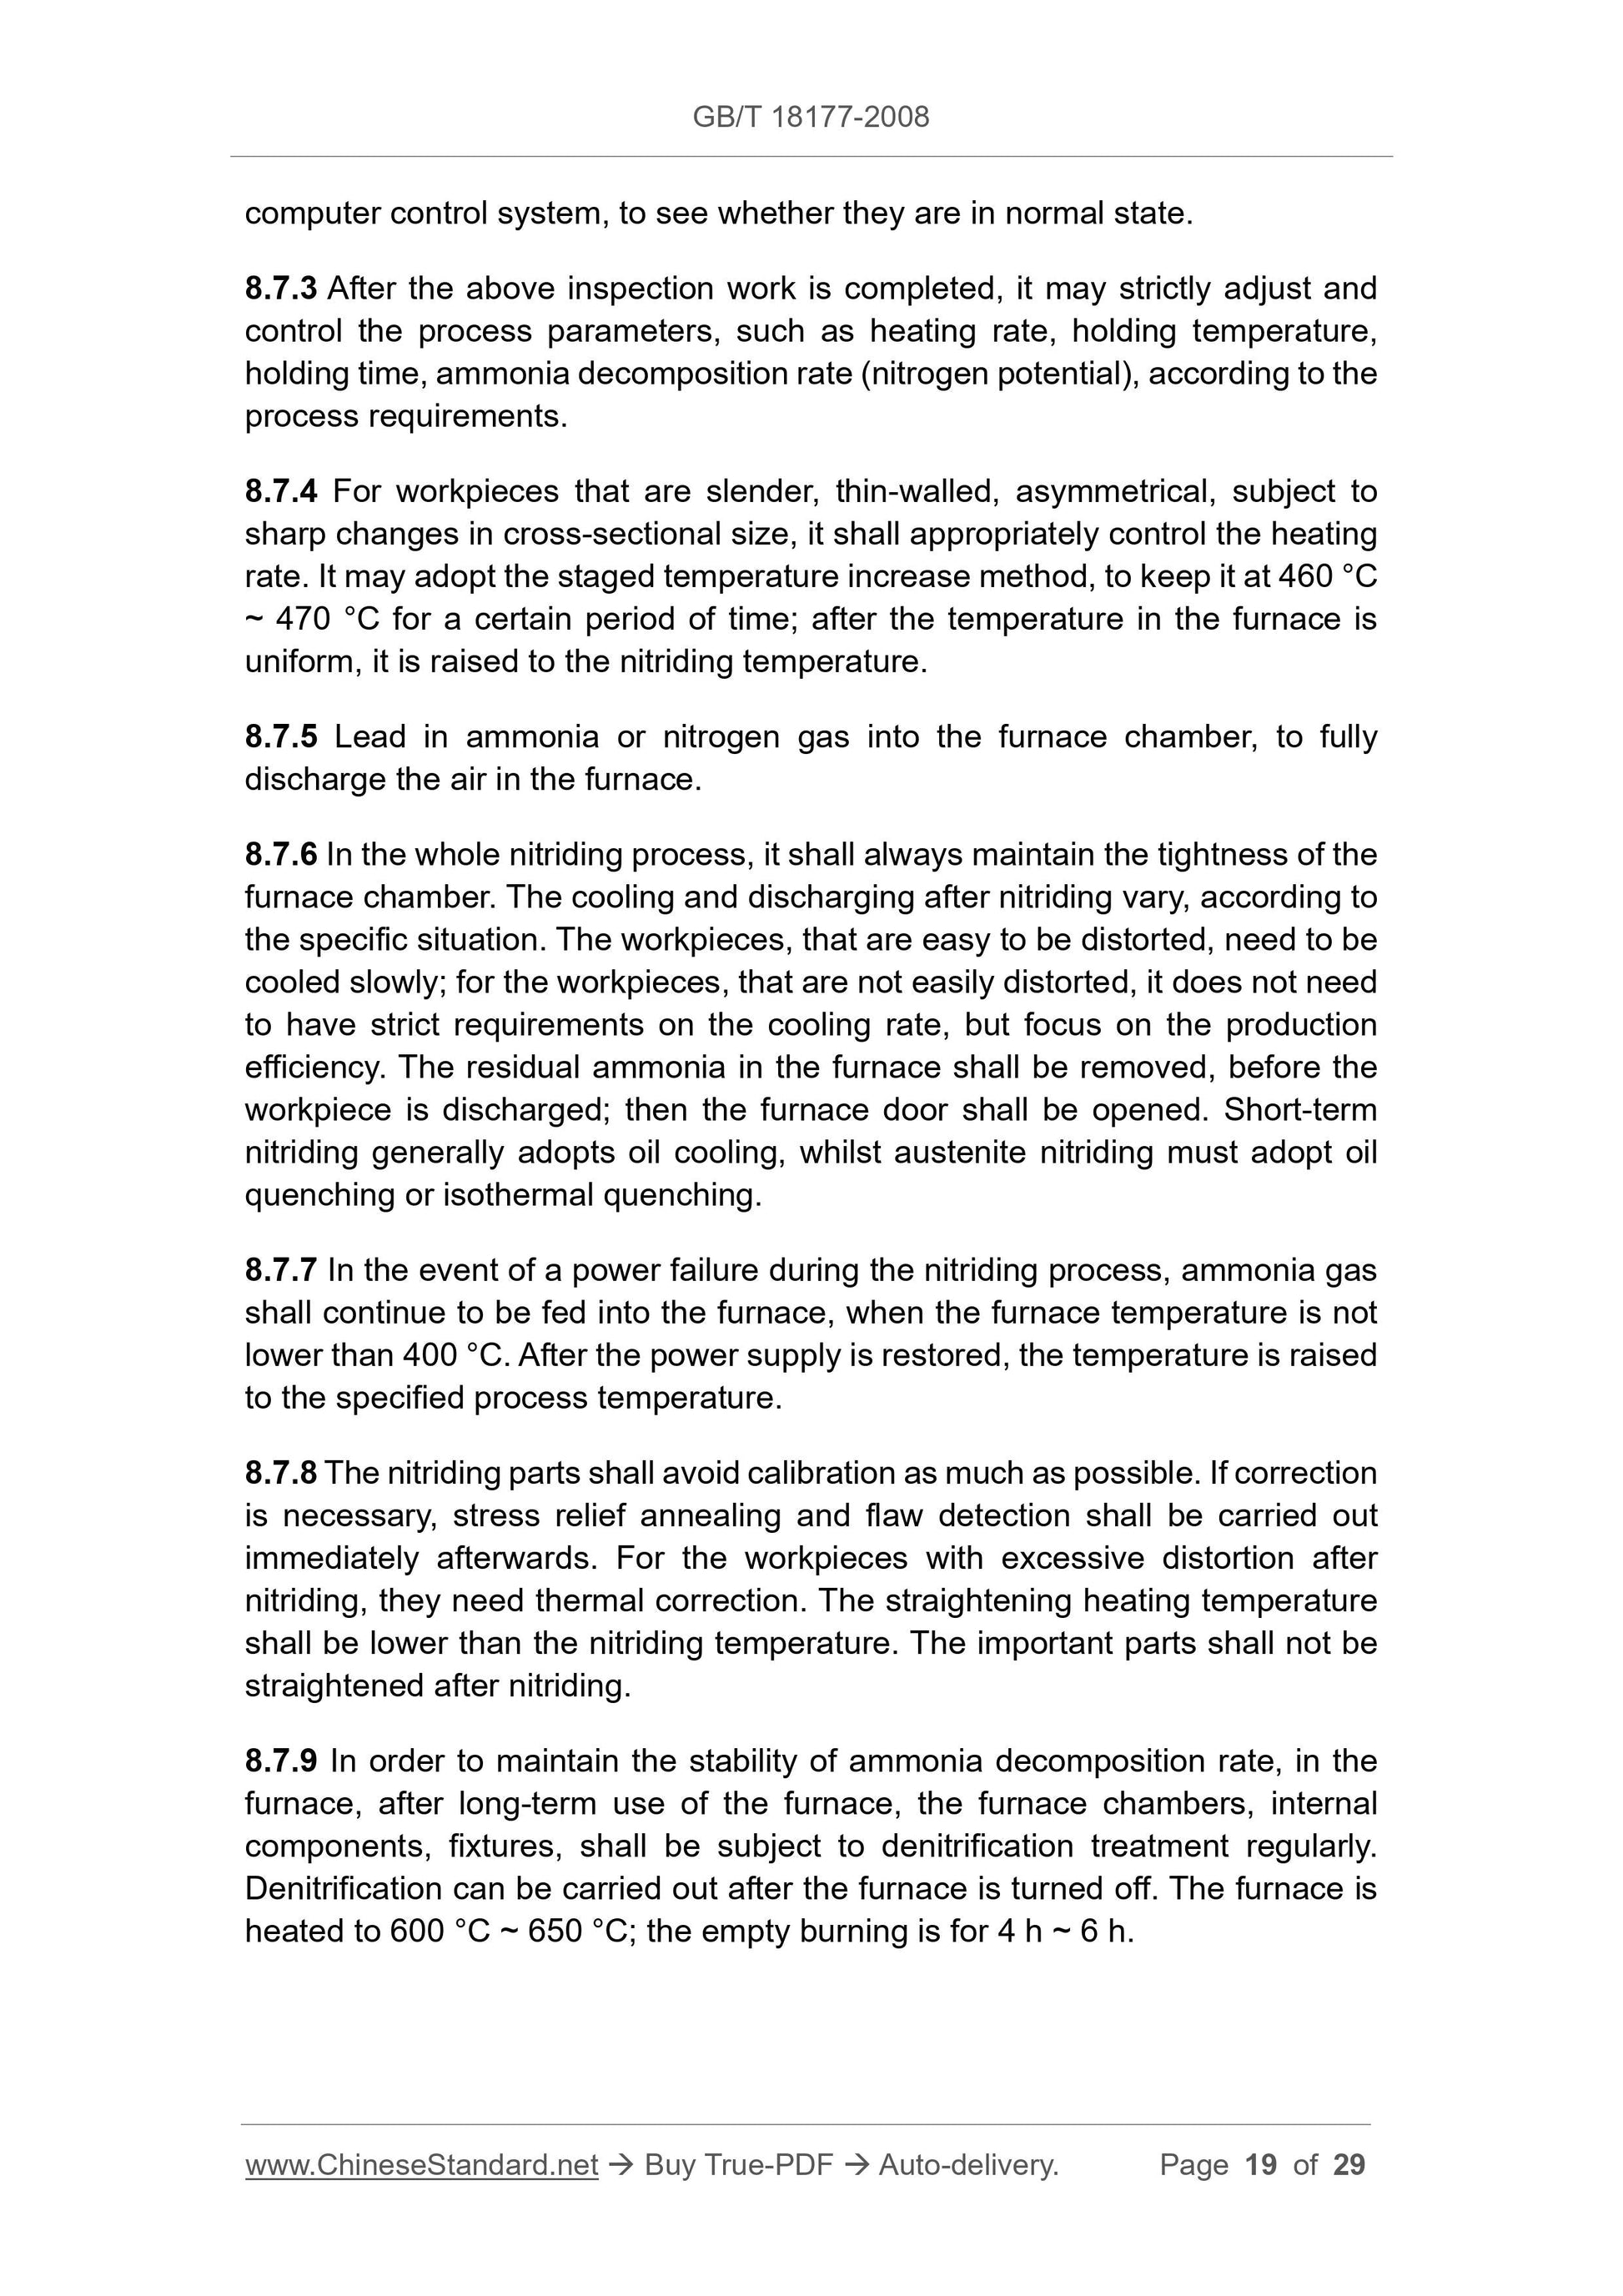
computer control system, to see whether they are in normal state.
8.7.3 After the above inspection work is completed, it may strictly adjust and
control the process parameters, such as heating rate, holding temperature,
holding time, ammonia decomposition rate (nitrogen potential), according to the
process requirements.
8.7.4 For workpieces that are slender, thin-walled, asymmetrical, subject to
sharp changes in cross-sectional size, it shall appropriately control the heating
rate. It may adopt the staged temperature increase method, to keep it at 460 °C
~ 470 °C for a certain period of time; after the temperature in the furnace is
uniform, it is raised to the nitriding temperature.
8.7.5 Lead in ammonia or nitrogen gas into the furnace chamber, to fully
discharge the air in the furnace.
8.7.6 In the whole nitriding process, it shall always maintain the tightness of the
furnace chamber. The cooling and discharging after nitriding vary, according to
the specific situation. The workpieces, that are easy to be distorted, need to be
cooled slowly; for the workpieces, that are not easily distorted, it does not need
to have strict requirements on the cooling rate, but focus on the production
efficiency. The residual ammonia in the furnace shall be removed, before the
workpiece is discharged; then the furnace door shall be opened. Short-term
nitriding generally adopts oil cooling, whilst austenite nitriding must adopt oil
quenching or isothermal quenching.
8.7.7 In the event of a power failure during the nitriding process, ammonia gas
shall continue to be fed into the furnace, when the furnace temperature is not
lower than 400 °C. After the power supply is restored, the temperature is raised
to the specified process temperature.
8.7.8 The nitriding parts shall avoid calibration as much as possible. If correction
is necessary, stress relief annealing and flaw detection shall be carried out
immediately afterwards. For the workpieces with excessive distortion after
nitriding, they need thermal correction. The straightening heating temperature
shall be lower than the nitriding temperature. The important parts shall not be
straightened after nitriding.
8.7.9 In order to maintain the stability of ammonia decomposition rate, in the
furnace, after long-term use of the furnace, the furnace chambers, internal
components, fixtures, shall be subject to denitrification treatment regularly.
Denitrification can be carried out after the furnace is turned off. The furnace is
heated to 600 °C ~ 650 °C; the empty burning is for 4 h ~ 6 h.
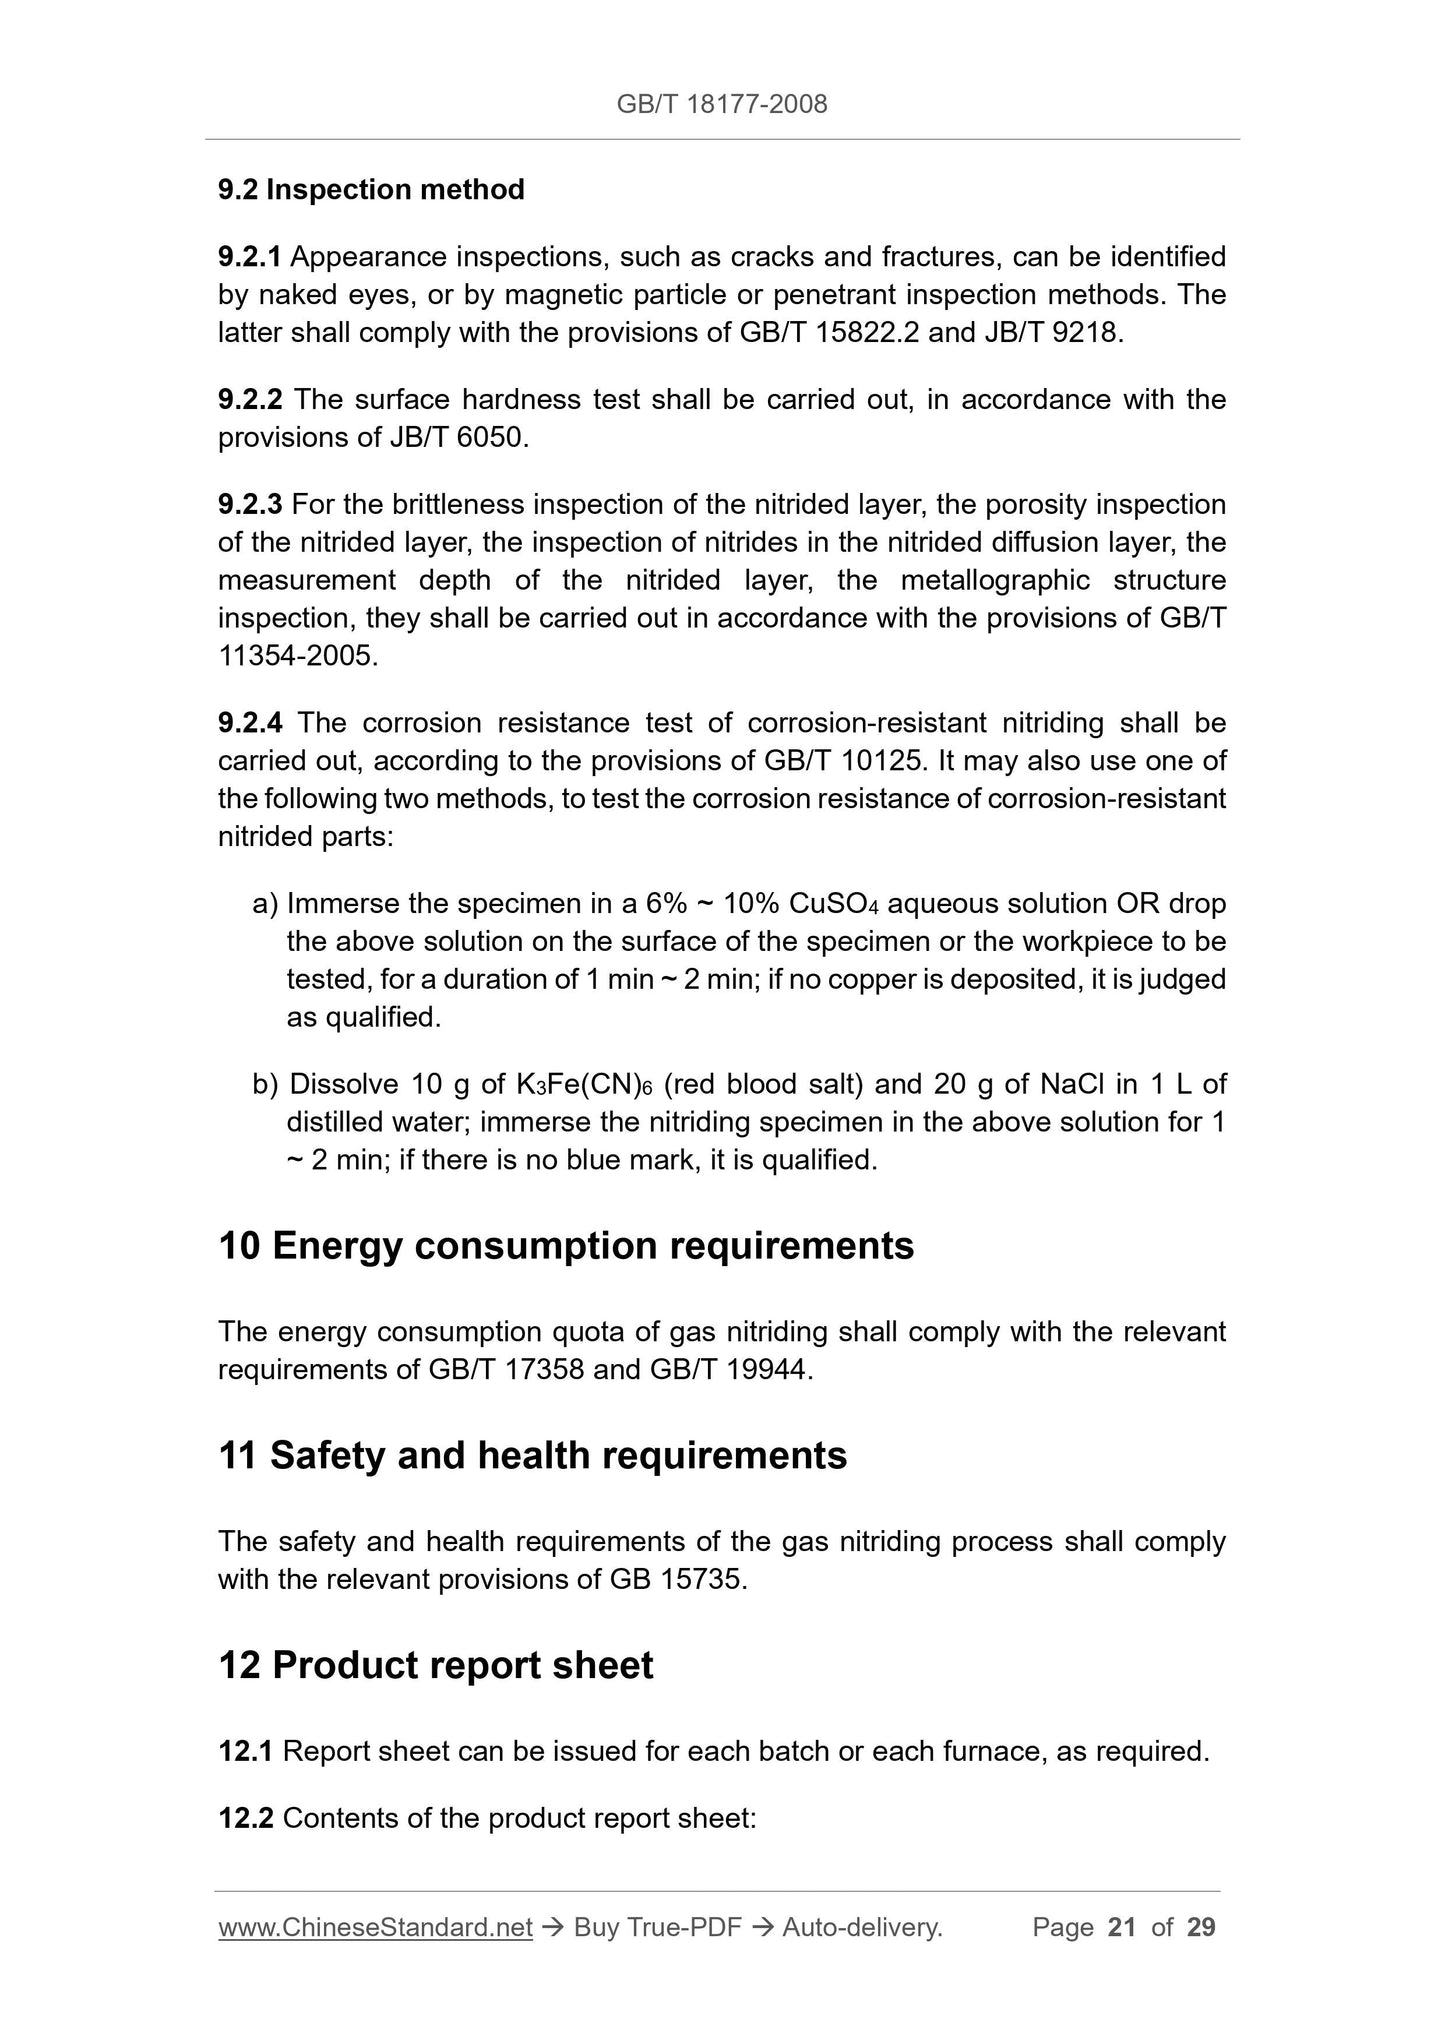
9.2 Inspection method
9.2.1 Appearance inspections, such as cracks and fractures, can be identified
by naked eyes, or by magnetic particle or penetrant inspection methods. The
latter shall comply with the provisions of GB/T 15822.2 and JB/T 9218.
9.2.2 The surface hardness test shall be carried out, in accordance with the
provisions of JB/T 6050.
9.2.3 For the brittleness inspection of the nitrided layer, the porosity inspection
of the nitrided layer, the inspection of nitrides in the nitrided diffusion layer, the
measurement depth of the nitrided layer, the metallographic structure
inspection, they shall be carried out in accordance with the provisions of GB/T
11354-2005.
9.2.4 The corrosion resistance test of corrosion-resistant nitriding shall be
carried out, according to the provisions of GB/T 10125. It may also use one of
the following two methods, to test the corrosion resistance of corrosion-resistant
nitrided parts:
a) Immerse the specimen in a 6% ~ 10% CuSO4 aqueous solution OR drop
the above solution on the surface of the specimen or the workpiece to be
tested, for a duration of 1 min ~ 2 min; if no copper is deposited, it is judged
as qualified.
b) Dissolve 10 g of K3Fe(CN)6 (red blood salt) and 20 g of NaCl in 1 L of
distilled water; immerse the nitriding specimen in the above solution for 1
~ 2 min; if there is no blue mark, it is qualified.
10 Energy consumption requirements
The energy consumption quota of gas nitriding shall comply with the relevant
requirements of GB/T 17358 and GB/T 19944.
11 Safety and health requirements
The safety and health requirements of the gas nitriding process shall comply
with the relevant provisions of GB 15735.
12 Product report sheet
12.1 Report sheet can be issued for each batch or each furnace, as required.
12.2 Contents of the product report sheet:
GB/T 18177-2008
GB
NATIONAL STANDARD OF THE
PEOPLE’S REPUBLIC OF CHINA
ICS 25.200
J 36
Replacing GB/T 18177-2000
Gas nitriding of steel parts
ISSUED ON: JUNE 25, 2008
IMPLEMENTED ON: JANUARY 01, 2009
Issued by: General Administration of Quality Supervision, Inspection and
Quarantine of PRC;
Standardization Administration of PRC.
Table of Contents
Foreword ... 3 
1 Scope ... 5 
View full details