GB/T 17394.1-2014 English PDF (GBT17394.1-2014)
Regular price
$215.00 USD
Regular price
Sale price
$215.00 USD
Unit price
/
per
Delivery: 3 seconds. Download true-PDF + Invoice.
Get QUOTATION in 1-minute: Click GB/T 17394.1-2014
Historical versions: GB/T 17394.1-2014
Preview True-PDF (Reload/Scroll if blank)
GB/T 17394.1-2014: Metallic materials -- Leeb hardness test -- Part 1: Test method
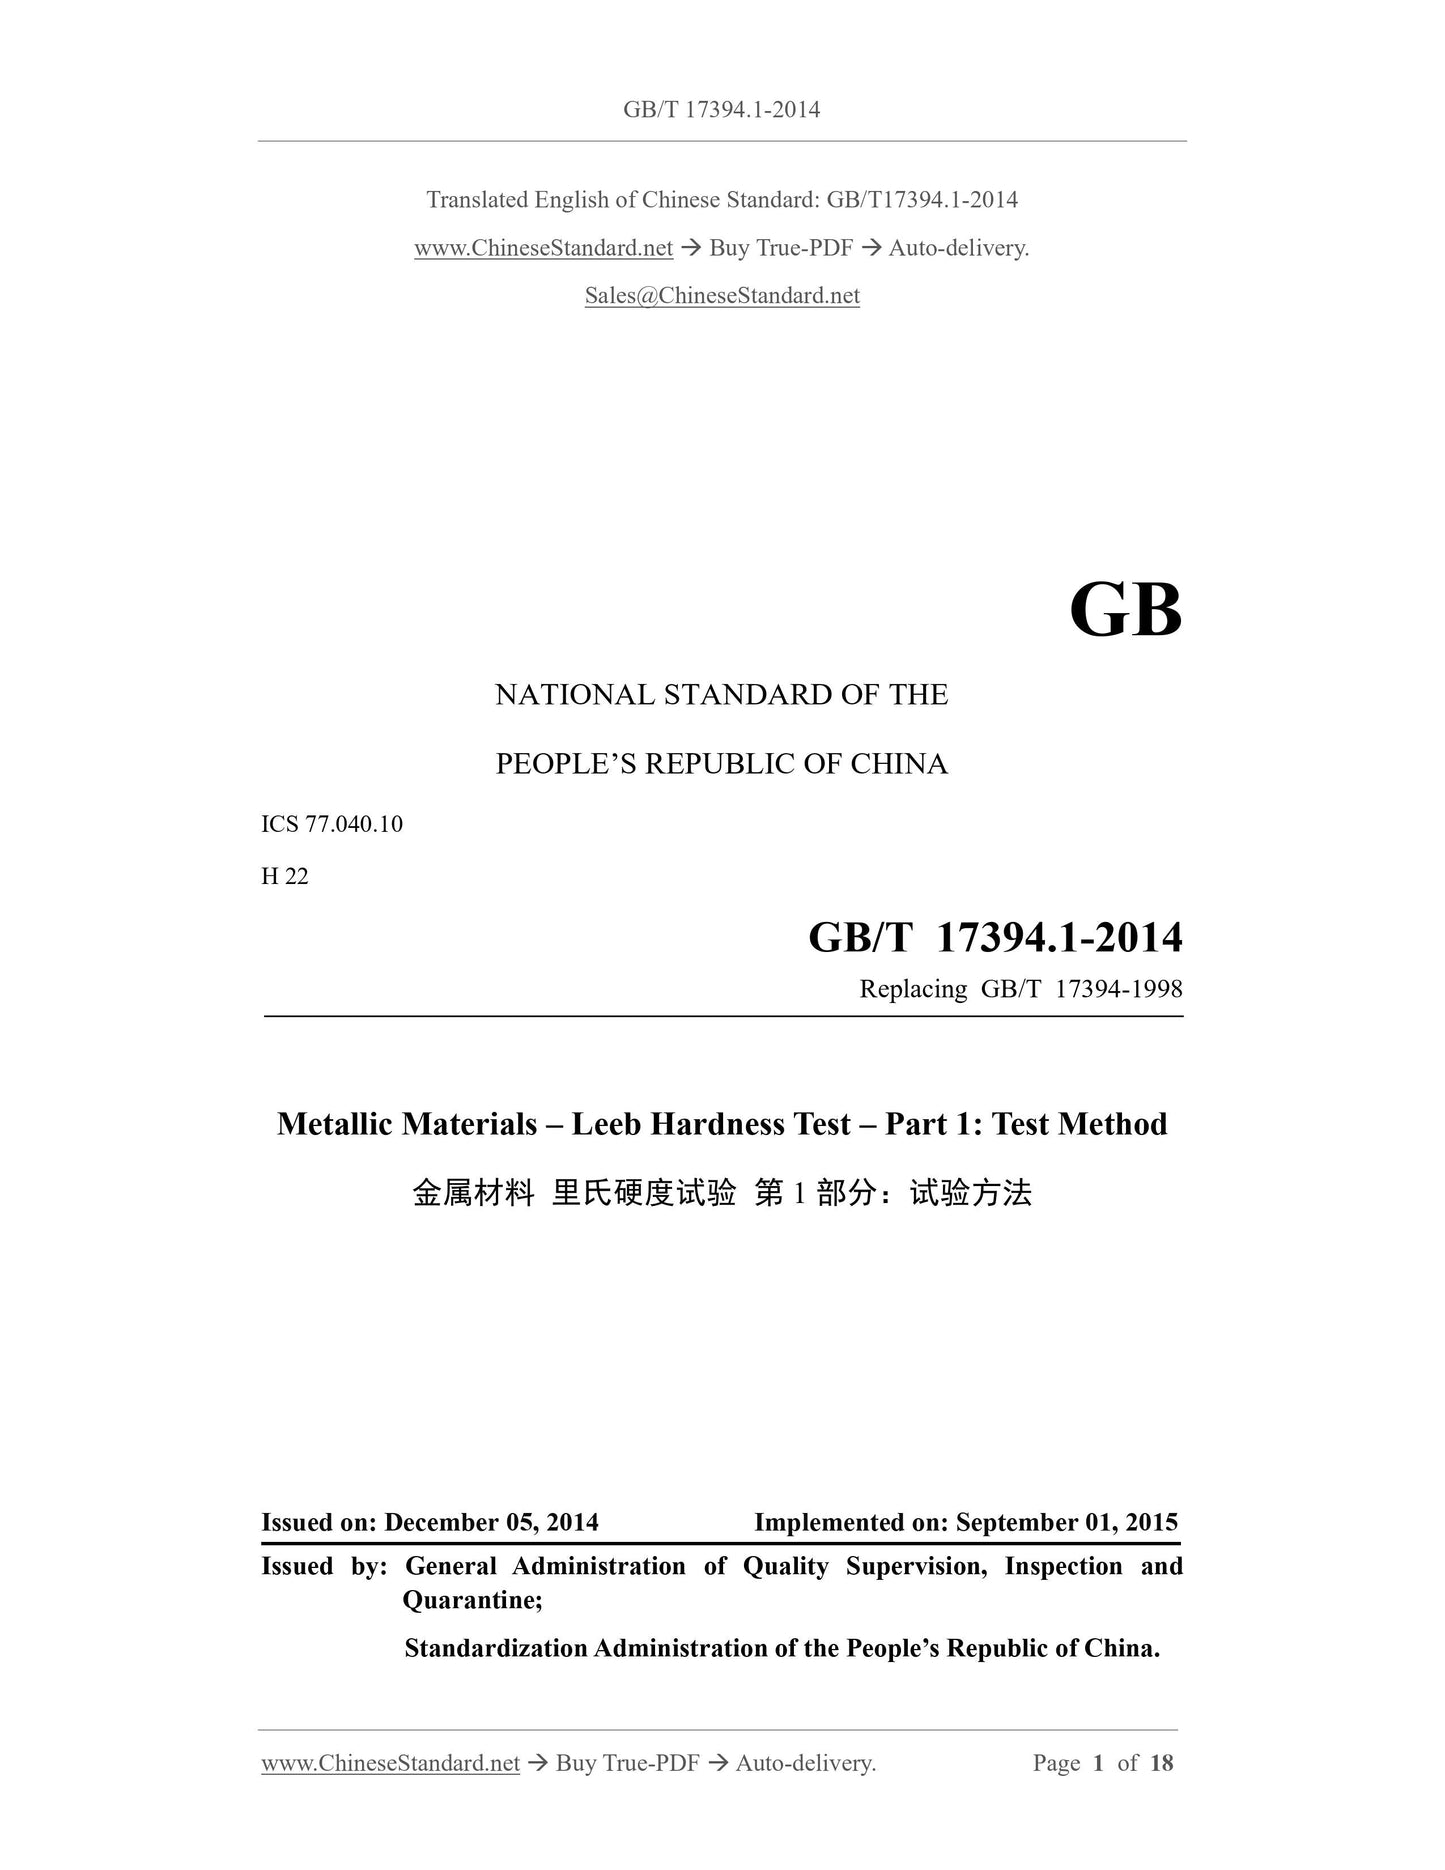
GB/T 17394.1-2014
GB
NATIONAL STANDARD OF THE
PEOPLE’S REPUBLIC OF CHINA
ICS 77.040.10
H 22
Replacing GB/T 17394-1998
Metallic Materials – Leeb Hardness Test – Part 1: Test Method
ISSUED ON: DECEMBER 05, 2014
IMPLEMENTED ON: SEPTEMBER 01, 2015
Issued by: General Administration of Quality Supervision, Inspection and
Quarantine;
Standardization Administration of the People’s Republic of China.
Table of Contents
Foreword ... 3
1 Scope ... 5
2 Normative References ... 5
3 Test Principle ... 6
4 Symbols and Instructions ... 6
5 Test Instruments ... 6
6 Specimen ... 7
7 Test Procedure ... 8
8 Measurement Uncertainty of Test Results ... 10
9 Test Report ... 10
Appendix A (Informative) Impact Device Structure of Leeb Hardness Tester ... 11
Appendix B (Normative) User's Daily Inspection of Hardness Tester ... 13
Appendix C (Informative) Uncertainty of Measurement for Leeb Hardness Test Results
... 14
Metallic Materials – Leeb Hardness Test – Part 1: Test Method
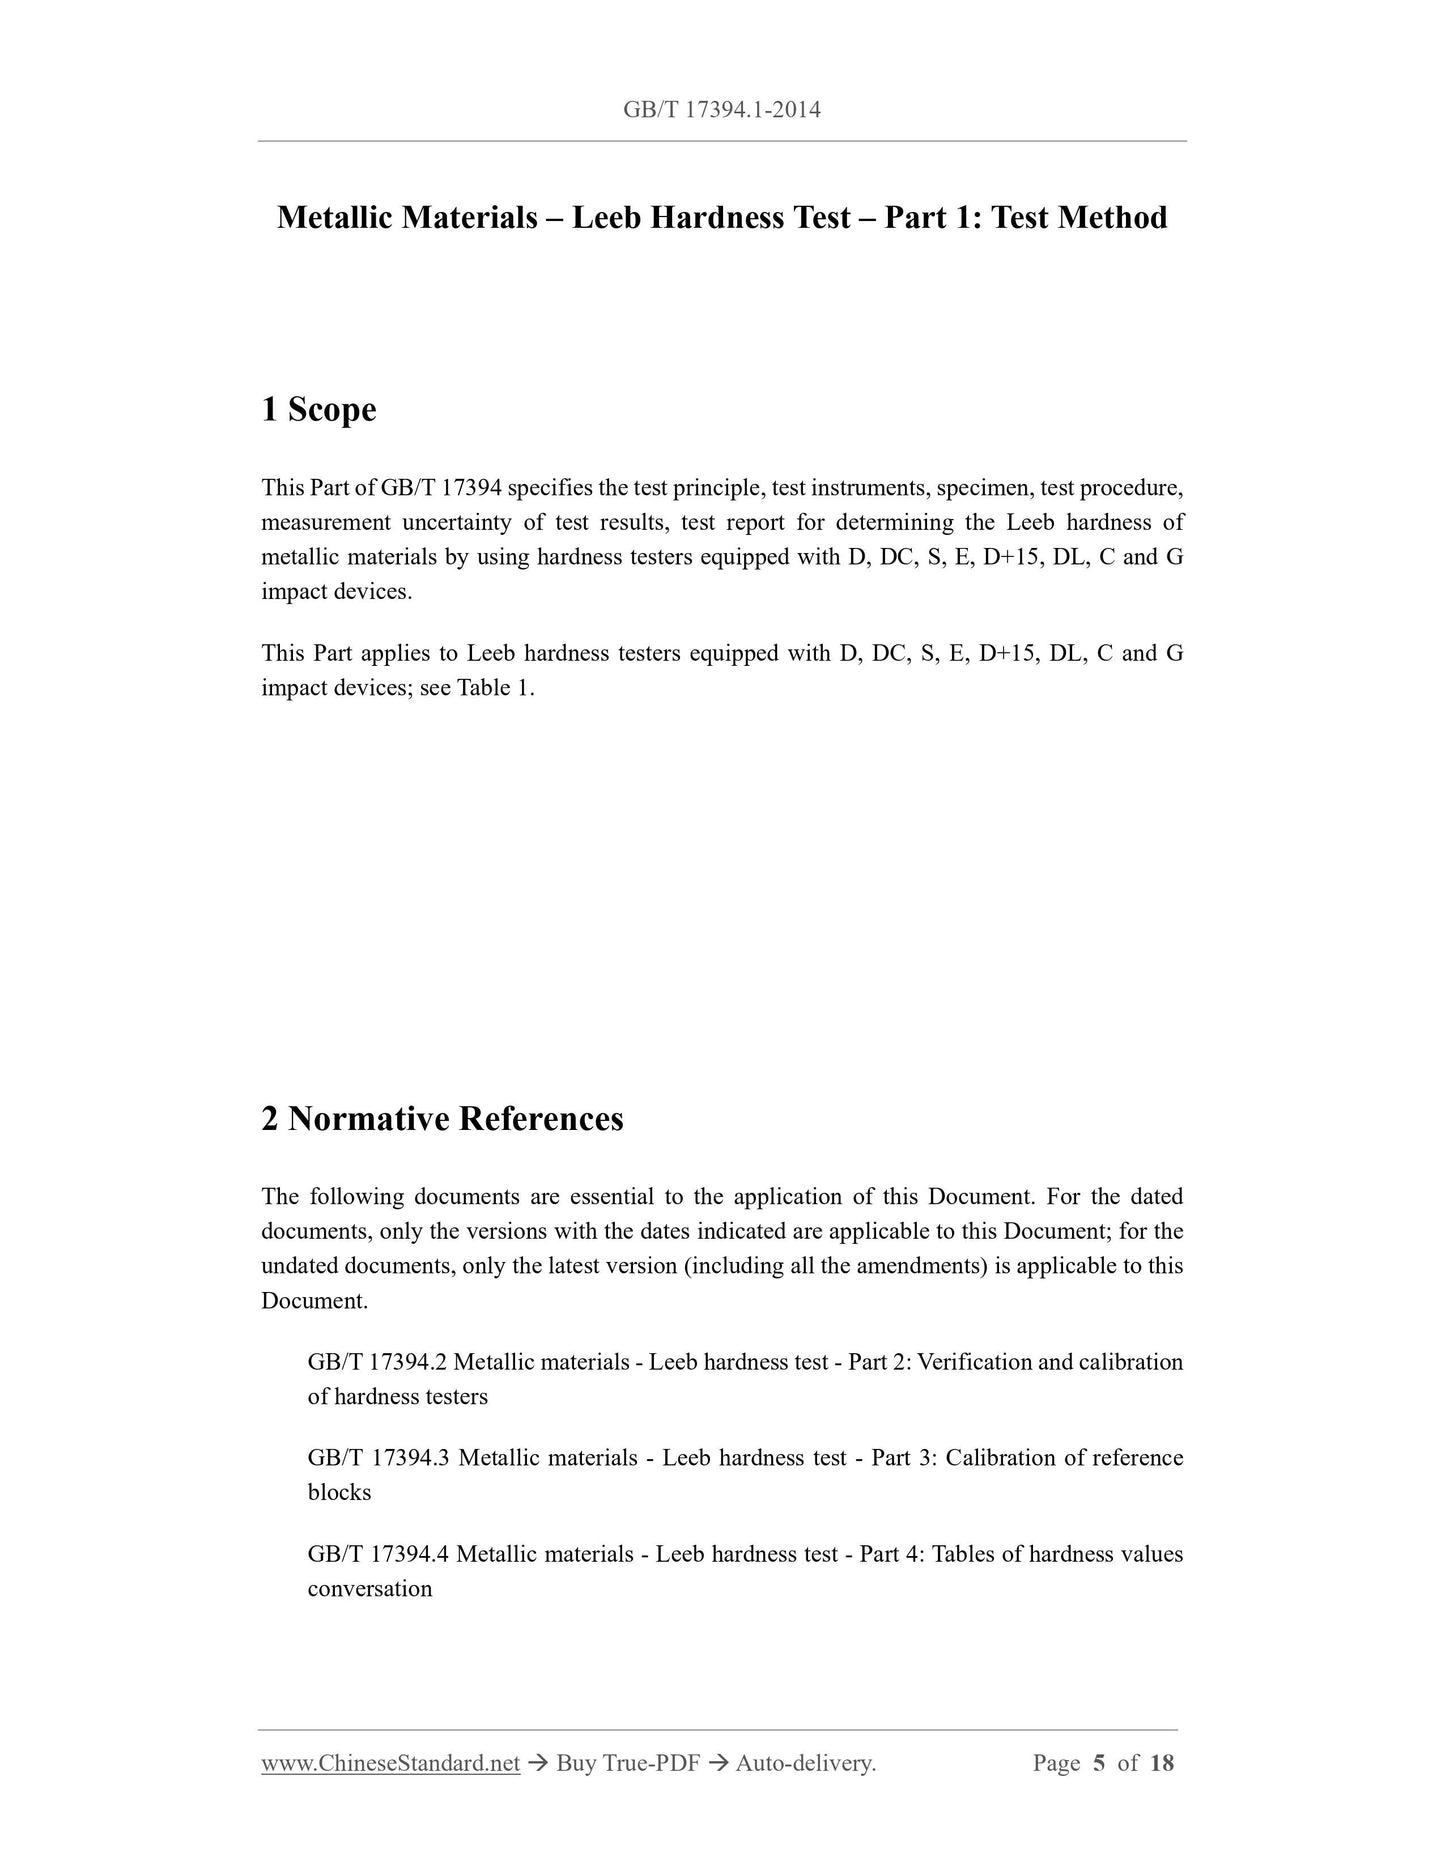
1 Scope
This Part of GB/T 17394 specifies the test principle, test instruments, specimen, test procedure,
measurement uncertainty of test results, test report for determining the Leeb hardness of
metallic materials by using hardness testers equipped with D, DC, S, E, D+15, DL, C and G
impact devices.
This Part applies to Leeb hardness testers equipped with D, DC, S, E, D+15, DL, C and G
impact devices; see Table 1.
2 Normative References
The following documents are essential to the application of this Document. For the dated
documents, only the versions with the dates indicated are applicable to this Document; for the
undated documents, only the latest version (including all the amendments) is applicable to this
Document.
GB/T 17394.2 Metallic materials - Leeb hardness test - Part 2: Verification and calibration
of hardness testers
GB/T 17394.3 Metallic materials - Leeb hardness test - Part 3: Calibration of reference
blocks
GB/T 17394.4 Metallic materials - Leeb hardness test - Part 4: Tables of hardness values
conversation
the reading. In particular, the underside of the support ring needs to be visually inspected and sediment
and dirt shall be removed. Replace the support ring with a new one after the rubber coating is worn,
except for the DL type impact device (this type has no rubber coating)
6 Specimen
6.1 Surface shape
6.1.1 The support ring shall match the surface profile of the test location. The impact velocity
vector shall be perpendicular to the local surface area to be tested.
NOTE: It may require selection of an appropriate instrument or specimen fixture.
6.1.2 The test can be carried out on the surface of the curved-surface specimen (concave or
convex), but a support ring matching the curved surface must be used. For G-type impact
devices, the radius of curvature of the test location shall be no less than 50mm; for other types
of impact devices, the radius of curvature shall be no less than 30mm.
6.2 Thickness and mass
It should select the hardness tester with the type of impact device suitable for it according to
the stiffness of the test piece (usually determined by the local thickness) and the quality of the
test piece. When the mass of the test piece is less than the minimum allowable mass of the test,
or the mass of the test piece is large enough but the local thickness is less than the minimum
allowable thickness of the test (see Table 2) can affect the test results, it is necessary to rigidly
support the test piece according to the instrument instruction manual and (or) coupled to a firm
support for testing.
NOTE 1: If adequate support and coupling cannot be provided, incorrect test results will occur.
NOTE 2: Coupling refers to such a way: the test piece is firmly connected to the heavier support,
and the test piece does not appear stress or strain. For example, an adhesive film can be applied
between the surface of the test piece and the heavy support. This combination provides greater
mass to stop the impactor from being struck.
NOTE 3: For some test pieces with special geometric shapes, such as sheet or pipe surface,
when the thickness of the test piece is less than the minimum thickness given in Table 2, it is
necessary to provide additional support for the test location for testing. On pipes, for example,
the requirement for support can be expressed as the ratio between the diameter D of the pipe
and the wall thickness s of the pipe, as a measure of the stiffness of the specimen. If the support
cannot be applied, the correction factor of the measured value shall be determined according to
D/s.
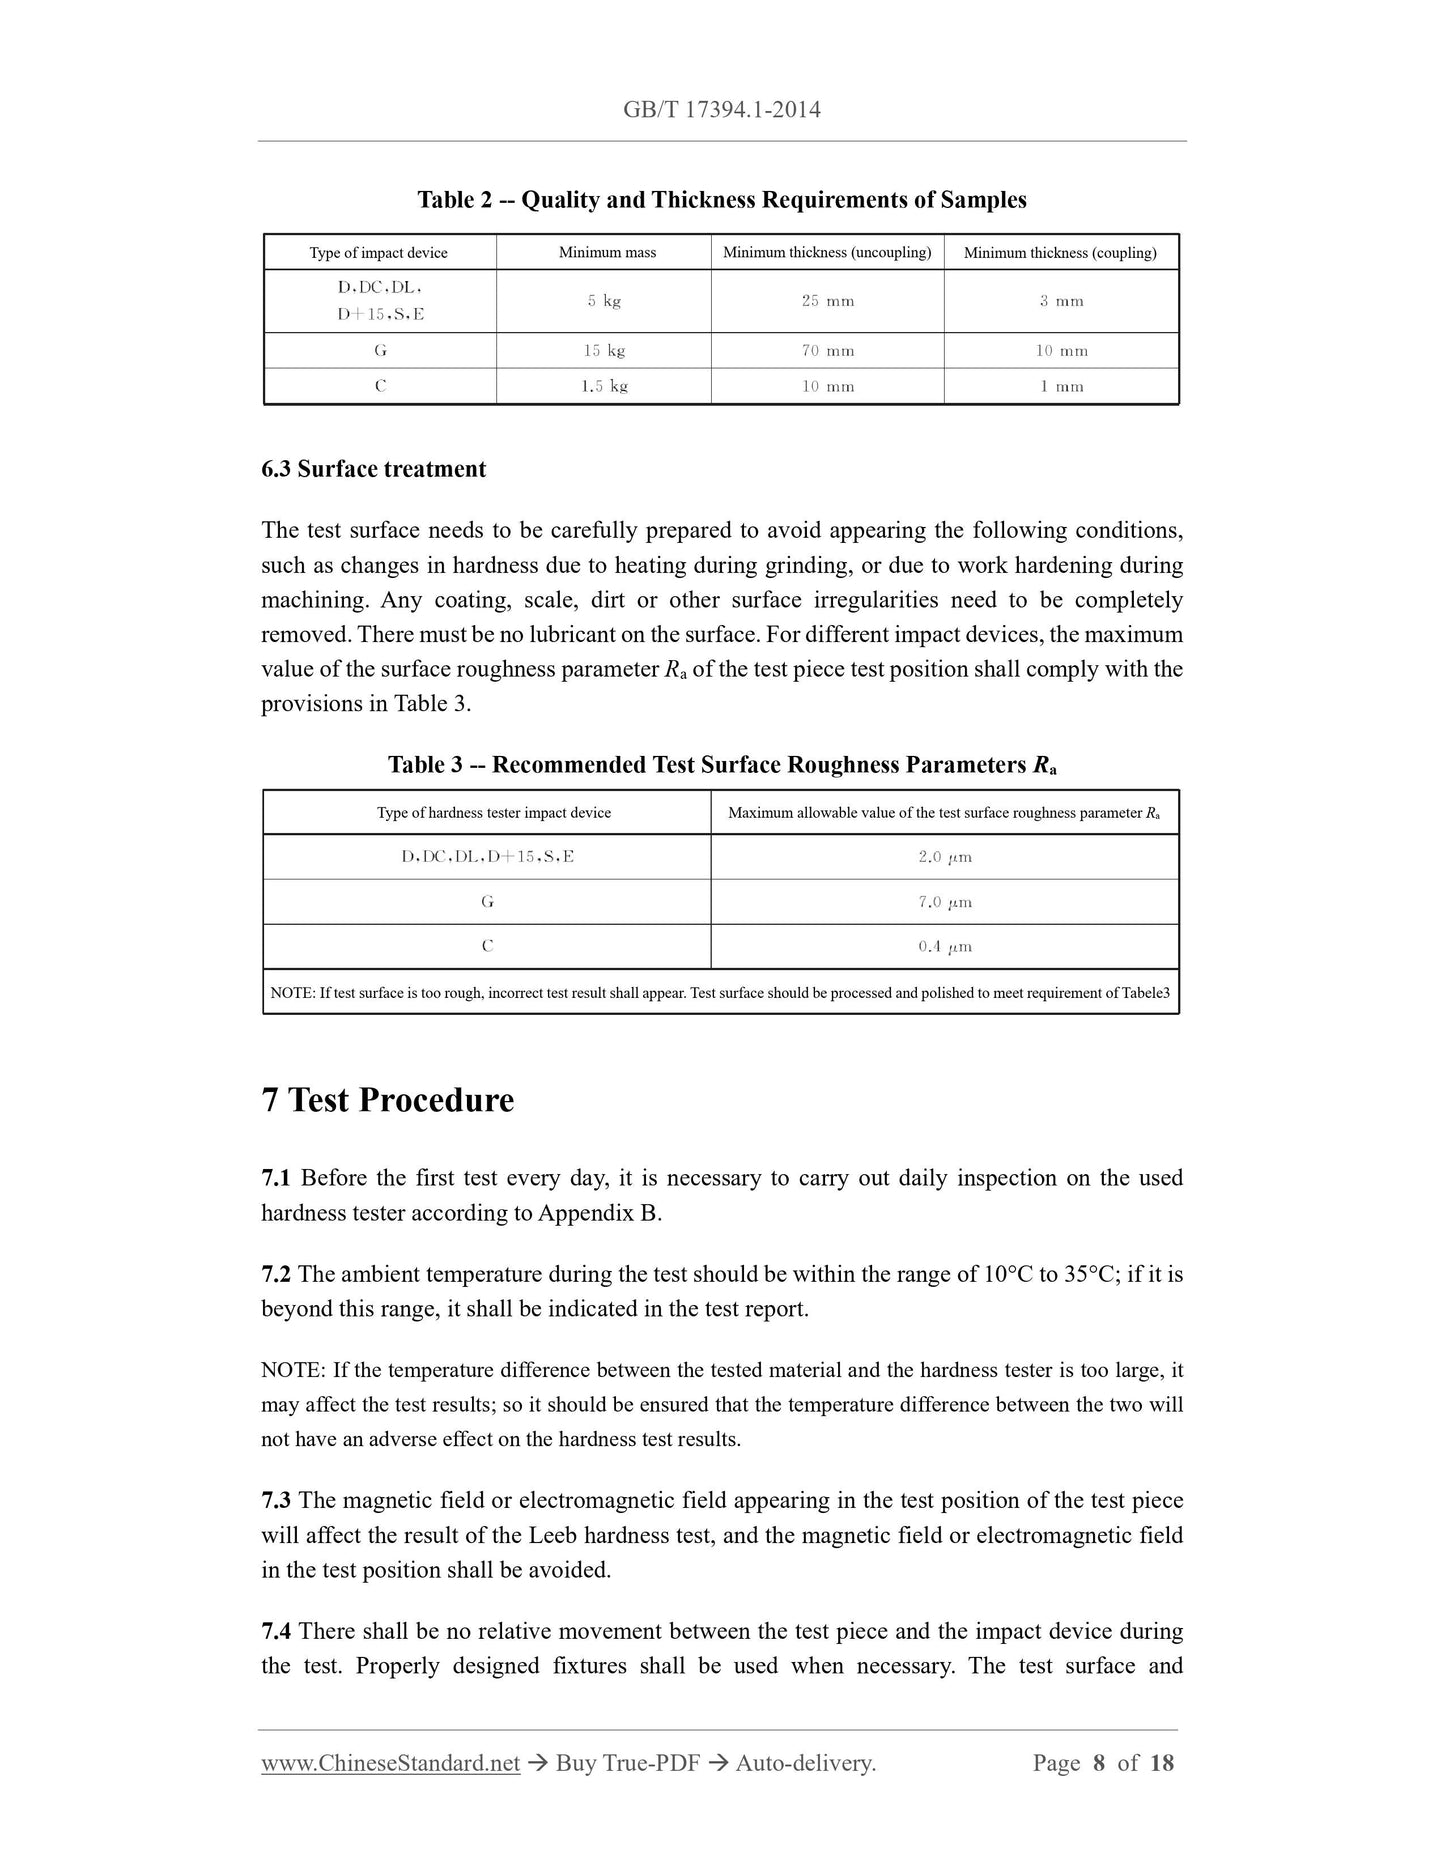
Table 2 -- Quality and Thickness Requirements of Samples
6.3 Surface treatment
The test surface needs to be carefully prepared to avoid appearing the following conditions,
such as changes in hardness due to heating during grinding, or due to work hardening during
machining. Any coating, scale, dirt or other surface irregularities need to be completely
removed. There must be no lubricant on the surface. For different impact devices, the maximum
value of the surface roughness parameter Ra of the test piece test position shall comply with the
provisions in Table 3.
Table 3 -- Recommended Test Surface Roughness Parameters Ra
7 Test Procedure
7.1 Before the first test every day, it is necessary to carry out daily inspection on the used
hardness tester according to Appendix B.
7.2 The ambient temperature during the test should be within the range of 10°C to 35°C; if it is
beyond this range, it shall be indicated in the test report.
NOTE: If the temperature difference between the tested material and the hardness tester is too large, it
may affect the test results; so it should be ensured that the temperature difference between the two will
not have an adverse effect on the hardness test results.
7.3 The magnetic field or electromagnetic field appearing in the test position of the test piece
will affect the result of the Leeb hardness test, and the magnetic field or electromagnetic field
in the test position shall be avoided.
7.4 There shall be no relative movement between the test piece and the impact device during
the test. Properly designed fixtures shall be used when necessary. The test surface and
Type of impact device Minimum mass Minimum thickness (uncoupling) Minimum thickness (coupling)
Type of hardness tester impact device Maximum allowable value of the test surface roughness parameter Ra
NOTE: If test surface is too rough, incorrect test result shall appear. Test surface should be processed and polished to meet requirement of Tabele3
20HL, the number of tests shall be increased and the arithmetic mean shall be calculated.
8 Measurement Uncertainty of Test Results
The measurement uncertainty of a test result depends on various sources of uncertainty. These
uncertainties can be divided into two categories:
--- Source: Leeb hardness tester (including the measurement uncertainty introduced during
direct inspection) and hardness uniformity of standard hardness blocks;
--- Source: changes in test methods and test conditions.
Use the hardness tester given in Table 3 and the allowable error in Table 5 of GB/T 17394.2 to
estimate the uncertainty of the hardness measurement.
NOTE: Sometimes it is not possible to quantify each source of measurement uncertainty. However,
through the data analysis of the measured values of multiple test pieces, the estimated value of the
uncertainty of the measured values can be obtained.
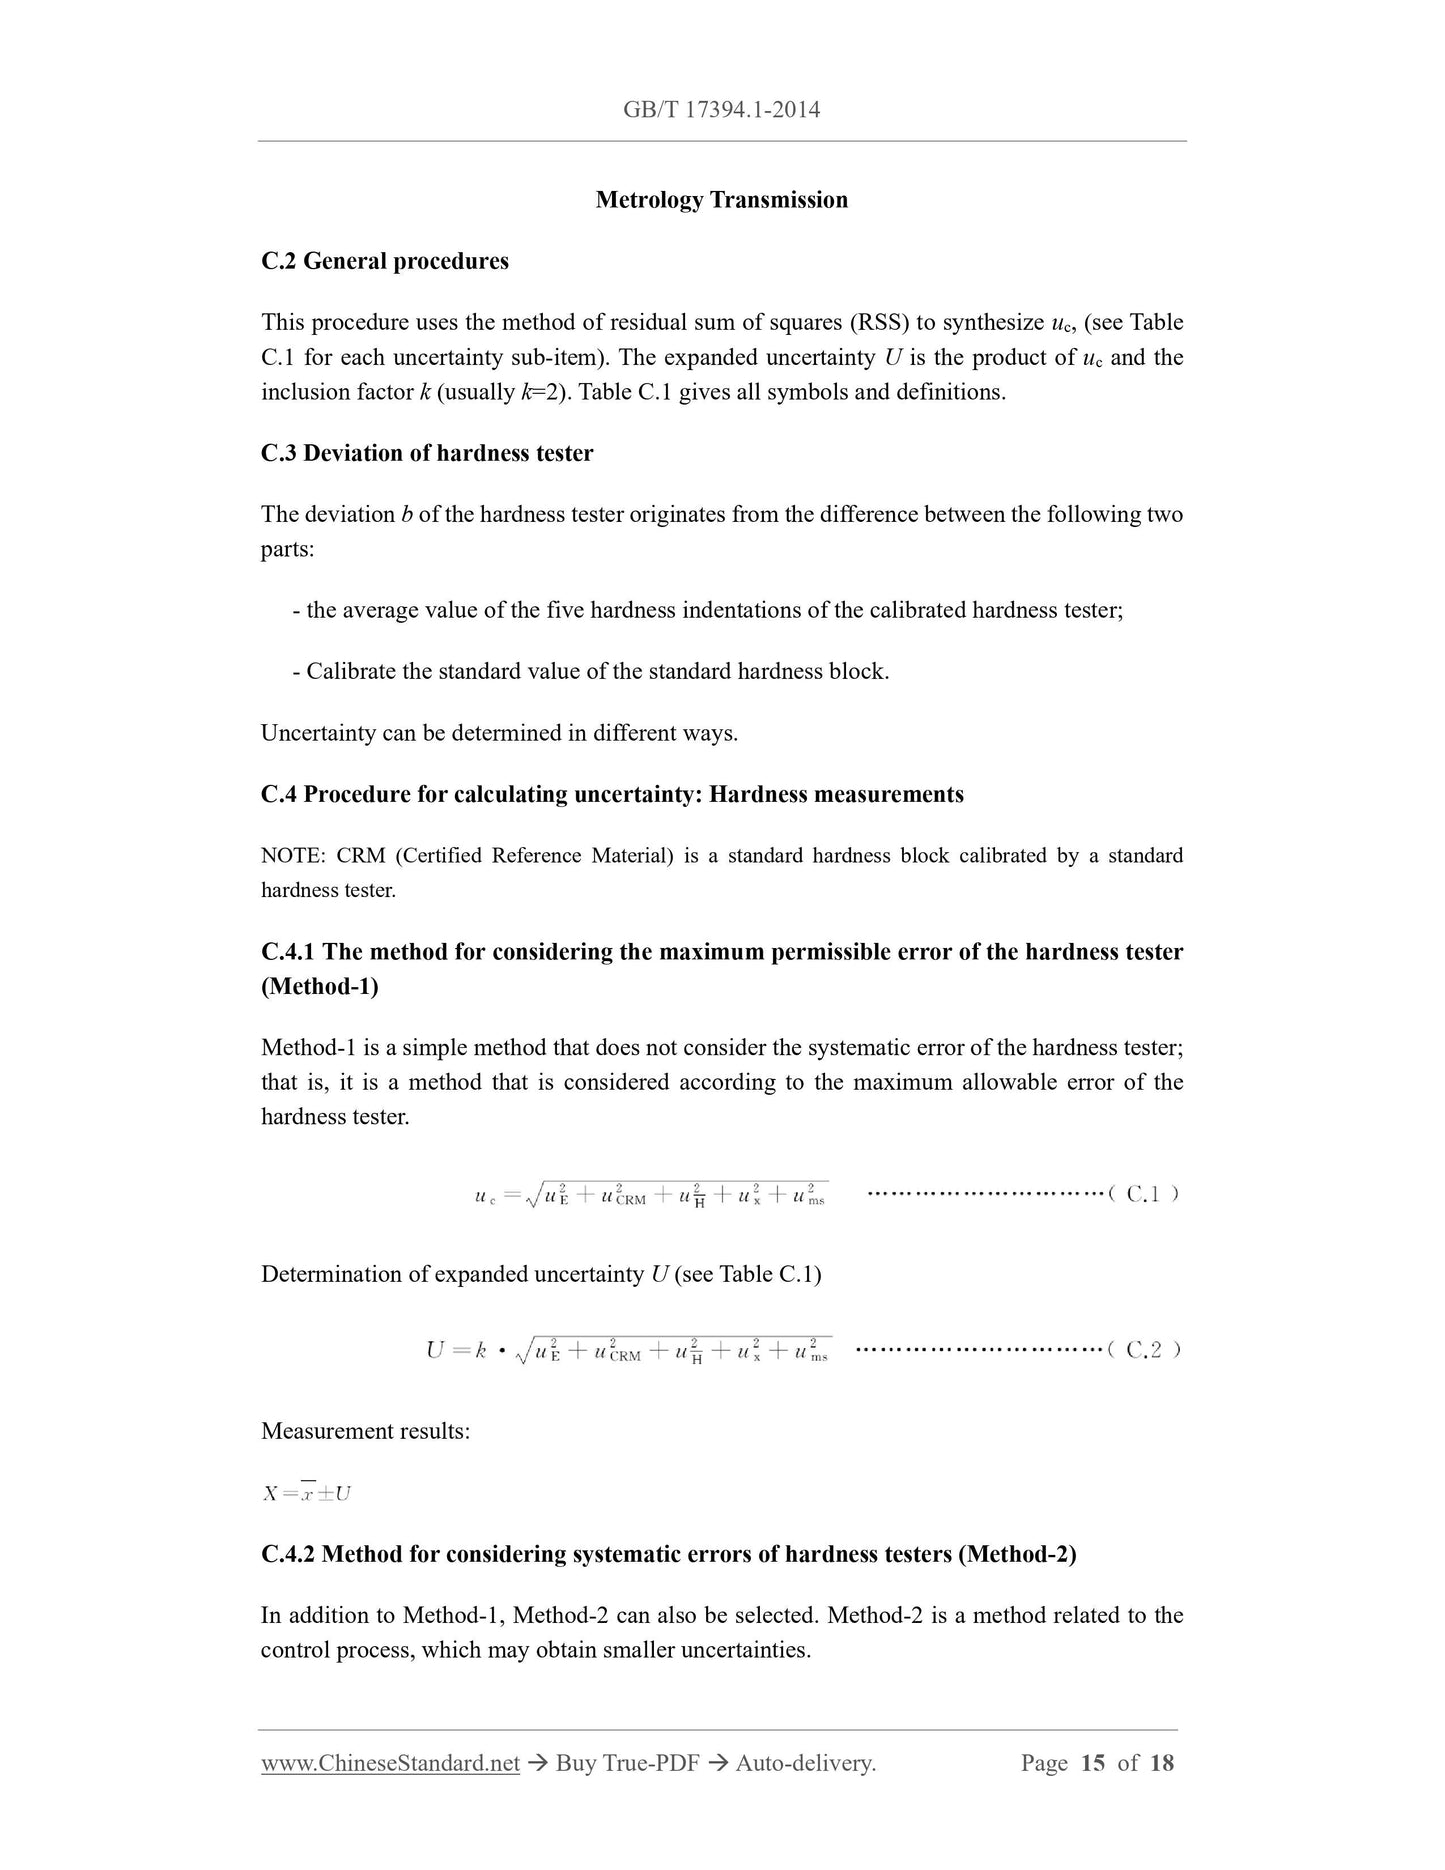
Se...