1
/
of
12
www.ChineseStandard.us -- Field Test Asia Pte. Ltd.
GB/T 16865-2023 English PDF (GB/T16865-2023)
Regular price
$635.00
Regular price
Sale price
$635.00
Unit price
/
per
Shipping calculated at checkout.
Couldn't load pickup availability
GB/T 16865-2023: Test pieces and methods for tensile test for wrought aluminium, magnesium and their alloy products
Delivery: 9 seconds. Download (& Email) true-PDF + Invoice.
Get Quotation: Click GB/T 16865-2023 (Self-service in 1-minute)
Historical versions (Master-website): GB/T 16865-2023
Preview True-PDF (Reload/Scroll-down if blank)
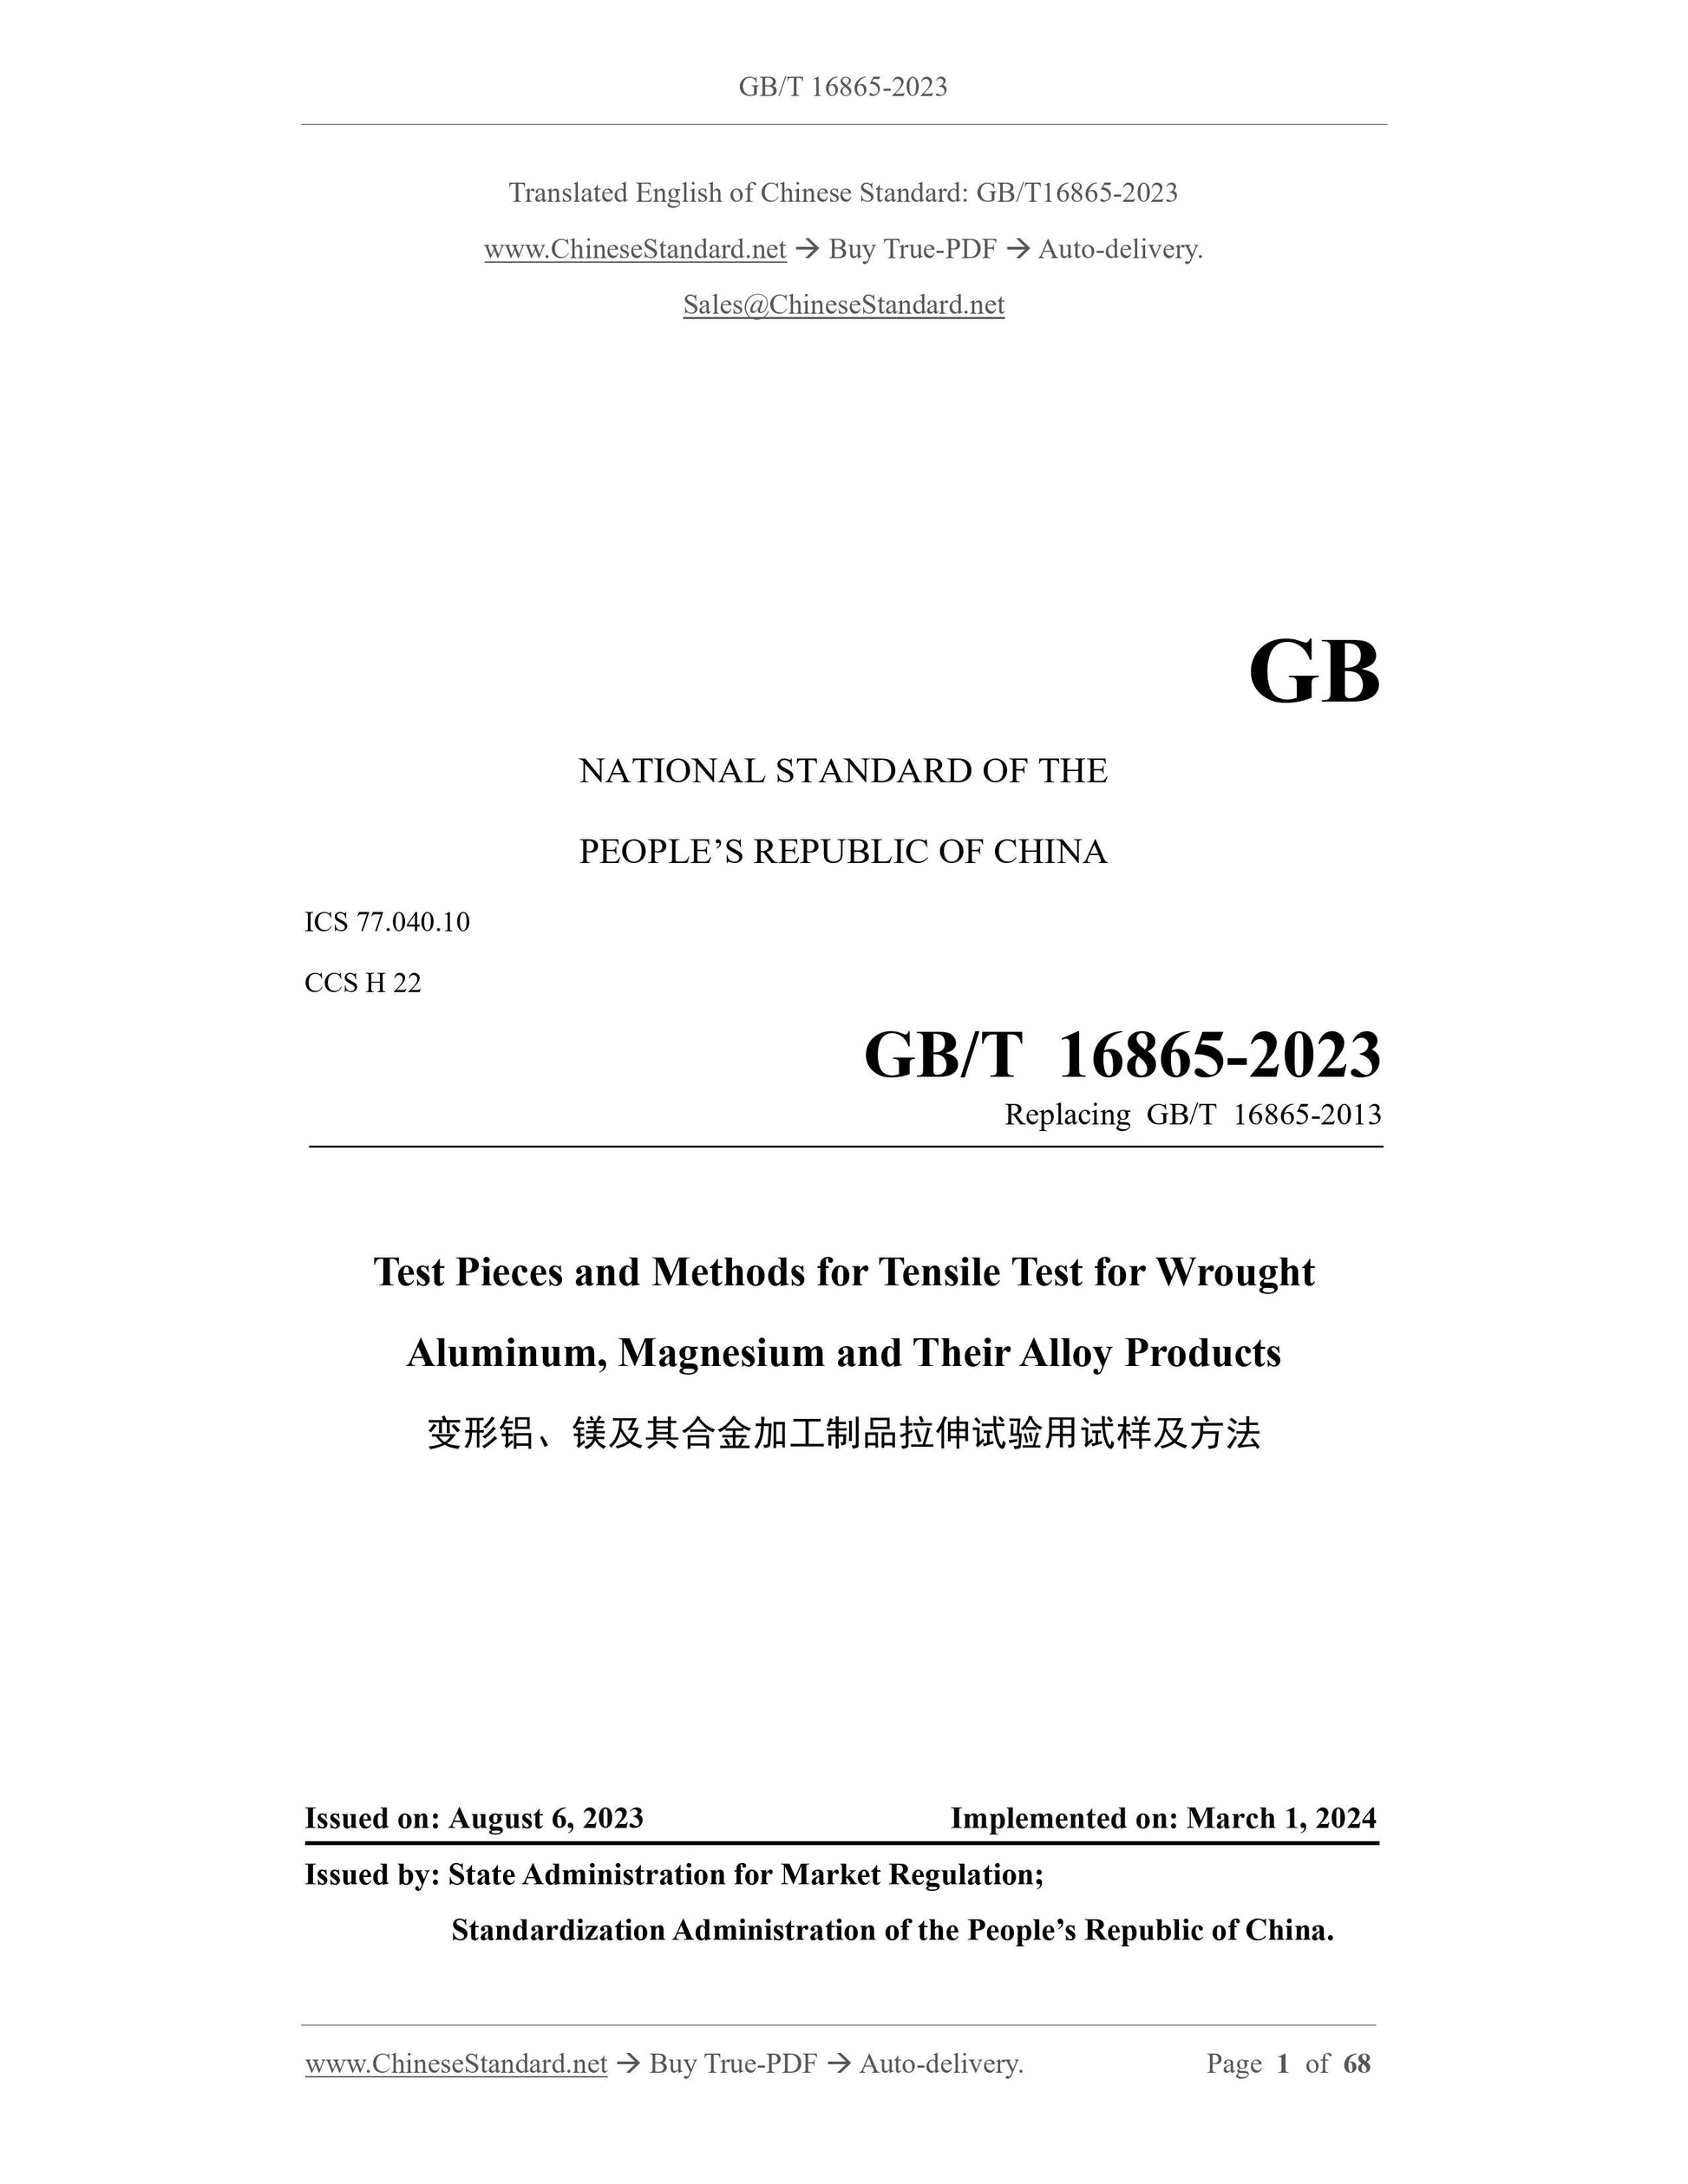
>GB/T 16865-2023
GB
NATIONAL STANDARD OF THE
PEOPLE’S REPUBLIC OF CHINA
ICS 77.040.10
CCS H 22
Replacing GB/T 16865-2013
Test Pieces and Methods for Tensile Test for Wrought
Aluminum, Magnesium and Their Alloy Products
ISSUED ON: AUGUST 6, 2023
IMPLEMENTED ON: MARCH 1, 2024
Issued by: State Administration for Market Regulation;
Standardization Administration of the People’s Republic of China.
Table of Contents
Foreword ... 3
1 Scope ... 6
2 Normative References ... 6
3 Terms and Definitions ... 7
4 Method Overview ... 7
5 Instruments and Equipment ... 8
6 Specimens ... 13
7 Test Procedures ... 42
8 Result Determination ... 64
9 Test Report ... 65
Appendix A (informative) Estimation Method for Beam Displacement Rate ... 67
Test Pieces and Methods for Tensile Test for Wrought
Aluminum, Magnesium and Their Alloy Products
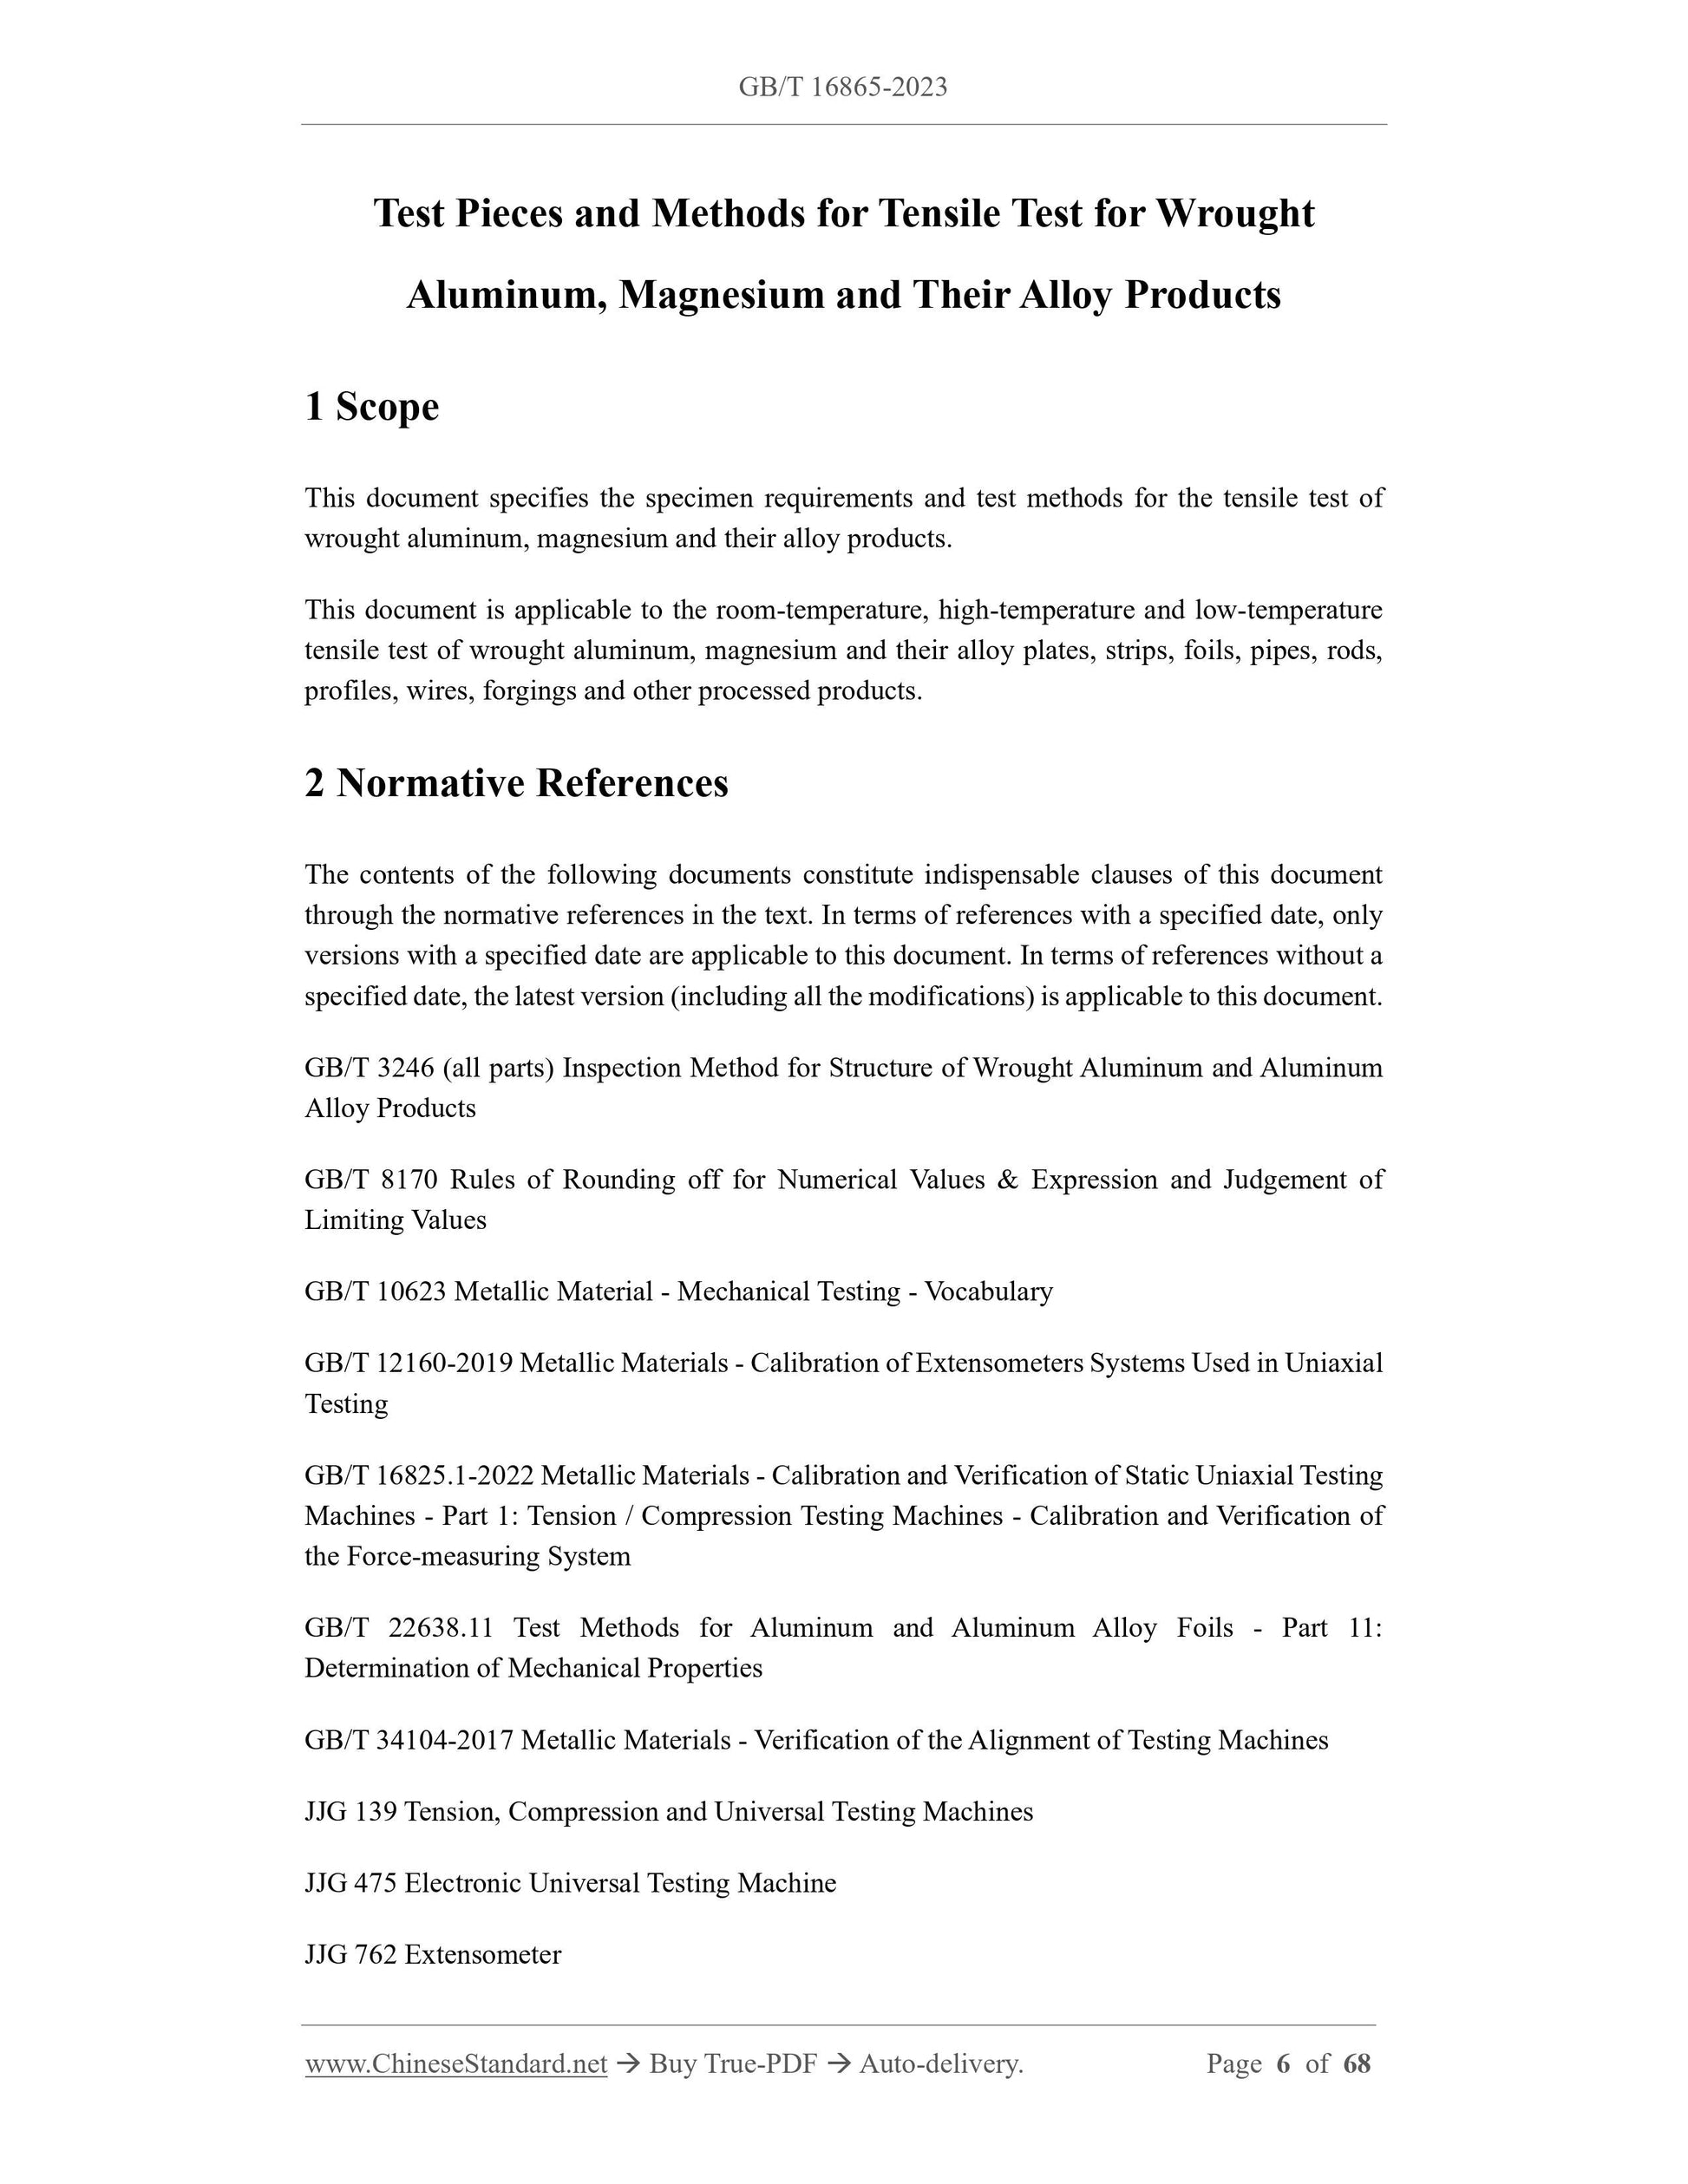
1 Scope
This document specifies the specimen requirements and test methods for the tensile test of
wrought aluminum, magnesium and their alloy products.
This document is applicable to the room-temperature, high-temperature and low-temperature
tensile test of wrought aluminum, magnesium and their alloy plates, strips, foils, pipes, rods,
profiles, wires, forgings and other processed products.
2 Normative References
The contents of the following documents constitute indispensable clauses of this document
through the normative references in the text. In terms of references with a specified date, only
versions with a specified date are applicable to this document. In terms of references without a
specified date, the latest version (including all the modifications) is applicable to this document.
GB/T 3246 (all parts) Inspection Method for Structure of Wrought Aluminum and Aluminum
Alloy Products
GB/T 8170 Rules of Rounding off for Numerical Values and Expression and Judgement of
Limiting Values
GB/T 10623 Metallic Material - Mechanical Testing - Vocabulary
GB/T 12160-2019 Metallic Materials - Calibration of Extensometers Systems Used in Uniaxial
Testing
GB/T 16825.1-2022 Metallic Materials - Calibration and Verification of Static Uniaxial Testing
Machines - Part 1: Tension / Compression Testing Machines - Calibration and Verification of
the Force-measuring System
GB/T 22638.11 Test Methods for Aluminum and Aluminum Alloy Foils - Part 11:
Determination of Mechanical Properties
GB/T 34104-2017 Metallic Materials - Verification of the Alignment of Testing Machines
JJG 139 Tension, Compression and Universal Testing Machines
JJG 475 Electronic Universal Testing Machine
JJG 762 Extensometer
F---force;
CL---the centerline of the clamping system and the longitudinal axis of the specimen;
1---fixture;
2---specimen;
3---extensometer.
Figure 1 -- Schematic Diagram of Tensile Test
5 Instruments and Equipment
5.1 Testing Machine
5.1.1 The testing machine force measuring system shall be calibrated in accordance with JJG
139, JJG 475 or JJG 1063. The accuracy of the testing machine force measuring system used
for the determination of room-temperature tensile mechanical properties of aluminum foil
products shall reach or be superior to Level 0.5 specified in GB/T 16825.1-2022. The accuracy
of the testing machine force measuring system used for the determination of mechanical
properties of other products shall reach or be superior to Level 1.
5.1.2 The maximum load required for the test should be within the range of 10% ~ 90% of the
maximum load of the testing machine.
5.1.3 Testing machines used for the determination of elastic modulus or mechanical properties
of aviation and aerospace materials shall be inspected for coaxiality in accordance with GB/T
34104-2017. The coaxiality of the testing machines used for the determination of elastic
modulus shall reach or be superior to Level 5. The coaxiality of the testing machines used for
the determination of mechanical properties of aviation and aerospace materials shall reach or
be superior to Level 10.
5.2 Extensometer
5.2.1 The extensometer system shall be calibrated in accordance with JJG 762. When
determining the elastic modulus, the accuracy of the extensometer shall reach or be superior to
Level 0.5 specified in GB/T 12160-2019; when determining other mechanical properties, the
accuracy of the extensometer shall reach or be superior to Level 1.
5.2.2 When determining the elastic modulus, the extensometer system shall be able to measure
the average deformation on at least two opposite sides of the specimen. When adopting the
automatic method to determine the plastic strain ratio, the extensometer system shall be able to
measure the deformation in the length direction and the width direction of the rectangular
specimen. The extensometer used to measure the deformation in the width direction of the
specimen should be able to measure the average deformation at both ends of the gauge length
and the three widths in the middle.
7.1.6 For full cross-section specimens with shapes other than circular, rectangular and ring-
shaped, when the original cross-sectional area of the specimens is calculated using the actual
measurement method, the specimen size measurement method shall be agreed upon by both the
supply-side and the demand-side, or a cross-section scanner may be used for automatic
measurement.
7.1.7 When determining the plastic strain ratio of the material, measure the width at both ends
and the middle of the gauge length of the rectangular specimens; the accuracy shall be not
greater than 0.005 mm. Take the average value of the three widths as the average original width
(𝑏0) of the specimens; measure the original thickness (a0) at both ends and the middle of the
gauge length of the rectangular specimens; the accuracy shall be not greater than 0.001 mm.
The range of the three thicknesses should not exceed 0.013 mm. The specimens are allowed to
be machined to comply with the requirements for thickness range. When adopting the artificial
method to determine the plastic strain ratio, the original gauge length (L0) shall also be measured;
the measurement accuracy shall be not greater than 0.01 mm.
7.2 Calculation of Original Cross-sectional Area (S0) of Specimens
7.2.1 Requirements for rounding and error
7.2.1.1 When calculating the area of a circle, the constant must be taken to at least four
significant figures.
7.2.1.2 The calculation results of the original cross-sectional area (S0) of the specimen shall
retain four significant figures, and the numerical rounding shall be carried out in accordance
with the stipulations of GB/T 8170.
7.2.1.3 The determination error of the original cross-sectional area of the specimen shall be not
greater than 1%, and the determination error of the original cross-sectional area of specimens
with a thickness less than 0.3 mm shall be not greater than 2%.
7.2.2 Circular specimens
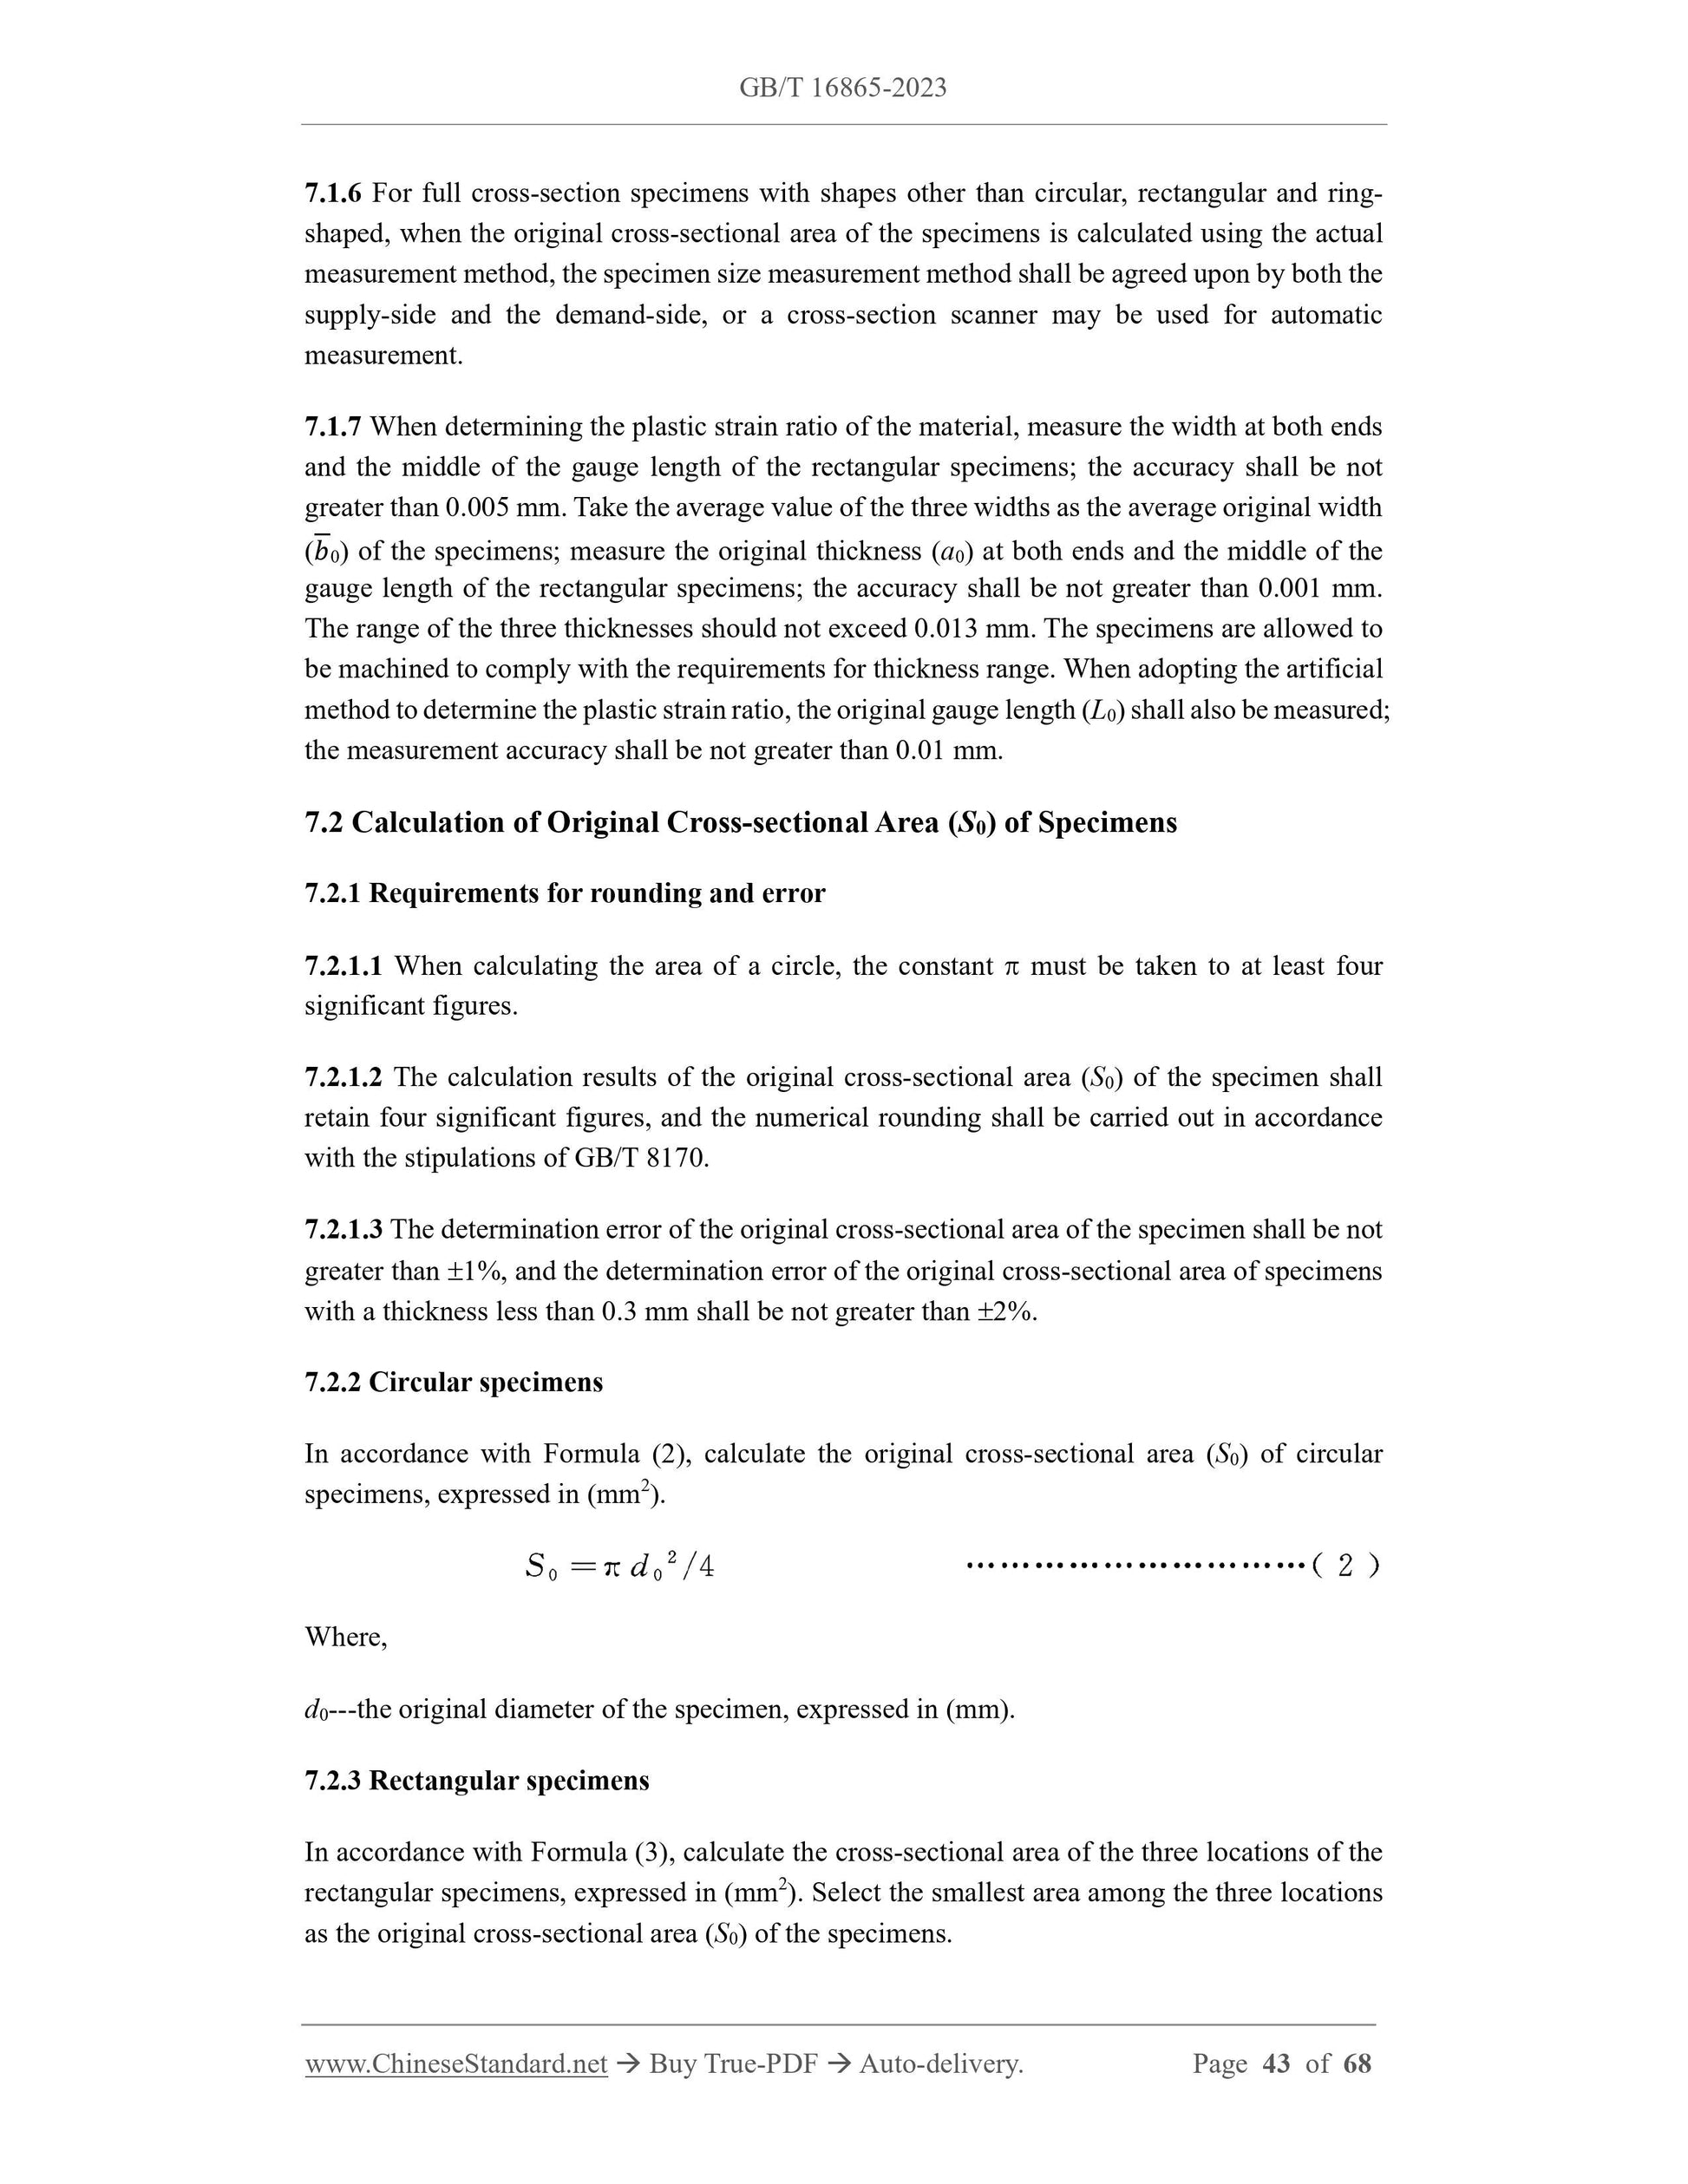
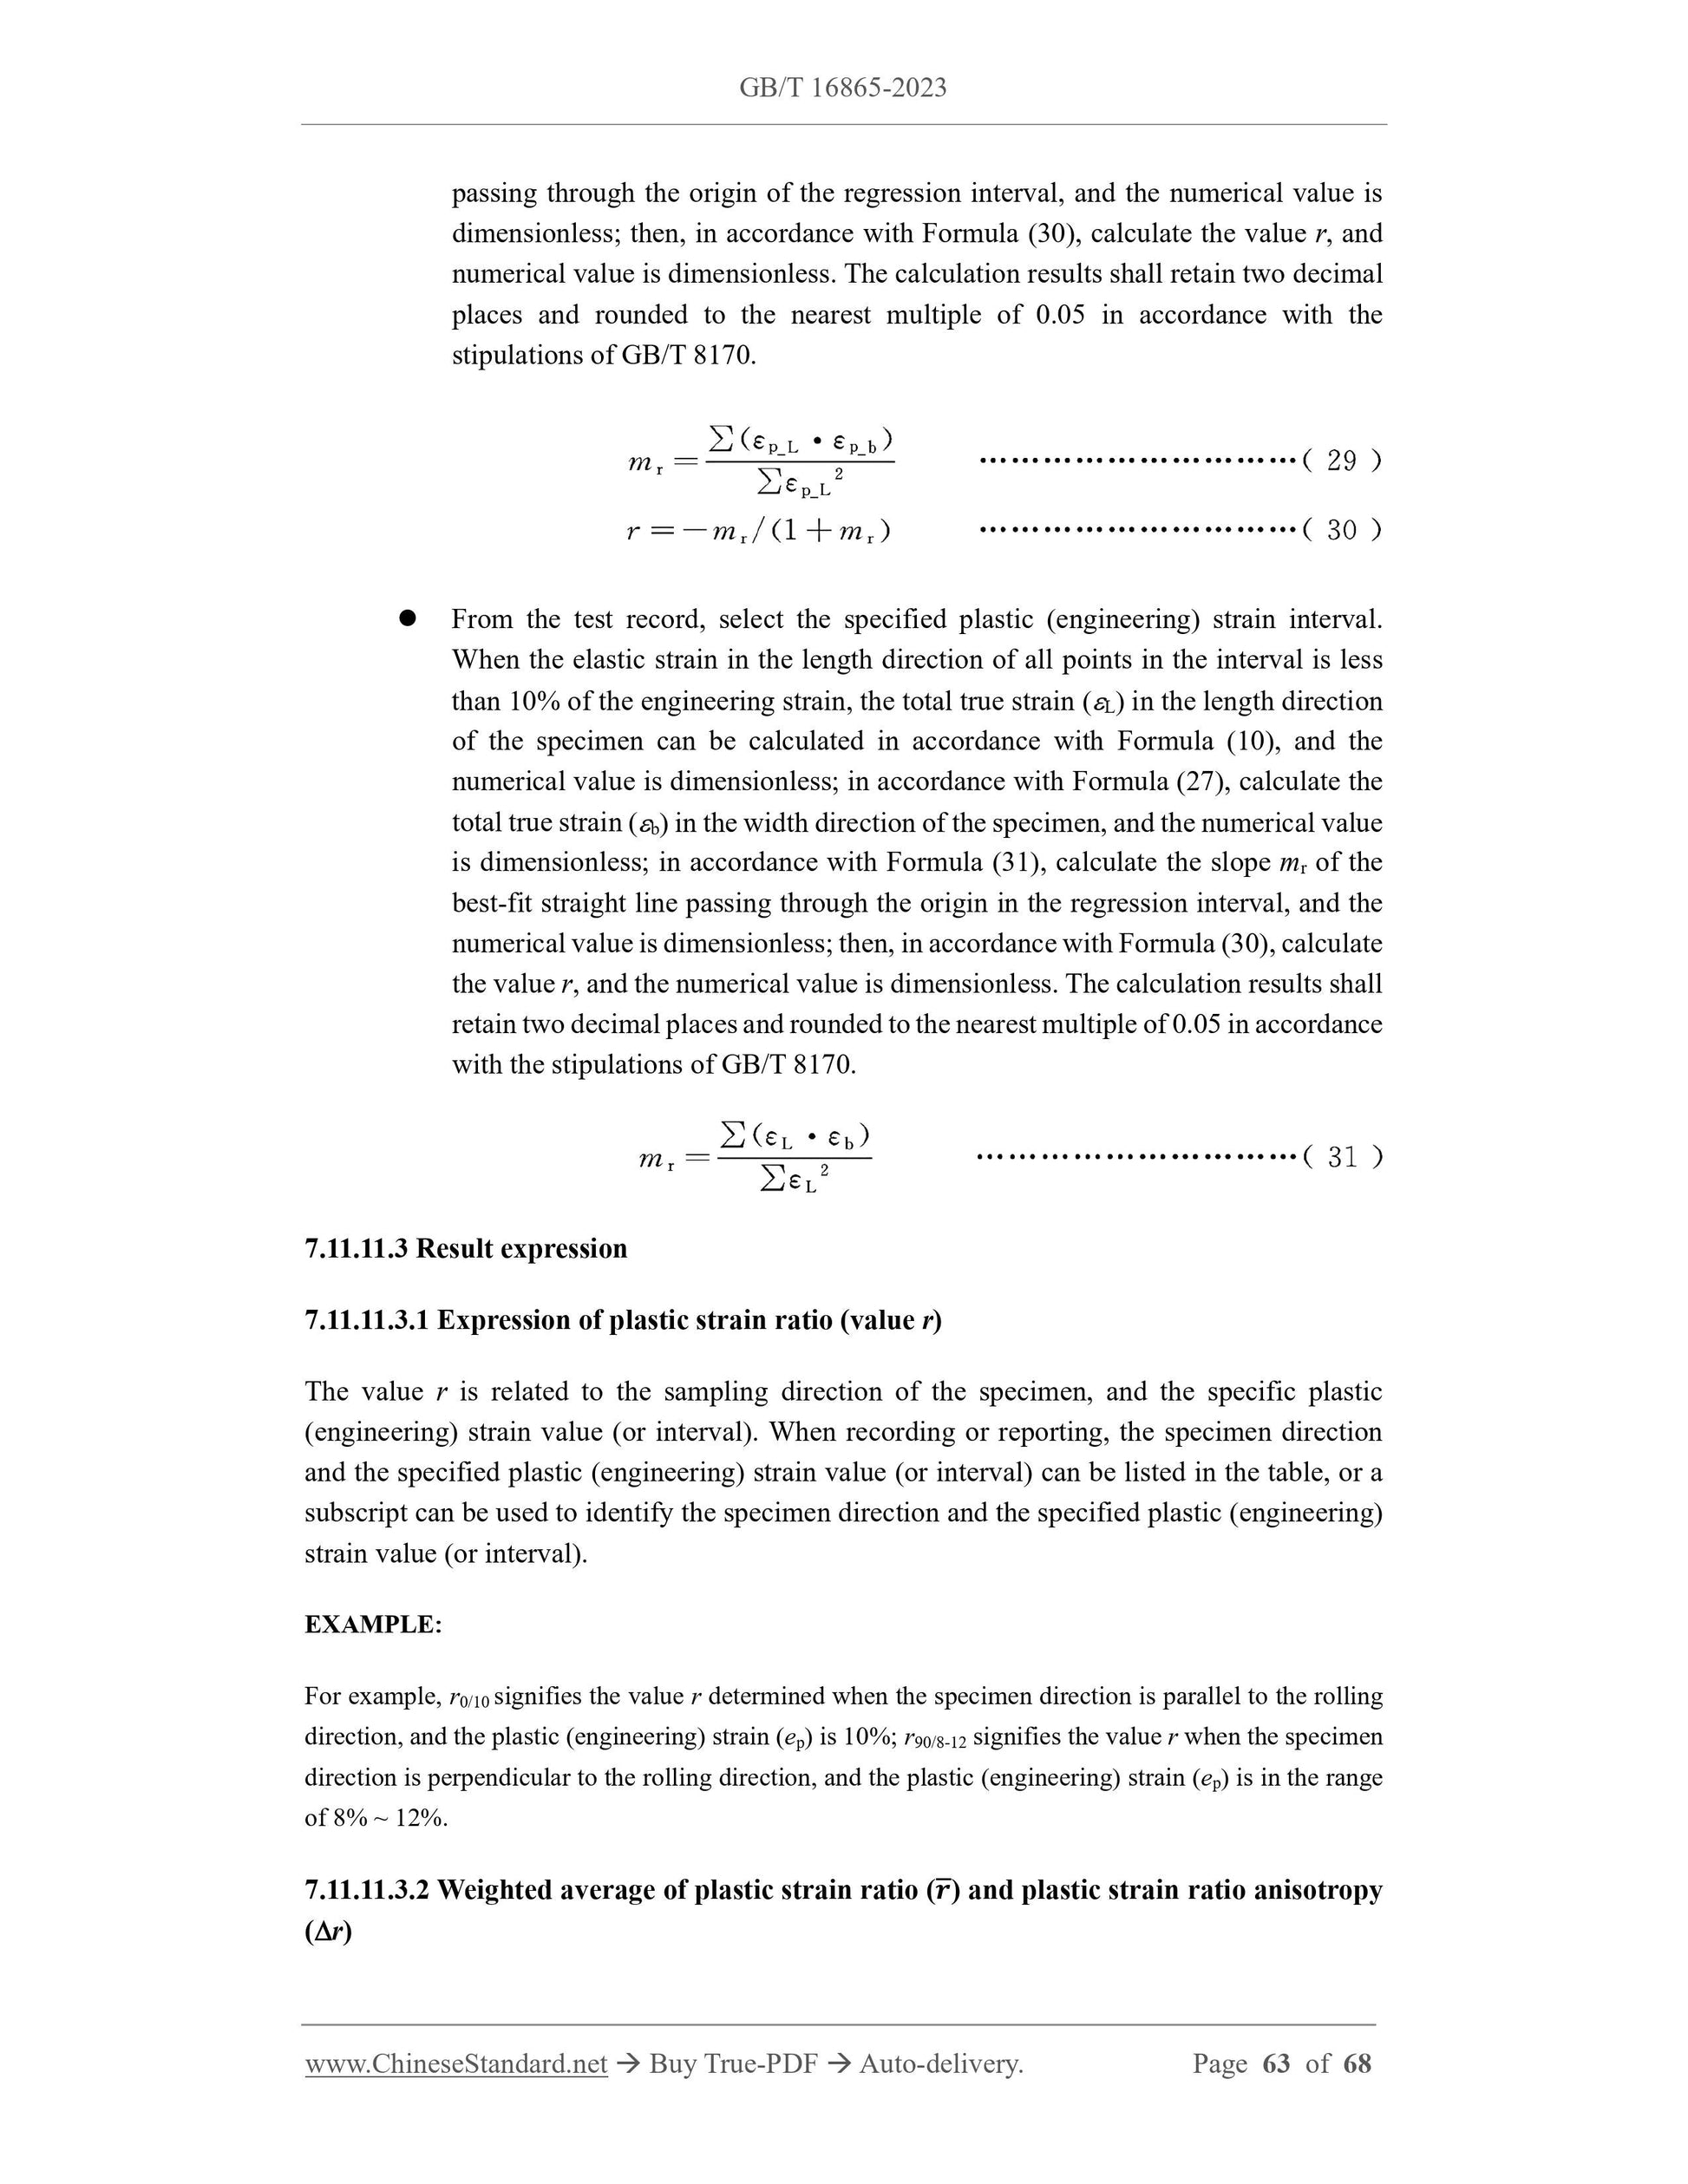
In accordance with Formula (2), calculate the original cross-sectional area (S0) of circular
specimens, expressed in (mm2).
Where,
d0---the original diameter of the specimen, expressed in (mm).
7.2.3 Rectangular specimens
In accordance with Formula (3), calculate the cross-sectional area of the three locations of the
rectangular specimens, expressed in (mm2). Select the smallest area among the three locations
as the original cross-sectional area (S0) of the specimens.
materials have different sensitivities to tensile rate. The selection of test rate shall be determined
in accordance with the material. When the product standard does not specify the setting method
for the test rate, the test rate recommended in 7.10.2 ~ 7.10.4 shall be used for testing. The
tensile test rate of the arbitration test is determined by the demand-side and the supply-side
through negotiation.
7.10.2 Strain rate2)
7.10.2.1 Room-temperature tensile test
7.10.2.1.1 Aviation materials
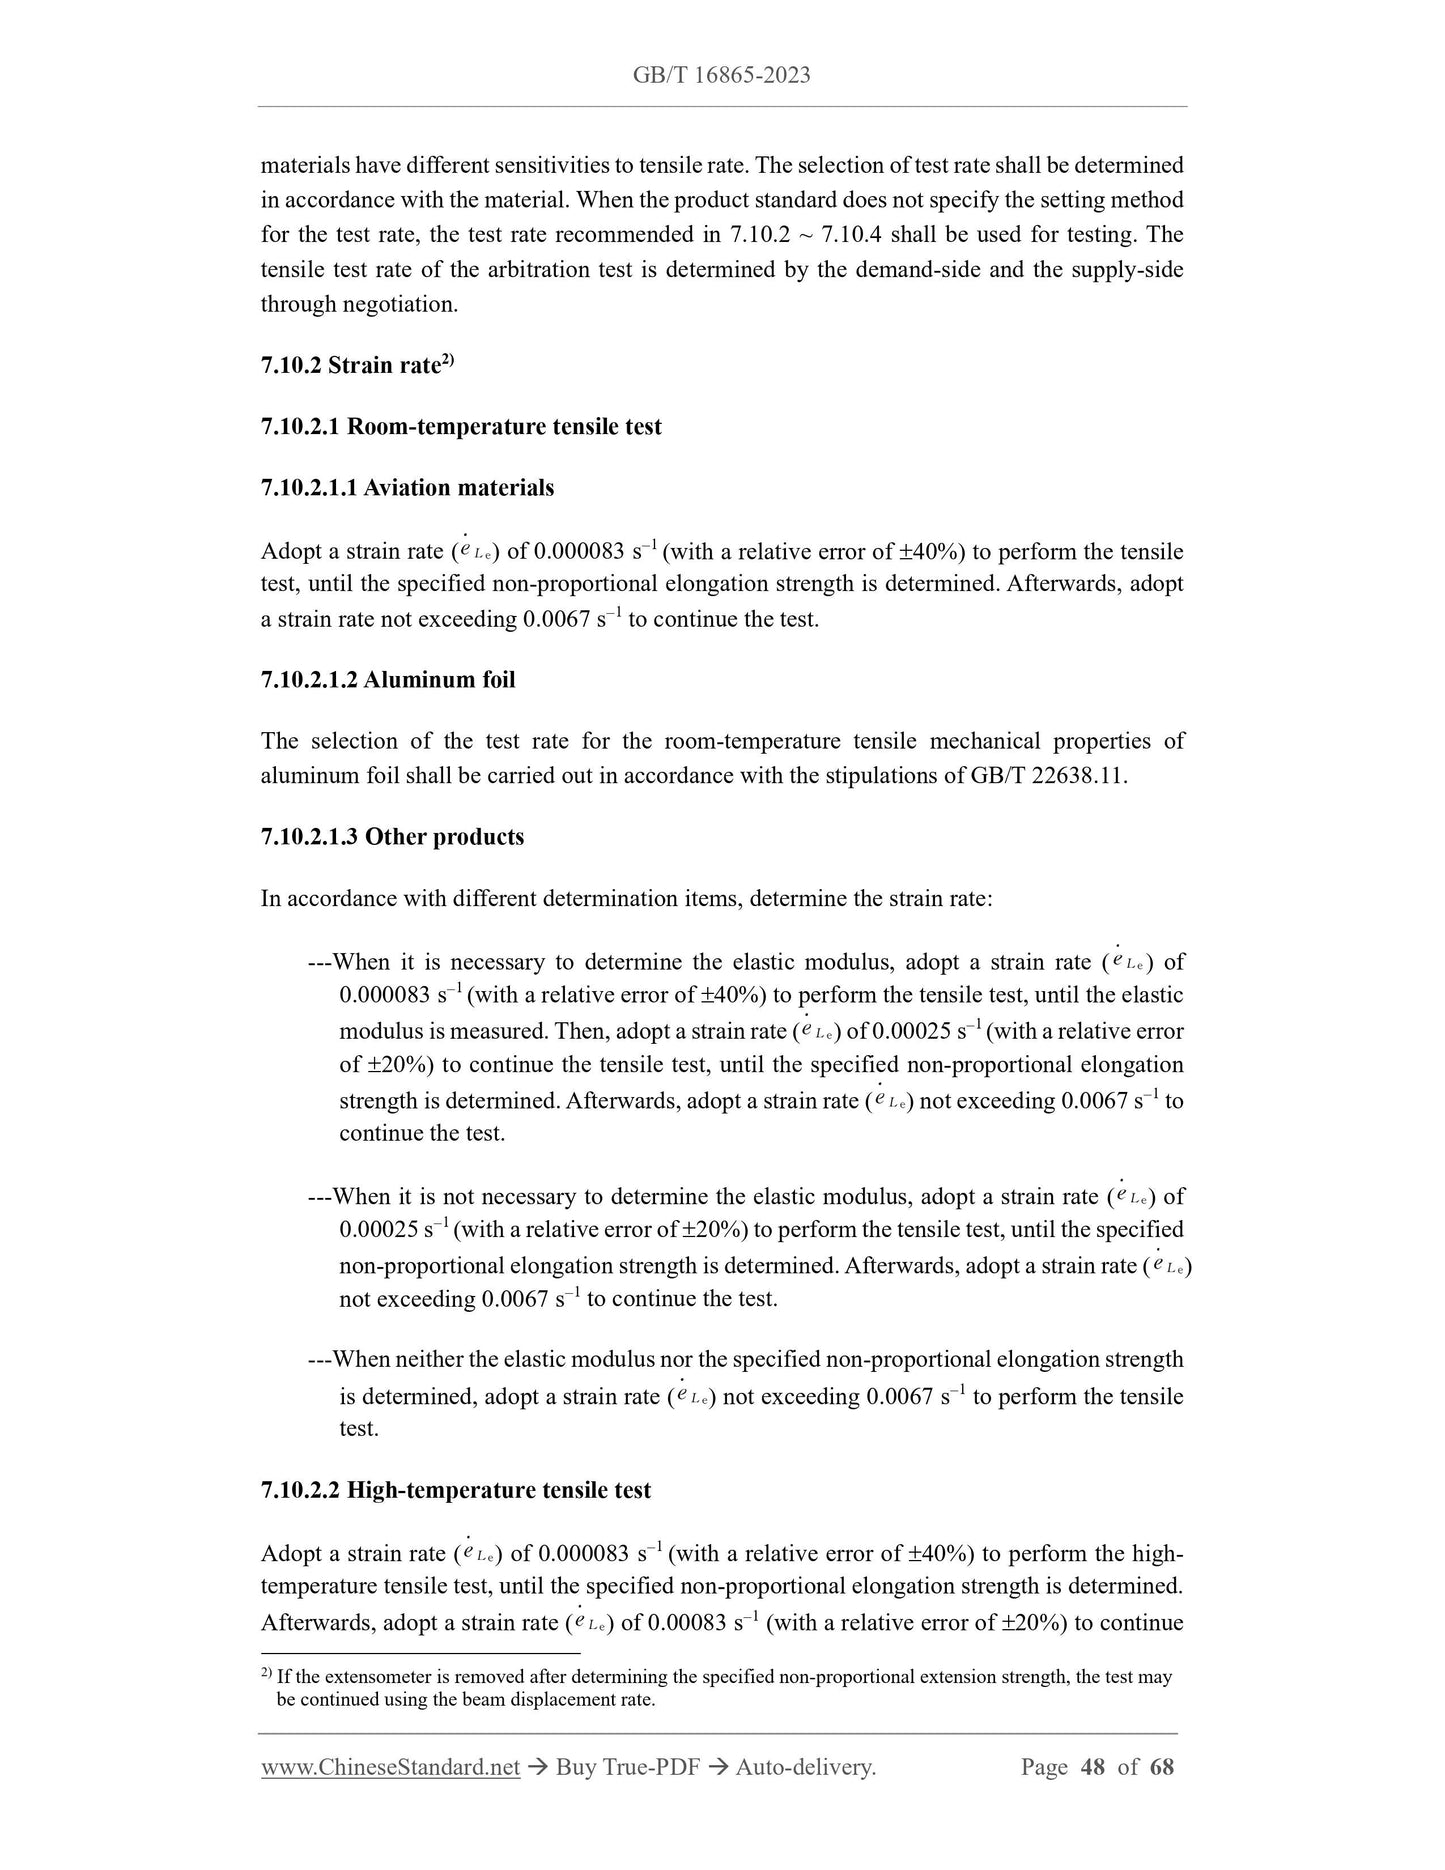
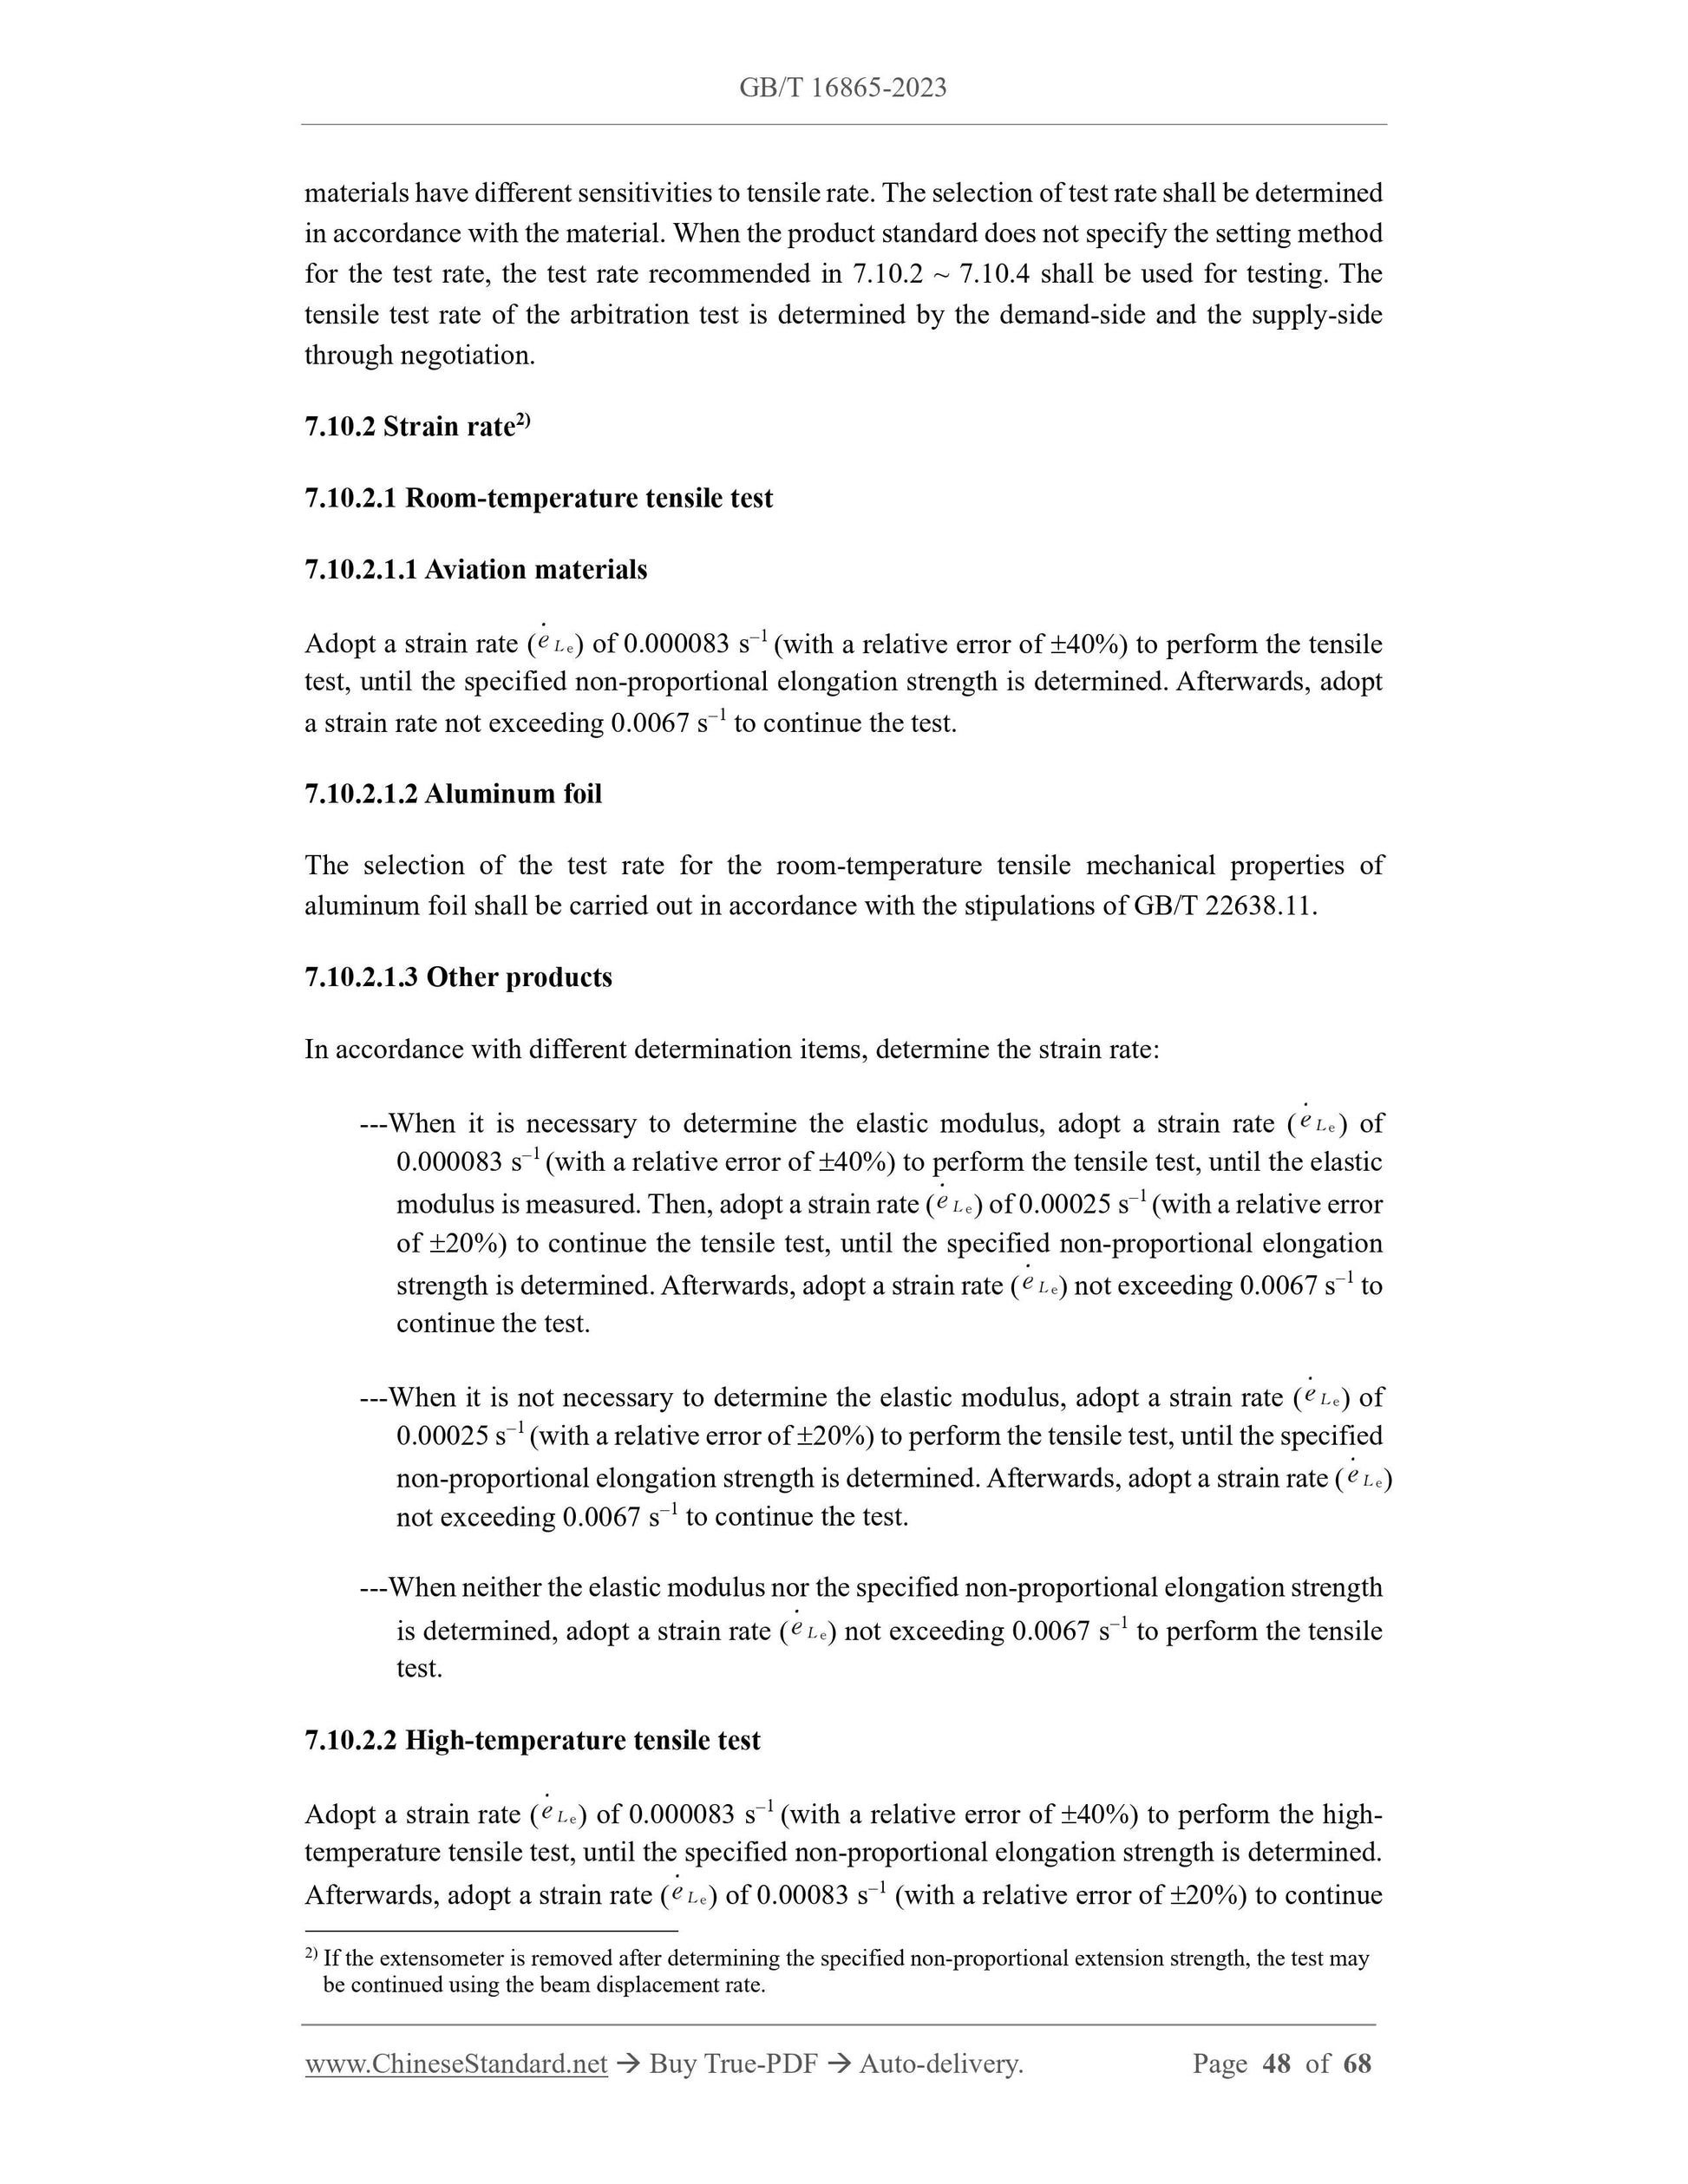
Adopt a strain rate ( ) of 0.000083 s1 (with a relative error of 40%) to perform the tensile
test, until the specified non-proportional elongation strength is determined. Afterwards, adopt
a strain rate not exceeding 0.0067 s1 to continue the test.
7.10.2.1.2 Aluminum foil
The selection of the test rate for the room-temperature tensile mechanical properties of
aluminum foil shall be carried out in accordance with the stipulations of GB/T 22638.11.
7.10.2.1.3 Other products
In accordance with different determination items, determine the strain rate:
---When it is necessary to determine the elastic modulus, adopt a strain rate ( ) of
0.000083 s1 (with a relative error of 40%) to perform the tensile test, until the elastic
modulus is measured. Then, adopt a strain rate ( ) of 0.00025 s1 (with a relative error
of 20%) to continue the tensile test, until the specified non-proportional elongation
strength is determined. Afterwards, adopt a strain rate ( ) not exceeding 0.0067 s1 to
continue the test.
---When it is not necessary to determine the elastic modulus, adopt a strain rate ( ) of
0.00025 s1 (with a relative error of 20%) to perform the tensile test, until the specified
non-proportional elongation strength is determined. Afterwards, adopt a strain rate ( )
not exceeding 0.0067 s1 to continue the test.
---When neither the elastic modulus nor the specified non-proportional elongation strength
is determined, adopt a strain rate ( ) not exceeding 0.0067 s1 to perform the tensile
test.
7.10.2.2 High-temperature tensile test
Adopt a strain rate ( ) of 0.000083 s1 (with a relative error of 40%) to perform the high-
temperature tensile test, until the specified non-proportional elongation strength is determined.
Afterwards, adopt a strain rate ( ) of 0.00083 s1 (with a relative error of 20%) to continue
2) If the extensometer is removed after determining the specified non-proportional extension strength, the test may
be continued using the beam displacement rate.
the test.
7.10.2.3 Low-temperature tensile test
Adopt a strain rate ( ) of 0.000083 s1 (with a relative error of 40%) to perform the low-
temperature tensile test, until the specified non-proportional elongation strength is determined.
Afterwards, adopt a strain rate ( ) of 0.0067 s1 to continue the test.
7.10.3 Stress rate
Adopt a stress rate ( ) of 2 MPa/s ~ 12 MPa/s to perform the room-temperature tensile test,
until the specified non-proportional elongation strength is determined. Afterwards, adopt a
beam displacement rate (vc) not exceeding 0.48 L0/min to continue the test. A constant beam
displacement rate should be maintained, so that the stress rate in the elastic deformation stage
of the specimen complies with the requirements. When the test rate is controlled in a closed
loop through the force sensor signal, after determining the specified non-proportional
elongation strength, the control mode shall be switched in time, so as to prevent the beam
displacement rate of the testing machine from being too fast or even out of control.
7.10.4 Beam displacement rate
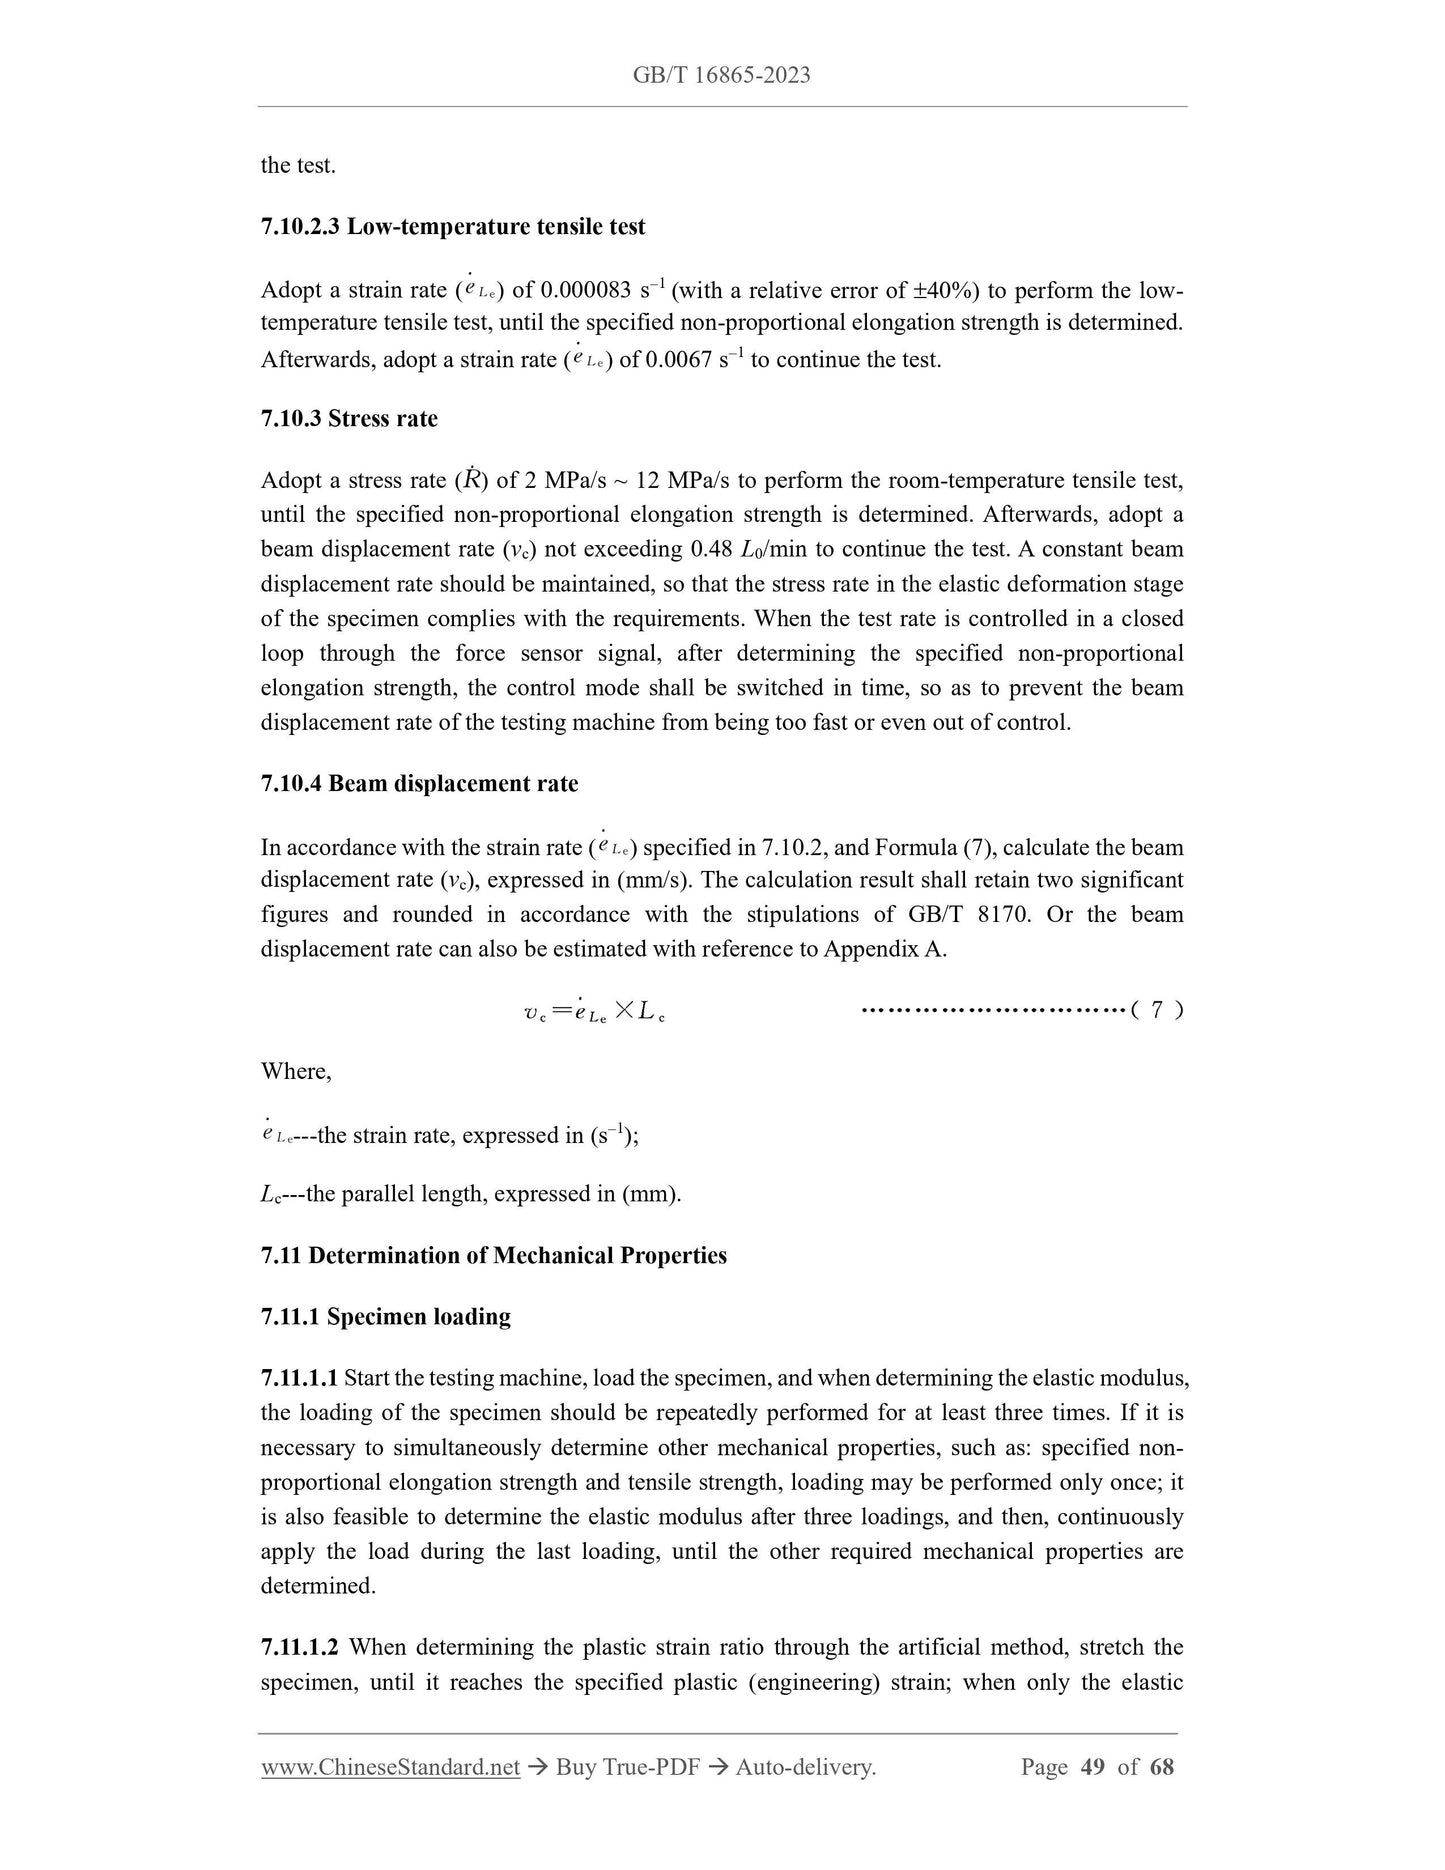
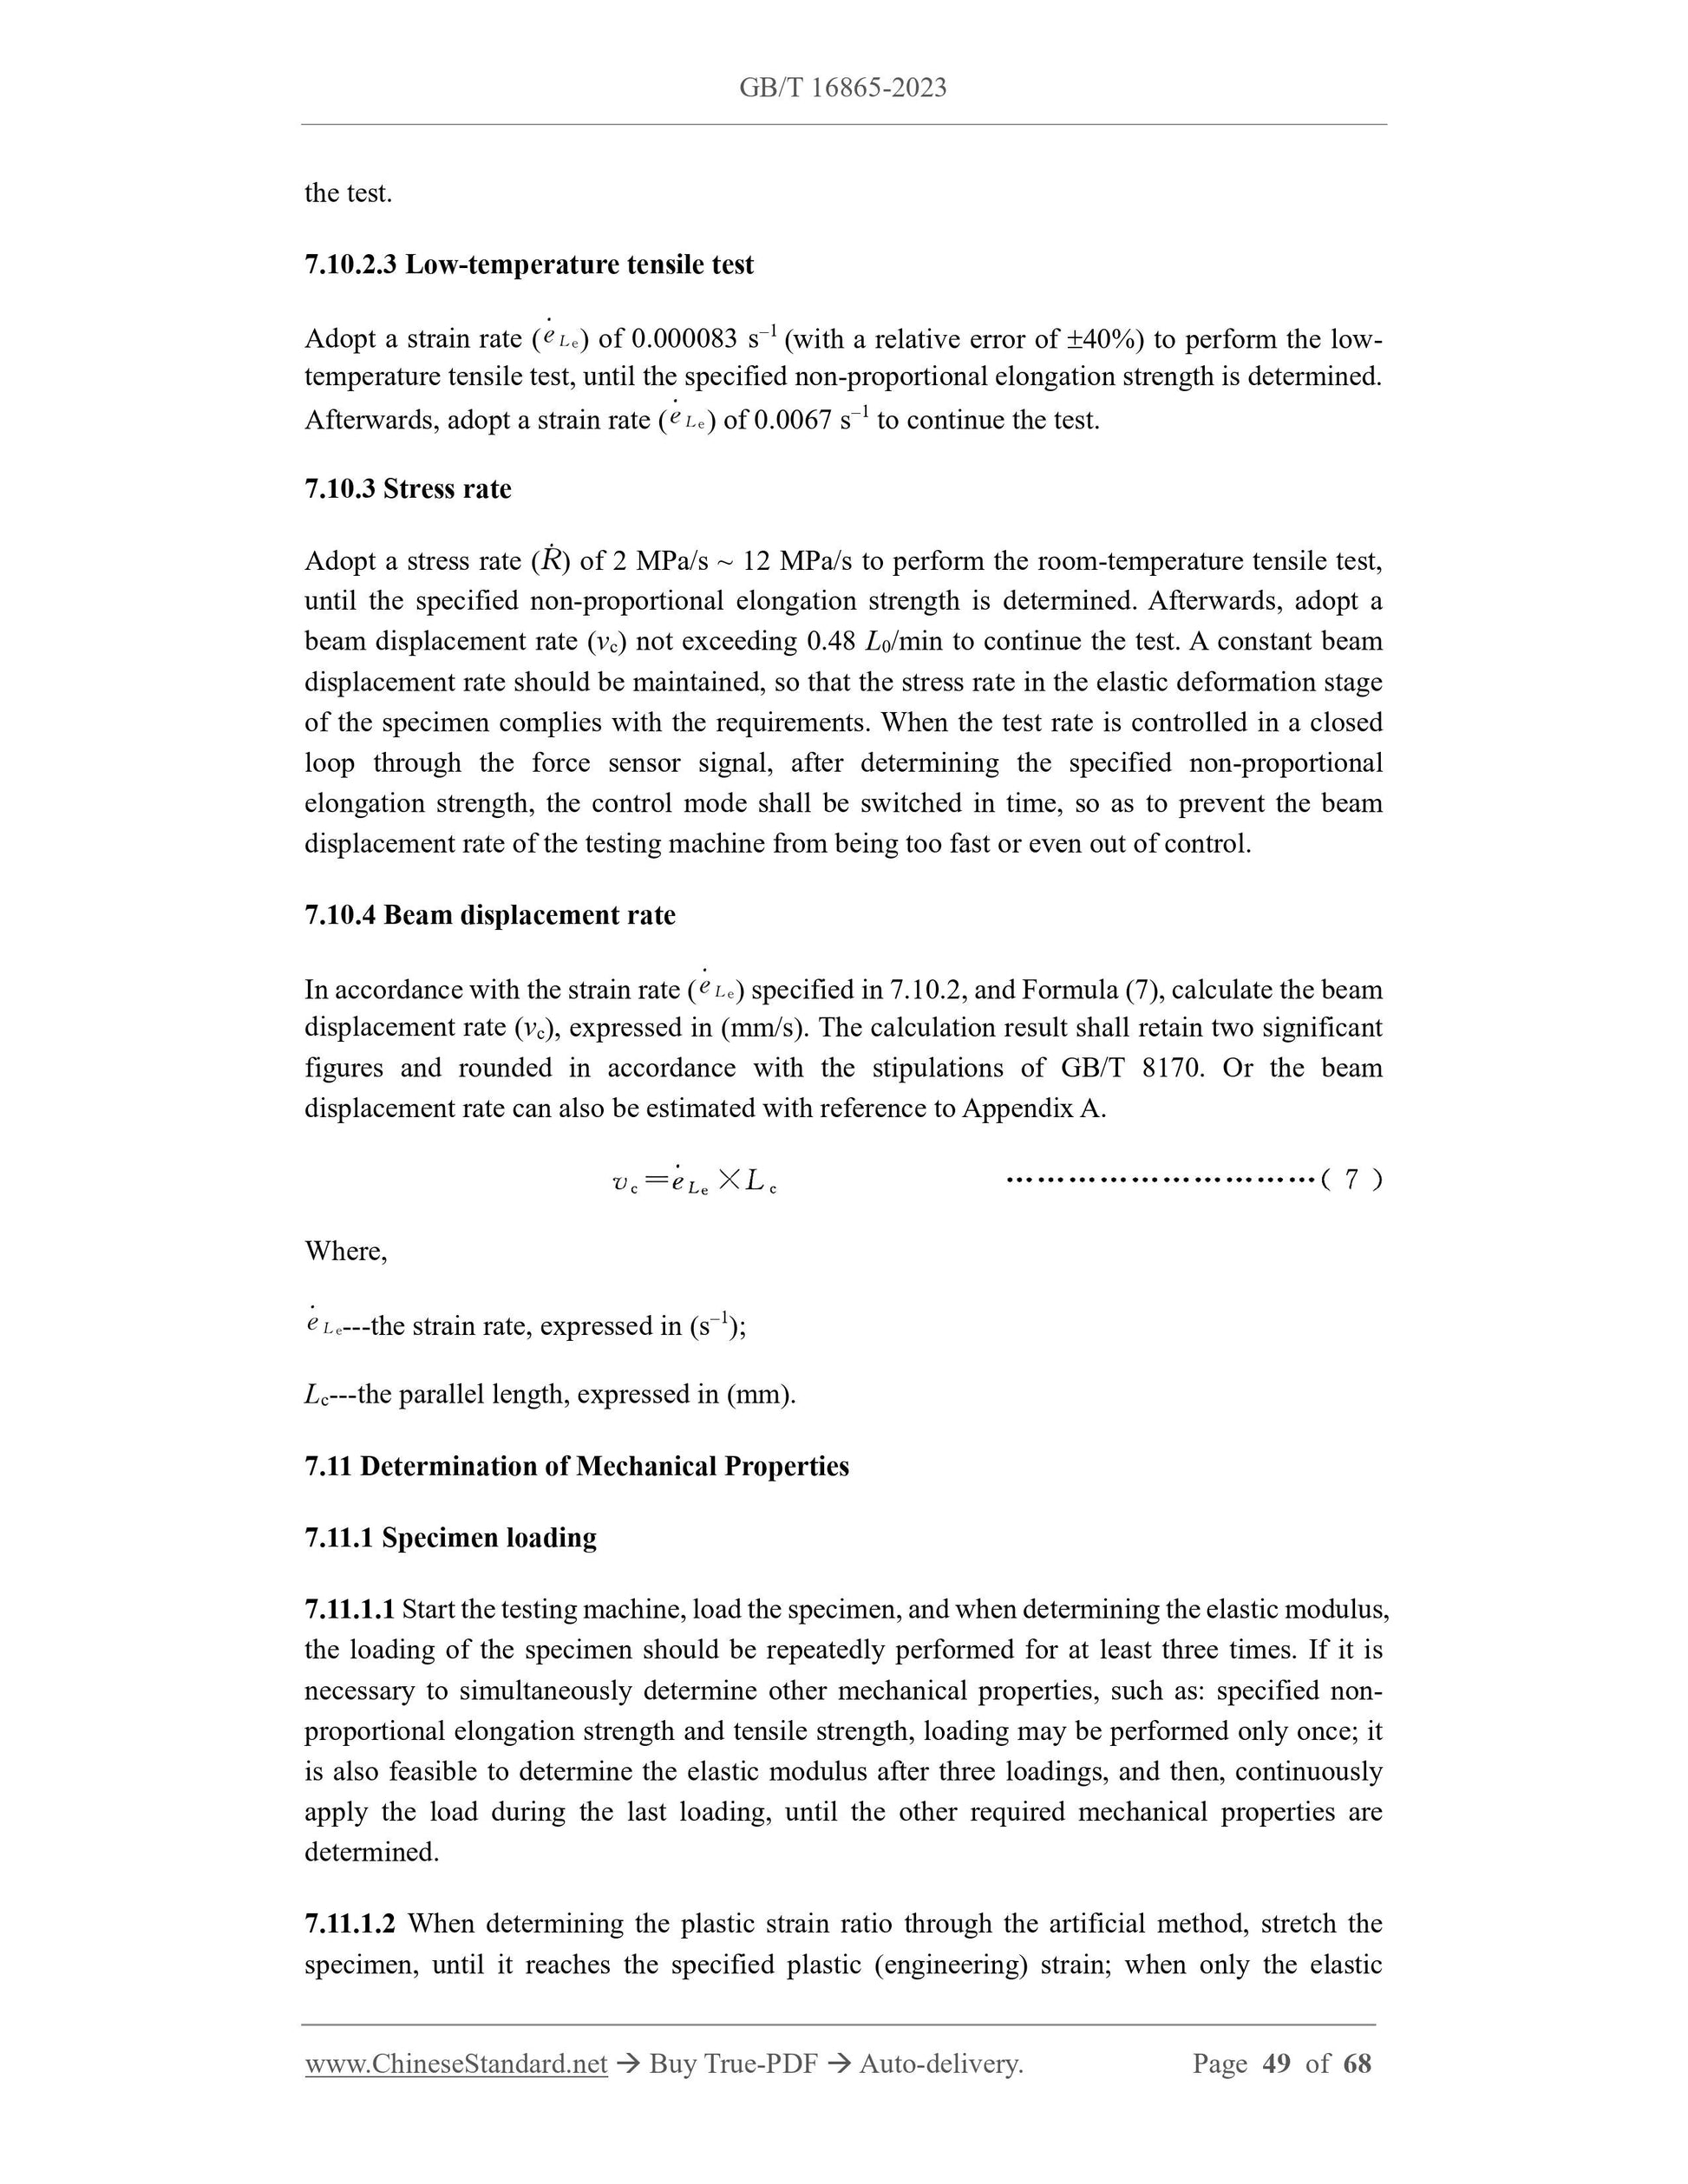
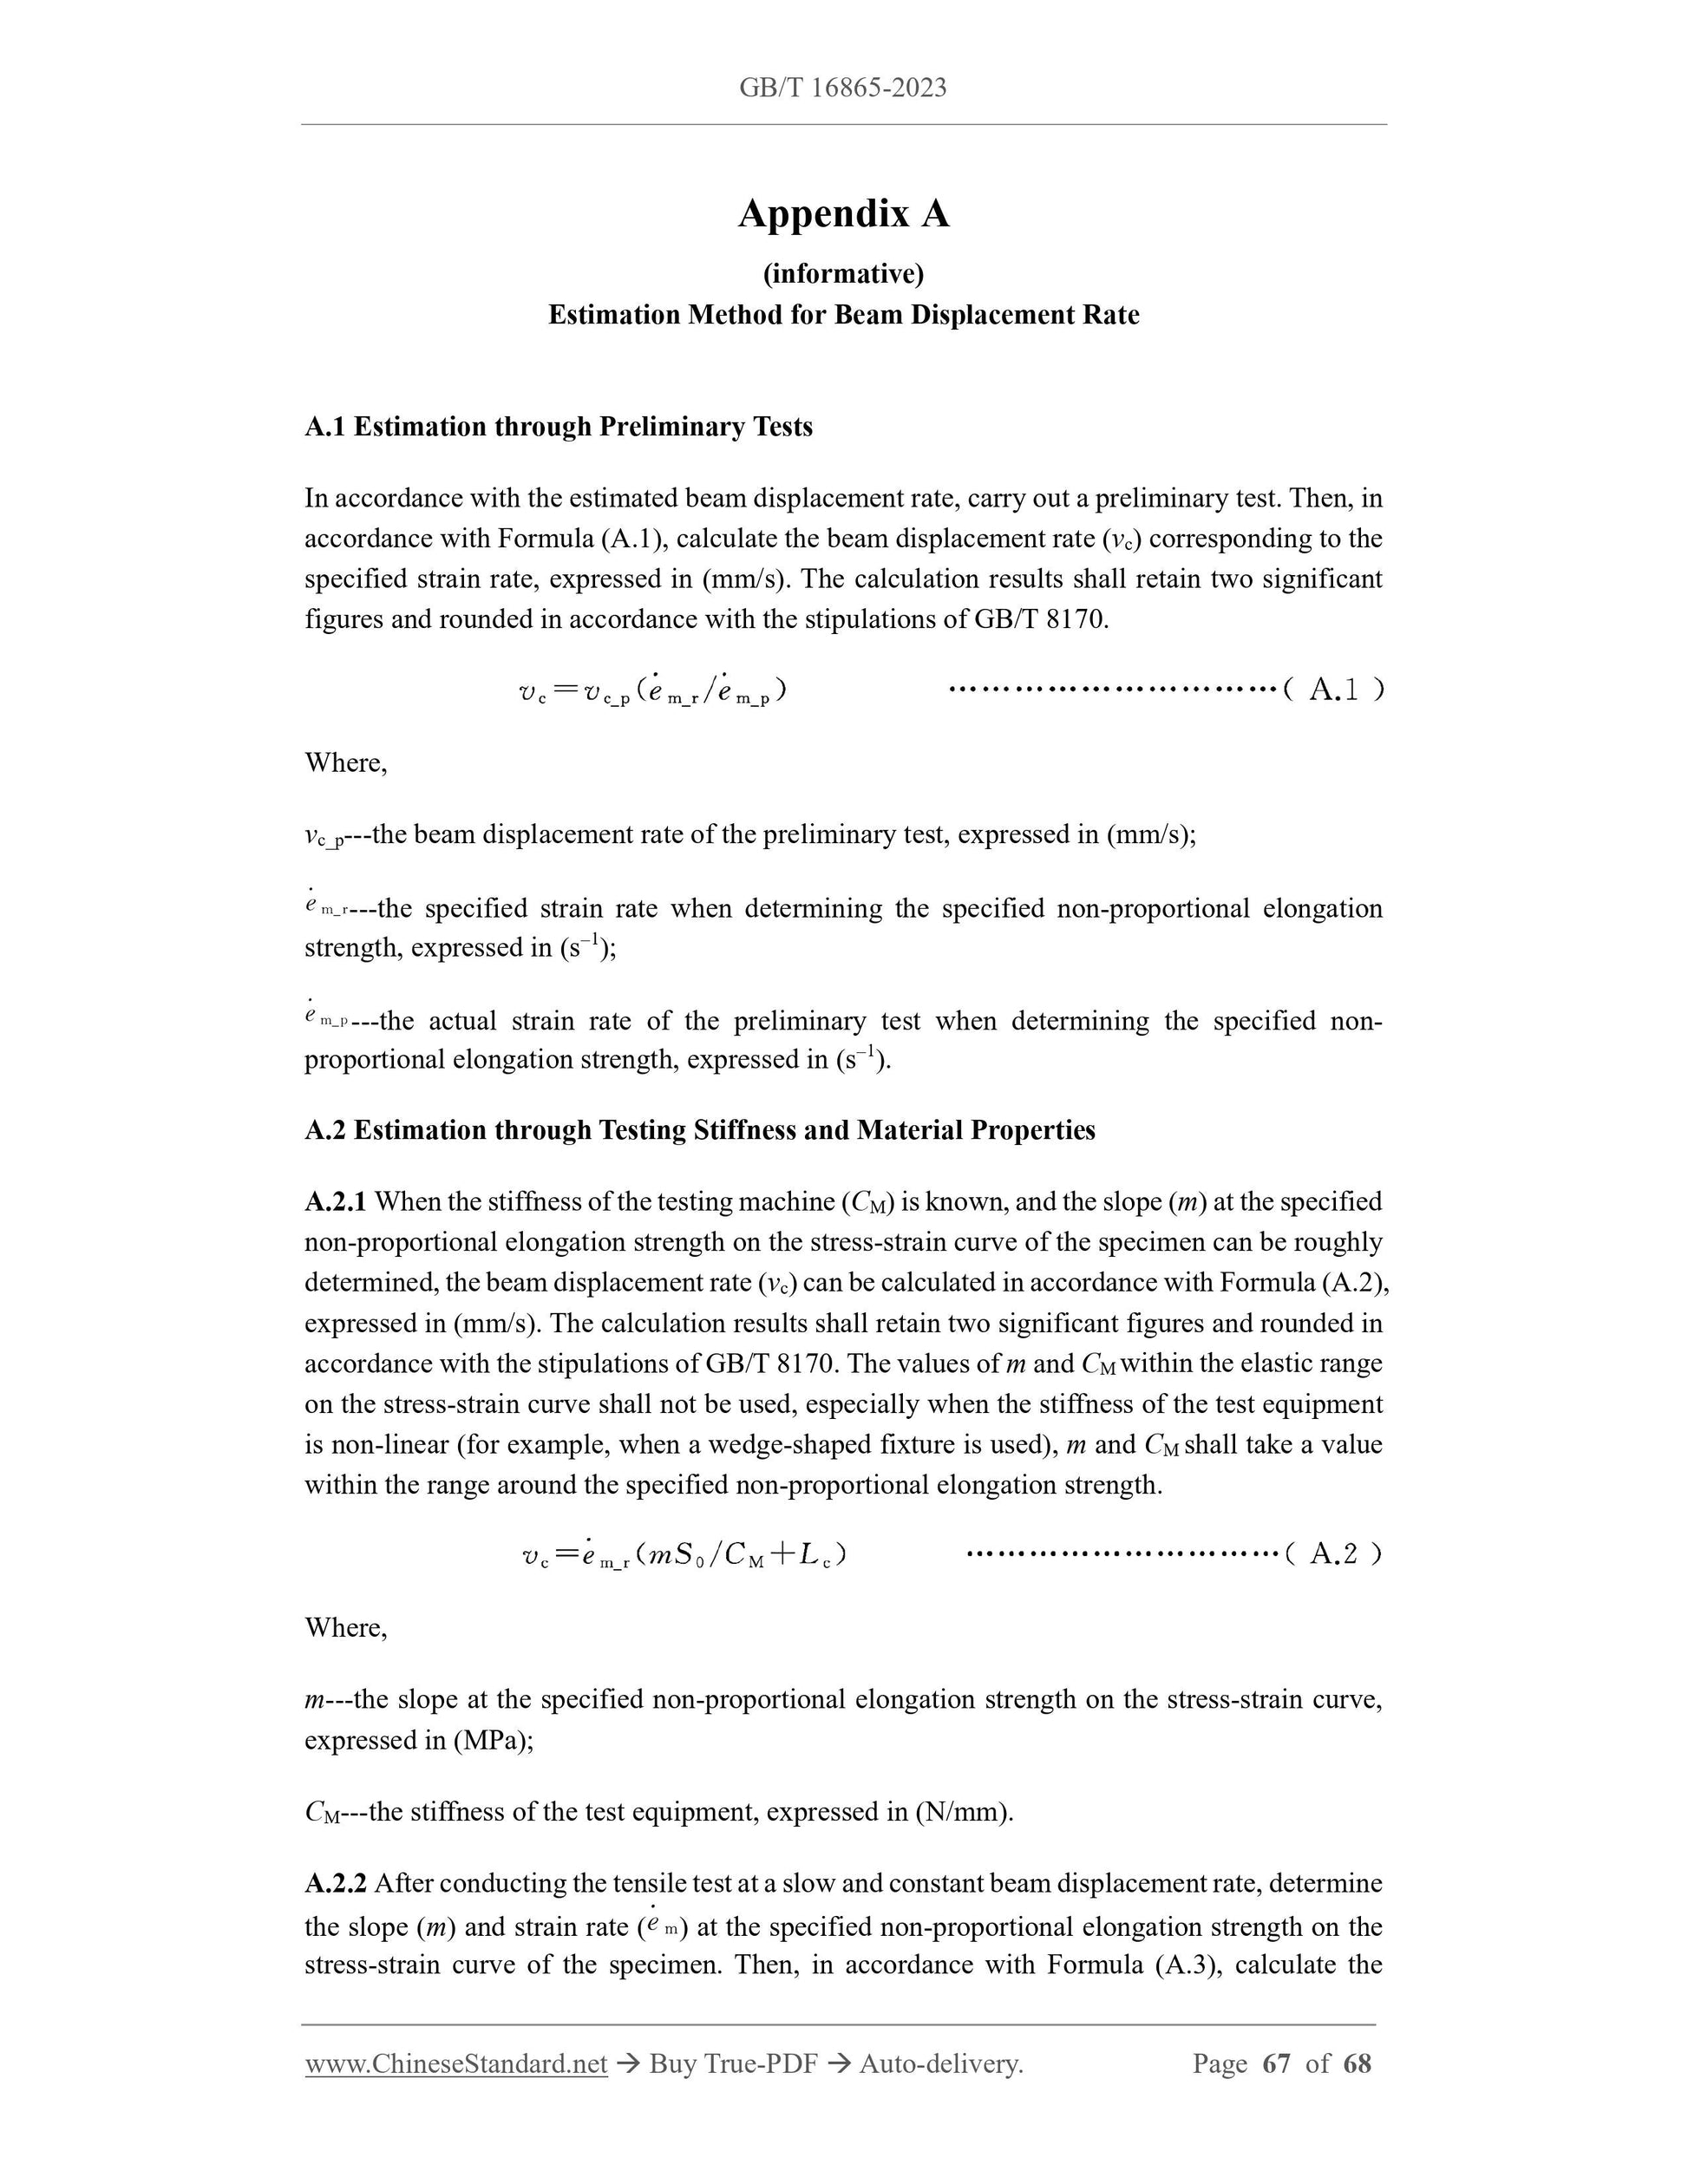
In accordance with the strain rate ( ) specified in 7.10.2, and Formula (7), calculate the beam
displacement rate (vc), expressed in (mm/s). The calculation result shall retain two significant
figures and rounded in accordance with the stipulations of GB/T 8170. Or the beam
displacement rate can also be estimated with reference to Appendix A.
Where,
---the strain rate, expressed in (s1);
Lc---the parallel length, expressed in (mm).
7.11 Determination of Mechanical Properties
7.11.1 Specimen loading
7.11.1.1 Start the testing machine, load the specimen, and when determining the elastic modulus,
the loading of the specimen should be repeatedly performed for at least three times. If it is
necessary to simultaneously determine other mechanical properties, such as: specified non-
proportional elongation strength and tensile strength, loading may be performed only once; it
is also feasible to determine the elastic modulus after three loadings, and then, continuously
apply the load during the last loading, until the other required mechanical properties are
determined.
7.11.1.2 When determining the plastic strain ratio through the artificial method, stretch the
specimen, until it reaches the specified plastic (engineering) strain; when only the elastic
Description of indexes:
R---the stress;
e---the strain;
Rm---the tensile strength;
mE---the slope of the elastic part of the stress-strain curve;
Ag---the plastic elongation at maximum force;
1---the lower limit of the regression interval;
2---the upper limit of the regression interval.
Figure 36 -- Schematic Diagram of Determining the Value Range on the Stress-strain
Curve Based on the Regression Interval
7.11.10.1.2 The value n is related to the specified regression interval. The regression interval
used to determine the value n can be listed in the record or report in a table, or the regression
interval can also be marked with a subscript. For example, n515 represents the value n calculated
in the range of plastic (engineering) strain (ep) of 5% ~ 15%.
7.11.10.1.3 The plastic (engineering) strain range specified in the product standard, or order
sheet (or contract) shall be used as the regression interval. The regression interval shall be no
less than 2%. When the product standard or order sheet (or contract) specifies the value n for
determining a single plastic (engineering) strain level, a 2% strain range with the strain level as
the midpoint shall be selected as the regression interval, for example, the regression interval of
5% strain is 4% ~ 6% strain range. When the plastic (engineering) strain range or a single plastic
(engineering) strain level is not specified in the product standard or order sheet (or contract),
the entire uniform plastic (engineering) strain range should be selected for calculation.
7.11.10.1.4 The upper limit of the plastic (engineering) strain range used to calculate the value
n shall not be greater than the plastic elongation at maximum force (Ag). When the Ag of the
specimen is less than the upper limit of the strain range specified in the product sta...
Share