Skip to product information
1 of 12

www.ChineseStandard.us -- Field Test Asia Pte. Ltd.

GB/T 16508.4-2022 English PDF (GB/T16508.4-2022)

GB/T 16508.4-2022 English PDF (GB/T16508.4-2022)

Regular price $650.00
Regular price Sale price $650.00
Sale Sold out
Shipping calculated at checkout.
GB/T 16508.4-2022: Shell boilers - Part 4: Fabrication, inspection and acceptance
Delivery: 9 seconds. Download (& Email) true-PDF + Invoice.
Get Quotation: Click GB/T 16508.4-2022 (Self-service in 1-minute)
Historical versions (Master-website): GB/T 16508.4-2022
Preview True-PDF (Reload/Scroll-down if blank)

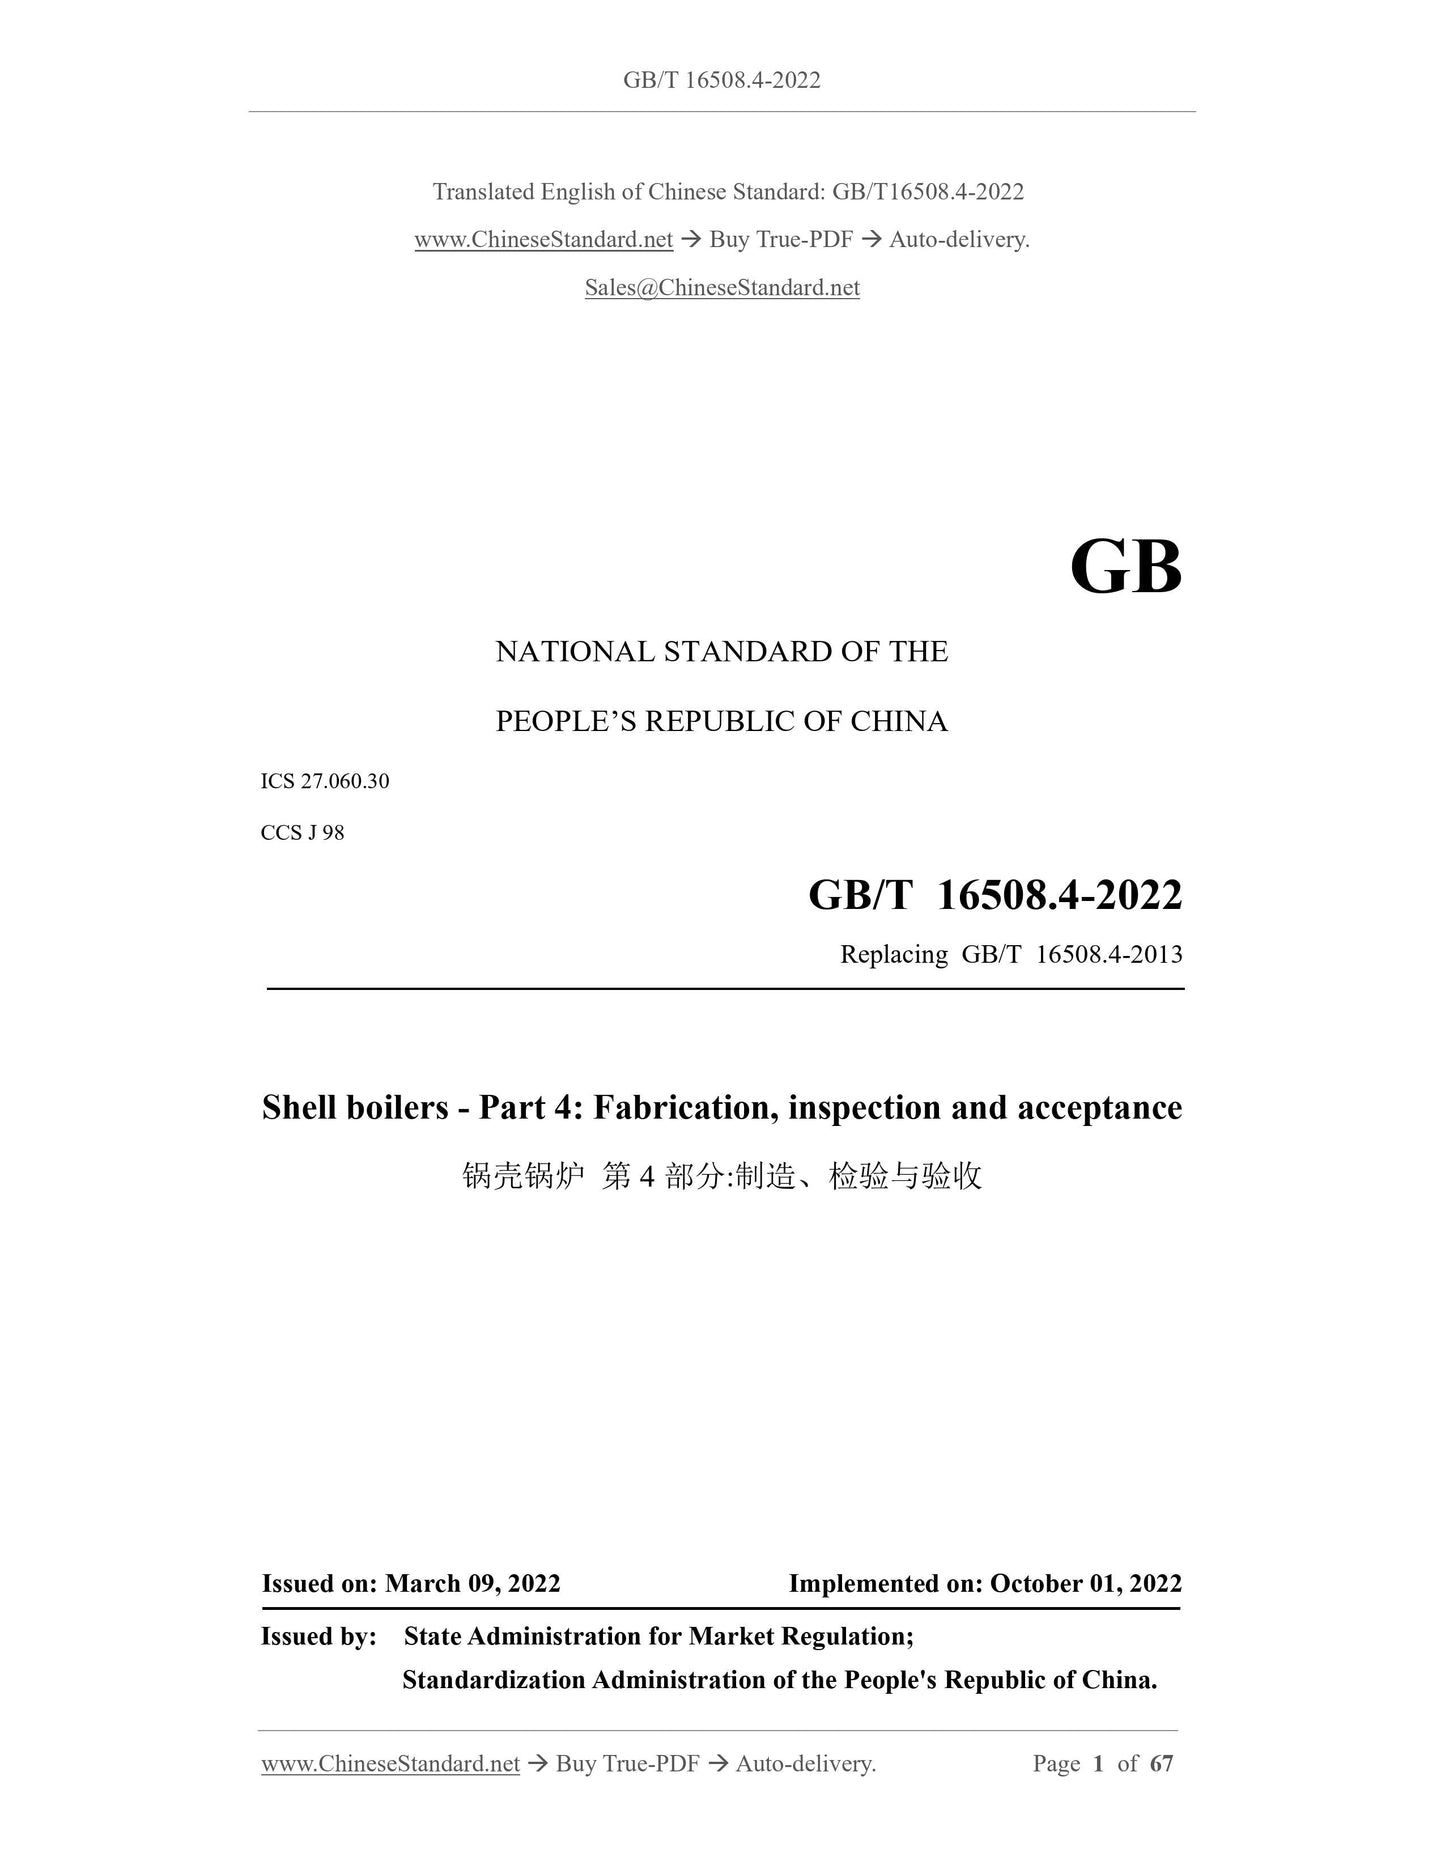
GB/T 16508.4-2022
GB
NATIONAL STANDARD OF THE
PEOPLE’S REPUBLIC OF CHINA
ICS 27.060.30
CCS J 98
Replacing GB/T 16508.4-2013
Shell boilers - Part 4: Fabrication, inspection and acceptance
ISSUED ON: MARCH 09, 2022
IMPLEMENTED ON: OCTOBER 01, 2022
Issued by: State Administration for Market Regulation;
Standardization Administration of the People's Republic of China.
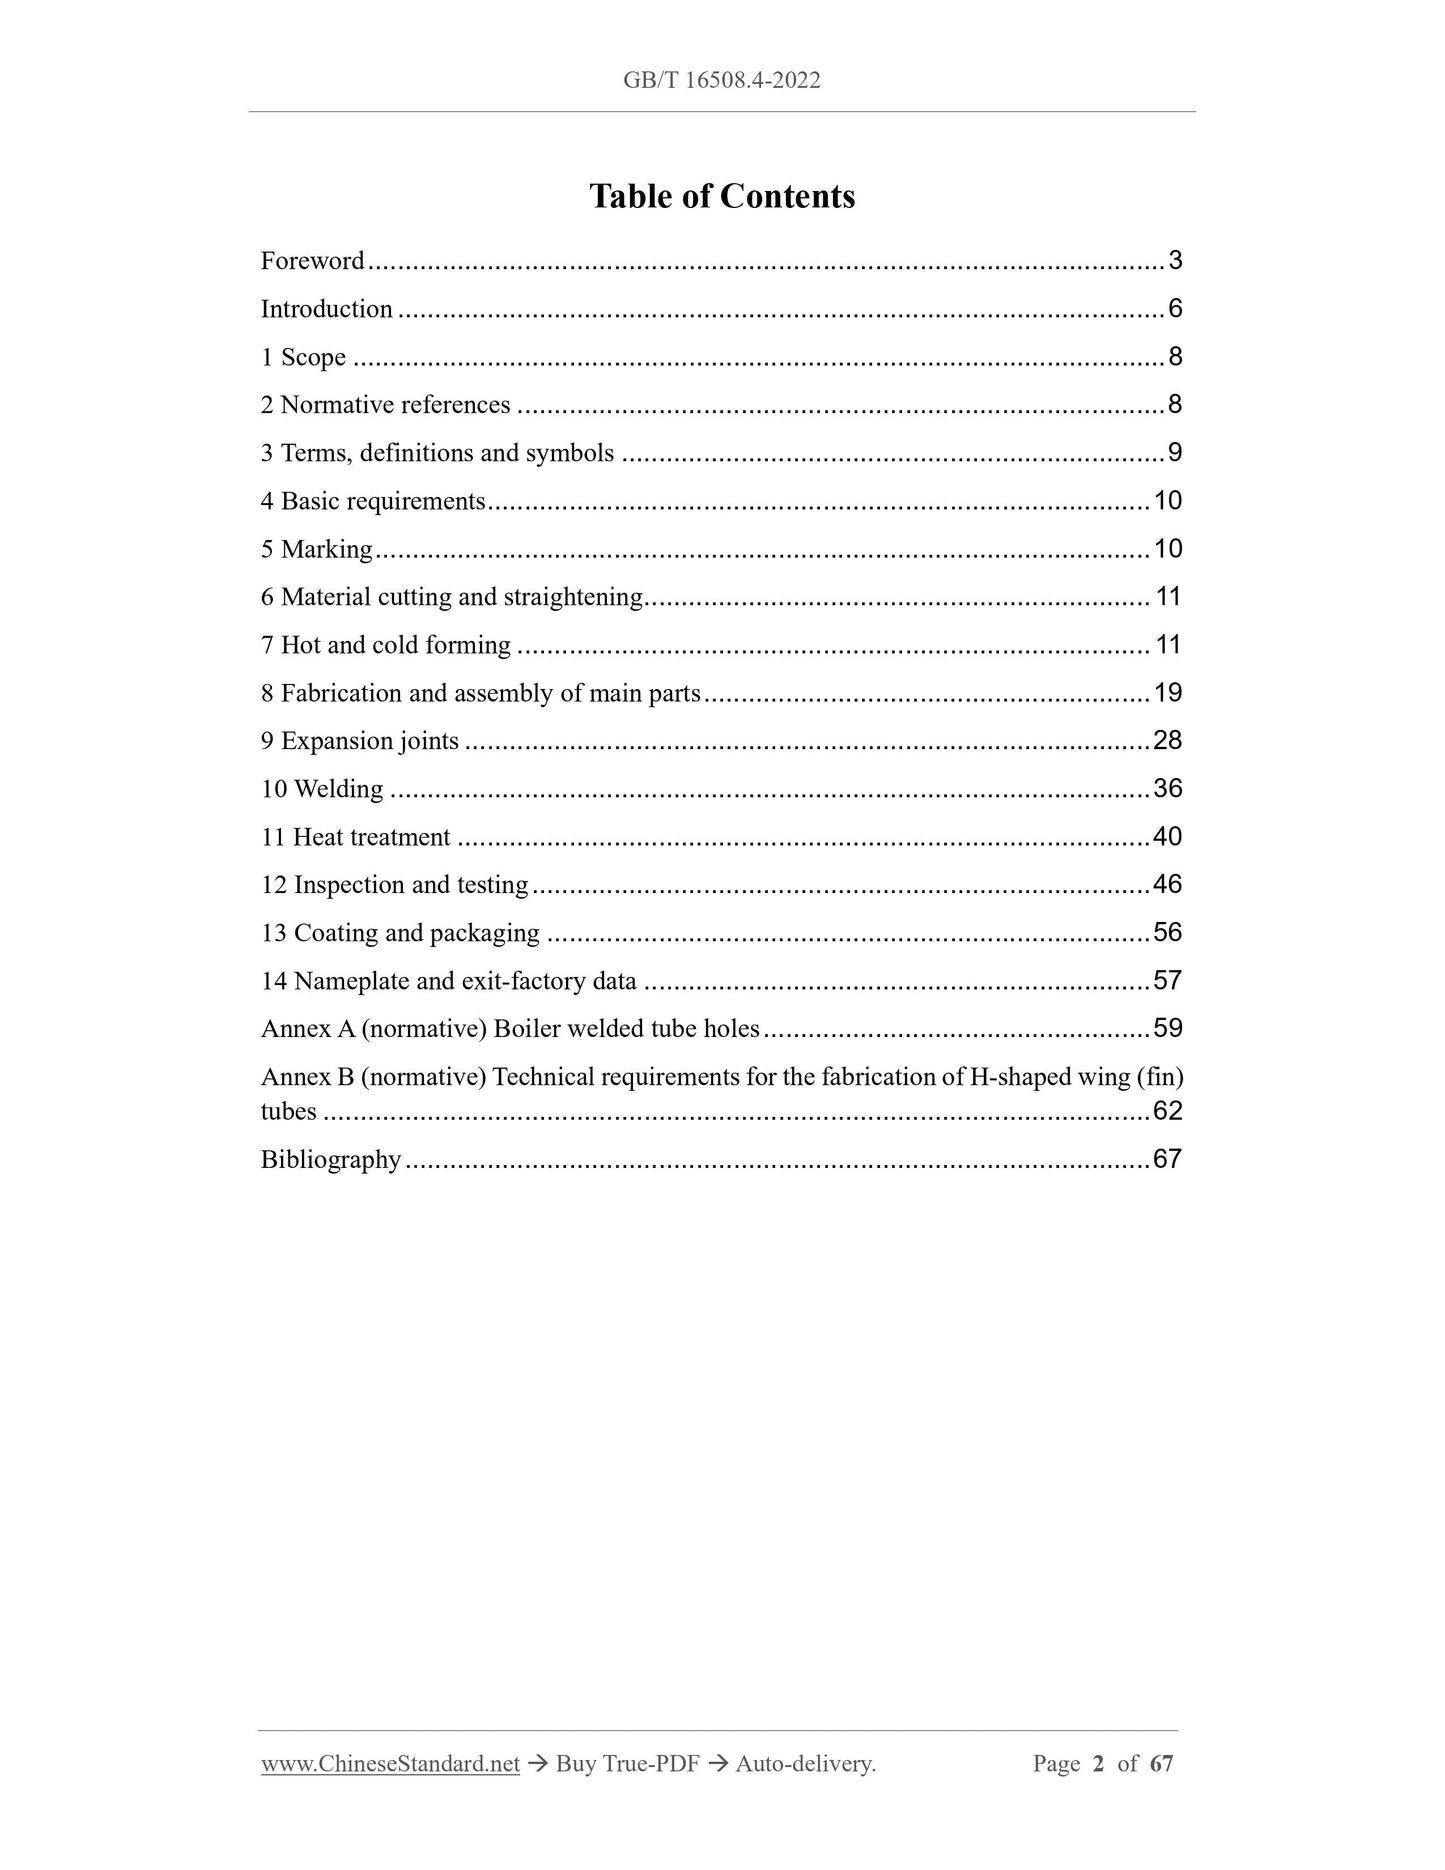
Table of Contents
Foreword ... 3
Introduction ... 6
1 Scope ... 8
2 Normative references ... 8
3 Terms, definitions and symbols ... 9
4 Basic requirements ... 10
5 Marking ... 10
6 Material cutting and straightening ... 11
7 Hot and cold forming ... 11
8 Fabrication and assembly of main parts ... 19
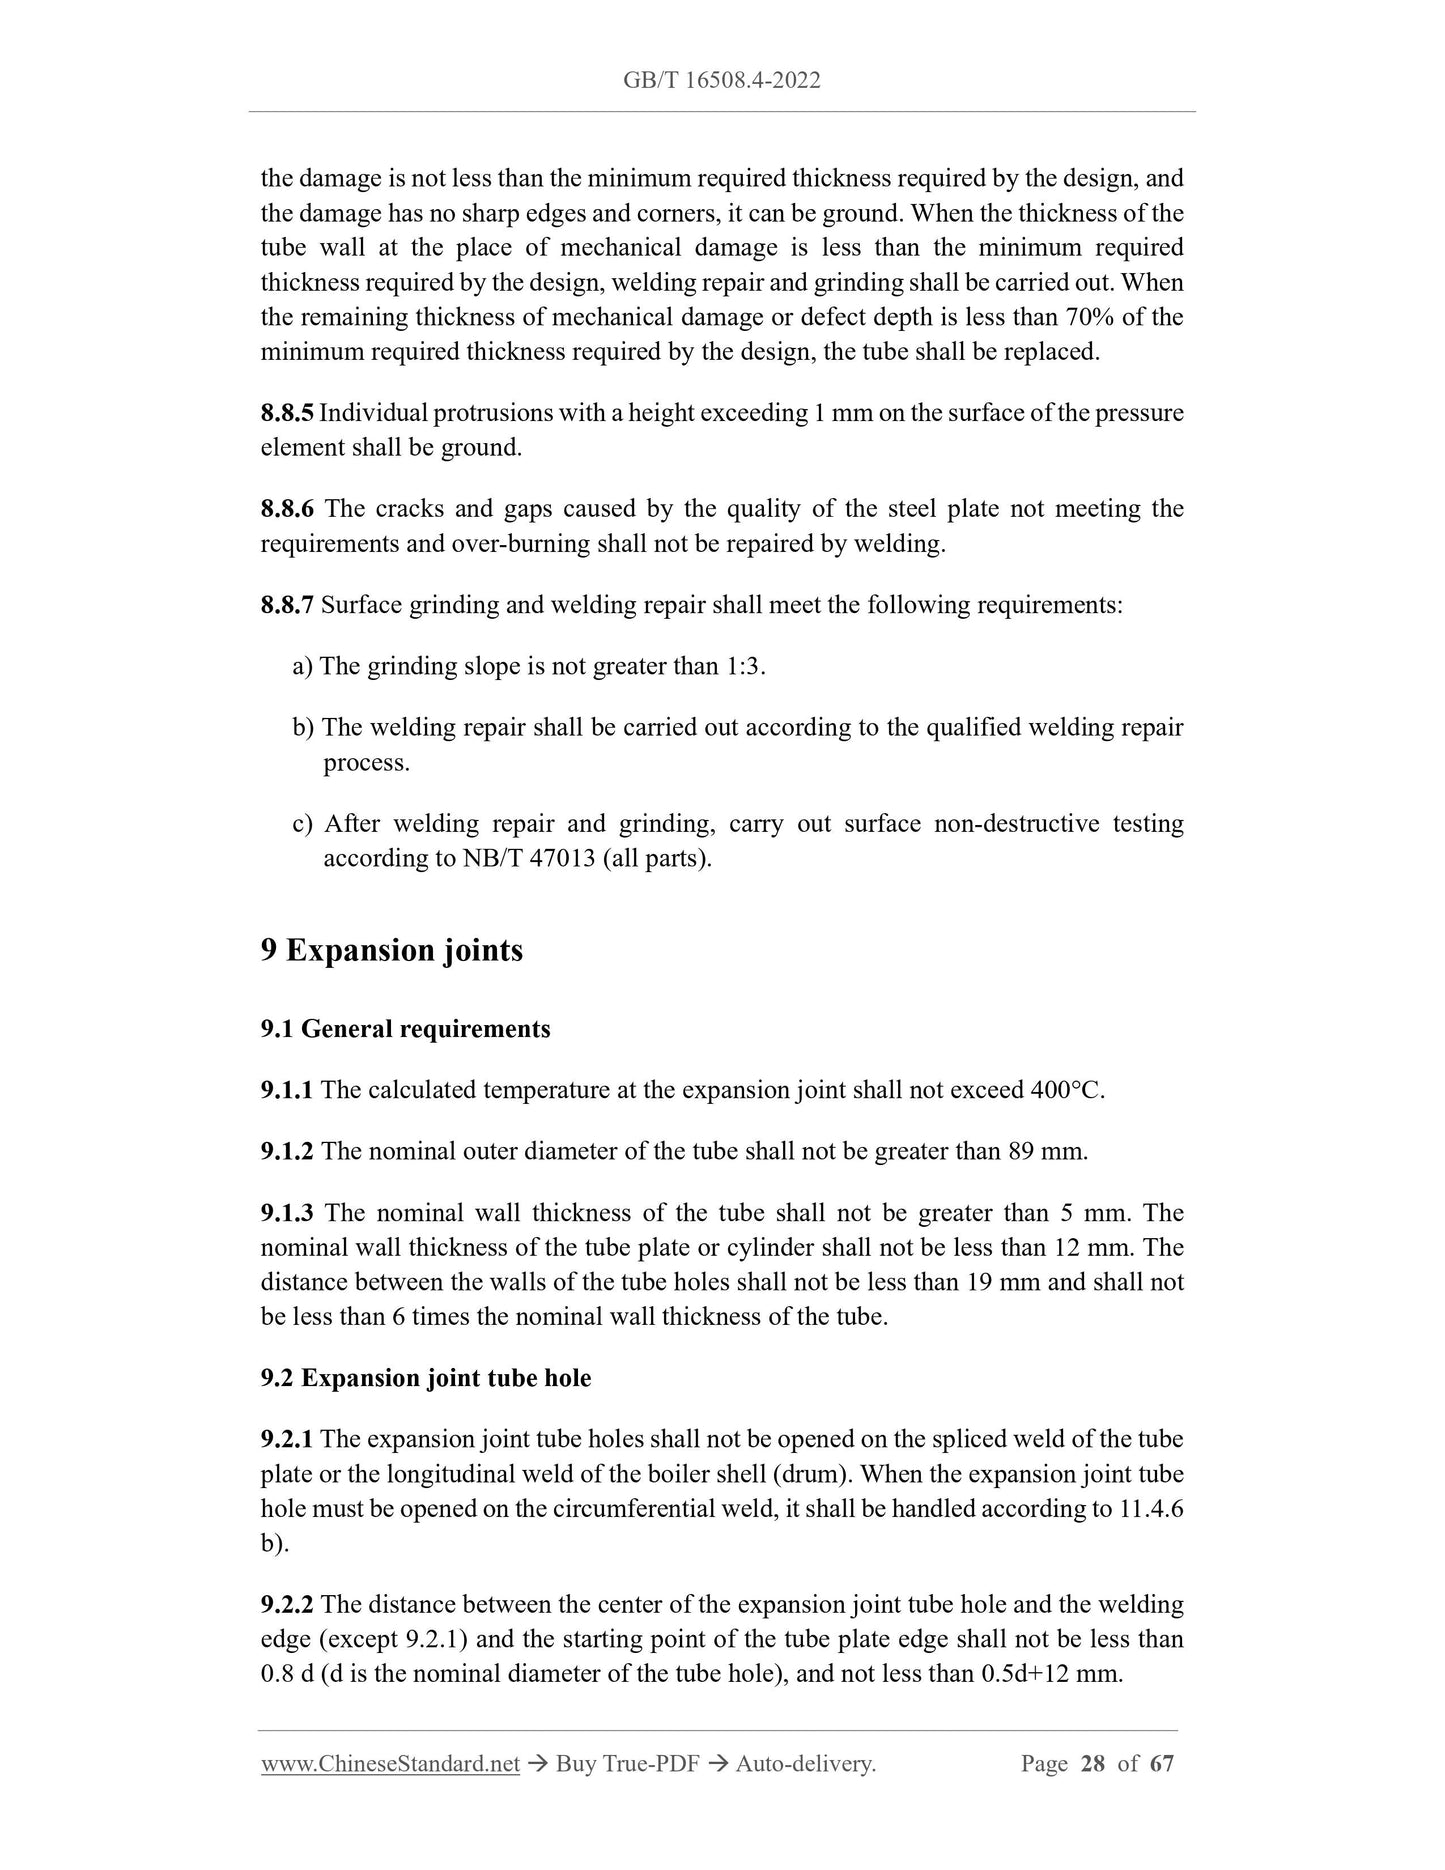
9 Expansion joints ... 28
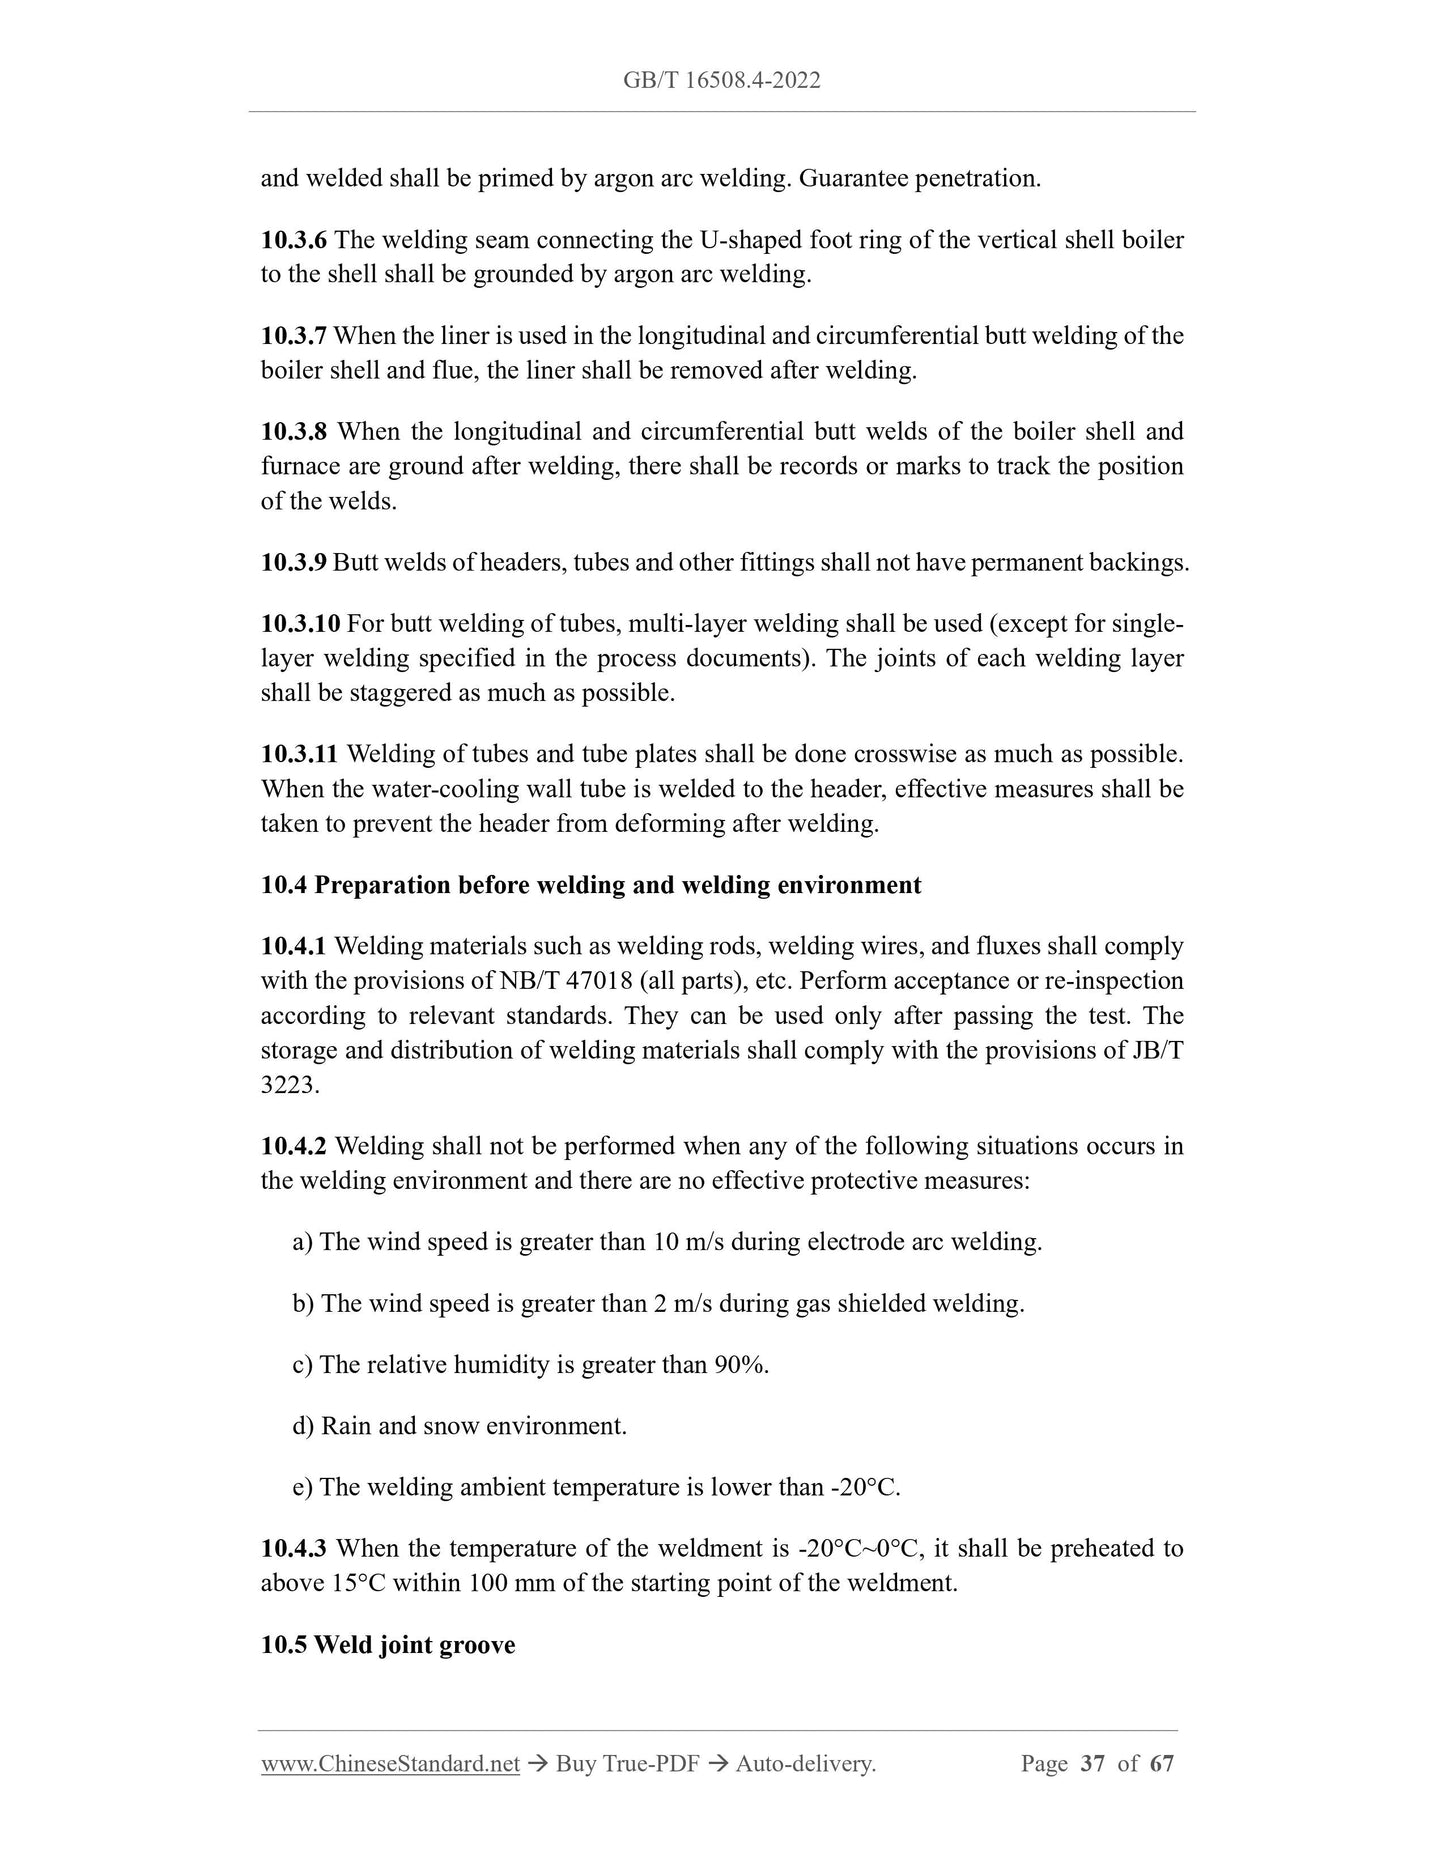
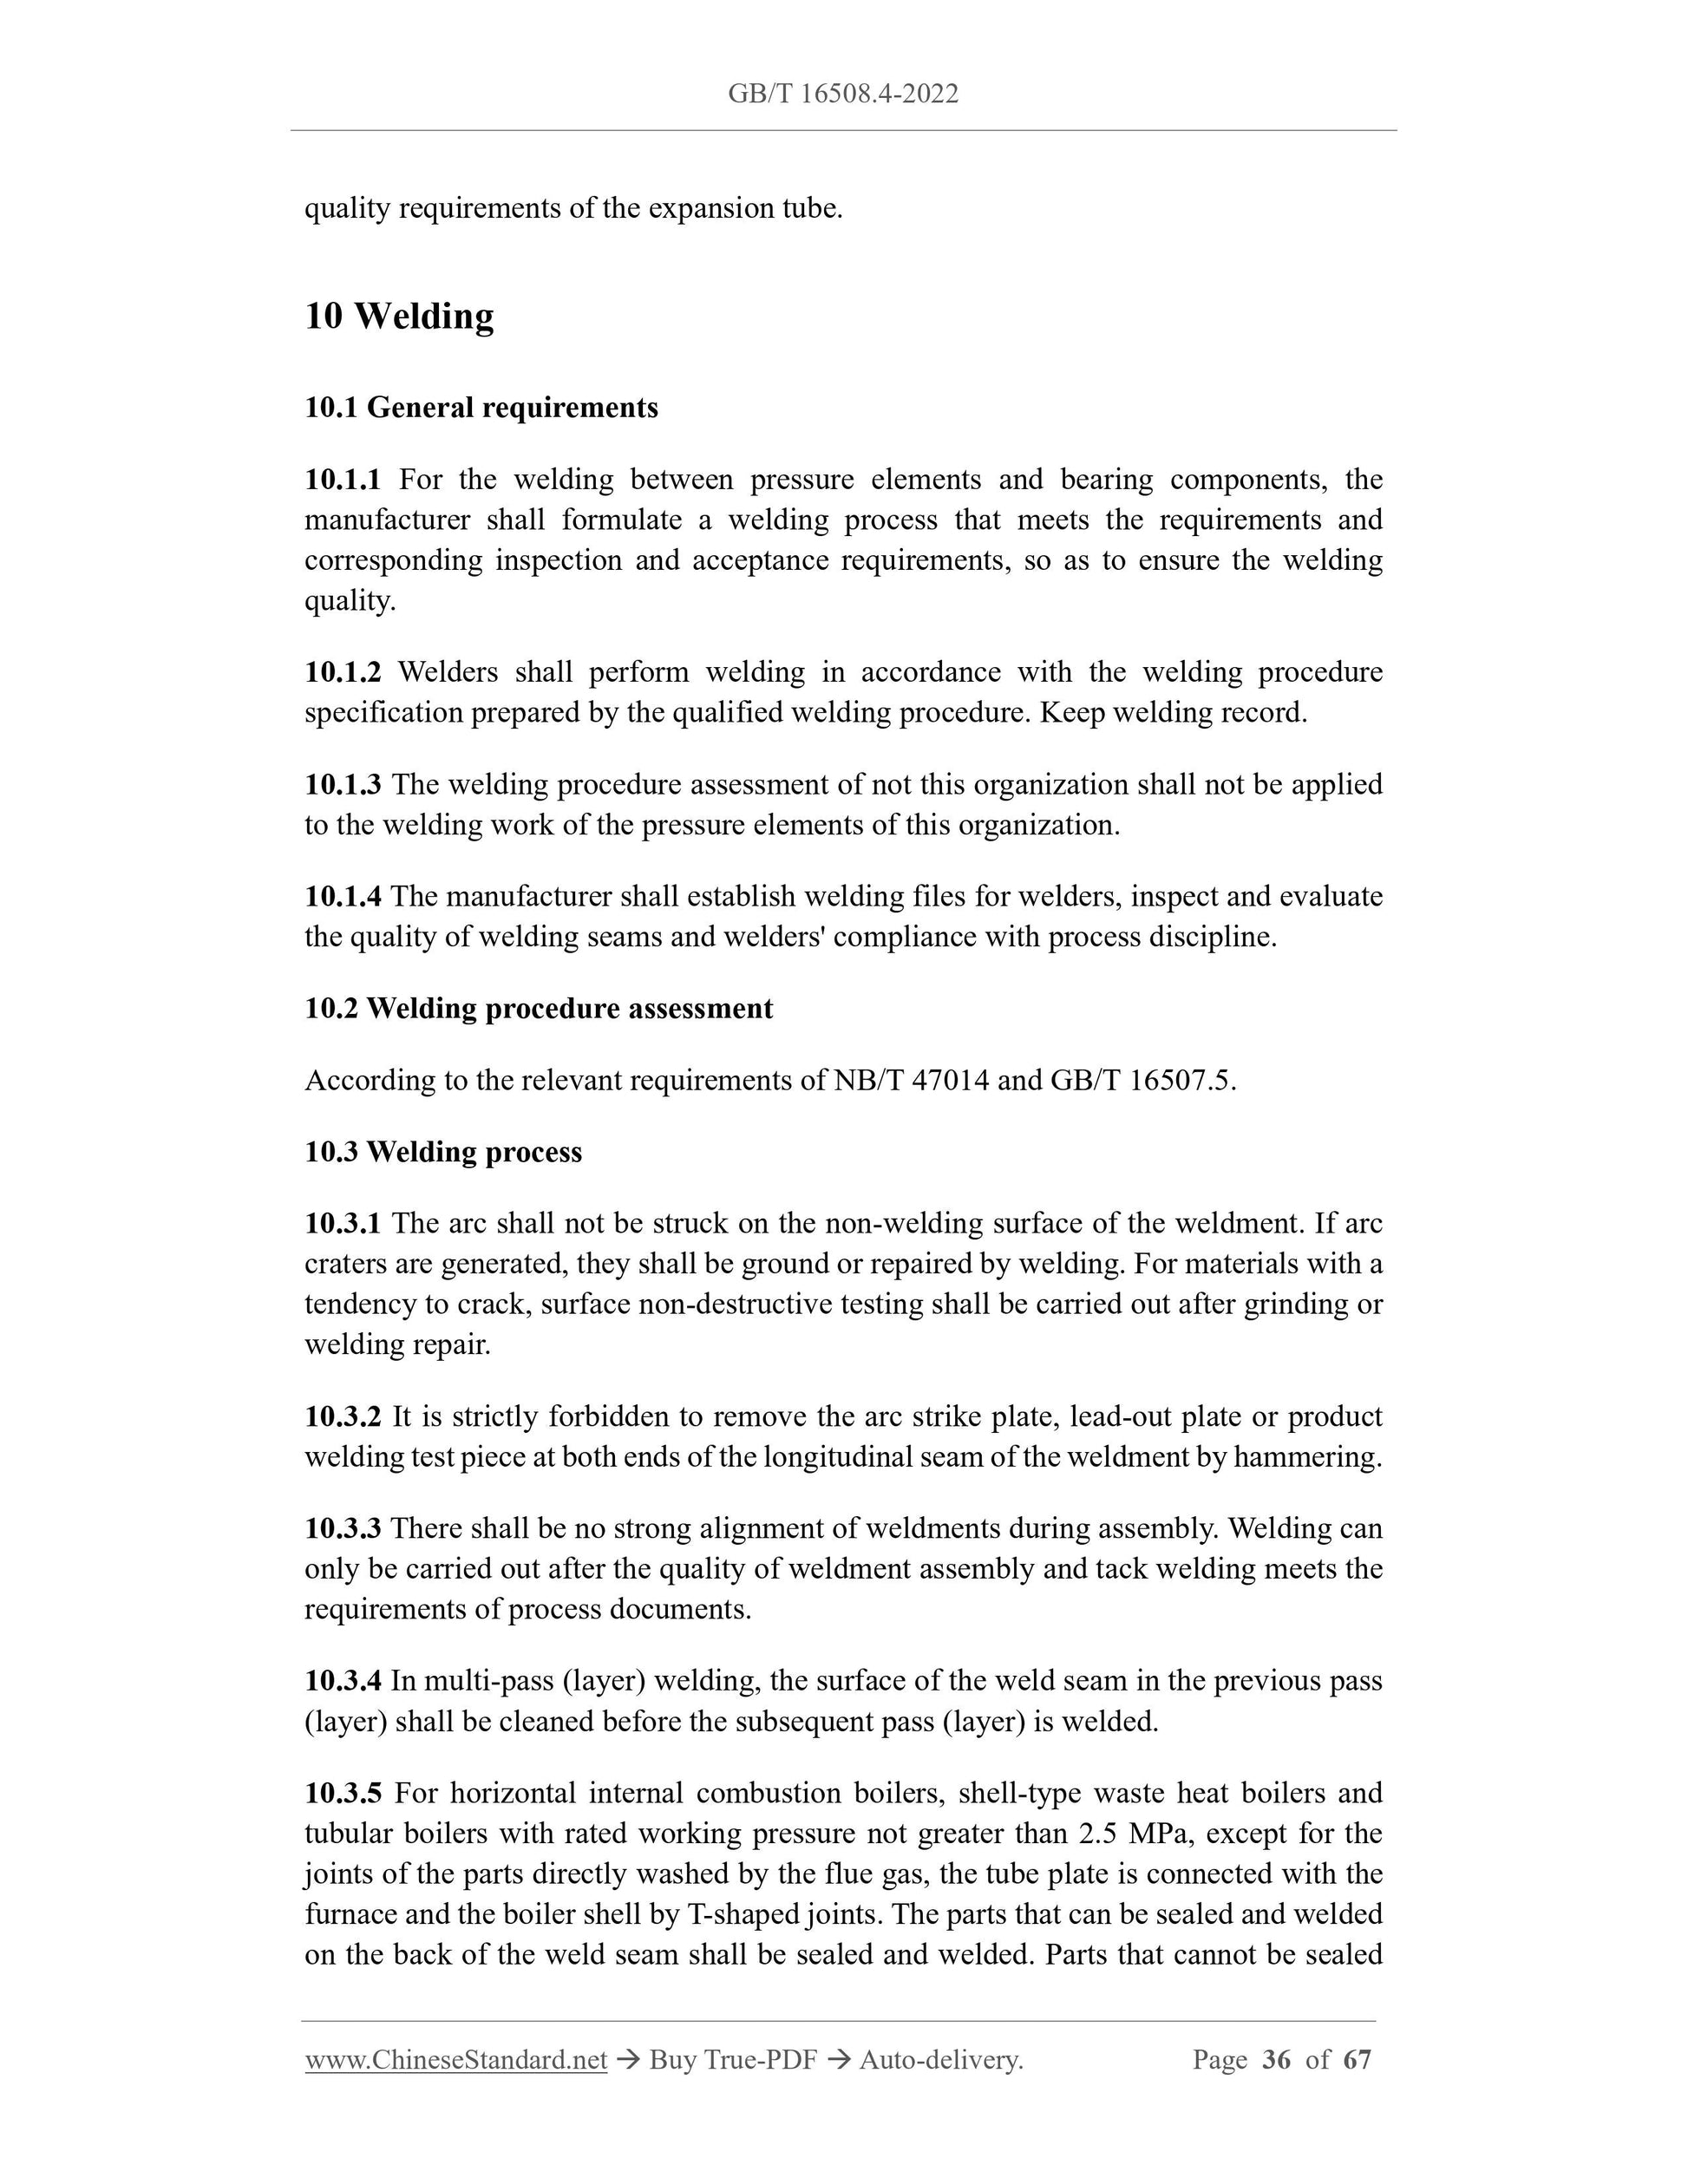
10 Welding ... 36
11 Heat treatment ... 40
12 Inspection and testing ... 46
13 Coating and packaging ... 56
14 Nameplate and exit-factory data ... 57
Annex A (normative) Boiler welded tube holes ... 59
Annex B (normative) Technical requirements for the fabrication of H-shaped wing (fin)
tubes ... 62
Bibliography ... 67
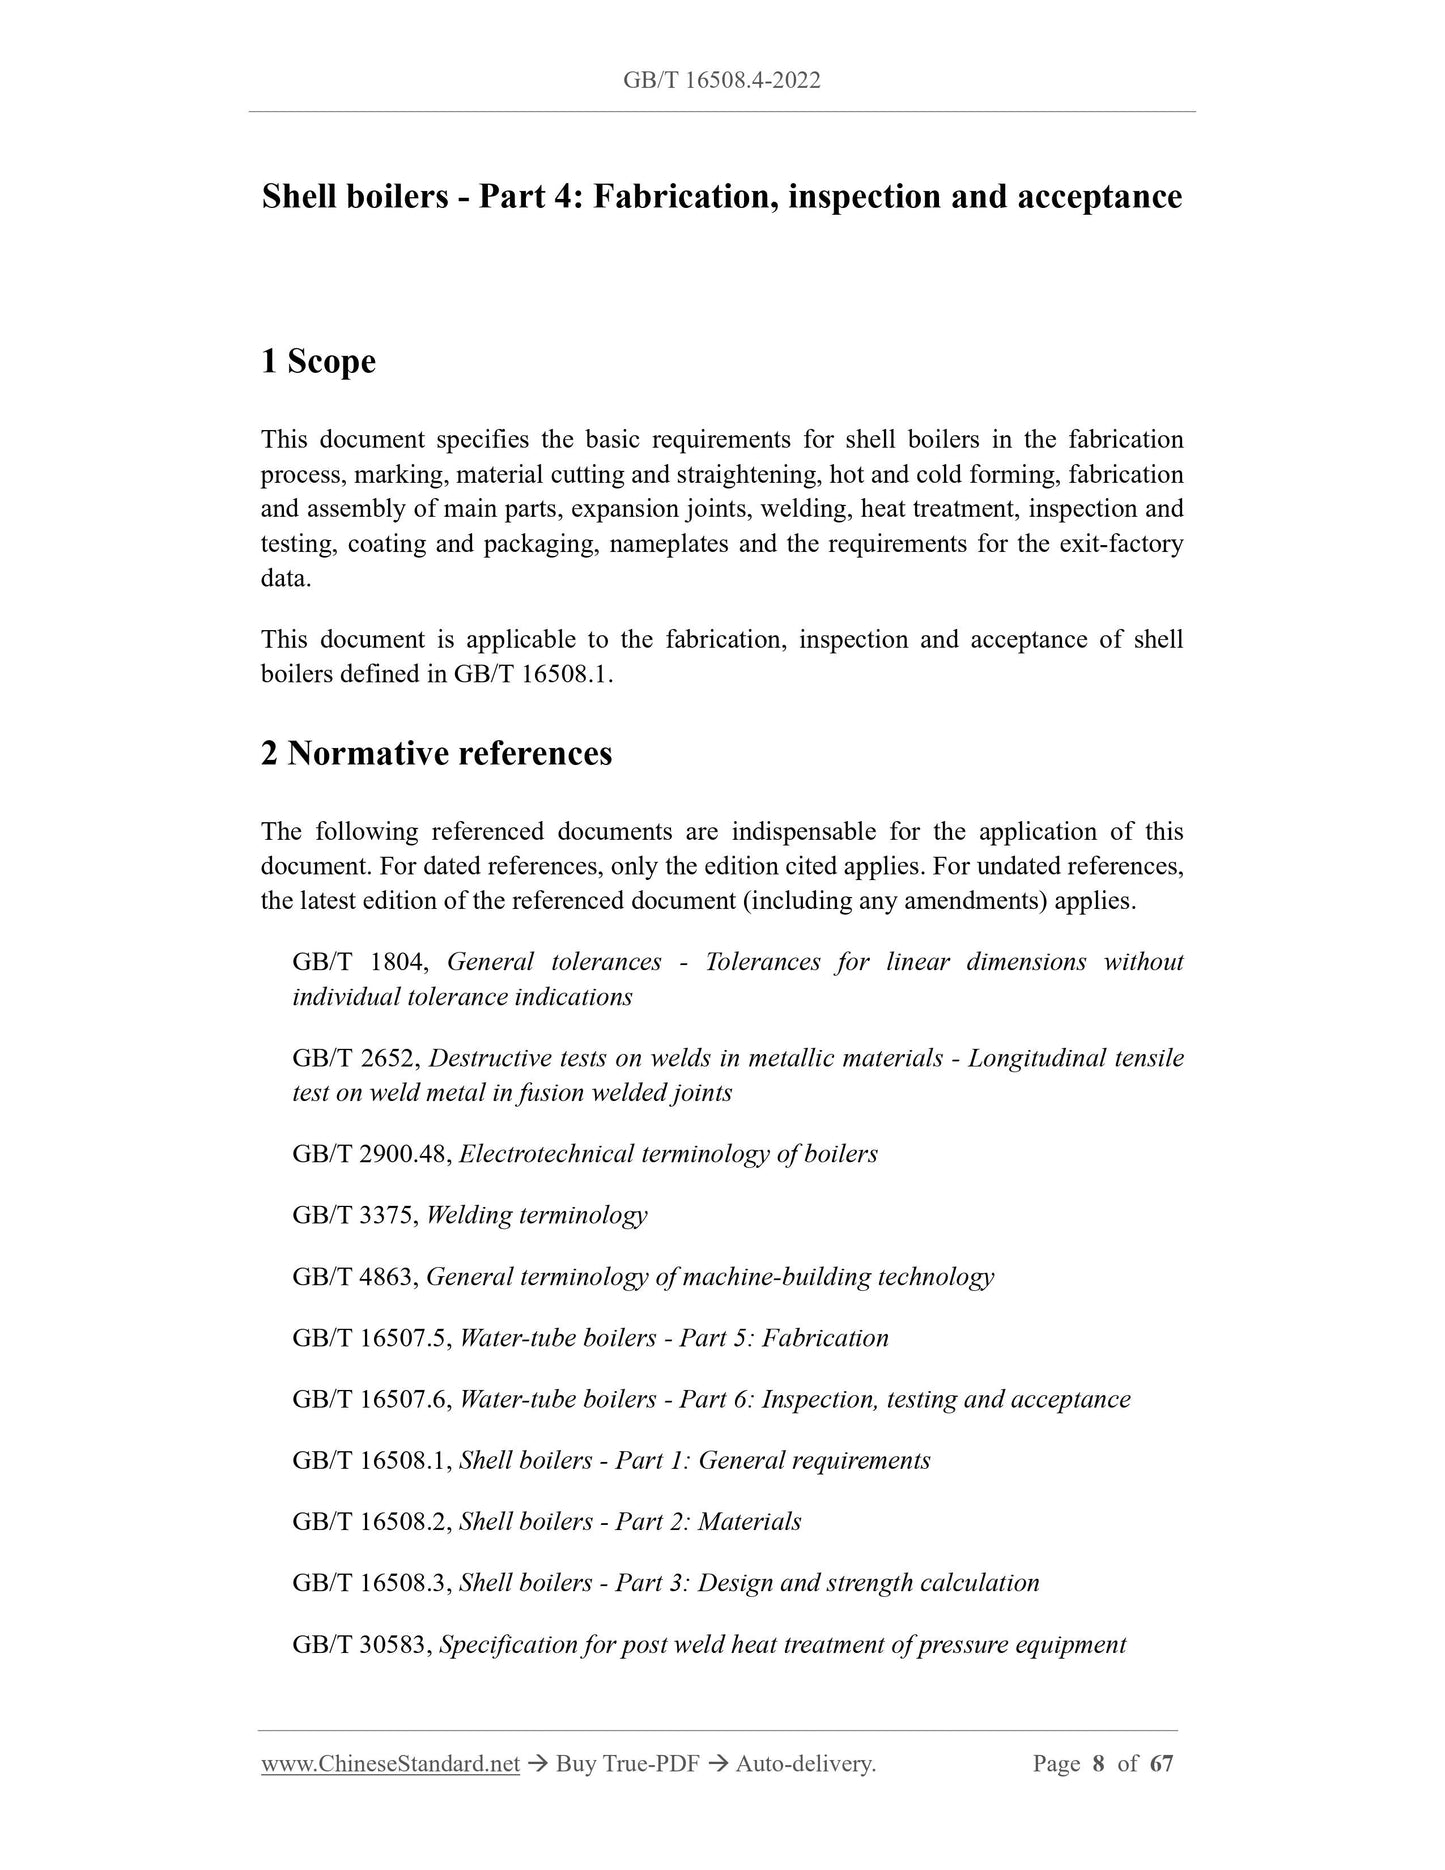
Shell boilers - Part 4: Fabrication, inspection and acceptance
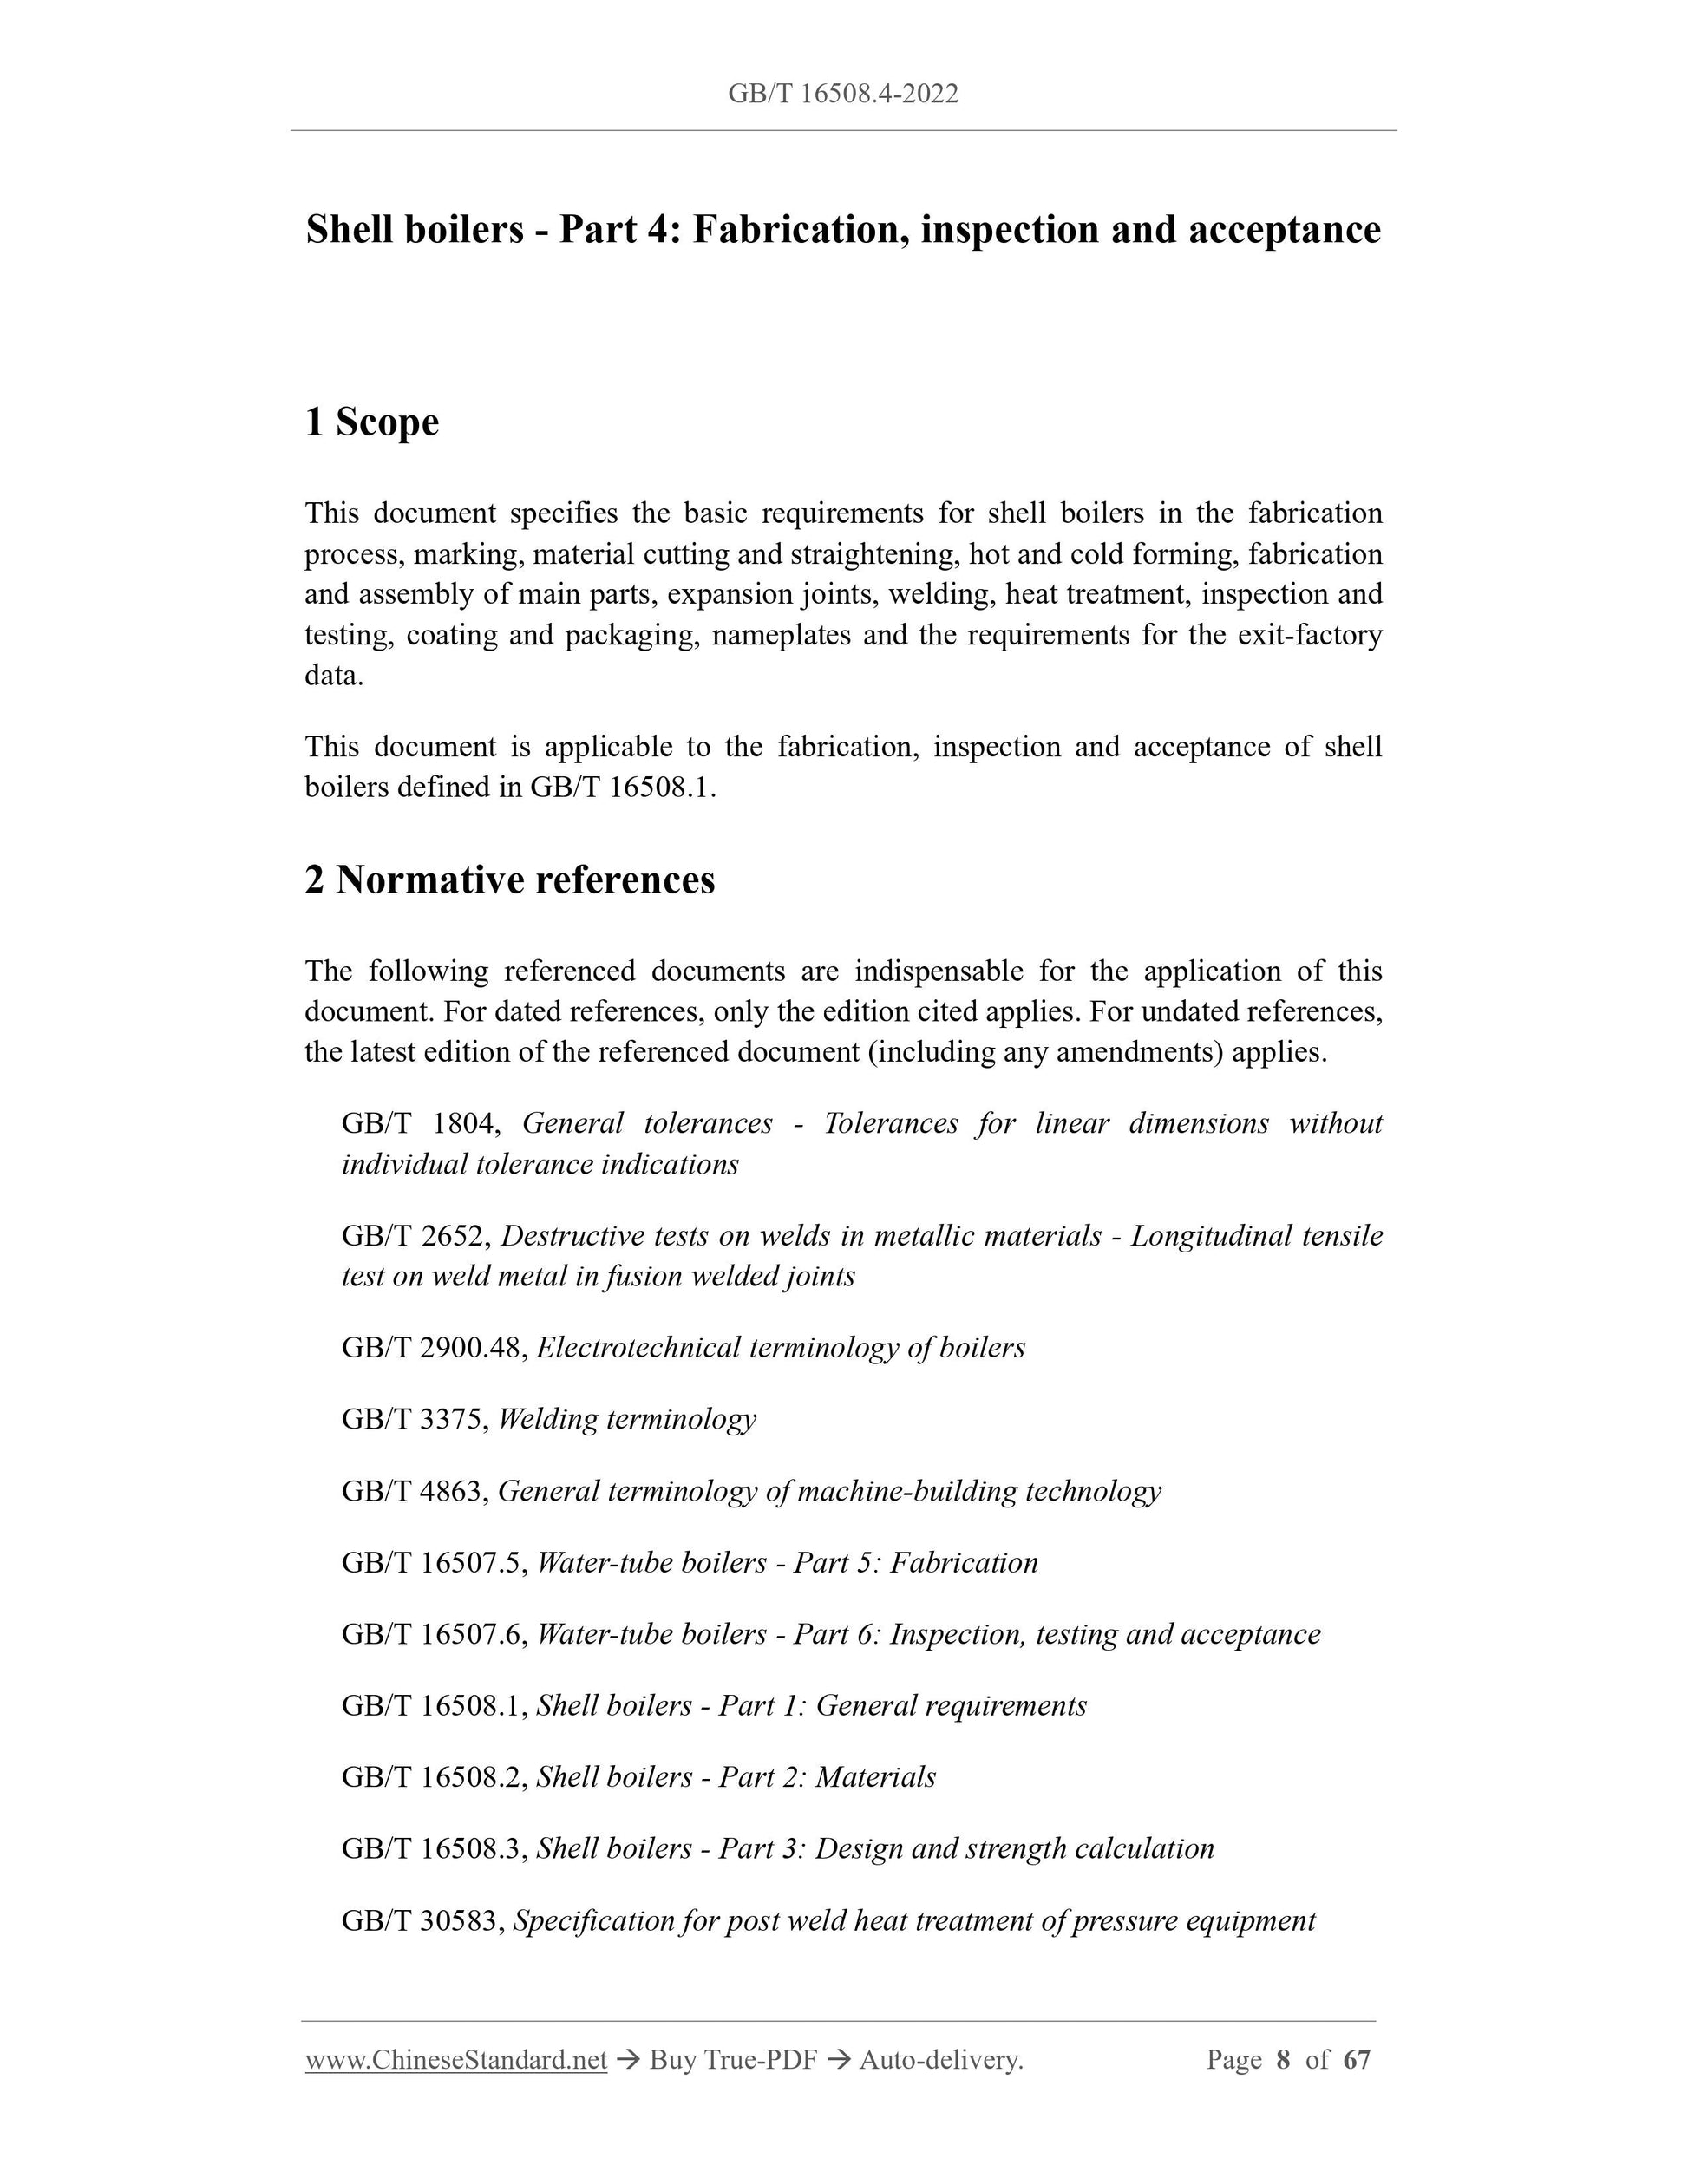
1 Scope
This document specifies the basic requirements for shell boilers in the fabrication
process, marking, material cutting and straightening, hot and cold forming, fabrication
and assembly of main parts, expansion joints, welding, heat treatment, inspection and
testing, coating and packaging, nameplates and the requirements for the exit-factory
data.
This document is applicable to the fabrication, inspection and acceptance of shell
boilers defined in GB/T 16508.1.
2 Normative references
The following referenced documents are indispensable for the application of this
document. For dated references, only the edition cited applies. For undated references,
the latest edition of the referenced document (including any amendments) applies.
GB/T 1804, General tolerances - Tolerances for linear dimensions without
individual tolerance indications
GB/T 2652, Destructive tests on welds in metallic materials - Longitudinal tensile
test on weld metal in fusion welded joints
GB/T 2900.48, Electrotechnical terminology of boilers
GB/T 3375, Welding terminology
GB/T 4863, General terminology of machine-building technology
GB/T 16507.5, Water-tube boilers - Part 5: Fabrication
GB/T 16507.6, Water-tube boilers - Part 6: Inspection, testing and acceptance
GB/T 16508.1, Shell boilers - Part 1: General requirements
GB/T 16508.2, Shell boilers - Part 2: Materials
GB/T 16508.3, Shell boilers - Part 3: Design and strength calculation
GB/T 30583, Specification for post weld heat treatment of pressure equipment
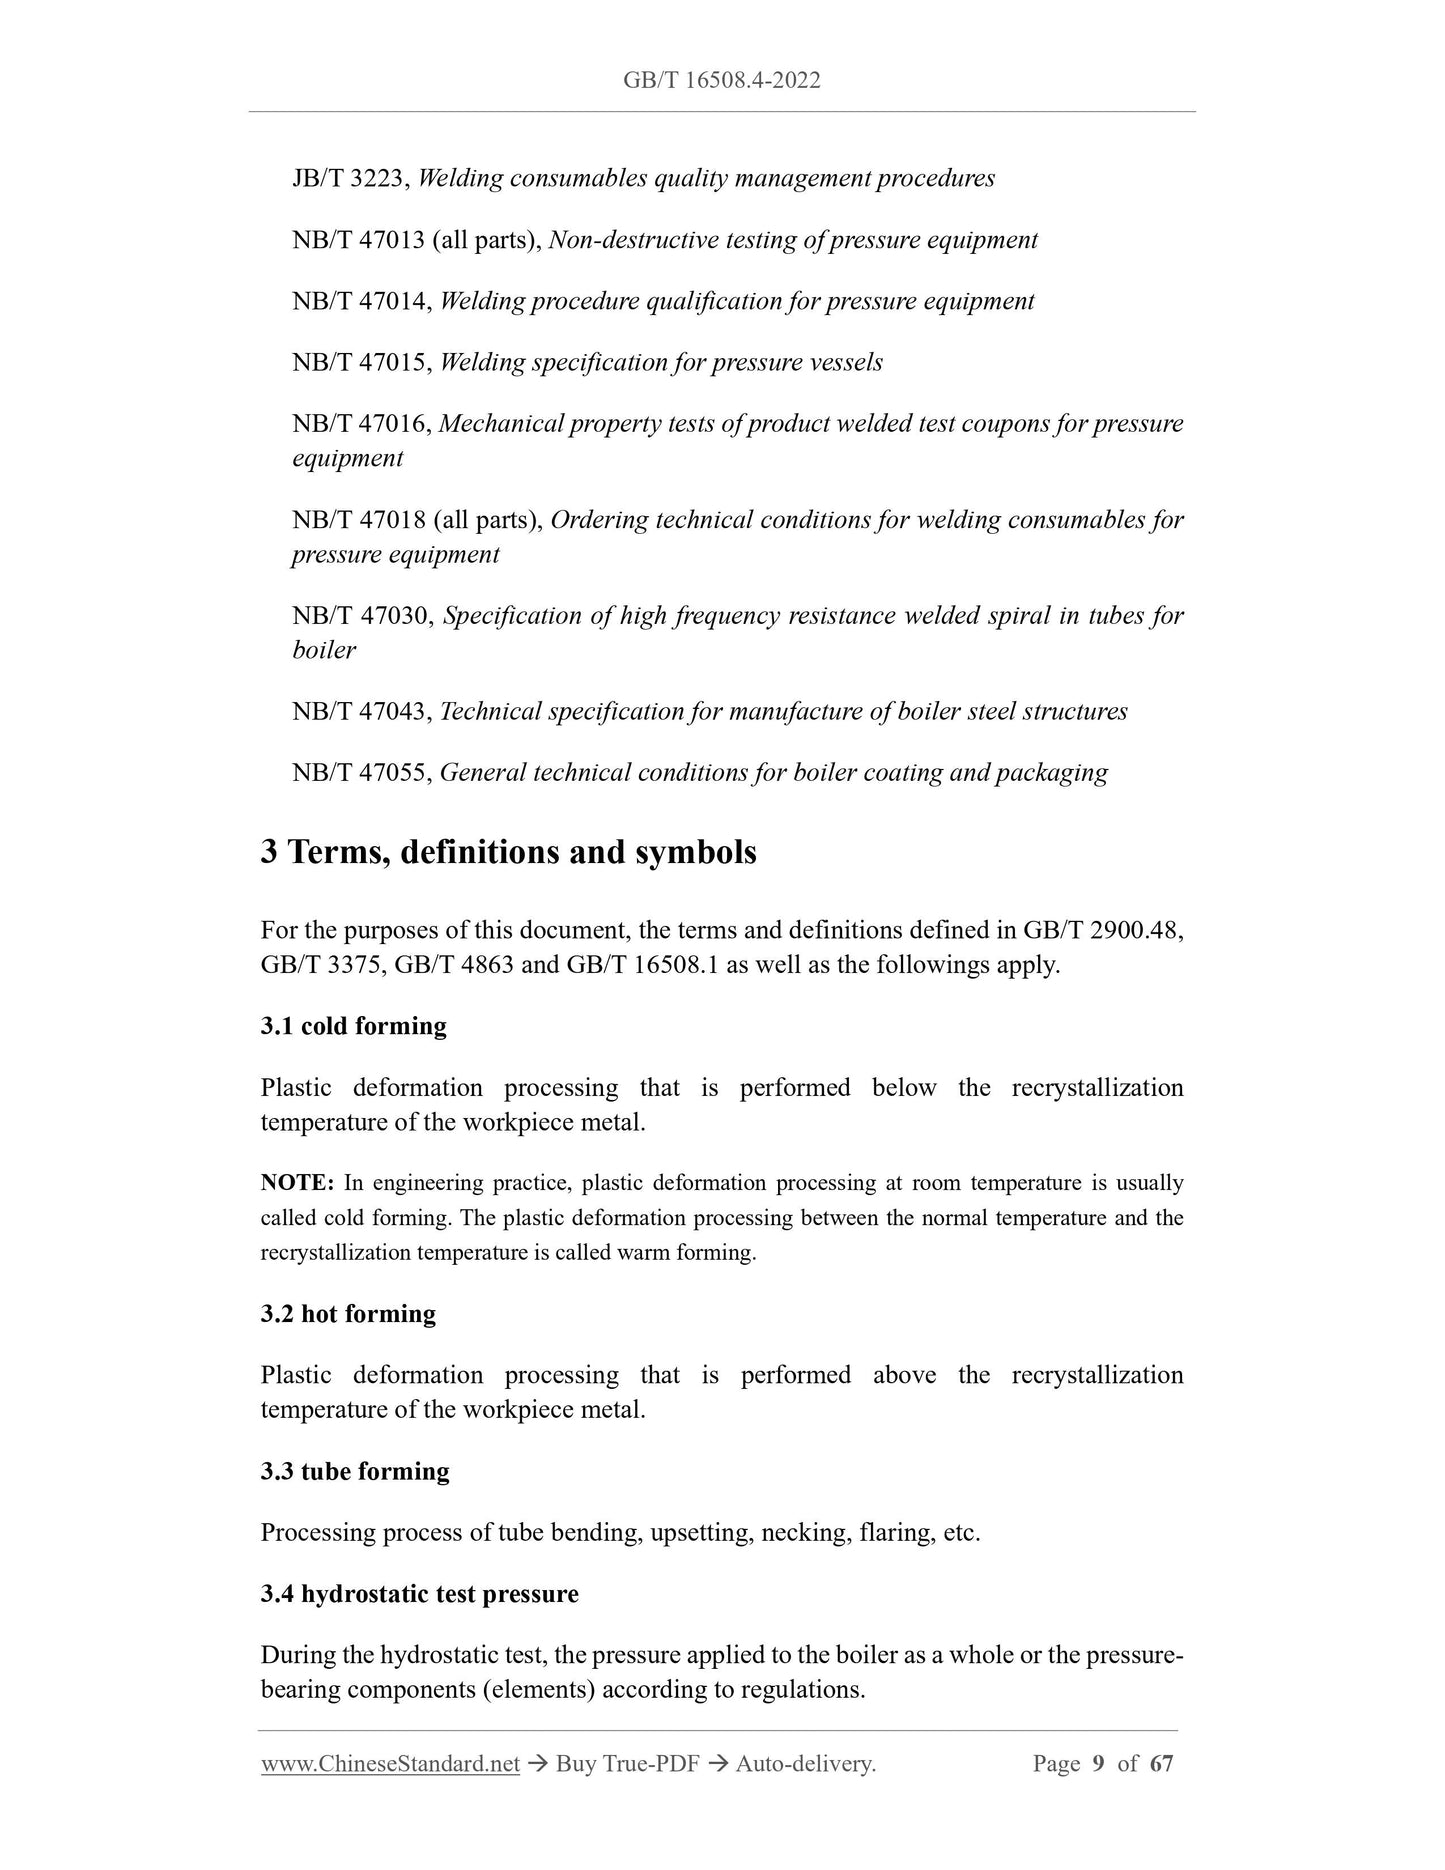
JB/T 3223, Welding consumables quality management procedures
NB/T 47013 (all parts), Non-destructive testing of pressure equipment
NB/T 47014, Welding procedure qualification for pressure equipment
NB/T 47015, Welding specification for pressure vessels
NB/T 47016, Mechanical property tests of product welded test coupons for pressure
equipment
NB/T 47018 (all parts), Ordering technical conditions for welding consumables for
pressure equipment
NB/T 47030, Specification of high frequency resistance welded spiral in tubes for
boiler
NB/T 47043, Technical specification for manufacture of boiler steel structures
NB/T 47055, General technical conditions for boiler coating and packaging
3 Terms, definitions and symbols
For the purposes of this document, the terms and definitions defined in GB/T 2900.48,
GB/T 3375, GB/T 4863 and GB/T 16508.1 as well as the followings apply.
3.1 cold forming
Plastic deformation processing that is performed below the recrystallization
temperature of the workpiece metal.
NOTE: In engineering practice, plastic deformation processing at room temperature is usually
called cold forming. The plastic deformation processing between the normal temperature and the
recrystallization temperature is called warm forming.
3.2 hot forming
Plastic deformation processing that is performed above the recrystallization
temperature of the workpiece metal.
3.3 tube forming
Processing process of tube bending, upsetting, necking, flaring, etc.
3.4 hydrostatic test pressure
During the hydrostatic test, the pressure applied to the boiler as a whole or the pressure-
bearing components (elements) according to regulations.
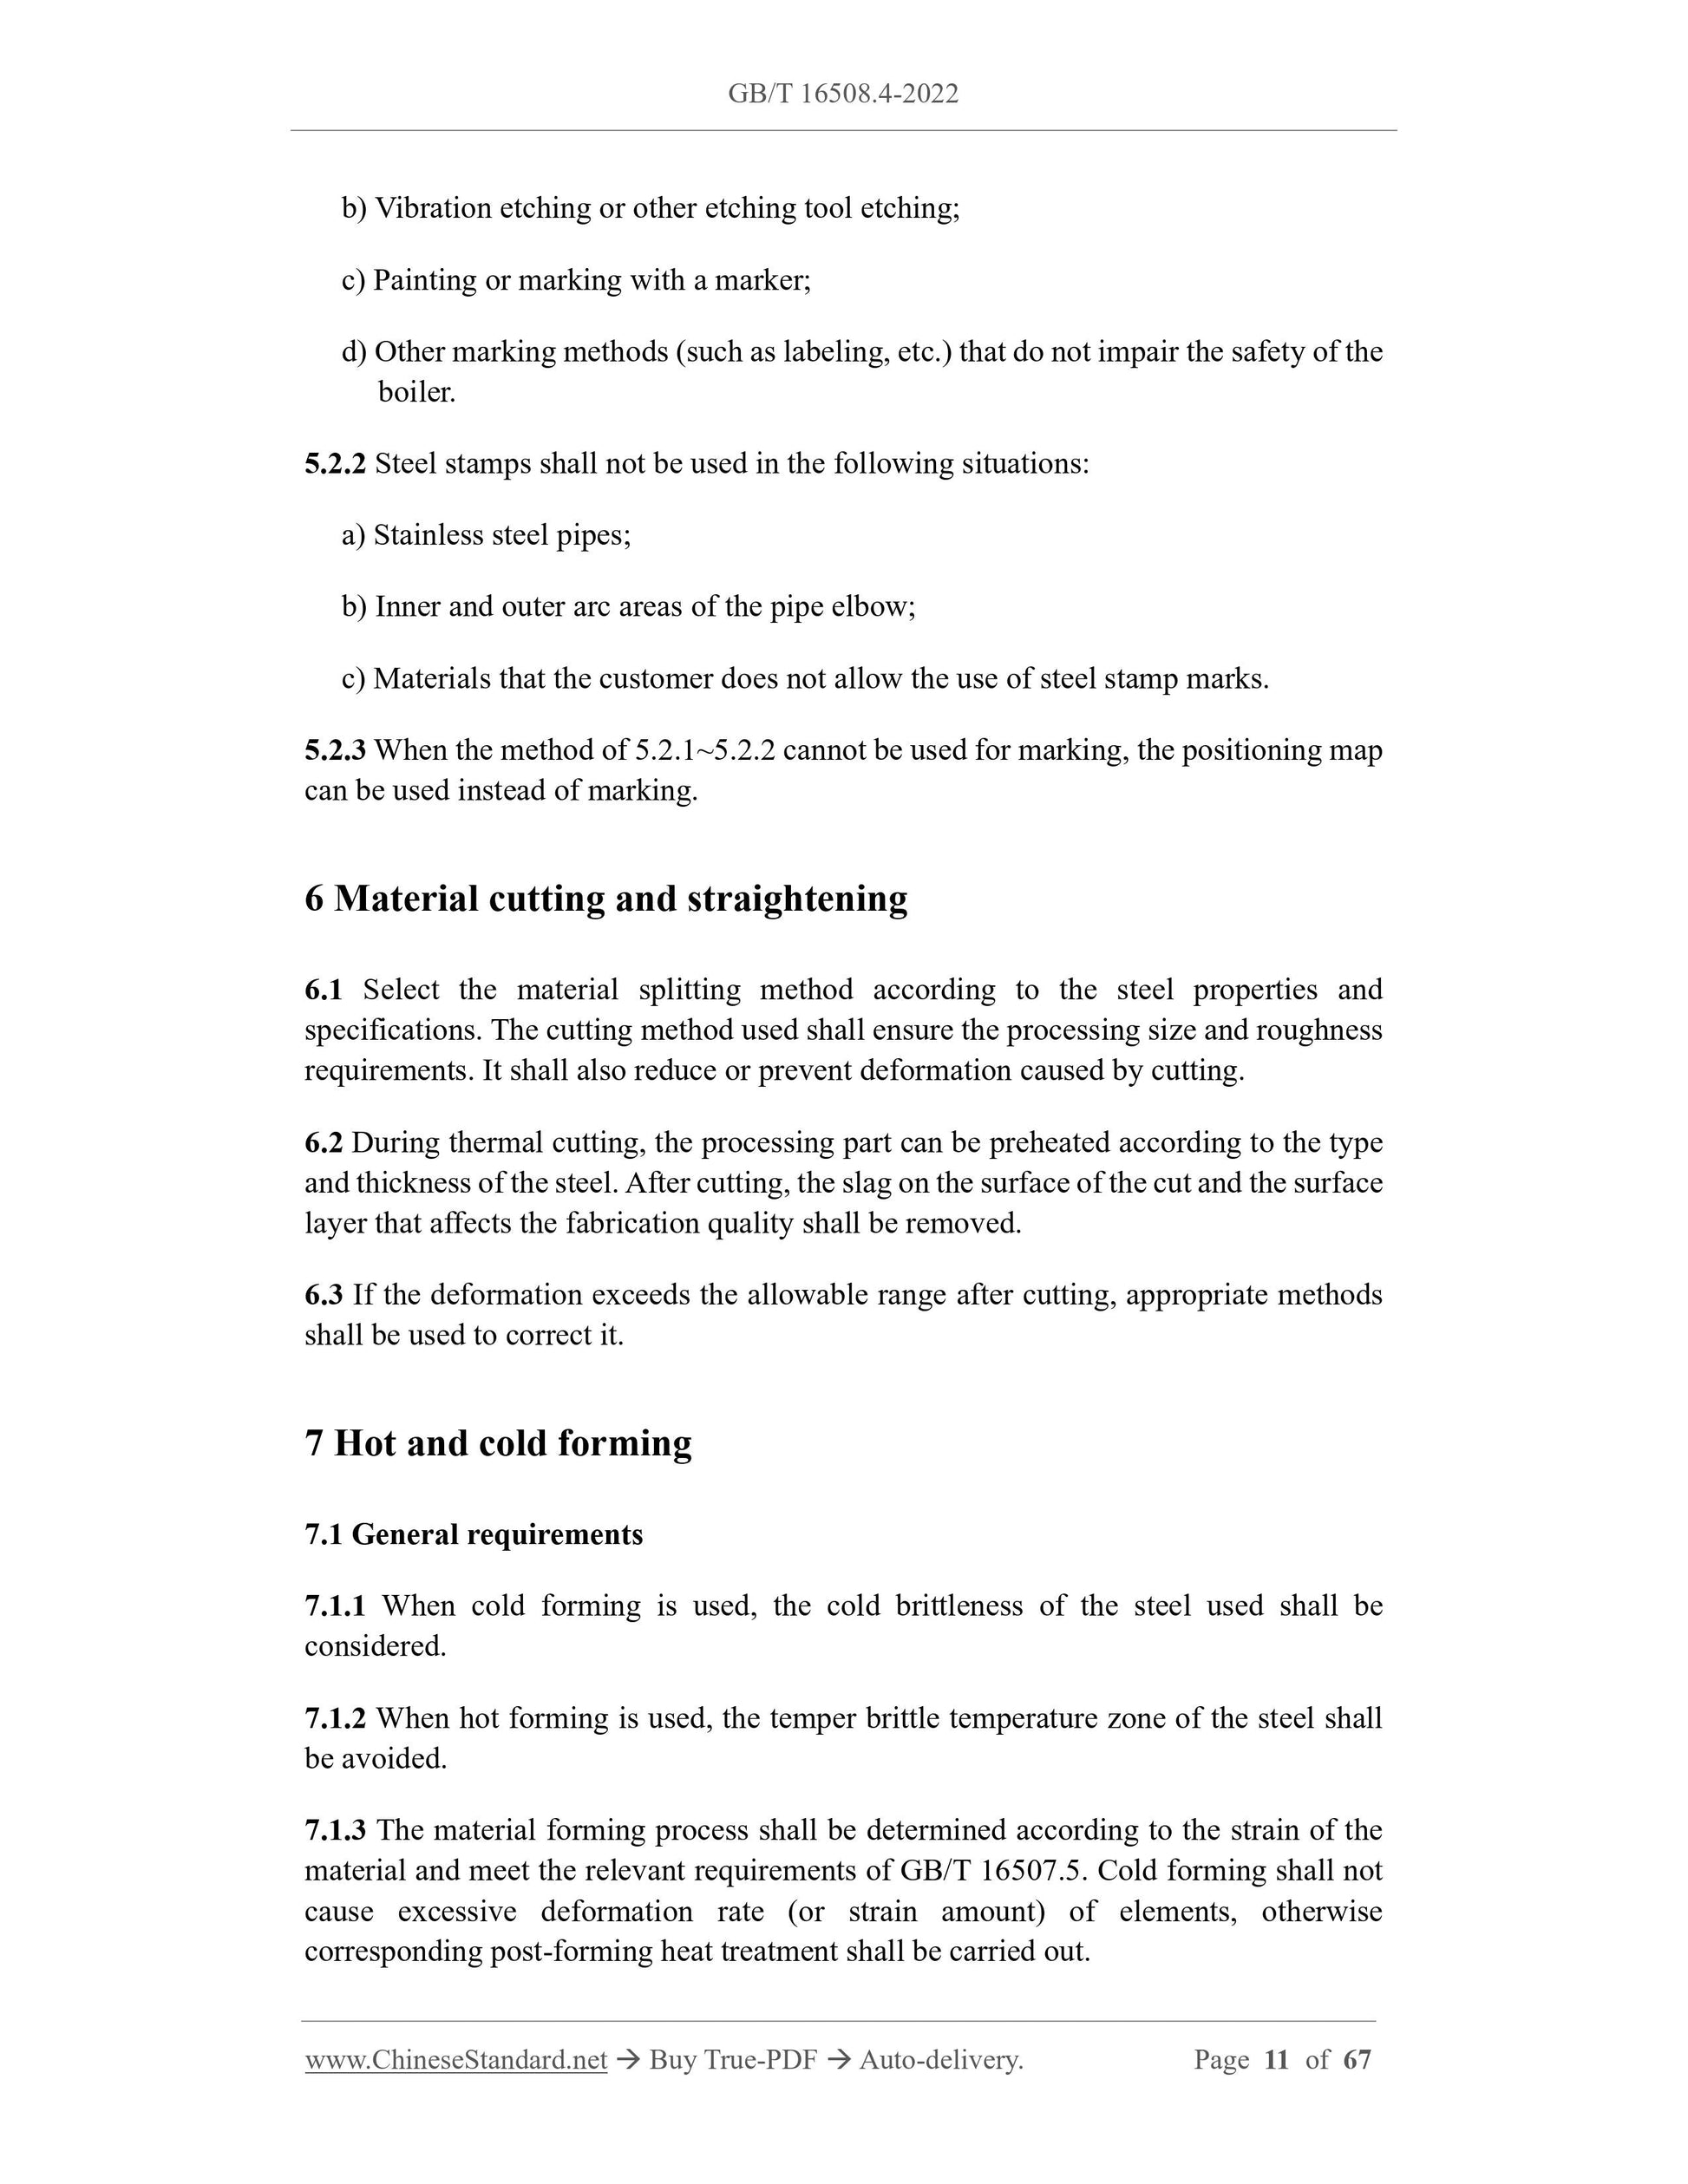
b) Vibration etching or other etching tool etching;
c) Painting or marking with a marker;
d) Other marking methods (such as labeling, etc.) that do not impair the safety of the
boiler.
5.2.2 Steel stamps shall not be used in the following situations:
a) Stainless steel pipes;
b) Inner and outer arc areas of the pipe elbow;
c) Materials that the customer does not allow the use of steel stamp marks.
5.2.3 When the method of 5.2.1~5.2.2 cannot be used for marking, the positioning map
can be used instead of marking.
6 Material cutting and straightening
6.1 Select the material splitting method according to the steel properties and
specifications. The cutting method used shall ensure the processing size and roughness
requirements. It shall also reduce or prevent deformation caused by cutting.
6.2 During thermal cutting, the processing part can be preheated according to the type
and thickness of the steel. After cutting, the slag on the surface of the cut and the surface
layer that affects the fabrication quality shall be removed.
6.3 If the deformation exceeds the allowable range after cutting, appropriate methods
shall be used to correct it.
7 Hot and cold forming
7.1 General requirements
7.1.1 When cold forming is used, the cold brittleness of the steel used shall be
considered.
7.1.2 When hot forming is used, the temper brittle temperature zone of the steel shall
be avoided.
7.1.3 The material forming process shall be determined according to the strain of the
material and meet the relevant requirements of GB/T 16507.5. Cold forming shall not
cause excessive deformation rate (or strain amount) of elements, otherwise
corresponding post-forming heat treatment shall be carried out.
7.1.4 For pressure elements made of steel that has been normalized, normalized plus
tempered, or quenched and tempered, cold forming or warm forming shall be used.
7.2 Corrugated forming of boiler shell and cylindrical shell section, tube plate
(head), U-shaped foot ring and flue
7.2.1 The continuous forming process shall be adopted for hot forming or cold forming
of circular tube plates, heads, U-shaped foot rings and furnace corrugations.
7.2.2 Tube plates, heads and U-shaped foot rings shall be pressed and formed from a
single piece of steel plate. When splicing is required and the plate thickness is not
greater than 100 mm, the actual edge deviation of the steel plates on both sides of the
spliced weld shall not be greater than 10% of the nominal plate thickness, which shall
not exceed 3 mm. When the plate thickness is greater than 100 mm, the actual edge
deviation of the steel plates on both sides of the spliced weld shall not exceed 6 mm.
7.2.3 The appearance quality after forming shall meet the following requirements:
a) There shall be no defects such as depressions, scars, cracks, heavy skins, etc. on
the inner and outer surfaces of the rolled cylindrical shell section, pressed tube
plate, head, U-shaped foot ring, and corrugated flue.
b) There shall be no cracks at the end of the flange hole (manhole, flue hole) after
the edge is processed.
7.2.4 The actual thickness of the pressure element after forming shall not be less than
the minimum required thickness required by the design. Special parts are according to
the following requirements:
a) The thickness of circular tube plate edge arc, U-shaped bottom ring and the
thinnest corrugated part of corrugated flue shall not be less than 85% of the
nominal thickness. It shall not be less than the minimum required thickness
required by the design.
b) For the flange hole of the circular tube plate and head, when there is no reinforcing
ring or it is impossible to strengthen, the thickness of the edge of the straight
section shall not be less than 70% of the nominal thickness of the element. It shall
not be less than the minimum required thickness required by the design.
7.2.5 The deviation of the inner diameter of the circular tube plate, the head and the
outer ring of the U-shaped bottom ring shall meet the requirements of Table 1. About
the difference between the largest inner diameter and the smallest inner diameter on the
same section, for heads, it shall not be greater than 1% of its nominal inner diameter
(Di); for round tube plate and U-shaped bottom ring outer ring, it shall not be greater
than 0.5% of its nominal inside diameter (Di).
7.2.6 The flatness of the circular flat tube plate shall not exceed the requirements in
7.3.1 Tube forming shall comply with the provisions of GB/T 16507.5.
7.3.2 After the tube is rolled and threaded, there shall be no defects such as cracks and
wrinkles on the surface. The shape deviation, size deviation and surface roughness of
the threaded smoke tube shall meet the requirements of the design documents.
7.3.3 The constriction at the end of the header tube meets the following requirements.
a) The division of the header tubes for closure shall be done by mechanical cutting.
If the flame cutting method is used, the burrs and slag at the cutting part of the
tube shall be removed after cutting, and the gaps at the leading and ending points
shall be ground. Make it a smooth transition to prevent wrinkles from shrinking.
The verticality of the cut tube end section shall be less than 2 mm.
b) When the necking is elliptical, the center line of the header tube shall be drawn
after cutting and punched out, so as to determine the orientation of the major and
minor axes of the elliptical hand hole. Keep the orientation of the long and short
axes consistent after both ends are shrunk.
c) When the header tube end is necked, the heating temperature, heating length and
necking termination temperature of the tube end shall be strictly controlled.
d) After shrinking, the outer surface of the tube shall not have defects such as over-
burning, cracks, folding, wrinkling, and protrusions. The forming size of the
shrinking shall meet the requirements of the drawing.
8 Fabrication and assembly of main parts
8.1 Boiler shell, flue, header
8.1.1 The cylindrical shell section butt joints of the shell, flue, the butt joint of the
cylinder body and the tube plate (head), and the butt joint of the header meet the
following requirements:
a) The steel centerlines on both sides of the longitudinal and circumferential seams
of the boiler shell cylinder, the steel centerlines on both sides of the cylinder body
and the tube plate (head) circumferential seam, and the steel centerlines on both
sides of the butt weld of the header shall be aligned. When the thickness of the
steel on both sides of the circular seam is not equal, the edge of one side is also
allowed to be aligned.
b) The actual edge deviation of the steel on both sides of the longitudinal seam shall
not be greater than 10% of the nominal thickness of the steel, which shall not
exceed 3 mm.
c) The actual edge deviation value of the steel on both sides of the circular joint
tube size deviation and fusion rate can refer to the requirements of NB/T 47030. The
fabrication of H-shaped wing (fin) tubes shall be carried out in accordance with the
requirements of Annex B.
8.3 Braces
8.3.1 Braces (including straight tie rods, diagonal tie rods, stay tubes, stay plates) shall
not be spliced.
8.3.2 The dimensional deviation of the braces shall meet the requirements of the design
documents.
8.4 Man (hand, head) holes and hole covers
Slight circumferential notches are allowed on the sealing surfaces of manholes, hand
holes, head holes and hole covers. But there shall be no radial nicks. The surface
roughness Ra value of the sealing surface shall meet the requirements of the design
documents.
8.5 Smoke box
The boiler smoke box shall be manufactured according to the design drawings and meet
the following requirements:
a) Dimensional deviation of smoke box length, width and depth: When the length,
width and depth are not greater than 1 m, the dimensional deviation shall not be
greater than 5 mm. When the length, width and depth are greater than 1 m, the
dimensional deviation shall not exceed 7 mm.
b) The flatness tolerance of the straight section of the smoke box wall plate shall be
0.4% of the total length within any length.
c) The gap between the smoke box door panel and the smoke box frame shall not be
greater than 2 mm.
8.6 Steel structure
The fabrication and inspection of boiler steel structure shall meet the requirements of
NB/T 47043.
8.7 Assembly of pressure elements
8.7.1 The assembly of tube joints on the boiler shell and header shall meet the following
requirements.
a) Tube joints with nominal outer diameter less than or equal to 108 mm:
1) Both the longitudinal inclination (Δa1) and the transverse inclination (Δa2) of
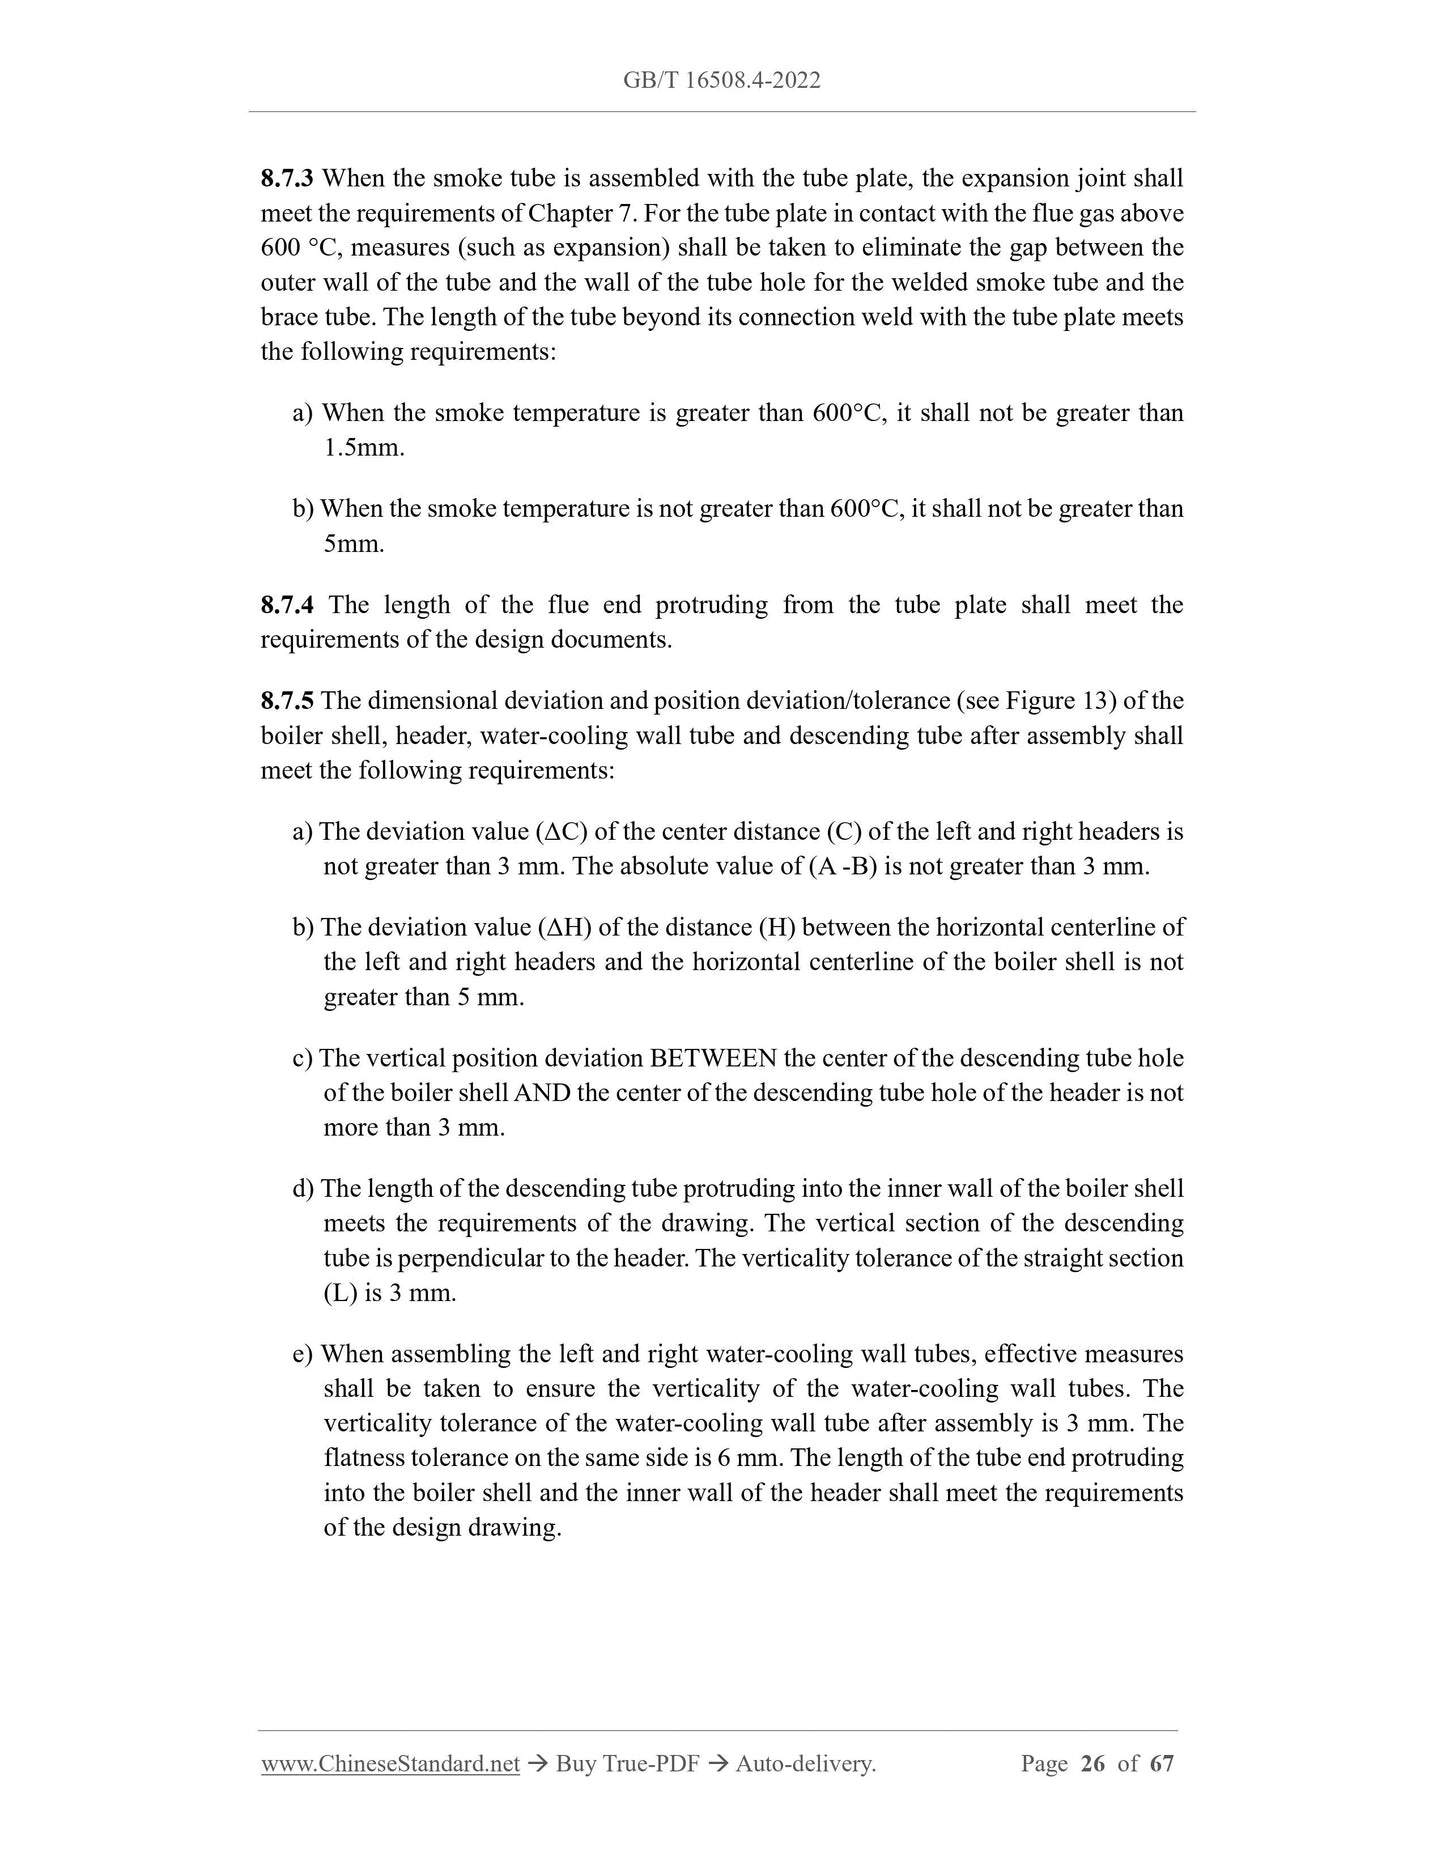
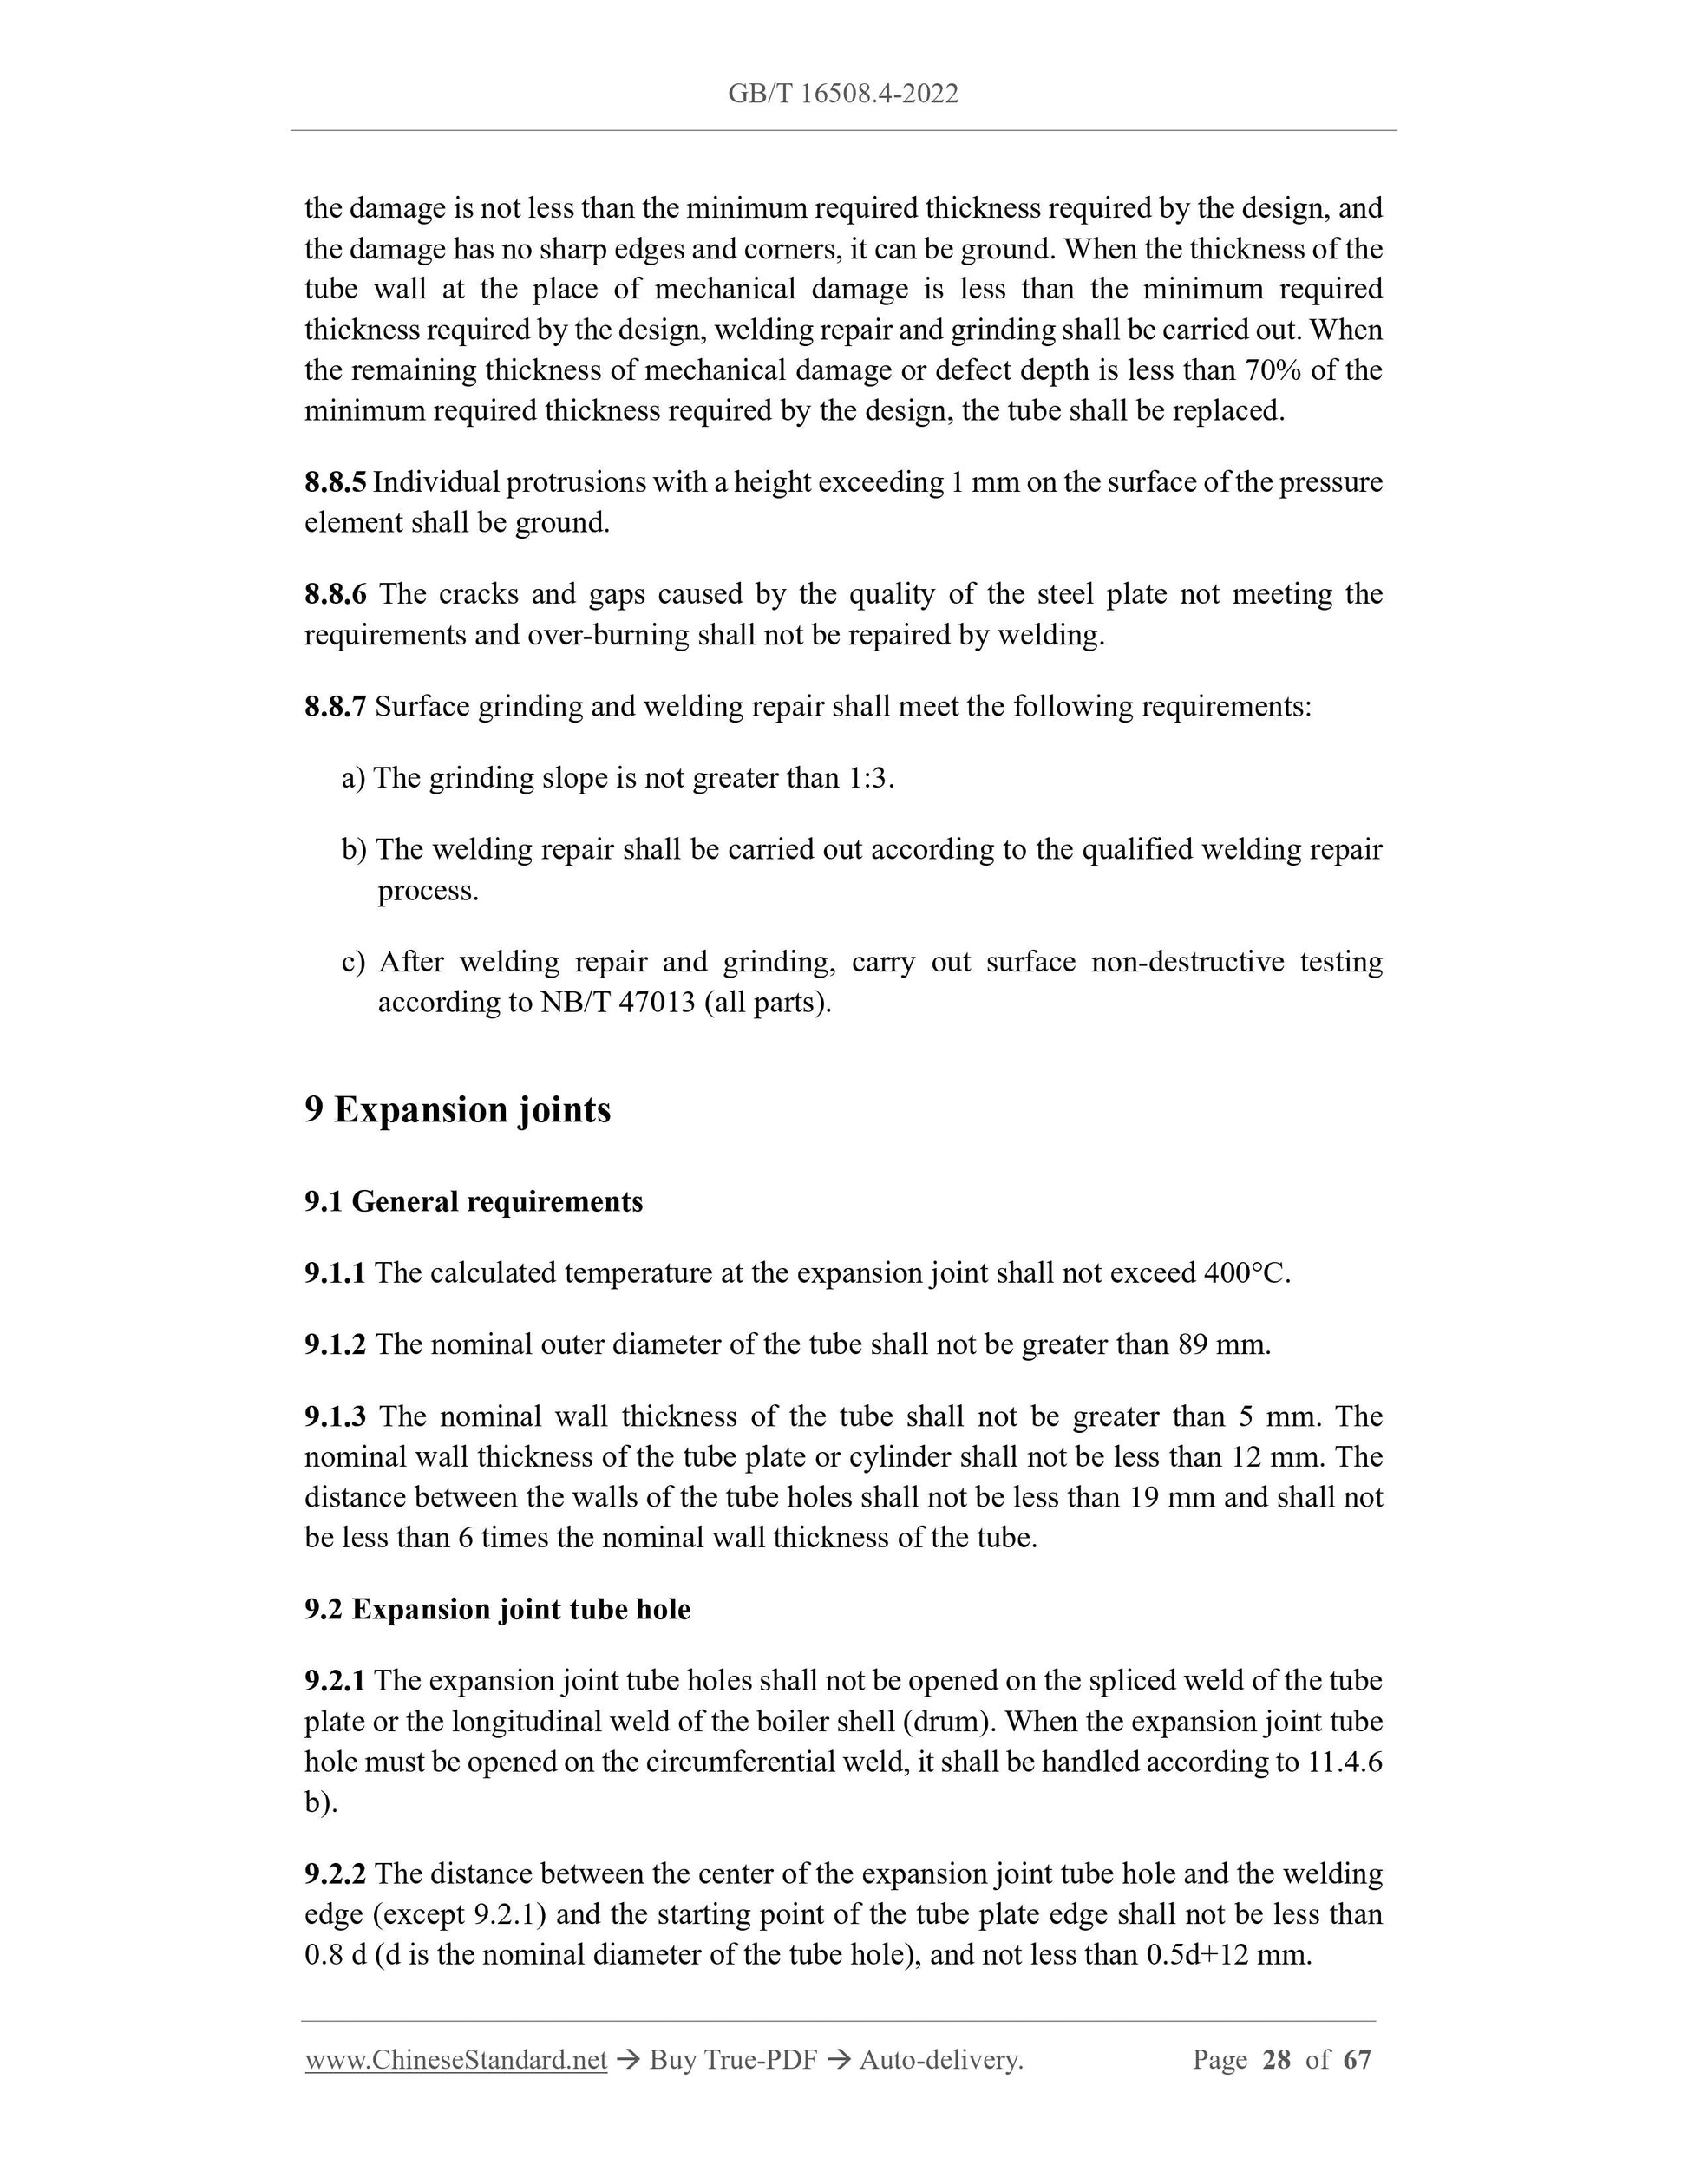
8.7.3 When the smoke tube is assembled with the tube plate, the expansion joint shall
meet the requirements of Chapter 7. For the tube plate in contact with the flue gas above
600 °C, measures (such as expansion) shall be taken to eliminate the gap between the
outer wall of the tube and the wall of the tube hole for the welded smoke tube and the
brace tube. The length of the tube beyond its connection weld with the tube plate meets
the following requirements:
a) When the smoke temperature is greater than 600°C, it shall not be greater than
1.5mm.
b) When the smoke temperature is not greater than 600°C, it shall not be greater than
5mm.
8.7.4 The length of the flue end protruding from the tube plate shall meet the
requirements of the design documents.
8.7.5 The dimensional deviation and position deviation/tolerance (see Figure 13) of the
boiler shell, header, water-cooling wall tube and descending tube after assembly shall ...
View full details