GB/T 15825.5-2008 English PDF (GBT15825.5-2008)
Regular price
$170.00 USD
Regular price
Sale price
$170.00 USD
Unit price
/
per
Delivery: 3 seconds. Download true-PDF + Invoice.
Get QUOTATION in 1-minute: Click GB/T 15825.5-2008
Historical versions: GB/T 15825.5-2008
Preview True-PDF (Reload/Scroll if blank)
GB/T 15825.5-2008: Sheet metal formability and test methods -- Part 5: Bending test
GB/T 15825.5-2008
NATIONAL STANDARD OF THE
PEOPLE’S REPUBLIC OF CHINA
ICS 77.040.10
J 32
Replacing GB/T 15825.5-1995
Sheet metal formability and test methods -
Part 5: Bending test
ISSUED ON: DECEMBER 23, 2008
IMPLEMENTED ON: JUNE 01, 2009
Issued by: General Administration of Quality Supervision, Inspection and
Quarantine;
Standardization Administration of the People’s Republic of China.
Table of Contents
Foreword ... 3
1 Scope ... 5
2 Normative references ... 5
3 Symbols, names and units ... 5
4 Test principle ... 6
5 Samples ... 7
6 Molds ... 7
7 Test device and testing machine ... 8
8 Test temperature ... 9
9 Test procedure and operating methods ... 9
10 Measurement of bending angle and determination of minimum bending radius .. 10
11 Calculation of test results ... 11
12 Test report ... 11
Appendix A (Informative) Notes on bending tests ... 12
Sheet metal formability and test methods -
Part 5: Bending test
1 Scope
This Part of GB/T 15825 specifies the sheet metal bending formability test methods
with the minimum relative bending radius as the index.
This Part applies to sheet metal with a thickness of 0.30 mm ~ 4.00 mm.
2 Normative references
The terms in the following documents become the terms of this Part through the
reference of this Part of GB/T 15825. For dated references, all subsequent amendments
(not including errata content) or revisions do not apply to this Part. However, parties to
agreements that are based on this Part are encouraged to study whether the latest
versions of these documents can be used. For undated references, the latest edition
applies to this Part.
GB/T 15825.2-2008, Sheet metal formability and test methods - Part 2: General test
rules
3 Symbols, names and units
The symbols, names and units used in this Part are shown in Table 1.
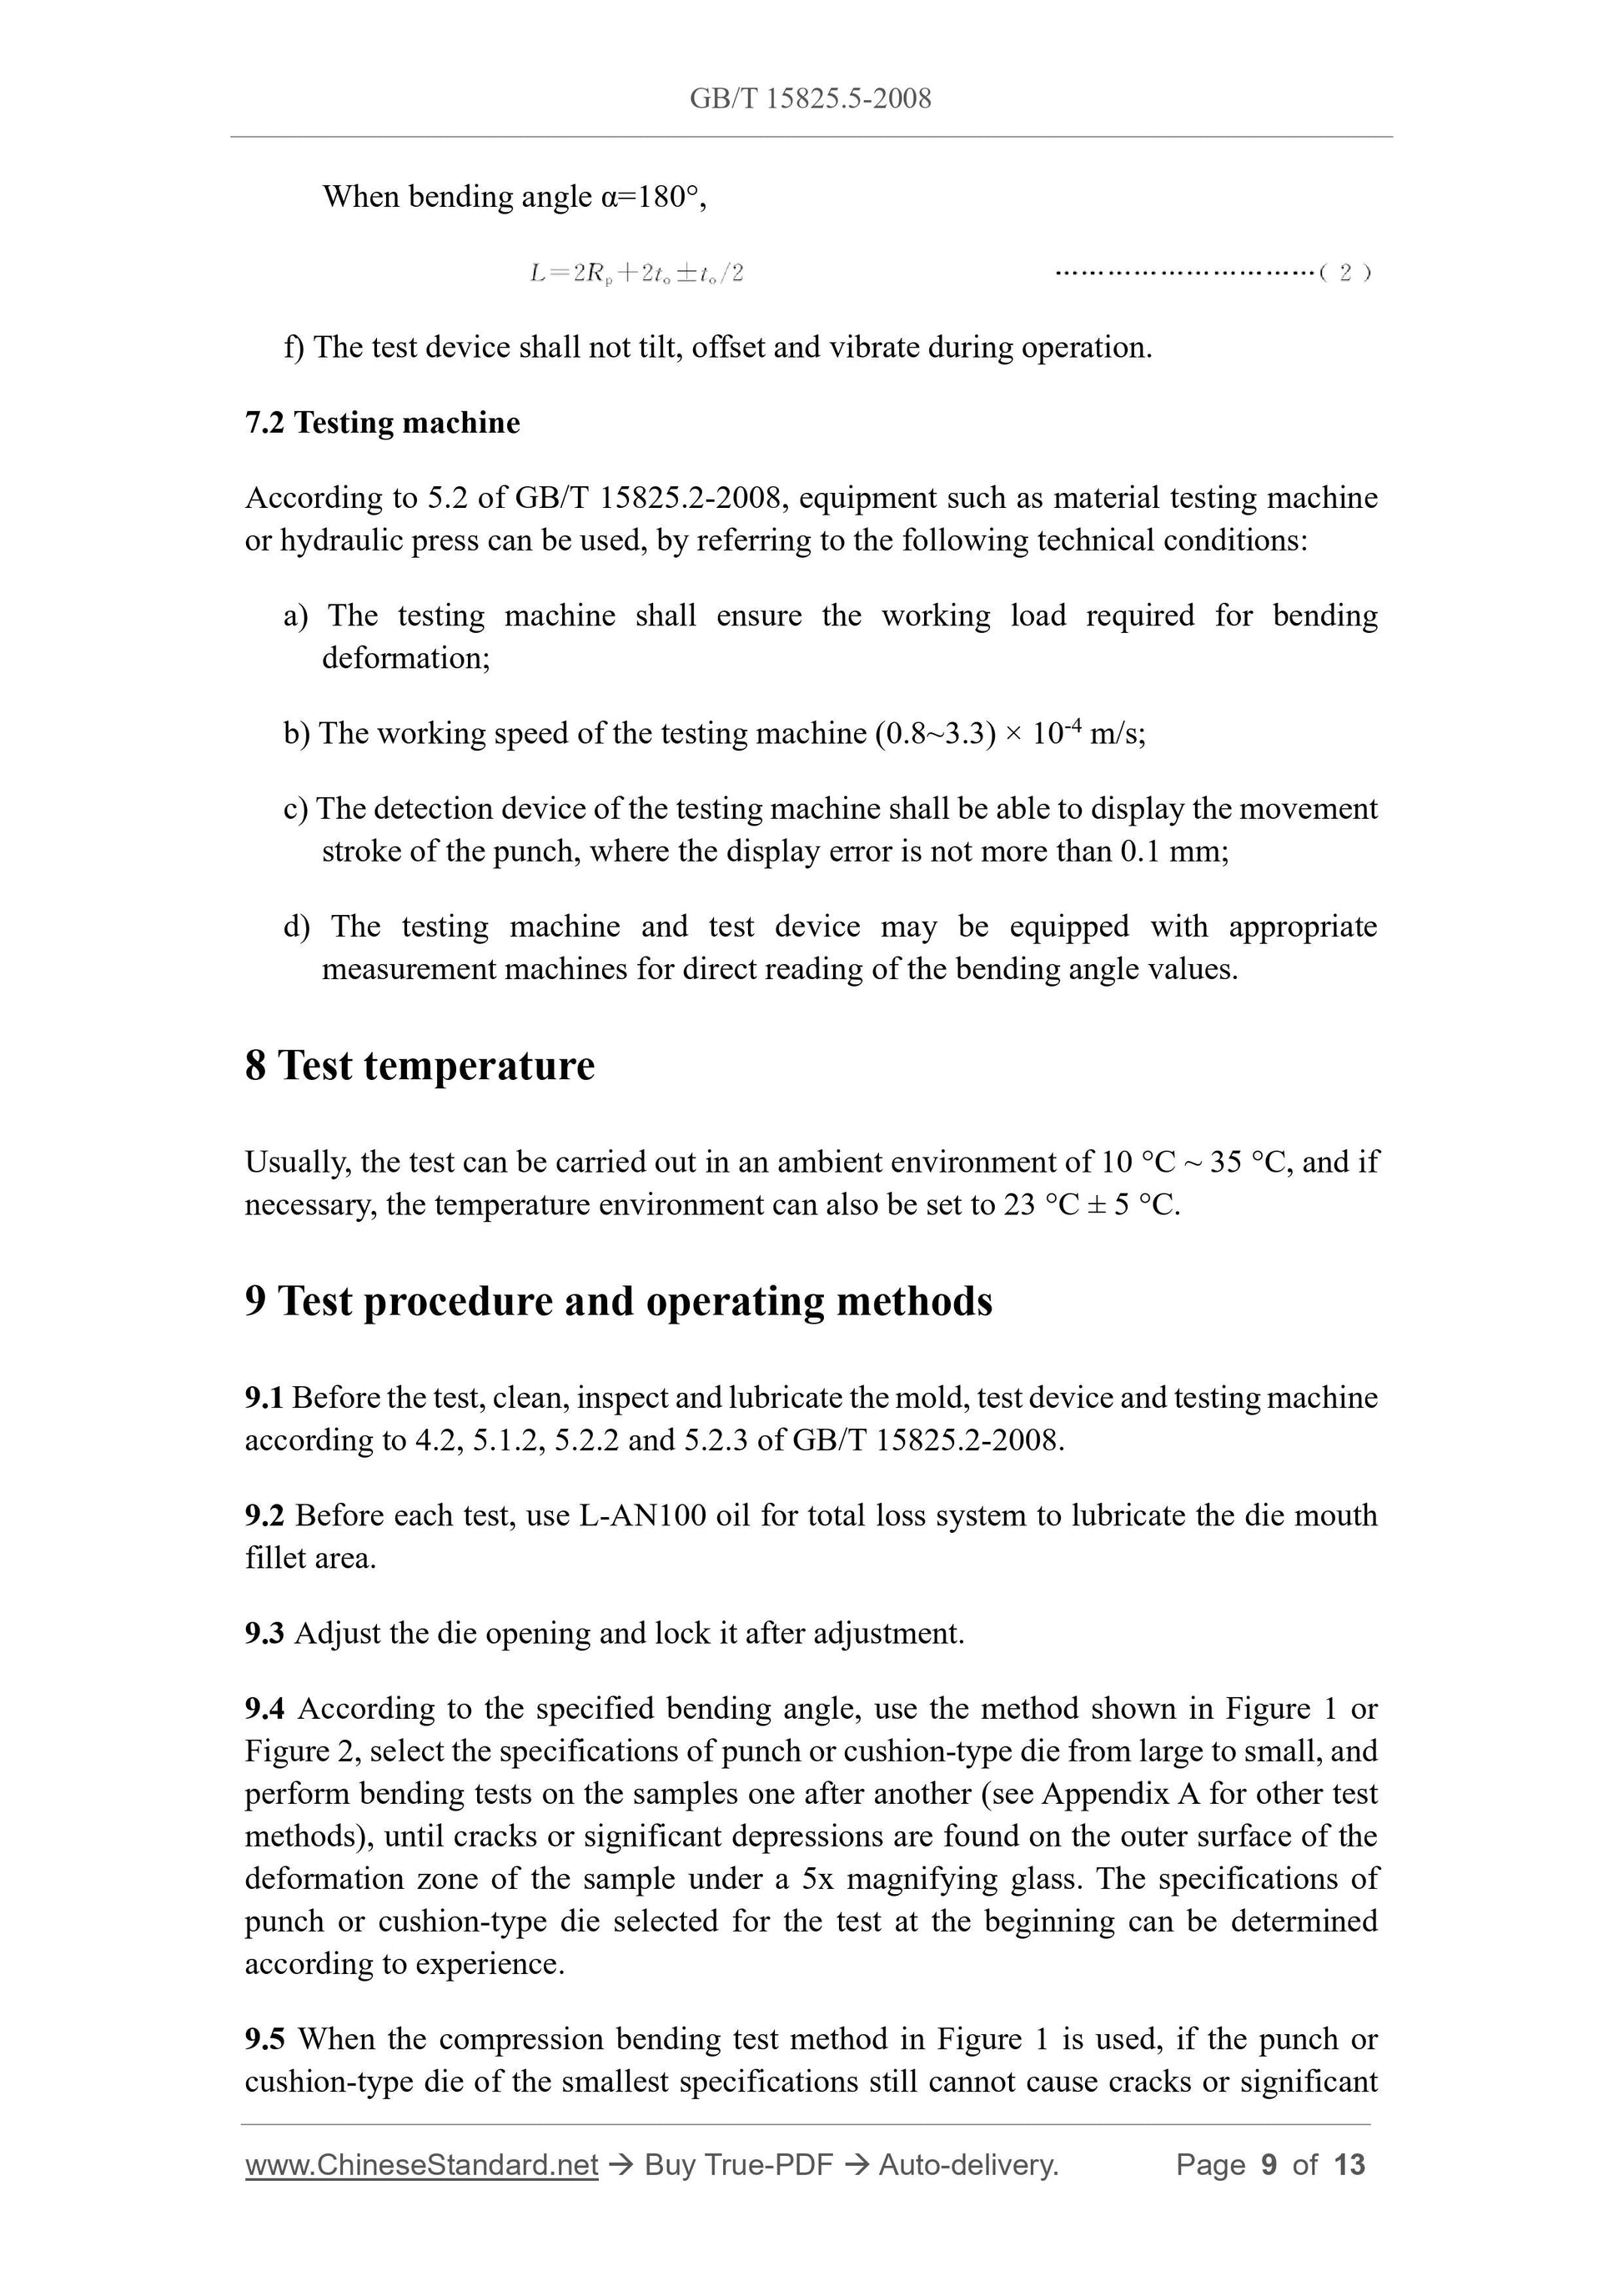
When bending angle α=180°,
f) The test device shall not tilt, offset and vibrate during operation.
7.2 Testing machine
According to 5.2 of GB/T 15825.2-2008, equipment such as material testing machine
or hydraulic press can be used, by referring to the following technical conditions:
a) The testing machine shall ensure the working load required for bending
deformation;
b) The working speed of the testing machine (0.8~3.3) × 10-4 m/s;
c) The detection device of the testing machine shall be able to display the movement
stroke of the punch, where the display error is not more than 0.1 mm;
d) The testing machine and test device may be equipped with appropriate
measurement machines for direct reading of the bending angle values.
8 Test temperature
Usually, the test can be carried out in an ambient environment of 10 °C ~ 35 °C, and if
necessary, the temperature environment can also be set to 23 °C ± 5 °C.
9 Test procedure and operating methods
9.1 Before the test, clean, inspect and lubricate the mold, test device and testing machine
according to 4.2, 5.1.2, 5.2.2 and 5.2.3 of GB/T 15825.2-2008.
9.2 Before each test, use L-AN100 oil for total loss system to lubricate the die mouth
fillet area.
9.3 Adjust the die opening and lock it after adjustment.
9.4 According to the specified bending angle, use the method shown in Figure 1 or
Figure 2, select the specifications of punch or cushion-type die from large to small, and
perform bending tests on the samples one after another (see Appendix A for other test
methods), until cracks or significant depressions are found on the outer surface of the
deformation zone of the sample under a 5x magnifying glass. The specifications of
punch or cushion-type die selected for the test at the beginning can be determined
according to experience.
9.5 When the compression bending test method in Figure 1 is used, if the punch or
cushion-type die of the smallest specifications still cannot cause cracks or significant
depressions on the outer surface of the deformation area of the sample, change the
bending angle of the sample OR perform the 180° fold bending as shown in Figure 2b)
for the sample, which, however, shall be stated in the test report.
9.6 If the punch stiffness allows, the sample can be directly bent at 180° using the
compression bending test method shown in Figure 1, and the die opening can be
determined according to Formula (2).
9.7 When the compression bending test method cannot be used for 180° bending, the
sample shall be bent to a certain angle, and then moved to between the upper and lower
pressing plates for 180° bending (Figure 2).
9.8 Carry out more than 3 effective repeated tests on the front and back sides of the
same material, respectively.
9.9 If there are no cracks on the outer surface of the deformation zone, but there are
cracks on the longitudinal sides, the test is invalid. To avoid this phenomenon, grind the
burrs if necessary.
10 Measurement of bending angle and determination of
minimum bending radius
10.1 Measure the bending angle under loading conditions, and the allowable
measurement error is ±1°.
10.2 When the test device or the testing machine is not provided with a bending angle
display device, use the sample plate to measure the bending angle during the test
loading process, or convert the bending angle into the punch stroke for test control.
10.3 During the compression bending test or the 180° bending test with a cushion-type
die, determine the minimum bending radius Rmin according to Formula (3).
10.4 During the 180° bending test without a cushion-type die, determine the minimum
bending radius according to the following principles:
a) When there are cracks or significant depressions on the outer surface of the
deformation zone of the sample under a 5x magnifying glass, the minimum
bending radius Rmin = 0.1 mm;
b) When there is no crack or significant depression on the outer surface of the
deformation zone of the sample under a 5x magnifying glass, the minimum
bending radius Rmin = 0.