GB/T 15704-2012 English PDF (GBT15704-2012)
Regular price
$70.00 USD
Regular price
Sale price
$70.00 USD
Unit price
/
per
Delivery: 3 seconds. Download true-PDF + Invoice.
Get QUOTATION in 1-minute: Click GB/T 15704-2012
Historical versions: GB/T 15704-2012
Preview True-PDF (Reload/Scroll if blank)
GB/T 15704-2012: Road vehicles -- Light alloy wheels -- Impact test procedure
GB/T 15704-2012
Road vehicles.Light alloy wheels.Impact test procedure
ICS 43.040.50
T22
National Standards of People's Republic of China
Replace GB/T 15704-1995
Road vehicle light alloy wheel impact test method
(ISO 7141.2005, Roadvehicles-Lightaloywheels-Impacttest, IDT)
Released on.2012-12-31
2013-07-01 implementation
General Administration of Quality Supervision, Inspection and Quarantine of the People's Republic of China
China National Standardization Administration issued
Foreword
This standard was drafted in accordance with the rules given in GB/T 1.1-2009.
This standard replaces GB/T 15704-1995 "Car Wheel Impact Test Method".
The main differences between this standard and GB/T 15704-1995 are as follows.
--- The standard name was changed from "Car Wheel Impact Test Method" to "Road Vehicle Light Alloy Wheel Impact Test Method";
--- Remove the steel wheel can also refer to the use of this standard description (see Chapter 1 of the.1995 edition, Chapter 1 of this edition);
--- Removed terms and definitions (see Chapter 3 of the.1995 edition);
--- Increased the quality of calibration (see section 3.3 of this edition);
--- Calibration of the test equipment is listed separately as a chapter (see Chapter 4 of this edition);
--- The test ambient temperature is changed to the range of 10 °C ~ 30 °C (see Chapter 5 of the.1995 edition, section 5.1 of this edition);
--- Recommended technical description of the structure of the hammer, the edge of the impact surface of the punch, the natural rubber mat and the tire pressure (see this edition)
Chapter 3 and Chapter 5 of this edition);
--- Added informative Appendix A to supplement the calibration of the equipment.
This standard uses the translation method equivalent to the international standard ISO 7141.2005 "road vehicle light alloy wheel impact test"
Version).
The documents in China that have a consistent correspondence in the normatively cited international documents in this standard are as follows.
---GB/T 2933 Terms and specifications for wheels and rims for pneumatic tires, GB/T 2933-2009, ISO 3911.
2004, IDT).
This standard has made the following editorial changes.
---The standard name was changed from "Light Vehicle Wheel Light Impact Test" to "Road Vehicle Light Alloy Wheel Impact Test"
law";
--- "This International Standard" is replaced by the word "this standard";
--- Remove the preface to international standards;
--- Recommended technical description of the structure of the hammer, the edge of the impact surface of the punch, the natural rubber mat and the tire pressure;
--- Added informative Appendix A to supplement the calibration of the equipment.
This standard was proposed by the Ministry of Industry and Information Technology of the People's Republic of China.
This standard is under the jurisdiction of the National Automotive Standardization Technical Committee (SAC/TC114).
This standard was drafted. CITIC Daika Wheel Manufacturing Co., Ltd.
The main drafters of this standard. Yin Zhigao, Liu Chunhai, Li Shide.
The previous versions of the standards replaced by this standard are.
---GB/T 15704-1995.
Road vehicle light alloy wheel impact test method
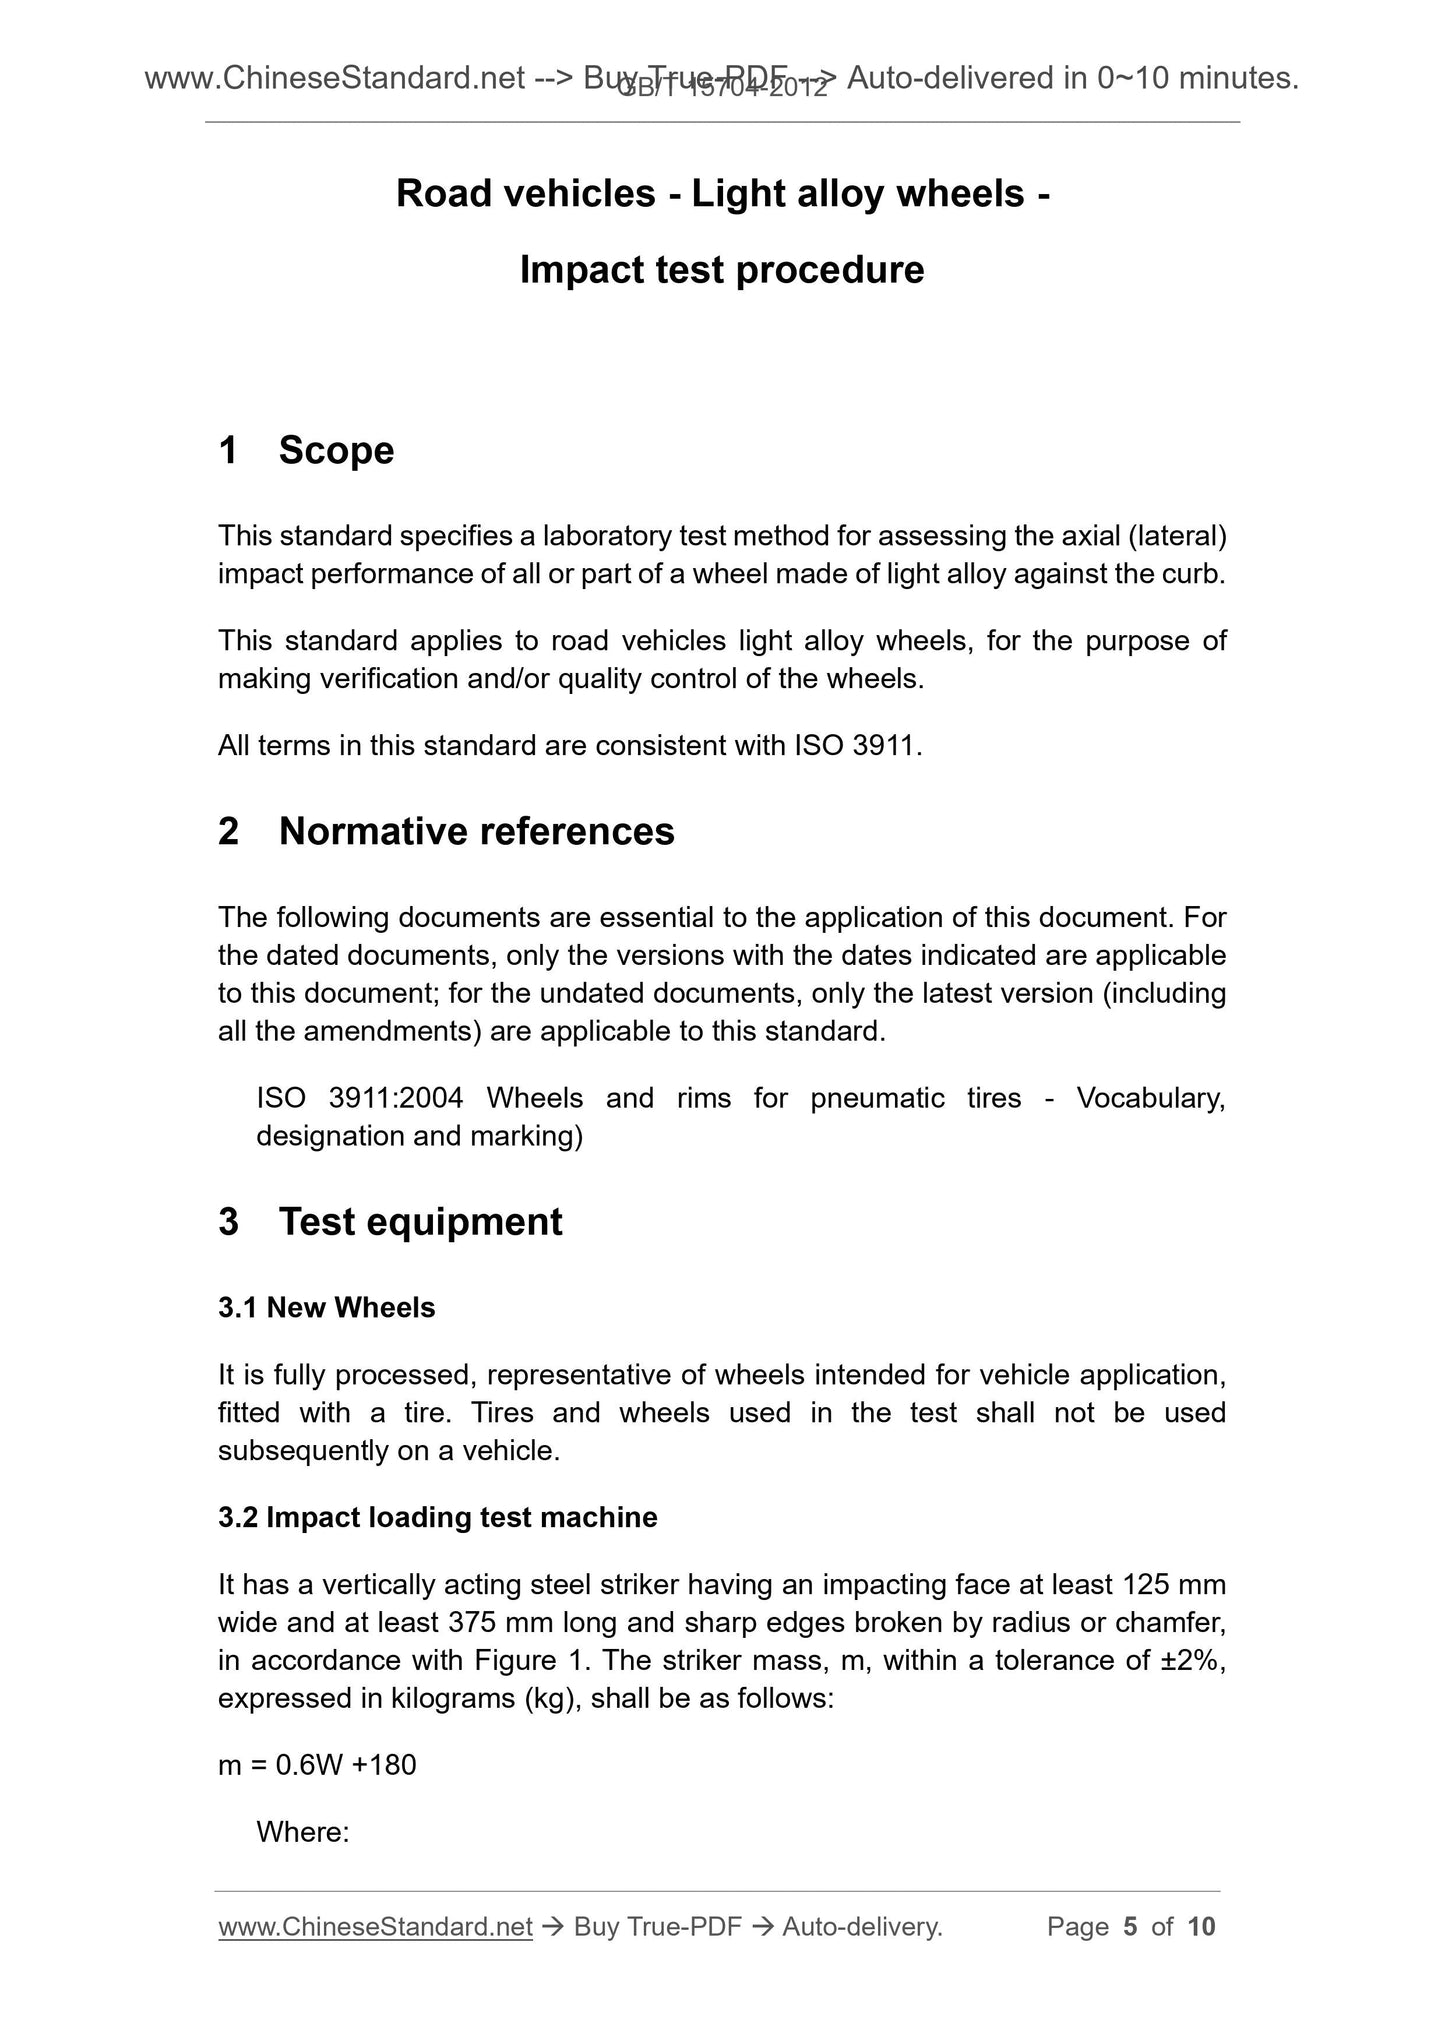
1 Scope
This standard specifies a laboratory test method for assessing the axial (lateral) impact of a wheel made entirely or partially of light alloy.
The performance of the edge.
This standard applies to road vehicle light alloy wheels for the purpose of verifying and/or quality control of the wheels.
All terms in this standard are consistent with ISO 3911.
2 Normative references
The following documents are indispensable for the application of this document. For dated references, only dated versions apply to this article.
Pieces. For undated references, the latest edition (including all amendments) applies to this document.
ISO 3911.2004 Terms, specifications and markings for wheels and rims for pneumatic tyres (Wheelsandrimsforpneumatic
tyres-Vocabulary,designationandmarking)
3 test equipment
3.1 New wheel
It is processed through all processes and assembled with tires, which can be used in vehicles and representative of new wheels. The tires and wheels used in this test are not available.
Used in vehicles.
3.2 Impact Tester
The test machine has a steel hammer that can be moved in the vertical direction, and the detachable part should be fastened to the hammer device. Impact surface width
At least 125mm and a length of at least 375mm, the edges should be rounded or chamfered, see Figure 1. The deviation of the mass m of the hammer should be within ±2%.
The unit is expressed in kilograms (kg) and can be calculated by.
m=0.6W 180
In the formula.
m --- hammer mass in kilograms (kg);
W --- The maximum static load of the wheel specified by the wheel or vehicle manufacturer in kilograms (kg).
3.3 Quality of calibration
The calibration quality is 1000kg.
4 calibration
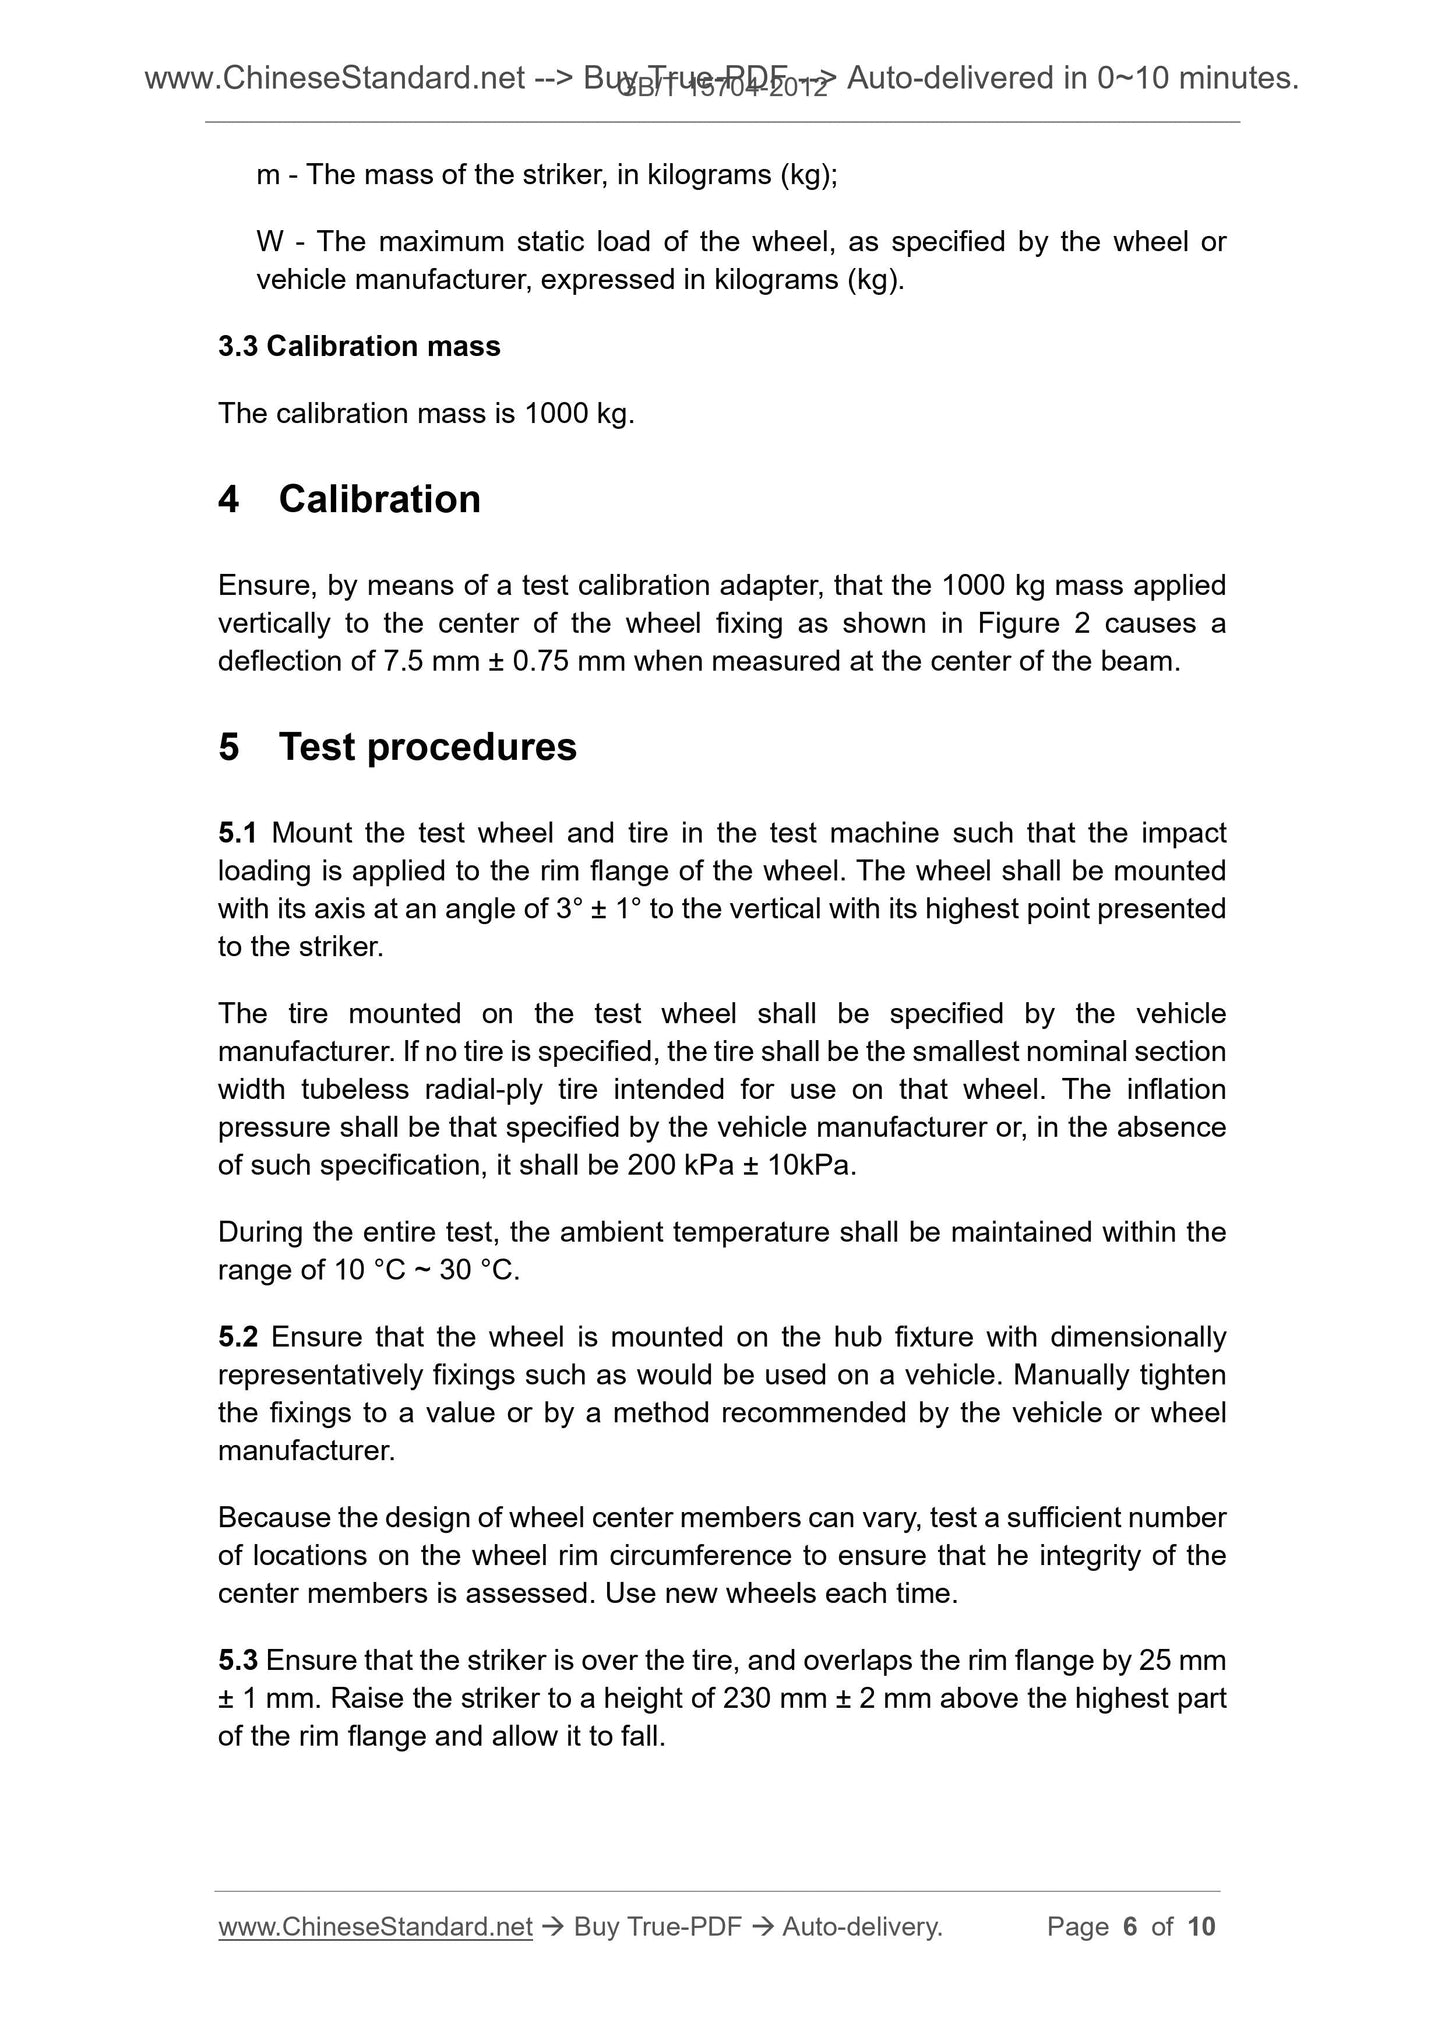
By calibrating the connector, the calibration mass is 1000kg in the vertical direction at the position of the wheel mounting center, as shown in Figure 2.
When measuring at the center point of the steel beam, the deformation in the vertical direction should be in the range of 7.5 mm ± 0.75 mm.
5 test procedure
5.1 Mount the test wheel and tire assembly on the test machine so that an impact load can be applied to the wheel rim. The axis of the wheel should be straight
The direction is at an angle of 13° ± 1°, and the highest point of the rim should be a positive hammer.
The tires selected for the test shall be the tires specified by the vehicle manufacturer. If no tires are specified, the minimum nominal section applicable to the wheels shall be used.
The width of the tubeless radial tire. The inflation pressure is the value specified by the vehicle manufacturer and, if not specified, should be.200 kPa ± 10 kPa.
The ambient temperature should be maintained within the range of 10 ° C to 30 ° C throughout the test.
5.2 The fixing device of the wheel on the testing machine shall be sized to be equivalent to the fixing device used on the vehicle. Manually tighten the nut or bolt to
The specified torque value is tightened using the method recommended by the vehicle or the wheel manufacturer.
Due to the diversity of the design of the center part of the wheel, sufficient position should be selected on the circumference of the wheel rim for impact testing to ensure
The integrity of the central part of the evaluation. New wheels should be used for each test.
5.3 The hammer should be above the tire and overlap the rim by 25mm ± 1mm. Raise the hammer to 230mm ± above the highest point of the rim
At 2mm, then release the hammer and impact.
6 failure criteria
If any of the following conditions occur, the wheel test is considered invalid.
a) visible cross section of the crack penetrating the center of the wheel;
b) the center portion of the wheel is separated from the rim;
c) The tire pressure is completely leaked within 1 min.
If the wheel is deformed, or the rim section that is directly impacted by the ram is broken, the wheel test cannot be considered invalid.
The unit is mm
Description.
1---Steel ram.
a The edge is rounded or chamfered. It is recommended to round it to R5.
Figure 1 Impact Tester
The unit is mm
Description.
1---steel beam,.200mm × 25mm;
2---1000kg calibration quality;
3---calibration connector;
4---wheel center connector;
5---4 natural rubber mats (or equivalent), Shore 50 hardness, 51 mm diameter, uncompressed height 27 mm, solid use is recommended.
a For adjusting 13°.
b 13° b...