1
/
of
12
PayPal, credit cards. Download editable-PDF and invoice in 1 second!
GB/T 13448-2019 English PDF (GB/T13448-2019)
Regular price
$605.00 USD
Regular price
Sale price
$605.00 USD
Unit price
/
per
Shipping calculated at checkout.
Couldn't load pickup availability
Delivery: 3 seconds. Download true-PDF + Invoice.
Get Quotation: Click GB/T 13448-2019 (Self-service in 1-minute)
Historical versions (Master-website): GB/T 13448-2019
Preview True-PDF (Reload/Scroll-down if blank)
GB/T 13448-2019: Test methods for prepainted steel sheet and strip
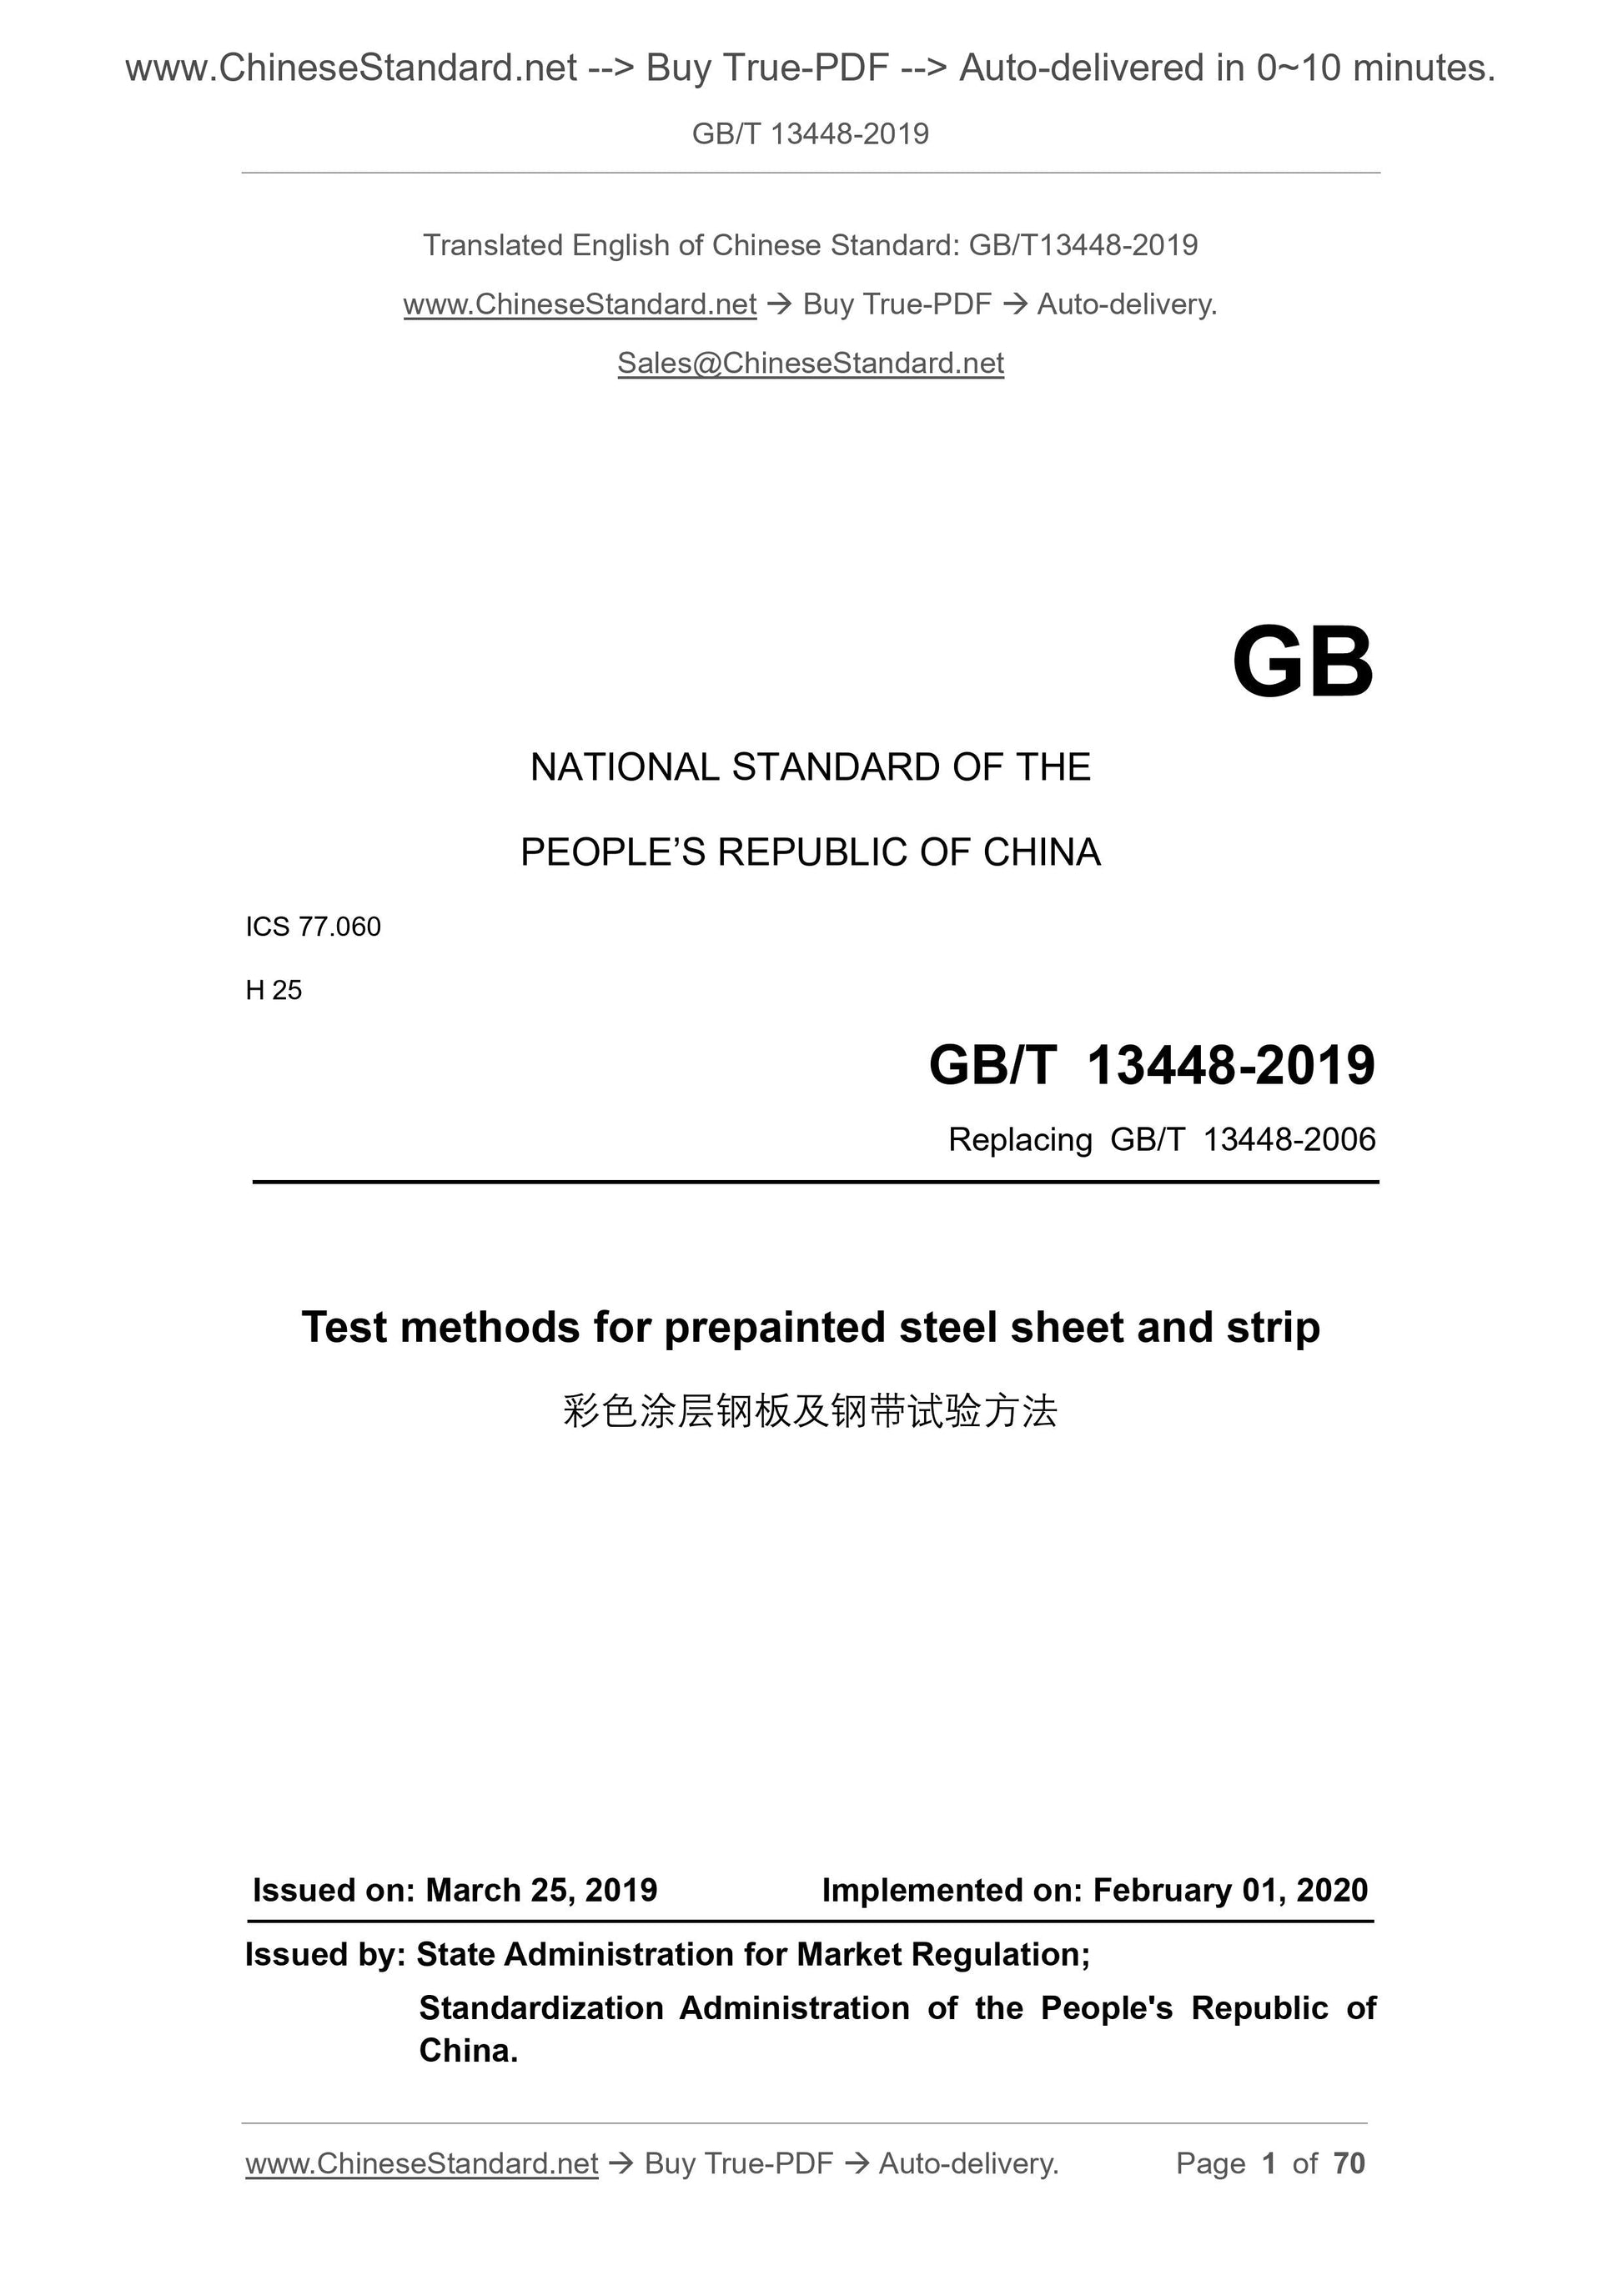
GB/T 13448-2019
NATIONAL STANDARD OF THE
PEOPLE’S REPUBLIC OF CHINA
ICS 77.060
H 25
Replacing GB/T 13448-2006
Test methods for prepainted steel sheet and strip
ISSUED ON: MARCH 25, 2019
IMPLEMENTED ON: FEBRUARY 01, 2020
Issued by: State Administration for Market Regulation;
Standardization Administration of the People's Republic of
China.
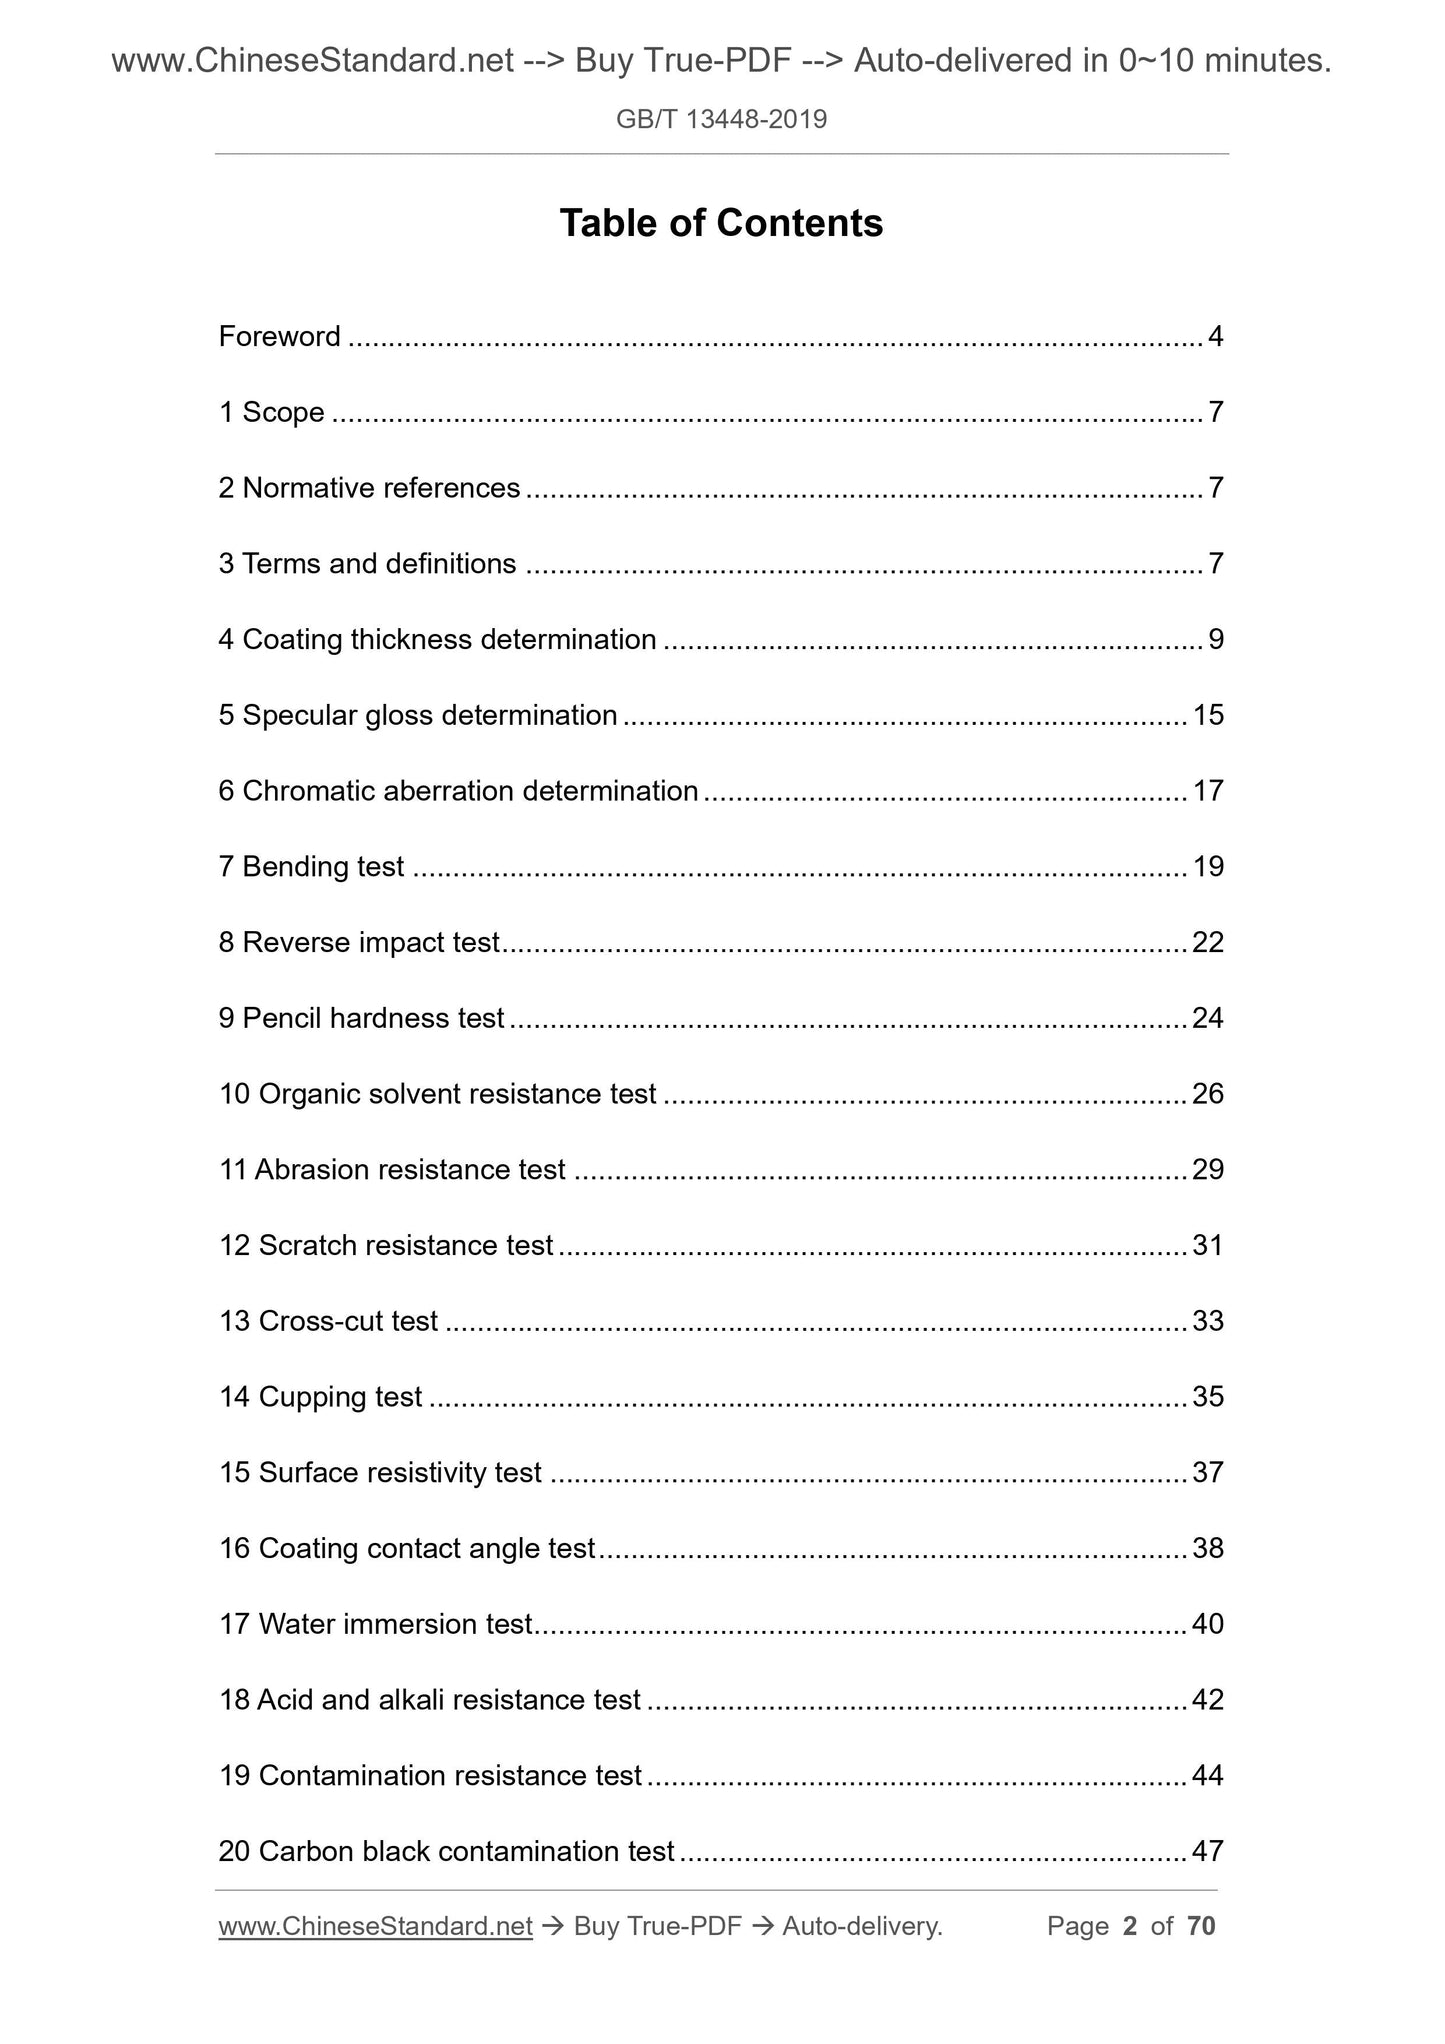
Table of Contents
Foreword ... 4
1 Scope ... 7
2 Normative references ... 7
3 Terms and definitions ... 7
4 Coating thickness determination ... 9
5 Specular gloss determination ... 15
6 Chromatic aberration determination ... 17
7 Bending test ... 19
8 Reverse impact test ... 22
9 Pencil hardness test ... 24
10 Organic solvent resistance test ... 26
11 Abrasion resistance test ... 29
12 Scratch resistance test ... 31
13 Cross-cut test ... 33
14 Cupping test ... 35
15 Surface resistivity test ... 37
16 Coating contact angle test ... 38
17 Water immersion test ... 40
18 Acid and alkali resistance test ... 42
19 Contamination resistance test ... 44
20 Carbon black contamination test ... 47
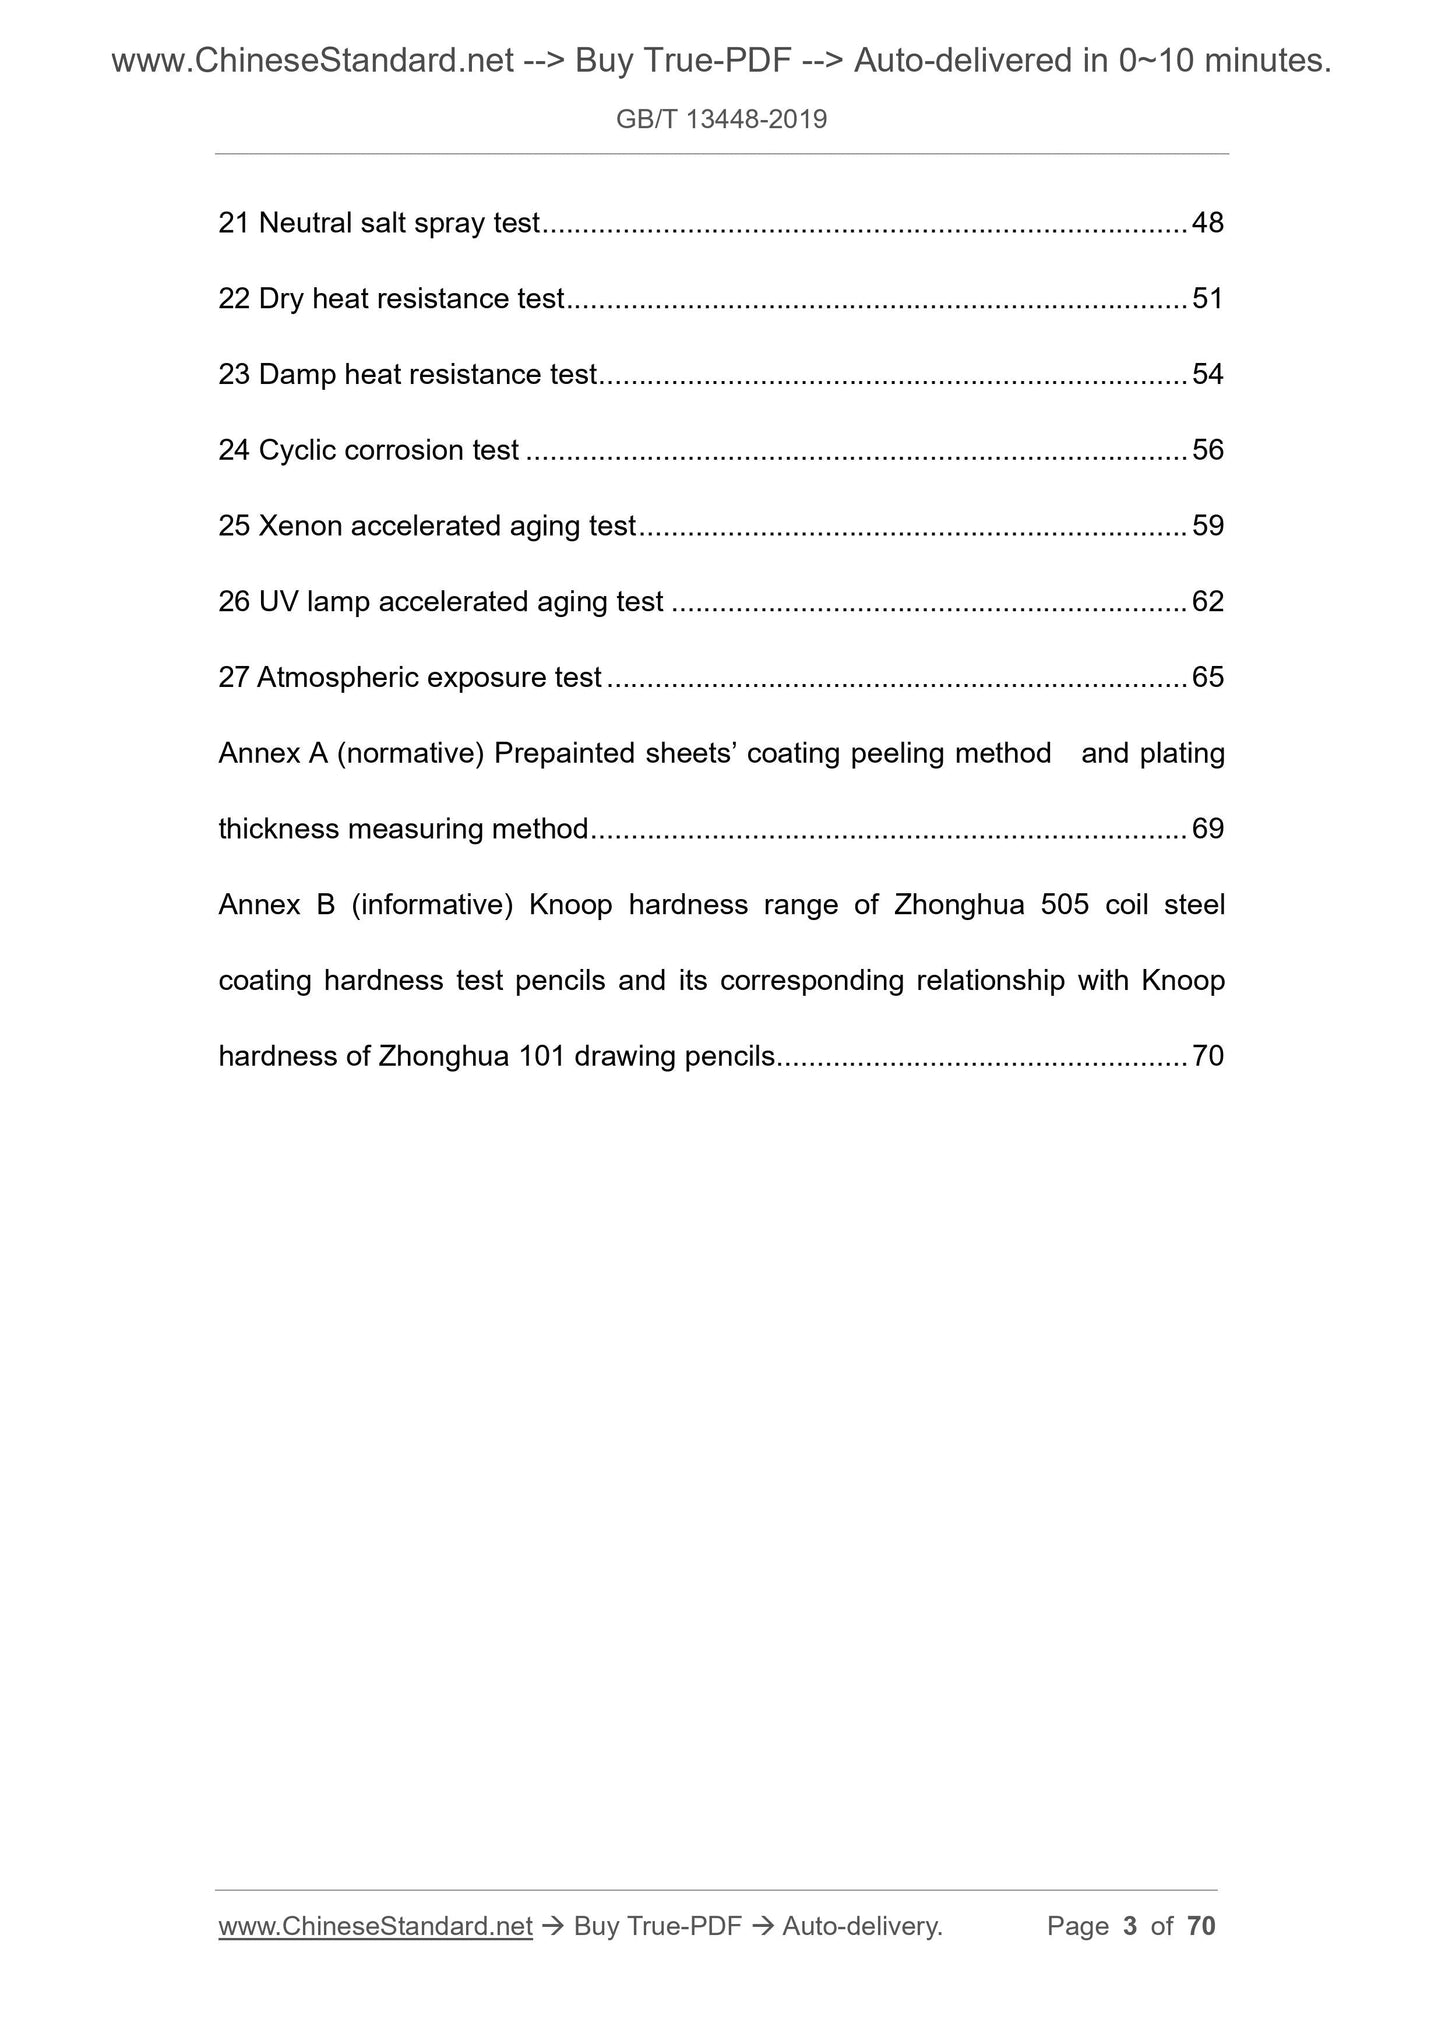
21 Neutral salt spray test ... 48
22 Dry heat resistance test ... 51
23 Damp heat resistance test ... 54
24 Cyclic corrosion test ... 56
25 Xenon accelerated aging test ... 59
26 UV lamp accelerated aging test ... 62
27 Atmospheric exposure test ... 65
Annex A (normative) Prepainted sheets’ coating peeling method and plating
thickness measuring method ... 69
Annex B (informative) Knoop hardness range of Zhonghua 505 coil steel
coating hardness test pencils and its corresponding relationship with Knoop
hardness of Zhonghua 101 drawing pencils ... 70
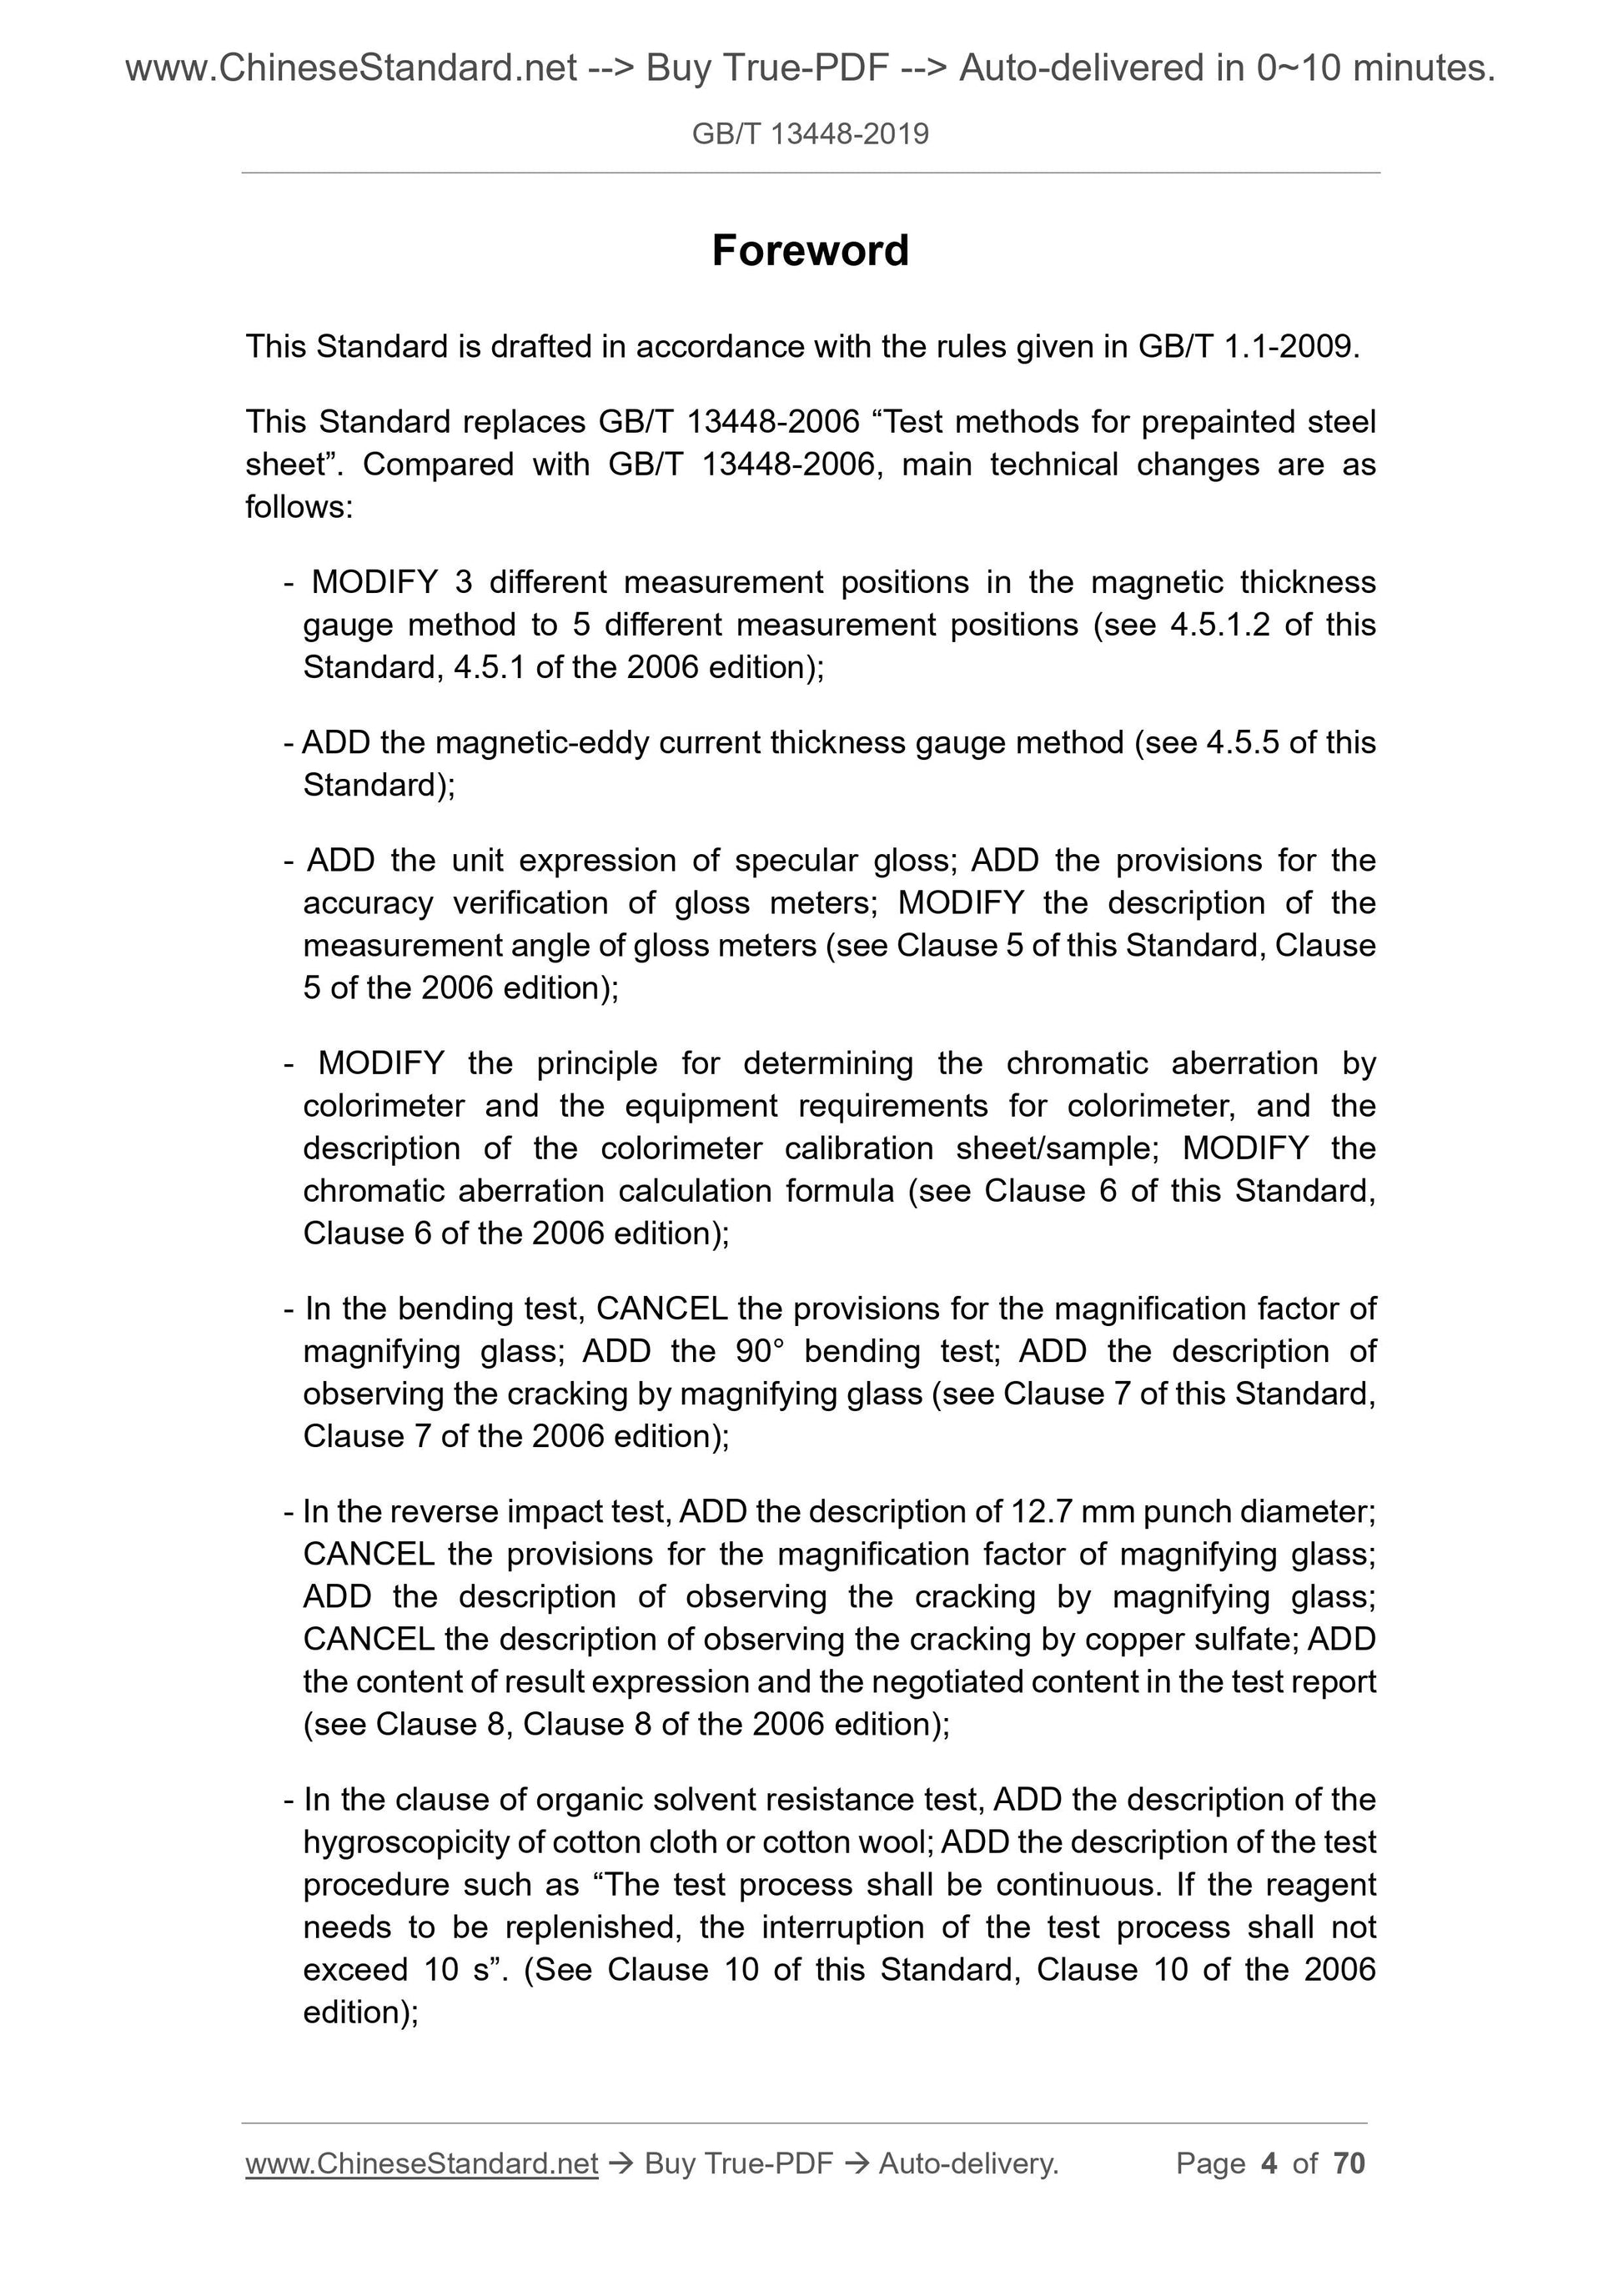
Foreword
This Standard is drafted in accordance with the rules given in GB/T 1.1-2009.
This Standard replaces GB/T 13448-2006 “Test methods for prepainted steel
sheet”. Compared with GB/T 13448-2006, main technical changes are as
follows:
- MODIFY 3 different measurement positions in the magnetic thickness
gauge method to 5 different measurement positions (see 4.5.1.2 of this
Standard, 4.5.1 of the 2006 edition);
- ADD the magnetic-eddy current thickness gauge method (see 4.5.5 of this
Standard);
- ADD the unit expression of specular gloss; ADD the provisions for the
accuracy verification of gloss meters; MODIFY the description of the
measurement angle of gloss meters (see Clause 5 of this Standard, Clause
5 of the 2006 edition);
- MODIFY the principle for determining the chromatic aberration by
colorimeter and the equipment requirements for colorimeter, and the
description of the colorimeter calibration sheet/sample; MODIFY the
chromatic aberration calculation formula (see Clause 6 of this Standard,
Clause 6 of the 2006 edition);
- In the bending test, CANCEL the provisions for the magnification factor of
magnifying glass; ADD the 90° bending test; ADD the description of
observing the cracking by magnifying glass (see Clause 7 of this Standard,
Clause 7 of the 2006 edition);
- In the reverse impact test, ADD the description of 12.7 mm punch diameter;
CANCEL the provisions for the magnification factor of magnifying glass;
ADD the description of observing the cracking by magnifying glass;
CANCEL the description of observing the cracking by copper sulfate; ADD
the content of result expression and the negotiated content in the test report
(see Clause 8, Clause 8 of the 2006 edition);
- In the clause of organic solvent resistance test, ADD the description of the
hygroscopicity of cotton cloth or cotton wool; ADD the description of the test
procedure such as “The test process shall be continuous. If the reagent
needs to be replenished, the interruption of the test process shall not
exceed 10 s”. (See Clause 10 of this Standard, Clause 10 of the 2006
edition);
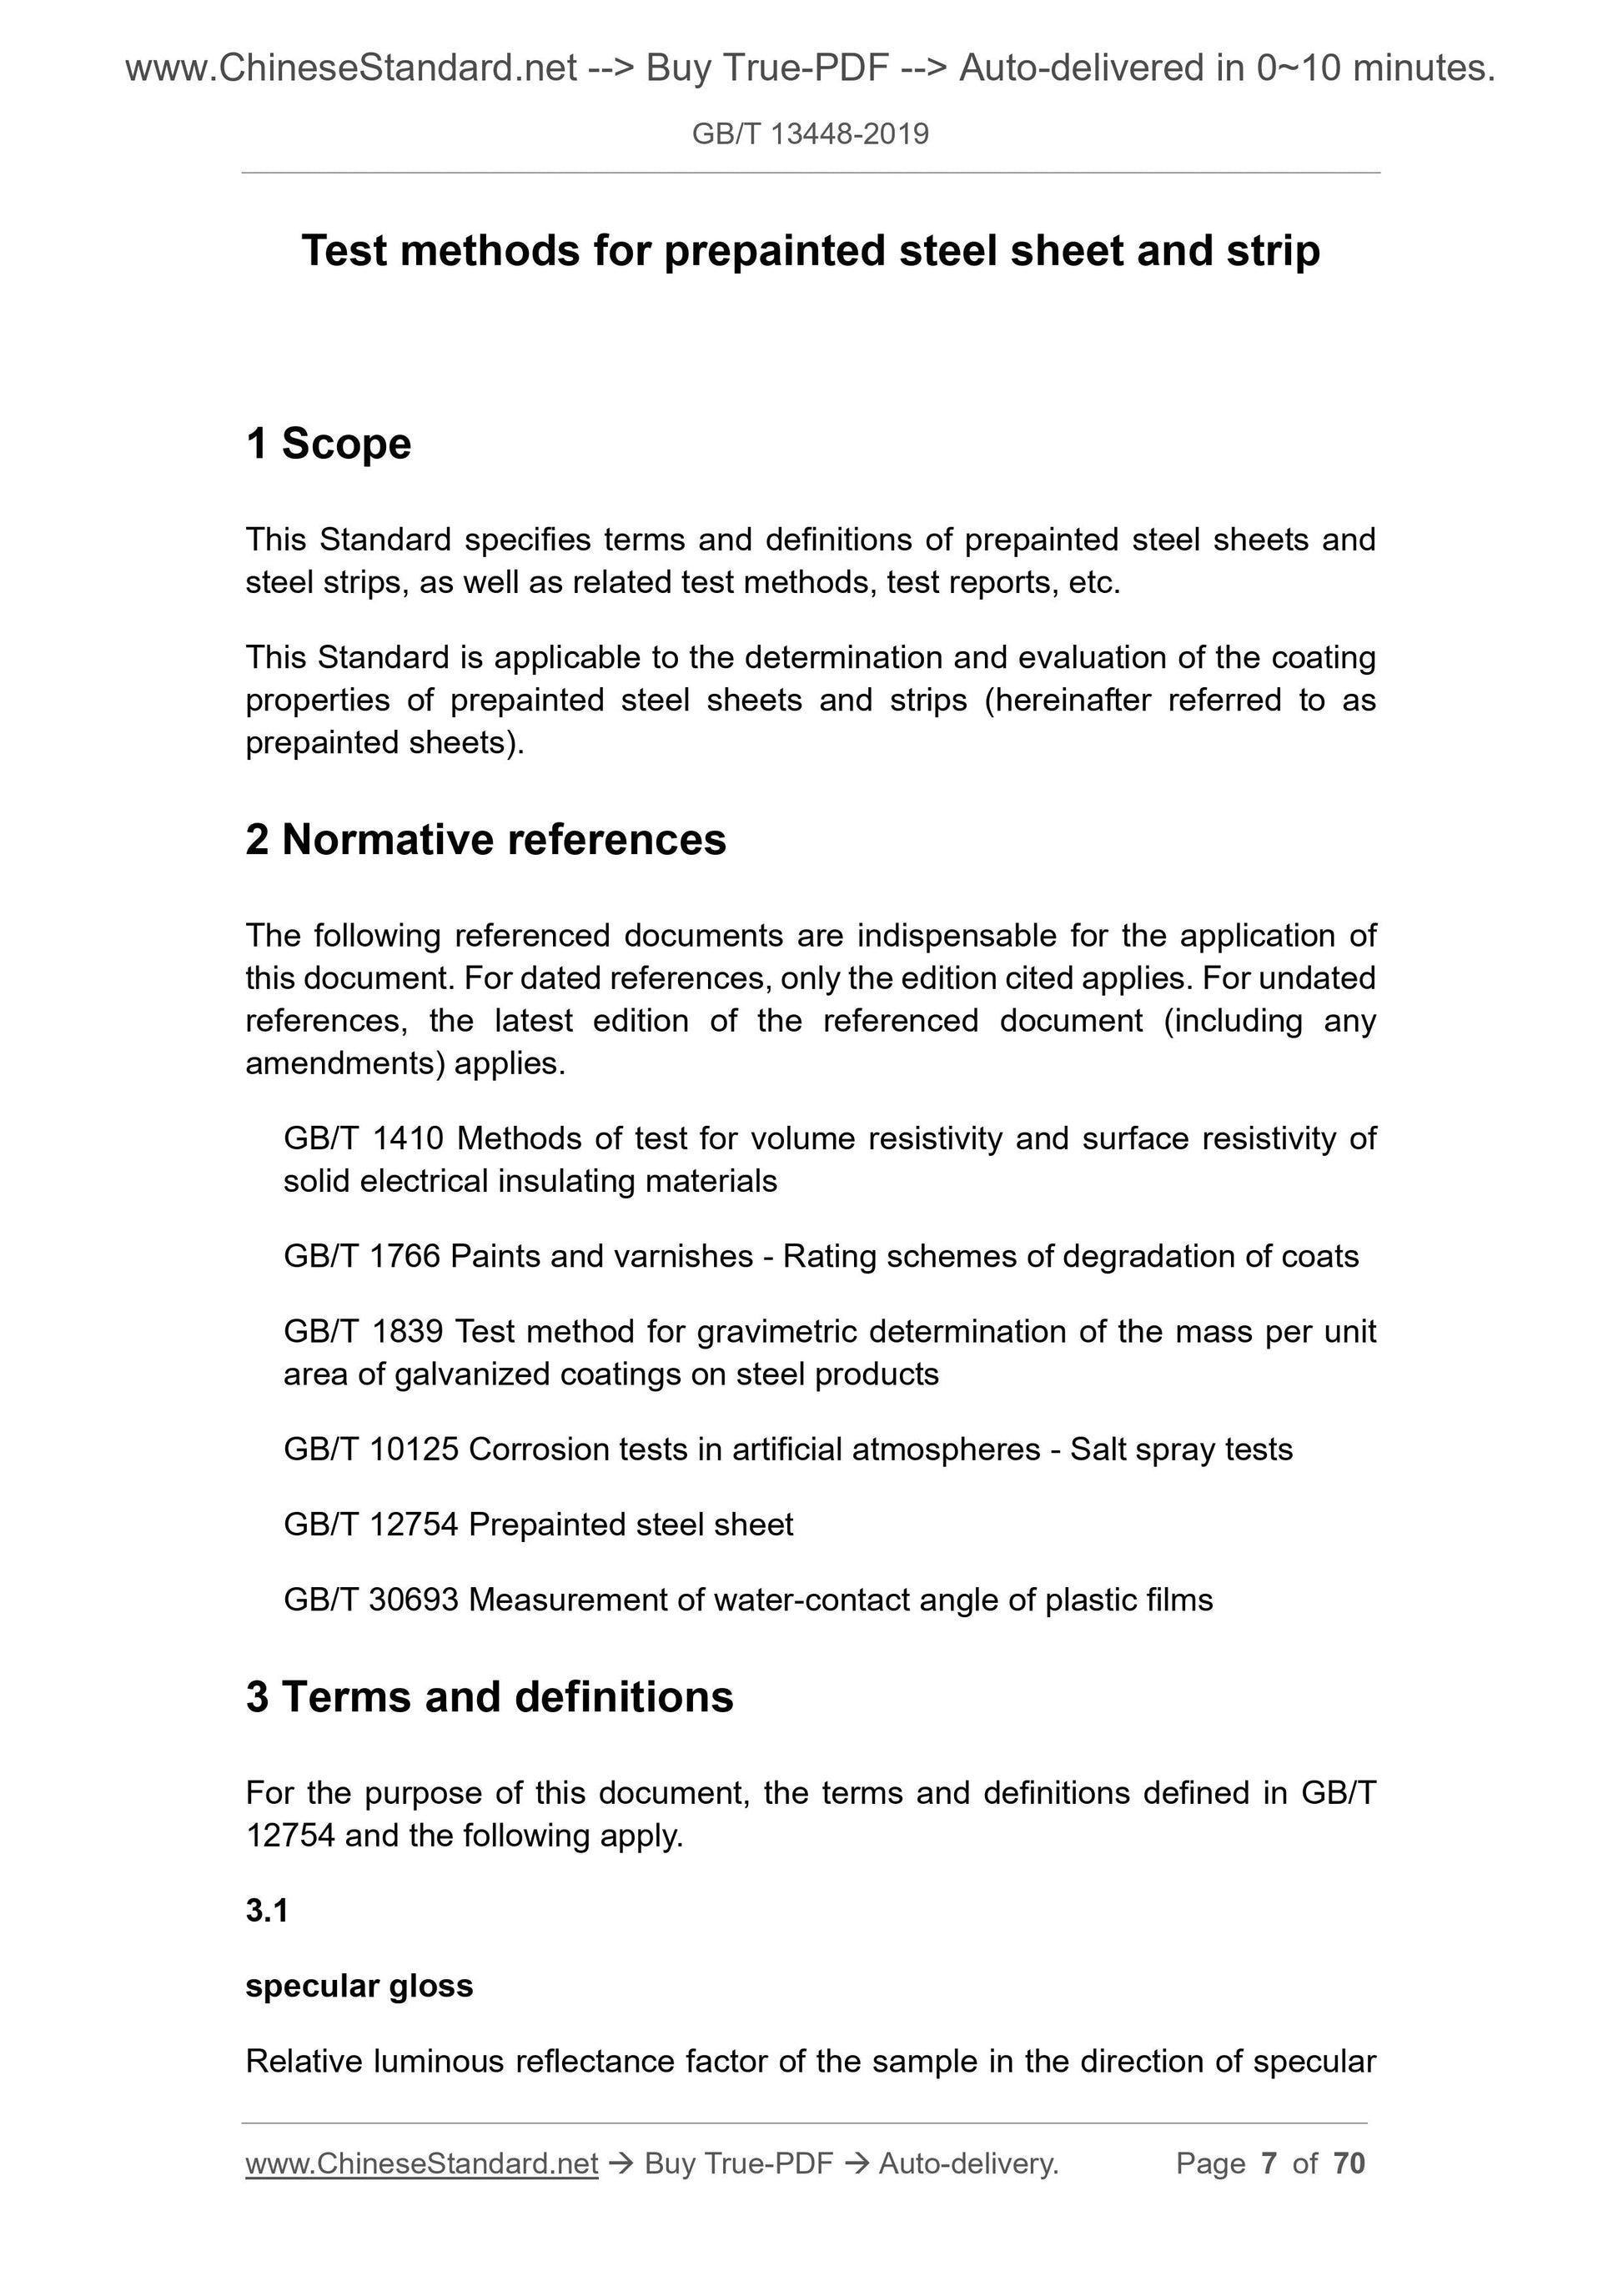
Test methods for prepainted steel sheet and strip
1 Scope
This Standard specifies terms and definitions of prepainted steel sheets and
steel strips, as well as related test methods, test reports, etc.
This Standard is applicable to the determination and evaluation of the coating
properties of prepainted steel sheets and strips (hereinafter referred to as
prepainted sheets).
2 Normative references
The following referenced documents are indispensable for the application of
this document. For dated references, only the edition cited applies. For undated
references, the latest edition of the referenced document (including any
amendments) applies.
GB/T 1410 Methods of test for volume resistivity and surface resistivity of
solid electrical insulating materials
GB/T 1766 Paints and varnishes - Rating schemes of degradation of coats
GB/T 1839 Test method for gravimetric determination of the mass per unit
area of galvanized coatings on steel products
GB/T 10125 Corrosion tests in artificial atmospheres - Salt spray tests
GB/T 12754 Prepainted steel sheet
GB/T 30693 Measurement of water-contact angle of plastic films
3 Terms and definitions
For the purpose of this document, the terms and definitions defined in GB/T
12754 and the following apply.
3.1
specular gloss
Relative luminous reflectance factor of the sample in the direction of specular
When the sample holder is not full of samples, a plate of the same size as the
sample used to cover the sample holder space in order to prevent light leakage.
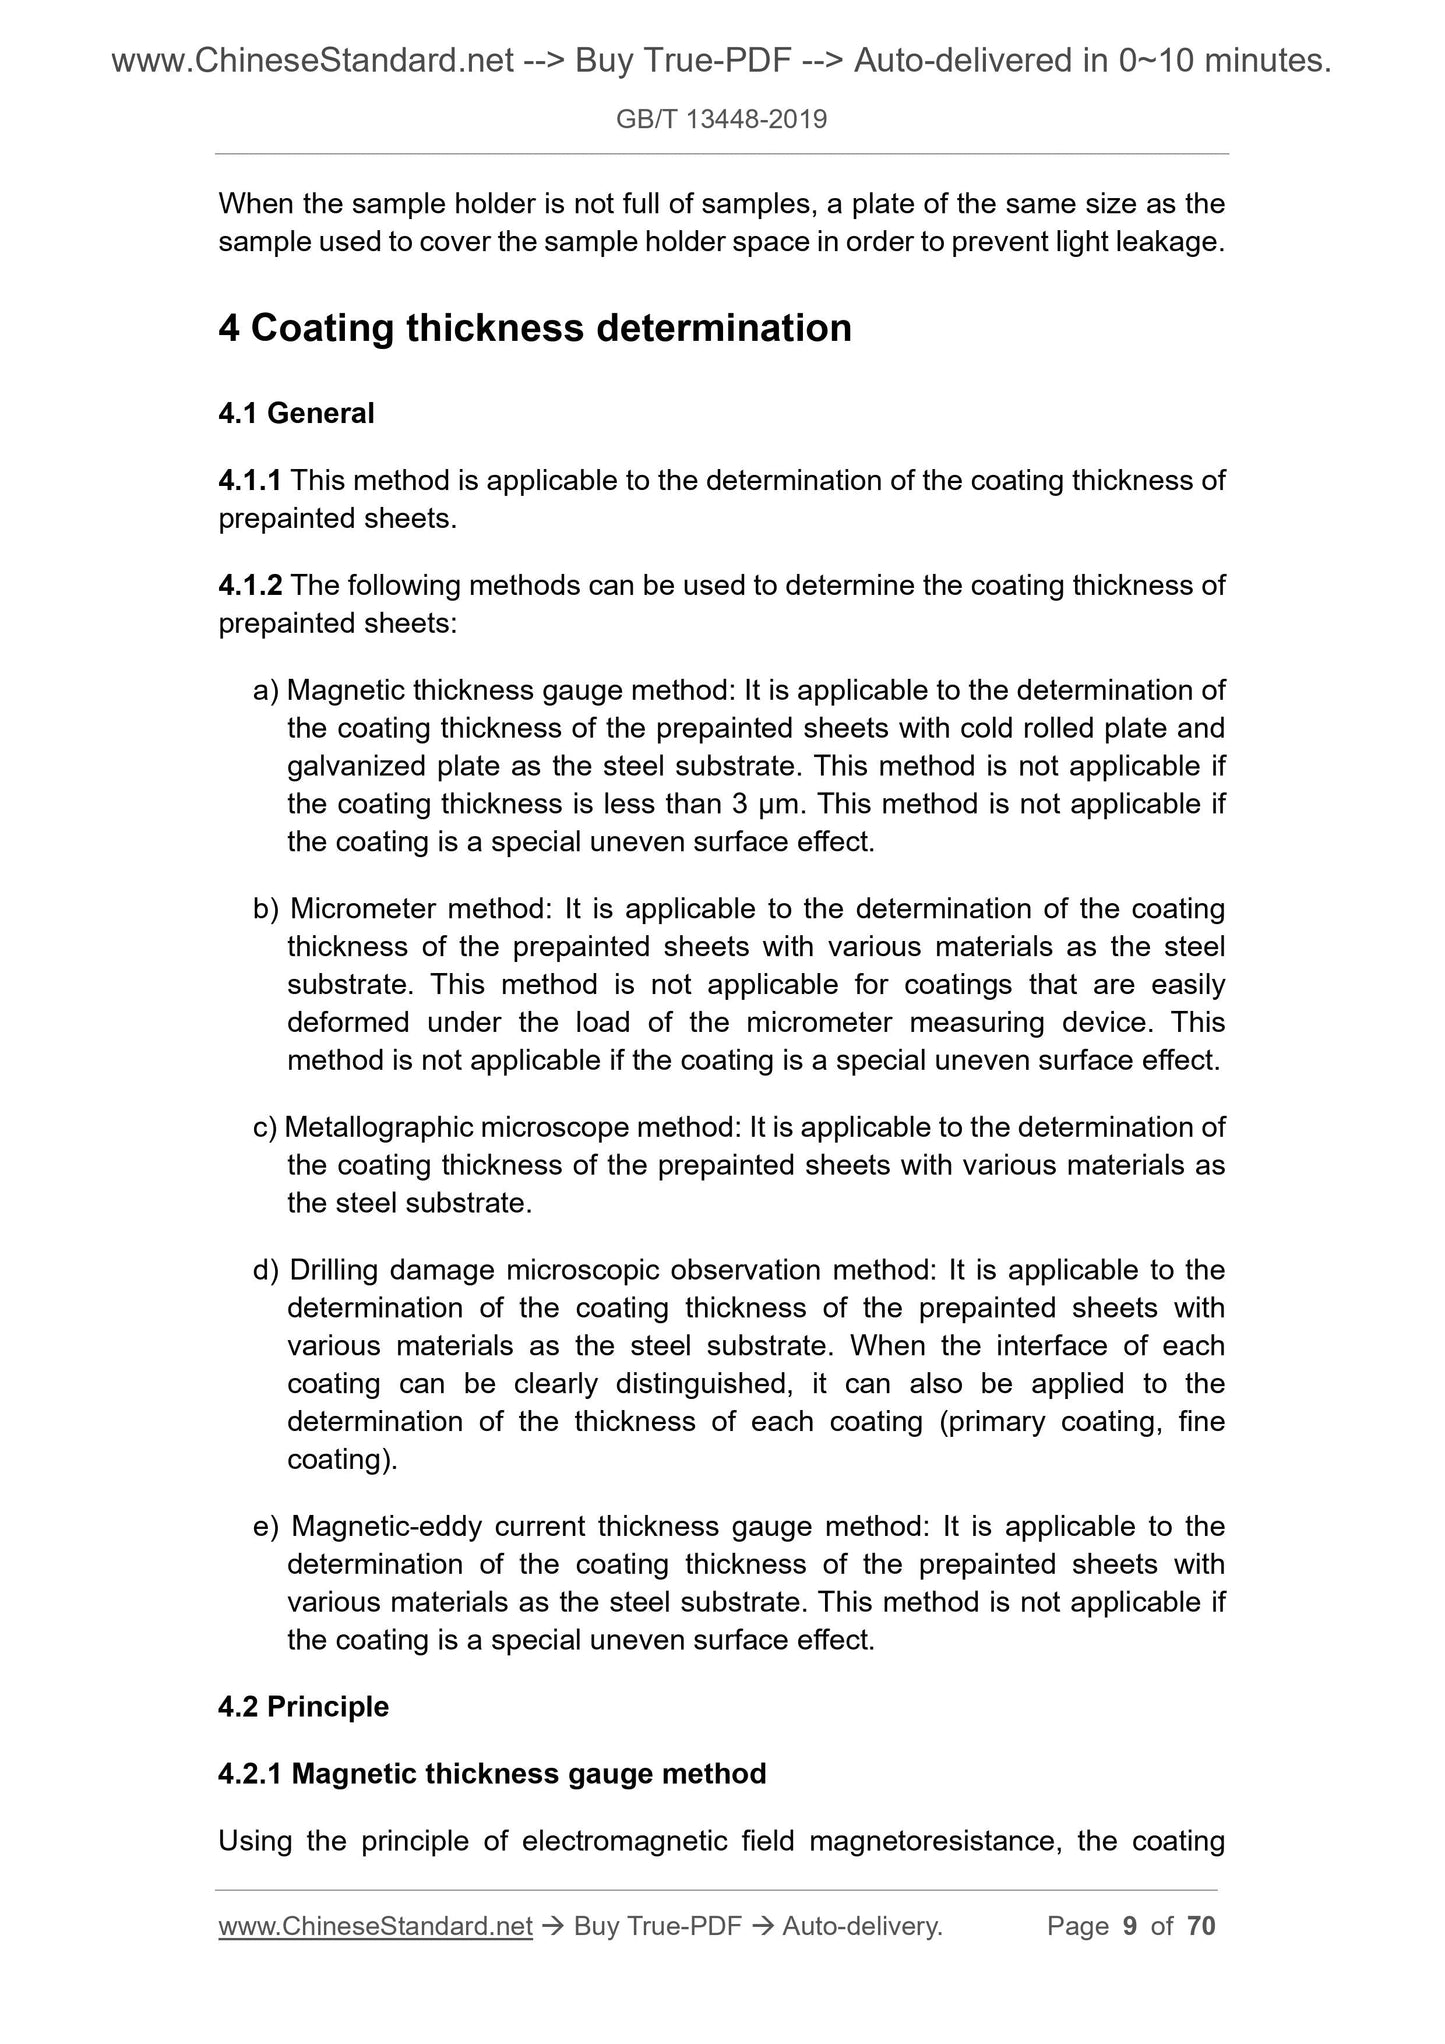
4 Coating thickness determination
4.1 General
4.1.1 This method is applicable to the determination of the coating thickness of
prepainted sheets.
4.1.2 The following methods can be used to determine the coating thickness of
prepainted sheets:
a) Magnetic thickness gauge method: It is applicable to the determination of
the coating thickness of the prepainted sheets with cold rolled plate and
galvanized plate as the steel substrate. This method is not applicable if
the coating thickness is less than 3 μm. This method is not applicable if
the coating is a special uneven surface effect.
b) Micrometer method: It is applicable to the determination of the coating
thickness of the prepainted sheets with various materials as the steel
substrate. This method is not applicable for coatings that are easily
deformed under the load of the micrometer measuring device. This
method is not applicable if the coating is a special uneven surface effect.
c) Metallographic microscope method: It is applicable to the determination of
the coating thickness of the prepainted sheets with various materials as
the steel substrate.
d) Drilling damage microscopic observation method: It is applicable to the
determination of the coating thickness of the prepainted sheets with
various materials as the steel substrate. When the interface of each
coating can be clearly distinguished, it can also be applied to the
determination of the thickness of each coating (primary coating, fine
coating).
e) Magnetic-eddy current thickness gauge method: It is applicable to the
determination of the coating thickness of the prepainted sheets with
various materials as the steel substrate. This method is not applicable if
the coating is a special uneven surface effect.
4.2 Principle
4.2.1 Magnetic thickness gauge method
Using the principle of electromagnetic field magnetoresistance, the coating
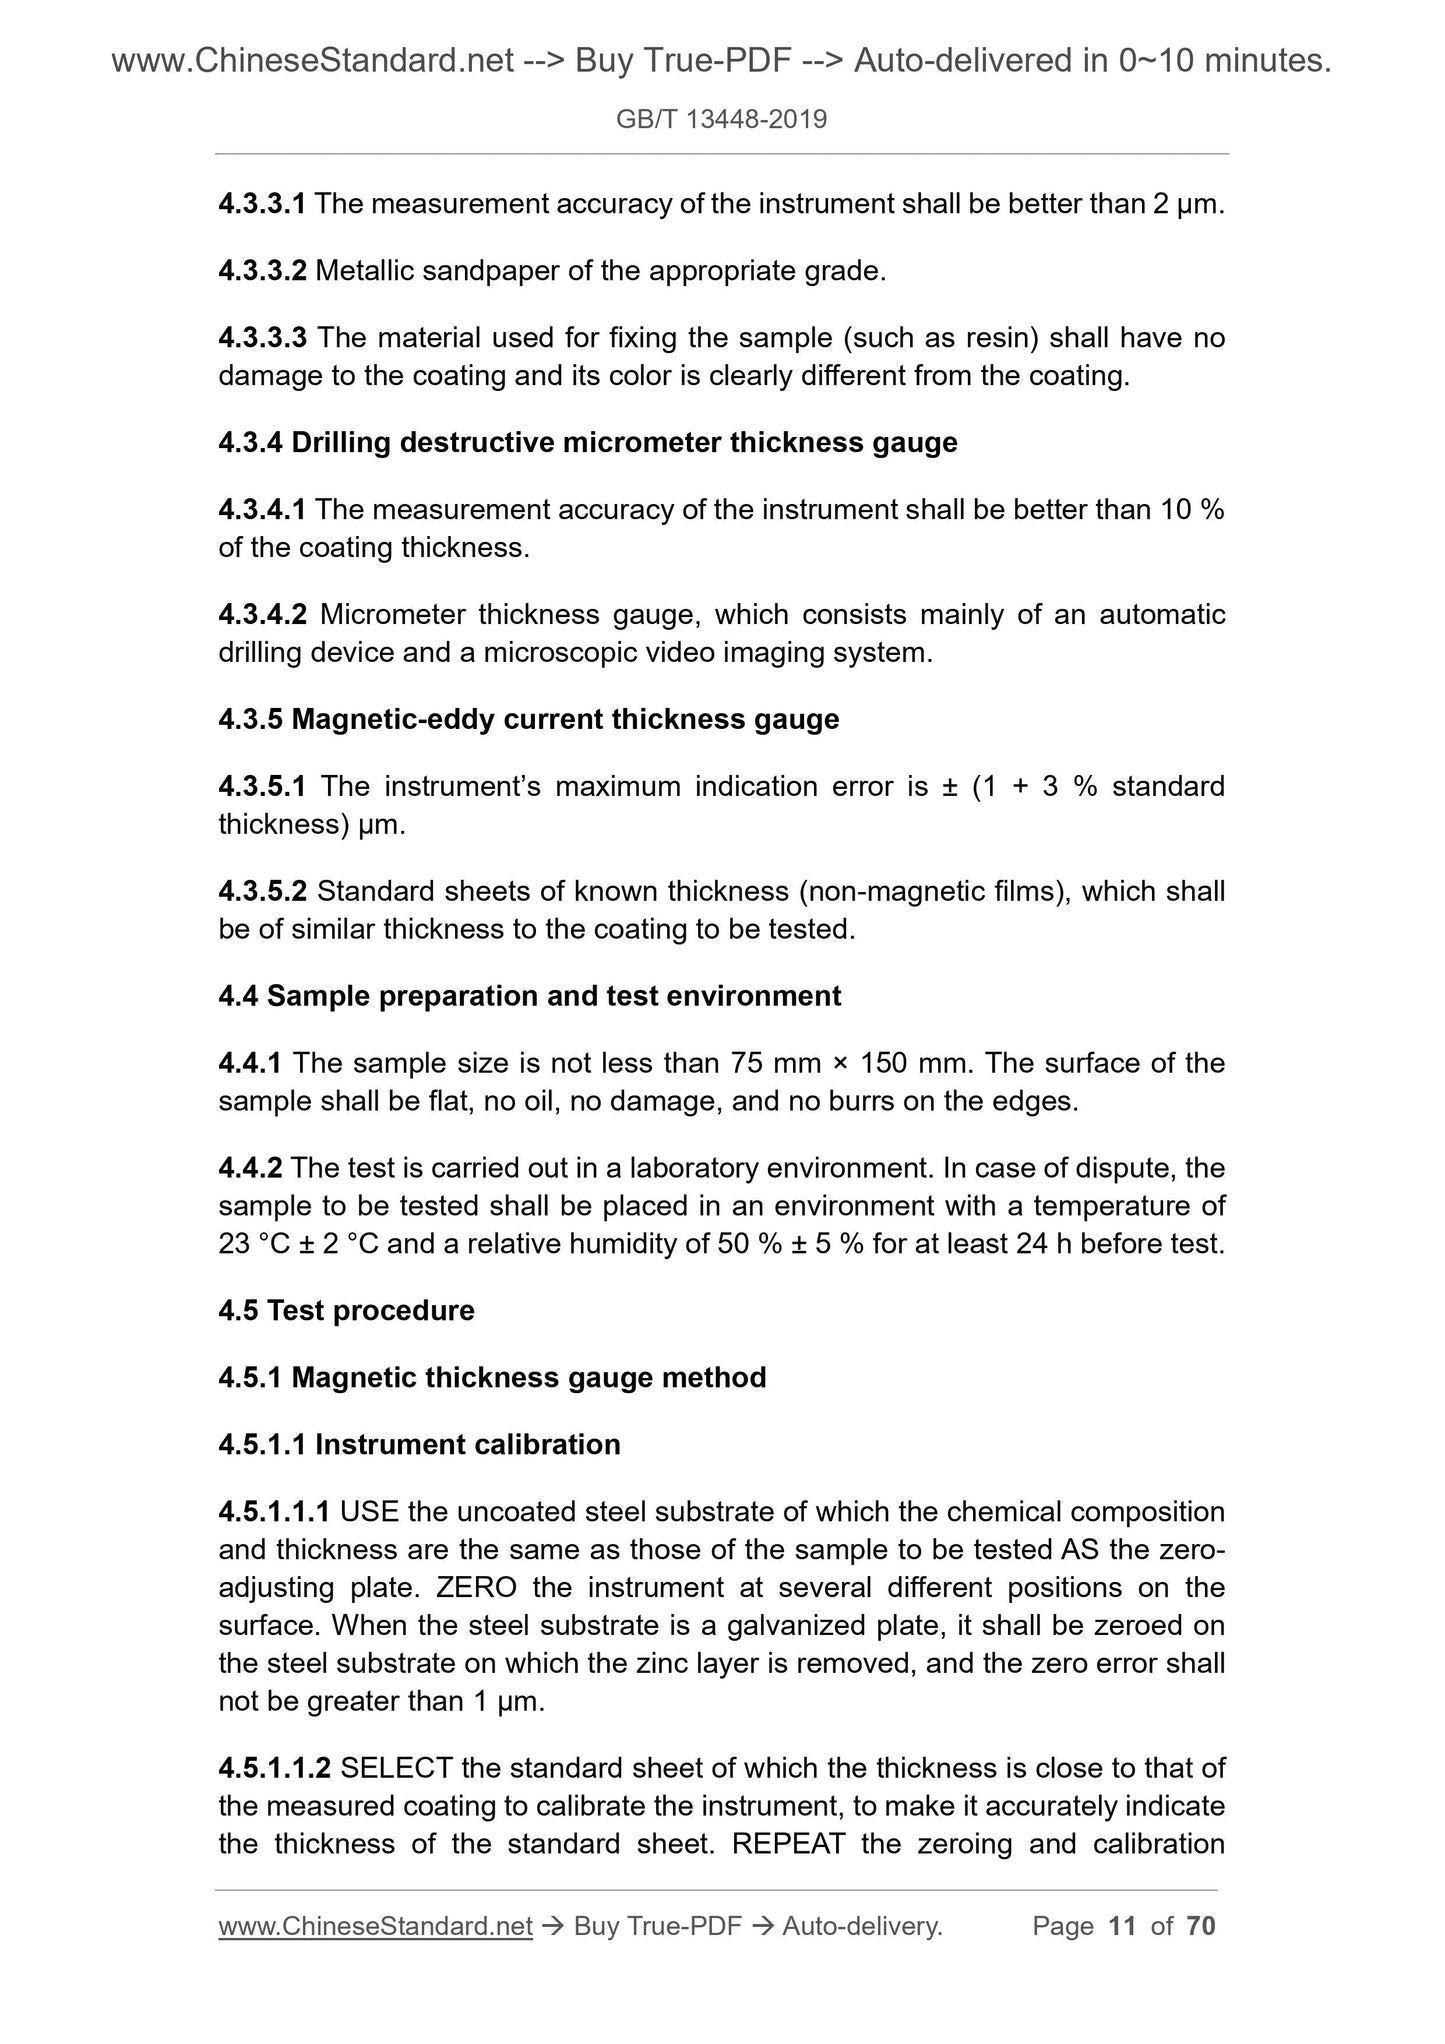
4.3.3.1 The measurement accuracy of the instrument shall be better than 2 μm.
4.3.3.2 Metallic sandpaper of the appropriate grade.
4.3.3.3 The material used for fixing the sample (such as resin) shall have no
damage to the coating and its color is clearly different from the coating.
4.3.4 Drilling destructive micrometer thickness gauge
4.3.4.1 The measurement accuracy of the instrument shall be better than 10 %
of the coating thickness.
4.3.4.2 Micrometer thickness gauge, which consists mainly of an automatic
drilling device and a microscopic video imaging system.
4.3.5 Magnetic-eddy current thickness gauge
4.3.5.1 The instrument’s maximum indication error is ± (1 + 3 % standard
thickness) μm.
4.3.5.2 Standard sheets of known thickness (non-magnetic films), which shall
be of similar thickness to the coating to be tested.
4.4 Sample preparation and test environment
4.4.1 The sample size is not less than 75 mm × 150 mm. The surface of the
sample shall be flat, no oil, no damage, and no burrs on the edges.
4.4.2 The test is carried out in a laboratory environment. In case of dispute, the
sample to be tested shall be placed in an environment with a temperature of
23 °C ± 2 °C and a relative humidity of 50 % ± 5 % for at least 24 h before test.
4.5 Test procedure
4.5.1 Magnetic thickness gauge method
4.5.1.1 Instrument calibration
4.5.1.1.1 USE the uncoated steel substrate of which the chemical composition
and thickness are the same as those of the sample to be tested AS the zero-
adjusting plate. ZERO the instrument at several different positions on the
surface. When the steel substrate is a galvanized plate, it shall be zeroed on
the steel substrate on which the zinc layer is removed, and the zero error shall
not be greater than 1 μm.
4.5.1.1.2 SELECT the standard sheet of which the thickness is close to that of
the measured coating to calibrate the instrument, to make it accurately indicate
the thickness of the standard sheet. REPEAT the zeroing and calibration
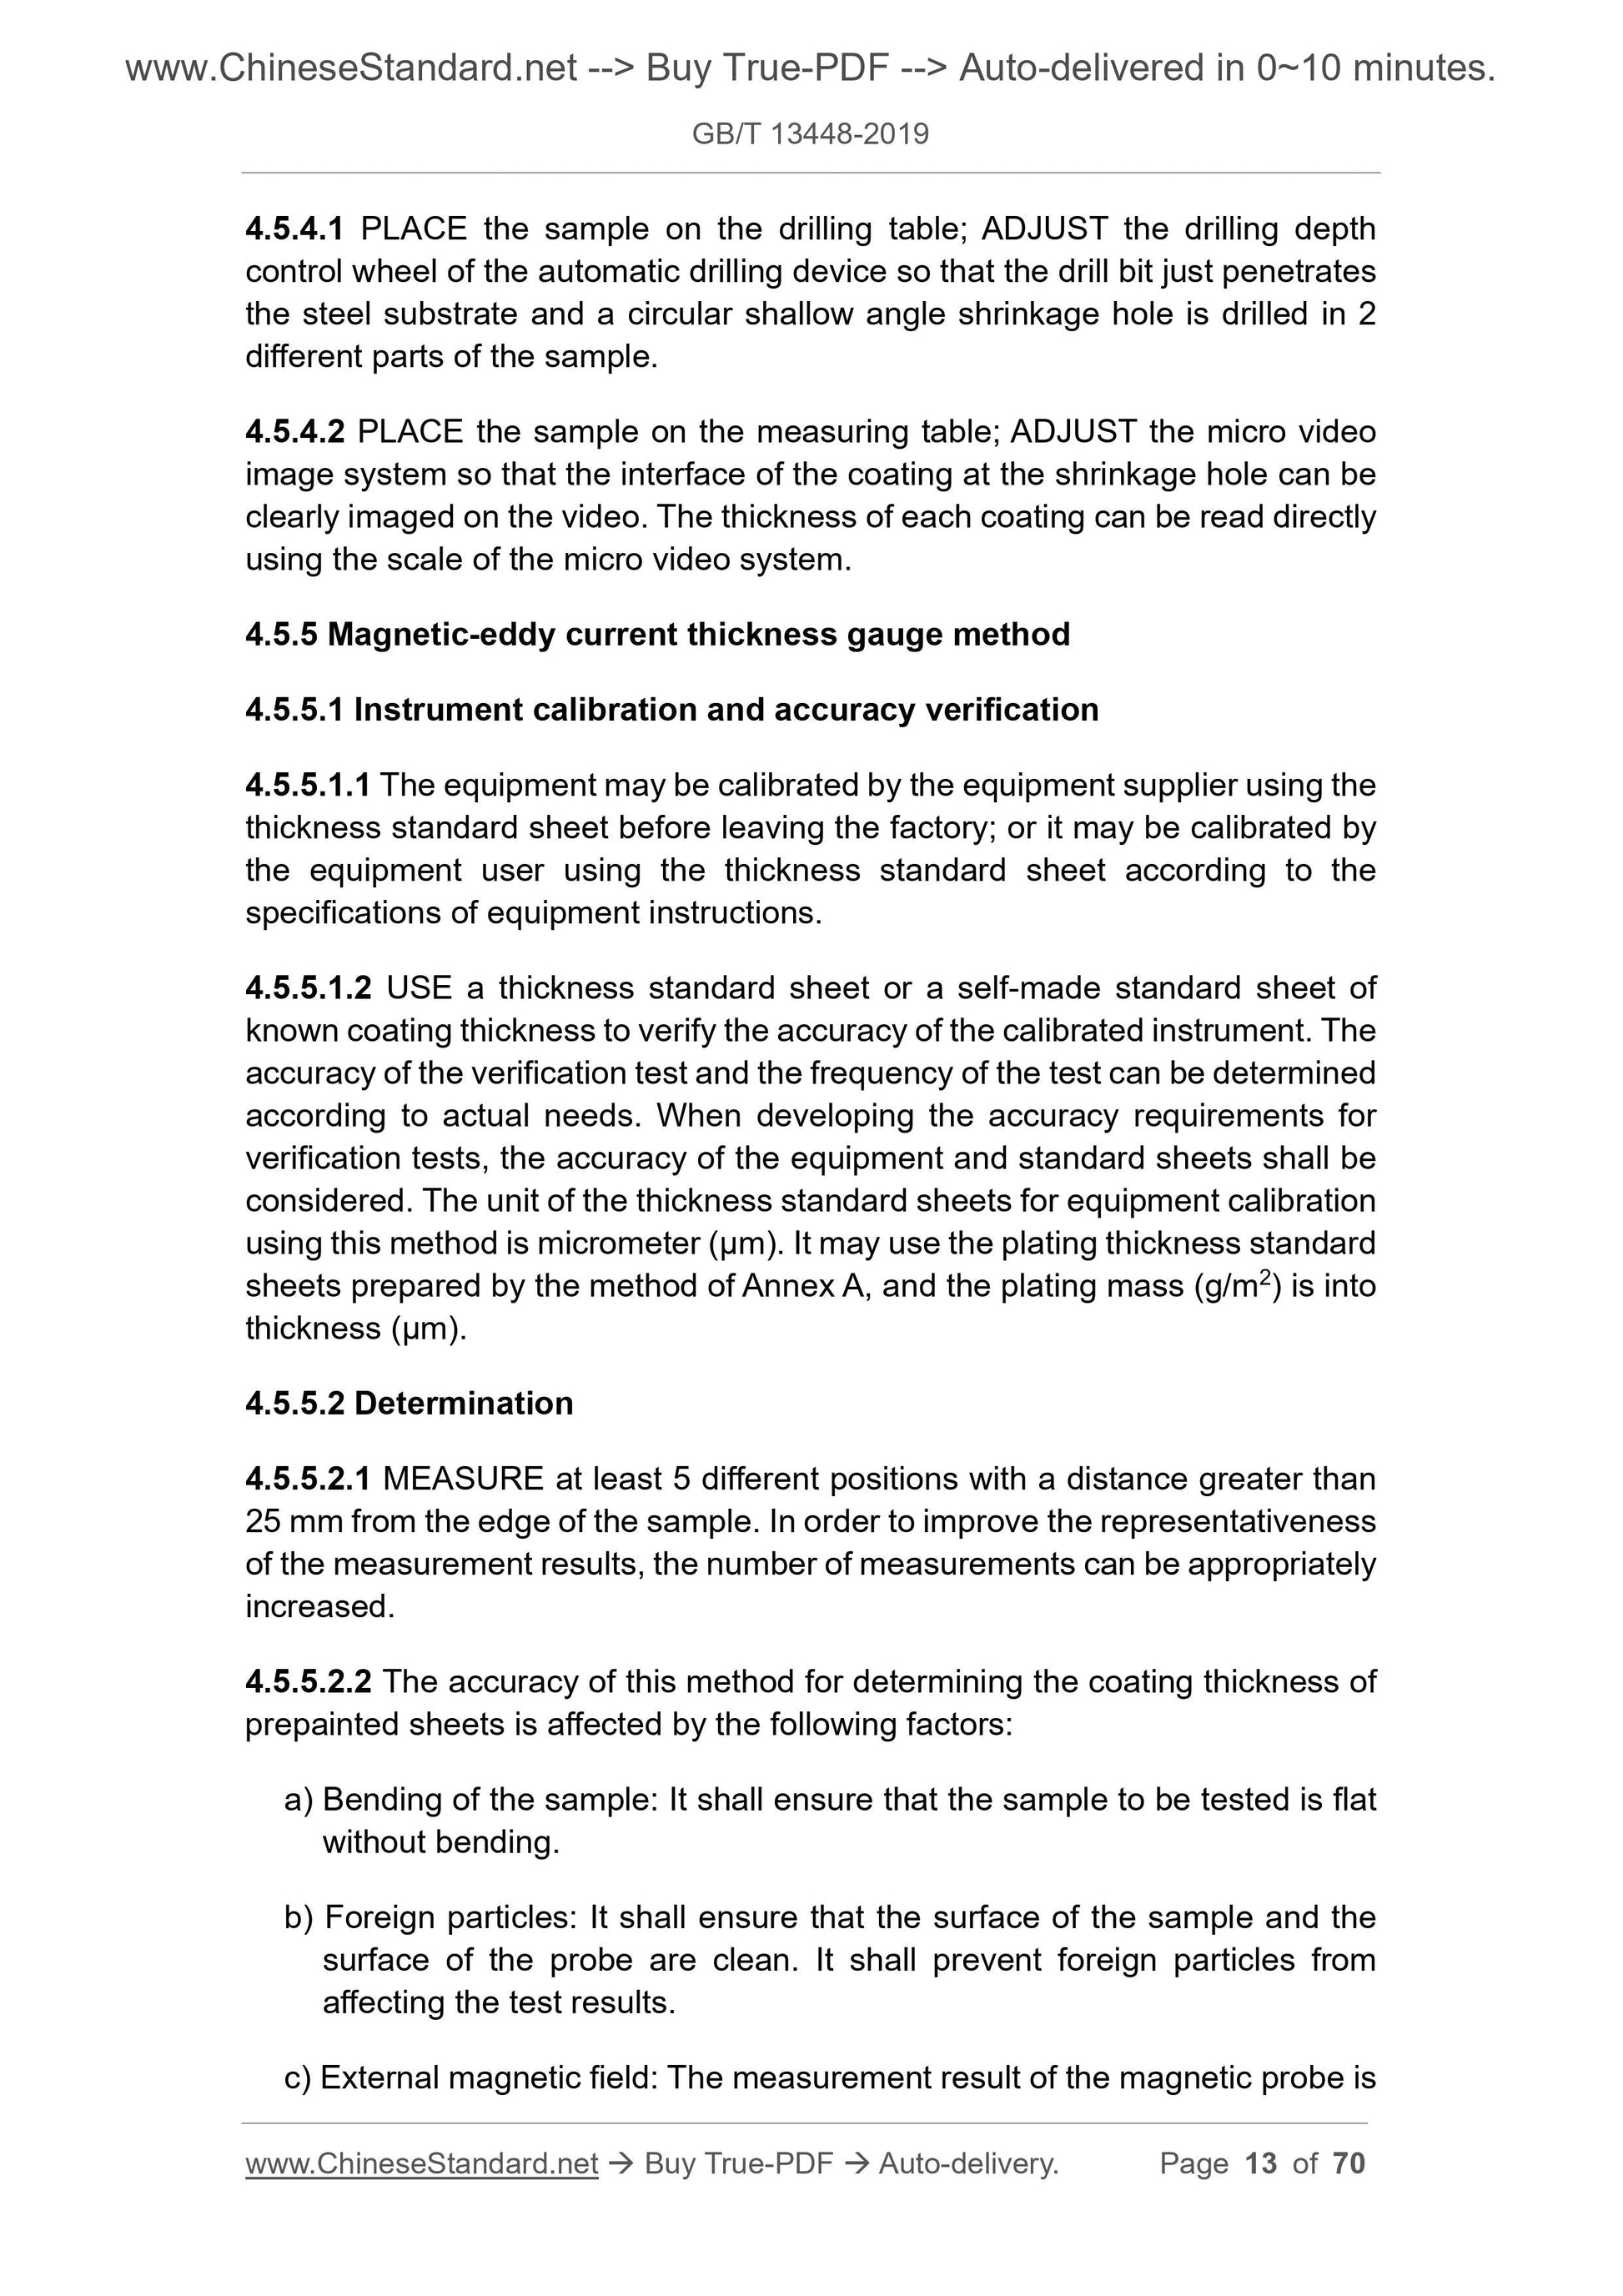
4.5.4.1 PLACE the sample on the drilling table; ADJUST the drilling depth
control wheel of the automatic drilling device so that the drill bit just penetrates
the steel substrate and a circular shallow angle shrinkage hole is drilled in 2
different parts of the sample.
4.5.4.2 PLACE the sample on the measuring table; ADJUST the micro video
image system so that the interface of the coating at the shrinkage hole can be
clearly imaged on the video. The thickness of each coating can be read directly
using the scale of the micro video system.
4.5.5 Magnetic-eddy current thickness gauge method
4.5.5.1 Instrument calibration and accuracy verification
4.5.5.1.1 The equipment may be calibrated by the equipment supplier using the
thickness standard sheet before leaving the factory; or it may be calibrated by
the equipment user using the thickness standard sheet according to the
specifications of equipment instructions.
4.5.5.1.2 USE a thickness standard sheet or a self-made standard sheet of
known coating thickness to verify the accuracy of the calibrated instrument. The
accuracy of the verification test and the frequency of the test can be determined
according to actual needs. When developing the accuracy requirements for
verification tests, the accuracy of the equipment and standard sheets shall be
considered. The unit of the thickness standard sheets for equipment calibration
using this method is micrometer (μm). It may use the plating thickness standard
sheets prepared by the method of Annex A, and the plating mass (g/m2) is into
thickness (μm).
4.5.5.2 Determination
4.5.5.2.1 MEASURE at least 5 different positions with a distance greater than
25 mm from the edge of the sample. In order to improve the representativeness
of the measurement results, the number of measurements can be appropriately
increased.
4.5.5.2.2 The accuracy of this method for determining the coating thickness of
prepainted sheets is affected by the following factors:
a) Bending of the sample: It shall ensure that the sample to be tested is flat
without bending.
b) Foreign particles: It shall ensure that the surface of the sample and the
surface of the probe are clean. It shall prevent foreign particles from
affecting the test results.
c) External magnetic field: The measurement result of the magnetic probe is
measured surface is the coating thickness of the sample, expressed in
micrometers (μm).
4.7 Test report
The test report shall include the following:
a) the test standard and negotiation terms adopted;
b) instrument model;
c) sample information;
d) test results;
e) test date and test personnel.
5 Specular gloss determination
5.1 General
The method is applicable to the determination of specular gloss of the coating
of prepainted sheets.
5.2 Principle
The specular gloss of the sample can be measured by determining the relative
luminous reflectance factor of the coating. The unit of measurement is GU.
5.3 Test equipment and materials
5.3.1 60° gloss meter or multi-angle gloss meter. The equipment’s
measurement indication error is not more than 1.0 GU.
5.3.2 Calibration plate: It is usually the polished glass plate or ceramic plate
that comes with the instrument for instrument calibration.
5.4 Sample preparation and test environment
5.4.1 The sample size is not less than 75 mm × 150 mm. The sample shall be
flat, no oil, no damage, and no burrs on the edges.
5.4.2 The test is carried out in a laboratory environment. In case of dispute, the
test sample shall be placed in an environment with a temperature of 23 °C ±
2 °C and a relative humidity of 50 % ± 5 % for at least 24 h before test.
5.5 Test procedure
6 Chromatic aberration determination
6.1 General
The method is applicable to the determination of chromatic aberration of
prepainted sheets.
6.2 Principle
MEASURE the spectral data of the reference sample and the sample by the
colorimeter under the International Lighting Association (CIE) standard light
source and standard observation conditions, USE the CIE color system to
calculate the tristimulus values of the reference sample and the sample, and
USE the selected chromaticity coordinates to calculate the chromatic aberration
results of the sample and the reference sample.
6.3 Test equipment and materials
6.3.1 Colorimeter
6.3.1.1 The geometry of colorimeter is usually divided into two types: directional
type and integrating sphere type. The geometry of directional type is usually
divided into 45°/0°, 0°/45° and multi-angle colorimeters. The geometry of
integrating sphere type is usually divided into d/8° and 8°/d.
6.3.1.2 The colorimeter shall be capable of measuring the spectral data of the
sample in the ra...
Share