Skip to product information
1 of 6

www.ChineseStandard.us -- Field Test Asia Pte. Ltd.

GB/T 13320-2007 English PDF (GB/T13320-2007)

GB/T 13320-2007 English PDF (GB/T13320-2007)

Regular price $65.00
Regular price Sale price $65.00
Sale Sold out
Shipping calculated at checkout.
GB/T 13320-2007: Metallographic grading atlas and assessing method for steel die forgings
Delivery: 9 seconds. Download (and Email) true-PDF + Invoice.
Get Quotation: Click GB/T 13320-2007 (Self-service in 1-minute)
Newer / historical versions: GB/T 13320-2007
Preview True-PDF (Reload/Scroll-down if blank)


GB/T 13320-2007
GB
NATIONAL STANDARD OF THE
PEOPLE’S REPUBLIC OF CHINA
ICS 77.140.85
J 32
Replacing GB/T 13320-1991
Metallographic grading atlas and assessing method for steel
die forgings
ISSUED ON. APRIL 18, 2007
IMPLEMENTED ON. NOVEMBER 01, 2007
Issued by. General Administration of Quality Supervision, Inspection and
Quarantine;
Standardization Administration of the People’s Republic of China.
Table of Contents
Foreword... 3
1 Scope... 4
2 Terms and definitions... 4
3 Grouping and grading of grading atlas... 5
4 Application of grading atlas... 5
5 Sample selection and preparation... 5
6 Assessment of metallographic structure... 6
Appendix A (informative) Example of metallographic structure grading atlas for
forgings... 19
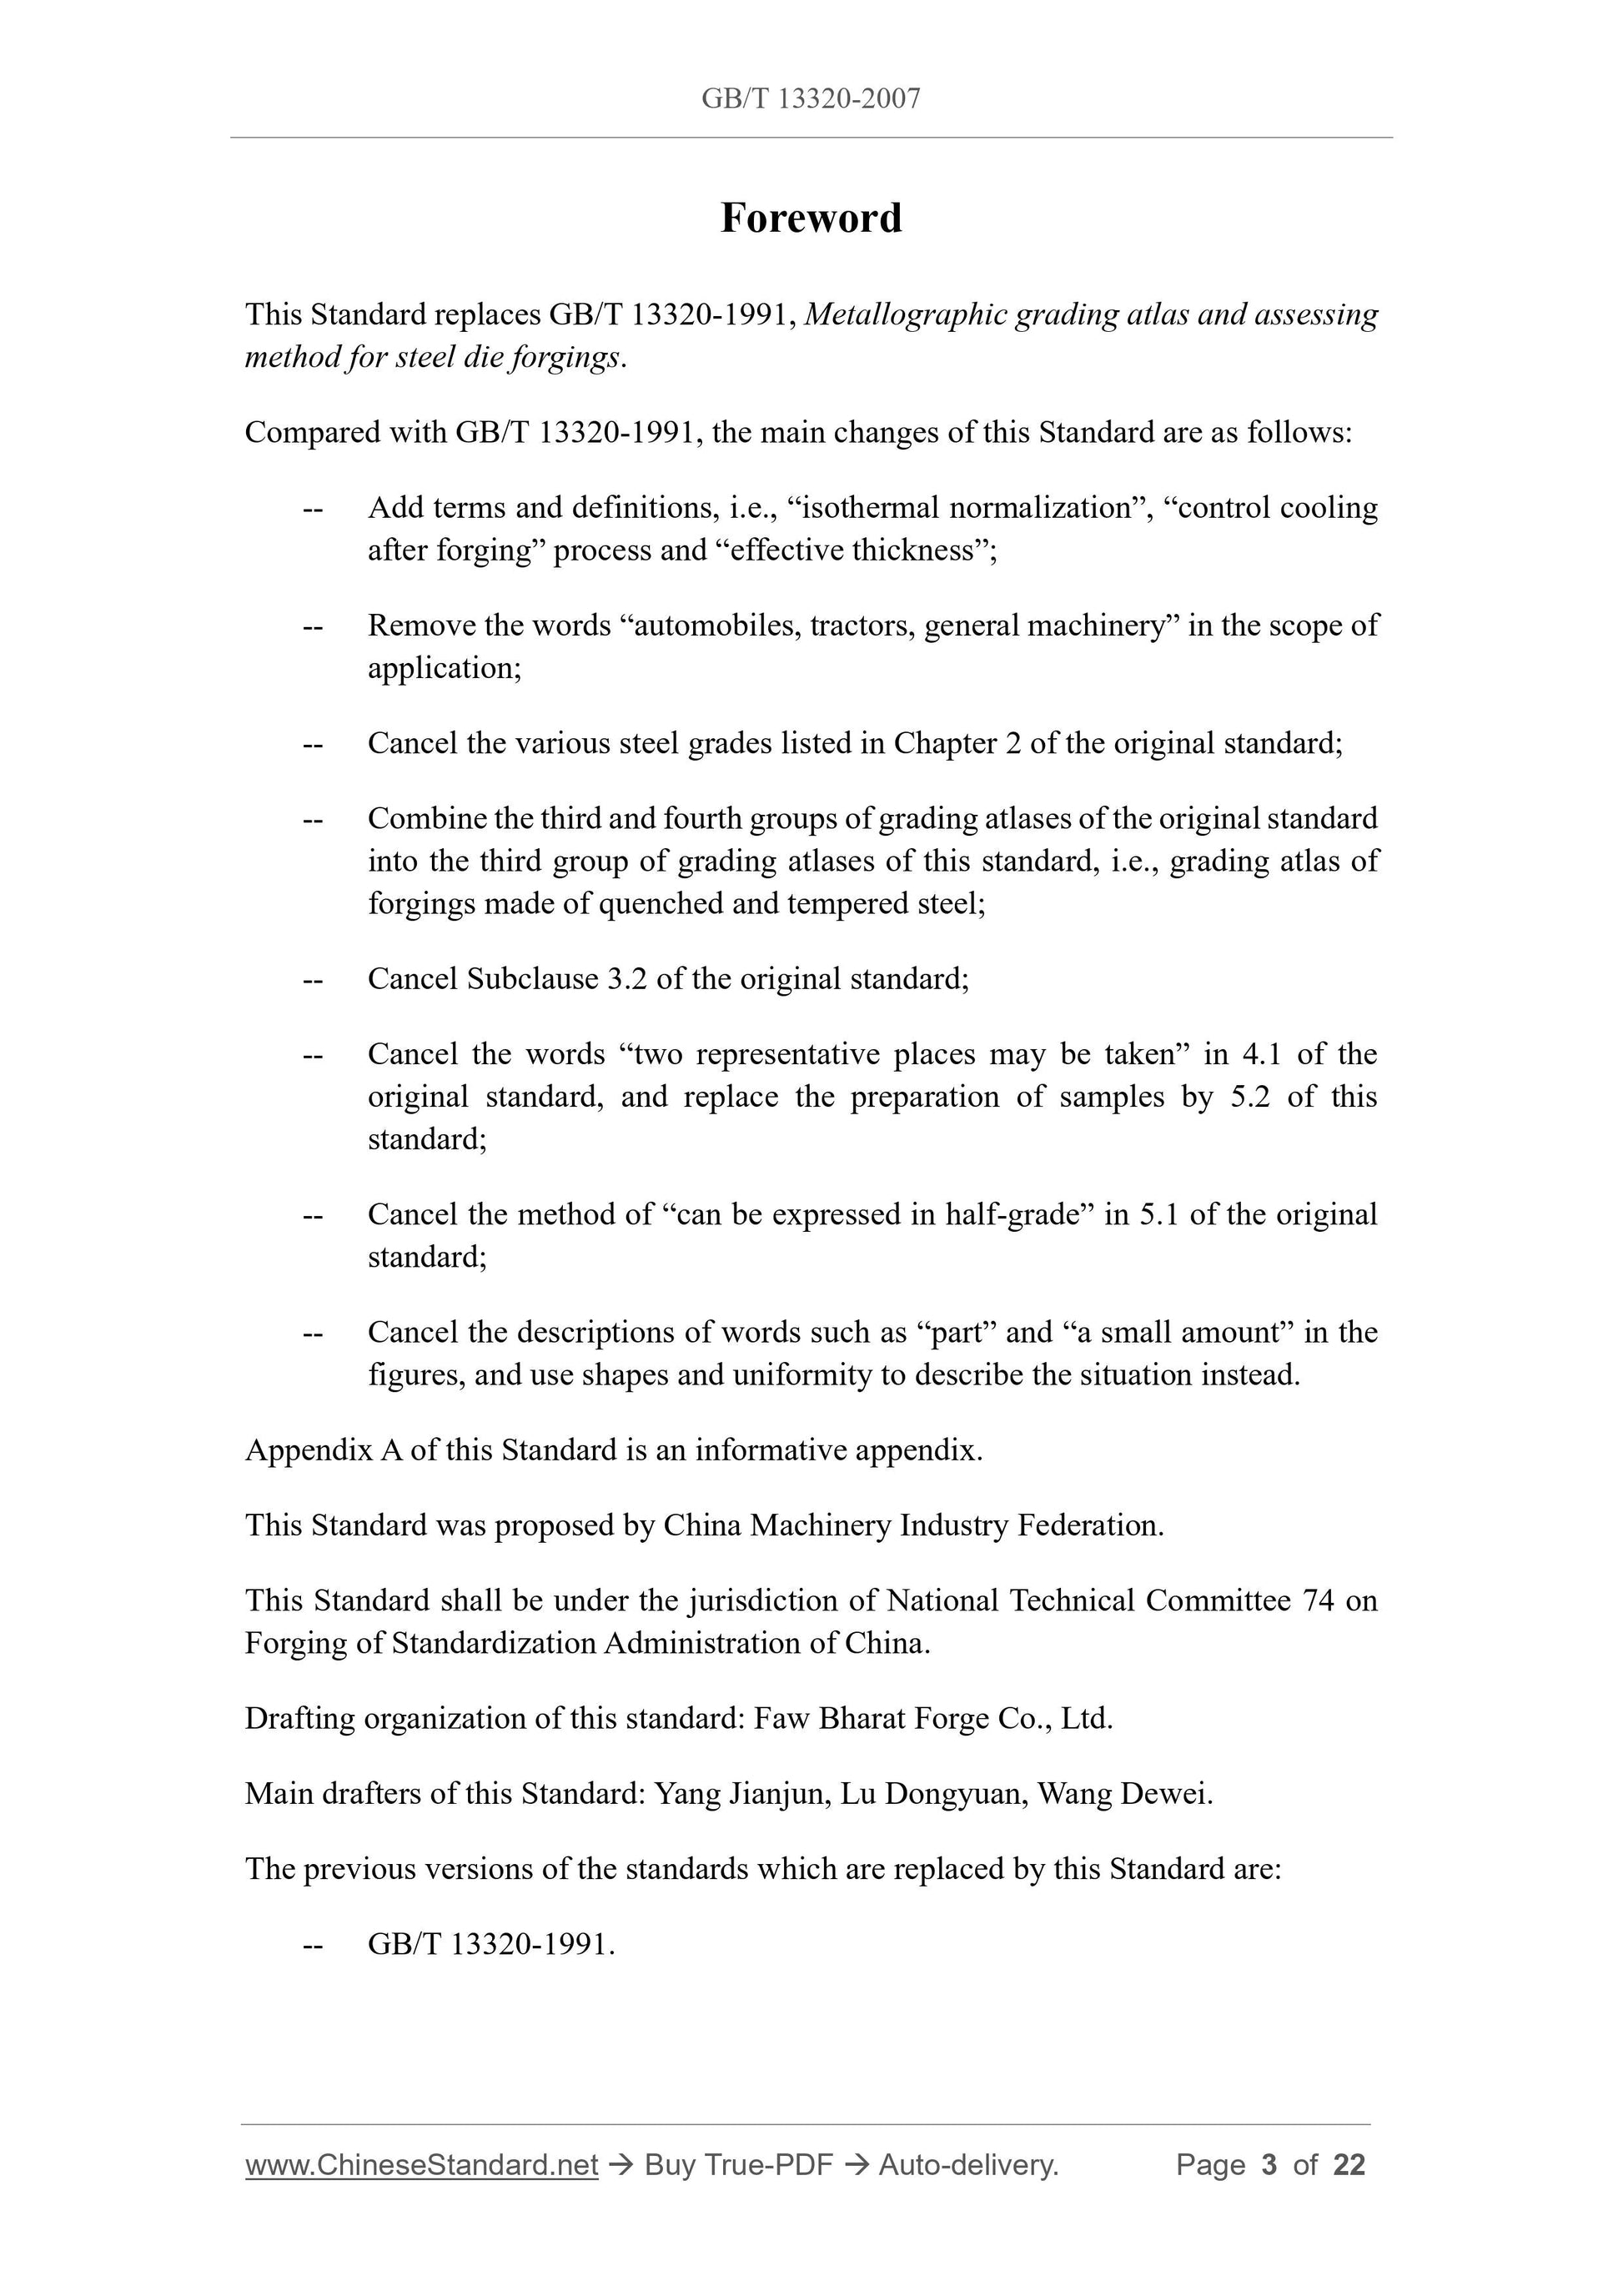
Foreword
This Standard replaces GB/T 13320-1991, Metallographic grading atlas and assessing
method for steel die forgings.
Compared with GB/T 13320-1991, the main changes of this Standard are as follows.
-- Add terms and definitions, i.e., “isothermal normalization”, “control cooling
after forging” process and “effective thickness”;
-- Remove the words “automobiles, tractors, general machinery” in the scope of
application;
-- Cancel the various steel grades listed in Chapter 2 of the original standard;
-- Combine the third and fourth groups of grading atlases of the original standard
into the third group of grading atlases of this standard, i.e., grading atlas of
forgings made of quenched and tempered steel;
-- Cancel Subclause 3.2 of the original standard;
-- Cancel the words “two representative places may be taken” in 4.1 of the
original standard, and replace the preparation of samples by 5.2 of this
standard;
-- Cancel the method of “can be expressed in half-grade” in 5.1 of the original
standard;
-- Cancel the descriptions of words such as “part” and “a small amount” in the
figures, and use shapes and uniformity to describe the situation instead.
Appendix A of this Standard is an informative appendix.
This Standard was proposed by China Machinery Industry Federation.
This Standard shall be under the jurisdiction of National Technical Committee 74 on
Forging of Standardization Administration of China.
Drafting organization of this standard. Faw Bharat Forge Co., Ltd.
Main drafters of this Standard. Yang Jianjun, Lu Dongyuan, Wang Dewei.
The previous versions of the standards which are replaced by this Standard are.
-- GB/T 13320-1991.
Metallographic grading atlas and assessing method for steel
die forgings
1 Scope
This Standard specifies the metallographic grading atlas (hereinafter referred to as
grading atlas) and assessing method for steel die forgings.
This Standard applies to structural steel die forgings that have been subjected to
quenching and tempering, normalizing, isothermal normalization, and control cooling
after forging.
This Standard is not applicable to the assessment of decarburization, overheating, over-
burning and other microstructures of forgings.
2 Terms and definitions
The following terms and definitions are applicable to this Standard.
2.1
isothermal normalization
A heat treatment process in which the forging is heated to a temperature higher than Ac3
(or Ac1), kept at that temperature for a period of time, then cooled to a temperature in
the pearlite transformation zone and kept isothermally for a period of time to transform
the austenite into a pearlite structure, and then cooled in air.
2.2
control cooling after forging
A process of controlling the cooling rate of the forging by residual heat so that the
forging, after forming, obtains pearlite plus ferrite or bainite structure.
2.3
effective thickness
When the wall thickness of different parts of the forging is different, if determining the
heating time according to the wall thickness at a certain place can ensure the quality of
heat treatment, then the wall thickness at that place is called the effective thickness of
the forging.
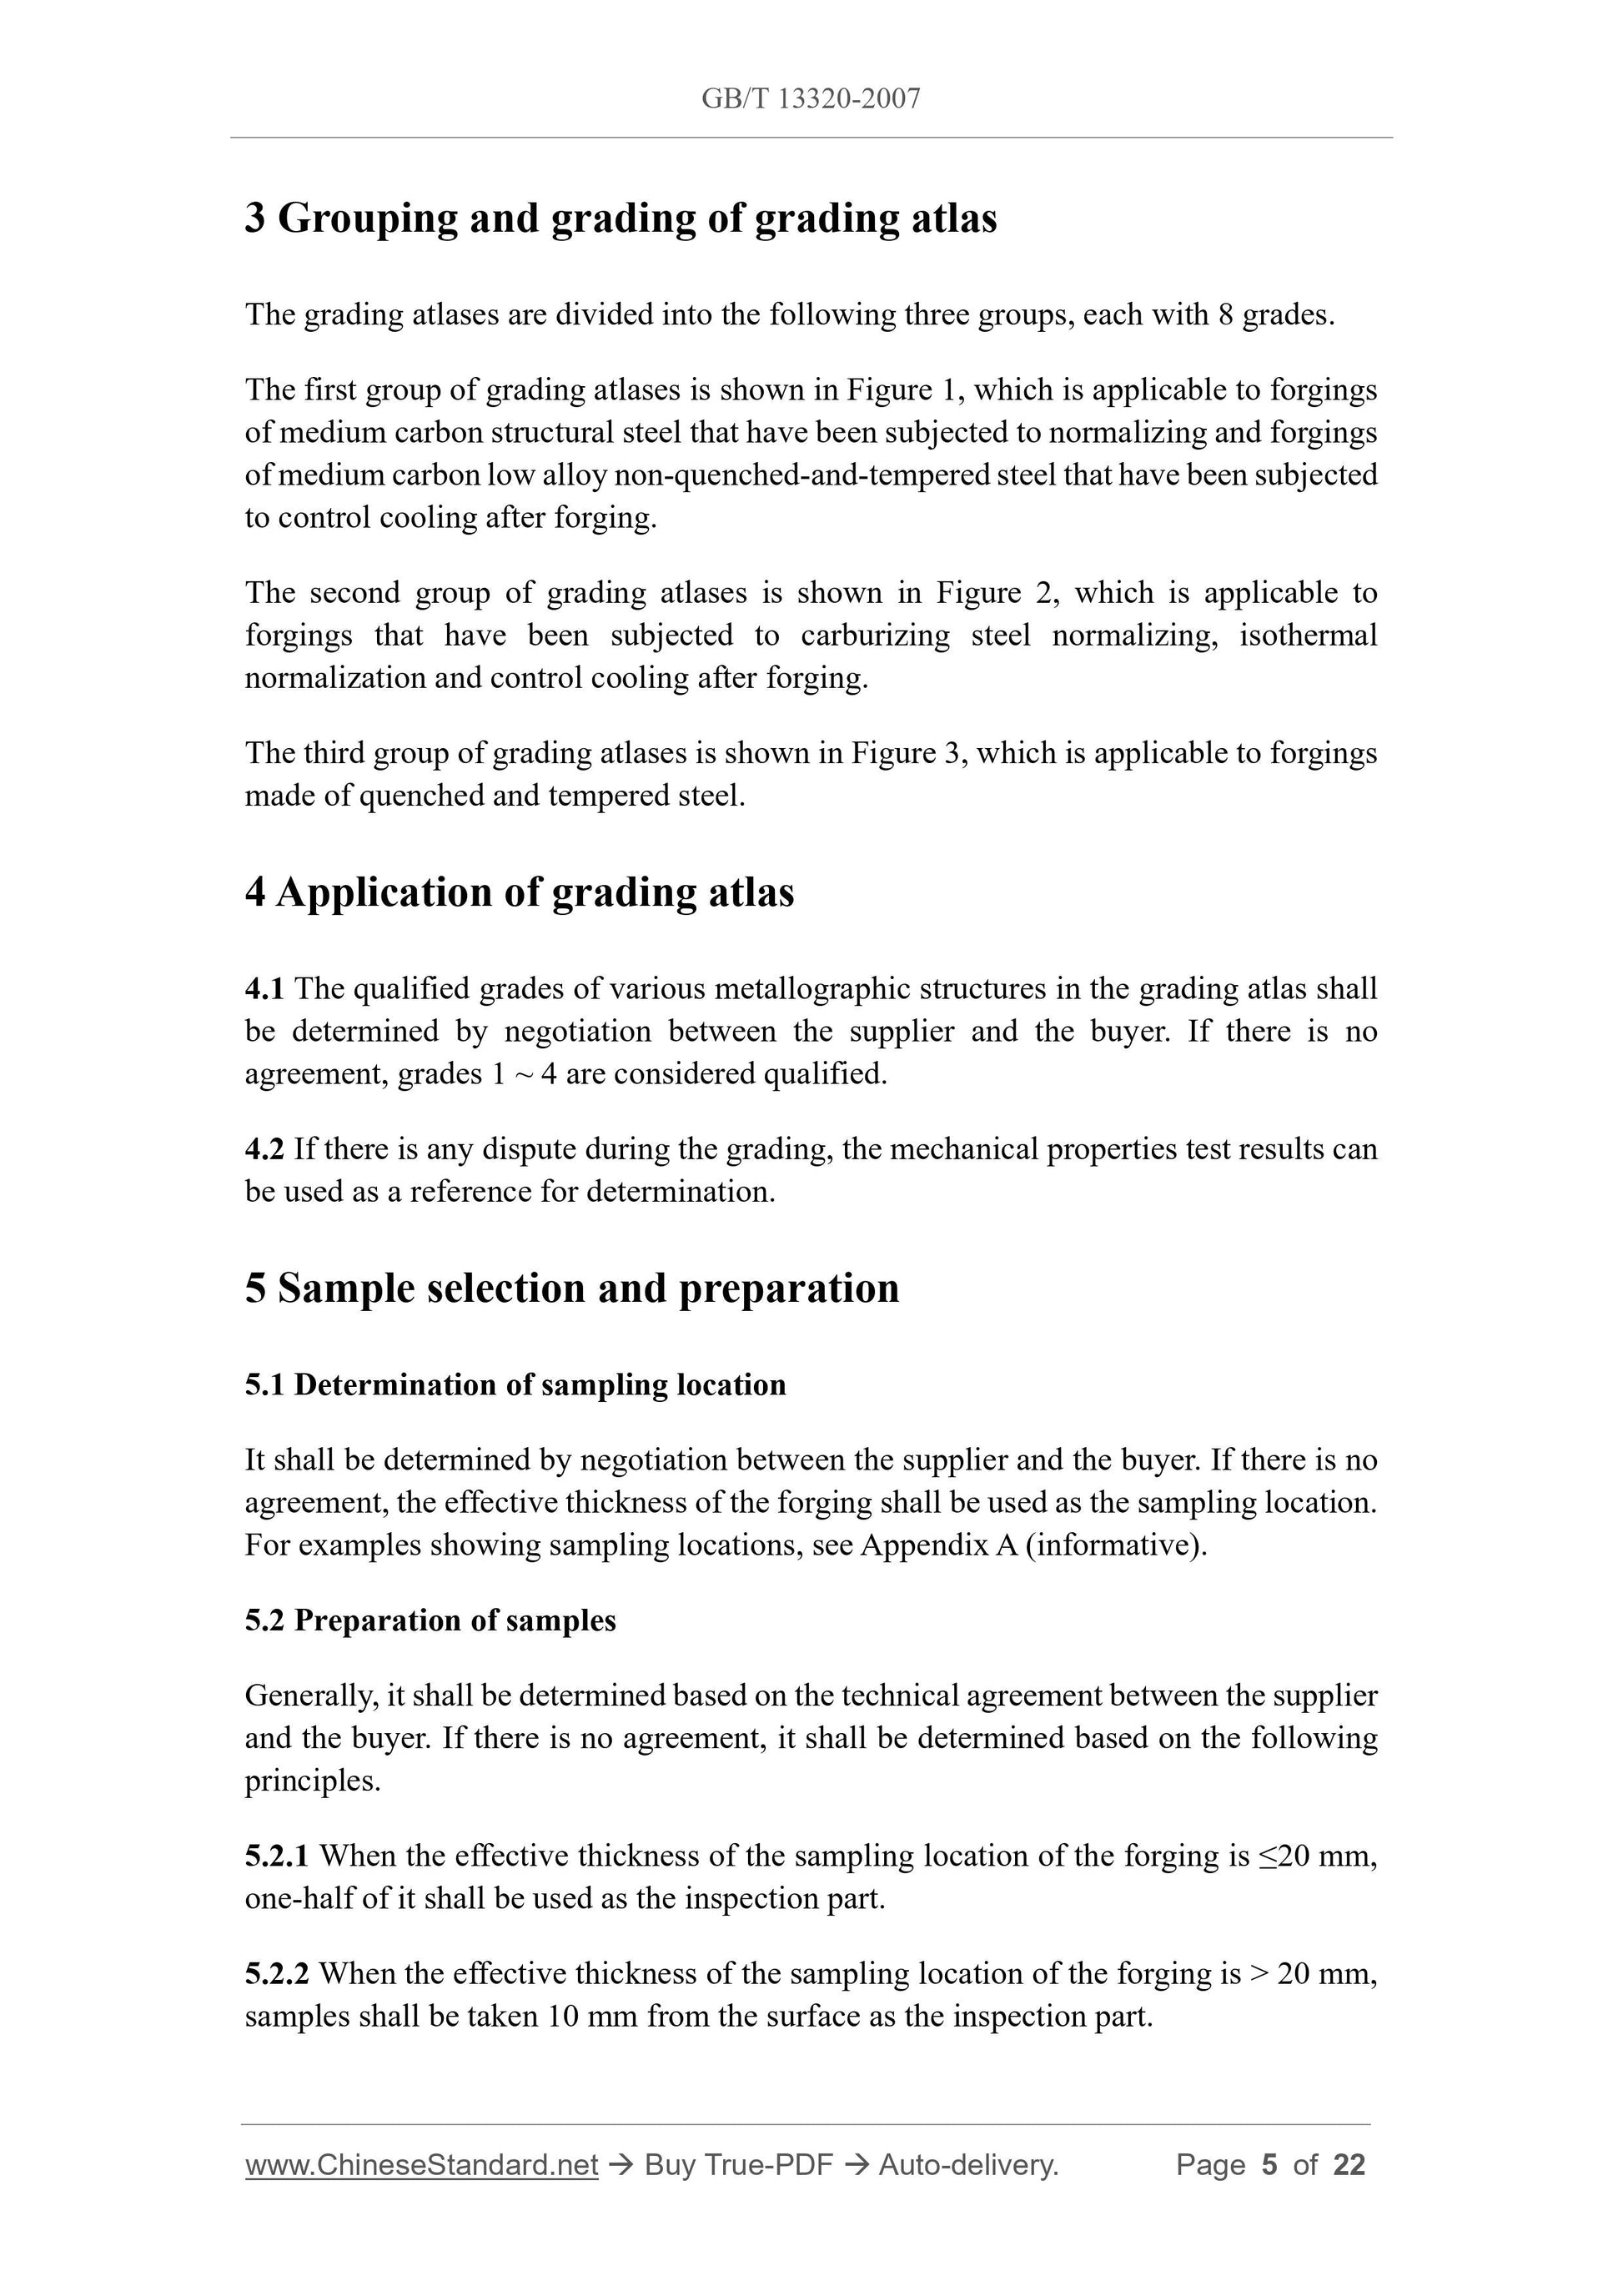
3 Grouping and grading of grading atlas
The grading atlases are divided into the following three groups, each with 8 grades.
The first group of grading atlases is shown in Figure 1, which is applicable to forgings
of medium carbon structural steel that have been subjected to normalizing and forgings
of medium carbon low alloy non-quenched-and-tempered steel that have been subjected
to control cooling after forging.
The second group of grading atlases is shown in Figure 2, which is applicable to
forgings that have been subjected to carburizing steel normalizing, isothermal
normalization and control cooling after forging.
The third group of grading atlases is shown in Figure 3, which is applicable to forgings
made of quenched and tempered steel.
4 Application of grading atlas
4.1 The qualified grades of various metallographic structures in the grading atlas shall
be determined by negotiation between the supplier and the buyer. If there is no
agreement, grades 1 ~ 4 are considered qualified.
4.2 If there is any dispute during the grading, the mechanical properties test results can
be used as a reference for determination.
5 Sample selection and preparation
5.1 Determination of sampling location
It shall be determined by negotiation between the supplier and the buyer. If there is no
agreement, the effective thickness of the forging shall be used as the sampling location.
For examples showing sampling locations, see Appendix A (informative).
5.2 Preparation of samples
Generally, it shall be determined based on the technical agreement between the supplier
and the buyer. If there is no agreement, it shall be determined based on the following
principles.
5.2.1 When the effective thickness of the sampling location of the forging is ≤20 mm,
one-half of it shall be used as the inspection part.
5.2.2 When the effective thickness of the sampling location of the forging is > 20 mm,
samples shall be taken 10 mm from the surface as the inspection part.

View full details