1
/
of
8
PayPal, credit cards. Download editable-PDF and invoice in 1 second!
GB/T 12673-1990 English PDF (GBT12673-1990)
Regular price
$85.00 USD
Regular price
Sale price
$85.00 USD
Unit price
/
per
Shipping calculated at checkout.
Couldn't load pickup availability
Delivery: 3 seconds. Download true-PDF + Invoice.Newer version: (Replacing this standard) GB/T 12673-2019
Get QUOTATION in 1-minute: Click GB/T 12673-1990
Historical versions: GB/T 12673-1990
Preview True-PDF (Reload/Scroll if blank)
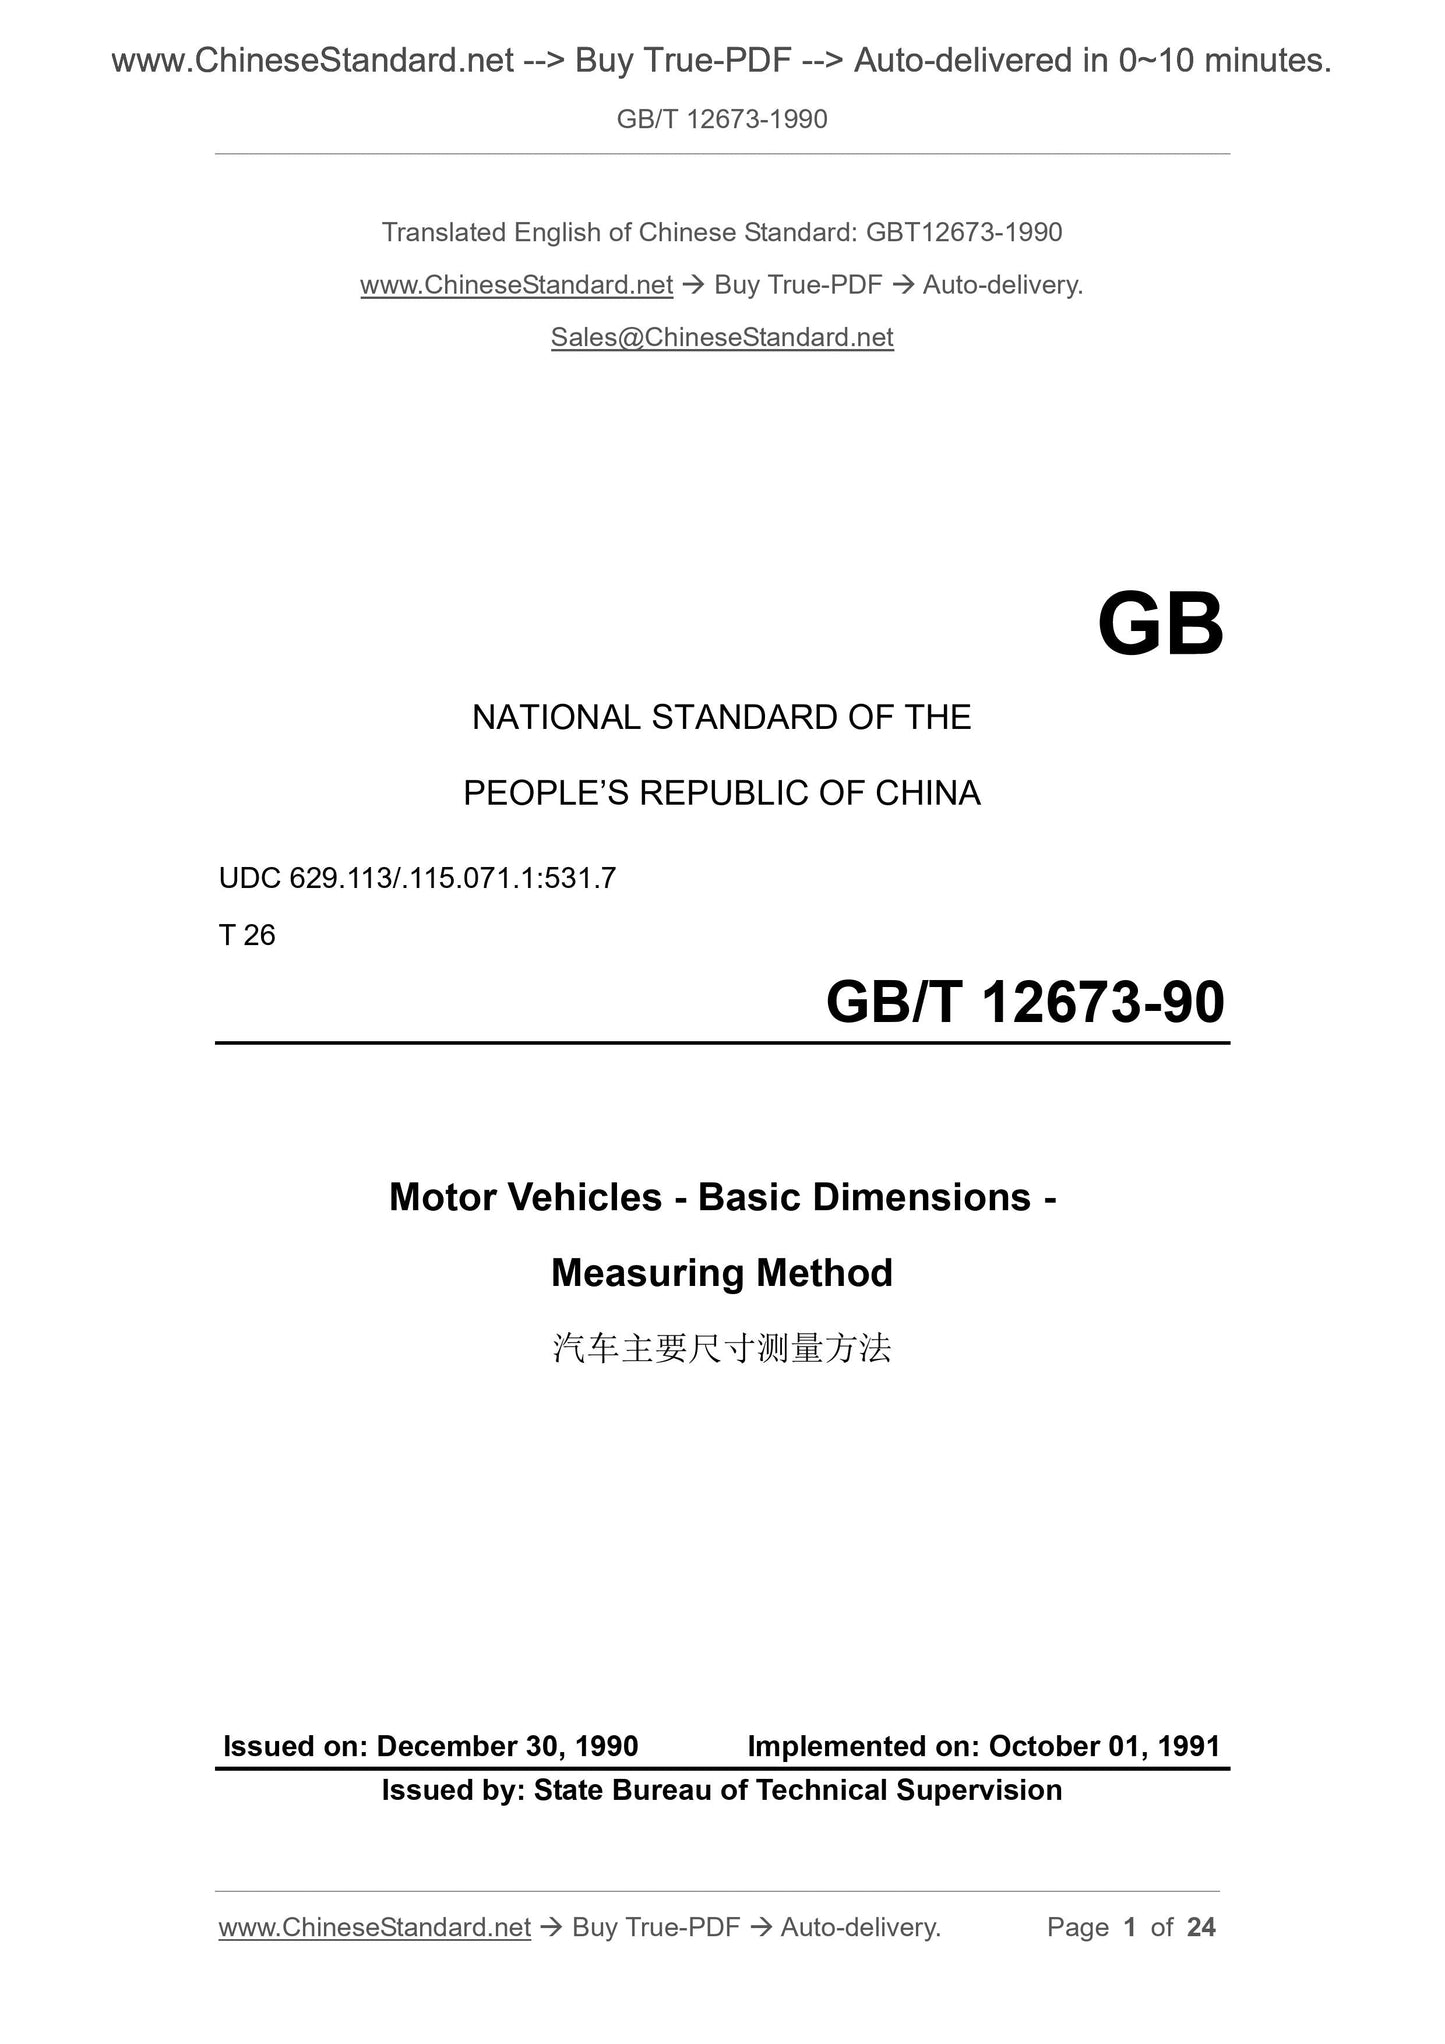
GB/T 12673-1990: Motor vehicles -- Basic dimensions -- Measuring method
GB/T 12673-1990
NATIONAL STANDARD OF THE
PEOPLE’S REPUBLIC OF CHINA
UDC 629.113/.115.071.1:531.7
T 26
GB/T 12673-90
Motor Vehicles - Basic Dimensions -
Measuring Method
ISSUED ON: DECEMBER 30, 1990
IMPLEMENTED ON: OCTOBER 01, 1991
Issued by: State Bureau of Technical Supervision
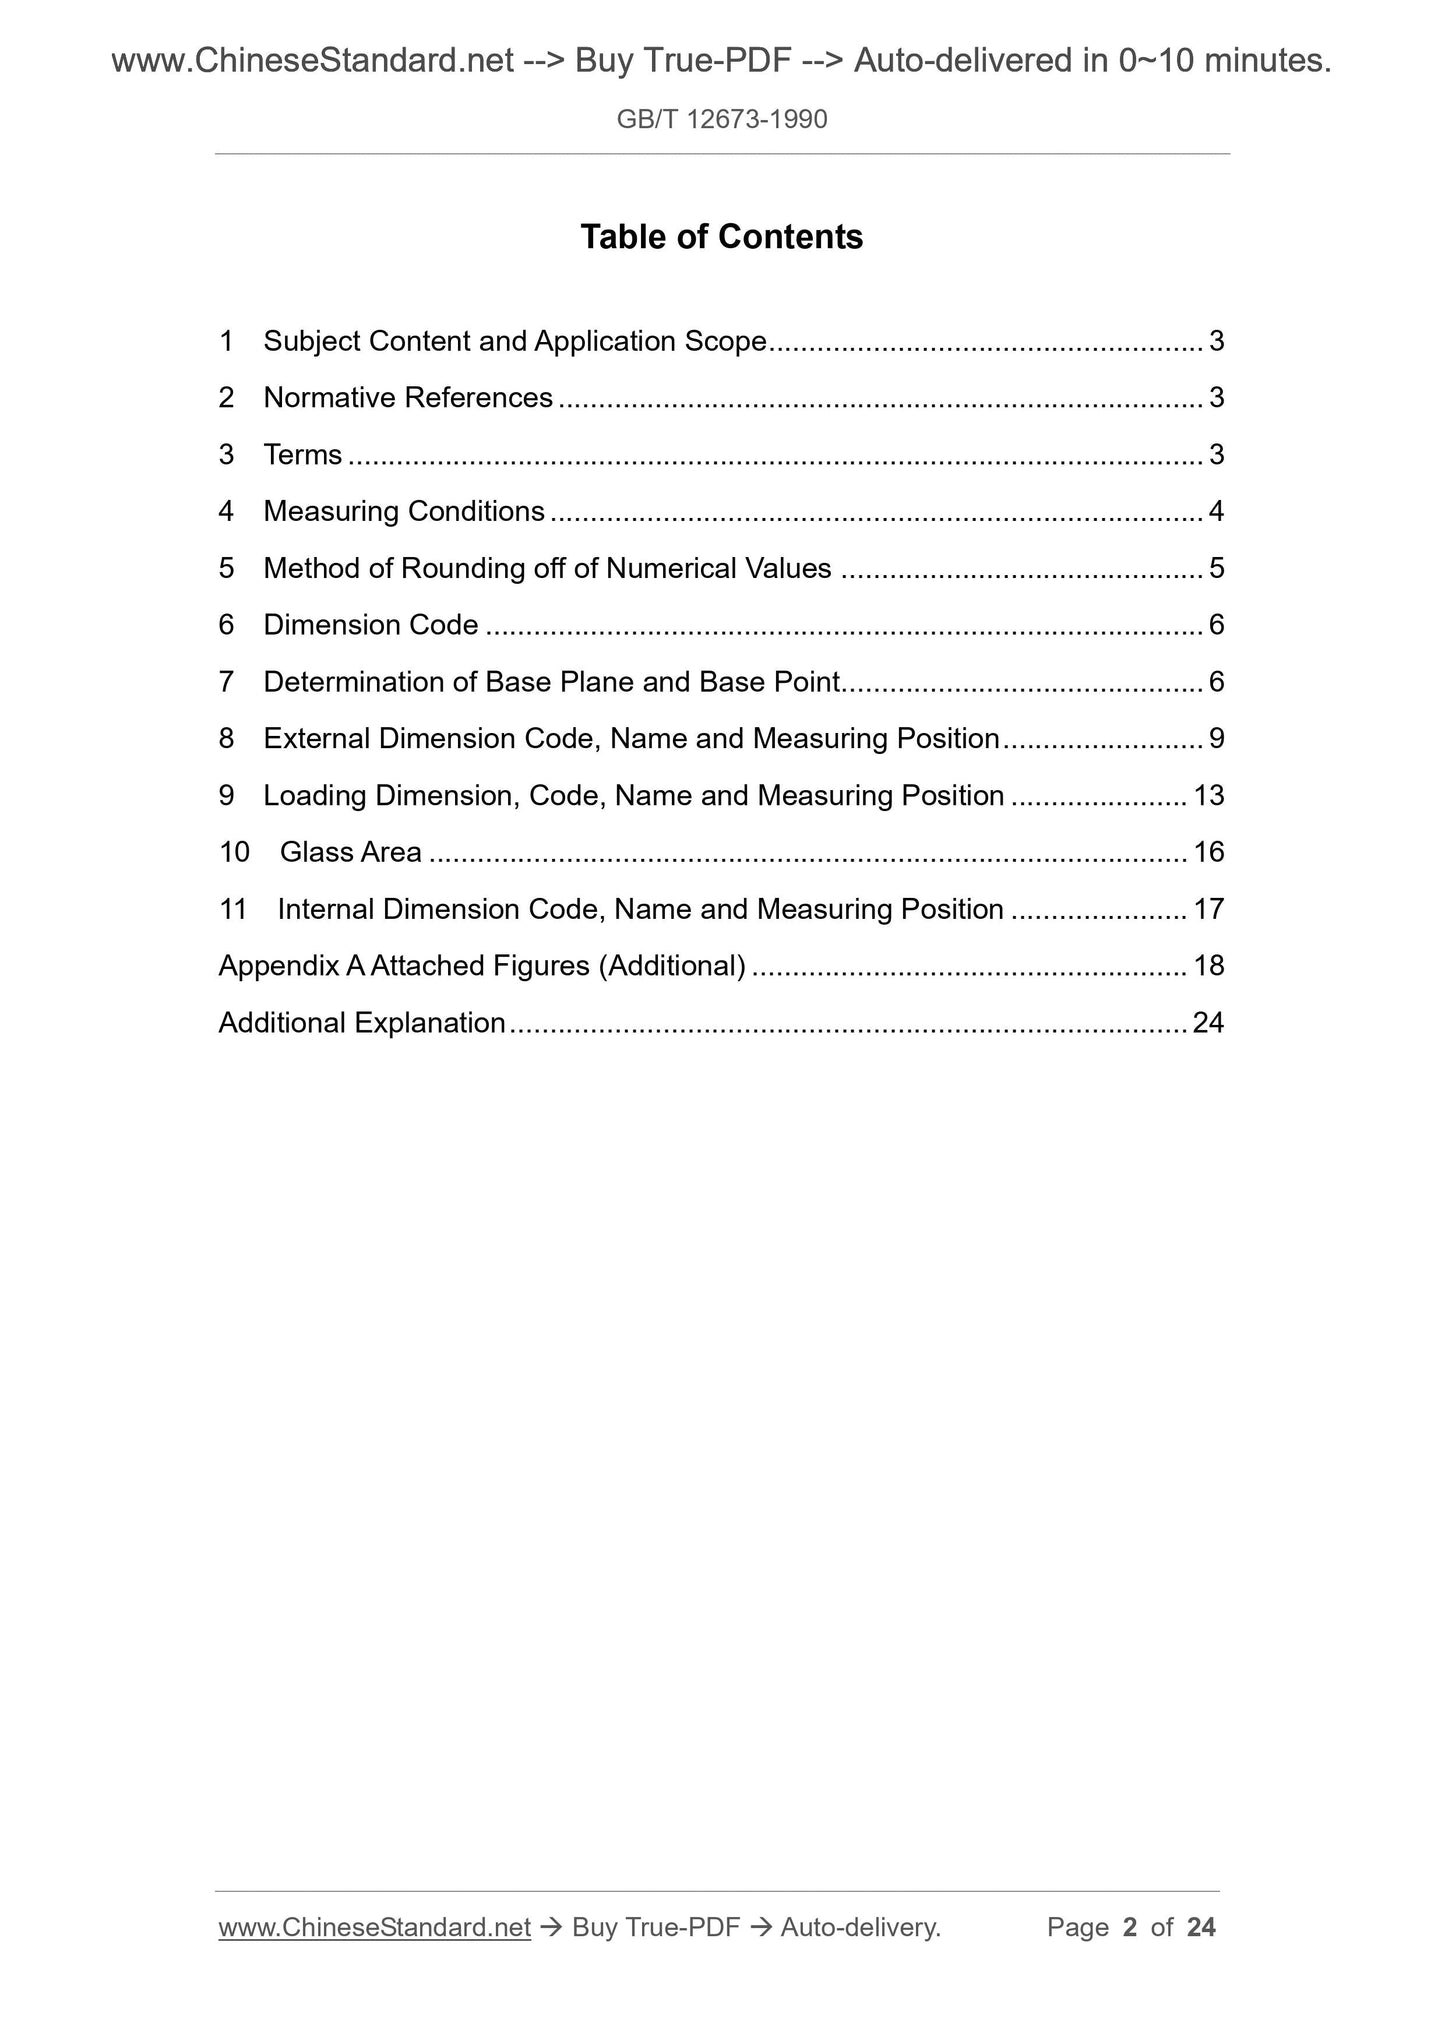
Table of Contents
1 Subject Content and Application Scope ... 3
2 Normative References ... 3
3 Terms ... 3
4 Measuring Conditions ... 4
5 Method of Rounding off of Numerical Values ... 5
6 Dimension Code ... 6
7 Determination of Base Plane and Base Point ... 6
8 External Dimension Code, Name and Measuring Position ... 9
9 Loading Dimension, Code, Name and Measuring Position ... 13
10 Glass Area ... 16
11 Internal Dimension Code, Name and Measuring Position ... 17
Appendix A Attached Figures (Additional) ... 18
Additional Explanation ... 24
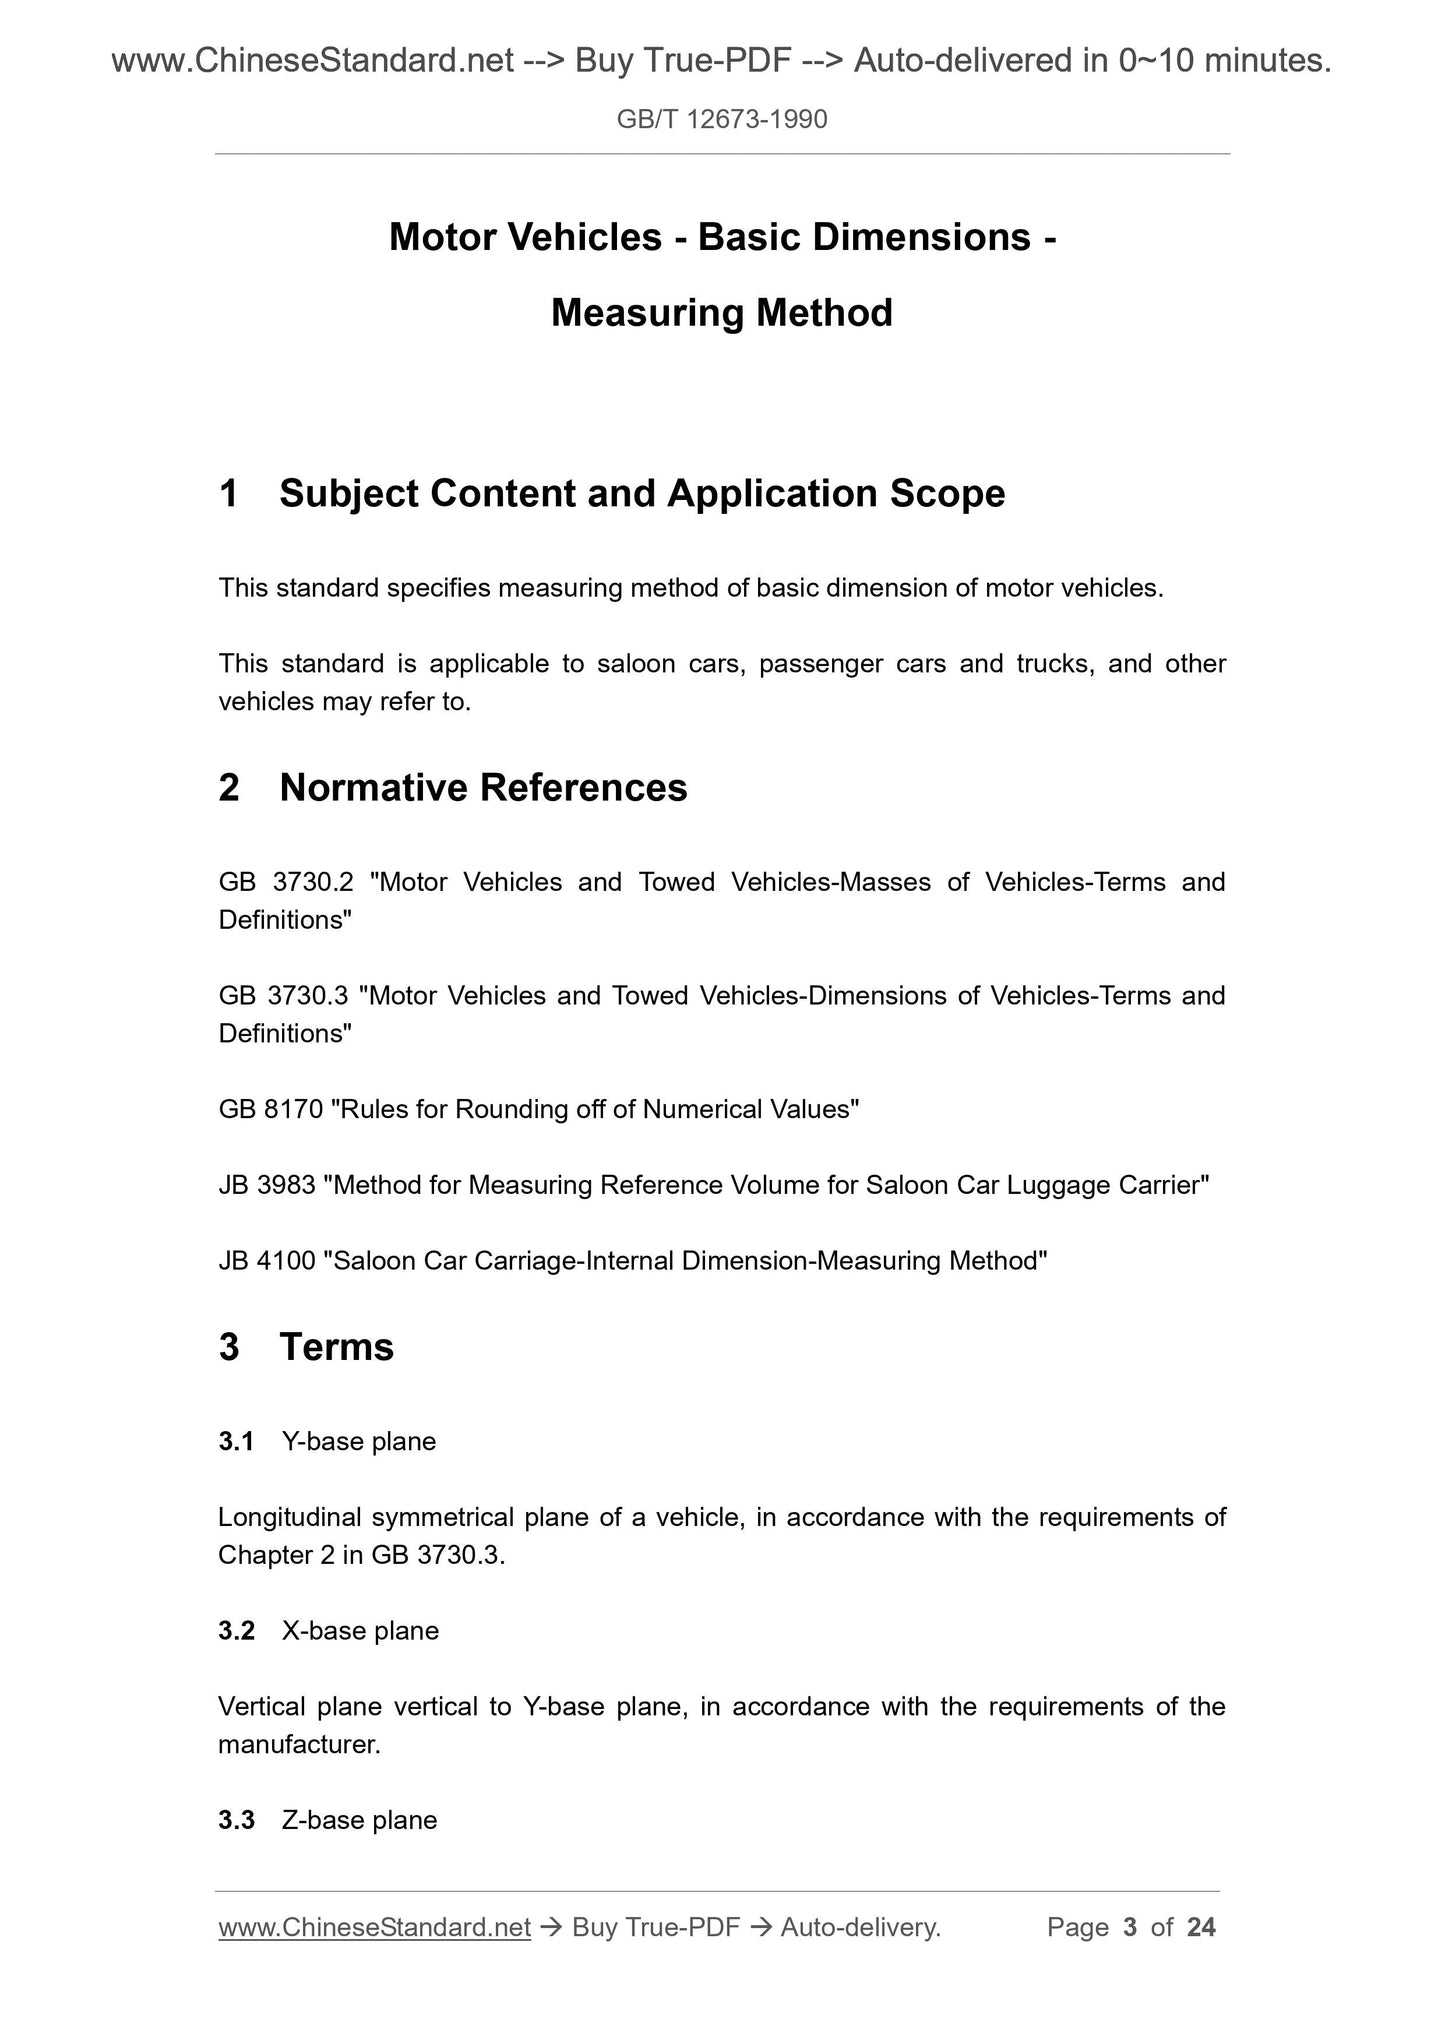
Motor Vehicles - Basic Dimensions -
Measuring Method
1 Subject Content and Application Scope
This standard specifies measuring method of basic dimension of motor vehicles.
This standard is applicable to saloon cars, passenger cars and trucks, and other
vehicles may refer to.
2 Normative References
GB 3730.2 "Motor Vehicles and Towed Vehicles-Masses of Vehicles-Terms and
Definitions"
GB 3730.3 "Motor Vehicles and Towed Vehicles-Dimensions of Vehicles-Terms and
Definitions"
GB 8170 "Rules for Rounding off of Numerical Values"
JB 3983 "Method for Measuring Reference Volume for Saloon Car Luggage Carrier"
JB 4100 "Saloon Car Carriage-Internal Dimension-Measuring Method"
3 Terms
3.1 Y-base plane
Longitudinal symmetrical plane of a vehicle, in accordance with the requirements of
Chapter 2 in GB 3730.3.
3.2 X-base plane
Vertical plane vertical to Y-base plane, in accordance with the requirements of the
manufacturer.
3.3 Z-base plane
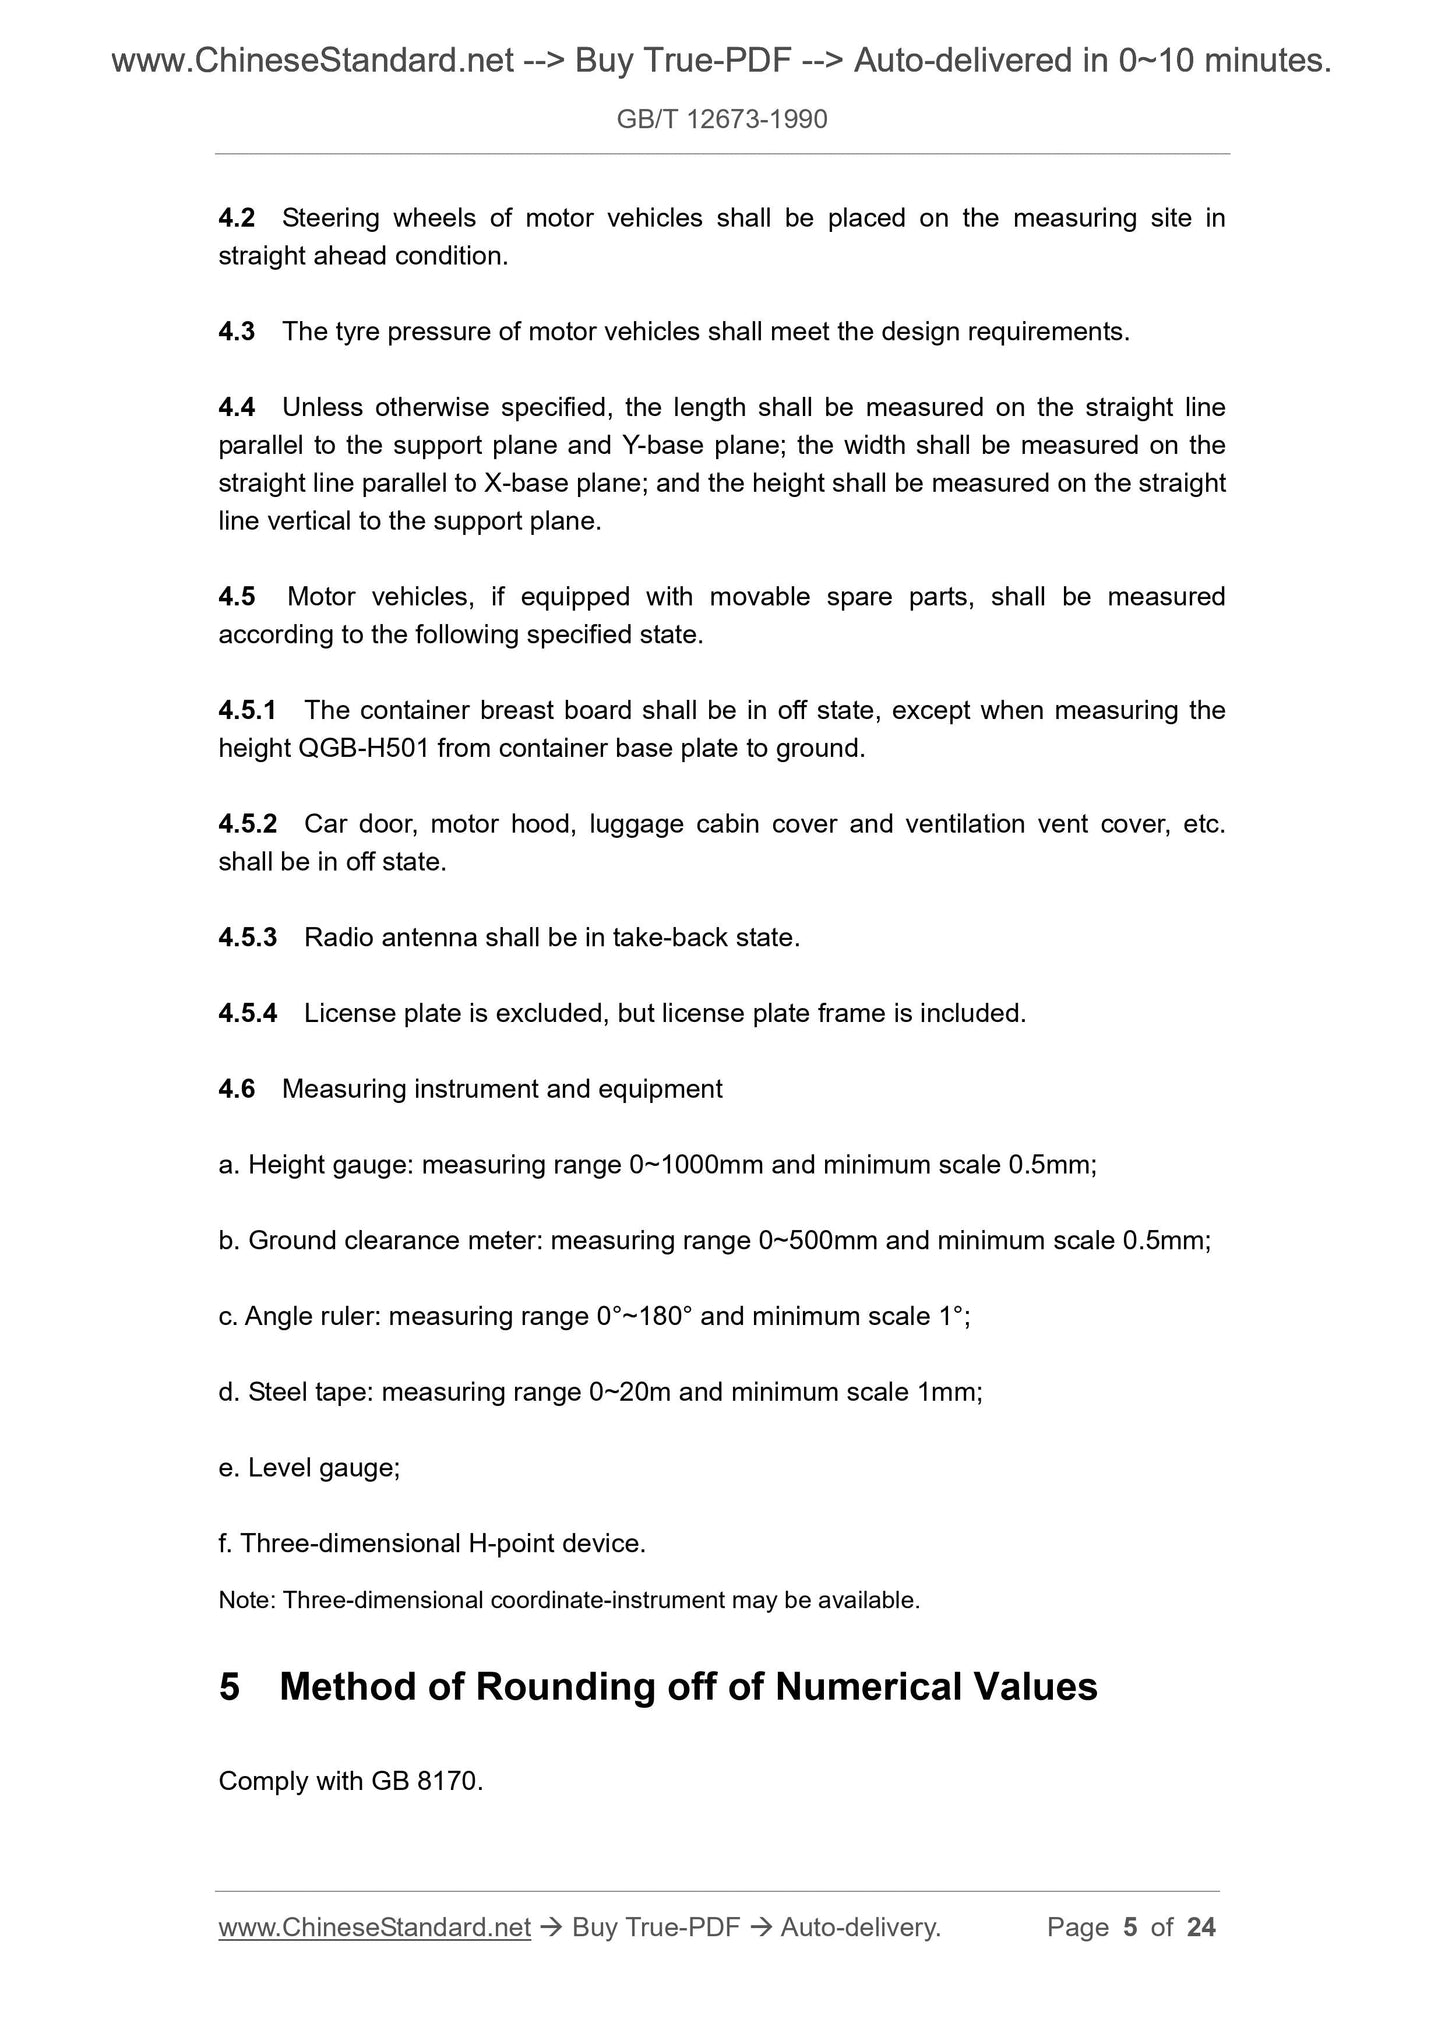
4.2 Steering wheels of motor vehicles shall be placed on the measuring site in
straight ahead condition.
4.3 The tyre pressure of motor vehicles shall meet the design requirements.
4.4 Unless otherwise specified, the length shall be measured on the straight line
parallel to the support plane and Y-base plane; the width shall be measured on the
straight line parallel to X-base plane; and the height shall be measured on the straight
line vertical to the support plane.
4.5 Motor vehicles, if equipped with movable spare parts, shall be measured
according to the following specified state.
4.5.1 The container breast board shall be in off state, except when measuring the
height QGB-H501 from container base plate to ground.
4.5.2 Car door, motor hood, luggage cabin cover and ventilation vent cover, etc.
shall be in off state.
4.5.3 Radio antenna shall be in take-back state.
4.5.4 License plate is excluded, but license plate frame is included.
4.6 Measuring instrument and equipment
a. Height gauge: measuring range 0~1000mm and minimum scale 0.5mm;
b. Ground clearance meter: measuring range 0~500mm and minimum scale 0.5mm;
c. Angle ruler: measuring range 0°~180° and minimum scale 1°;
d. Steel tape: measuring range 0~20m and minimum scale 1mm;
e. Level gauge;
f. Three-dimensional H-point device.
Note: Three-dimensional coordinate-instrument may be available.
5 Method of Rounding off of Numerical Values
Comply with GB 8170.
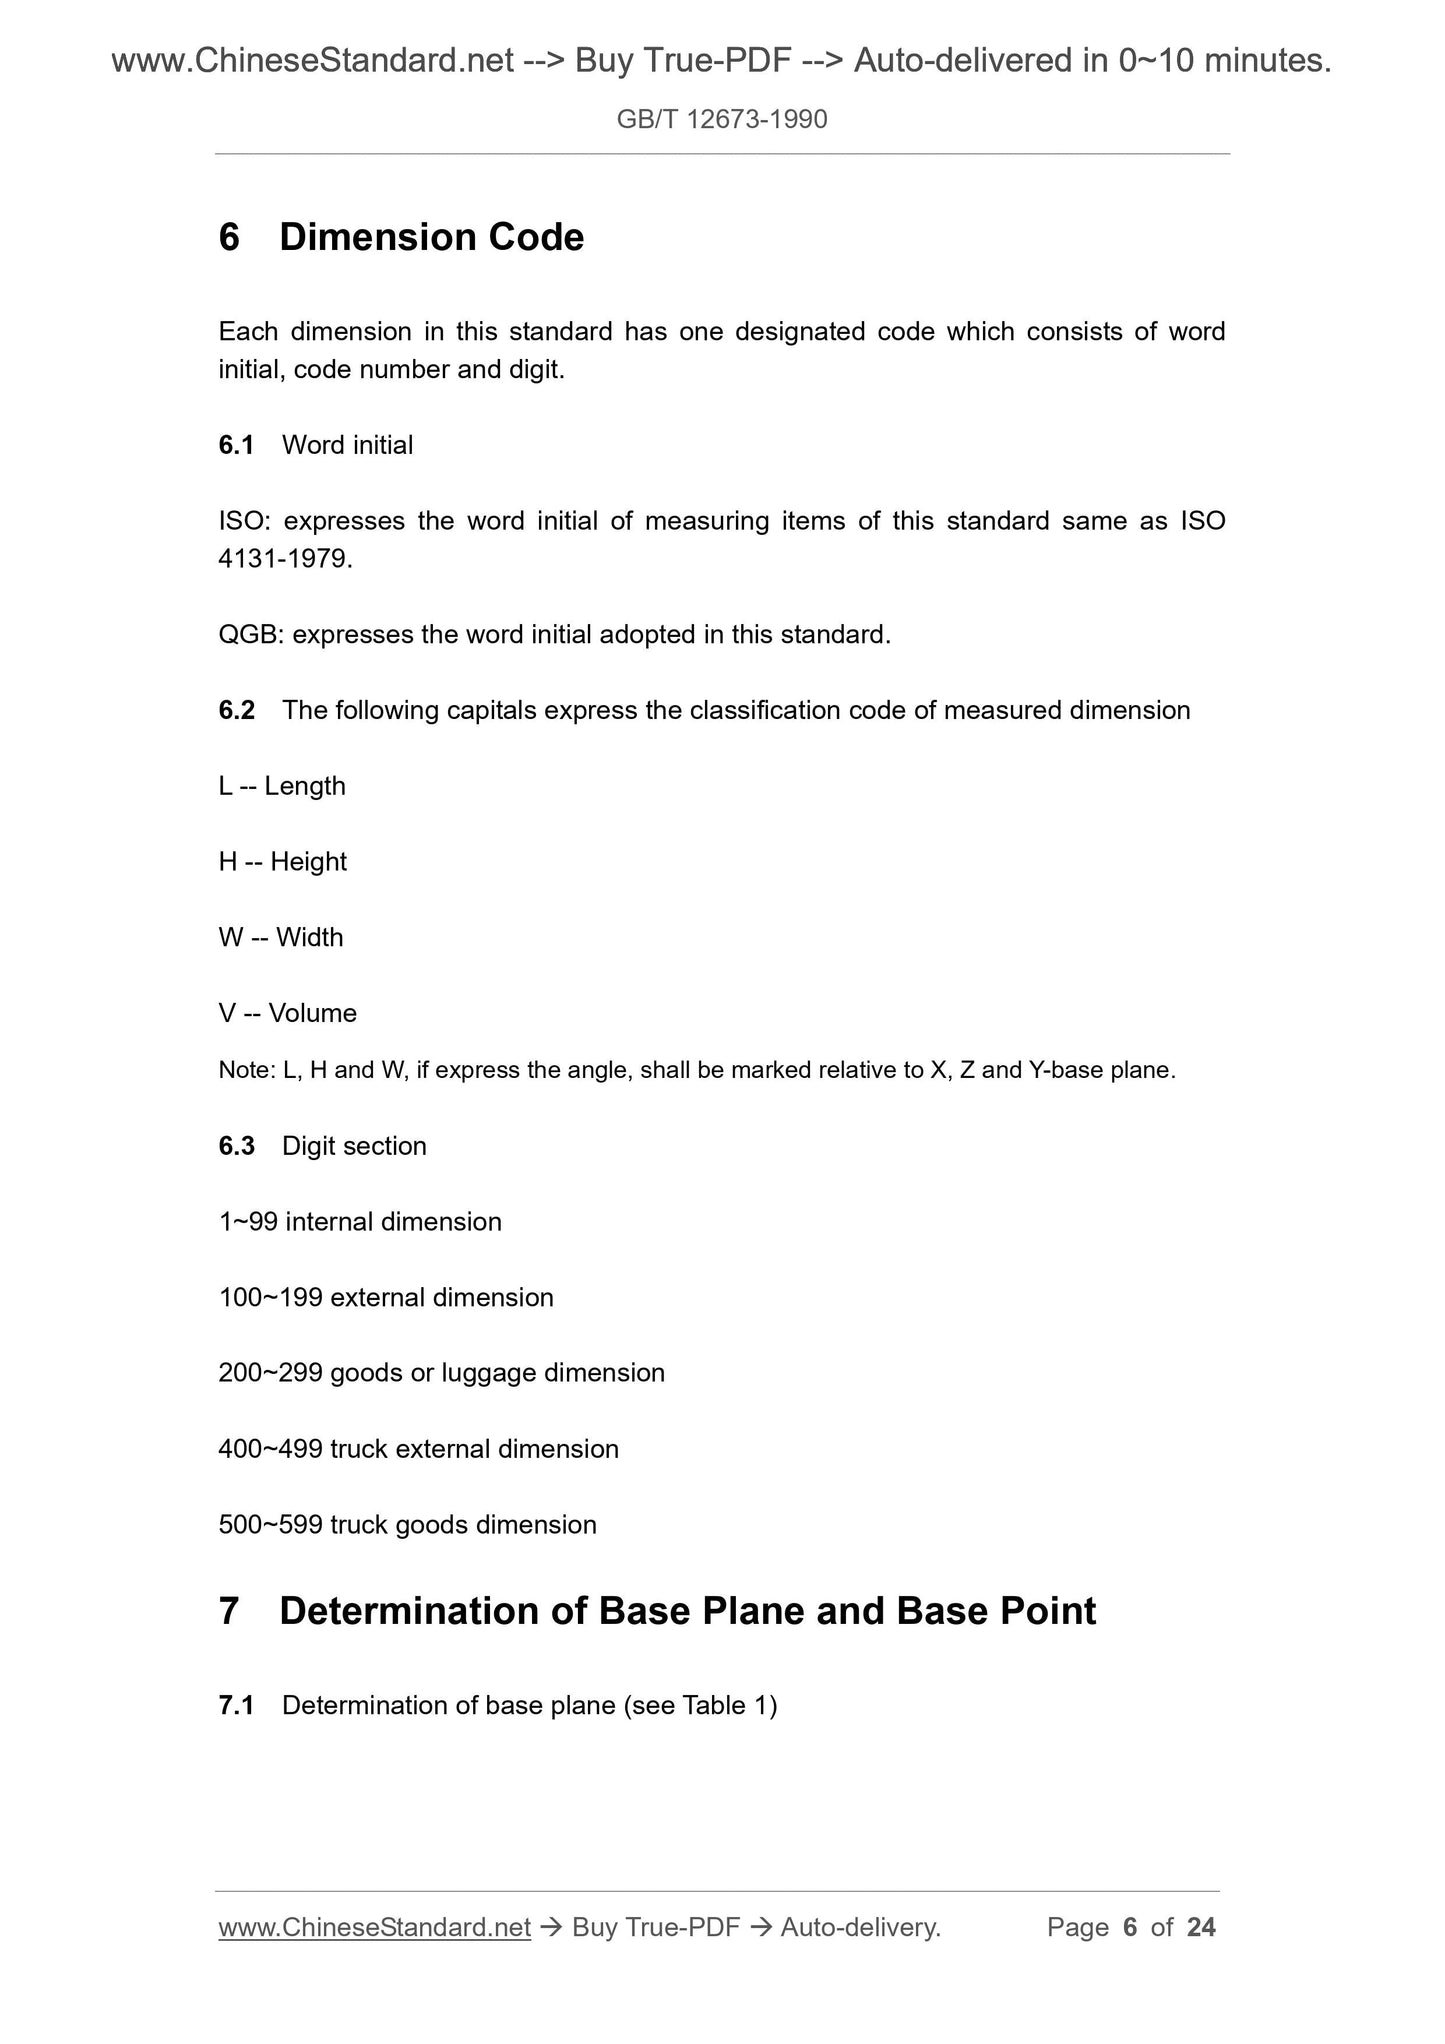
6 Dimension Code
Each dimension in this standard has one designated code which consists of word
initial, code number and digit.
6.1 Word initial
ISO: expresses the word initial of measuring items of this standard same as ISO
4131-1979.
QGB: expresses the word initial adopted in this standard.
6.2 The following capitals express the classification code of measured dimension
L -- Length
H -- Height
W -- Width
V -- Volume
Note: L, H and W, if express the angle, shall be marked relative to X, Z and Y-base plane.
6.3 Digit section
1~99 internal dimension
100~199 external dimension
200~299 goods or luggage dimension
400~499 truck external dimension
500~599 truck goods dimension
7 Determination of Base Plane and Base Point
7.1 Determination of base plane (see Table 1)
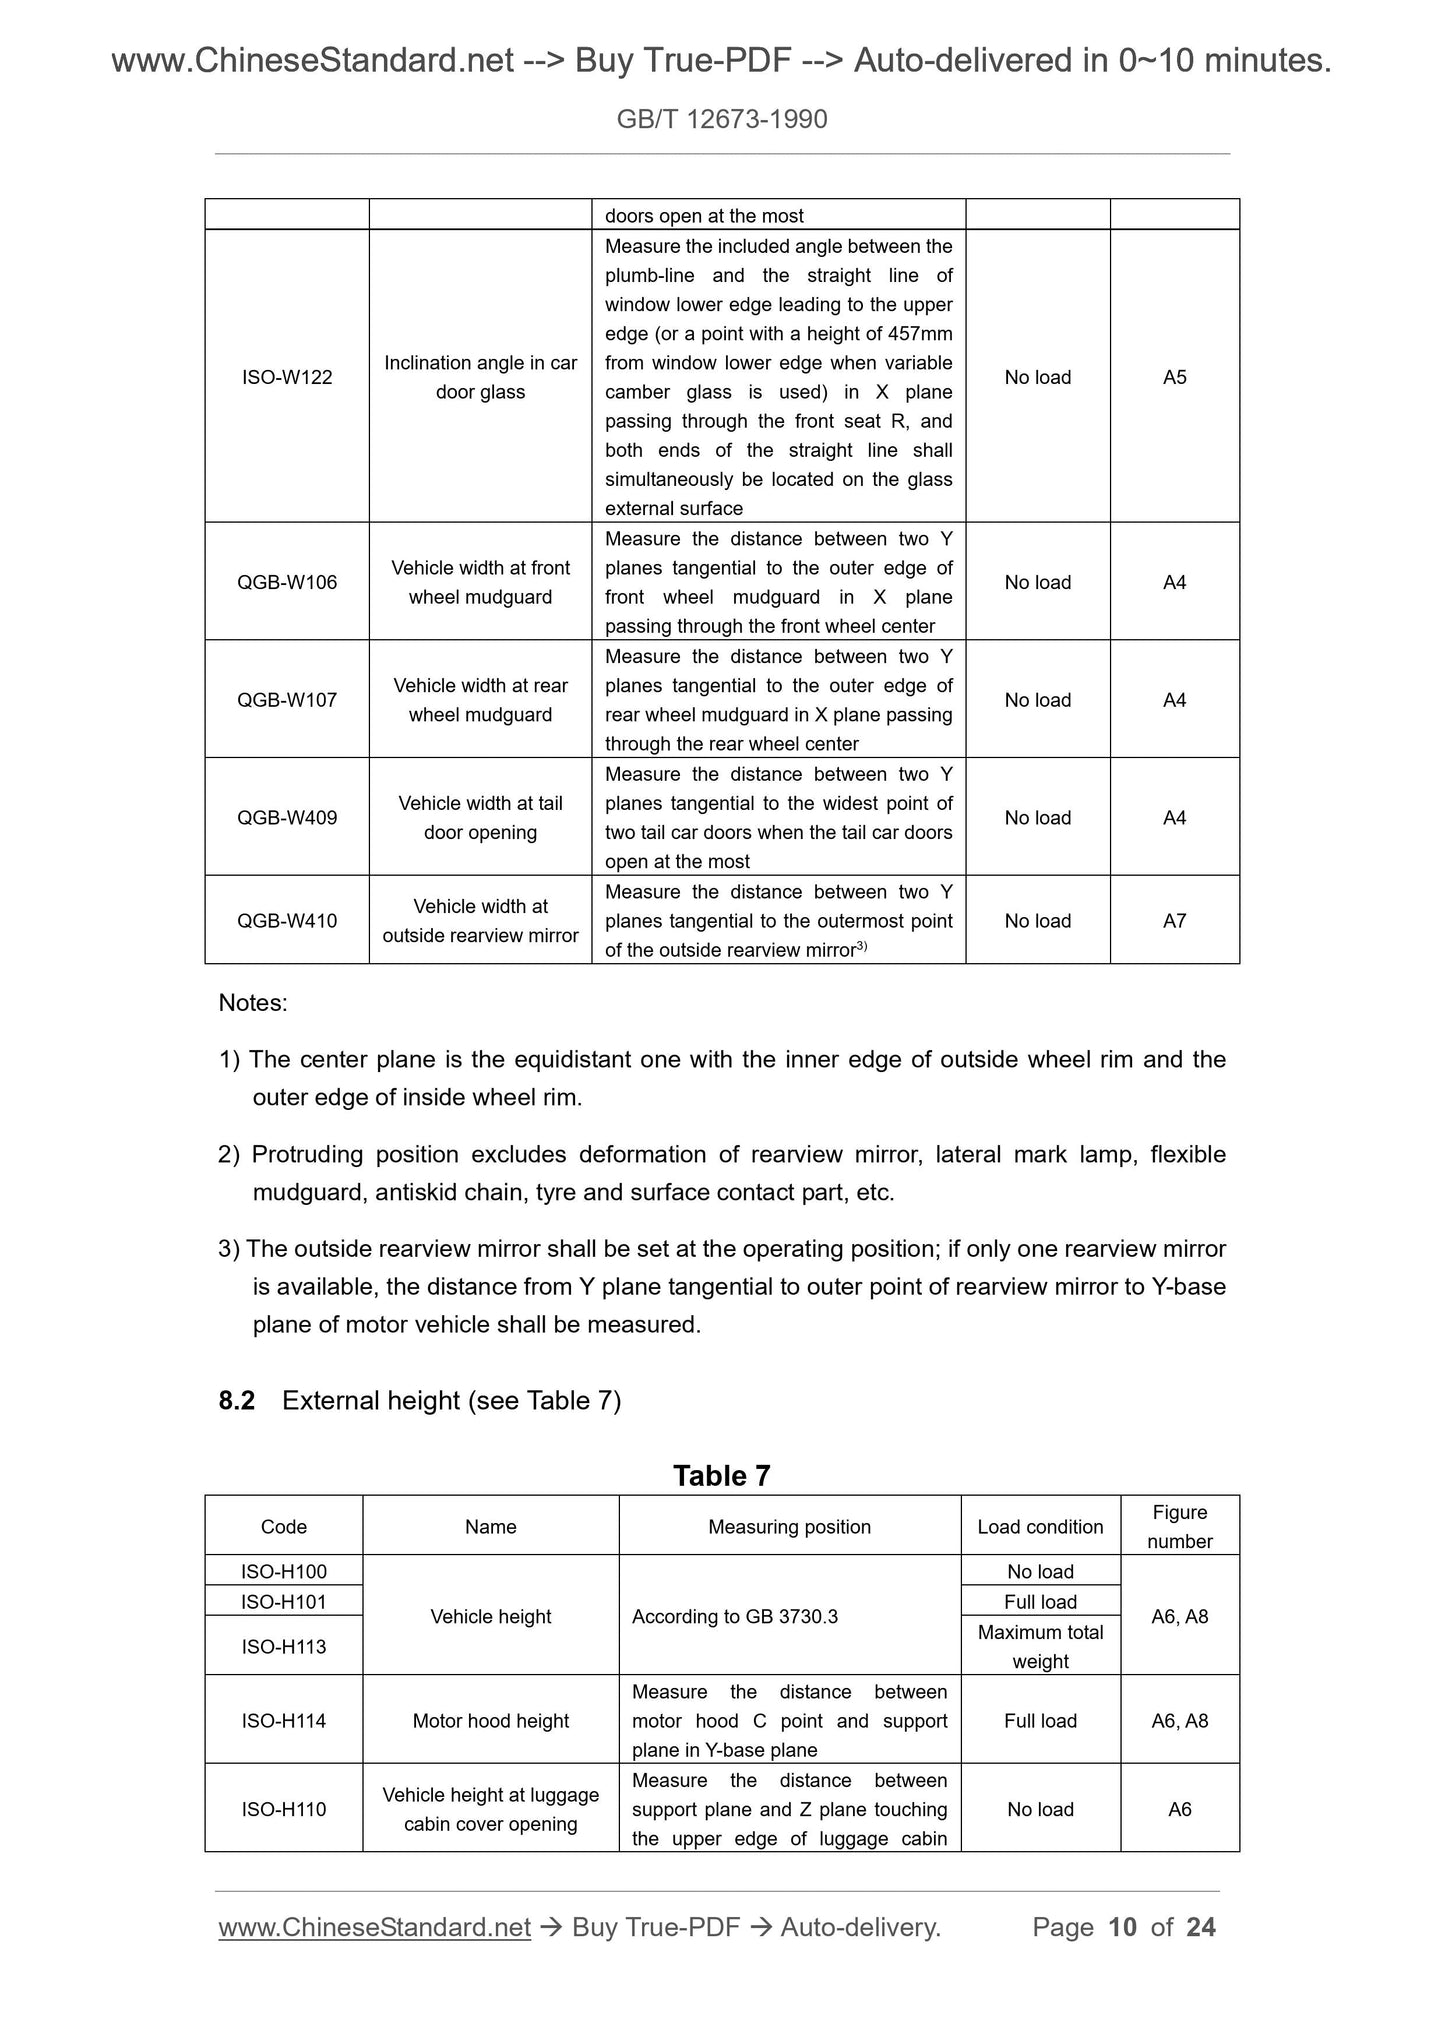
doors open at the most
ISO-W122 Inclination angle in car door glass
Measure the included angle between the
plumb-line and the straight line of
window lower edge leading to the upper
edge (or a point with a height of 457mm
from window lower edge when variable
camber glass is used) in X plane
passing through the front seat R, and
both ends of the straight line shall
simultaneously be located on the glass
external surface
No load A5
QGB-W106 Vehicle width at front wheel mudguard
Measure the distance between two Y
planes tangential to the outer edge of
front wheel mudguard in X plane
passing through the front wheel center
No load A4
QGB-W107 Vehicle width at rear wheel mudguard
Measure the distance between two Y
planes tangential to the outer edge of
rear wheel mudguard in X plane passing
through the rear wheel center
No load A4
QGB-W409 Vehicle width at tail door opening
Measure the distance between two Y
planes tangential to the widest point of
two tail car doors when the tail car doors
open at the most
No load A4
QGB-W410 Vehicle width at outside rearview mirror
Measure the distance between two Y
planes tangential to the outermost point
of the outside rearview mirror3)
No load A7
Notes:
1) The center plane is the equidistant one with the inner edge of outside wheel rim and the
outer edge of inside wheel rim.
2) Protruding position excludes deformation of rearview mirror, lateral mark lamp, flexible
mudguard, antiskid chain, tyre and surface contact part, etc.
3) The outside rearview mirror shall be set at the operating position; if only one rearview mirror
is available, the distance from Y plane tangential to outer point of rearview mirror to Y-base
plane of motor vehicle shall be measured.
8.2 External height (see Table 7)
Table 7
Code Name Measuring position Load condition Figure number
ISO-H100
Vehicle height According to GB 3730.3
No load
A6, A8 ISO-H101 Full load
ISO-H113 Maximum total weight
ISO-H114 Motor hood height
Measure the distance between
motor hood C point and support
plane in Y-base plane
Full load A6, A8
ISO-H110 Vehicle height at luggage cabin cover opening
Measure the distance between
support plane and Z plane touching
the upper edge of luggage cabin
No load A6
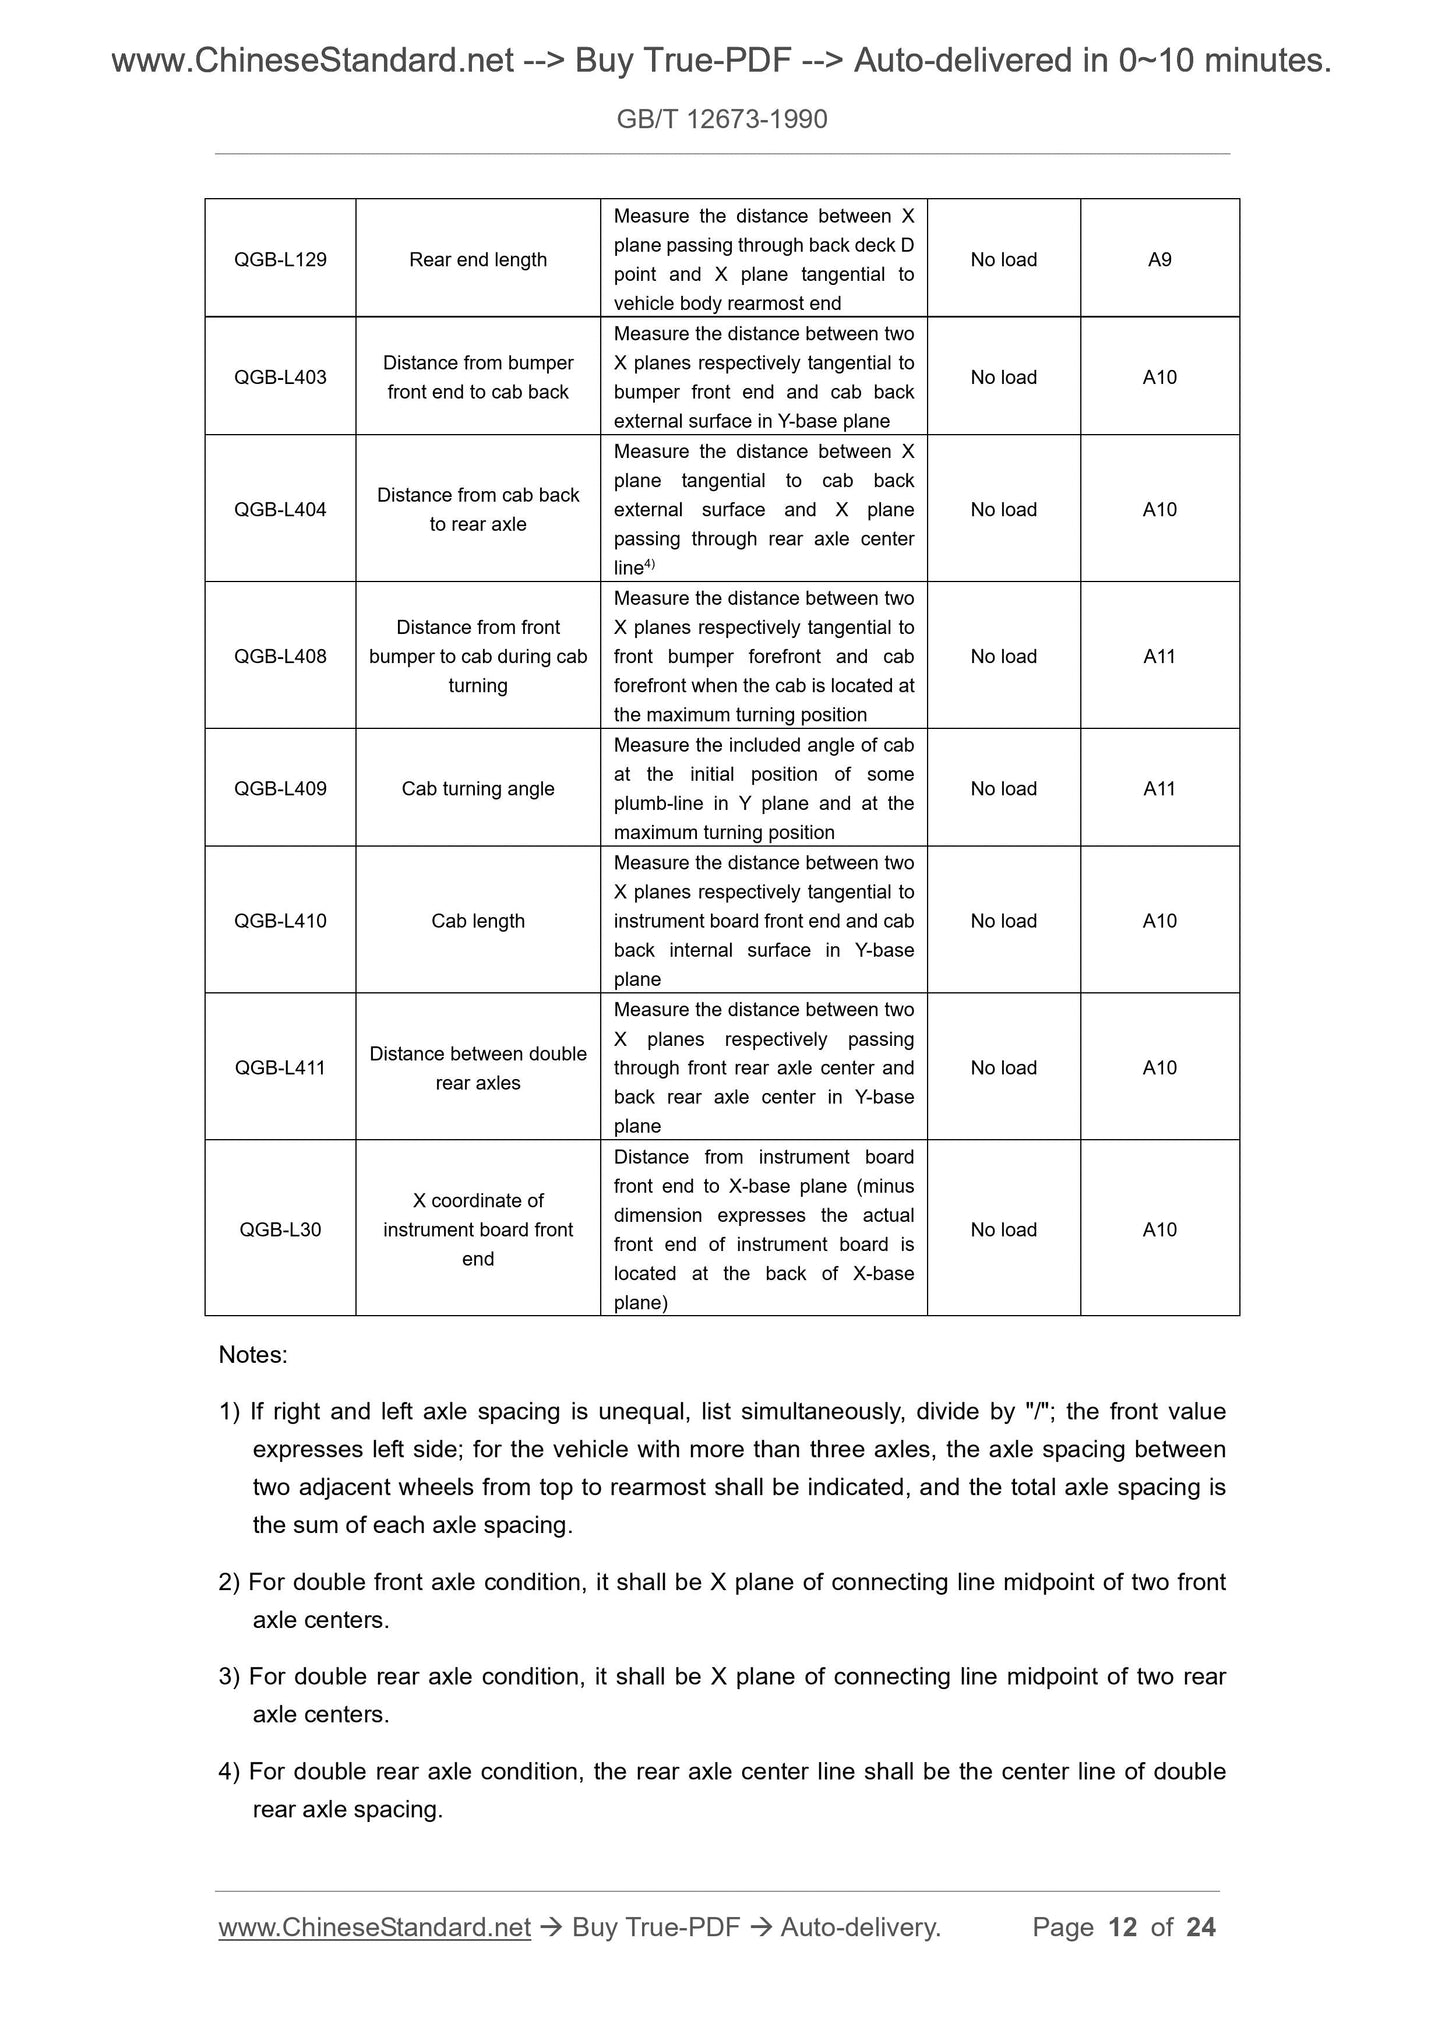
QGB-L129 Rear end length
Measure the distance between X
plane passing through back deck D
point and X plane tangential to
vehicle body rearmost end
No load A9
QGB-L403 Distance from bumper front end to cab back
Measure the distance between two
X planes respectively tangential to
bumper front end and cab back
external surface in Y-base plane
No load A10
QGB-L404 Distance from cab back to rear axle
Measure the distance between X
plane tangential to cab back
external surface and X plane
passing through rear axle center
line4)
No load A10
QGB-L408
Distance from front
bumper to cab during cab
turning
Measure the distance between two
X planes respectively tangential to
front bumper forefront and cab
forefront when the cab is located at
the maximum turning position
No load A11
QGB-L409 Cab turning angle
Measure the included angle of cab
at the initial position of some
...
Share
![GB/T 12673-1990 Page 1](http://www.chinesestandard.us/cdn/shop/products/GBT12673-1990EN.1.jpg?v=1697582269&width=1445)
![GB/T 12673-1990 Page 2](http://www.chinesestandard.us/cdn/shop/products/GBT12673-1990EN.2.jpg?v=1697582269&width=1445)
![GB/T 12673-1990 Page 3](http://www.chinesestandard.us/cdn/shop/products/GBT12673-1990EN.3.jpg?v=1697582269&width=1445)
![GB/T 12673-1990 Page 4](http://www.chinesestandard.us/cdn/shop/products/GBT12673-1990EN.4.jpg?v=1697582269&width=1445)
![GB/T 12673-1990 Page 5](http://www.chinesestandard.us/cdn/shop/products/GBT12673-1990EN.5.jpg?v=1697582269&width=1445)
![GB/T 12673-1990 Page 6](http://www.chinesestandard.us/cdn/shop/products/GBT12673-1990EN.6.jpg?v=1697582269&width=1445)
![GB/T 12673-1990 Page 7](http://www.chinesestandard.us/cdn/shop/products/GBT12673-1990EN.7.jpg?v=1697582269&width=1445)
![GB/T 12673-1990 Page 8](http://www.chinesestandard.us/cdn/shop/products/GBT12673-1990EN.8.jpg?v=1697582269&width=1445)