Skip to product information
1 of 7

PayPal, credit cards. Download editable-PDF and invoice in 1 second!

GB/T 1182-2008 English PDF (GBT1182-2008)

GB/T 1182-2008 English PDF (GBT1182-2008)

Regular price $170.00 USD
Regular price Sale price $170.00 USD
Sale Sold out
Shipping calculated at checkout.
Delivery: 3 seconds. Download true-PDF + Invoice.Newer version: (Replacing this standard) GB/T 1182-2018
Get QUOTATION in 1-minute: Click GB/T 1182-2008
Historical versions: GB/T 1182-2008
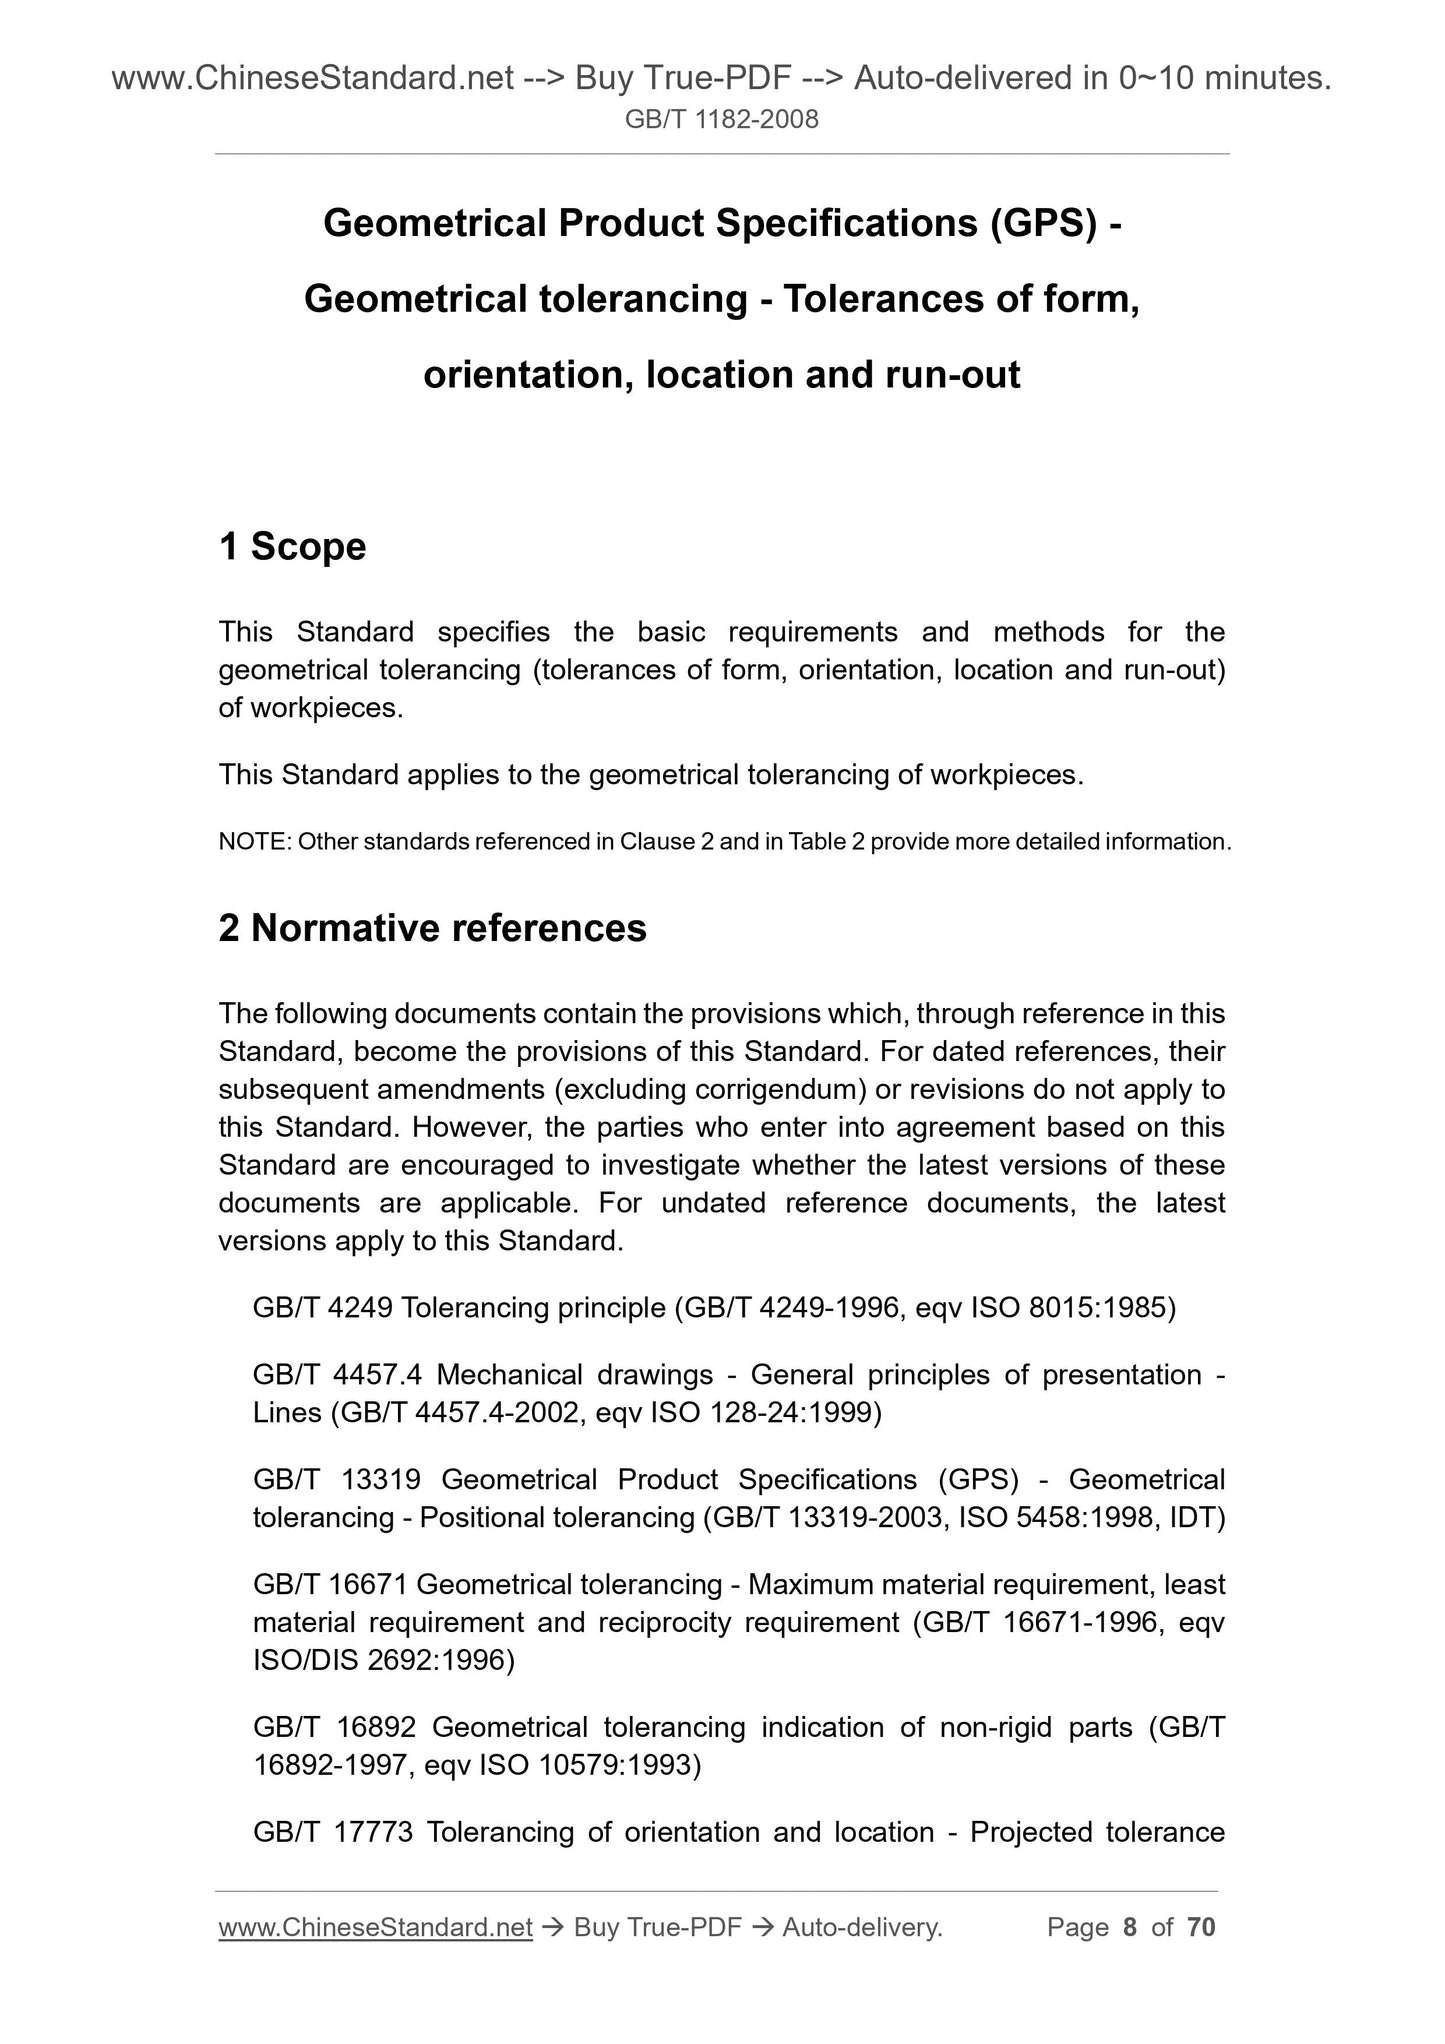
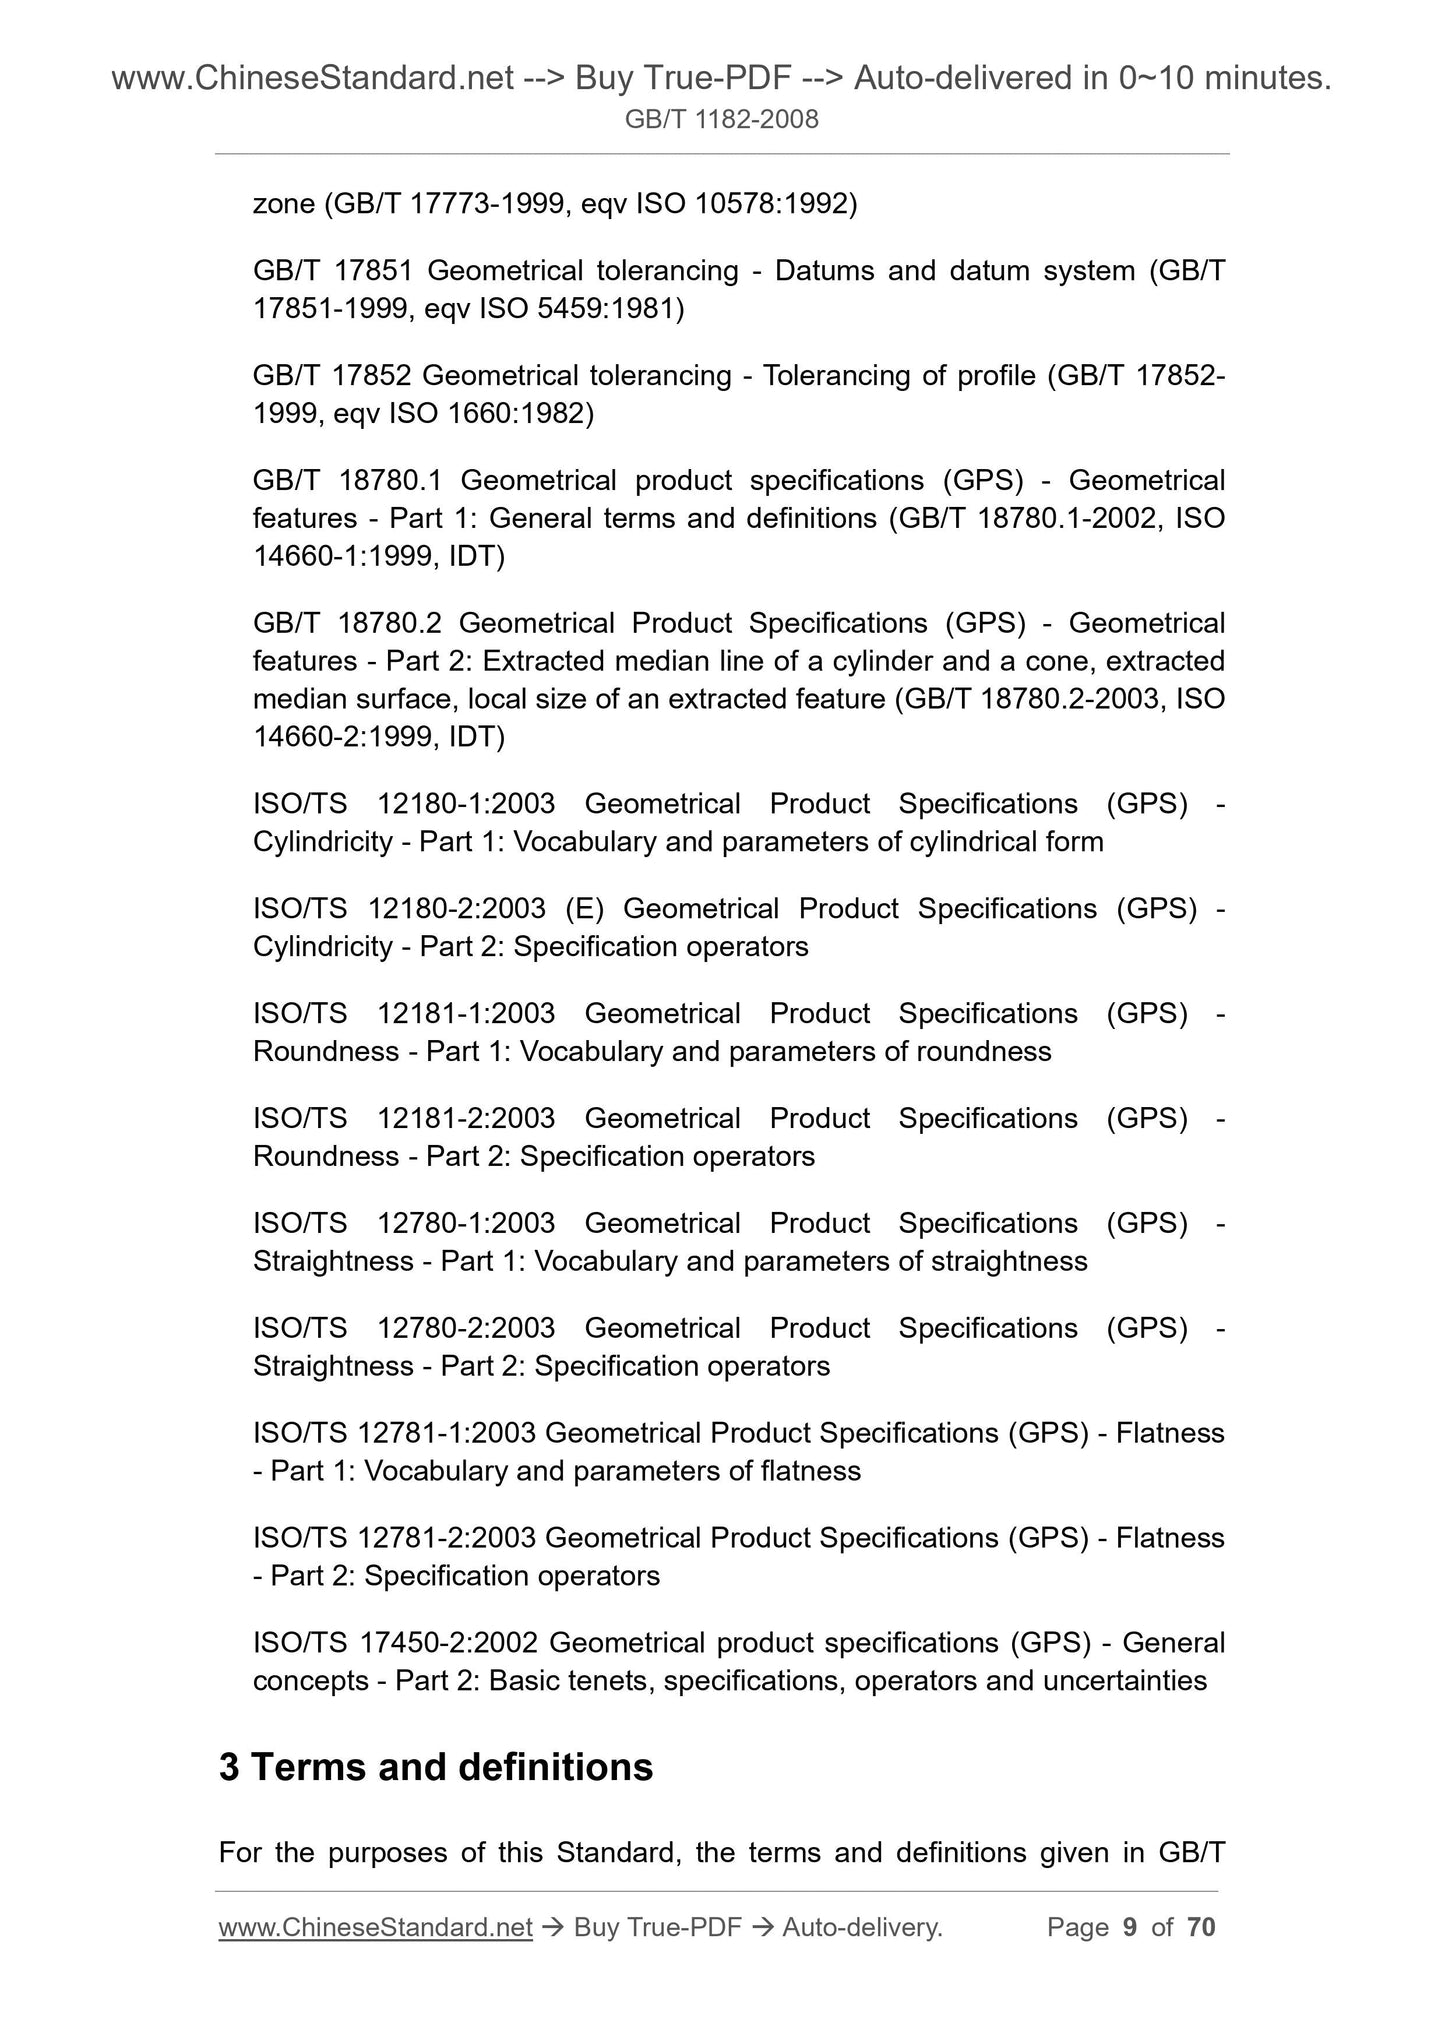
Preview True-PDF (Reload/Scroll if blank)

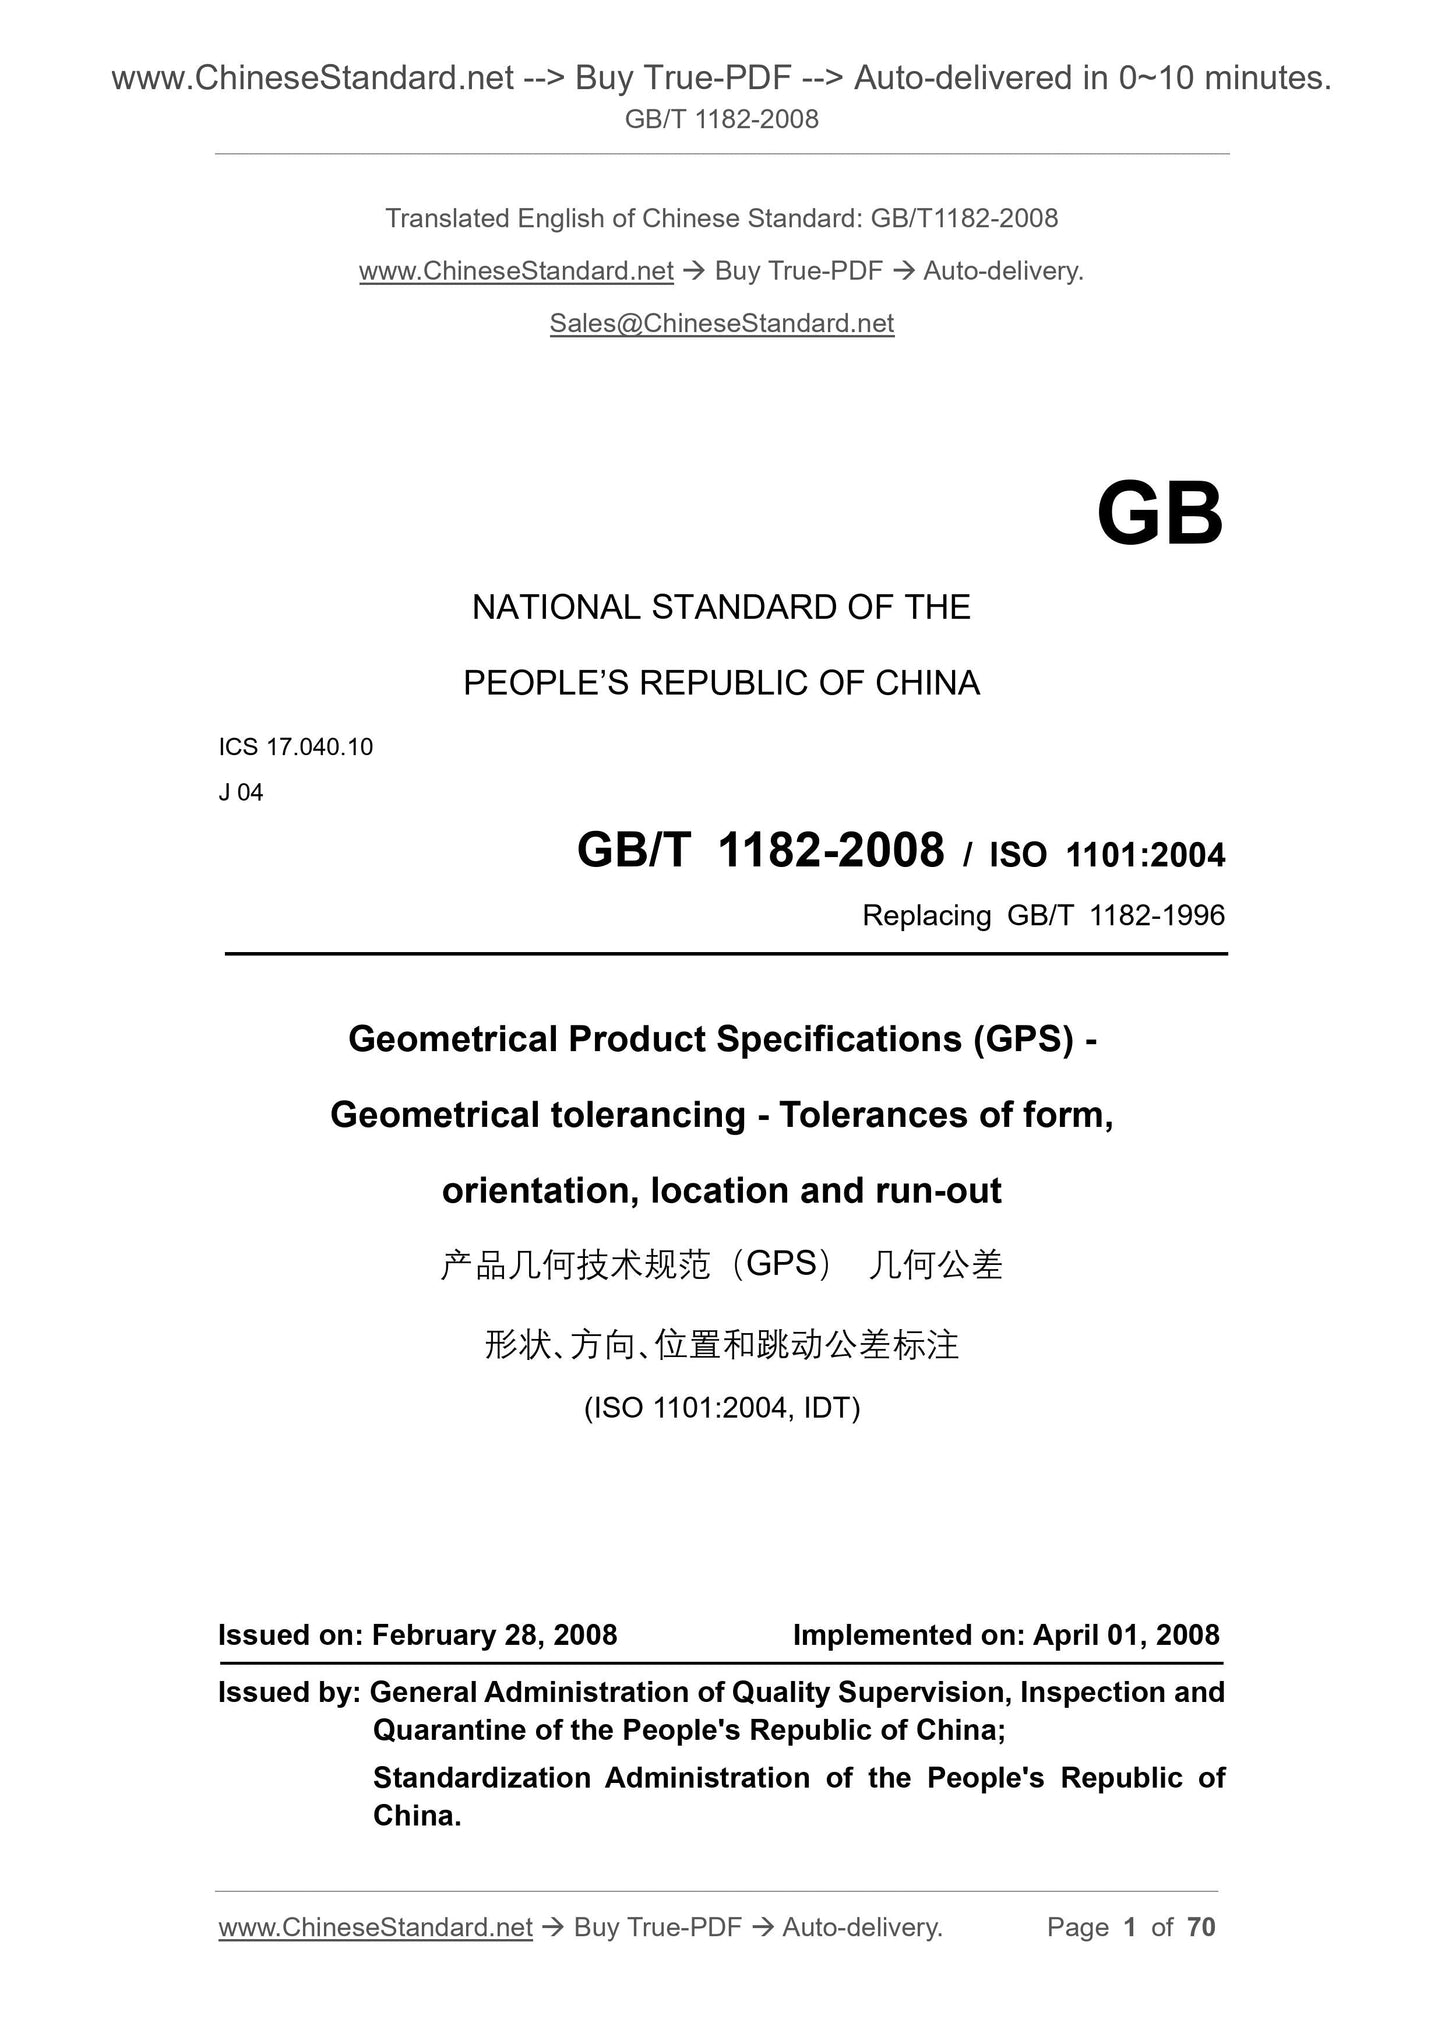
GB/T 1182-2008: Geometrical Product Specifications (GPS) -- Geometrical tolerancing -- Tolerances of form, orientation, location and run-out
GB/T 1182-2008
Geometrical Product Specifications (GPS).Geometrical tolerancing.Tolerances of form, orientation, location and run-out
ICS 17.040.10
J04
National Standards of People's Republic of China
GB/T 1182-2008/ISO 1101.2004
Replace GB/T 1182-1996
Product Geometric Specifications (GPS) Geometric Tolerance
Shape, orientation, position, and runout tolerance
(ISO 1101.2004, IDT)
Released on.2008-02-28
2008-08-01 implementation
General Administration of Quality Supervision, Inspection and Quarantine of the People's Republic of China
China National Standardization Administration issued
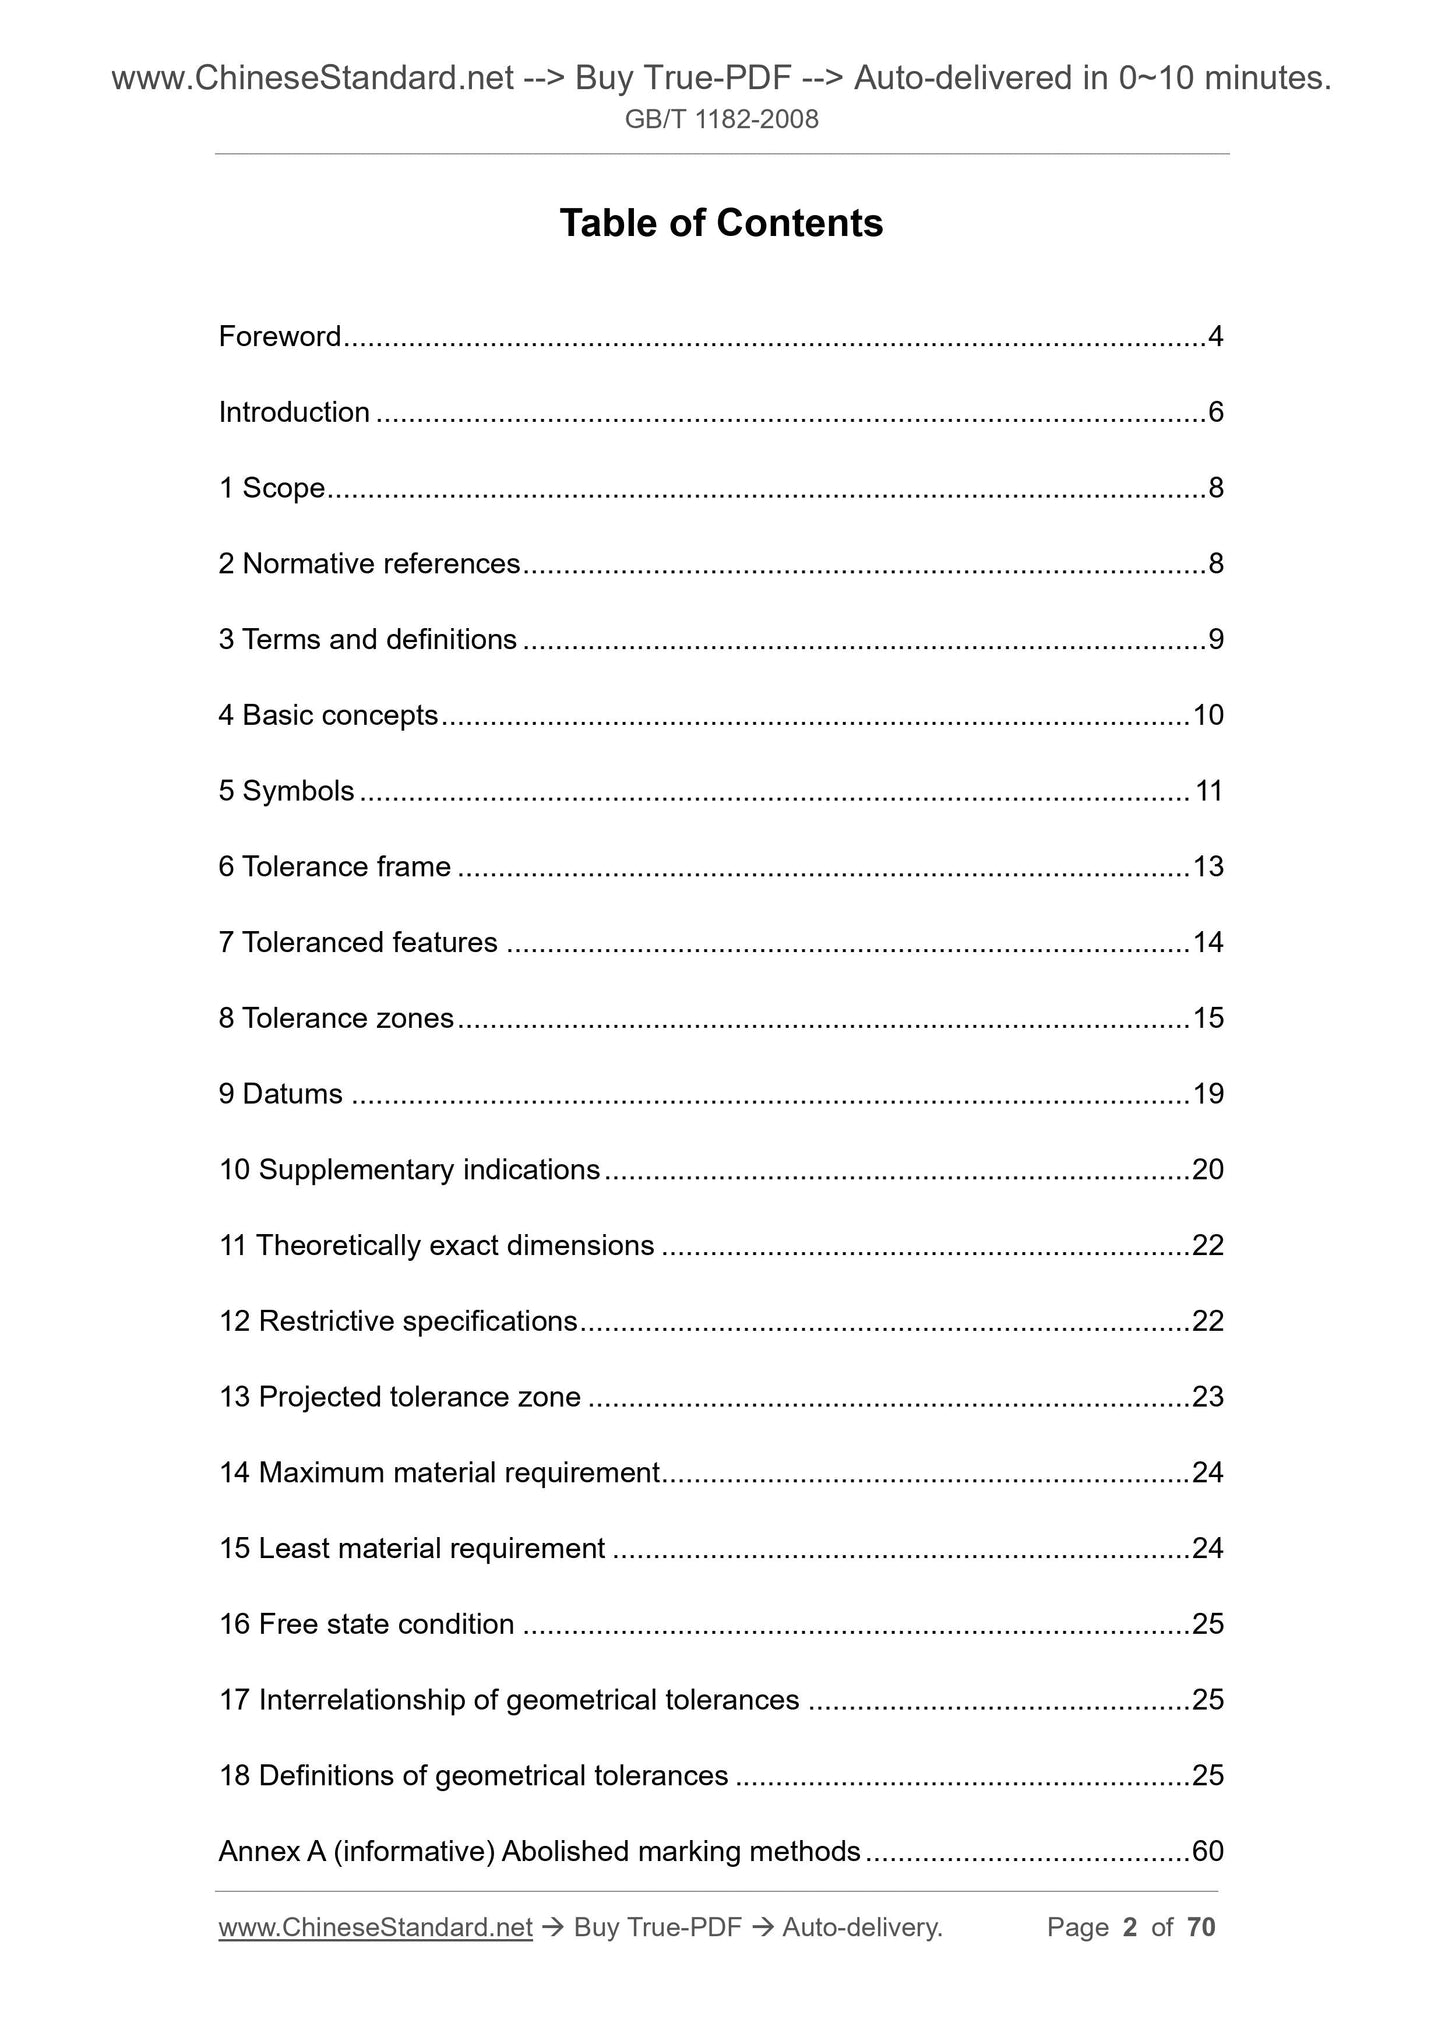
Content
Foreword I
Introduction II
1 range 1
2 Normative references 1
3 Terms and Definitions 2
4 basic concept 2
5 symbol 2
6 tolerance grid 4
7 measured elements 5
8 tolerance zone 6
9 Benchmark 9
10 additional mark 10
11 theoretical correct size 11
12 Limitation 11
13 extended tolerance zone 12
14 Maximum entity requirement 12
15 Minimum entity requirement 12
16 requirements in free state 12
17 Relationship between various geometric tolerances 13
18 Definition of geometric tolerances 13
Appendix A (informative appendix) Abolition method 43
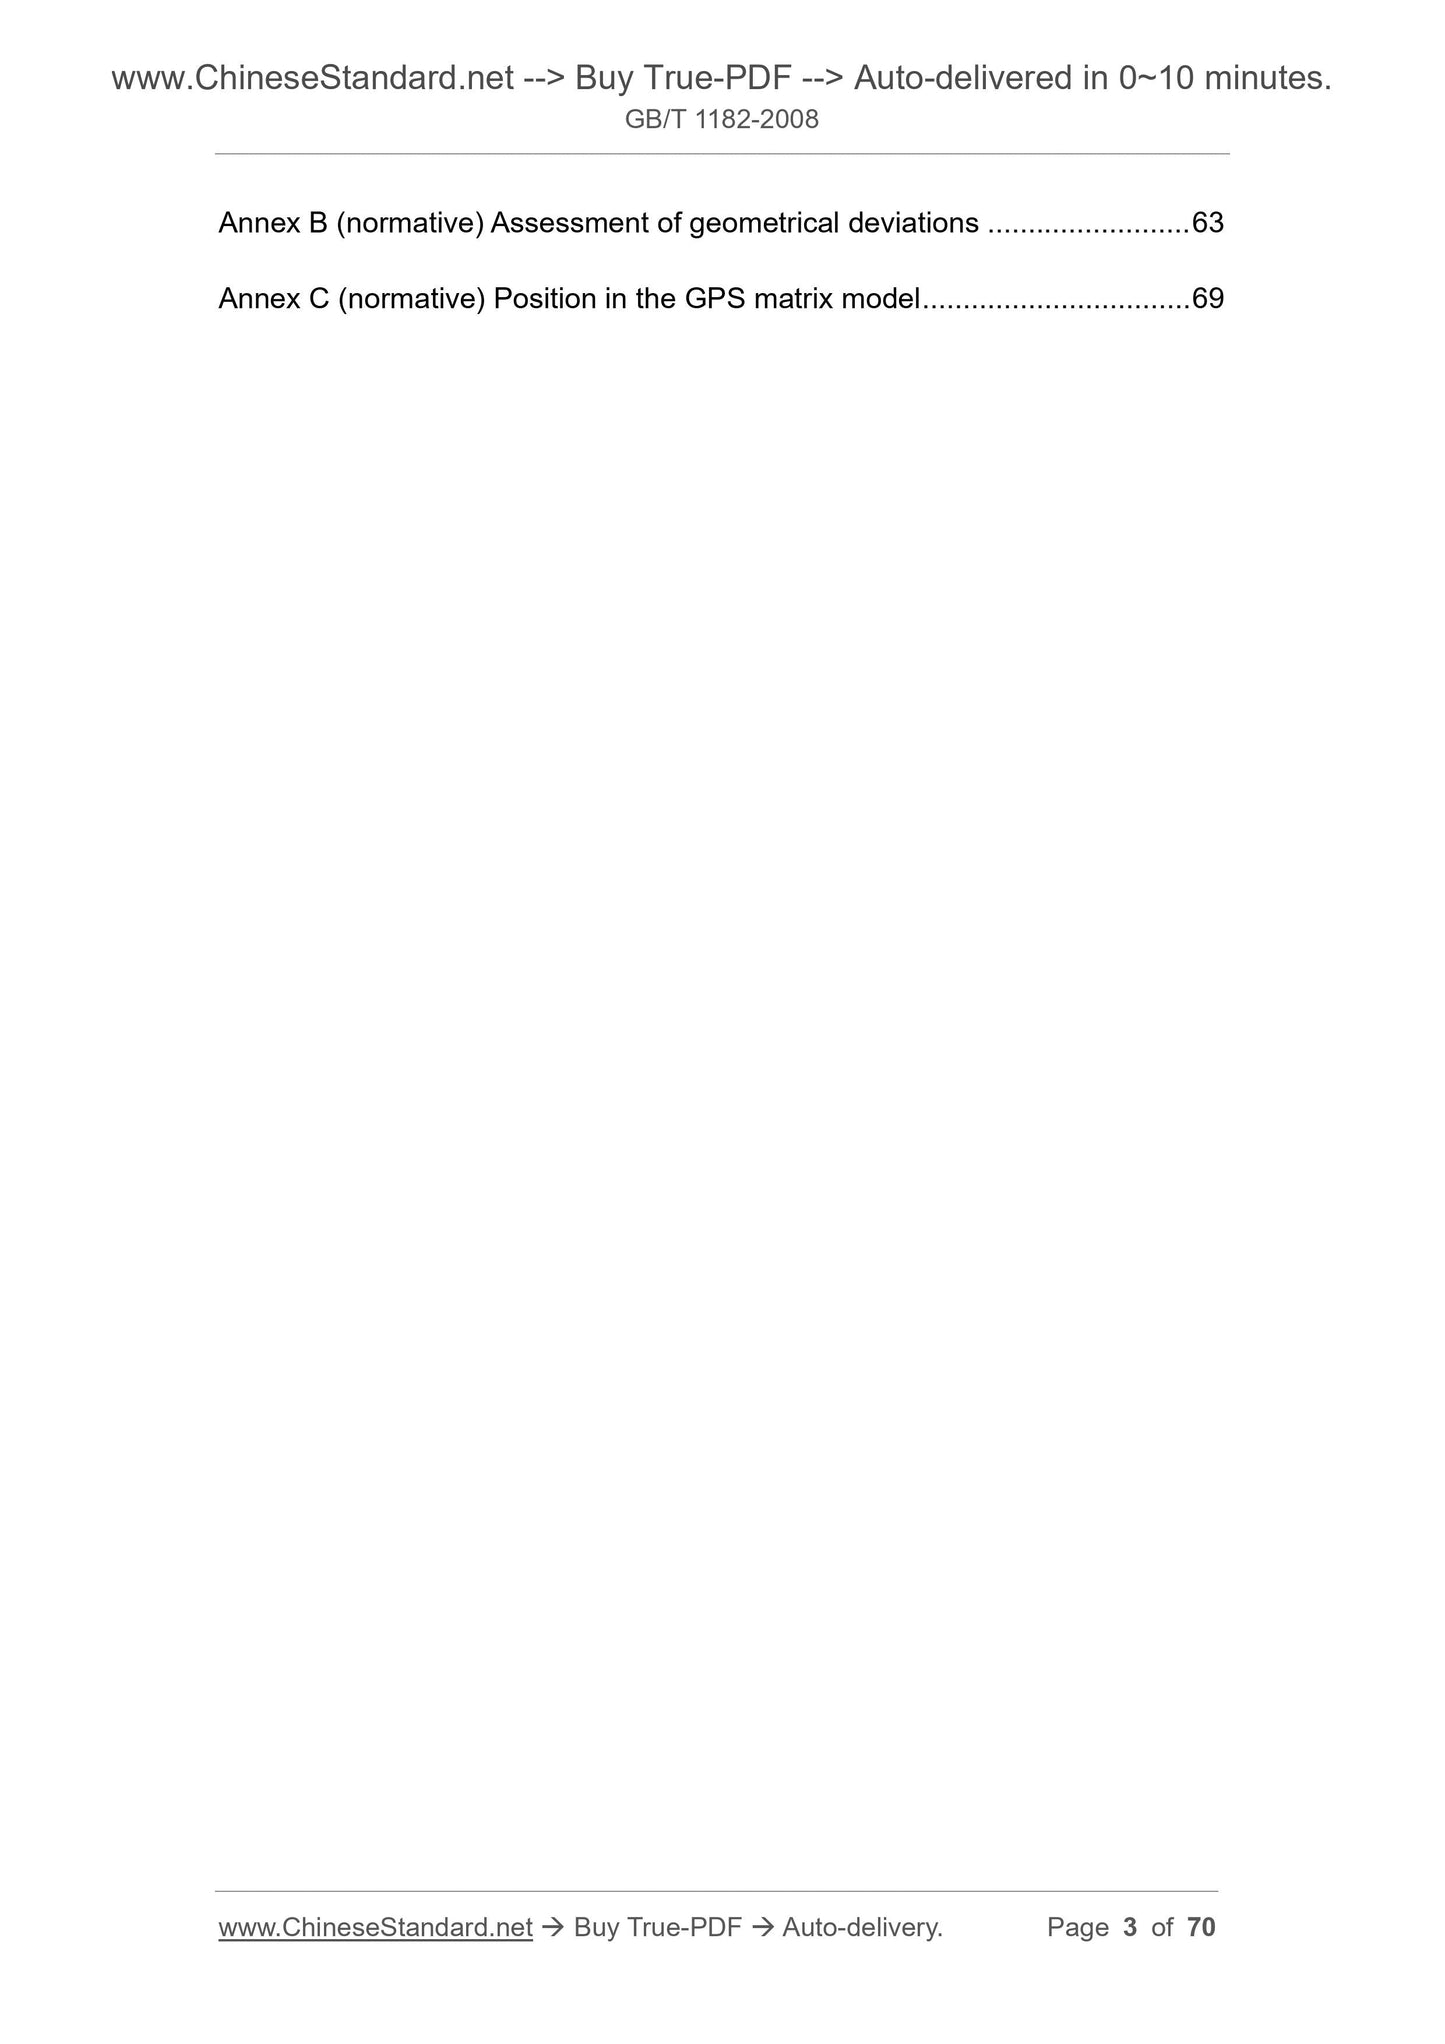
Appendix B (normative appendix) Assessment of geometric errors 45
Appendix C (informative) Position 48 in GPS matrix mode
GB/T 1182-2008/ISO 1101.2004
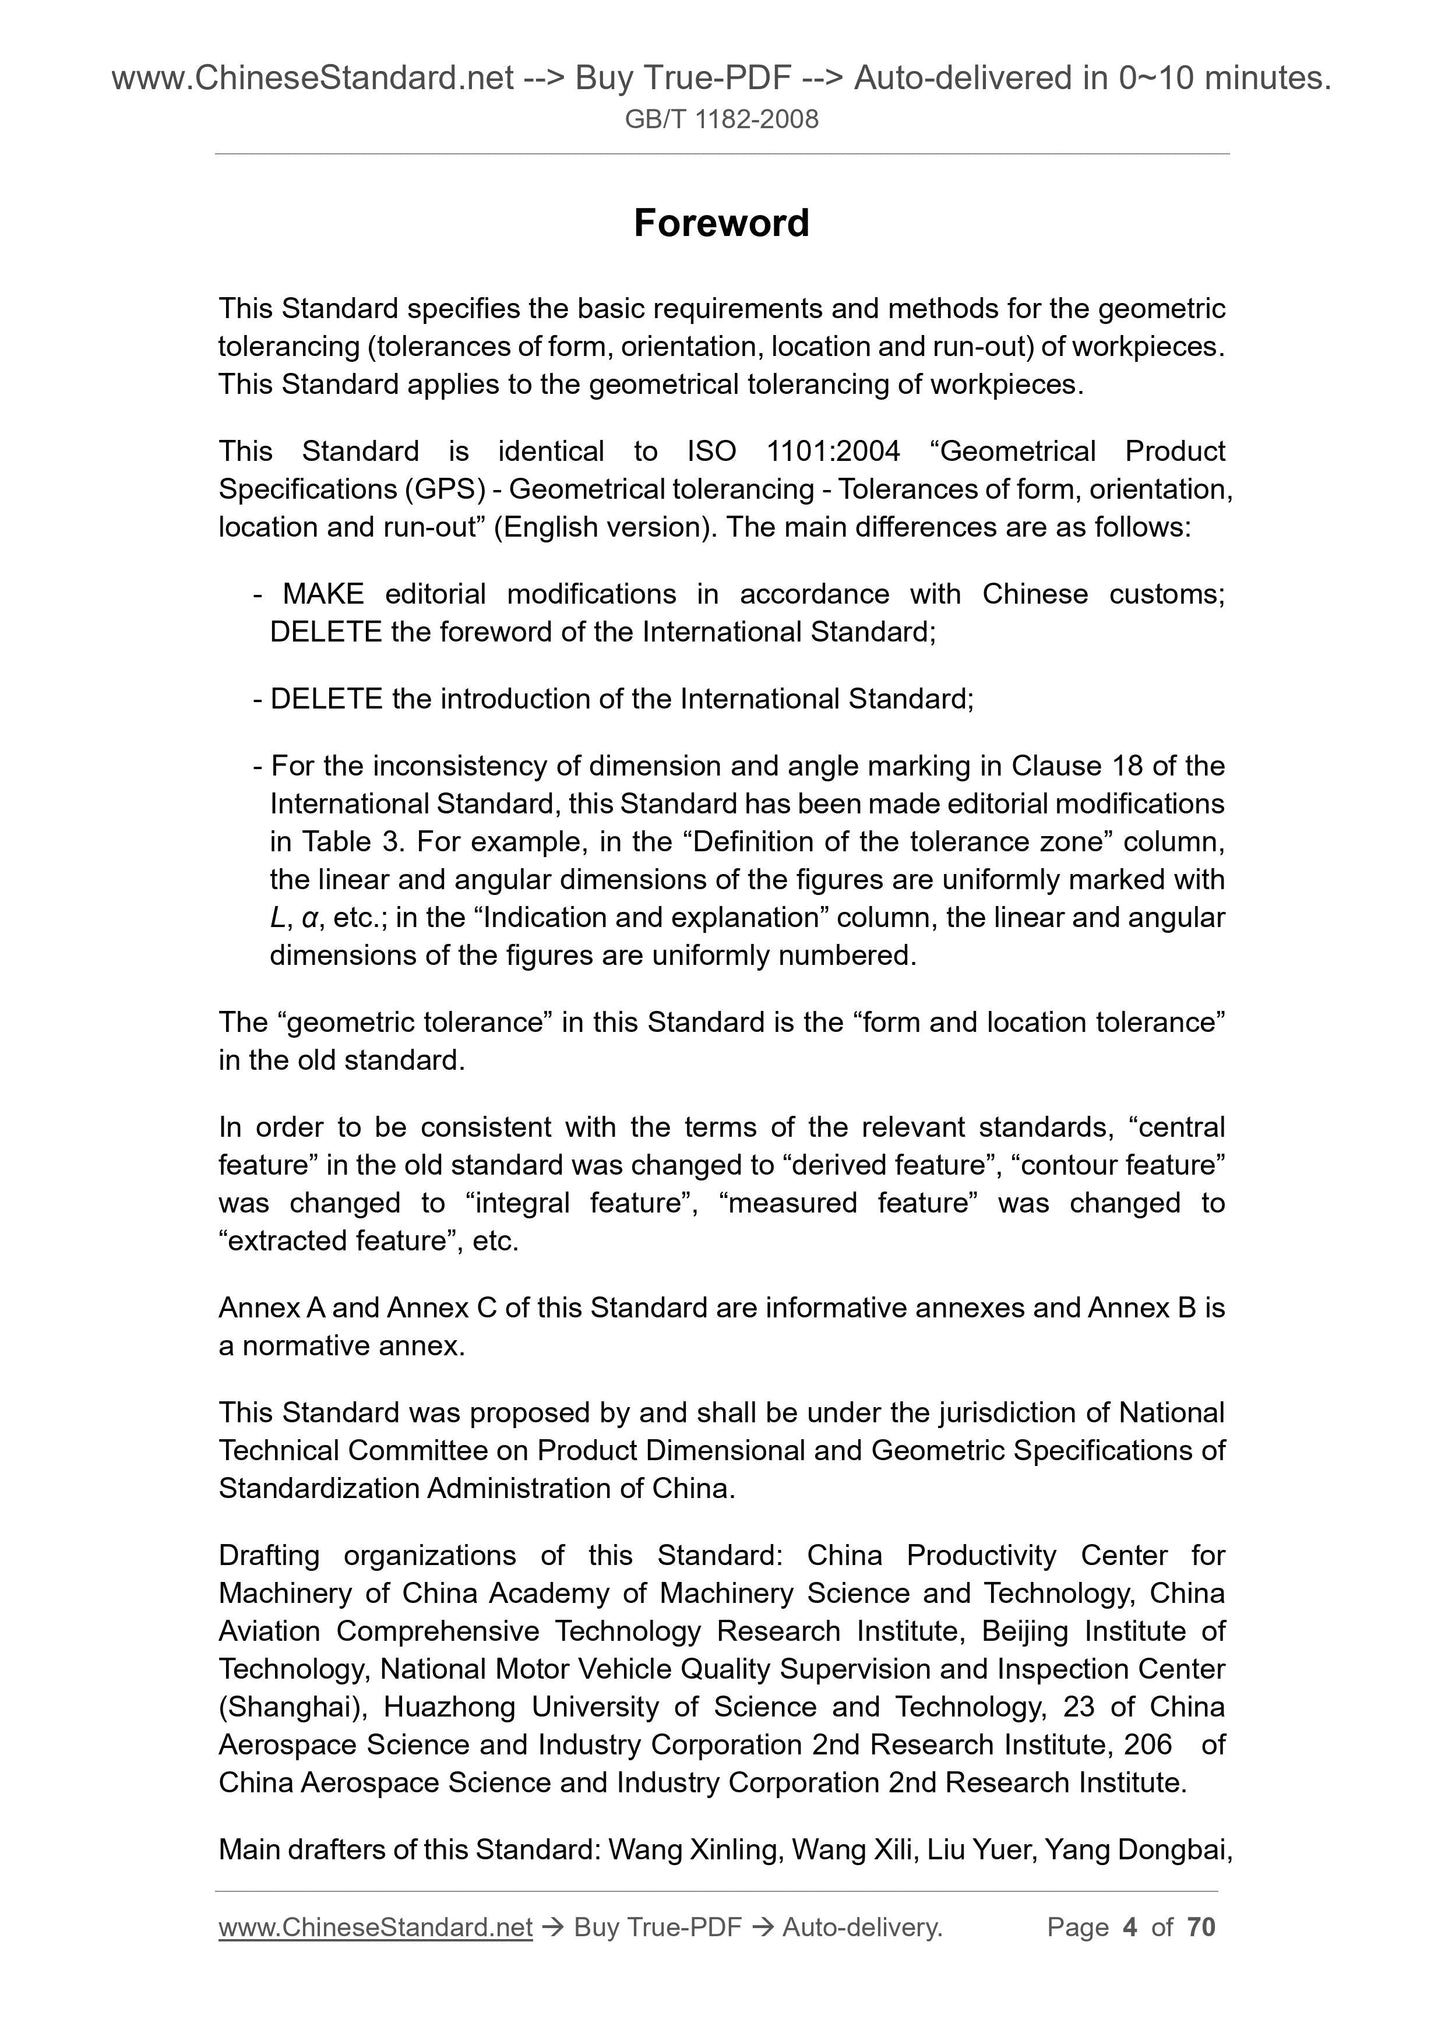
Foreword
This standard specifies the basic requirements and methods for the geometric tolerances (shape, direction, position and runout tolerance) of the workpiece. This standard applies to
Geometric tolerance labeling of the workpiece.
This standard is equivalent to ISO 1101.2004 "Product Geometric Specifications (GPS) geometric tolerance shape, direction, position and jitter
Tolerance Marking (English version). The main differences are as follows.
--- Edited in accordance with Chinese customs, deleted the preface of international standards;
--- Removed the introduction to international standards;
--- For the inconsistency of dimension and angle marking in Chapter 18 of the International Standard, this standard has been edited in Table 3. Such as
In the "Definition of Tolerance Bands" column, the linear and angular dimensions of the tolerance zone legend are uniformly marked with L, α, etc.
Explain that the linear and angular dimensions of the legend in the column are uniformly numbered.
The “geometric tolerance” in this standard is the “shape and position tolerance” in the old standard.
In order to be consistent with the terminology of the relevant standards, the old standard “central element” was changed to “exported element”, and “contour element” was changed to
"", "measured elements" is changed to "extracted elements" and so on.
Appendix A and Appendix C of this standard are informative annexes, and Appendix B is a normative appendix.
This standard is proposed and managed by the National Technical Committee for Standardization of Product Sizes and Geometric Specifications.
This standard was drafted. China National Machinery Productivity Promotion Center of China Academy of Mechanical Sciences, China Aviation Integrated Technology Research Institute, Beijing Institute of Technology,
National Motor Vehicle Product Quality Supervision and Inspection Center (Shanghai), Huazhong University of Science and Technology, 23 Aerospace Second Institute, and 206 Aerospace Second Hospital.
The main drafters of this standard. Wang Xinling, Wang Xili, Liu Yuer, Yang Dongbai, Ni Xinyi, Chen Jingyu, Cui Ruizhi, Li Zhu, Liu Qiguo,
Liu Hongyu, Li Xuezhen.
The previous versions of the standards replaced by this standard are.
---GB 1182-1974, GB/T 1182-1980, GB/T 1182-1996;
---GB 1183-1975, GB/T 1183-1980.
GB/T 1182-2008/ISO 1101.2004
introduction
This standard is one of the general GPS standards in the Product Geometry Specification (GPS) series (see GB /Z20308-2006). It involves
The first and second links of the standard chain of shape, direction, position and runout tolerance; the first link of the reference standard chain.
A detailed description of the relationship between this standard and the GPS matrix can be found in Appendix C.
This standard presents the basic concept of geometric tolerances and describes the basic principles of geometric tolerances. Refer to Chapter 2 and Table 2 of this standard for reference.
More relevant and relevant information can be obtained from the relevant standards.
For the definition of the scale and size of the fonts in the legend, see GB/T 14691. For standardization, the legend of this standard is drawn according to the first angle projection.
Dimensions and tolerance values are in metric. If a third angle projection and other units of measurement are used, the provisions of this standard still apply.
The legends in this standard are only used to explain the terms and conditions and do not reflect the actual application. Therefore, these legends only show corresponding
The general principle, the dimensions and tolerances in the figure may also be incomplete.
Appendix A of this standard only provides reference materials, which list some of the annotation methods that have been used before. These annotation methods are in this edition.
This book has been abolished and will not be used in the future.
The definition of various elements is taken from GB/T 18780.1 and GB/T 18780.2. The terms given by these two standards are different from those used to be
Used terminology.
The “axis” and “center plane” in this standard are used to describe the derived elements of the ideal shape, and the “center line” and “center plane” are used to describe the non-
The derived element of the ideal shape. In addition, the following line types are used for explanatory diagrams, and only appear in the non-technical drawings specified in GB/T 4457.
In the sample.
Feature hierarchy feature type feature form
Line type
Visible invisible
Nominal element
(ideal factor)
Composition (entity) element
Surface/plane
Thick solid line
Export features
Line/axis
Face/plane
Slender point line drawing fine line
Actual element component surface rough irregular solid line fine irregular dotted line
Extracting feature contour surfaces
surface
Short and short dashed line
Export feature export features
Fine point
Fitting element
Component
straight line
Surface/plane
Rough double virtual double point line fine double virtual double dotted line
Export features
straight line
flat
Thick and long double dot line fine double dot line
GB/T 1182-2008/ISO 1101.2004
Table (continued)
Feature hierarchy feature type feature form
Line type
Visible invisible
Fitting feature benchmark
straight line
Surface/plane
Thick and long painting double short drawing line slender drawing double short line
Tolerance band limit, tolerance
flat
Thin solid line
Section, plane for description,
Graphic plane, auxiliary plane
Slim short dashed line
Extension line, dimension line, finger
lead
Thin line of thin lines
Note. The line type specified in the table is not exactly the same as the line type in the legend. This table is for reference only.
GB/T 1182-2008/ISO 1101.2004
Product Geometric Specifications (GPS) Geometric Tolerance
Shape, orientation, position, and runout tolerance
1 range
This standard specifies the basic requirements and methods for the geometric tolerances (shape, direction, position and runout tolerance) of the workpiece.
This standard applies to geometric tolerance marking of...
View full details