Skip to product information
1 of 12

PayPal, credit cards. Download editable-PDF and invoice in 1 second!

GB/T 11417.6-2012 English PDF (GBT11417.6-2012)

GB/T 11417.6-2012 English PDF (GBT11417.6-2012)

Regular price $145.00 USD
Regular price Sale price $145.00 USD
Sale Sold out
Shipping calculated at checkout.
Delivery: 3 seconds. Download true-PDF + Invoice.
Get QUOTATION in 1-minute: Click GB/T 11417.6-2012
Historical versions: GB/T 11417.6-2012
Preview True-PDF (Reload/Scroll if blank)

GB/T 11417.6-2012: Ophthalmic optics -- Contact lenses -- Part 6: Mechanical properties test methods
GB/T 11417.6-2012
GB
NATIONAL STANDARD OF THE
PEOPLE’S REPUBLIC OF CHINA
ICS 11.040.70
C 40
Ophthalmic optics - Contact lenses -
Part 6: Mechanical properties test methods
ISSUED ON: DECEMBER 31, 2012
IMPLEMENTED ON: JUNE 01, 2013
Issued by: General Administration of Quality Supervision, Inspection and
Quarantine;
Standardization Administration of the People's Republic of
China.
Table of Contents
Foreword ... 3 
1 Scope ... 5 
2 Normative references ... 5 
3 Terms and definitions ... 5 
4 Determination of radius of curvature ... 5 
5 Diameter and width ... 20 
6 Thickness ... 26 
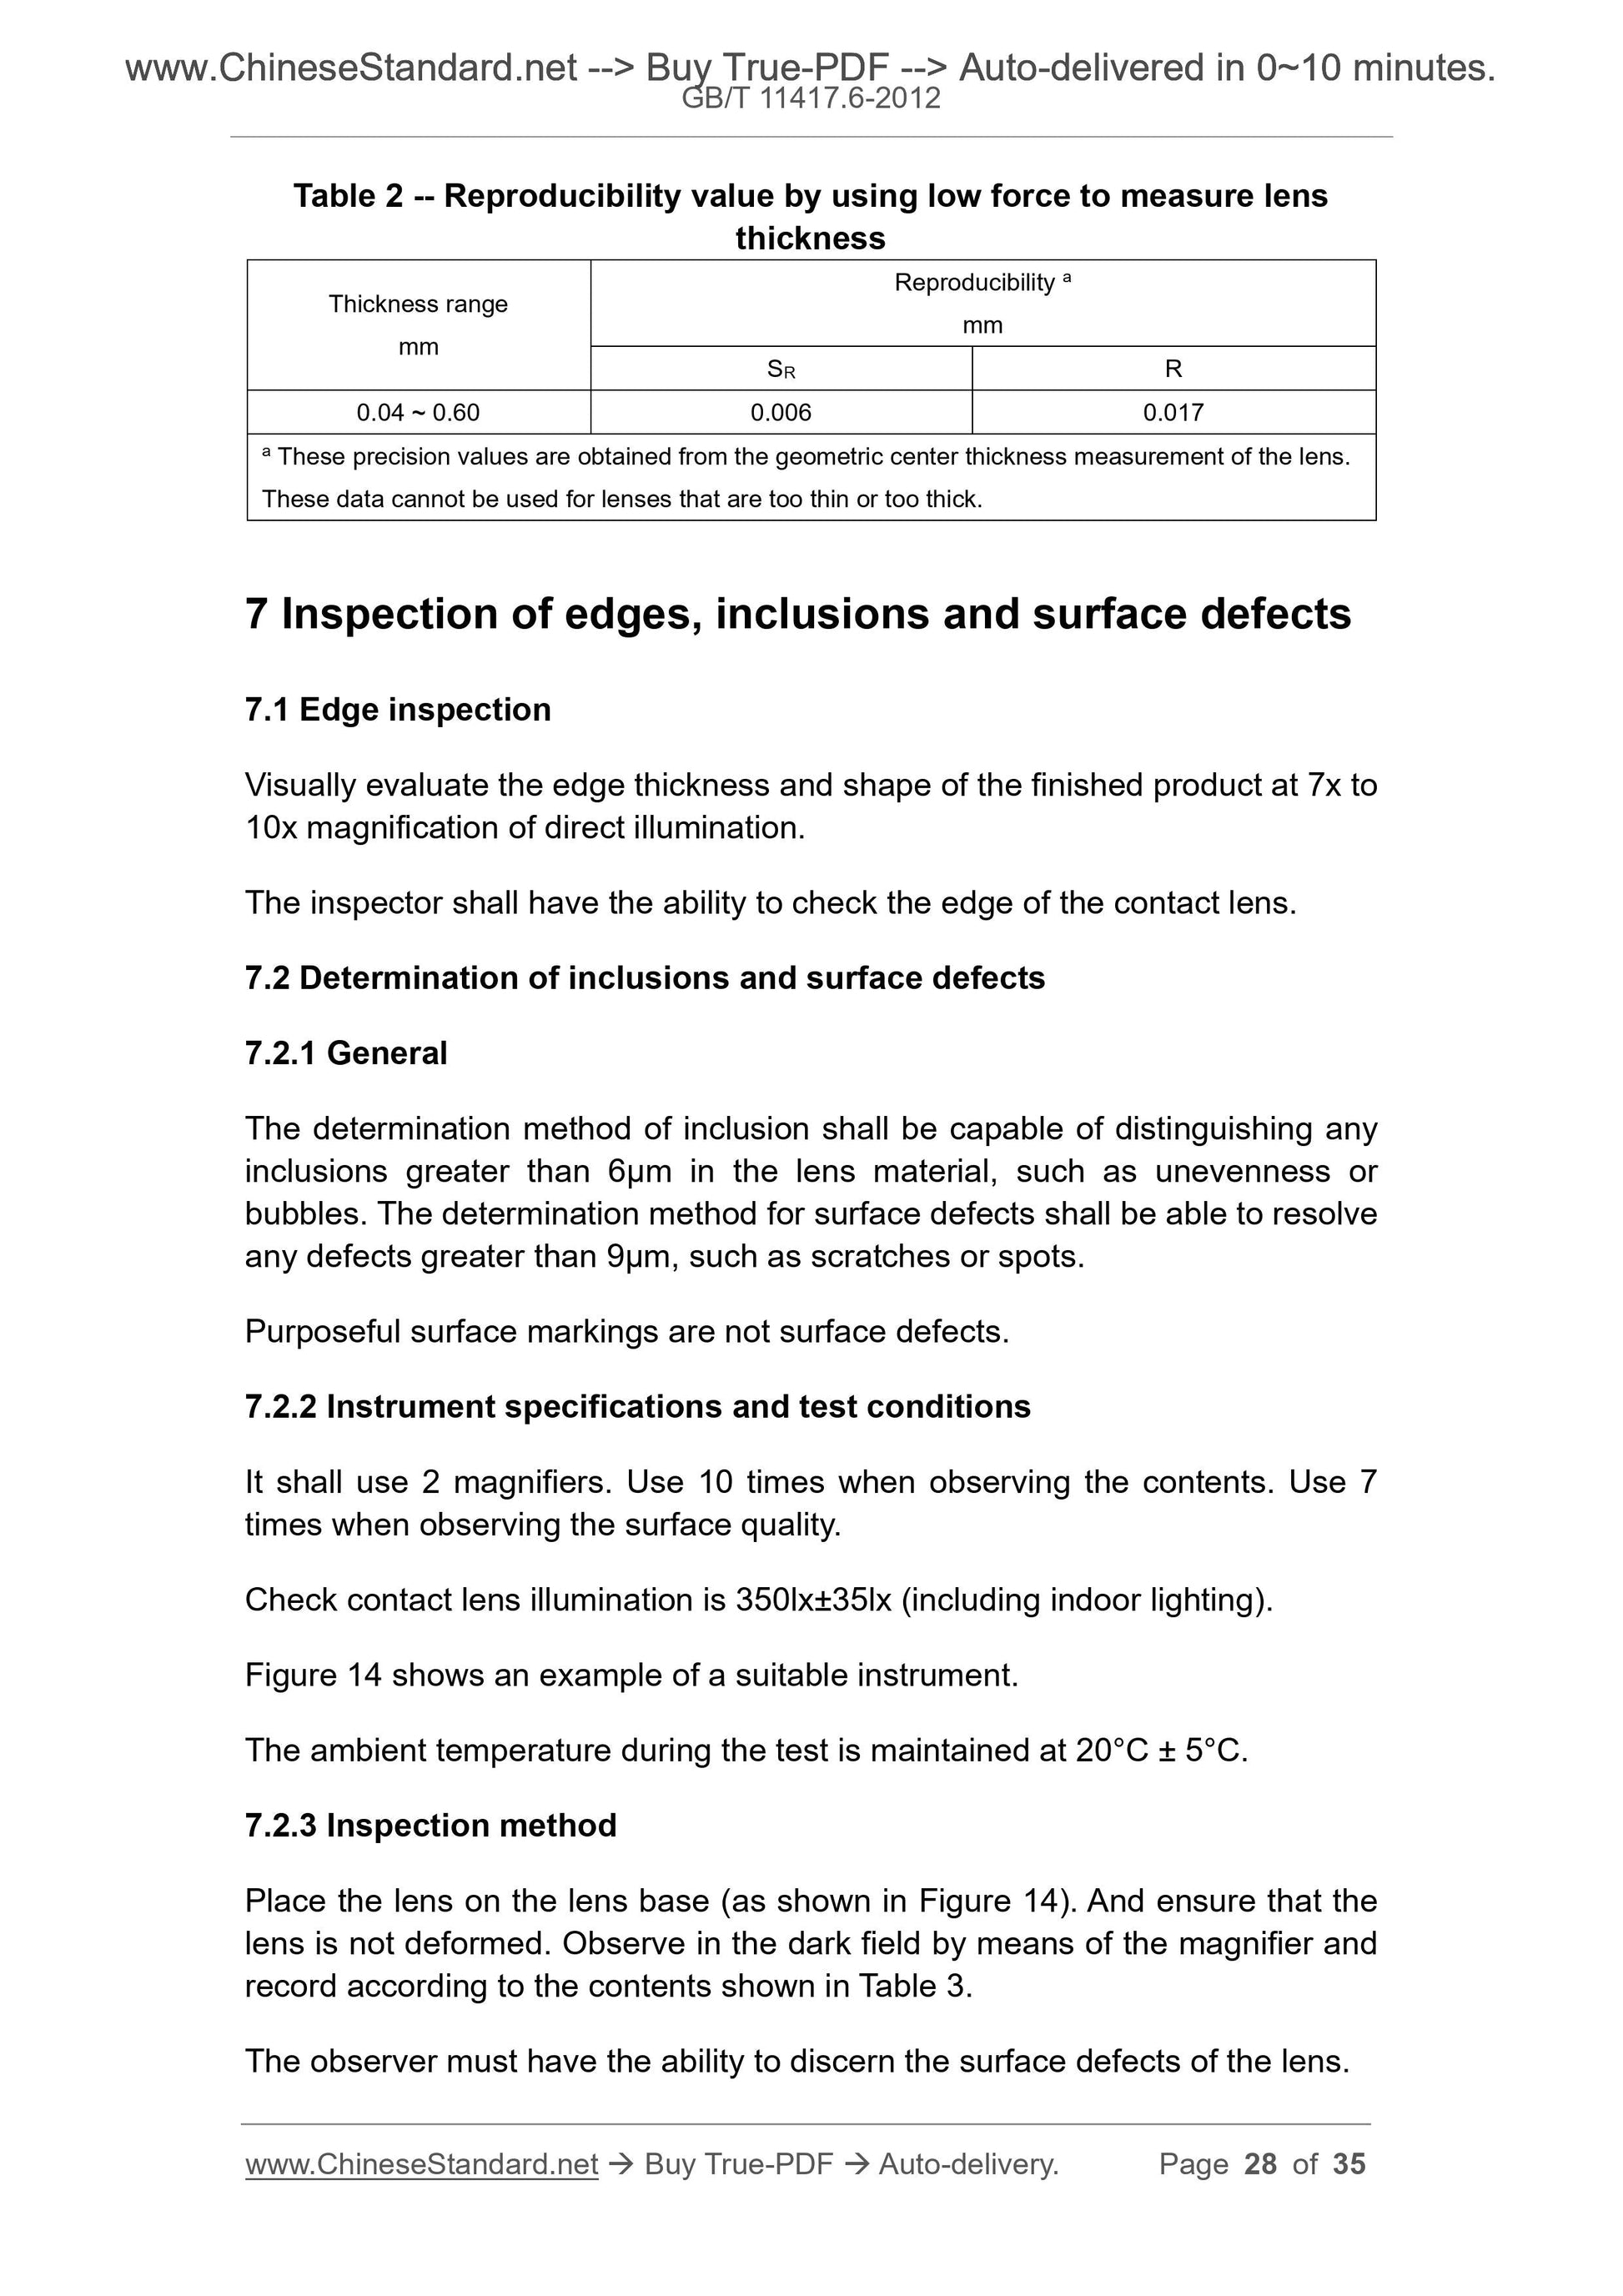
7 Inspection of edges, inclusions and surface defects ... 28 
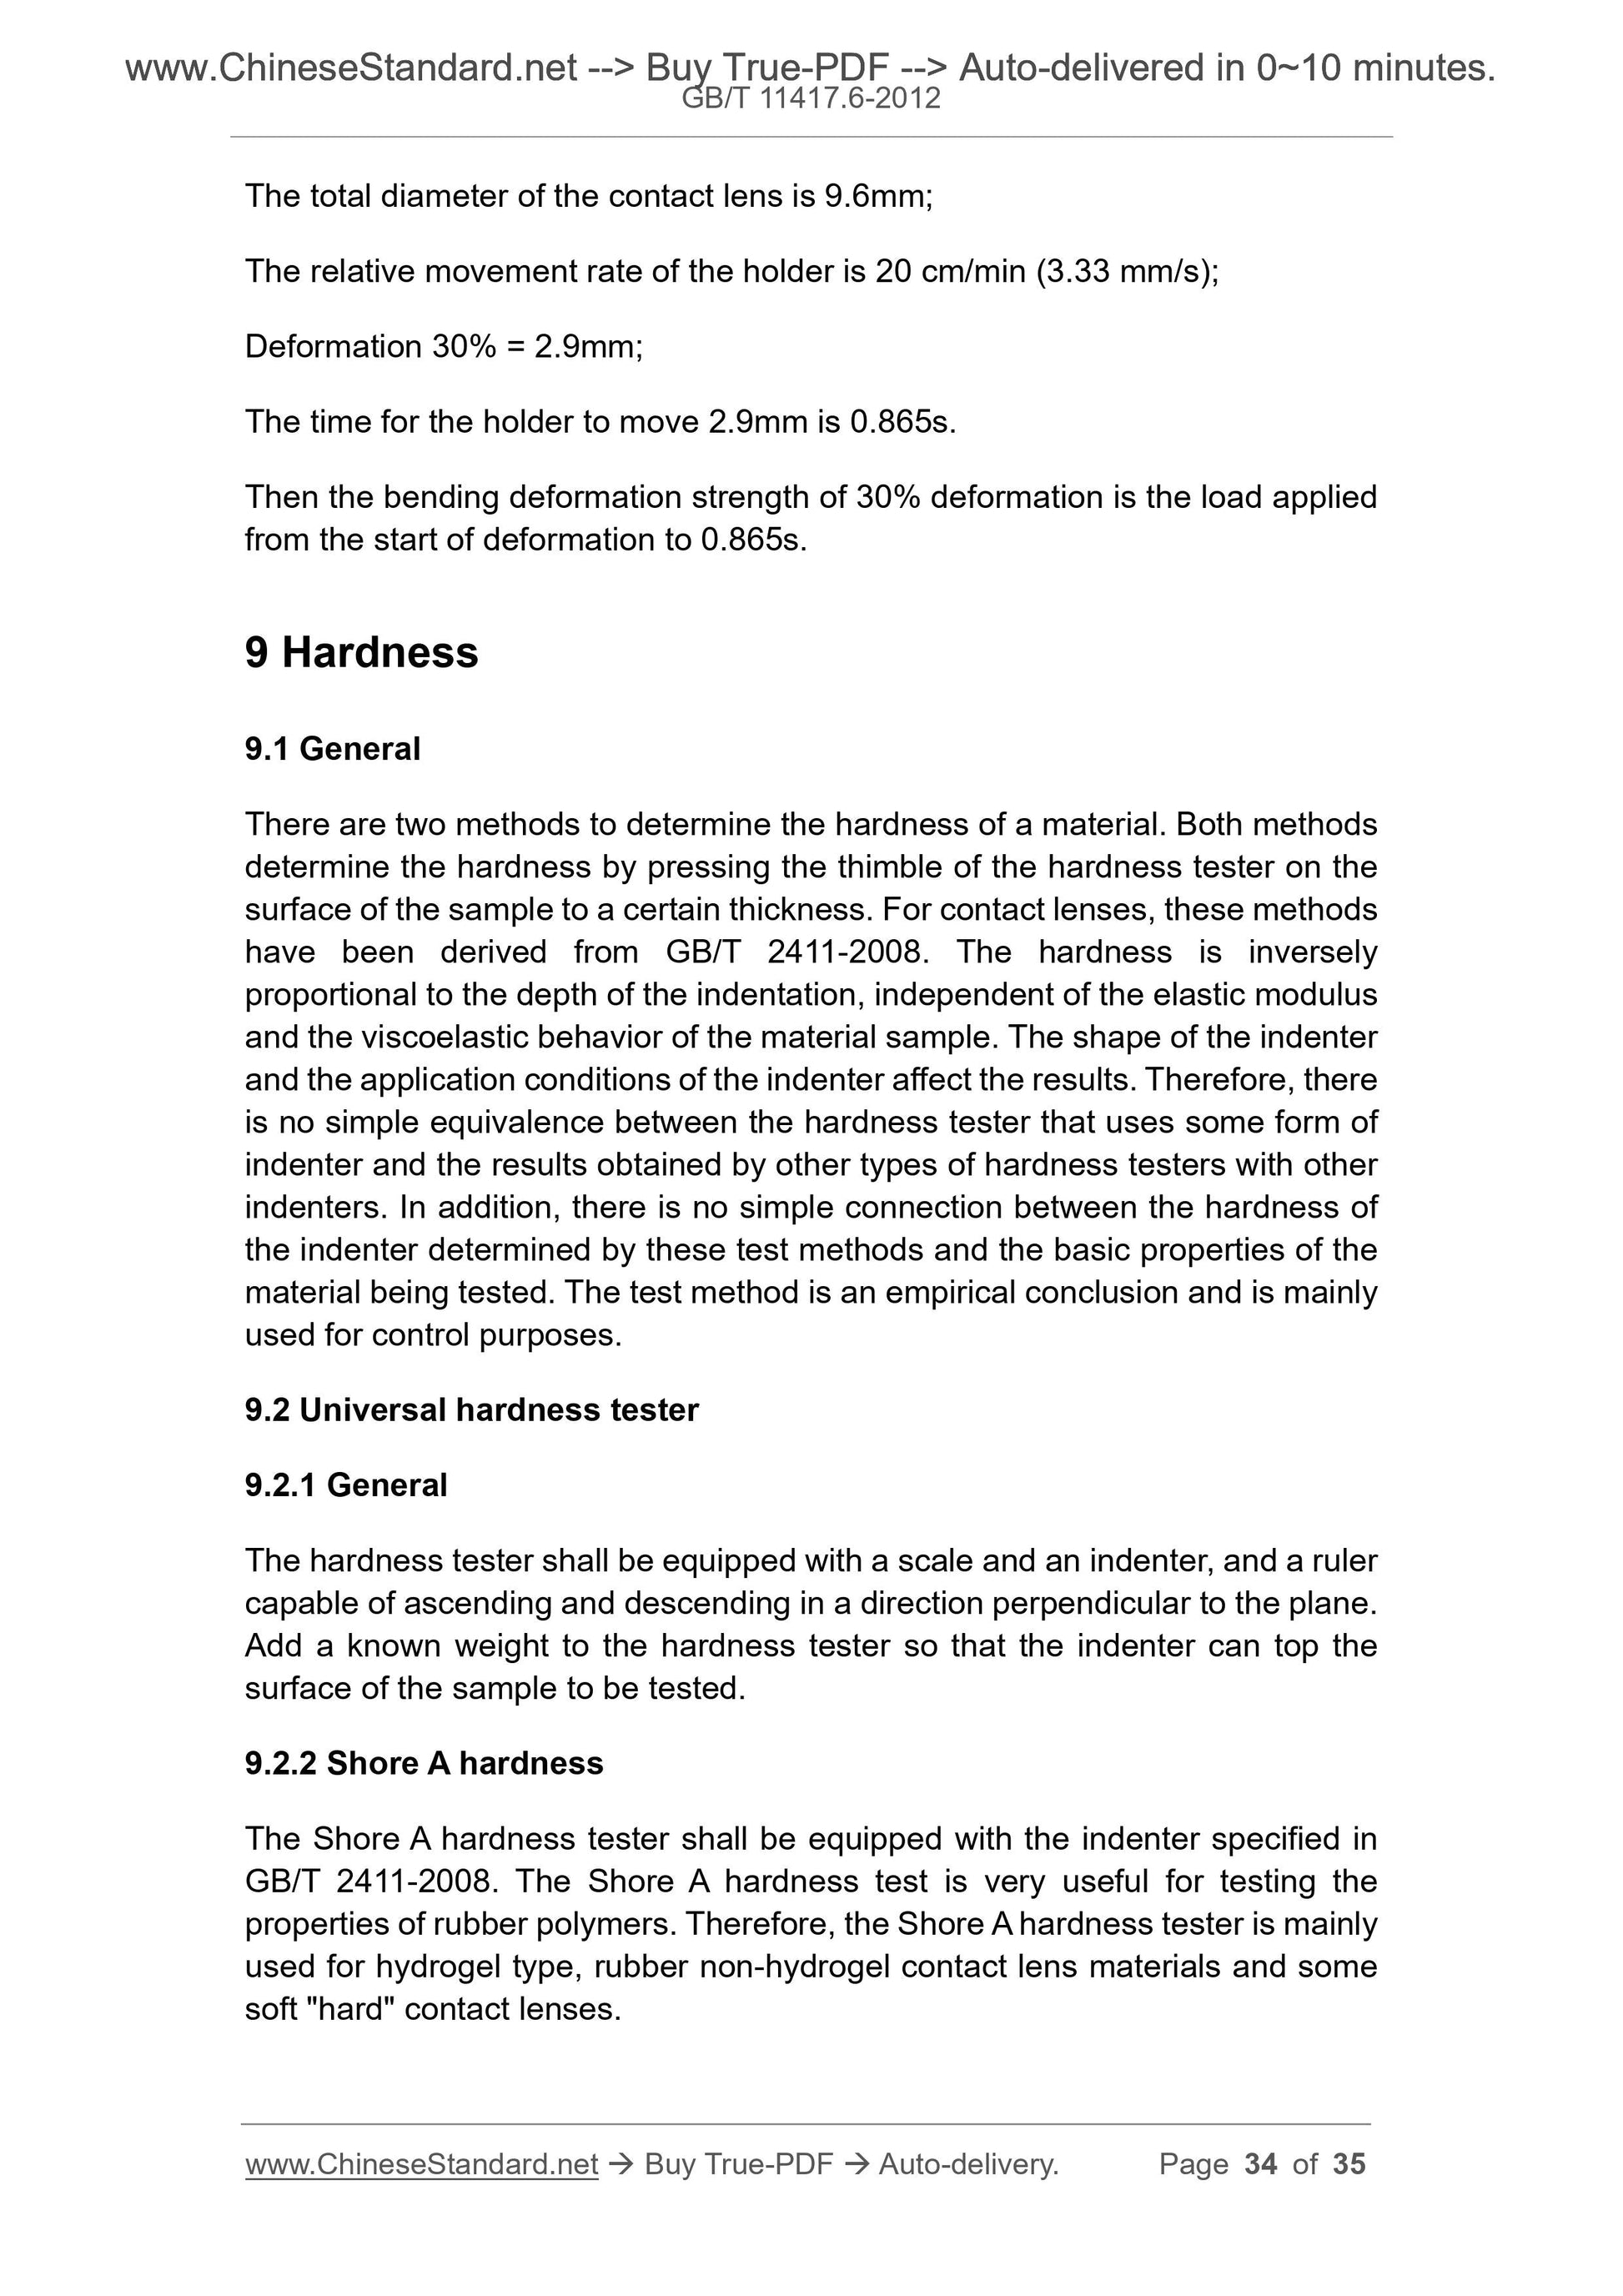
8 Bending deformation and fracture of hard lens ... 30 
9 Hardness ... 34 
Ophthalmic optics - Contact lenses -
Part 6: Mechanical properties test methods
1 Scope
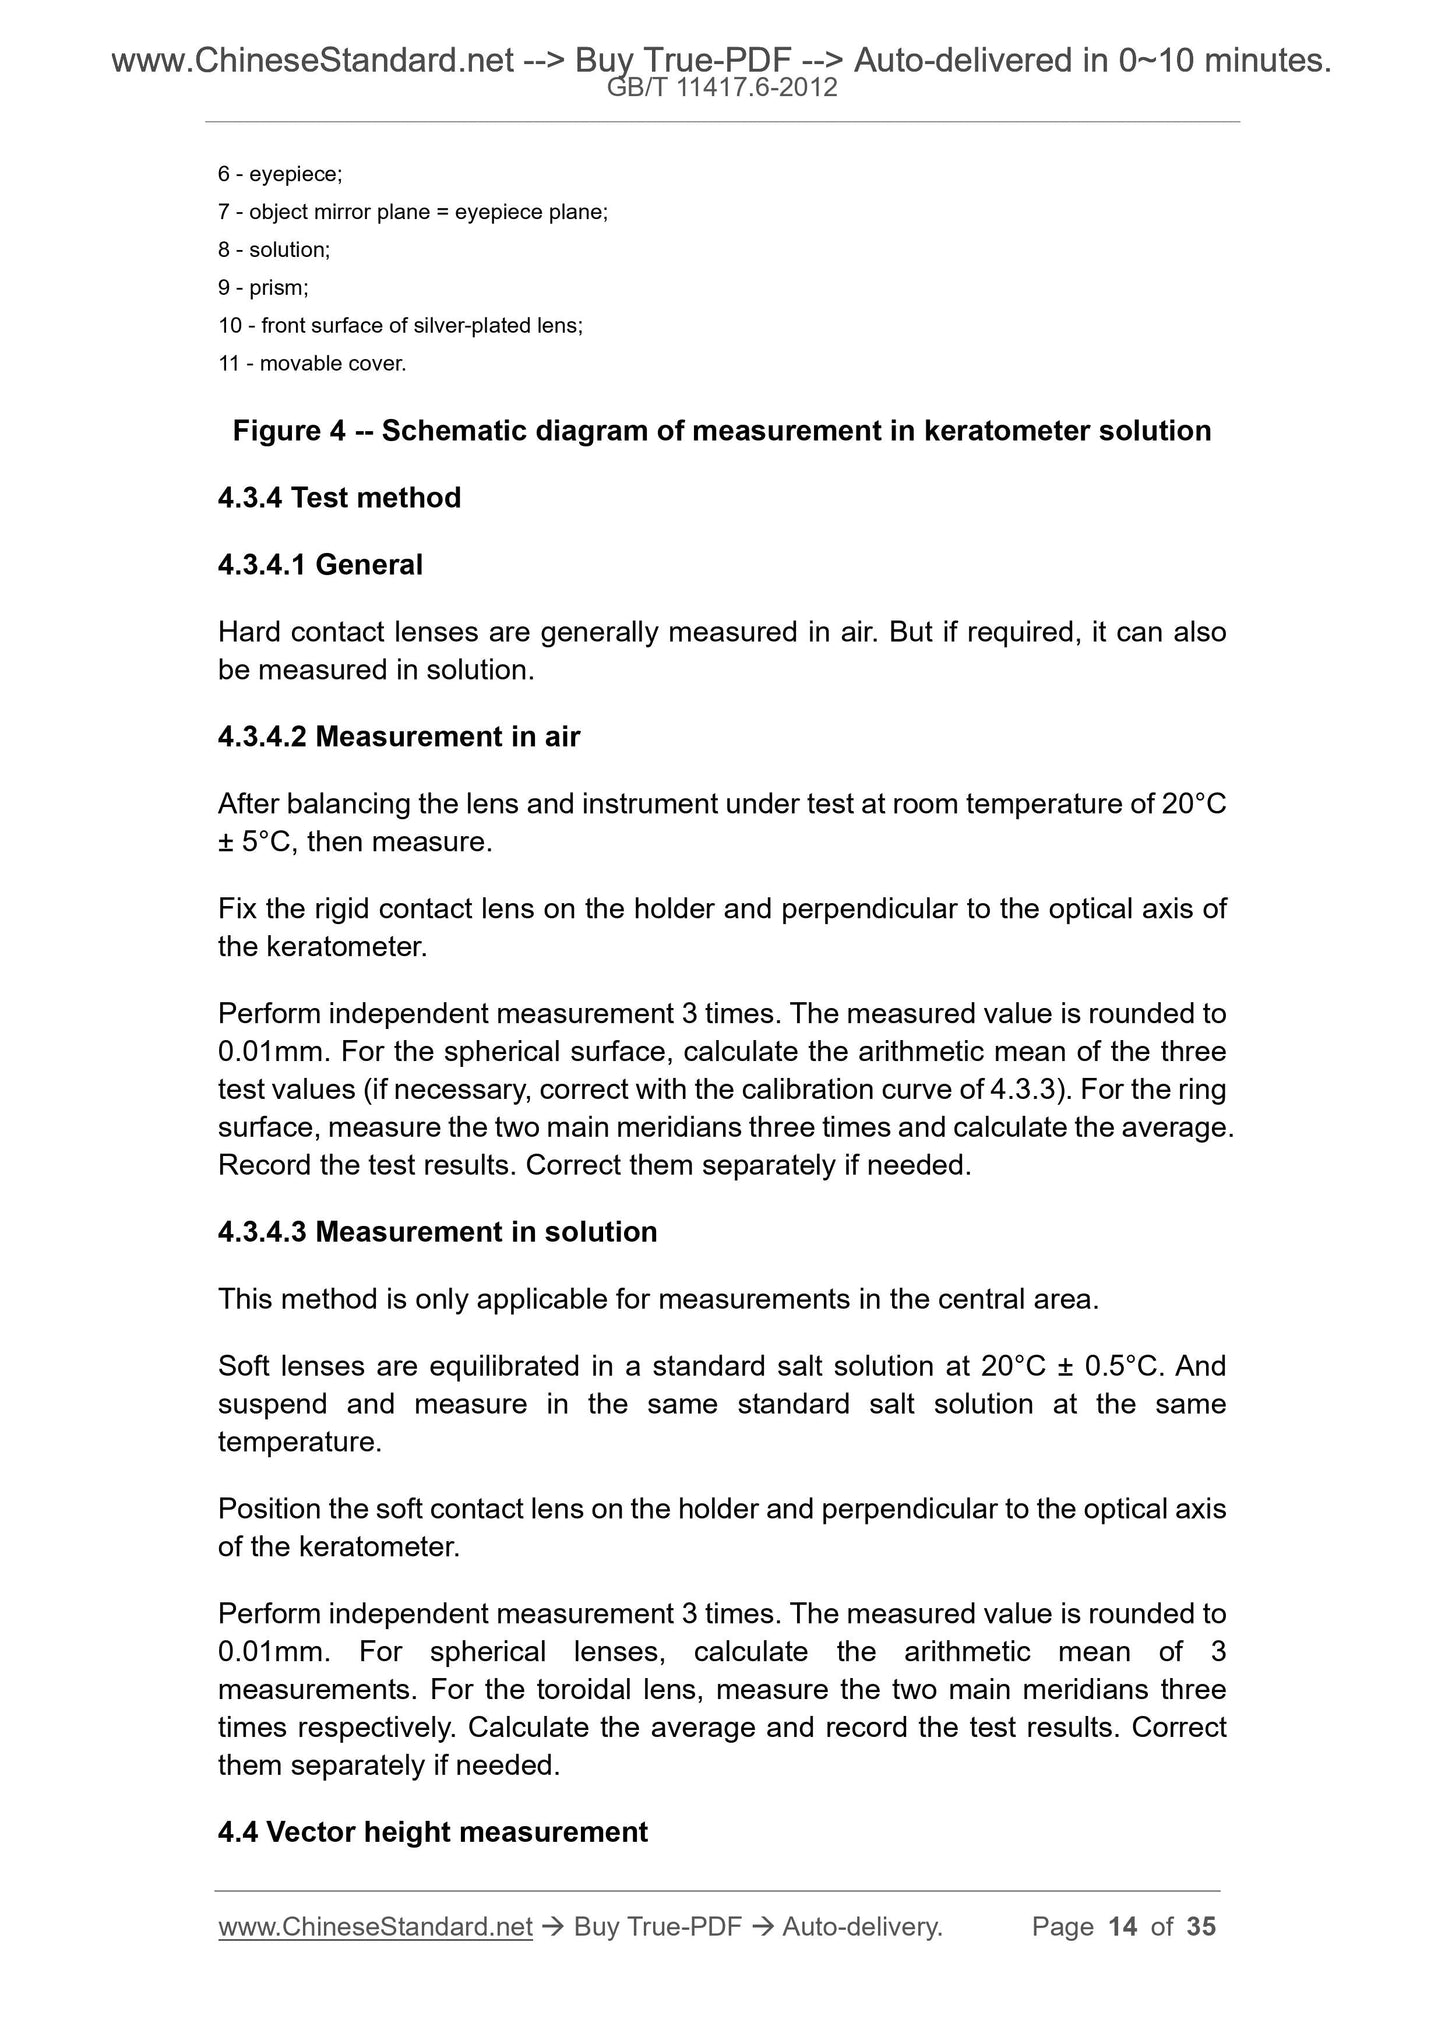
GB/T 11417.6 gives test methods for the mechanical properties of contact
lenses including dimensions.
This Part is applicable to the testing of mechanical properties of contact lenses.
2 Normative references
The following referenced documents are indispensable for the application of
this document. For dated references, only the edition cited applies. For undated
references, the latest edition of the referenced document (including any
amendments) applies.
GB/T 2411-2008, Plastics and ebonite - Determination of indentation
hardness by means of a durometer (shore hardness)
GB/T 11417.1-2012, Ophthalmic optics - Contact lenses - Part 1: Vocabulary,
classification system and recommendations for labeling specifications
GB 11417.2-2012, Ophthalmic optics - Contact lenses - Part 2: Rigid contact
lenses specification
GB 11417.3-2012, Ophthalmic optics - Contact lenses - Part 3: Soft contact
lenses
GB/T 11417.4-2012, Ophthalmic optics - Contact lenses - Part 4: Saline
solution for contact lens testing
3 Terms and definitions
For the purposes of this document, the terms and definitions defined in GB/T
11417.1-2012 apply.
4 Determination of radius of curvature
4.1 General
Mechanical scales can be equipped with some devices to reduce empty back.
If the reading is in one direction, the error source can be ignored.
Illumination measurements usually contain 4 intersecting lines around the
center. Adjacent angle is 45°.
The spherometer shall be equipped with a lens holder that allows the lens to be
placed on a reference plane, usually on the optical axis of the instrument. The
holder shall be adjustable laterally so that the apex of the rear surface of the
lens falls on the optical axis. The holder shall be able to suppress the reflection
of the non-measuring surface of the contact lens.
NOTE: The term "scale" refers to both analog and digital instruments.
4.2.3 Calibration
4.2.3.1 It shall use the optical glass concave spherical surfaces with the
following 3 kinds of curvature radius for calibration:
Concave spherical surface 1: 6.30mm~6.70mm;
Concave spherical surface 2: 7.80mm~8.20mm;
Concave spherical surface 3: 9.30mm~9.70mm.
The precision of the radius of curvature of the concave spherical surface is
±0.0075mm.
4.2.3.2 Calibrate at room temperature of 20°C ± 5°C. The equipment shall be
preheated until equilibrium.
4.2.3.3 Place the concave spherical surface 1 on the measuring head so that
the optical axis of the microscope is perpendicular to the test surface. Adjust
the distance between the microscope and the head until the image is focused
on the concave spherical surface [Figure 1a]]. Observe a clear image of
measuring mark in the microscope. Set the scale to 0. Pull apart the distance
between the head and the microscope until a clear image of measuring mark is
observed for the second time in the microscope. The position of the microscope
and surface is shown in Figure 1b). 2 images shall be in the center of the field
of view. If not, move the test surface laterally, and/or tilt until a clear image is
produced. Record the reading shown on the scale at this time, which shall be
the radius of curvature of the concave spherical surface. Each piece is
measured 10 times independently. Calculate its arithmetic mean. Repeat the
above steps for the other 2 concave spherical surfaces. If the result is outside
the precision range of the instrument, the result is depicted as a calibration
curve and the results obtained in 4.2.4 are corrected.
NOTE: “Independent” is to remove the concave spherical surface from the test stand after each test
6 - eyepiece;
7 - object mirror plane = eyepiece plane;
8 - solution;
9 - prism;
10 - front surface of silver-plated lens;
11 - movable cover.
Figure 4 -- Schematic diagram of measurement in keratometer solution
4.3.4 Test method
4.3.4.1 General
Hard contact lenses are generally measured in air. But if required, it can also
be measured in solution.
4.3.4.2 Measurement in air
After balancing the lens and instrument under test at room temperature of 20°C
± 5°C, then measure.
Fix the rigid contact lens on the holder and perpendicular to the optical axis of
the keratometer.
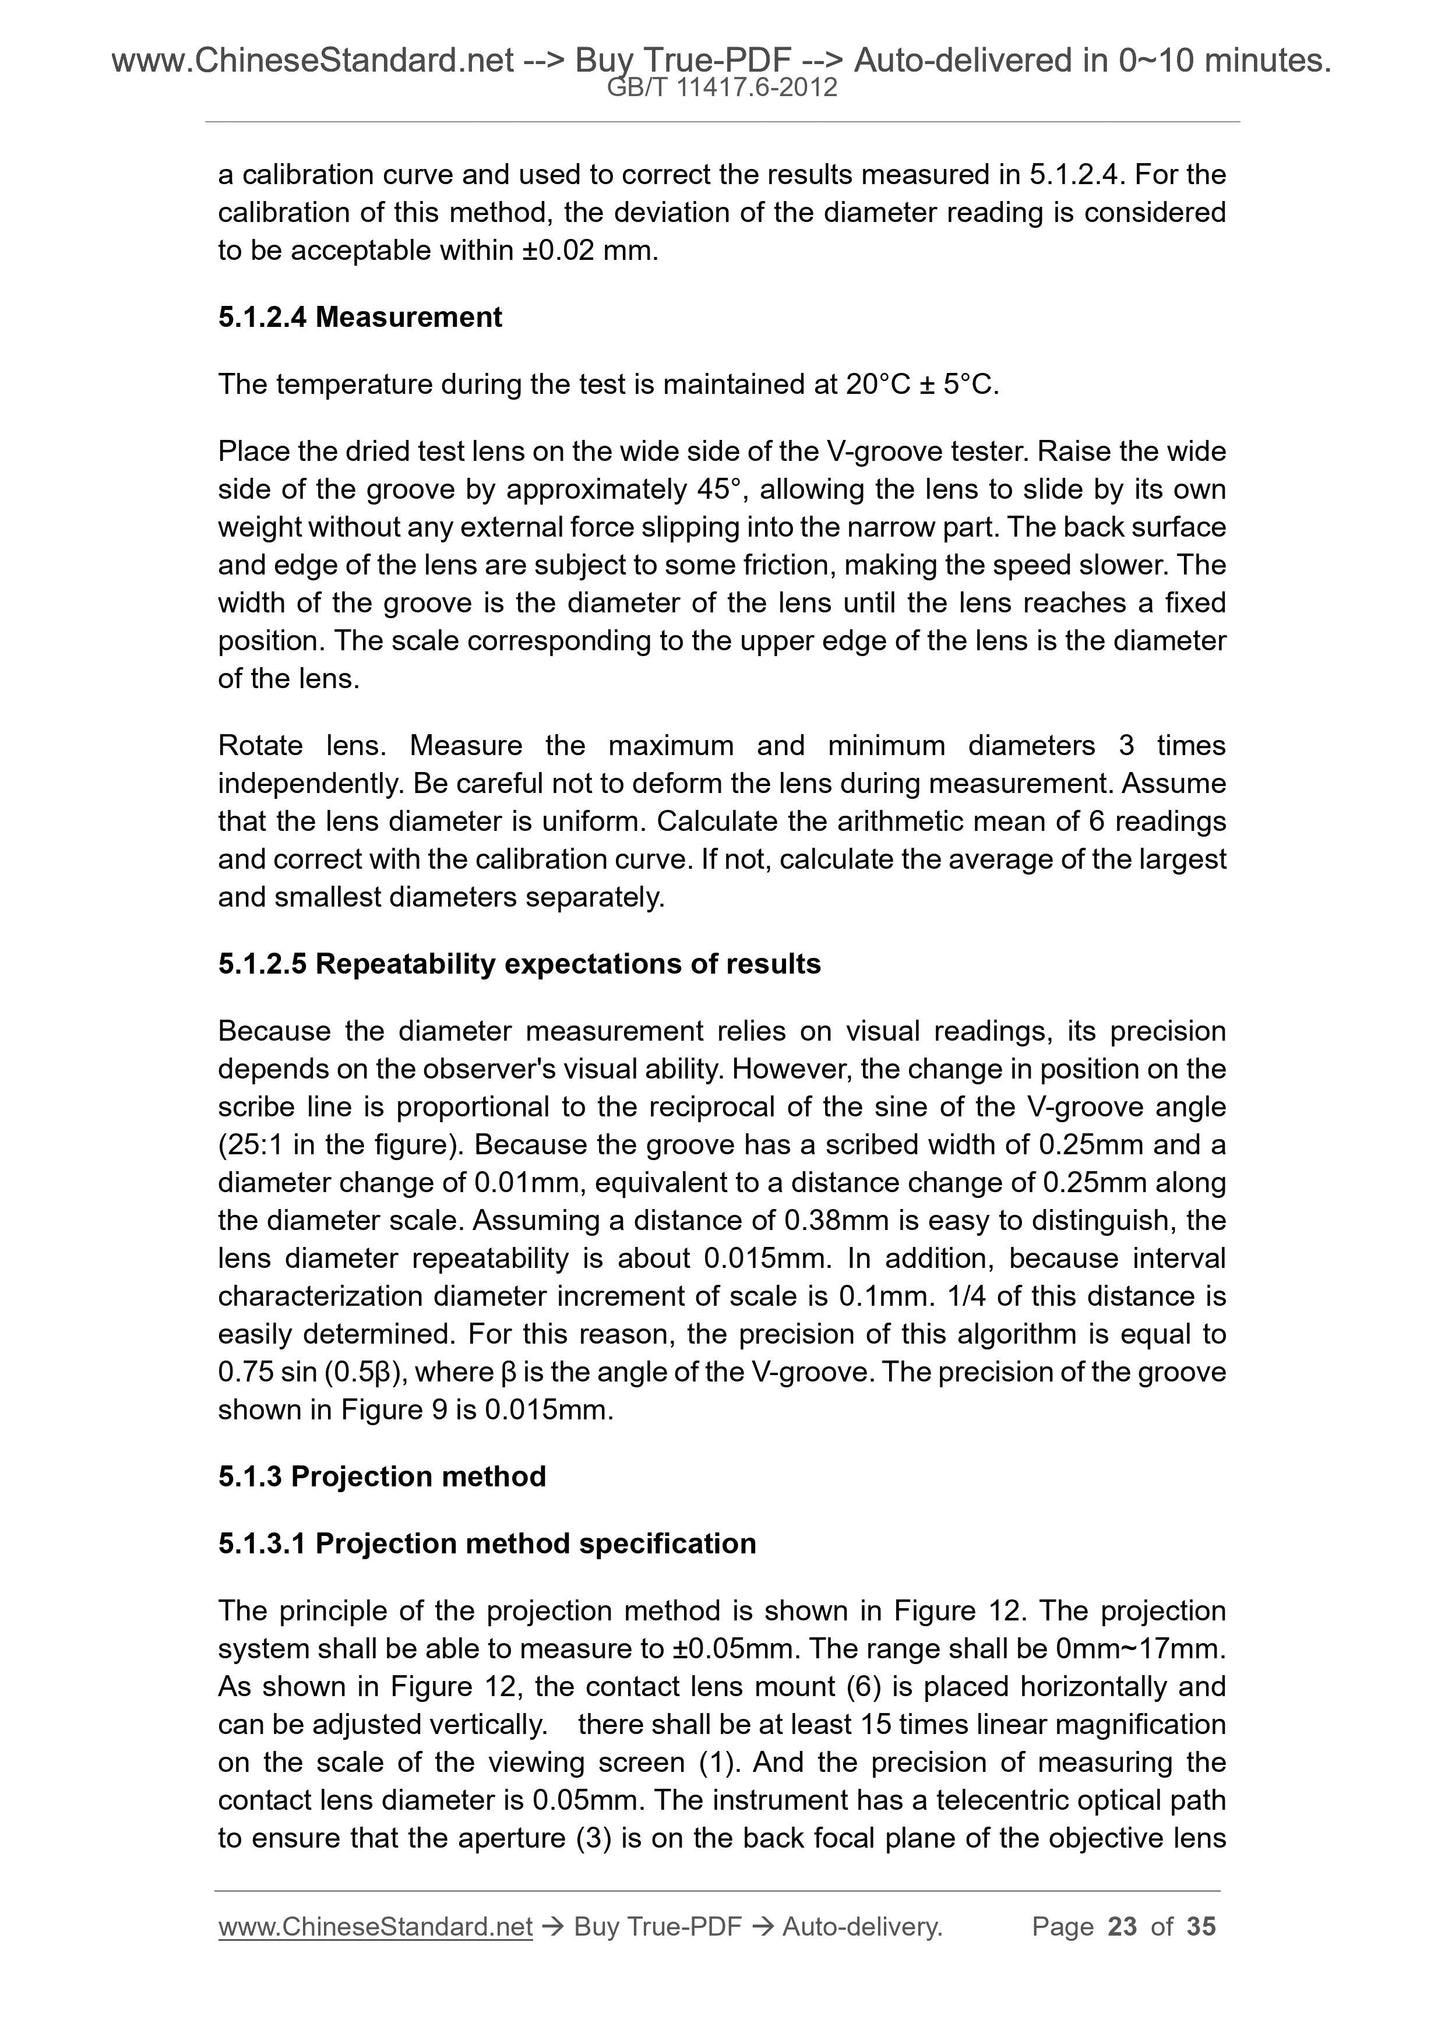
Perform independent measurement 3 times. The measured value is rounded to
0.01mm. For the spherical surface, calculate the arithmetic mean of the three
test values (if necessary, correct with the calibration curve of 4.3.3). For the ring
surface, measure the two main meridians three times and calculate the average.
Record the test results. Correct them separately if needed.
4.3.4.3 Measurement in solution
This method is only applicable for measurements in the central area.
Soft lenses are equilibrated in a standard salt solution at 20°C ± 0.5°C. And
suspend and measure in the same standard salt solution at the same
temperature.
Position the soft contact lens on the holder and perpendicular to the optical axis
of the keratometer.
Perform independent measurement 3 times. The measured value is rounded to
0.01mm. For spherical lenses, calculate the arithmetic mean of 3
measurements. For the toroidal lens, measure the two main meridians three
times respectively. Calculate the average and record the test results. Correct
them separately if needed.
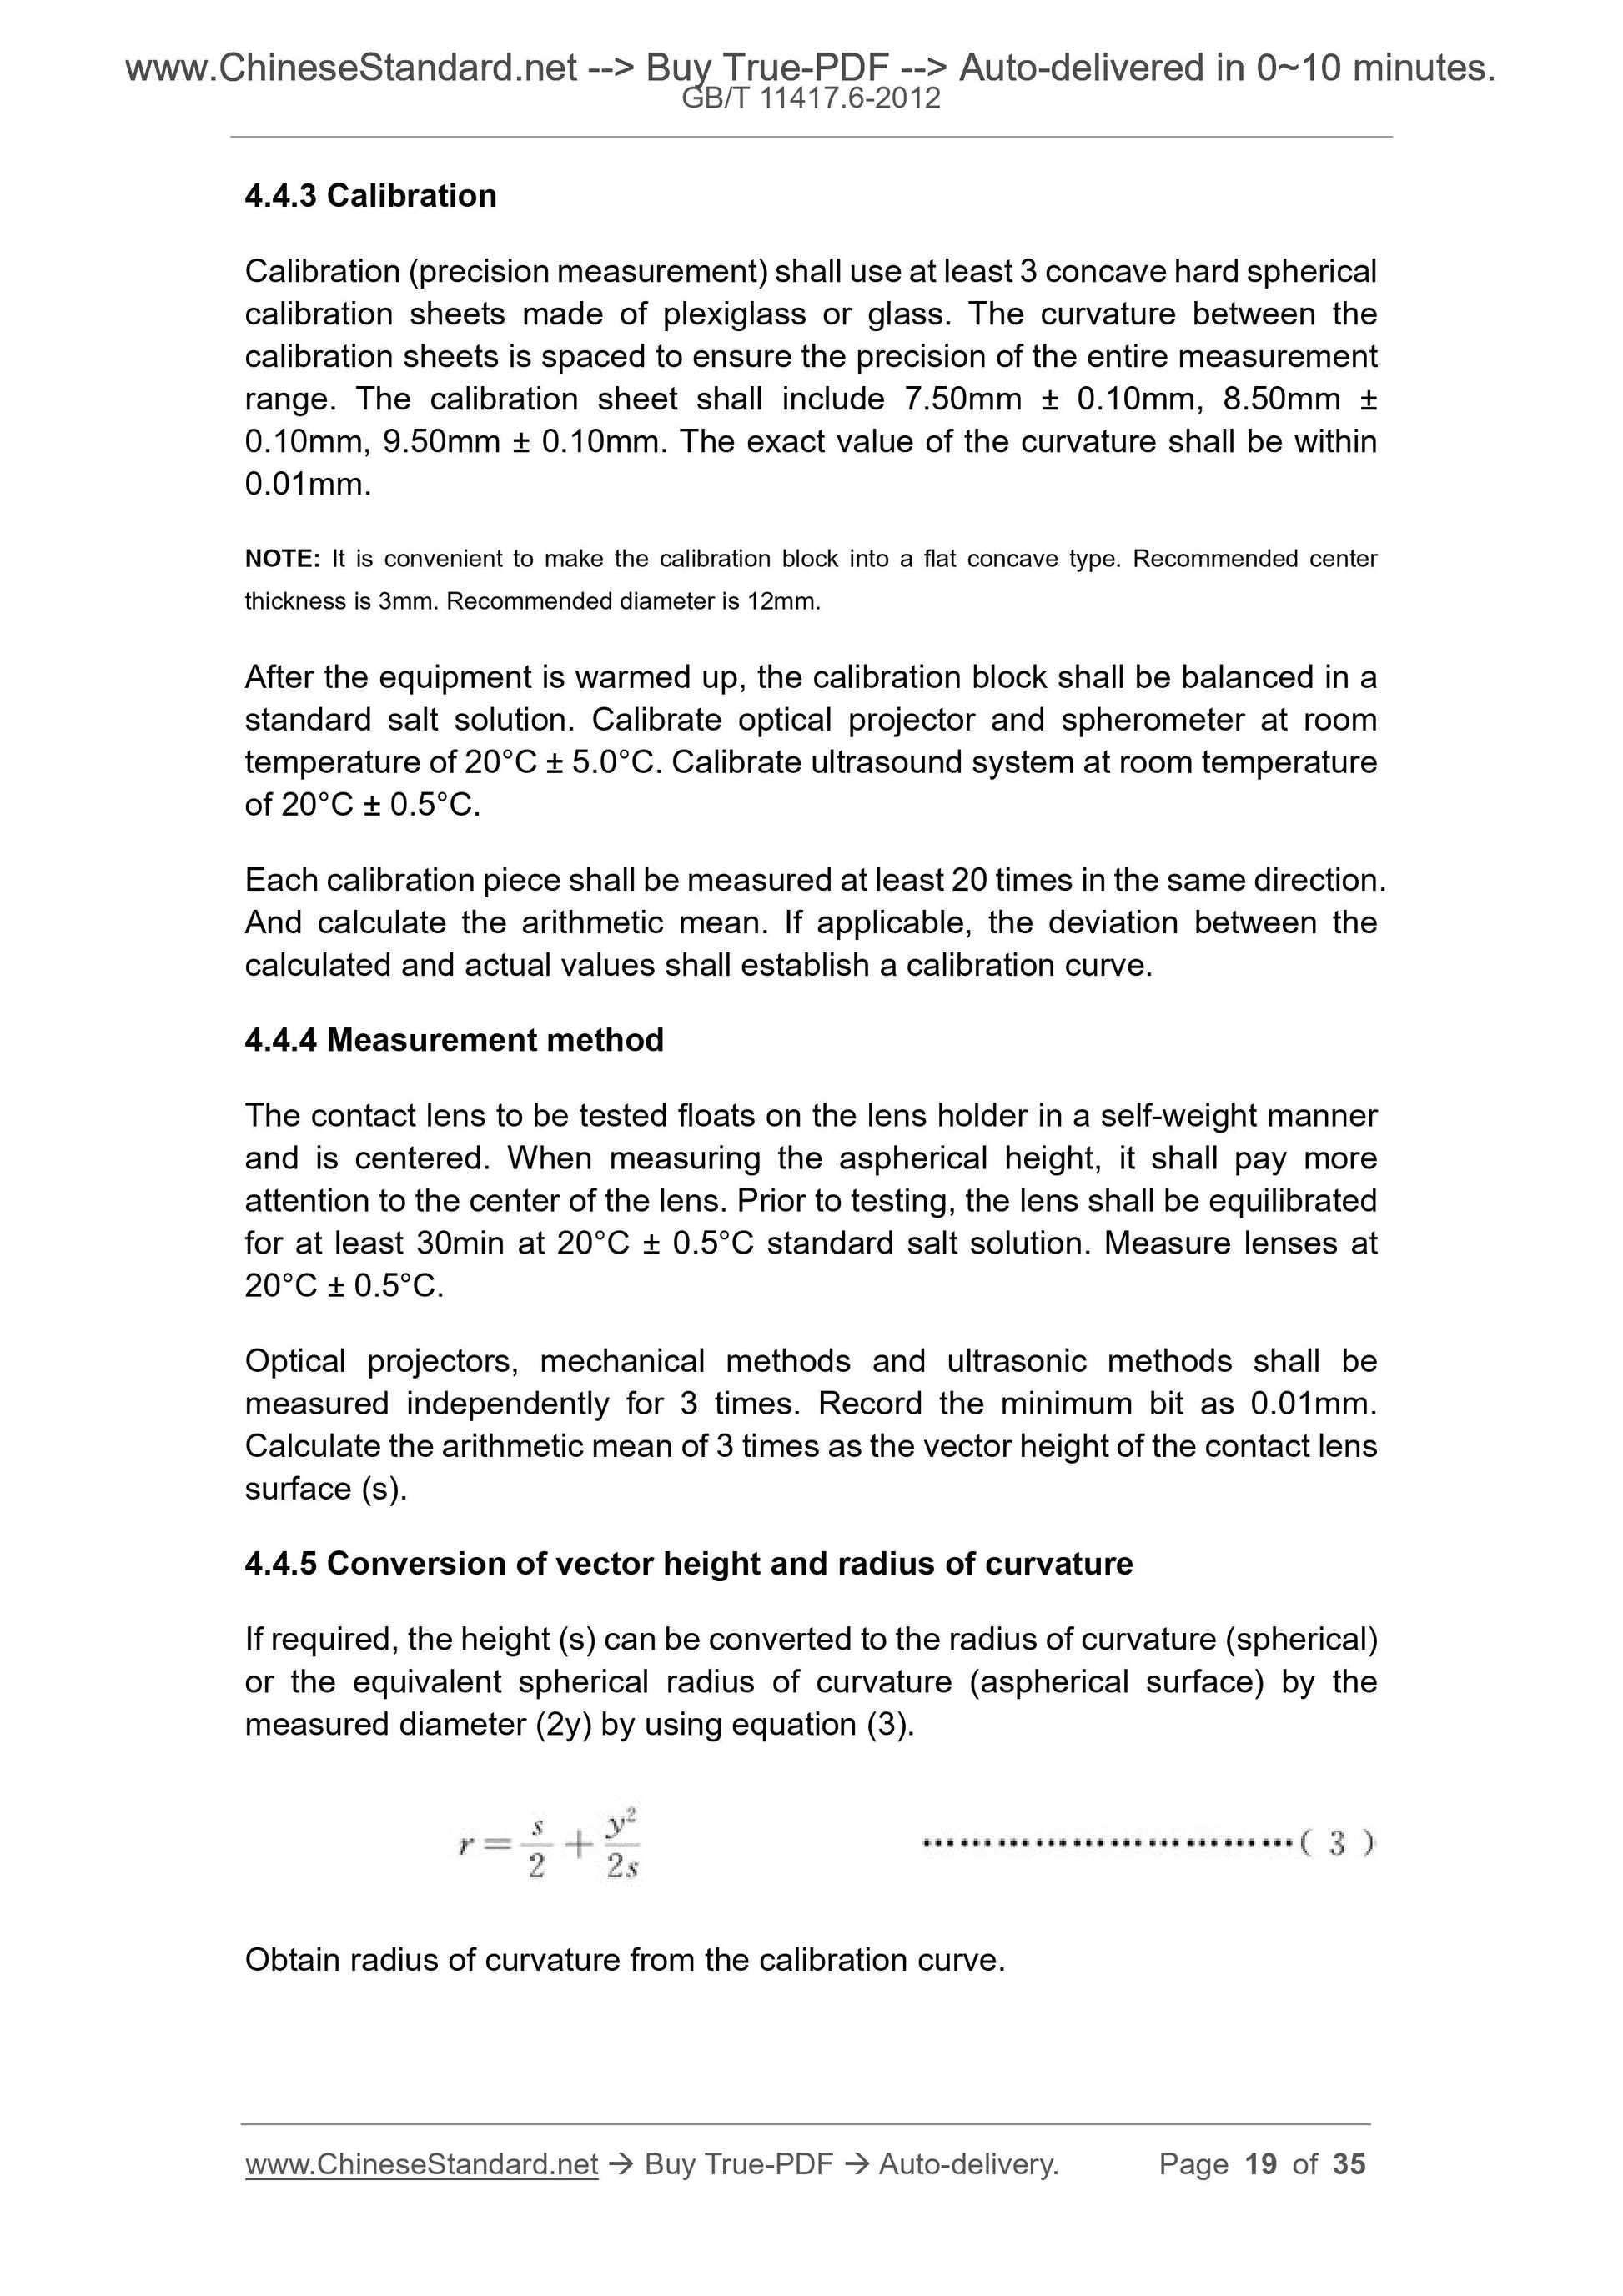
4.4 Vector height measurement
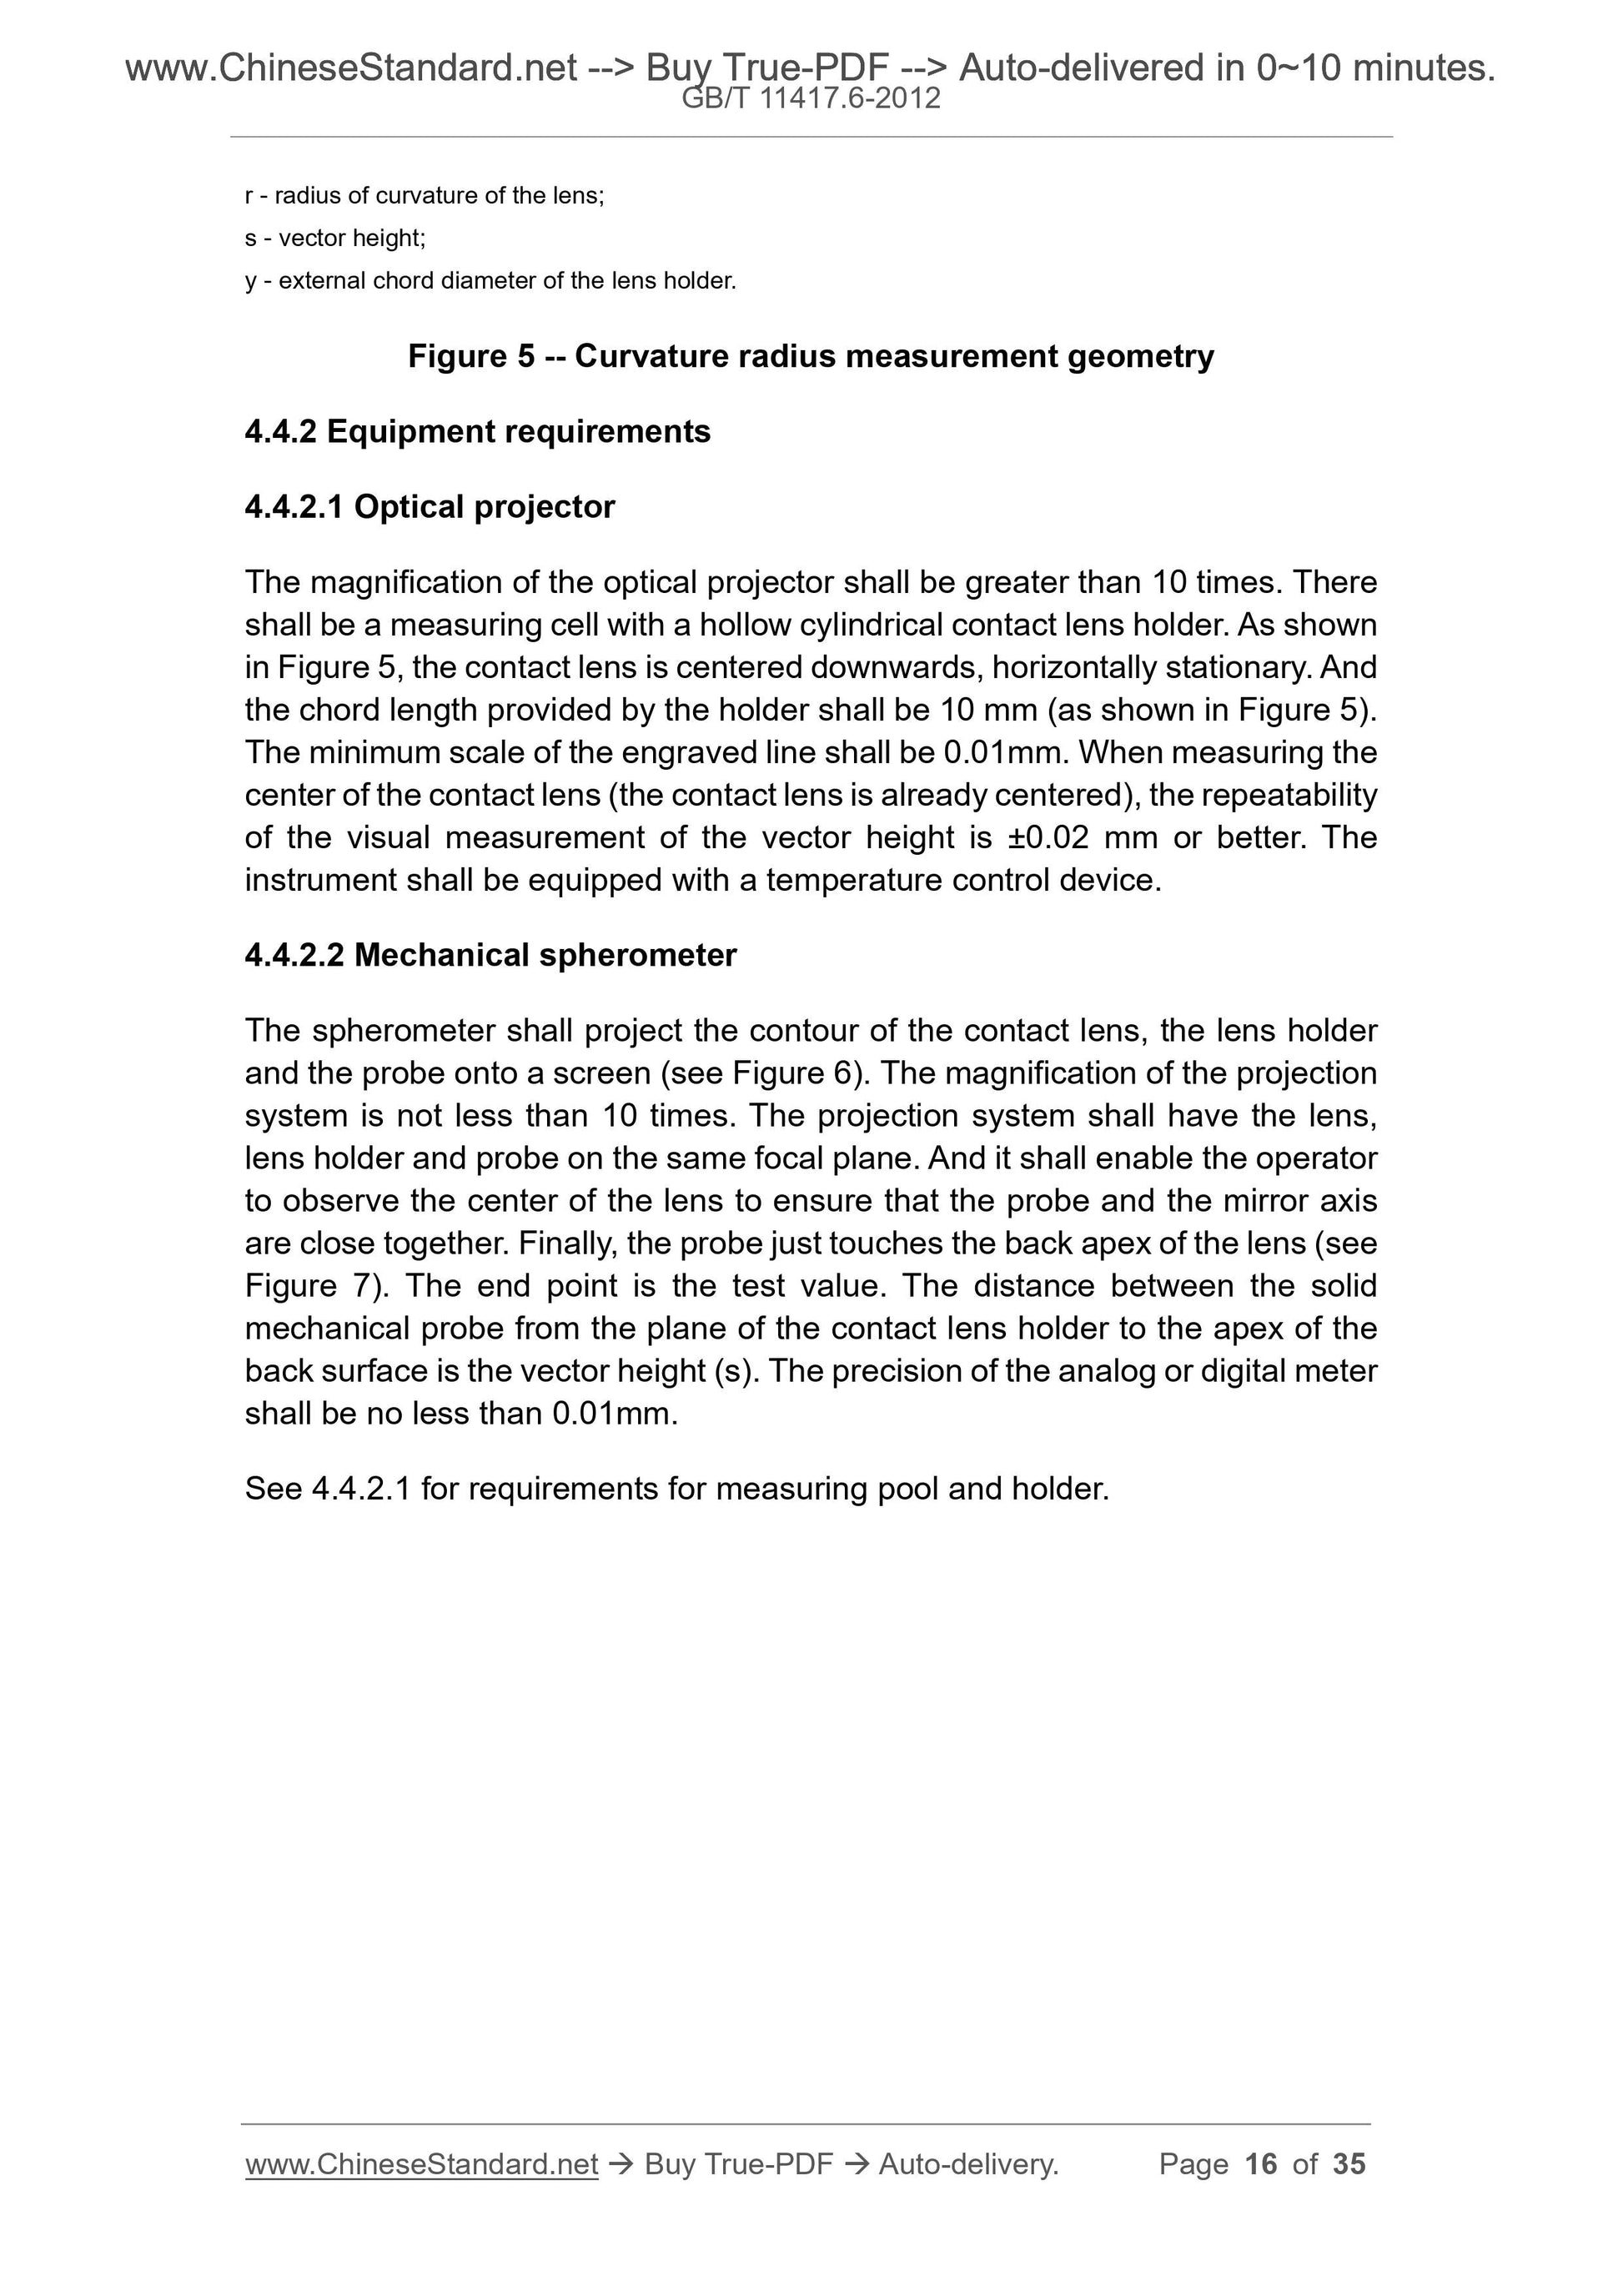
r - radius of curvature of the lens;
s - vector height;
y - external chord diameter of the lens holder.
Figure 5 -- Curvature radius measurement geometry
4.4.2 Equipment requirements
4.4.2.1 Optical projector
The magnification of the optical projector shall be greater than 10 times. There
shall be a measuring cell with a hollow cylindrical contact lens holder. As shown
in Figure 5, the contact lens is centered downwards, horizontally stationary. And
the chord length provided by the holder shall be 10 mm (as shown in Figure 5).
The minimum scale of the engraved line shall be 0.01mm. When measuring the
center of the contact lens (the contact lens is already centered), the repeatability
of the visual measurement of the vector height is ±0.02 mm or better. The
instrument shall be equipped with a temperature control device.
4.4.2.2 Mechanical spherometer
The spherometer shall project the contour of the contact lens, the lens holder
and the probe onto a screen (see Figure 6). The magnification of the projection
system is not less than 10 times. The projection system shall have the lens,
lens holder and probe on the same focal plane. And it shall enable the operator
to observe the center of the lens to ensure that the probe...
View full details