1
/
of
6
www.ChineseStandard.us -- Field Test Asia Pte. Ltd.
GB/T 11345-2023 English PDF (GB/T11345-2023)
Regular price
$380.00
Regular price
Sale price
$380.00
Unit price
/
per
Shipping calculated at checkout.
Couldn't load pickup availability
GB/T 11345-2023: Non-destructive testing of welds - Ultrasonic testing - Techniques, testing levels, and assessment
Delivery: 9 seconds. Download (& Email) true-PDF + Invoice.
Get Quotation: Click GB/T 11345-2023 (Self-service in 1-minute)
Historical versions (Master-website): GB/T 11345-2023
Preview True-PDF (Reload/Scroll-down if blank)
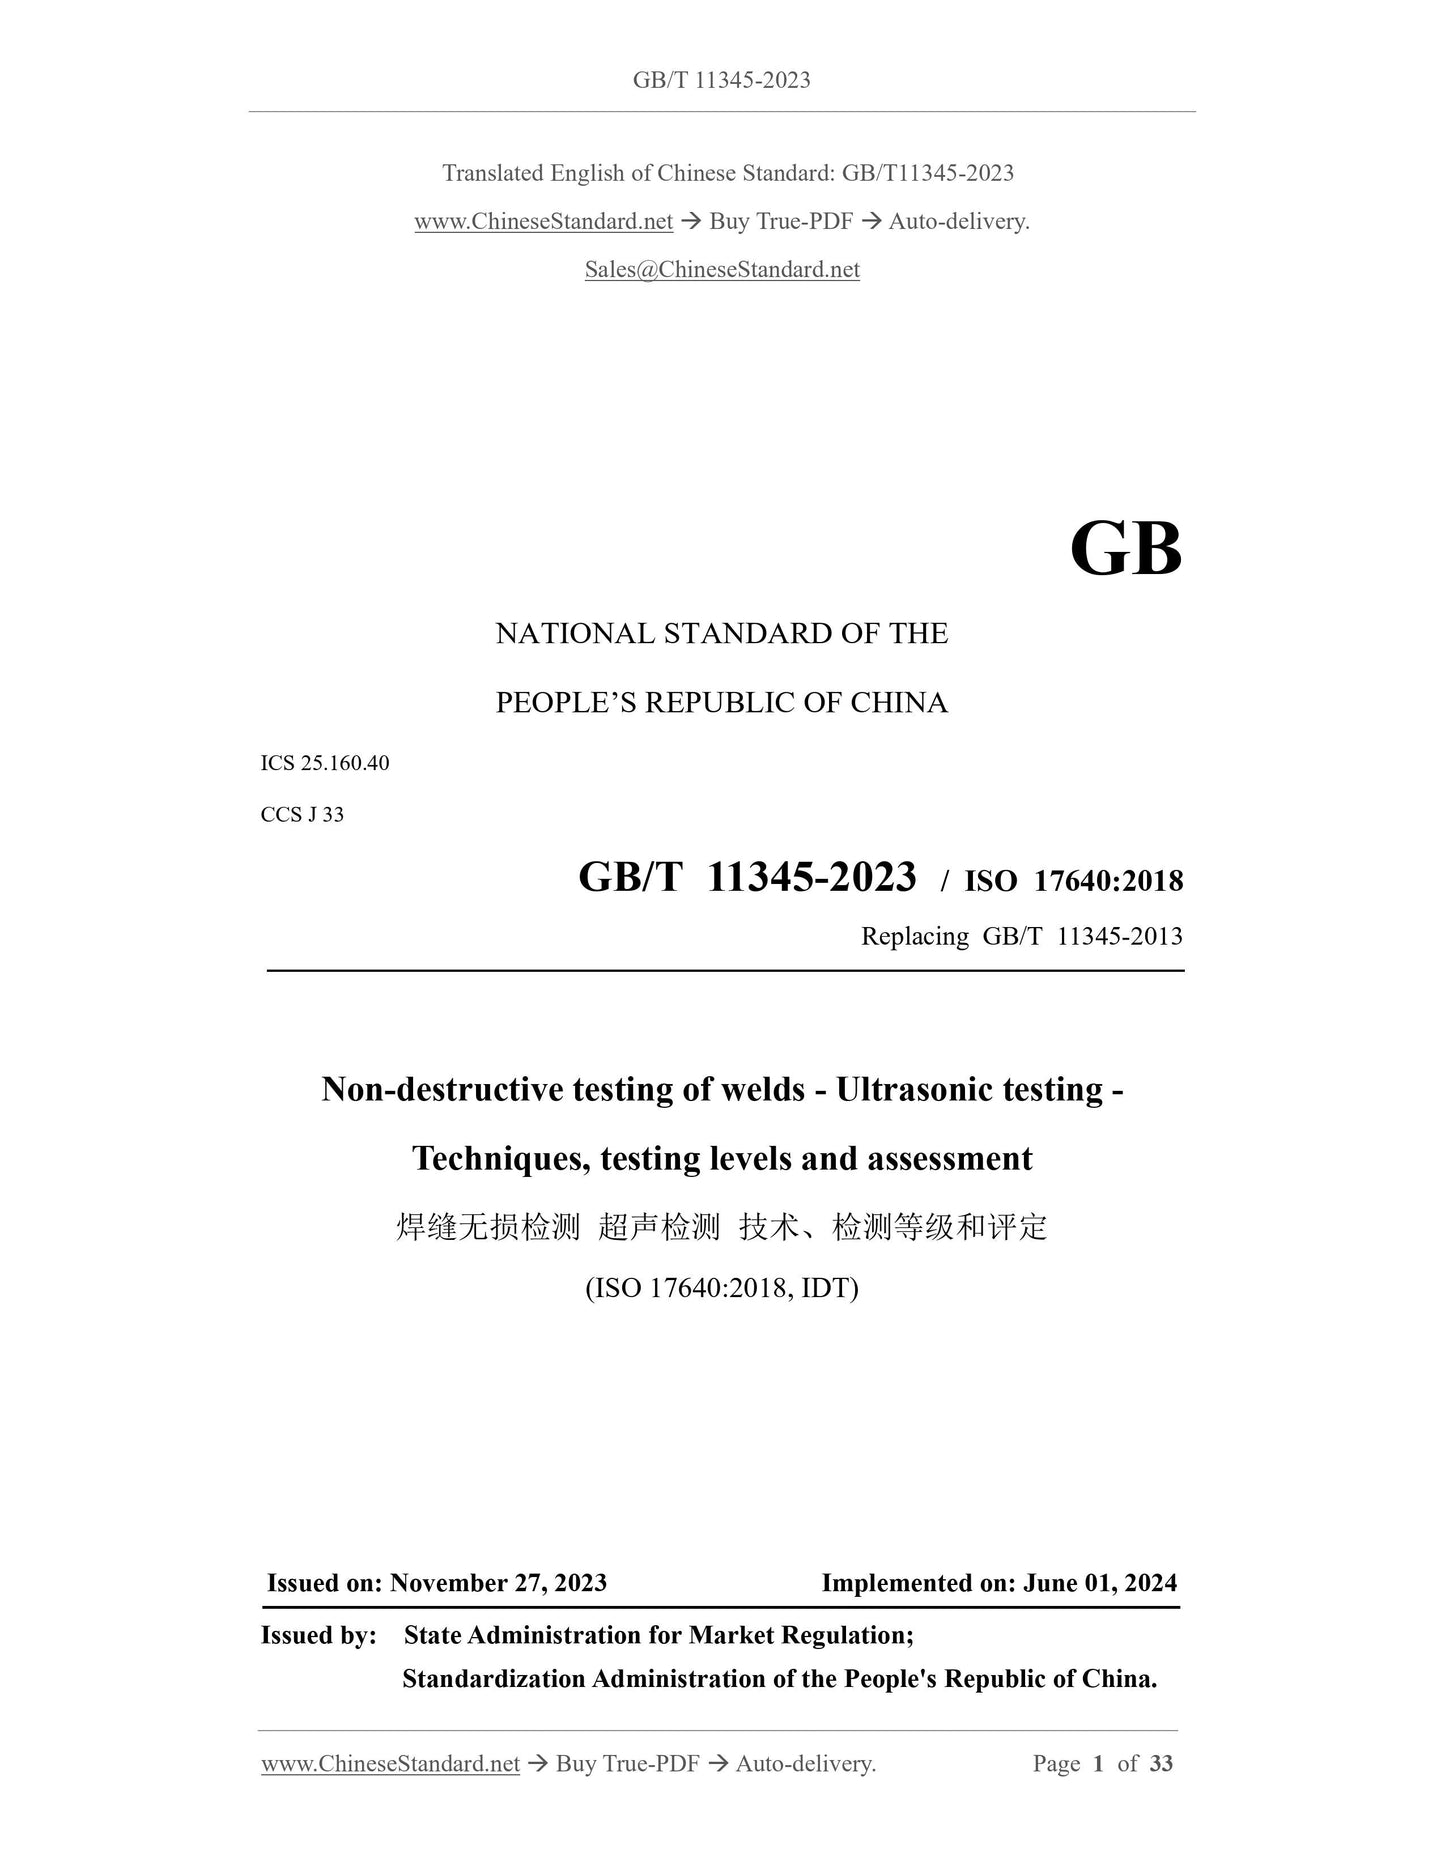
GB/T 11345-2023
GB
NATIONAL STANDARD OF THE
PEOPLE’S REPUBLIC OF CHINA
ICS 25.160.40
CCS J 33
GB/T 11345-2023 / ISO 17640:2018
Replacing GB/T 11345-2013
Non-destructive testing of welds - Ultrasonic testing -
Techniques, testing levels and assessment
(ISO 17640:2018, IDT)
ISSUED ON: NOVEMBER 27, 2023
IMPLEMENTED ON: JUNE 01, 2024
Issued by: State Administration for Market Regulation;
Standardization Administration of the People's Republic of China.
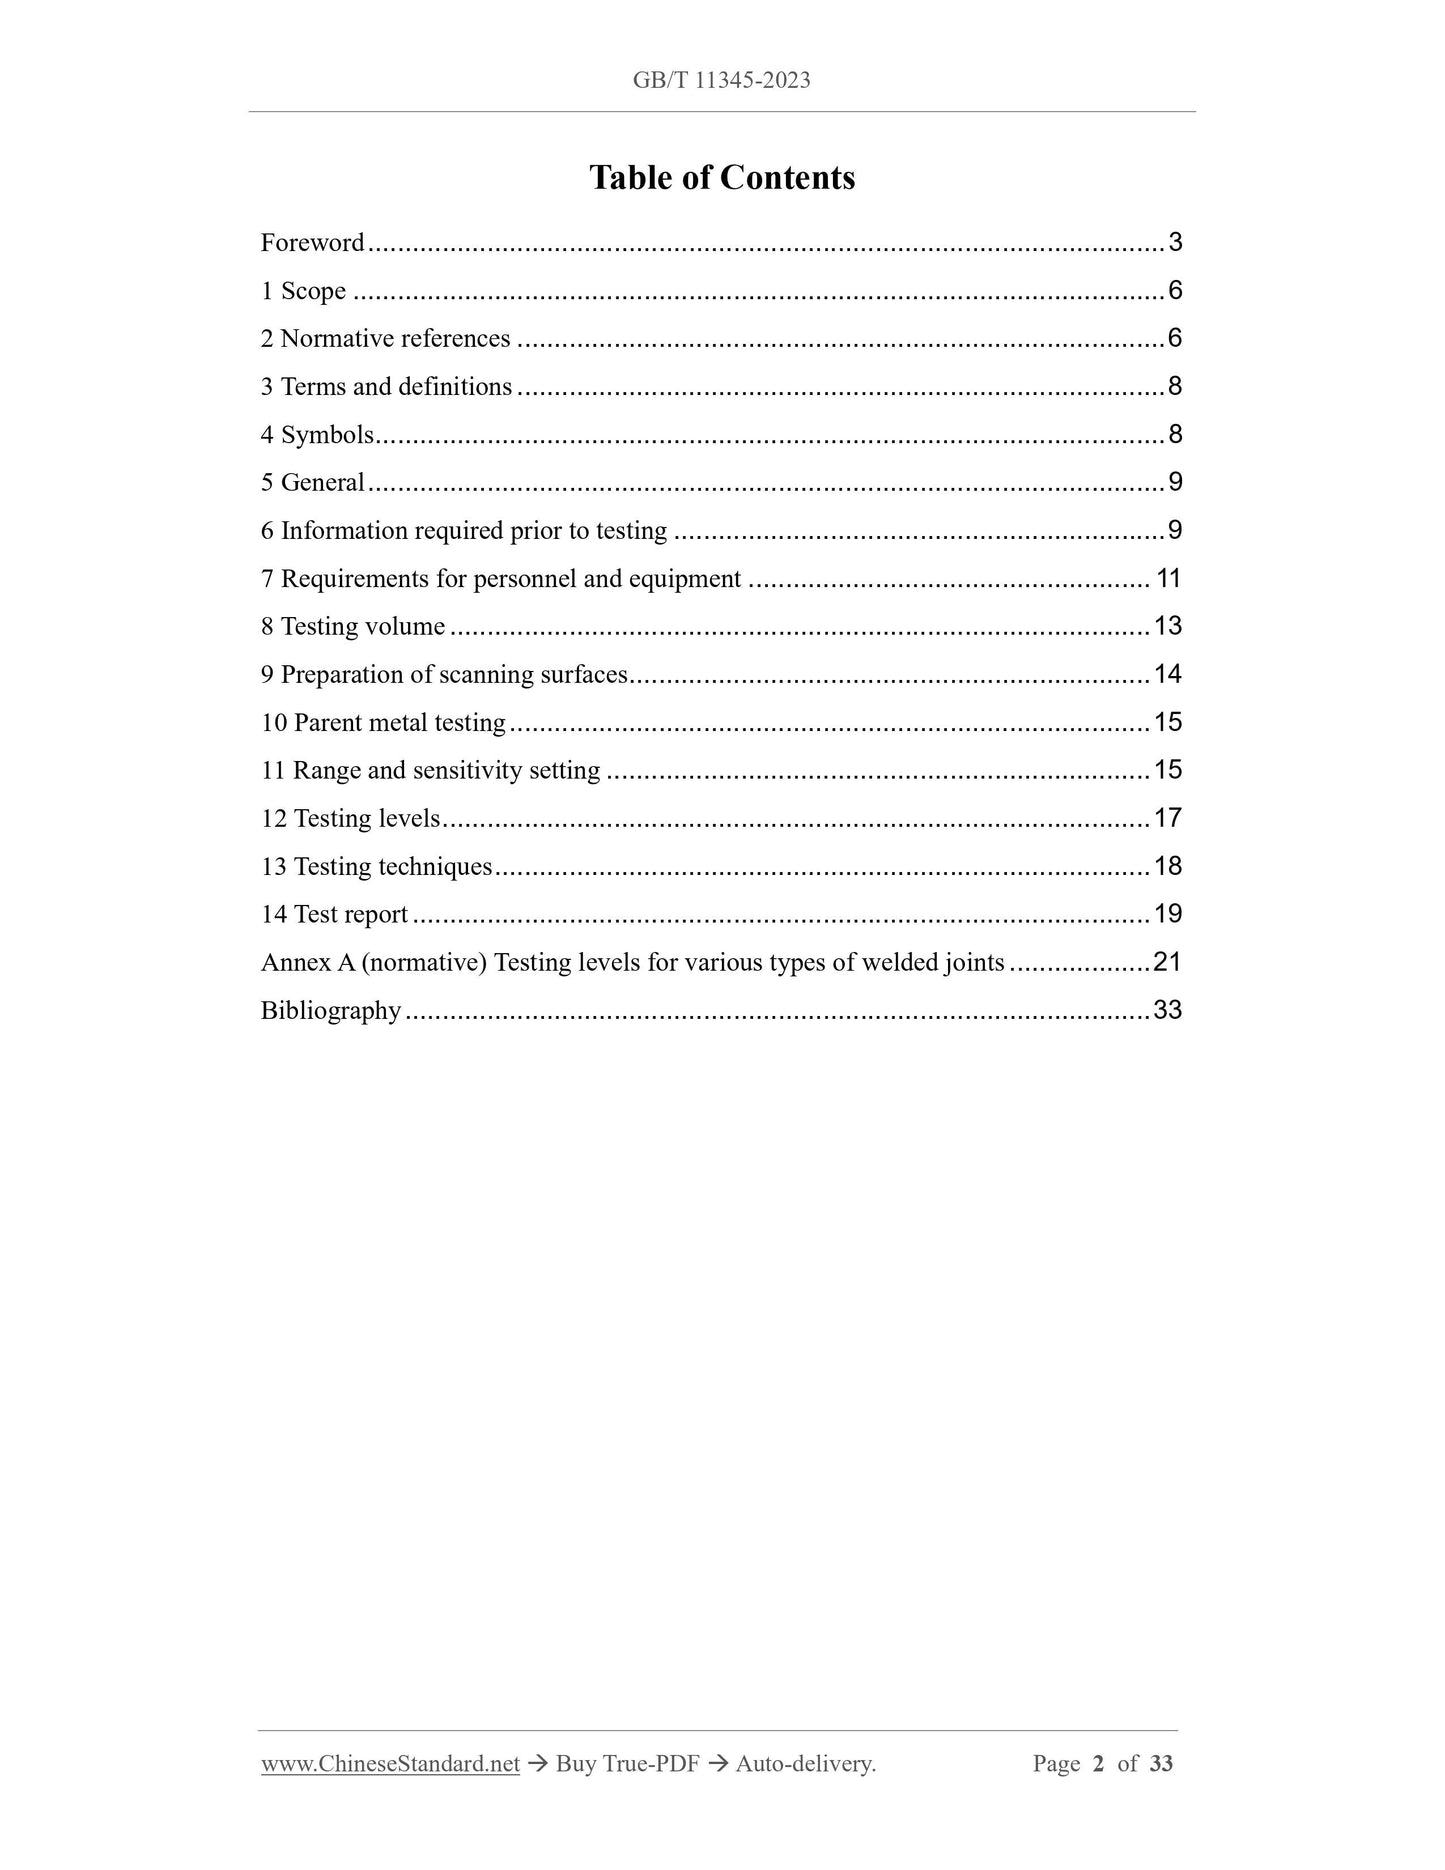
Table of Contents
Foreword ... 3
1 Scope ... 6
2 Normative references ... 6
3 Terms and definitions ... 8
4 Symbols ... 8
5 General ... 9
6 Information required prior to testing ... 9
7 Requirements for personnel and equipment ... 11
8 Testing volume ... 13
9 Preparation of scanning surfaces ... 14
10 Parent metal testing ... 15
11 Range and sensitivity setting ... 15
12 Testing levels ... 17
13 Testing techniques ... 18
14 Test report ... 19
Annex A (normative) Testing levels for various types of welded joints ... 21
Bibliography ... 33
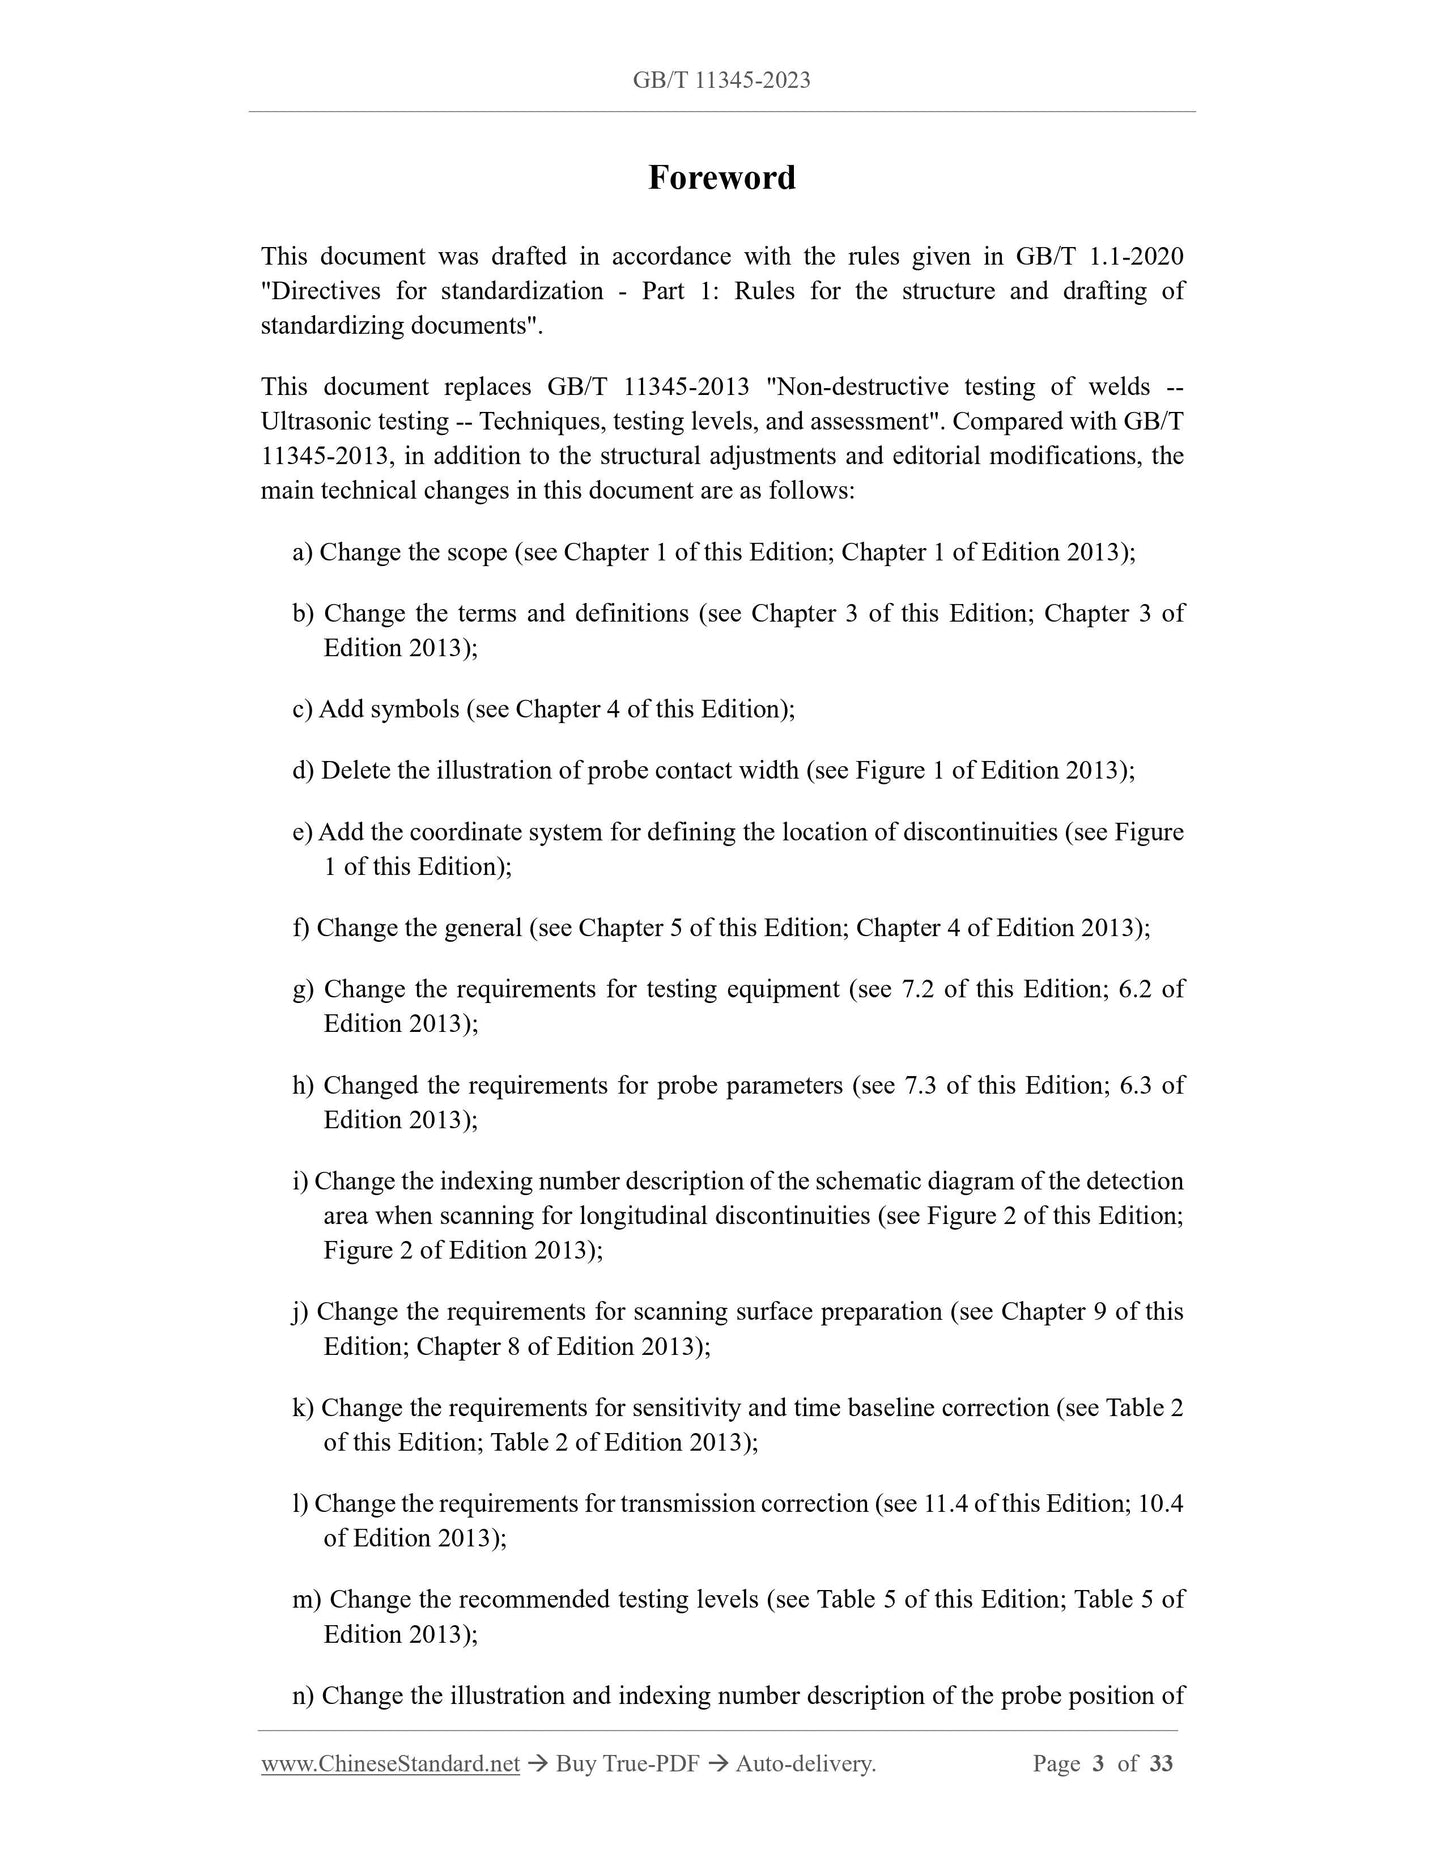
Foreword
This document was drafted in accordance with the rules given in GB/T 1.1-2020
"Directives for standardization - Part 1: Rules for the structure and drafting of
standardizing documents".
This document replaces GB/T 11345-2013 "Non-destructive testing of welds --
Ultrasonic testing -- Techniques, testing levels, and assessment". Compared with GB/T
11345-2013, in addition to the structural adjustments and editorial modifications, the
main technical changes in this document are as follows:
a) Change the scope (see Chapter 1 of this Edition; Chapter 1 of Edition 2013);
b) Change the terms and definitions (see Chapter 3 of this Edition; Chapter 3 of
Edition 2013);
c) Add symbols (see Chapter 4 of this Edition);
d) Delete the illustration of probe contact width (see Figure 1 of Edition 2013);
e) Add the coordinate system for defining the location of discontinuities (see Figure
1 of this Edition);
f) Change the general (see Chapter 5 of this Edition; Chapter 4 of Edition 2013);
g) Change the requirements for testing equipment (see 7.2 of this Edition; 6.2 of
Edition 2013);
h) Changed the requirements for probe parameters (see 7.3 of this Edition; 6.3 of
Edition 2013);
i) Change the indexing number description of the schematic diagram of the detection
area when scanning for longitudinal discontinuities (see Figure 2 of this Edition;
Figure 2 of Edition 2013);
j) Change the requirements for scanning surface preparation (see Chapter 9 of this
Edition; Chapter 8 of Edition 2013);
k) Change the requirements for sensitivity and time baseline correction (see Table 2
of this Edition; Table 2 of Edition 2013);
l) Change the requirements for transmission correction (see 11.4 of this Edition; 10.4
of Edition 2013);
m) Change the recommended testing levels (see Table 5 of this Edition; Table 5 of
Edition 2013);
n) Change the illustration and indexing number description of the probe position of
the butt joint (see Figure A.1 of this Edition; Figure A.1 of Edition 2013);
o) Add an illustration of the probe positions for a set-through nozzle joint (see Figure
A.3 of this Edition; Figure A.3 of Edition 2013);
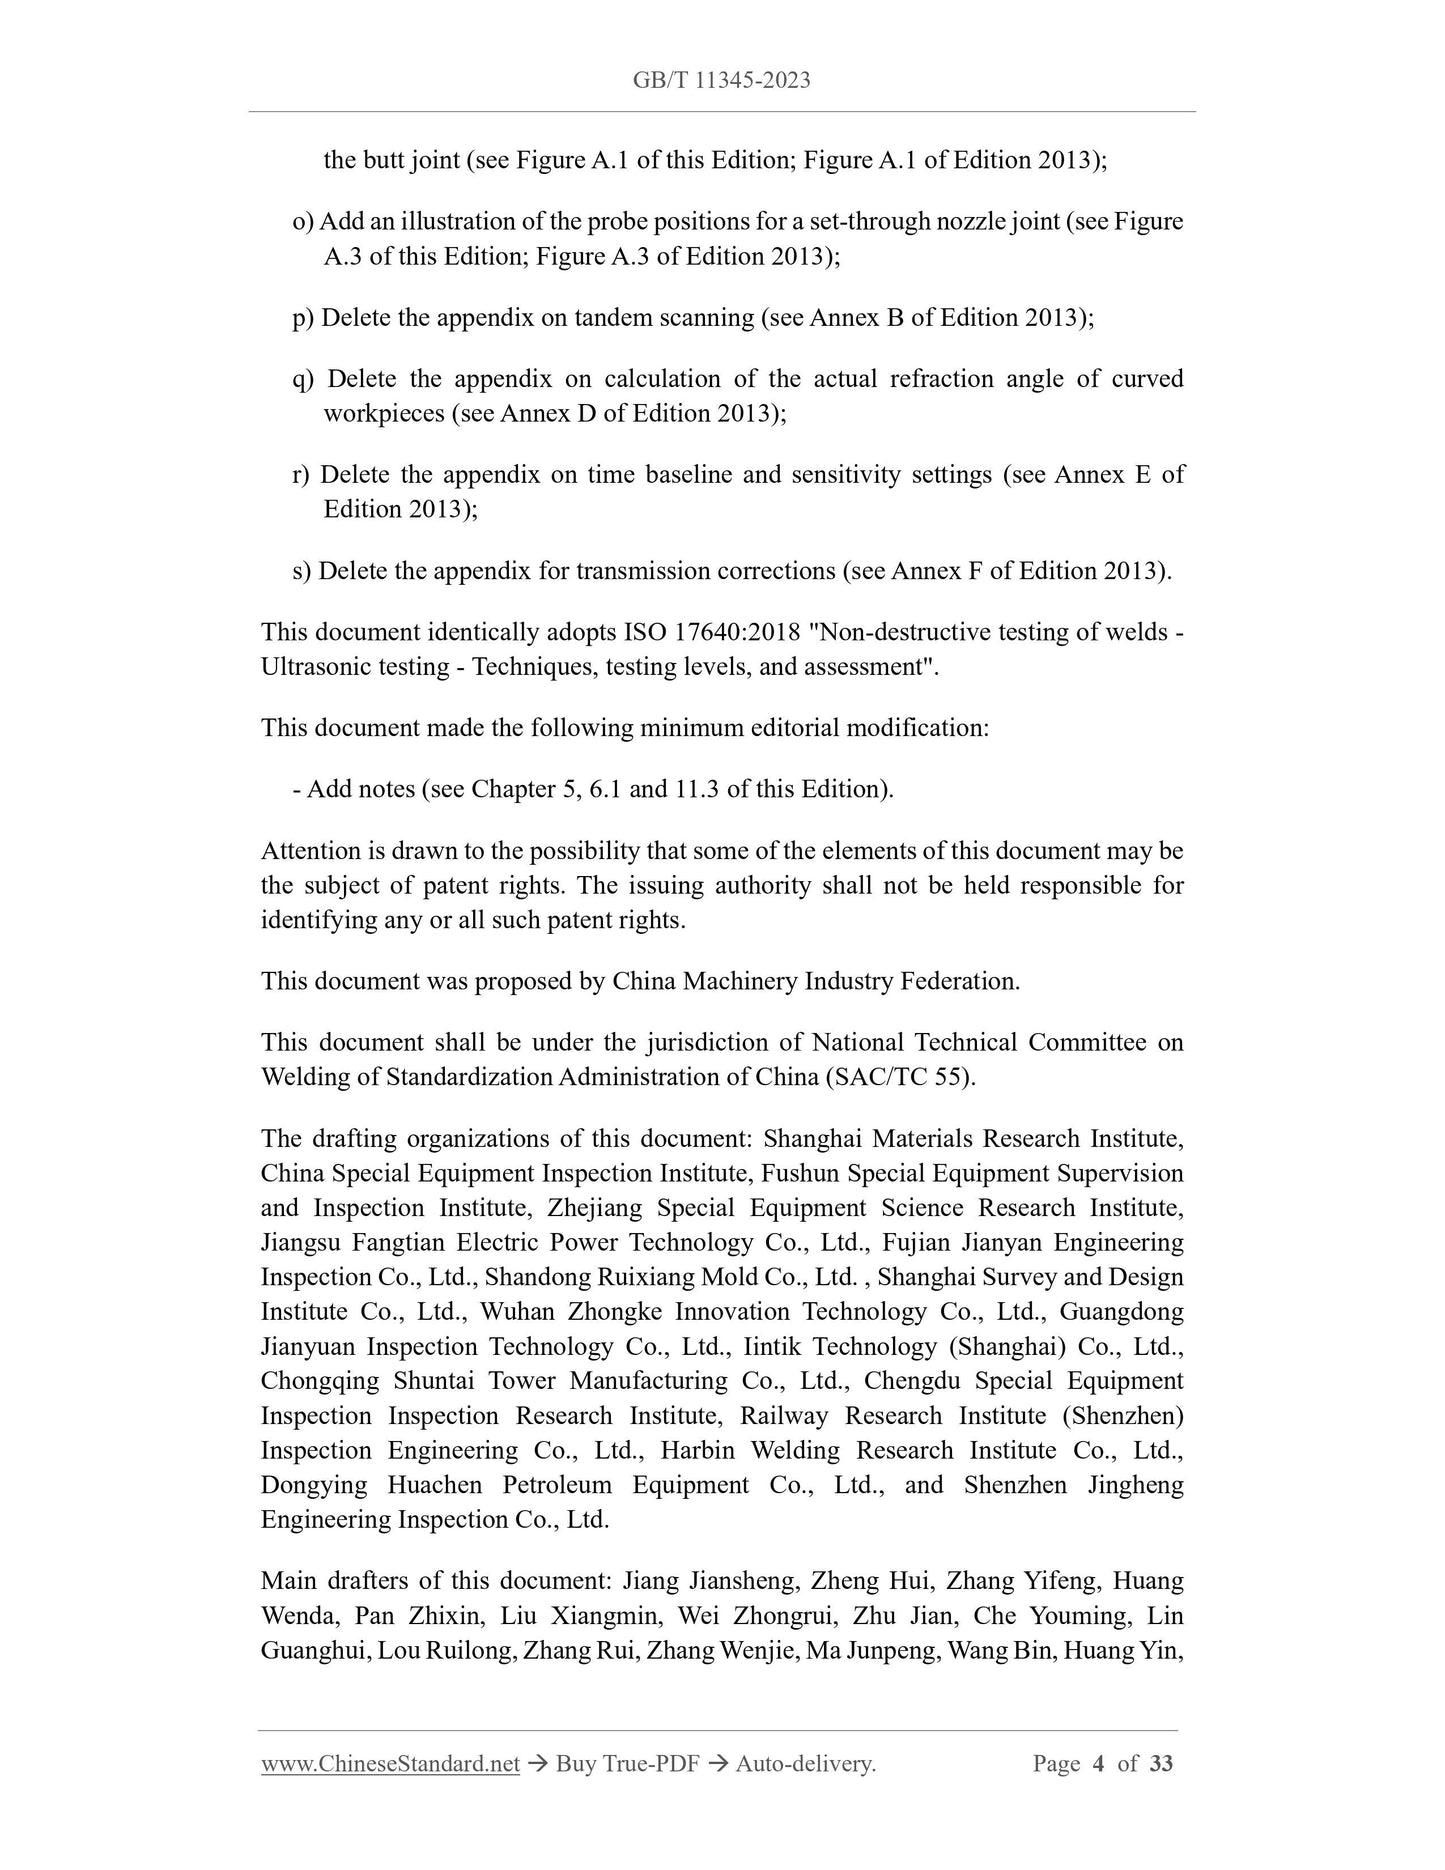
p) Delete the appendix on tandem scanning (see Annex B of Edition 2013);
q) Delete the appendix on calculation of the actual refraction angle of curved
workpieces (see Annex D of Edition 2013);
r) Delete the appendix on time baseline and sensitivity settings (see Annex E of
Edition 2013);
s) Delete the appendix for transmission corrections (see Annex F of Edition 2013).
This document identically adopts ISO 17640:2018 "Non-destructive testing of welds -
Ultrasonic testing - Techniques, testing levels, and assessment".
This document made the following minimum editorial modification:
- Add notes (see Chapter 5, 6.1 and 11.3 of this Edition).
Attention is drawn to the possibility that some of the elements of this document may be
the subject of patent rights. The issuing authority shall not be held responsible for
identifying any or all such patent rights.
This document was proposed by China Machinery Industry Federation.
This document shall be under the jurisdiction of National Technical Committee on
Welding of Standardization Administration of China (SAC/TC 55).
The drafting organizations of this document: Shanghai Materials Research Institute,
China Special Equipment Inspection Institute, Fushun Special Equipment Supervision
and Inspection Institute, Zhejiang Special Equipment Science Research Institute,
Jiangsu Fangtian Electric Power Technology Co., Ltd., Fujian Jianyan Engineering
Inspection Co., Ltd., Shandong Ruixiang Mold Co., Ltd. , Shanghai Survey and Design
Institute Co., Ltd., Wuhan Zhongke Innovation Technology Co., Ltd., Guangdong
Jianyuan Inspection Technology Co., Ltd., Iintik Technology (Shanghai) Co., Ltd.,
Chongqing Shuntai Tower Manufacturing Co., Ltd., Chengdu Special Equipment
Inspection Inspection Research Institute, Railway Research Institute (Shenzhen)
Inspection Engineering Co., Ltd., Harbin Welding Research Institute Co., Ltd.,
Dongying Huachen Petroleum Equipment Co., Ltd., and Shenzhen Jingheng
Engineering Inspection Co., Ltd.
Main drafters of this document: Jiang Jiansheng, Zheng Hui, Zhang Yifeng, Huang
Wenda, Pan Zhixin, Liu Xiangmin, Wei Zhongrui, Zhu Jian, Che Youming, Lin
Guanghui, Lou Ruilong, Zhang Rui, Zhang Wenjie, Ma Junpeng, Wang Bin, Huang Yin,
Non-destructive testing of welds - Ultrasonic testing -
Techniques, testing levels and assessment
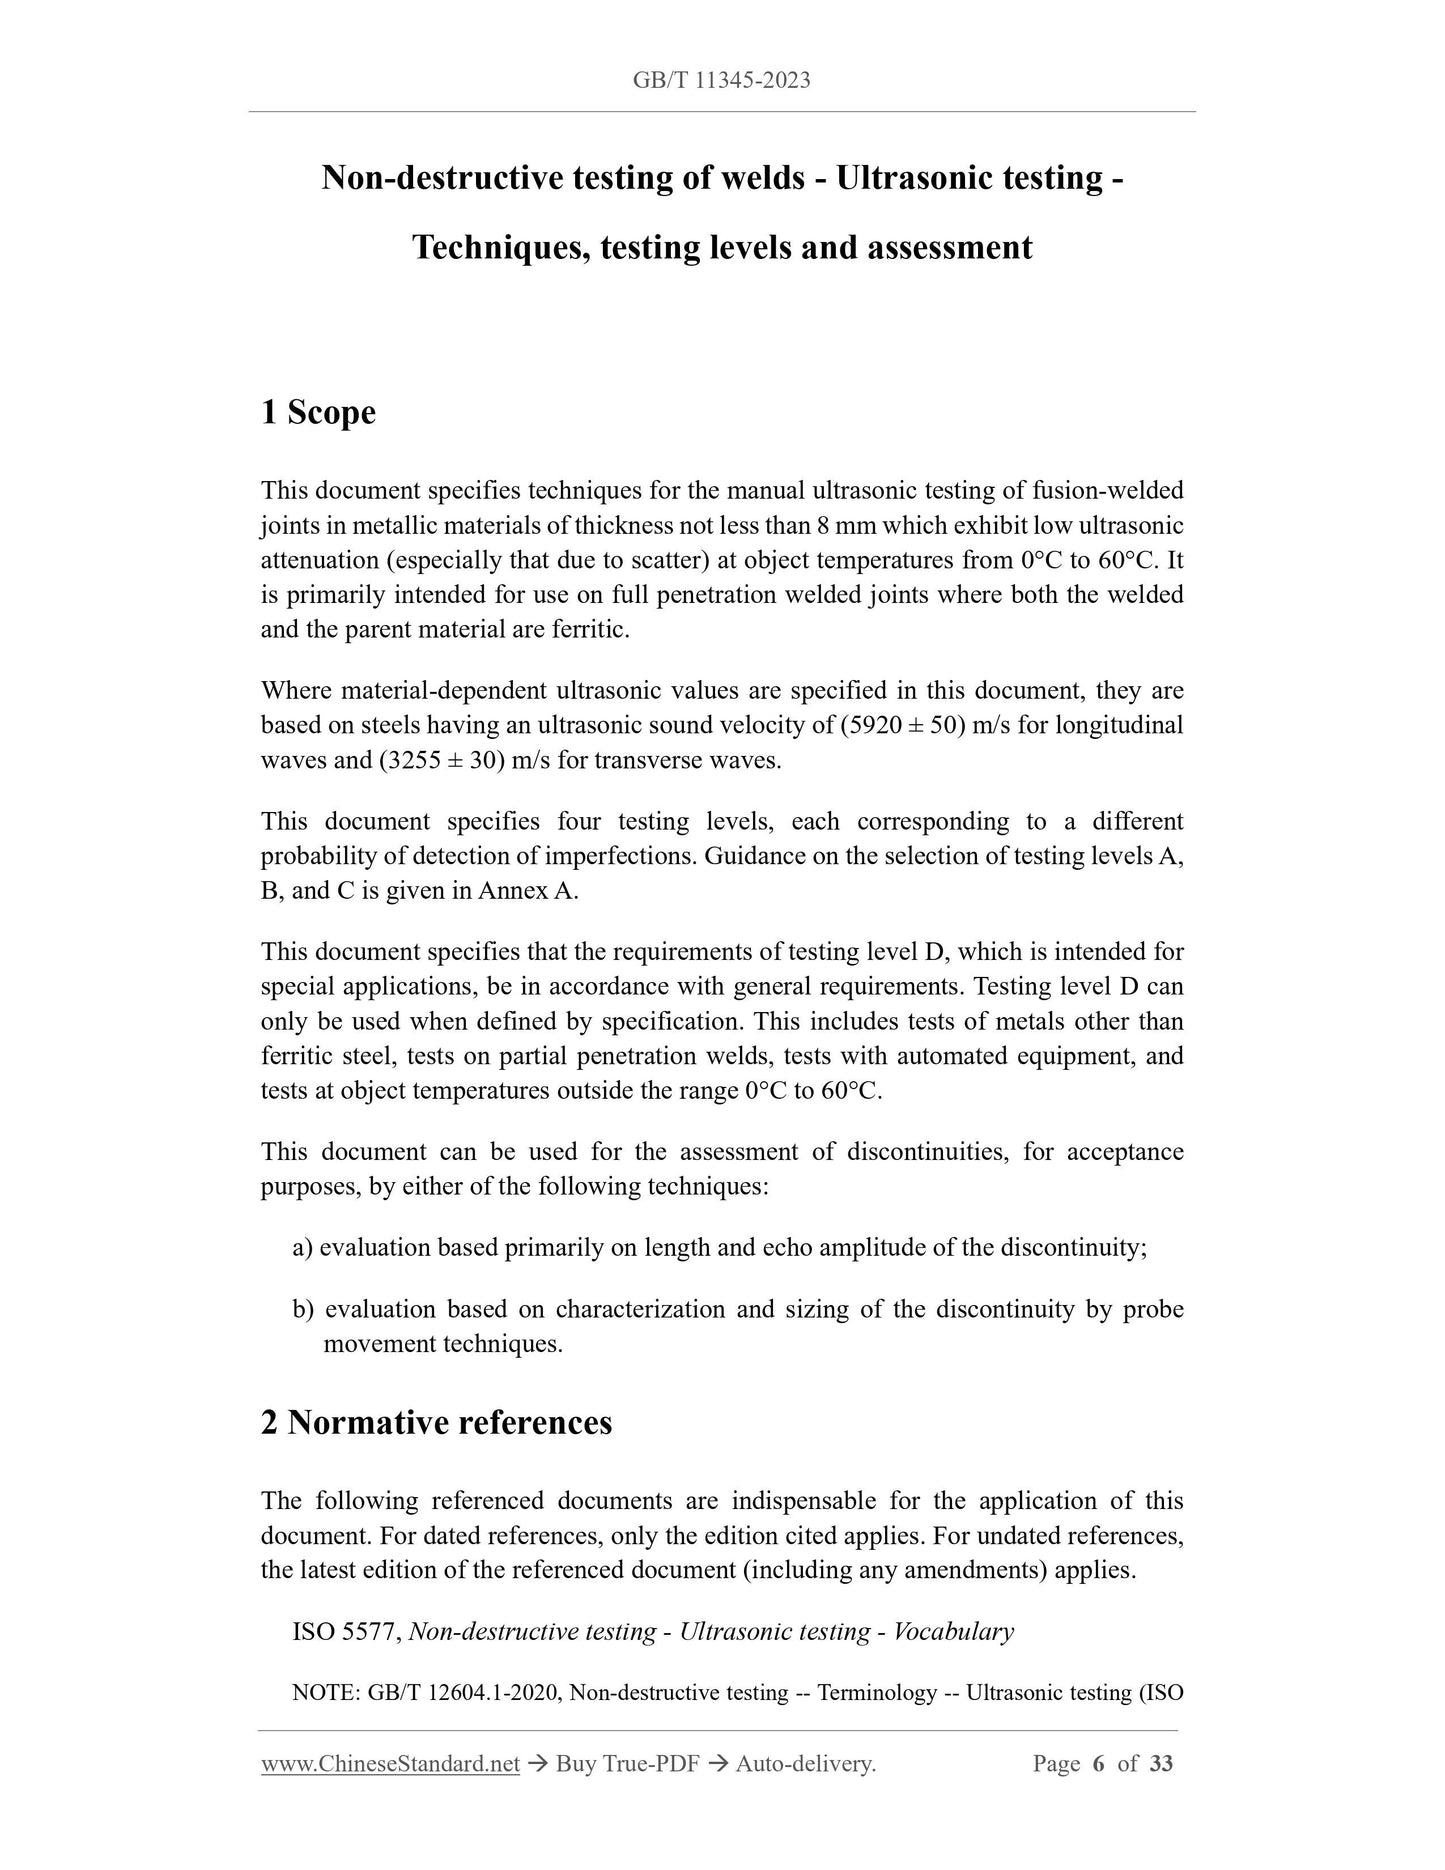
1 Scope
This document specifies techniques for the manual ultrasonic testing of fusion-welded
joints in metallic materials of thickness not less than 8 mm which exhibit low ultrasonic
attenuation (especially that due to scatter) at object temperatures from 0°C to 60°C. It
is primarily intended for use on full penetration welded joints where both the welded
and the parent material are ferritic.
Where material-dependent ultrasonic values are specified in this document, they are
based on steels having an ultrasonic sound velocity of (5920 ± 50) m/s for longitudinal
waves and (3255 ± 30) m/s for transverse waves.
This document specifies four testing levels, each corresponding to a different
probability of detection of imperfections. Guidance on the selection of testing levels A,
B, and C is given in Annex A.
This document specifies that the requirements of testing level D, which is intended for
special applications, be in accordance with general requirements. Testing level D can
only be used when defined by specification. This includes tests of metals other than
ferritic steel, tests on partial penetration welds, tests with automated equipment, and
tests at object temperatures outside the range 0°C to 60°C.
This document can be used for the assessment of discontinuities, for acceptance
purposes, by either of the following techniques:
a) evaluation based primarily on length and echo amplitude of the discontinuity;
b) evaluation based on characterization and sizing of the discontinuity by probe
movement techniques.
2 Normative references
The following referenced documents are indispensable for the application of this
document. For dated references, only the edition cited applies. For undated references,
the latest edition of the referenced document (including any amendments) applies.
ISO 5577, Non-destructive testing - Ultrasonic testing - Vocabulary
NOTE: GB/T 12604.1-2020, Non-destructive testing -- Terminology -- Ultrasonic testing (ISO
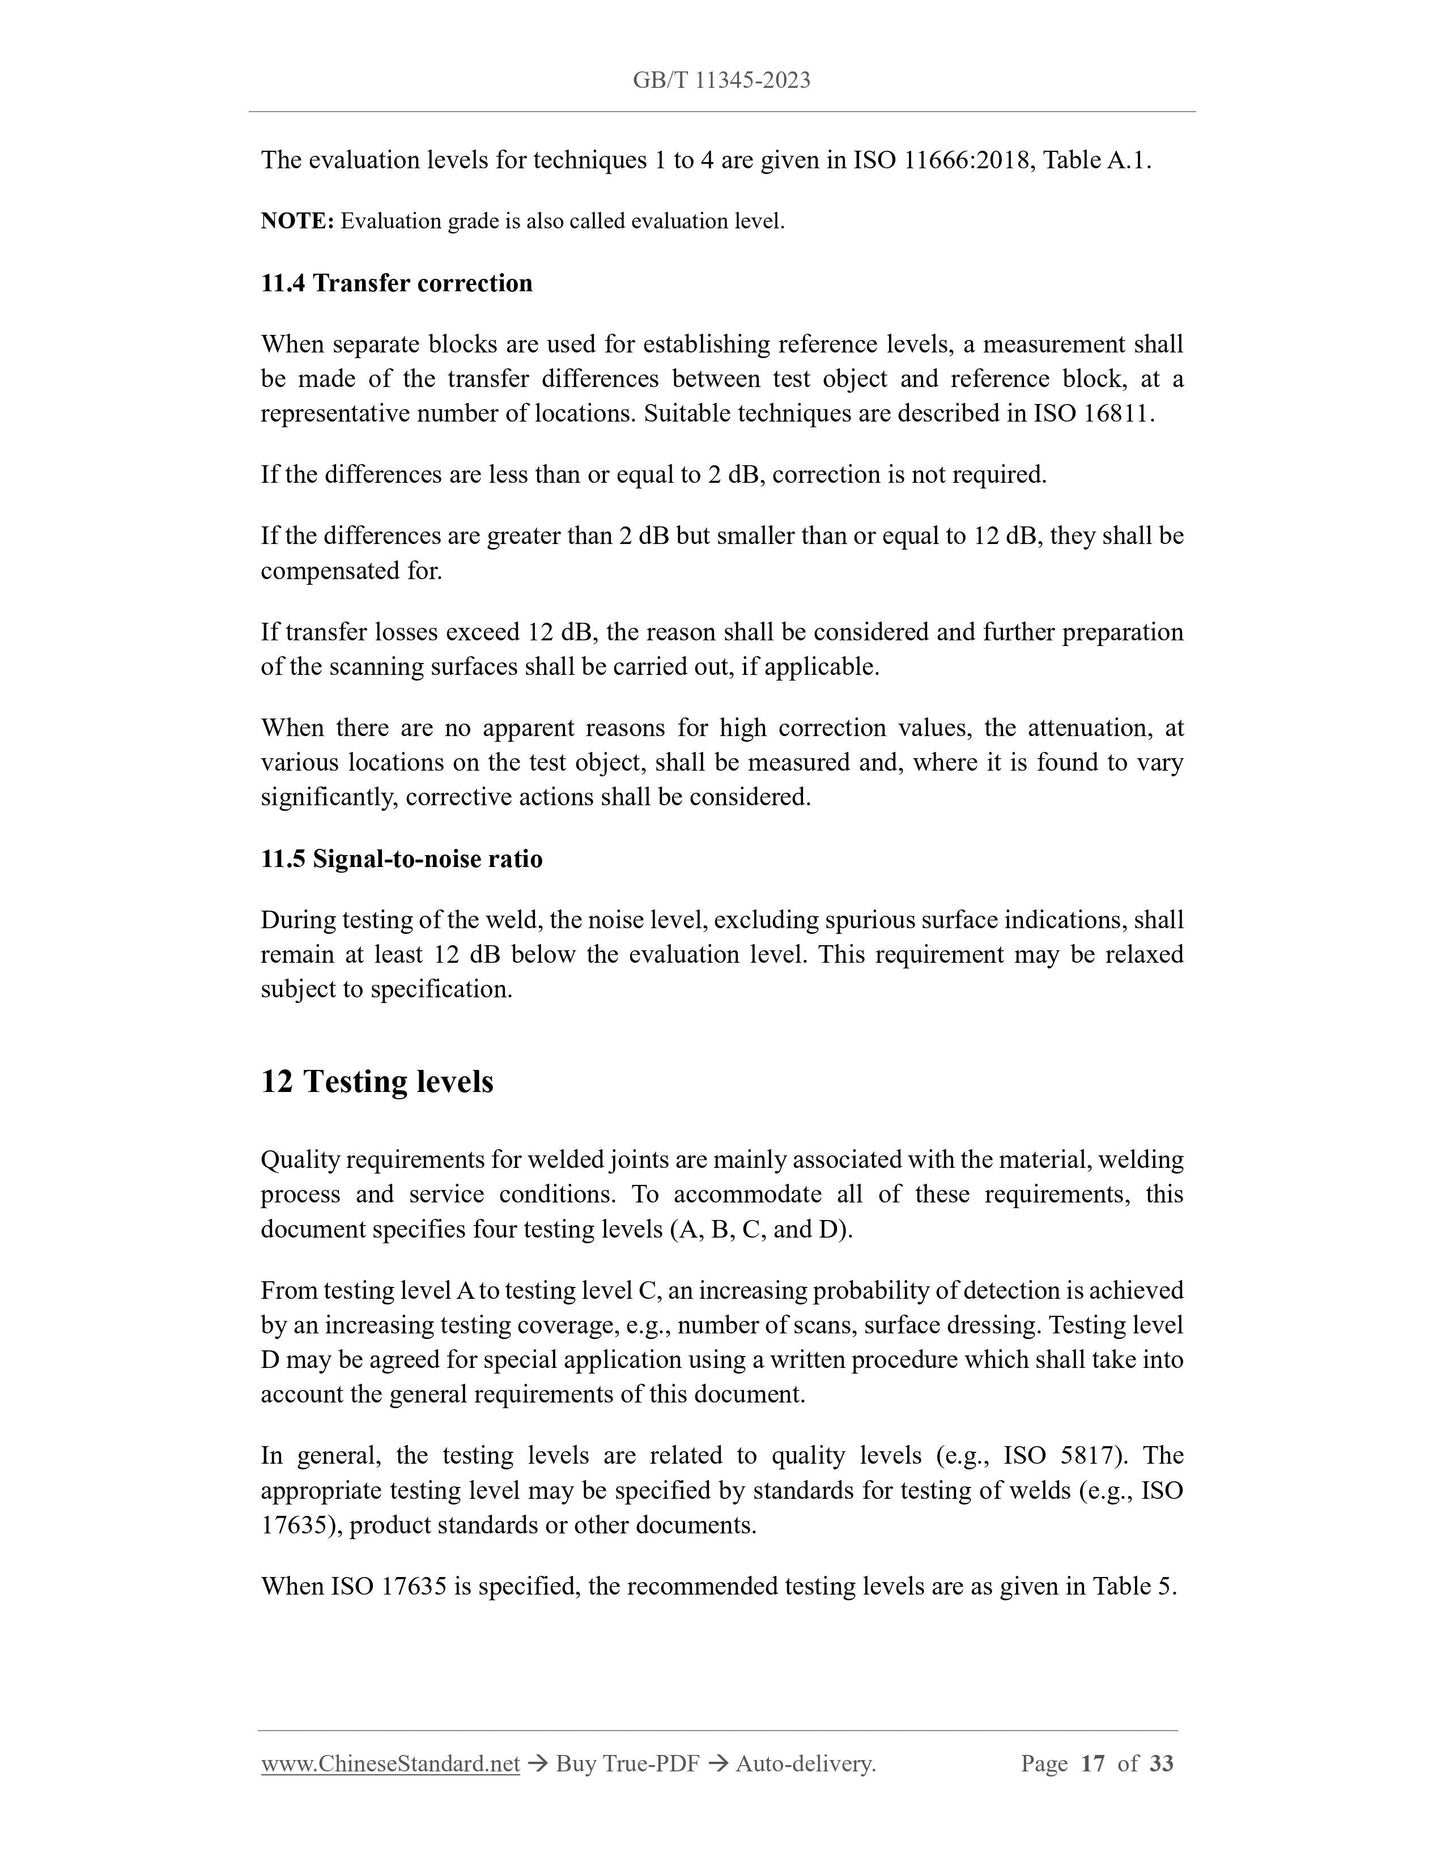
The evaluation levels for techniques 1 to 4 are given in ISO 11666:2018, Table A.1.
NOTE: Evaluation grade is also called evaluation level.
11.4 Transfer correction
When separate blocks are used for establishing reference levels, a measurement shall
be made of the transfer differences between test object and reference block, at a
representative number of locations. Suitable techniques are described in ISO 16811.
If the differences are less than or equal to 2 dB, correction is not required.
If the differences are greater than 2 dB but smaller than or equal to 12 dB, they shall be
compensated for.
If transfer losses exceed 12 dB, the reason shall be considered and further preparation
of the scanning surfaces shall be carried out, if applicable.
When there are no apparent reasons for high correction values, the attenuation, at
various locations on the test object, shall be measured and, where it is found to vary
significantly, corrective actions shall be considered.
11.5 Signal-to-noise ratio
During testing of the weld, the noise level, excluding spurious surface indications, shall
remain at least 12 dB below the evaluation level. This requirement may be relaxed
subject to specification.
12 Testing levels
Quality requirements for welded joints are mainly associated with the material, welding
process and service conditions. To accommodate all of these requirements, this
document specifies four testing levels (A, B, C, and D).
From testing level A to testing level C, an increasing probability of detection is achieved
by an increasing testing coverage, e.g., number of scans, surface dressing. Testing level
D may be agreed for special application using a written procedure which shall take into
account the general requirements of this document.
In general, the testing levels are related to quality levels (e.g., ISO 5817). The
appropriate testing level may be specified by standards for testing of welds (e.g., ISO
17635), product standards or other documents.
When ISO 17635 is specified, the recommended testing levels are as given in Table 5.
GB/T 11345-2023
GB
NATIONAL STANDARD OF THE
PEOPLE’S REPUBLIC OF CHINA
ICS 25.160.40
CCS J 33
GB/T 11345-2023 / ISO 17640:2018
Replacing GB/T 11345-2013
Non-destructive testing of welds - Ultrasonic testing -
Techniques, testing levels and assessment
(ISO 17640:2018, IDT)
ISSUED ON: NOVEMBER 27, 2023
IMPLEMENTED ON: JUNE 01, 2024
Issued by: State Administration for Market Regulation;
Standardization Administration of the People's Republic of China.
Table of Contents
Foreword ... 3
1 Scope ... 6
2 Normative references ... 6
3 Terms and definitions ... 8
4 Symbols ... 8
5 General ... 9
6 Information required prior to testing ... 9
7 Requirements for personnel and equipment ... 11
8 Testing volume ... 13
9 Preparation of scanning surfaces ... 14
10 Parent metal testing ... 15
11 Range and sensitivity setting ... 15
12 Testing levels ... 17
13 Testing techniques ... 18
14 Test report ... 19
Annex A (normative) Testing levels for various types of welded joints ... 21
Bibliography ... 33
Foreword
This document was drafted in accordance with the rules given in GB/T 1.1-2020
"Directives for standardization - Part 1: Rules for the structure and drafting of
standardizing documents".
This document replaces GB/T 11345-2013 "Non-destructive testing of welds --
Ultrasonic testing -- Techniques, testing levels, and assessment". Compared with GB/T
11345-2013, in addition to the structural adjustments and editorial modifications, the
main technical changes in this document are as follows:
a) Change the scope (see Chapter 1 of this Edition; Chapter 1 of Edition 2013);
b) Change the terms and definitions (see Chapter 3 of this Edition; Chapter 3 of
Edition 2013);
c) Add symbols (see Chapter 4 of this Edition);
d) Delete the illustration of probe contact width (see Figure 1 of Edition 2013);
e) Add the coordinate system for defining the location of discontinuities (see Figure
1 of this Edition);
f) Change the general (see Chapter 5 of this Edition; Chapter 4 of Edition 2013);
g) Change the requirements for testing equipment (see 7.2 of this Edition; 6.2 of
Edition 2013);
h) Changed the requirements for probe parameters (see 7.3 of this Edition; 6.3 of
Edition 2013);
i) Change the indexing number description of the schematic diagram of the detection
area when scanning for longitudinal discontinuities (see Figure 2 of this Edition;
Figure 2 of Edition 2013);
j) Change the requirements for scanning surface preparation (see Chapter 9 of this
Edition; Chapter 8 of Edition 2013);
k) Change the requirements for sensitivity and time baseline correction (see Table 2
of this Edition; Table 2 of Edition 2013);
l) Change the requirements for transmission correction (see 11.4 of this Edition; 10.4
of Edition 2013);
m) Change the recommended testing levels (see Table 5 of this Edition; Table 5 of
Edition 2013);
n) Change the illustration and indexing number description of the probe position of
the butt joint (see Figure A.1 of this Edition; Figure A.1 of Edition 2013);
o) Add an illustration of the probe positions for a set-through nozzle joint (see Figure
A.3 of this Edition; Figure A.3 of Edition 2013);
p) Delete the appendix on tandem scanning (see Annex B of Edition 2013);
q) Delete the appendix on calculation of the actual refraction angle of curved
workpieces (see Annex D of Edition 2013);
r) Delete the appendix on time baseline and sensitivity settings (see Annex E of
Edition 2013);
s) Delete the appendix for transmission corrections (see Annex F of Edition 2013).
This document identically adopts ISO 17640:2018 "Non-destructive testing of welds -
Ultrasonic testing - Techniques, testing levels, and assessment".
This document made the following minimum editorial modification:
- Add notes (see Chapter 5, 6.1 and 11.3 of this Edition).
Attention is drawn to the possibility that some of the elements of this document may be
the subject of patent rights. The issuing authority shall not be held responsible for
identifying any or all such patent rights.
This document was proposed by China Machinery Industry Federation.
This document shall be under the jurisdiction of National Technical Committee on
Welding of Standardization Administration of China (SAC/TC 55).
The drafting organizations of this document: Shanghai Materials Research Institute,
China ...
Share