Skip to product information
1 of 12

www.ChineseStandard.us -- Field Test Asia Pte. Ltd.

GB 50683-2011 English PDF

GB 50683-2011 English PDF

Regular price $145.00
Regular price Sale price $145.00
Sale Sold out
Shipping calculated at checkout.
GB 50683-2011: Code for Acceptance of Field Equipment, Industrial Pipe Welding Construction Quality
Delivery: 9 seconds. Download (& Email) true-PDF + Invoice.
Get Quotation: Click GB 50683-2011 (Self-service in 1-minute)
Historical versions (Master-website): GB 50683-2011
Preview True-PDF (Reload/Scroll-down if blank)

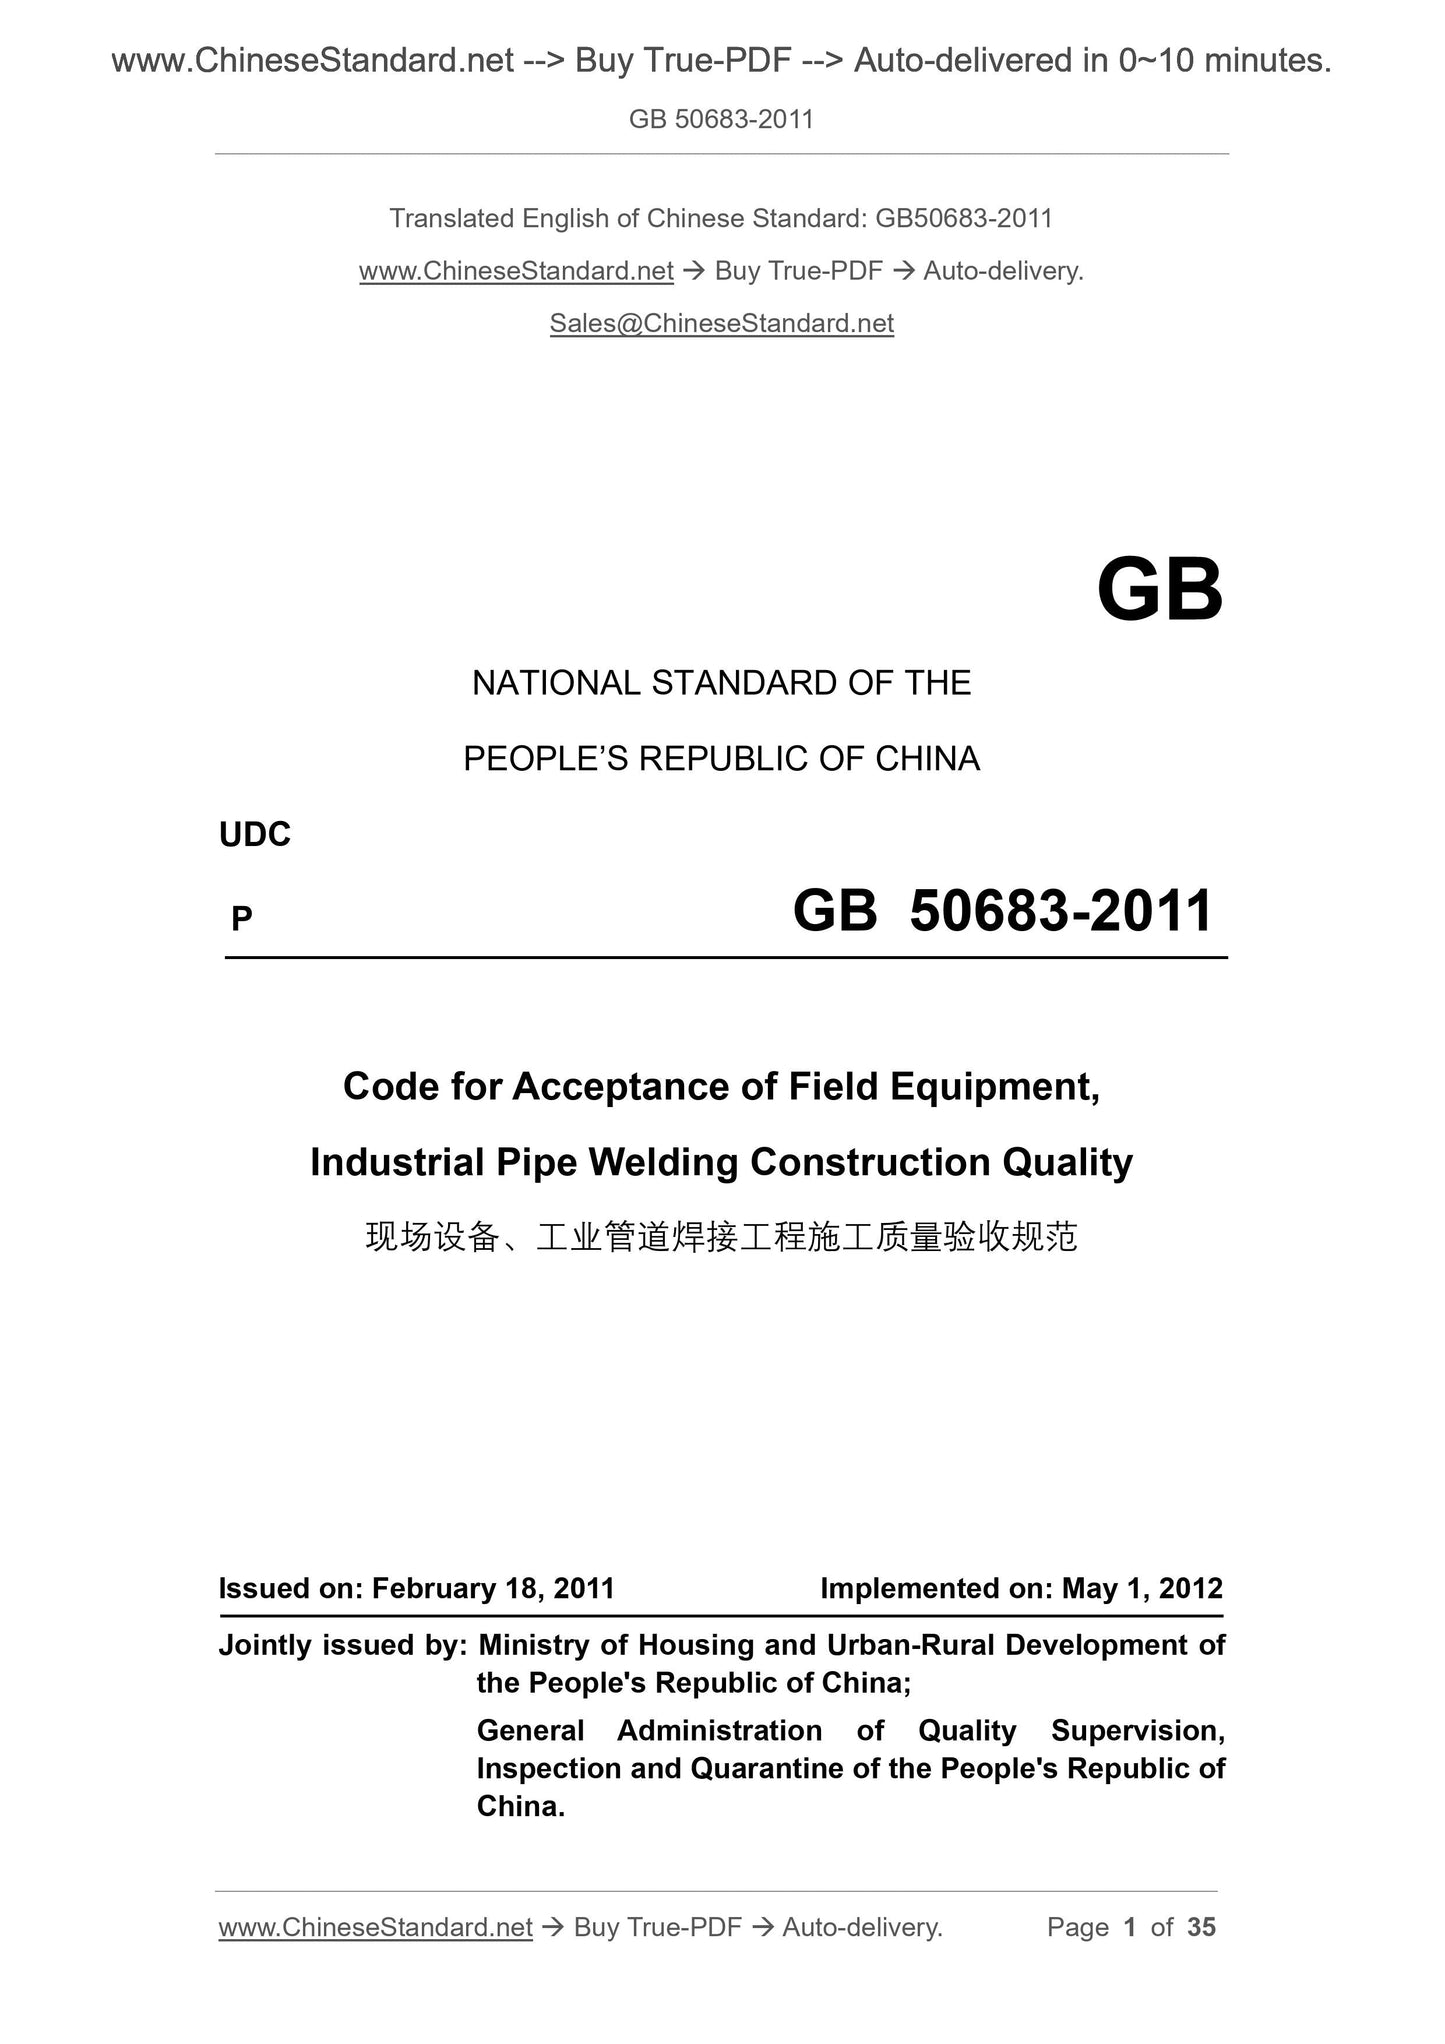
GB 50683-2011
NATIONAL STANDARD OF THE
PEOPLE’S REPUBLIC OF CHINA
UDC
P GB 50683-2011
Code for Acceptance of Field Equipment,
Industrial Pipe Welding Construction Quality
ISSUED ON: FEBRUARY 18, 2011
IMPLEMENTED ON: MAY 1, 2012
Jointly issued by: Ministry of Housing and Urban-Rural Development of
the People's Republic of China;
General Administration of Quality Supervision,
Inspection and Quarantine of the People's Republic of
China.
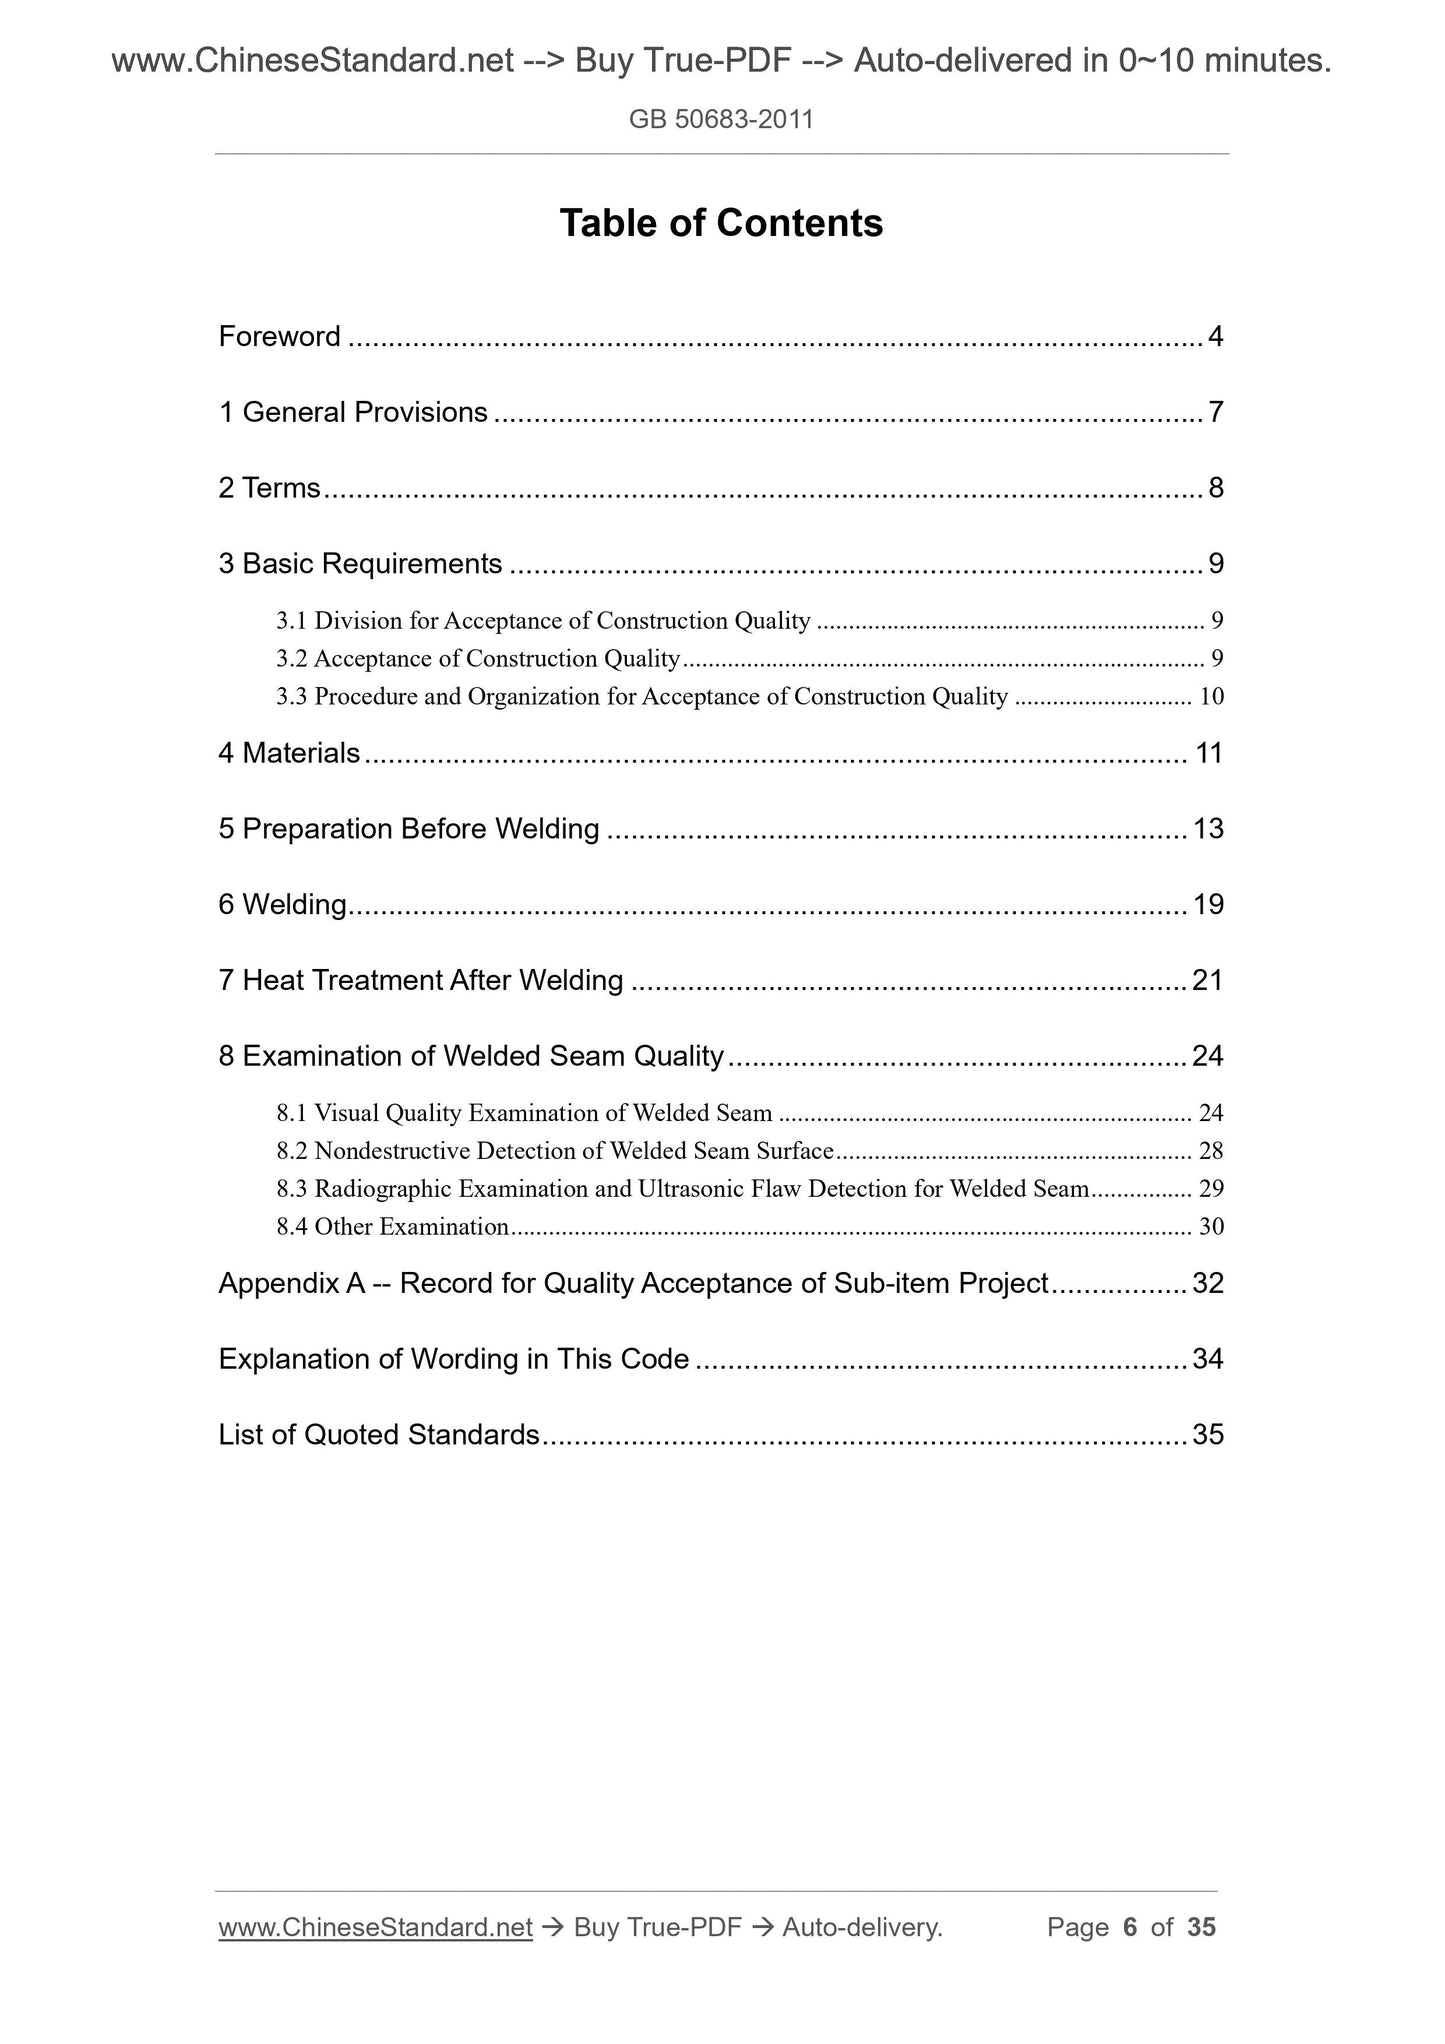
Table of Contents
Foreword ... 4
1 General Provisions ... 7
2 Terms ... 8
3 Basic Requirements ... 9
3.1 Division for Acceptance of Construction Quality ... 9
3.2 Acceptance of Construction Quality ... 9
3.3 Procedure and Organization for Acceptance of Construction Quality ... 10
4 Materials ... 11
5 Preparation Before Welding ... 13
6 Welding ... 19
7 Heat Treatment After Welding ... 21
8 Examination of Welded Seam Quality ... 24
8.1 Visual Quality Examination of Welded Seam ... 24
8.2 Nondestructive Detection of Welded Seam Surface ... 28
8.3 Radiographic Examination and Ultrasonic Flaw Detection for Welded Seam ... 29
8.4 Other Examination ... 30
Appendix A -- Record for Quality Acceptance of Sub-item Project ... 32
Explanation of Wording in This Code ... 34
List of Quoted Standards ... 35
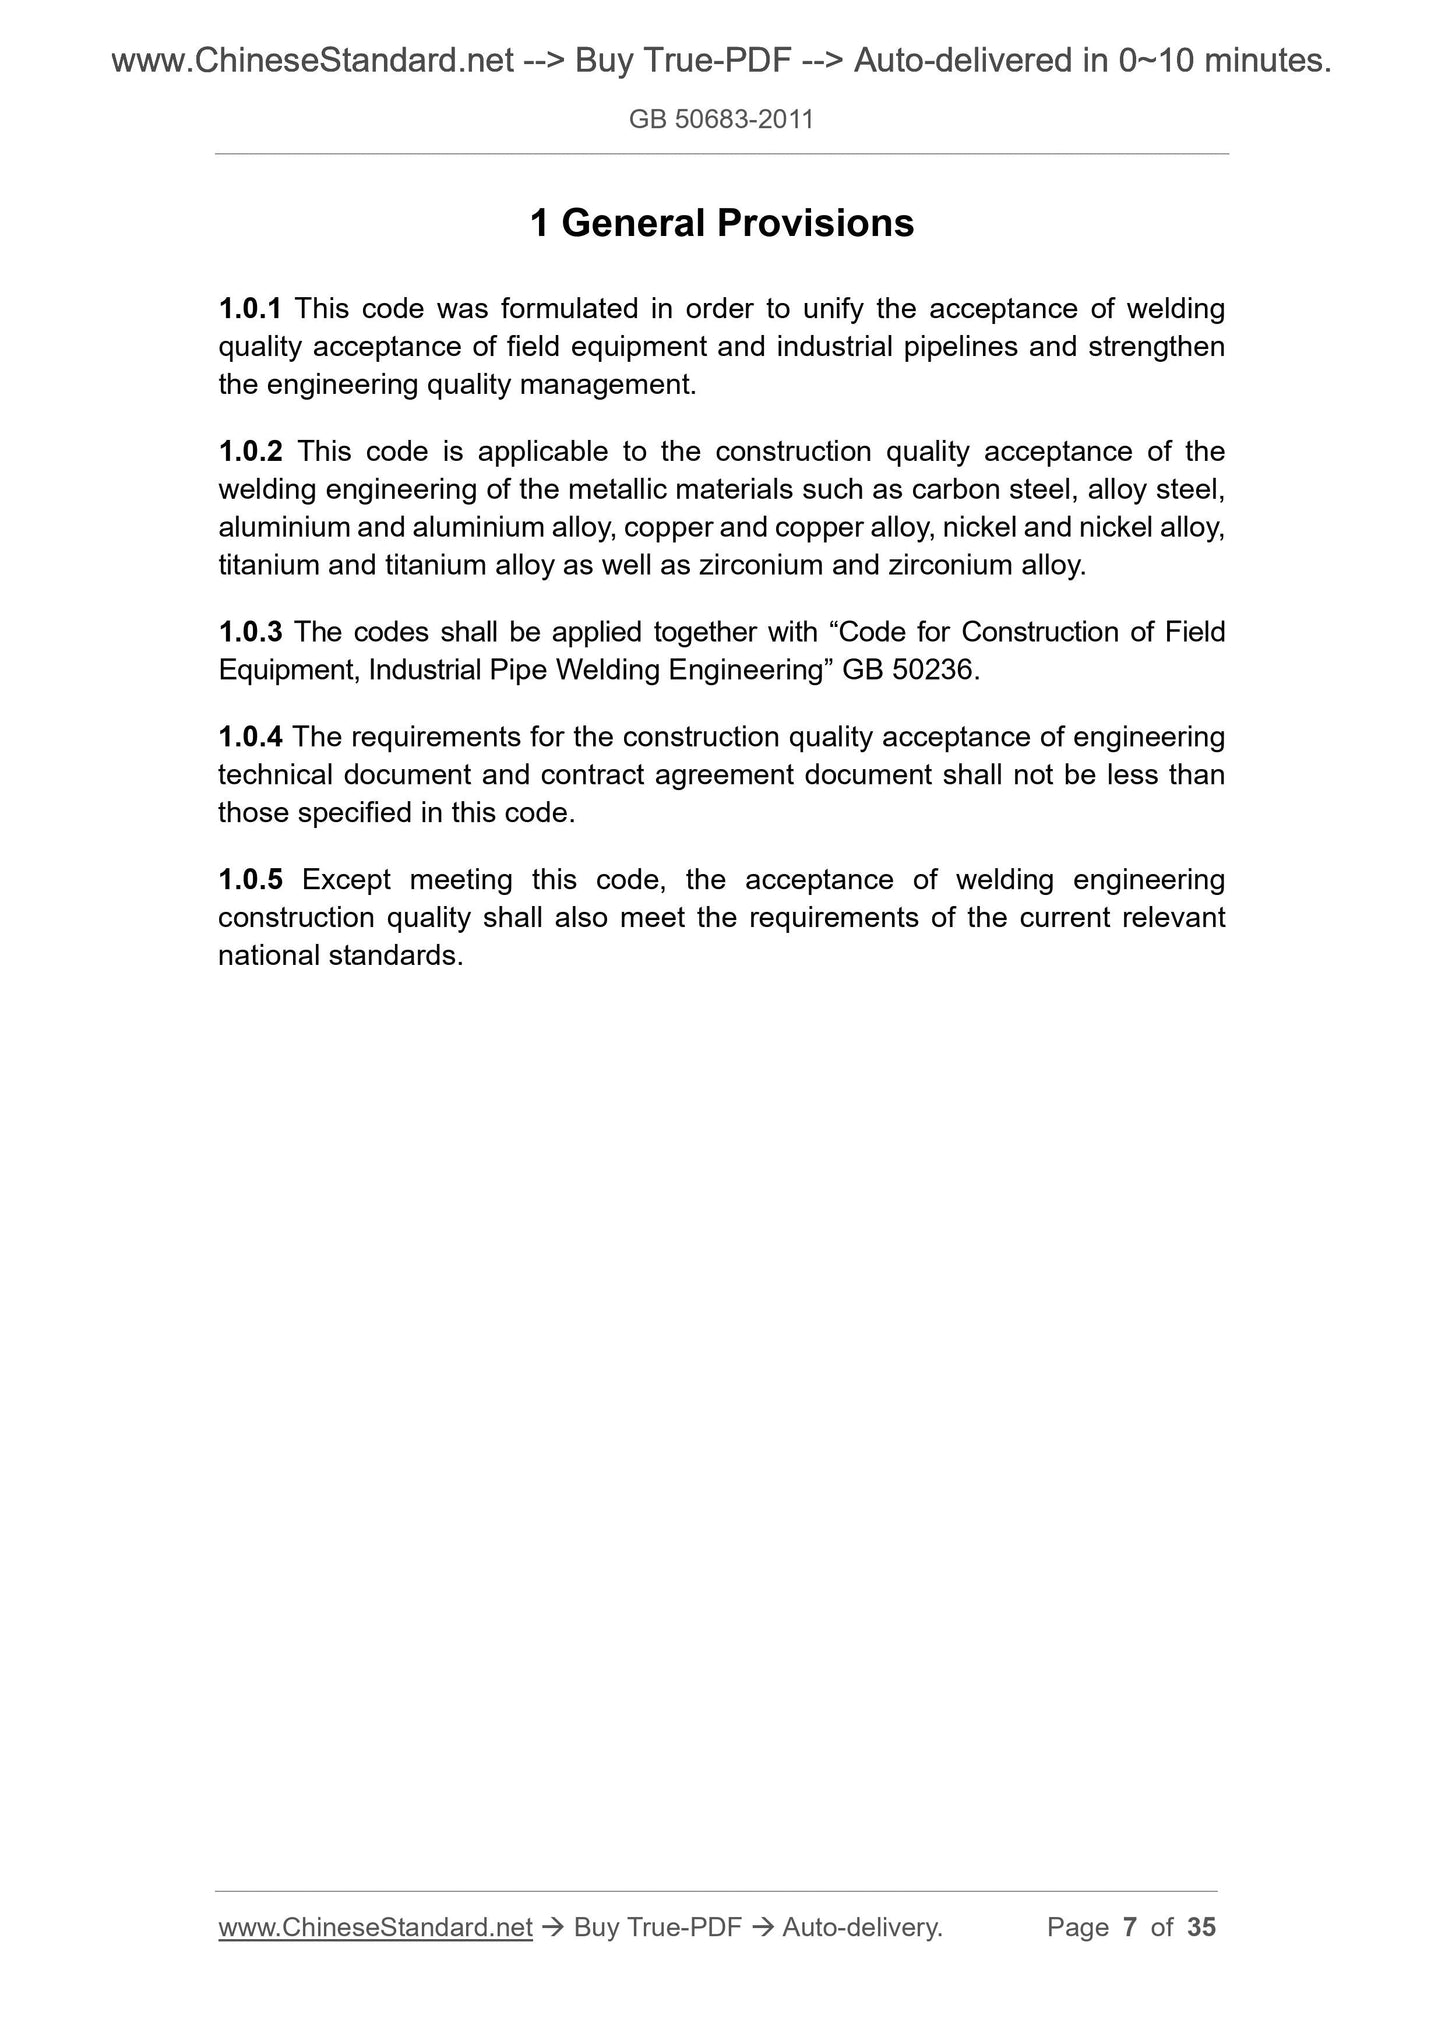
1 General Provisions
1.0.1 This code was formulated in order to unify the acceptance of welding
quality acceptance of field equipment and industrial pipelines and strengthen
the engineering quality management.
1.0.2 This code is applicable to the construction quality acceptance of the
welding engineering of the metallic materials such as carbon steel, alloy steel,
aluminium and aluminium alloy, copper and copper alloy, nickel and nickel alloy,
titanium and titanium alloy as well as zirconium and zirconium alloy.
1.0.3 The codes shall be applied together with “Code for Construction of Field
Equipment, Industrial Pipe Welding Engineering” GB 50236.
1.0.4 The requirements for the construction quality acceptance of engineering
technical document and contract agreement document shall not be less than
those specified in this code.
1.0.5 Except meeting this code, the acceptance of welding engineering
construction quality shall also meet the requirements of the current relevant
national standards.
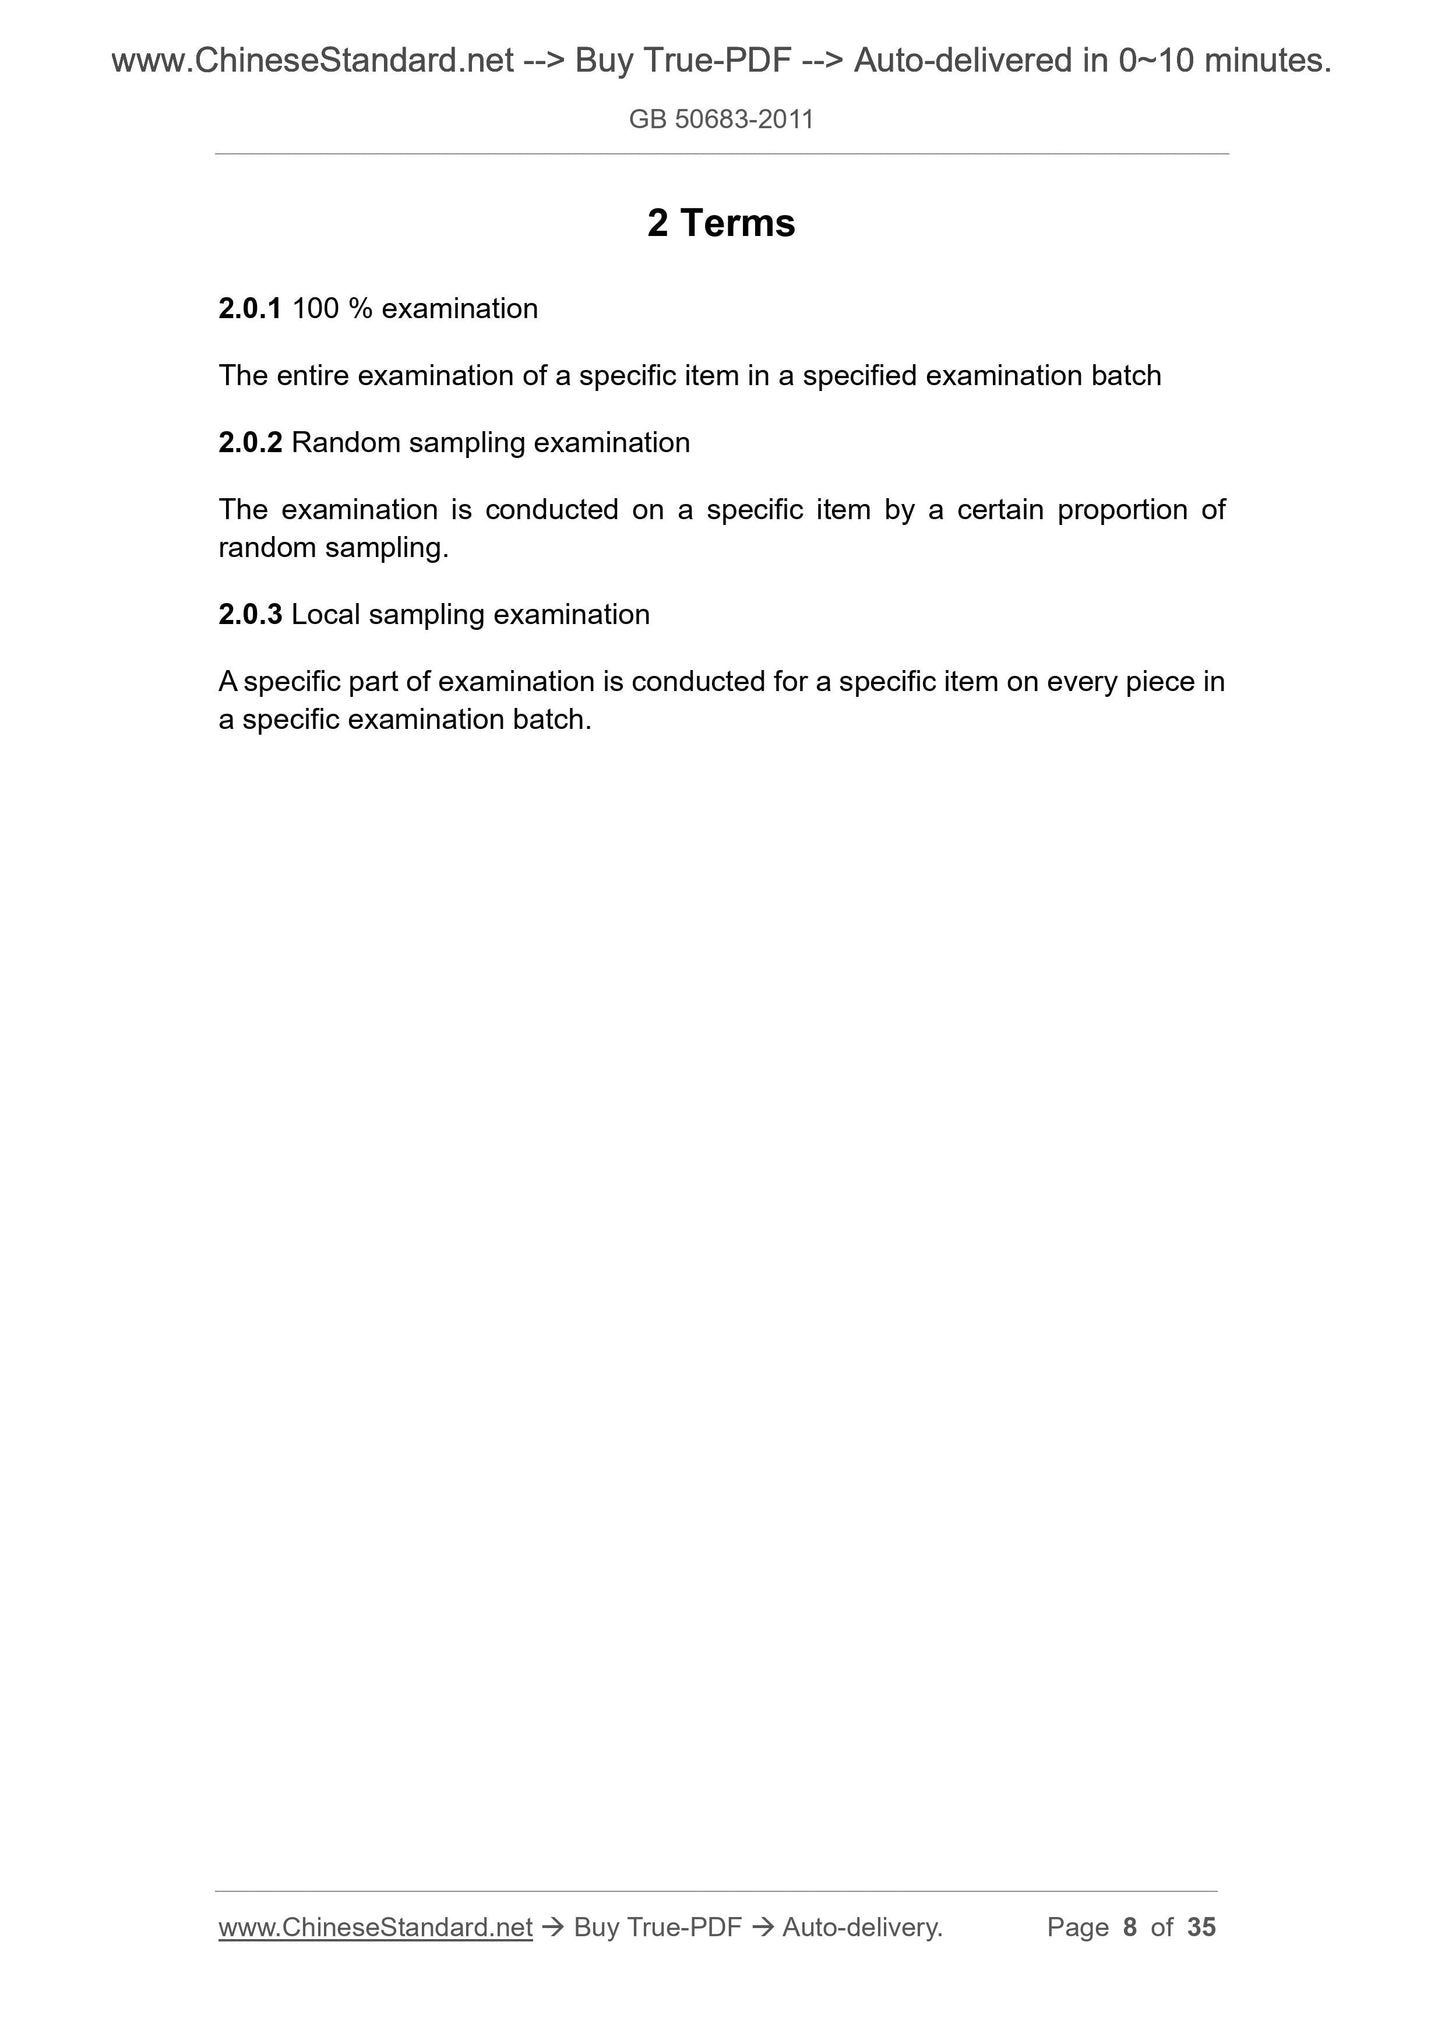
2 Terms
2.0.1 100 % examination
The entire examination of a specific item in a specified examination batch
2.0.2 Random sampling examination
The examination is conducted on a specific item by a certain proportion of
random sampling.
2.0.3 Local sampling examination
A specific part of examination is conducted for a specific item on every piece in
a specific examination batch.
3 Basic Requirements
3.1 Division for Acceptance of Construction Quality
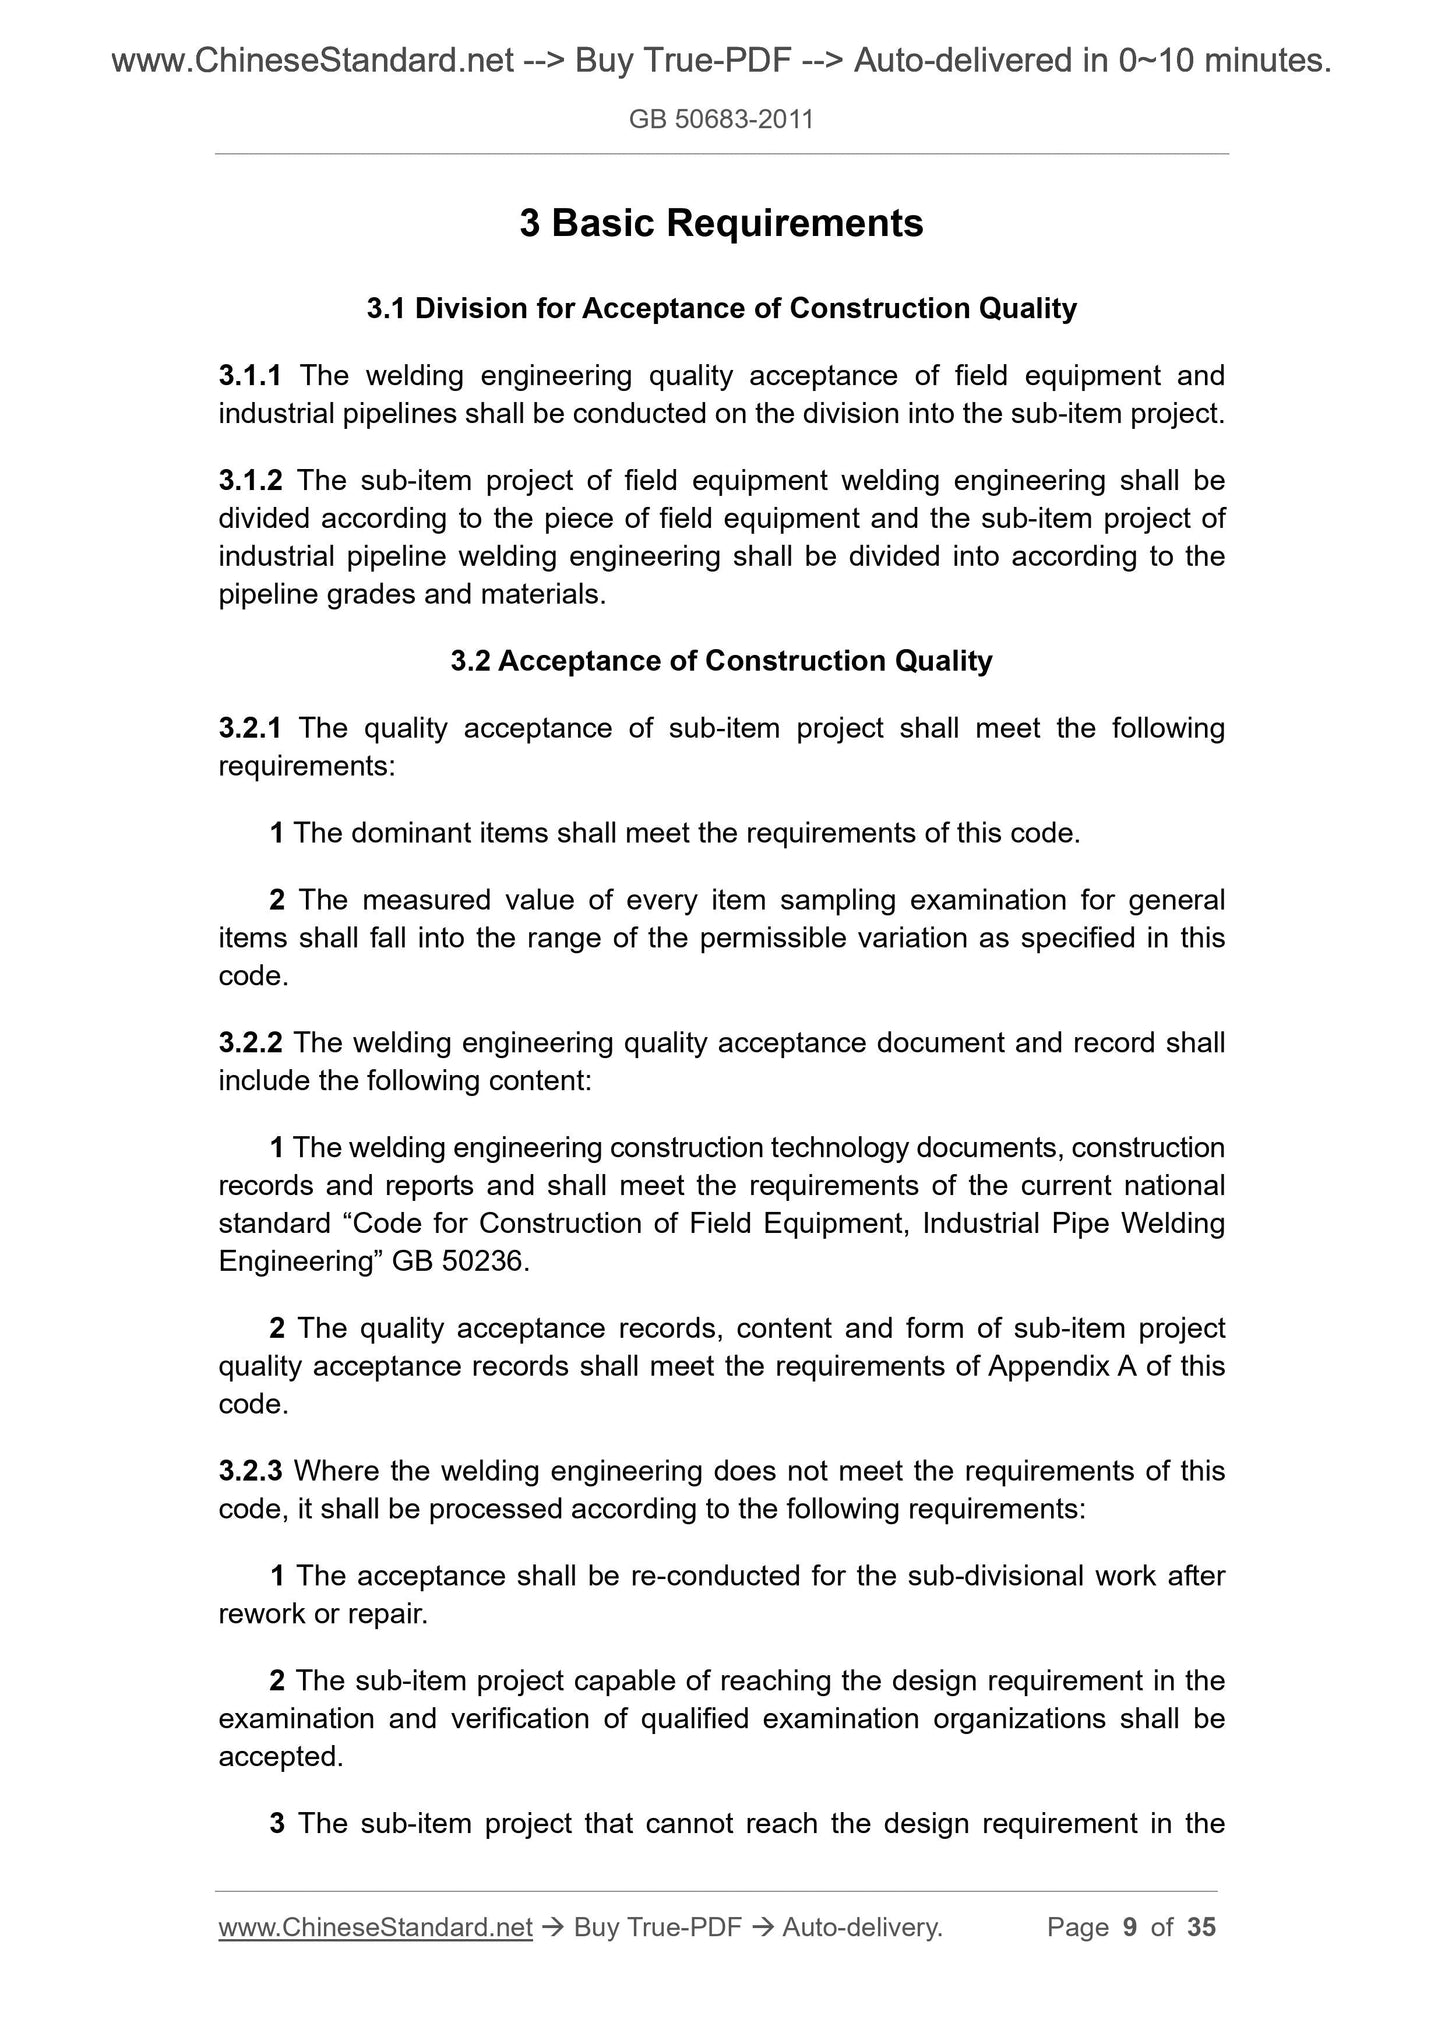
3.1.1 The welding engineering quality acceptance of field equipment and
industrial pipelines shall be conducted on the division into the sub-item project.
3.1.2 The sub-item project of field equipment welding engineering shall be
divided according to the piece of field equipment and the sub-item project of
industrial pipeline welding engineering shall be divided into according to the
pipeline grades and materials.
3.2 Acceptance of Construction Quality
3.2.1 The quality acceptance of sub-item project shall meet the following
requirements:
1 The dominant items shall meet the requirements of this code.
2 The measured value of every item sampling examination for general
items shall fall into the range of the permissible variation as specified in this
code.
3.2.2 The welding engineering quality acceptance document and record shall
include the following content:
1 The welding engineering construction technology documents, construction
records and reports and shall meet the requirements of the current national
standard “Code for Construction of Field Equipment, Industrial Pipe Welding
Engineering” GB 50236.
2 The quality acceptance records, content and form of sub-item project
quality acceptance records shall meet the requirements of Appendix A of this
code.
3.2.3 Where the welding engineering does not meet the requirements of this
code, it shall be processed according to the following requirements:
1 The acceptance shall be re-conducted for the sub-divisional work after
rework or repair.
2 The sub-item project capable of reaching the design requirement in the
examination and verification of qualified examination organizations shall be
accepted.
3 The sub-item project that cannot reach the design requirement in the
4 Materials
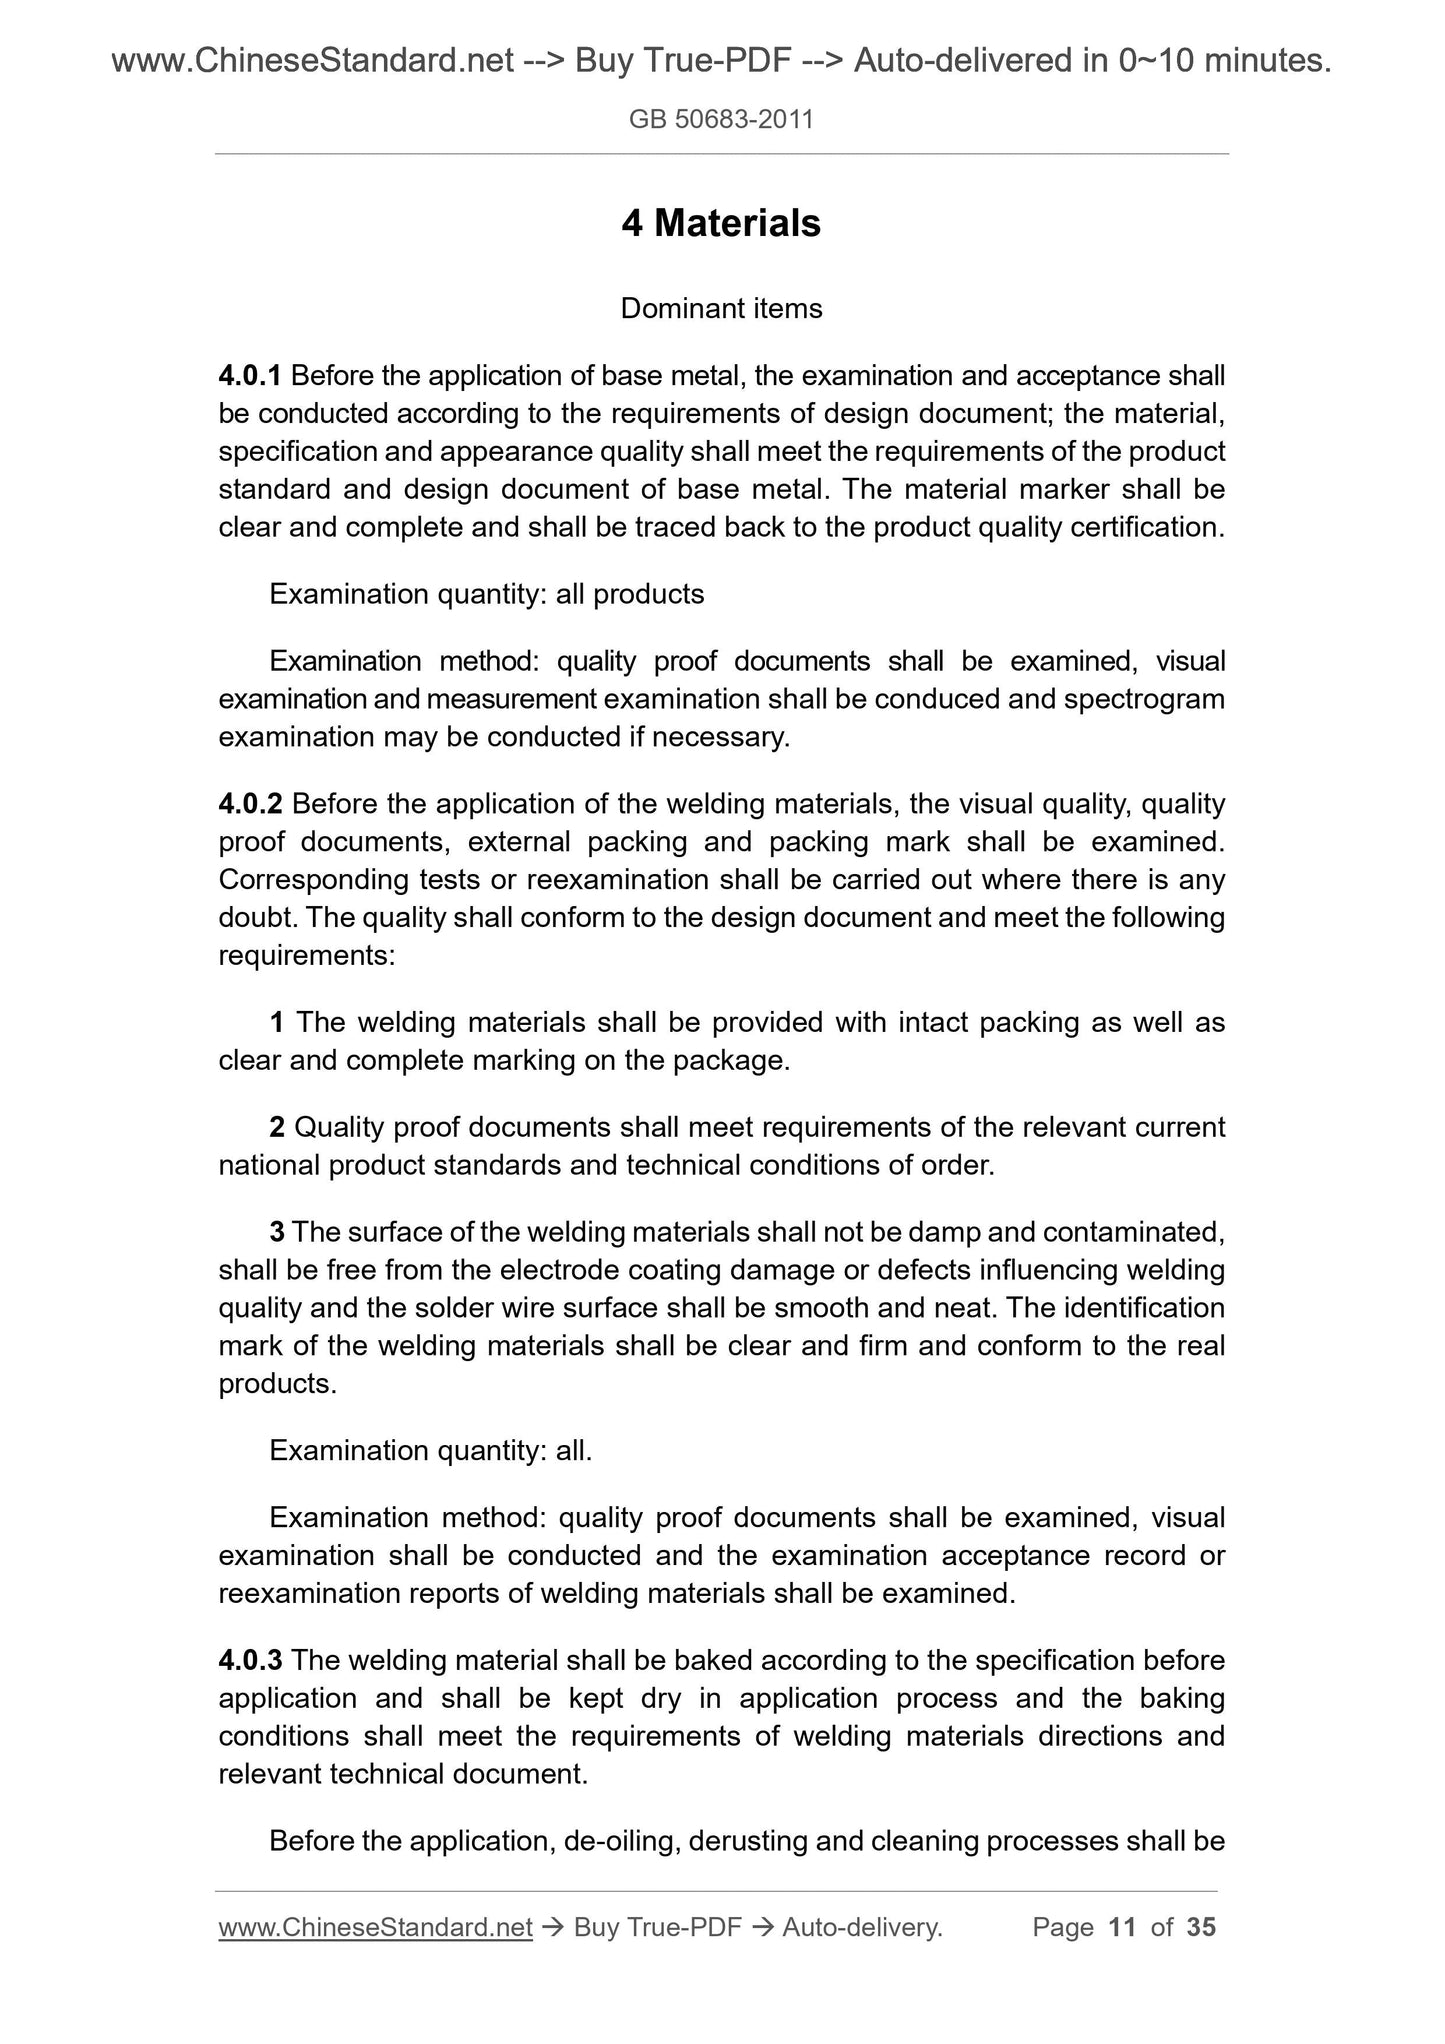
Dominant items
4.0.1 Before the application of base metal, the examination and acceptance shall
be conducted according to the requirements of design document; the material,
specification and appearance quality shall meet the requirements of the product
standard and design document of base metal. The material marker shall be
clear and complete and shall be traced back to the product quality certification.
Examination quantity: all products
Examination method: quality proof documents shall be examined, visual
examination and measurement examination shall be conduced and spectrogram
examination may be conducted if necessary.
4.0.2 Before the application of the welding materials, the visual quality, quality
proof documents, external packing and packing mark shall be examined.
Corresponding tests or reexamination shall be carried out where there is any
doubt. The quality shall conform to the design document and meet the following
requirements:
1 The welding materials shall be provided with intact packing as well as
clear and complete marking on the package.
2 Quality proof documents shall meet requirements of the relevant current
national product standards and technical conditions of order.
3 The surface of the welding materials shall not be damp and contaminated,
shall be free from the electrode coating damage or defects influencing welding
quality and the solder wire surface shall be smooth and neat. The identification
mark of the welding materials shall be clear and firm and conform to the real
products.
Examination quantity: all.
Examination method: quality proof documents shall be examined, visual
examination shall be conducted and the examination acceptance record or
reexamination reports of welding materials shall be examined.
4.0.3 The welding material shall be baked according to the specification before
application and shall be kept dry in application process and the baking
conditions shall meet the requirements of welding materials directions and
relevant technical document.
Before the application, de-oiling, derusting and cleaning processes shall be
5 Preparation Before Welding
I Dominant items
5.0.1 Where nondestructive testing is required for the groove face in the design
document, magnetic particle testing or penetrant testing shall be conducted.
Groove face quality shall not be lower than Class I as specified in the current
professional standard “Nondestructive Testing of Pressure Equipment” JB/T 4730.
Examination quantity: it shall meet the requirements of the design
document.
Examination method: the magnetic particle testing reports or penetrant
testing reports shall be examined.
5.0.2 As for the weld seam specified for weld preheating, the preheating
temperature in the weldment preheating zone shall be examined before the
welding and shall meet the requirements of design document and welding
process documents.
Examination quantity: all products.
Examination method: it shall be measured with temperature measurement
instrument and the welding records are examined.
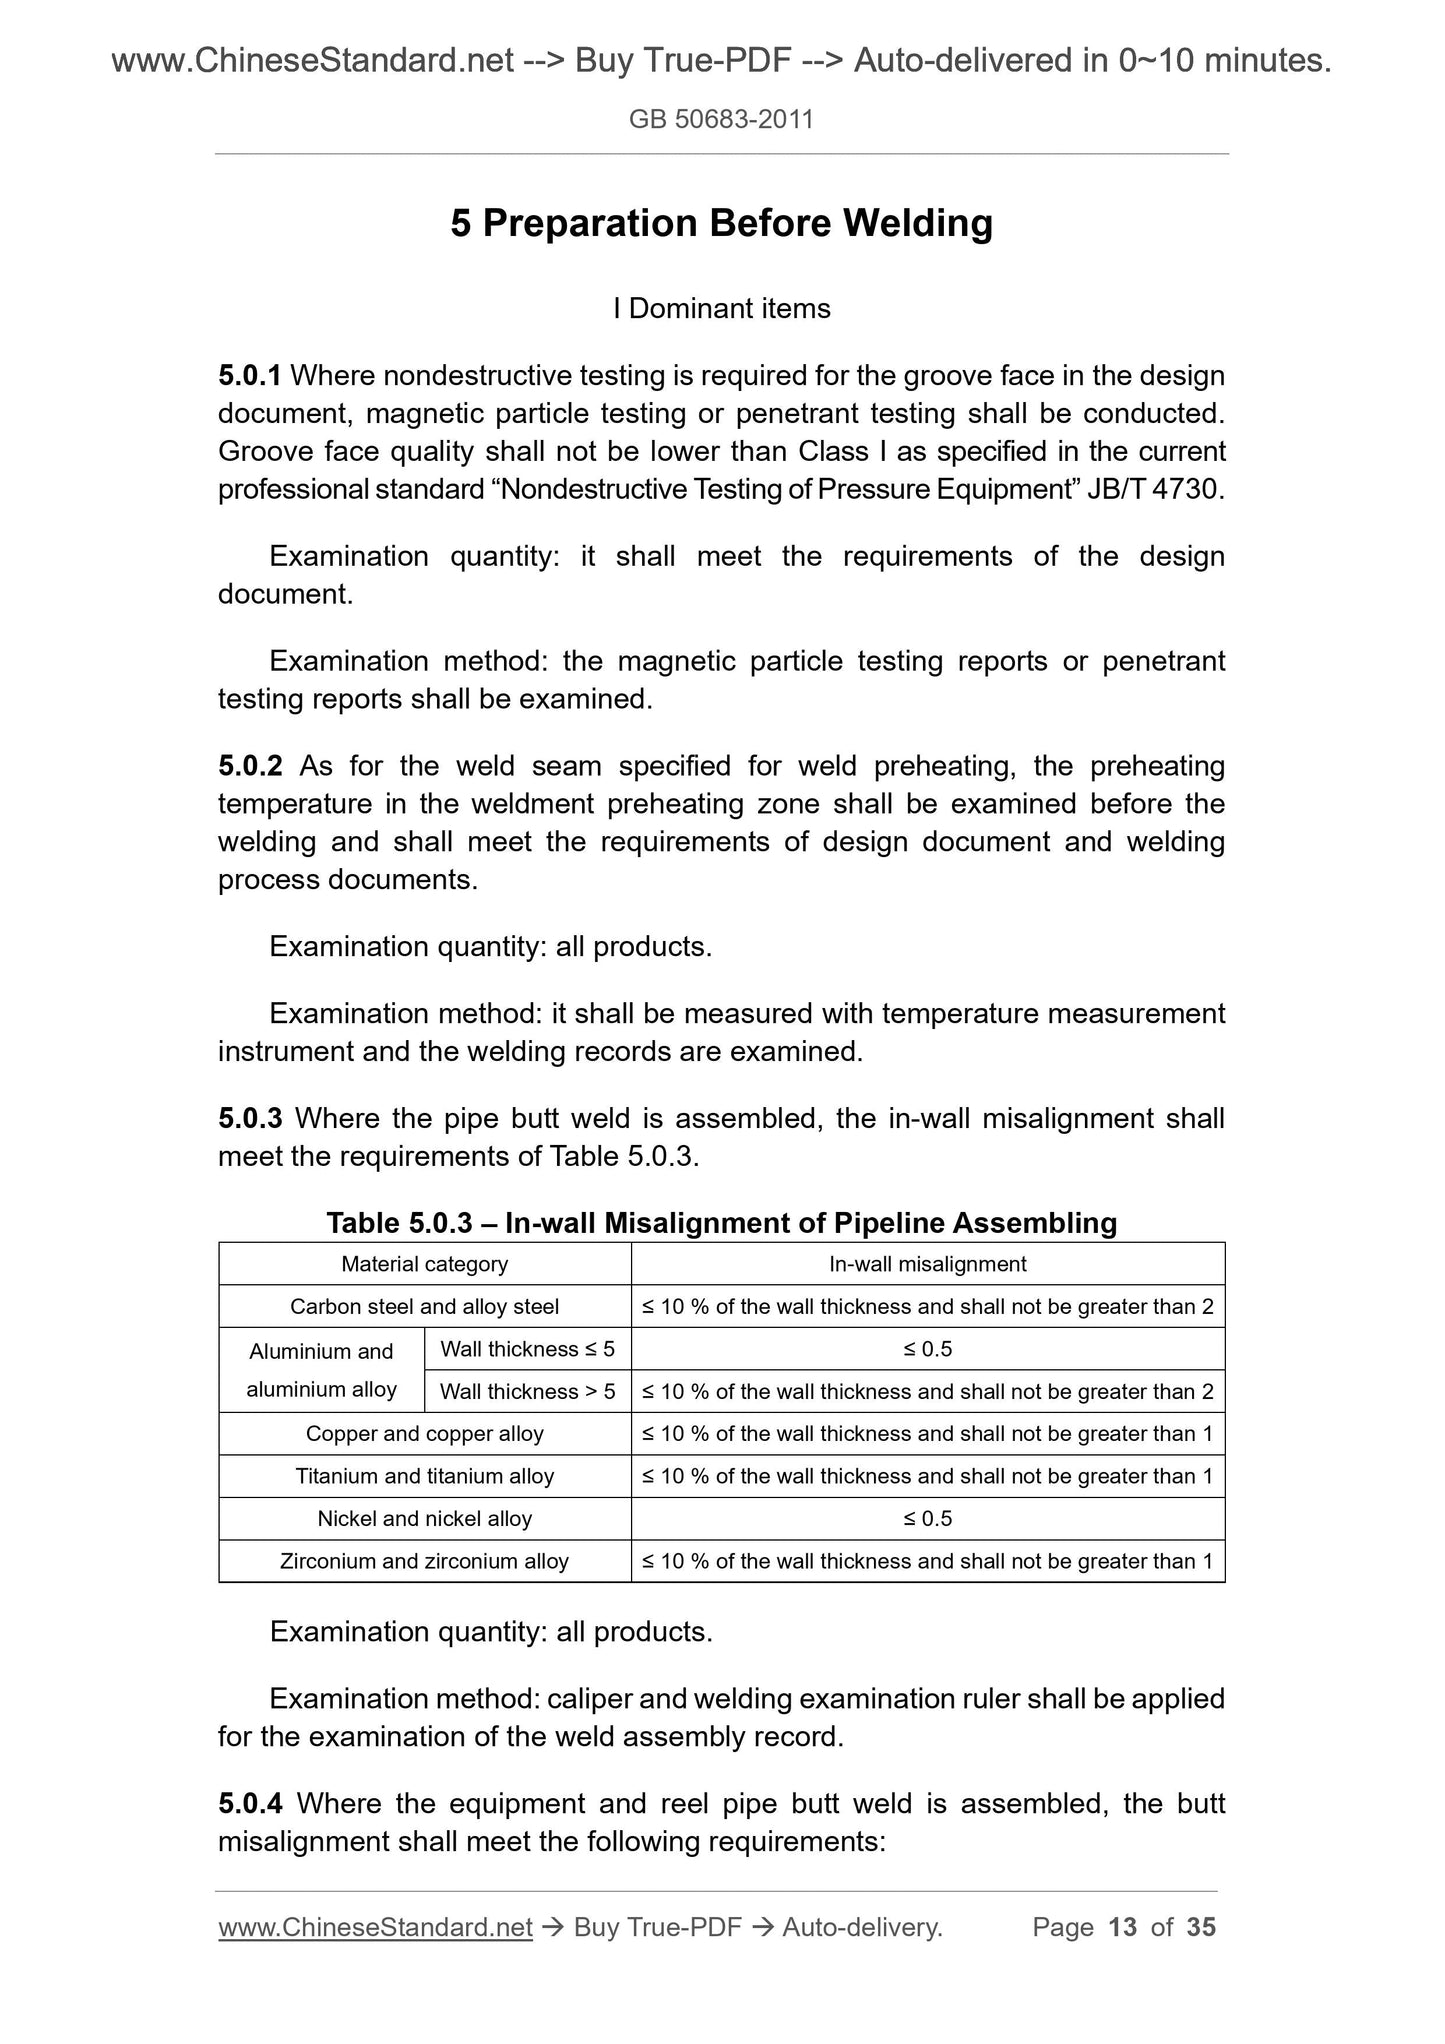
5.0.3 Where the pipe butt weld is assembled, the in-wall misalignment shall
meet the requirements of Table 5.0.3.
Table 5.0.3 – In-wall Misalignment of Pipeline Assembling
Material category In-wall misalignment
Carbon steel and alloy steel ≤ 10 % of the wall thickness and shall not be greater than 2
Aluminium and
aluminium alloy
Wall thickness ≤ 5 ≤ 0.5
Wall thickness > 5 ≤ 10 % of the wall thickness and shall not be greater than 2
Copper and copper alloy ≤ 10 % of the wall thickness and shall not be greater than 1
Titanium and titanium alloy ≤ 10 % of the wall thickness and shall not be greater than 1
Nickel and nickel alloy ≤ 0.5
Zirconium and zirconium alloy ≤ 10 % of the wall thickness and shall not be greater than 1
Examination quantity: all products.
Examination method: caliper and welding examination ruler shall be applied
for the examination of the weld assembly record.
5.0.4 Where the equipment and reel pipe butt weld is assembled, the butt
misalignment shall meet the following requirements:
II General items
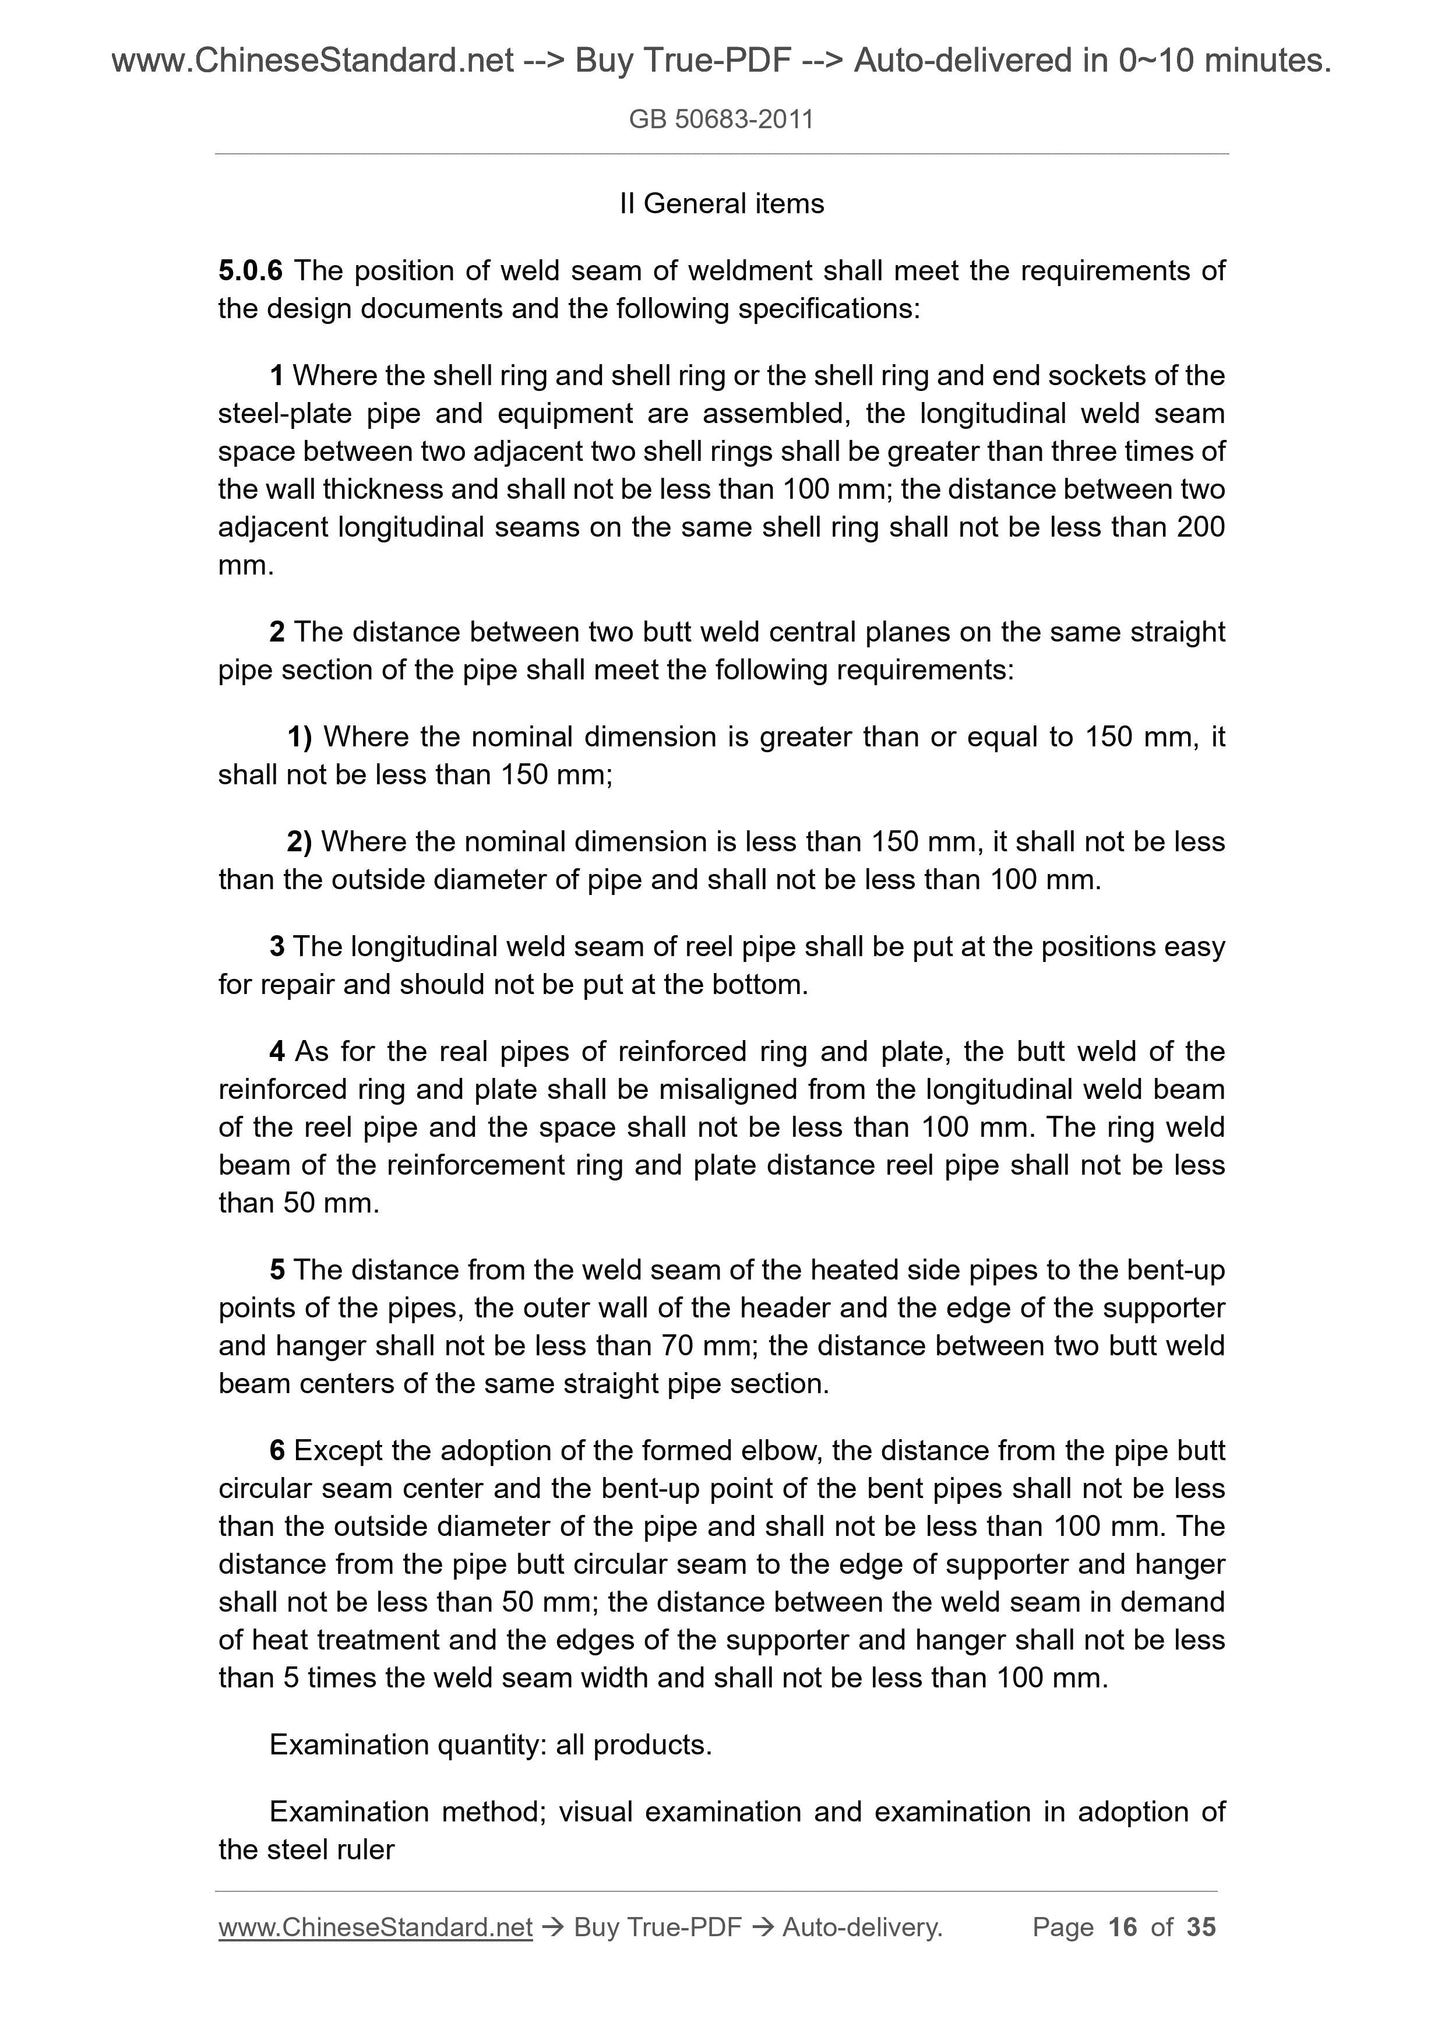
5.0.6 The position of weld seam of weldment shall meet the requirements of
the design documents and the following specifications:
1 Where the shell ring and shell ring or the shell ring and end sockets of the
steel-plate pipe and equipment are assembled, the longitudinal weld seam
space between two adjacent two shell rings shall be greater than three times of
the wall thickness and shall not be less than 100 mm; the distance between two
adjacent longitudinal seams on the same shell ring shall not be less than 200
mm.
2 The distance between two butt weld central planes on the same straight
pipe section of the pipe shall meet the following requirements:
1) Where the nominal dimension is greater than or equal to 150 mm, it
shall not be less than 150 mm;
2) Where the nominal dimension is less than 150 mm, it shall not be less
than the outside diameter of pipe and shall not be less than 100 mm.
3 The longitudinal weld seam of reel pipe shall be put at the positions easy
for repair and should not be put at the bottom.
4 As for the real pipes of reinforced ring and plate, the butt weld of the
reinforced ring and plate shall be misaligned from the longitudinal weld beam
of the reel pipe and the space shall not be less than 100 mm. The ring weld
beam of the reinforcement ring and plate distance reel pipe shall not be less
than 50 mm.
5 The distance from the weld seam of the heated side pipes to the bent-up
points of the pipes, the outer wall of the header and the edge of the supporter
and hanger shall not be less than 70 mm; the distance between two butt weld
beam centers of the same straight pipe section.
6 Except the adoption of the formed elbow, the distance from the pipe butt
circular seam center and the bent-up point of the bent pipes shall not be less
than the outside diameter of the pipe and shall not be less than 100 mm. The
distance from the pipe butt circular seam to the edge of supporter and hanger
shall not be less than 50 mm; the distance between the weld seam in demand
of heat treatment and the edges of the supporter and hanger shall not be less
than 5 times the weld seam width and shall not be less than 100 mm.
Examination quantity: all products.
Examination method; visual examination and examination in adoption of
the steel ruler
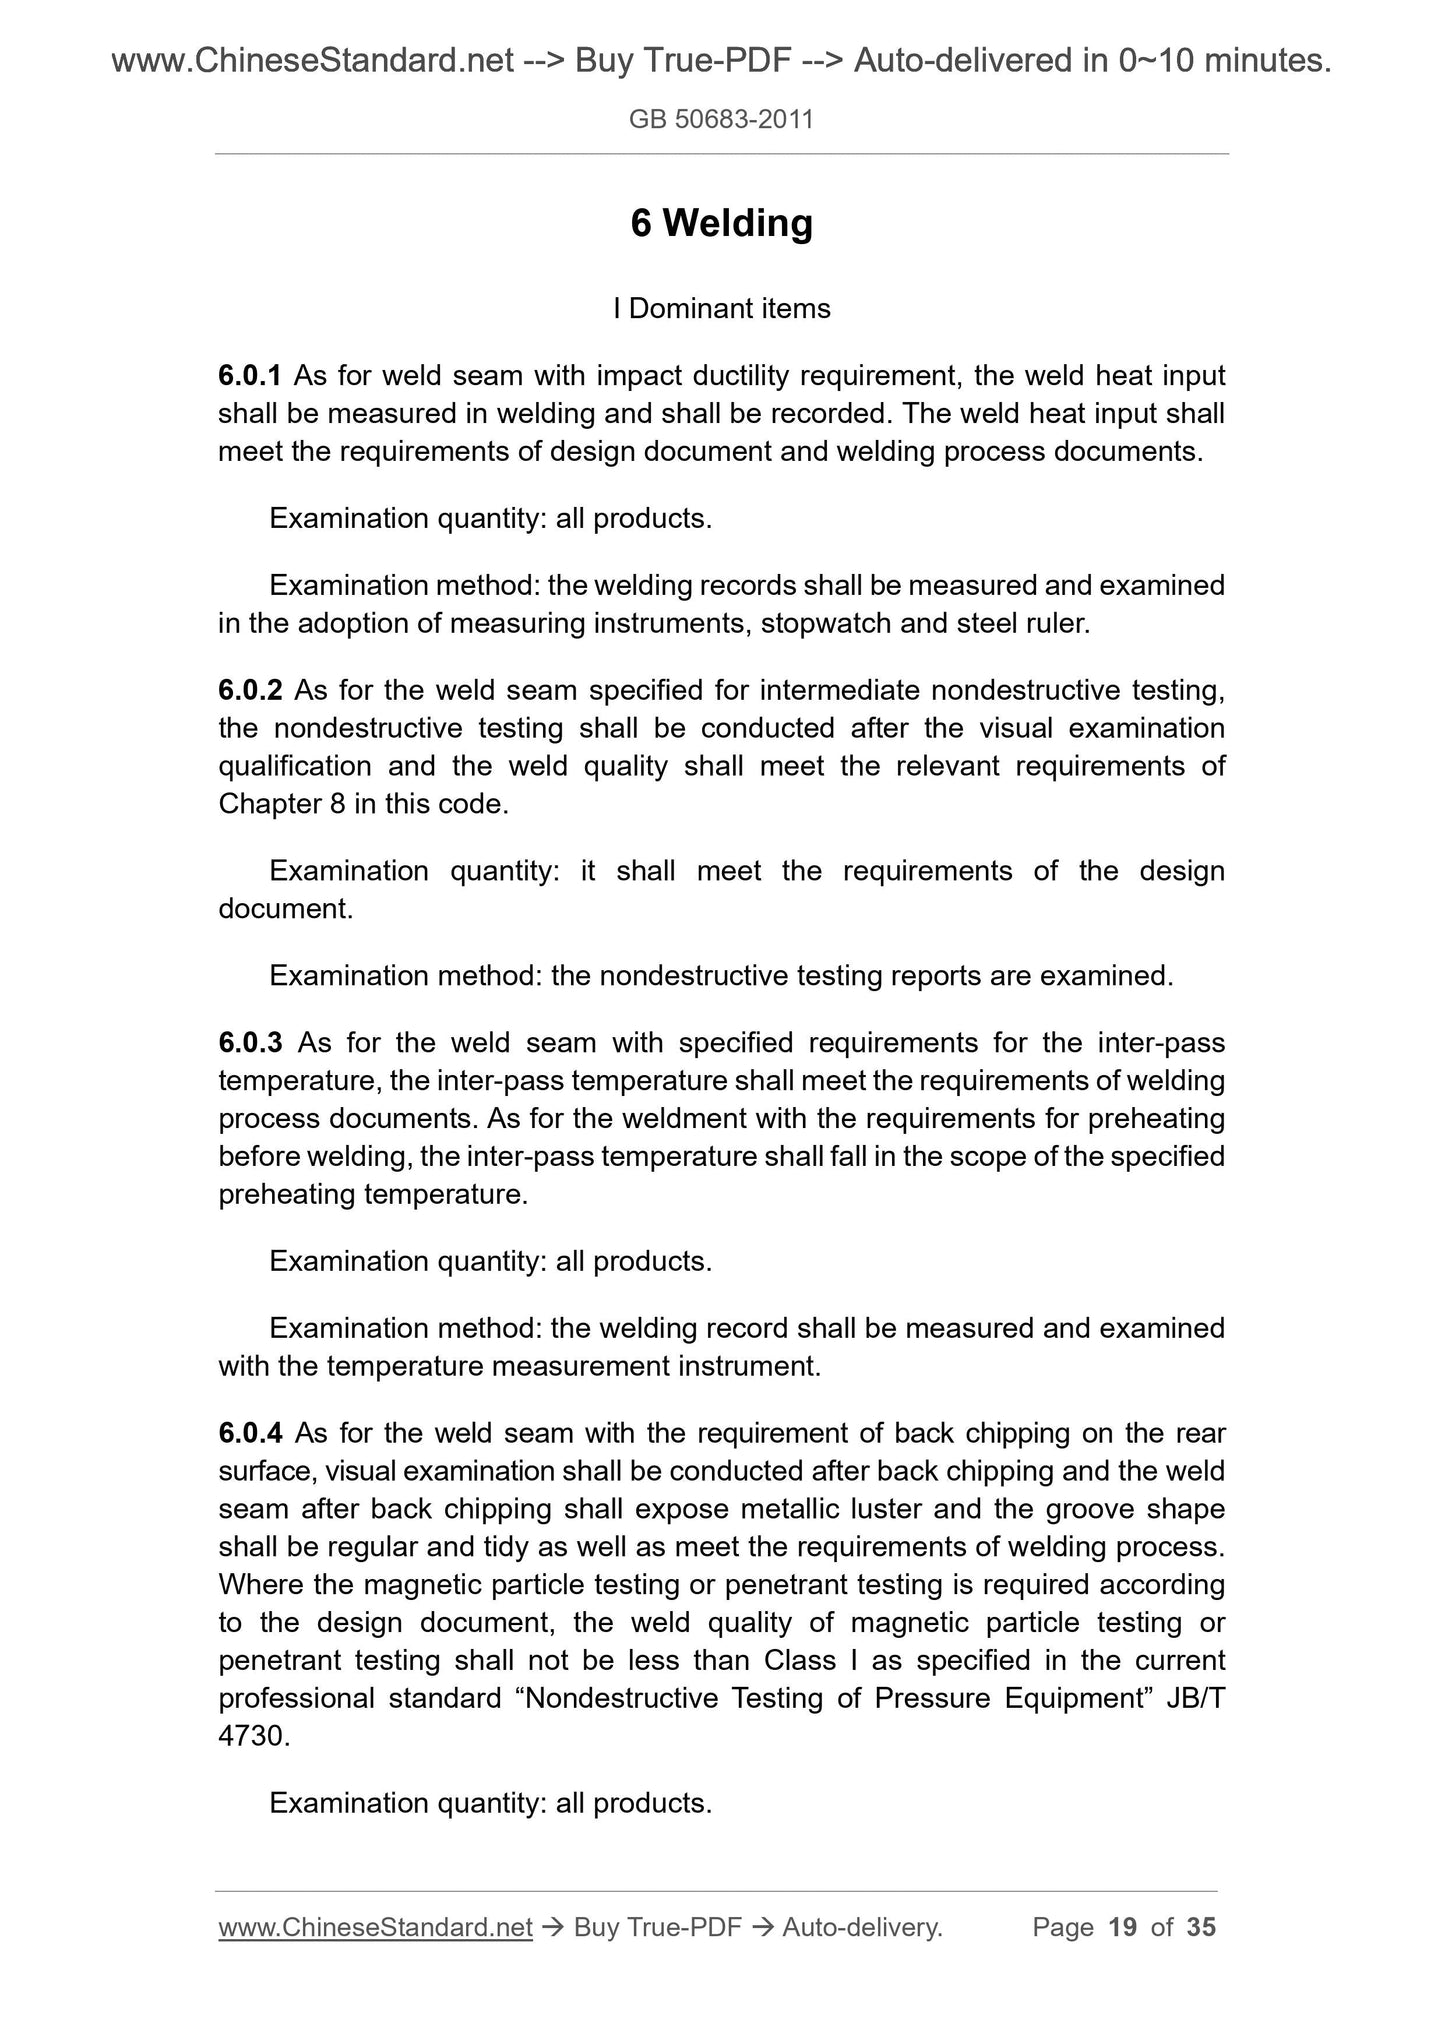
6 Welding
I Dominant items
6.0.1 As for weld seam with impact ductility requirement, the weld heat input
shall be measured in welding and shall be recorded. The weld heat input shall
meet the requirements of design document and welding process documents.
Examination quantity: all products.
Examination method: the welding records shall be measured and examined
in the adoption of measuring instruments, stopwatch and steel ruler.
6.0.2 As for the weld seam specified for intermediate nondestructive testing,
the nondestructive testing shall be conducted after the visual examination
qualification and the weld quality shall meet the relevant requirements of
Chapter 8 in this code.
Examination quantity: it shall meet the requirements of the design
document.
Examination method: the nondestructive testing reports are examined.
6.0.3 As for the weld seam with specified requirements for the inter-pass
temperature, the inter-pass temperature shall meet the requirements of welding
process documents. As for the weldment with the requirements for preheating
before welding, the inter-pass temperature shall fall in the scope of the specified
preheating temperature.
Examination quantity: all products.
Examination method: the welding record shall be measured and examined
with the temperature measurement instrument.
6.0.4 As for the weld seam with the requirement of back chipping on the rear
surface, visual examination shall be conducted after back chipping and the weld
seam after back chipping shall expose metallic luster and the groove shape
shall be regular and tidy as well as meet the requirements of welding process.
Where the magnetic particle testing or penetrant testing is required according
to the design document, the weld quality of magnetic particle testing or
penetrant testing shall not be less than Class I as specified in the current
professional standard “Nondestructive Testing of Pressure Equipment” JB/T
4730.
Examination quantity: all products.
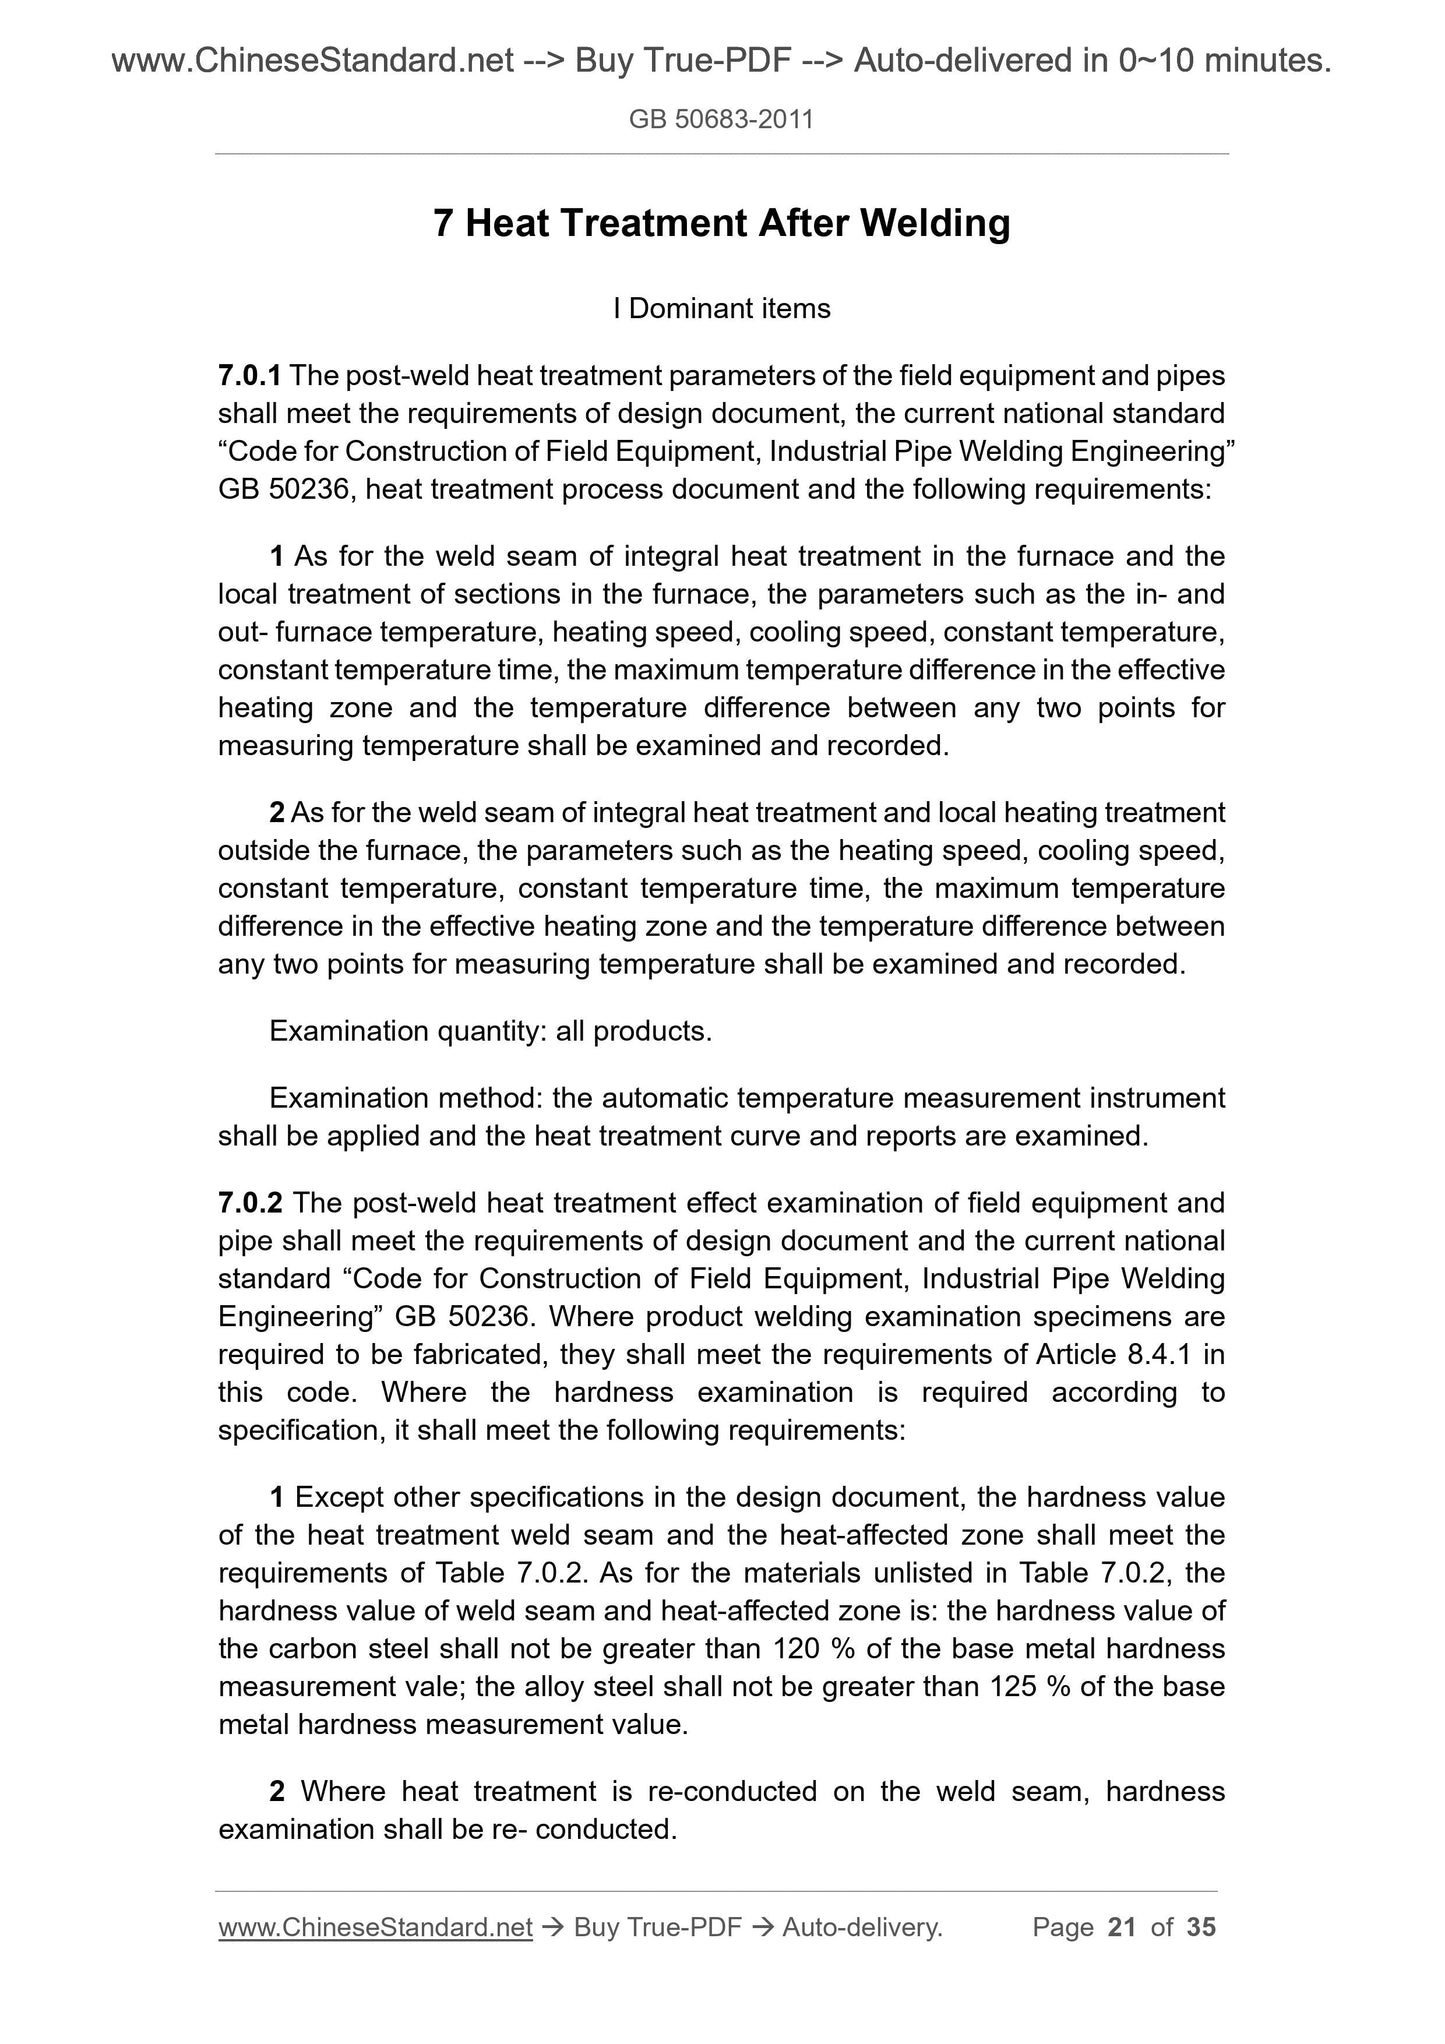
7 Heat Treatment After Welding
I Dominant items
7.0.1 The post-weld heat treatment parameters of the field equipment and pipes
shall meet the requirements of design document, the current national standard
“Code for Construction of Field Equipment, Industrial Pipe Welding Engineering”
GB 50236, heat treatment process document and the following requirements:
1 As for the weld seam of integral heat treatment in the furnace and the
local treatment of sections in the furnace, the parameters such as the in- and
out- furnace temperature, heating speed, cooling speed, constant temperature,
constant temperature time, the maximum temperature difference in the effective
heating zone and the temperature difference between any two points for
measuring temperature shall be examined and recorded.
2 As for the weld seam of integral heat treatment and local heating treatment
outside the furnace, the parameters such as the heating speed, cooling speed,
constant temperature, constant temperature time, the maximum temperature <...
View full details