Skip to product information
1 of 12

PayPal, credit cards. Download editable-PDF and invoice in 1 second!

GB/T 8814-2017 English PDF (GB/T8814-2017)

GB/T 8814-2017 English PDF (GB/T8814-2017)

Regular price $255.00 USD
Regular price Sale price $255.00 USD
Sale Sold out
Shipping calculated at checkout.
Delivery: 3 seconds. Download true-PDF + Invoice.
Get Quotation: Click GB/T 8814-2017 (Self-service in 1-minute)
Historical versions (Master-website): GB/T 8814-2017
Preview True-PDF (Reload/Scroll-down if blank)

GB/T 8814-2017: Unplasticized polyvinyl chloride (PVC-U) profiles for the doors and windows
GB/T 8814-2017
GB
NATIONAL STANDARD OF THE
PEOPLE’S REPUBLIC OF CHINA
ICS 83.140.01
Y 28
Replacing GB/T 8814-2004
Unplasticized Polyvinyl Chloride (PVC-U) Profiles for the
Doors and Windows
ISSUED ON: NOVEMBER 1, 2017
IMPLEMENTED ON: MAY 1, 2018
Issued by: General Administration of Quality Supervision, Inspection and
Quarantine of the People’s Republic of China;
Standardization Administration of the People’s Republic of China.
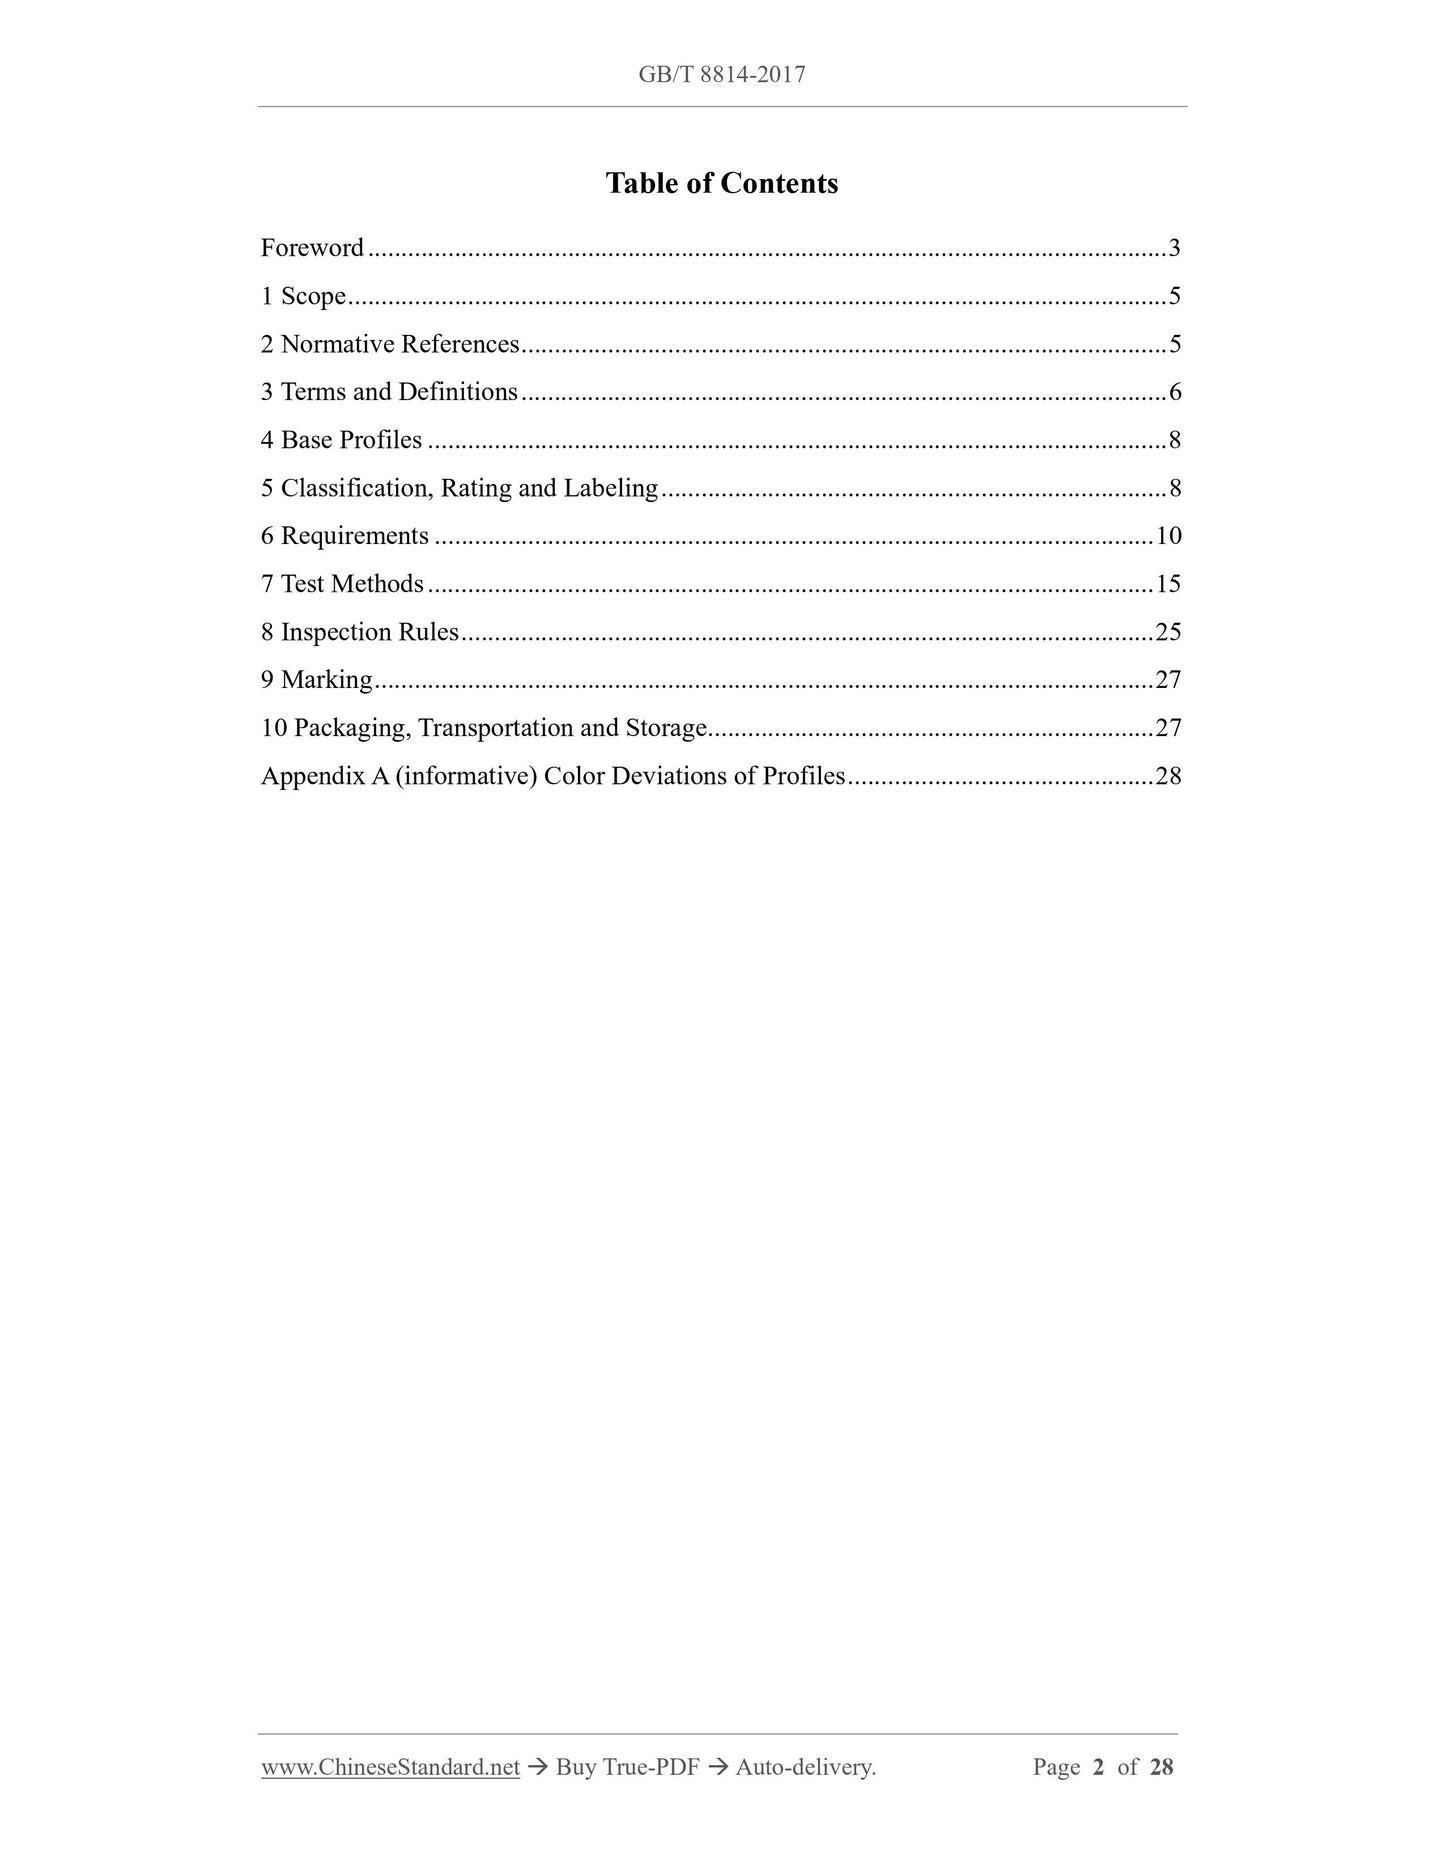
Table of Contents
Foreword ... 3
1 Scope ... 5
2 Normative References ... 5
3 Terms and Definitions ... 6
4 Base Profiles ... 8
5 Classification, Rating and Labeling ... 8
6 Requirements ... 10
7 Test Methods ... 15
8 Inspection Rules ... 25
9 Marking ... 27
10 Packaging, Transportation and Storage ... 27
Appendix A (informative) Color Deviations of Profiles ... 28
Unplasticized Polyvinyl Chloride (PVC-U) Profiles for the
Doors and Windows
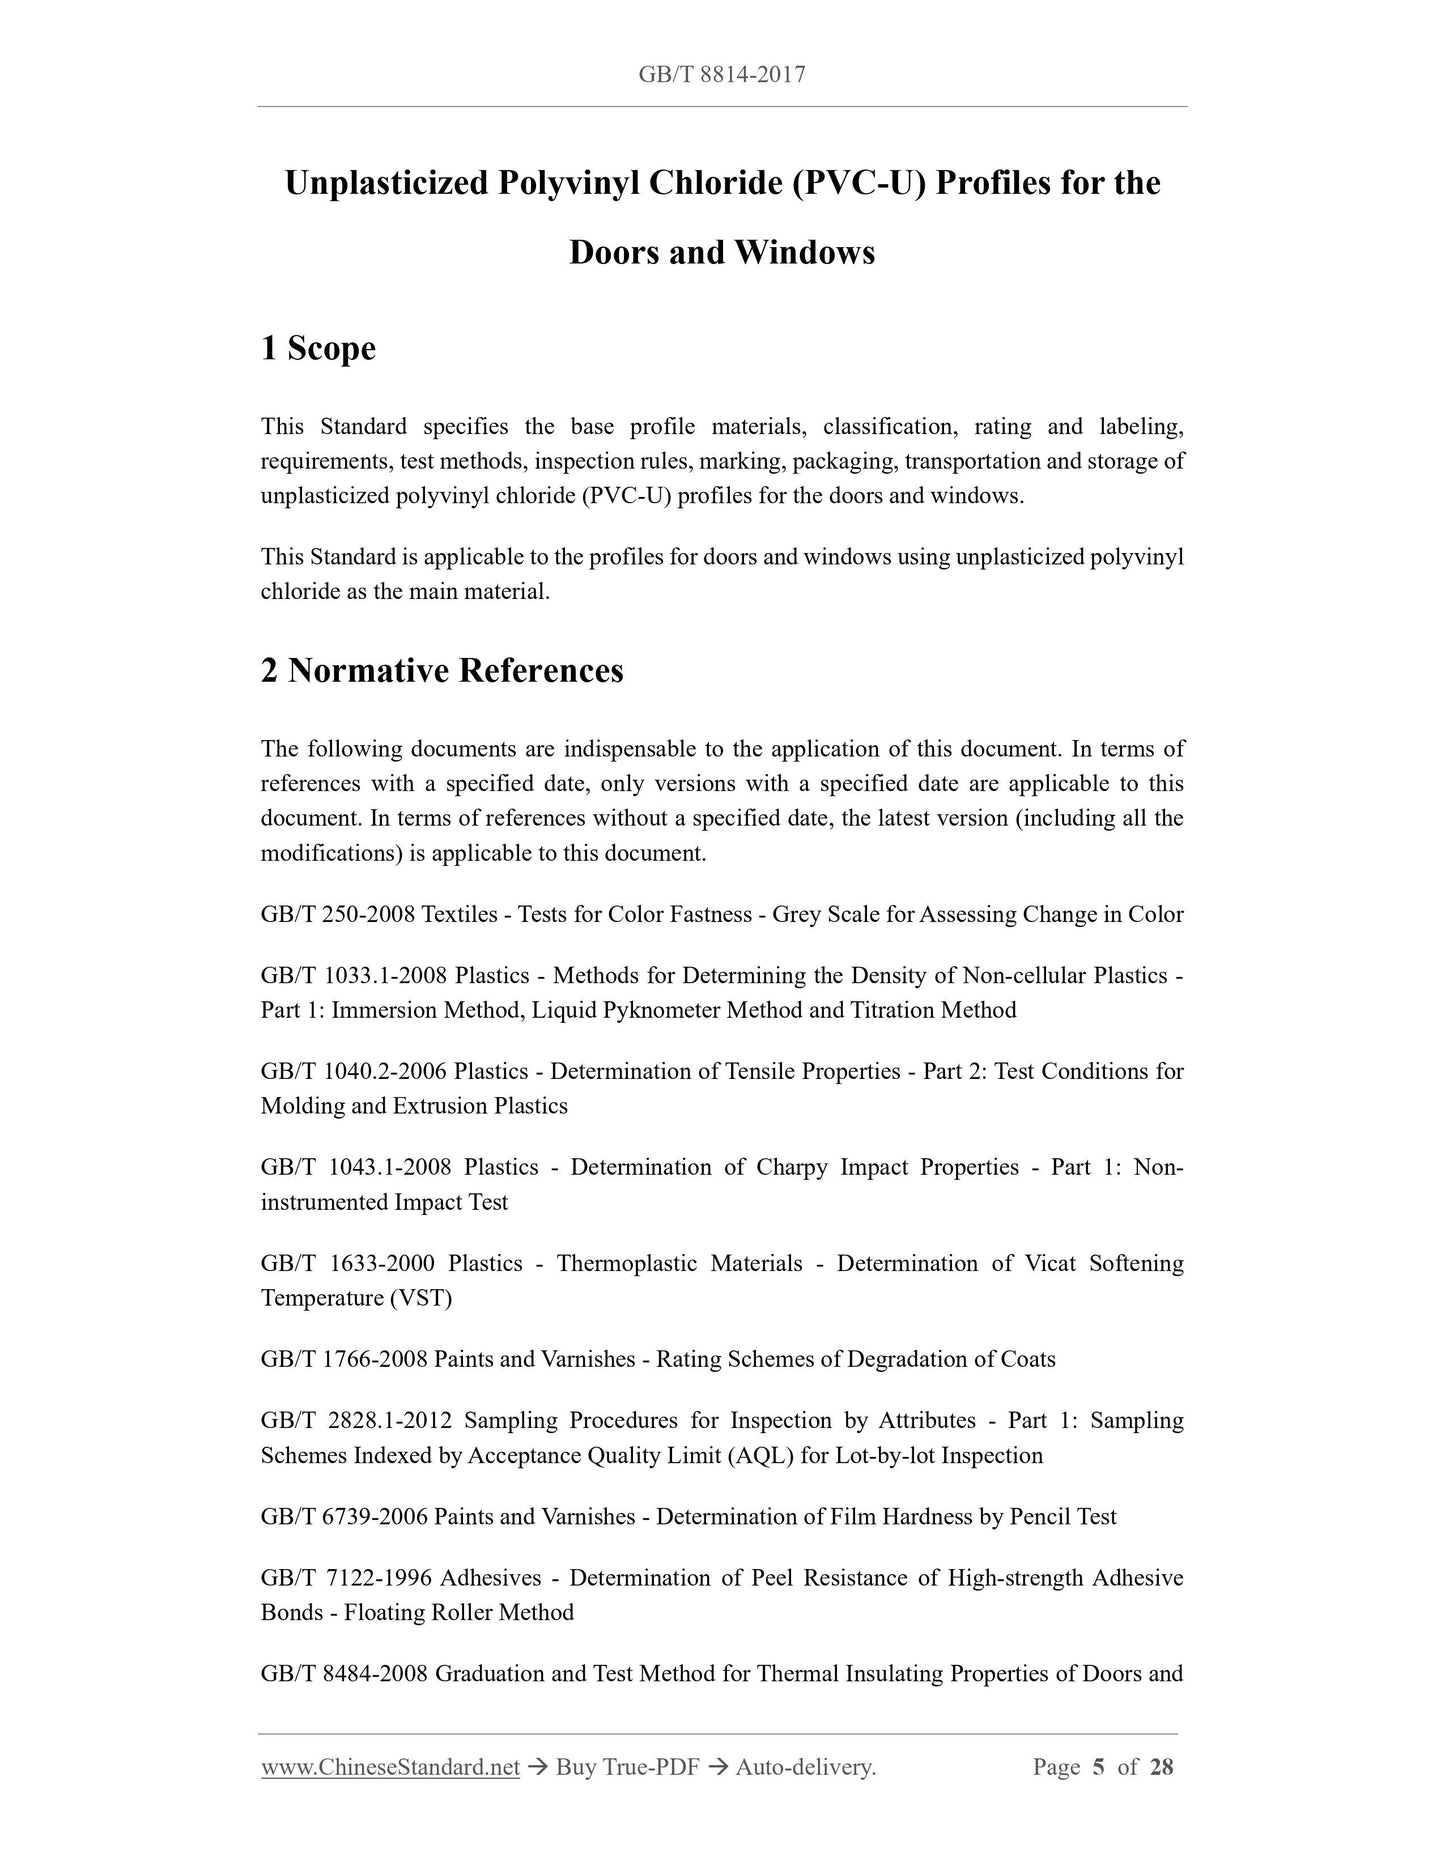
1 Scope
This Standard specifies the base profile materials, classification, rating and labeling,
requirements, test methods, inspection rules, marking, packaging, transportation and storage of
unplasticized polyvinyl chloride (PVC-U) profiles for the doors and windows.
This Standard is applicable to the profiles for doors and windows using unplasticized polyvinyl
chloride as the main material.
2 Normative References
The following documents are indispensable to the application of this document. In terms of
references with a specified date, only versions with a specified date are applicable to this
document. In terms of references without a specified date, the latest version (including all the
modifications) is applicable to this document.
GB/T 250-2008 Textiles - Tests for Color Fastness - Grey Scale for Assessing Change in Color
GB/T 1033.1-2008 Plastics - Methods for Determining the Density of Non-cellular Plastics -
Part 1: Immersion Method, Liquid Pyknometer Method and Titration Method
GB/T 1040.2-2006 Plastics - Determination of Tensile Properties - Part 2: Test Conditions for
Molding and Extrusion Plastics
GB/T 1043.1-2008 Plastics - Determination of Charpy Impact Properties - Part 1: Non-
instrumented Impact Test
GB/T 1633-2000 Plastics - Thermoplastic Materials - Determination of Vicat Softening
Temperature (VST)
GB/T 1766-2008 Paints and Varnishes - Rating Schemes of Degradation of Coats
GB/T 2828.1-2012 Sampling Procedures for Inspection by Attributes - Part 1: Sampling
Schemes Indexed by Acceptance Quality Limit (AQL) for Lot-by-lot Inspection
GB/T 6739-2006 Paints and Varnishes - Determination of Film Hardness by Pencil Test
GB/T 7122-1996 Adhesives - Determination of Peel Resistance of High-strength Adhesive
Bonds - Floating Roller Method
GB/T 8484-2008 Graduation and Test Method for Thermal Insulating Properties of Doors and
Windows
GB/T 9286-1998 Paints and Varnishes - Cross Cut Test for Films
GB/T 9341-2008 Plastics - Determination of Flexural Properties
GB/T 11186.2 Methods for Measuring the Color of Paint Films - Part 2: Color Measurement
GB/T 11186.3 Methods for Measuring the Color of Paint Films - Part 3: Calculation of Color
Differences
GB/T 16422.2-2014 Plastics - Methods of Exposure to Laboratory Light Sources - Part 2:
Xenon-arc Sources
GB/T 33284 Indoor Decorating and Refurbishing Materials - Limit of Harmful Substances of
Unplasticized Polyvinyl Chloride (PVC-U) Profiles for the Doors and Windows
JG/T 176 Function Structure Measurement of Plastic Window / Door and Profile
JG/T 451-2014 Unplasticized Poly (vinyl chloride) Compounds for Plastic Windows and Doors
Profiles in Buildings
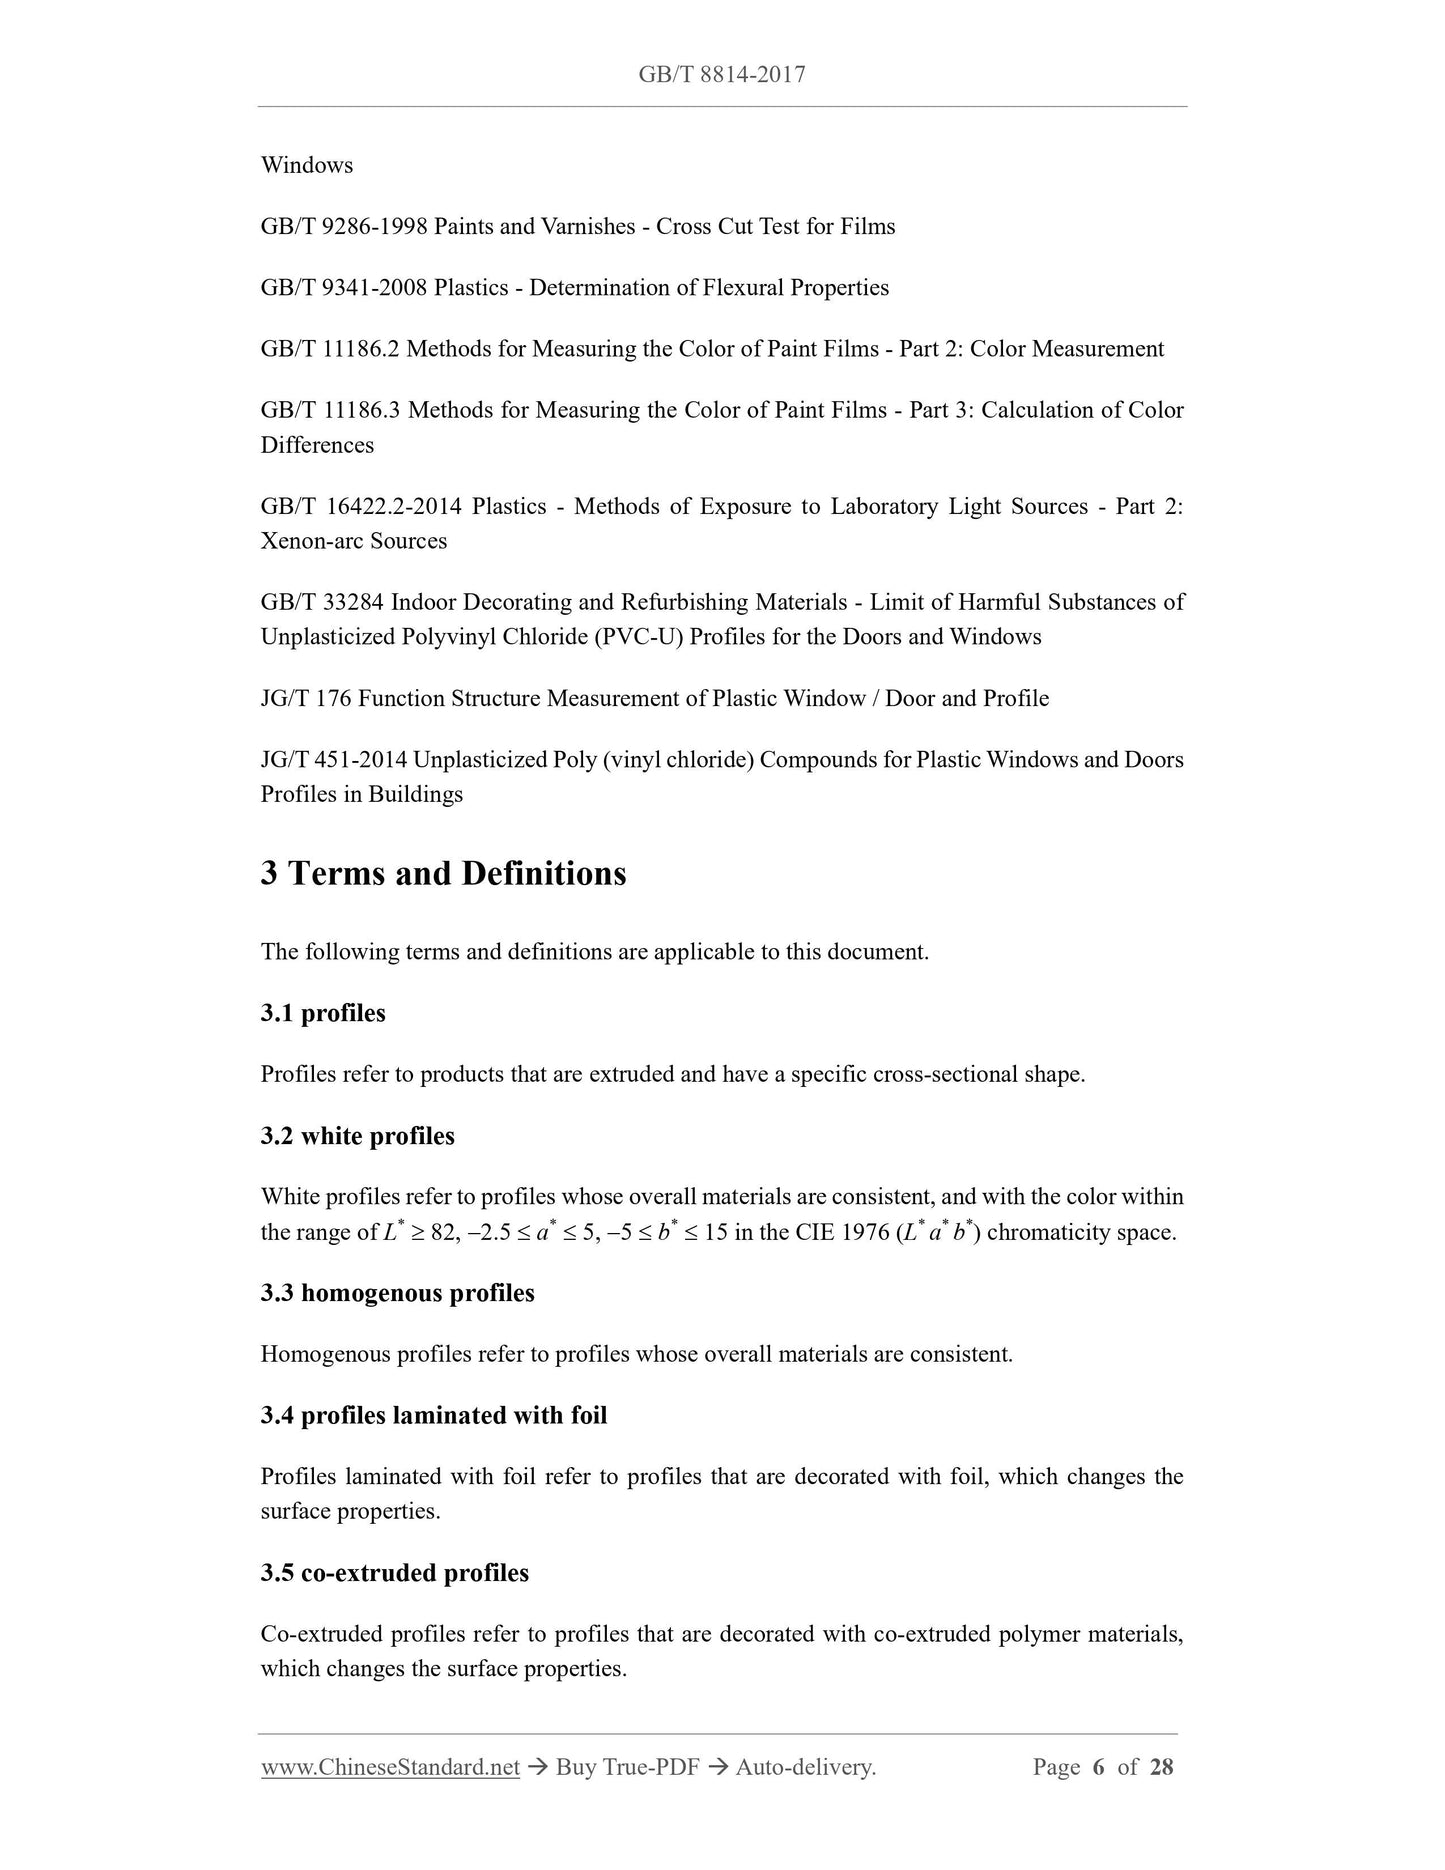
3 Terms and Definitions
The following terms and definitions are applicable to this document.
3.1 profiles
Profiles refer to products that are extruded and have a specific cross-sectional shape.
3.2 white profiles
White profiles refer to profiles whose overall materials are consistent, and with the color within
the range of L*  82, 2.5  a*  5, 5  b*  15 in the CIE 1976 (L* a* b*) chromaticity space.
3.3 homogenous profiles
Homogenous profiles refer to profiles whose overall materials are consistent.
3.4 profiles laminated with foil
Profiles laminated with foil refer to profiles that are decorated with foil, which changes the
surface properties.
3.5 co-extruded profiles
Co-extruded profiles refer to profiles that are decorated with co-extruded polymer materials,
which changes the surface properties.
3.6 coating profiles
Coating profiles refer to profiles that are decorated with coatings, which changes the surface
properties.
3.7 main profiles
Main profiles refer to frames, fans (except gauze fans) and mullion profiles.
3.8 auxiliary profiles
Auxiliary profiles refer to profiles other than the main profiles.
3.9 sight surface
Sight surface refers to the surface of the profiles that can be seen at head-up when the door or
window is closed after the installation.
3.10 decorative surface
Decorative surface refers to the surface of the profiles that has been laminated with foil, co-
extruded and painted.
3.11 special decorative surface
Special decorative surface refers to a decoration consisting of non-single colors and non-flat
surfaces, etc.
3.12 decorative profiles
Decorative profiles refer to profiles with a decorative surface.
3.13 base profiles
Base profiles refer to the main body of the profiles except the decorative surface.
3.14 depth of a profile
Depth of a profile refers to the maximum distance measured between two sight surfaces on the
cross-section of the profiles along the X-axis direction, as shown in Figure 1.
3.15 overall width of a profile
Overall width of a profile refers to the maximum dimension of the structure measured on the
cross-section of the profiles along the Y-axis direction, as shown in Figure 1.
6.8 Density
The density of the base profiles shall be not greater than 1,530 kg/m3.
6.9 Vicat Softening Temperature
The Vicat Softening Temperature (VST) of the base profiles shall be not less than 78 C.
6.10 Tensile Yield Stress and Tensile Fracture Strain
The tensile yield stress of the base profiles shall be not less than 37 MPa, and the tensile fracture
strain shall be not less than 100%.
6.11 Bending Elastic Modulus
The bending elastic modulus of the base profiles shall be not less than 2,200 MPa.
6.12 Peel Strength of Laminated Foil and Base Profiles of FM Profiles
The peel strength of the laminated foil and base profiles shall be not less than 2.5 N/mm.
6.13 Hardness of Coating Layer of TZ Profiles and Adhesion to Base Profiles
The pencil hardness of the coating layer shall be not less than Grade H.
The adhesion of the coating layer to the base profiles shall satisfy the requirements of Level-0
of the cross-cut method.
6.14 Environmental Stress Cracking Resistance of GJ Profiles
There shall be no cracks on the co-extruded surface, and no delamination or peeling between
the co-extruded layer and the base profiles.
6.15 Ageing
6.15.1 Color change
In accordance with the ageing time required in Table 4, carry out the test.
The white decorative surface and white non-decorative surface of BT profiles and decorative
profiles shall be subject to color determination once every 1,000 h, until the ageing time
required in Table 4 is reached. In each time period, the color change ΔE* of the specimen before
and after ageing on the sight surface shall be not greater than 5, and Δb* shall be not greater
than 3;
For the non-white decorative surface of FBT profiles and decorative profiles, the color change
ΔE* of the specimen before and after ageing on the sight surface shall be not greater than 5;
For the decorative surface of special decorative profiles, the color change of the specimen
6.17 Heat Transfer Coefficient of Main Profiles
The heat transfer coefficient of the main profiles shall comply with the requirements of Table
5.
6.18 Limit of Harmful Substances
The limit of harmful substances of the profiles shall comply with the requirements of GB/T
33284.
7 Test Methods
7.1 State Conditioning and Test Environment
The state conditioning shall be carried out in an environment at a temperature of (23  2) C
and a relative humidity of (50  10) %; the test shall also be carried out under these conditions.
For specimens used for appearance, dimensions and deviation tests, the conditioning time shall
be not less than 1 h; for other test items, the conditioning time shall be not less than 24 h.
7.2 Appearance
Under natural light or an equivalent artificial light source, perform visual inspection, with a
visual inspection distance of 0.5 m.
7.3 Dimensions and Deviations
7.3.1 Appearance and functional structural dimensions and wall thickness
Use a vernier caliper with a division value of not less than 0.05 mm to conduct the measurement.
For the appearance, functional structural dimensions and wall thickness, respectively measure
3 points. Take the minimum value for wall thickness. During the measurement of wall thickness,
avoid the functional structural dimension area, and carry out the measurement 1 mm away from
the junction of different areas. The measurement locations are shown in Figure 2.
The wall thickness of FM profiles shall be reduced by the thickness of the laminated foil and
the adhesive layer, see the method in 7.3.2.
each specimen, and take the maximum value among the three specimens.
7.7 State after Heating
7.7.1 Specimen preparation
From three profiles, respectively cut out a specimen with a length of (200  10) mm.
7.7.2 Test equipment
Electric heating blast box, with a temperature accuracy of not less than 1 C.
7.7.3 Test procedures
Place the specimen horizontally on a glass plate sprinkled with talcum powder in an electric
heating blast box at (150  2) C and leave it for 30൅30 min. Then, take it out together with the
glass plate, cool it to room temperature. Visually observe whether it complies with the
stipulations of 6.6.
If bubbles appear on the decorative surface of FM profiles, re-sample and carry out the same
test at (120  2) C.
7.8 Drop Weight Impact
7.8.1 Drop weight impact of main profiles
7.8.1.1 Specimen preparation
From three profiles, cut out a total of 10 specimens with a length of (300  5) mm.
7.8.1.2 Test equipment
Drop weight impact testing machine: mass of drop weight: (1,000  5) g, curvature radius of
hammer head: (25  0.5) mm.
7.8.1.3 Test conditions
Place the specimens at 10 0െ2 C or 20 0െ2 C for 1 h, then, take them out. At a temperature of
(23  2) C, conduct the impact test. For a single specimen, complete the test within 10 s.
7.8.1.4 Test procedures
Place the specimen on the support frame (see Figure 3) with the surface to be impacted facing
upward. Impact the center of the specimen between the two supports and for each specimen,
impact once. The drop weight height is 1,000൅100 mm for Level-I, and 1,500൅100 mm for Level-
II and Level-III. In addition, it shall comply with the following requirements:
a) For homogenous profiles, impact the sight surface exposed to the outdoors. When the
exterior sight surface cannot be confirmed, respectively impact 5 specimens on two
7.11 Tensile Yield Stress and Tensile Fracture Strain
In accordance with the stipulations of GB/T 1040.2-2006, carry out the test. The specimens
shall be taken from the base profiles of the profiles. The type of specimens is 1B, and the test
rate is 10 mm/min.
7.12 Bending Elastic Modulus
In accordance with the stipulations of GB/T 9341-2008, carry out the test. The specimens shall
be taken from the base profiles of the profiles.
7.13 Peel Strength of Laminated Foil and Base Profiles of FM Profiles
Prepare four segments of FM profile specimens with a length of not less than 100 mm and a
width of (20  1) mm. The incisions of the specimens shall be flat and smooth. Since the foil
needs to be fixed during the peel test, an approximately 50 mm length of the specimen surface
and the foil shall not be covered. An appropriate method must be used to separate the two. When
the profiles are laminated with foil, a separator, for example, a polyethylene film, can be placed
between the profiles and the laminated foil, so as to ensure that the two are separated and will
not adhere to each other.
Specimens shall be taken 72 h after being laminated with foil. In accordance with the
stipulations of GB/T 7122-1996, carry out the test, and the test rate is 10 mm/min. The minimum
value of the four specimens shall be taken as the result.
7.14 Hardness of Coating Layer of TZ Profiles and Adhesion to Base Profiles
The hardness of the coating layer shall be tested in accordance with the stipulations of GB/T
6739-2006.
The adhesion of the coating layer to the base profiles shall be tested in accordance with the
stipulations of GB/T 9286-1998. The cutting space is 1 mm, and the number of cuts in each
direction of the cutting pattern shall be 6.
7.15 Environmental Stress Cracking Resistance of GJ Profiles
Take a specimen with a length of 50 mm and a co-extruded layer, and immerse the co-extruded
surface upward in methanol solution with a temperature of (23  2) C and a purity of not lower
than 95% for (15  0.5) min. After taking it out, immediately use clean water to rinse the
methanol solution remaining on the specimen and use an 8 magnifying glass to observe the
specimen.
7.16 Ageing
7.16.1 Ageing conditions
The ageing test shall be carried out in accordance with the stipulations of Method A in GB/T
16422.2-2014; the exposure cycle No. is 9. The ageing surface is the sight surface of the profiles.
7.16.2 Color change
7.16.2.1 Specimen preparation
The length and width of the specimens shall be not less than 50 mm  40 mm, and the number
shall be at least 2. Half number of the specimens shall be stored in a dark place at room
temperature as original specimens.
7.16.2.2 Test equipment
Use a spectrophotometer or colorimeter with CIE standard light source D65 (including specular
reflection) and determi...
View full details